
This is a guide for Chapter 5 of Xenoblade Chronicles 3, covering the exploration of Thurbin Island in the Cadensia Region.
Where to go at Thurbin Island
We recommend coming here after meeting Kisame at Vinisog Holm first. To reach Thurbin Island, travel north from the east side of Vinisog Holm, going past Daedal Isle. Once you’ve reach Thurbin Isle, you can land at Thurbin Harbor at the west end of the island.
Your destination is the Erythia Relay Base at the opposite (east) end of the island. To reach it, you can fight your way through and/or sneak past the Agnian troops to access the front of the base. Or you can sneak in from the back by navigating through the nearby Anu Shoals. Both routes have their upsides and downsides.
Option 1. Approach the base head on
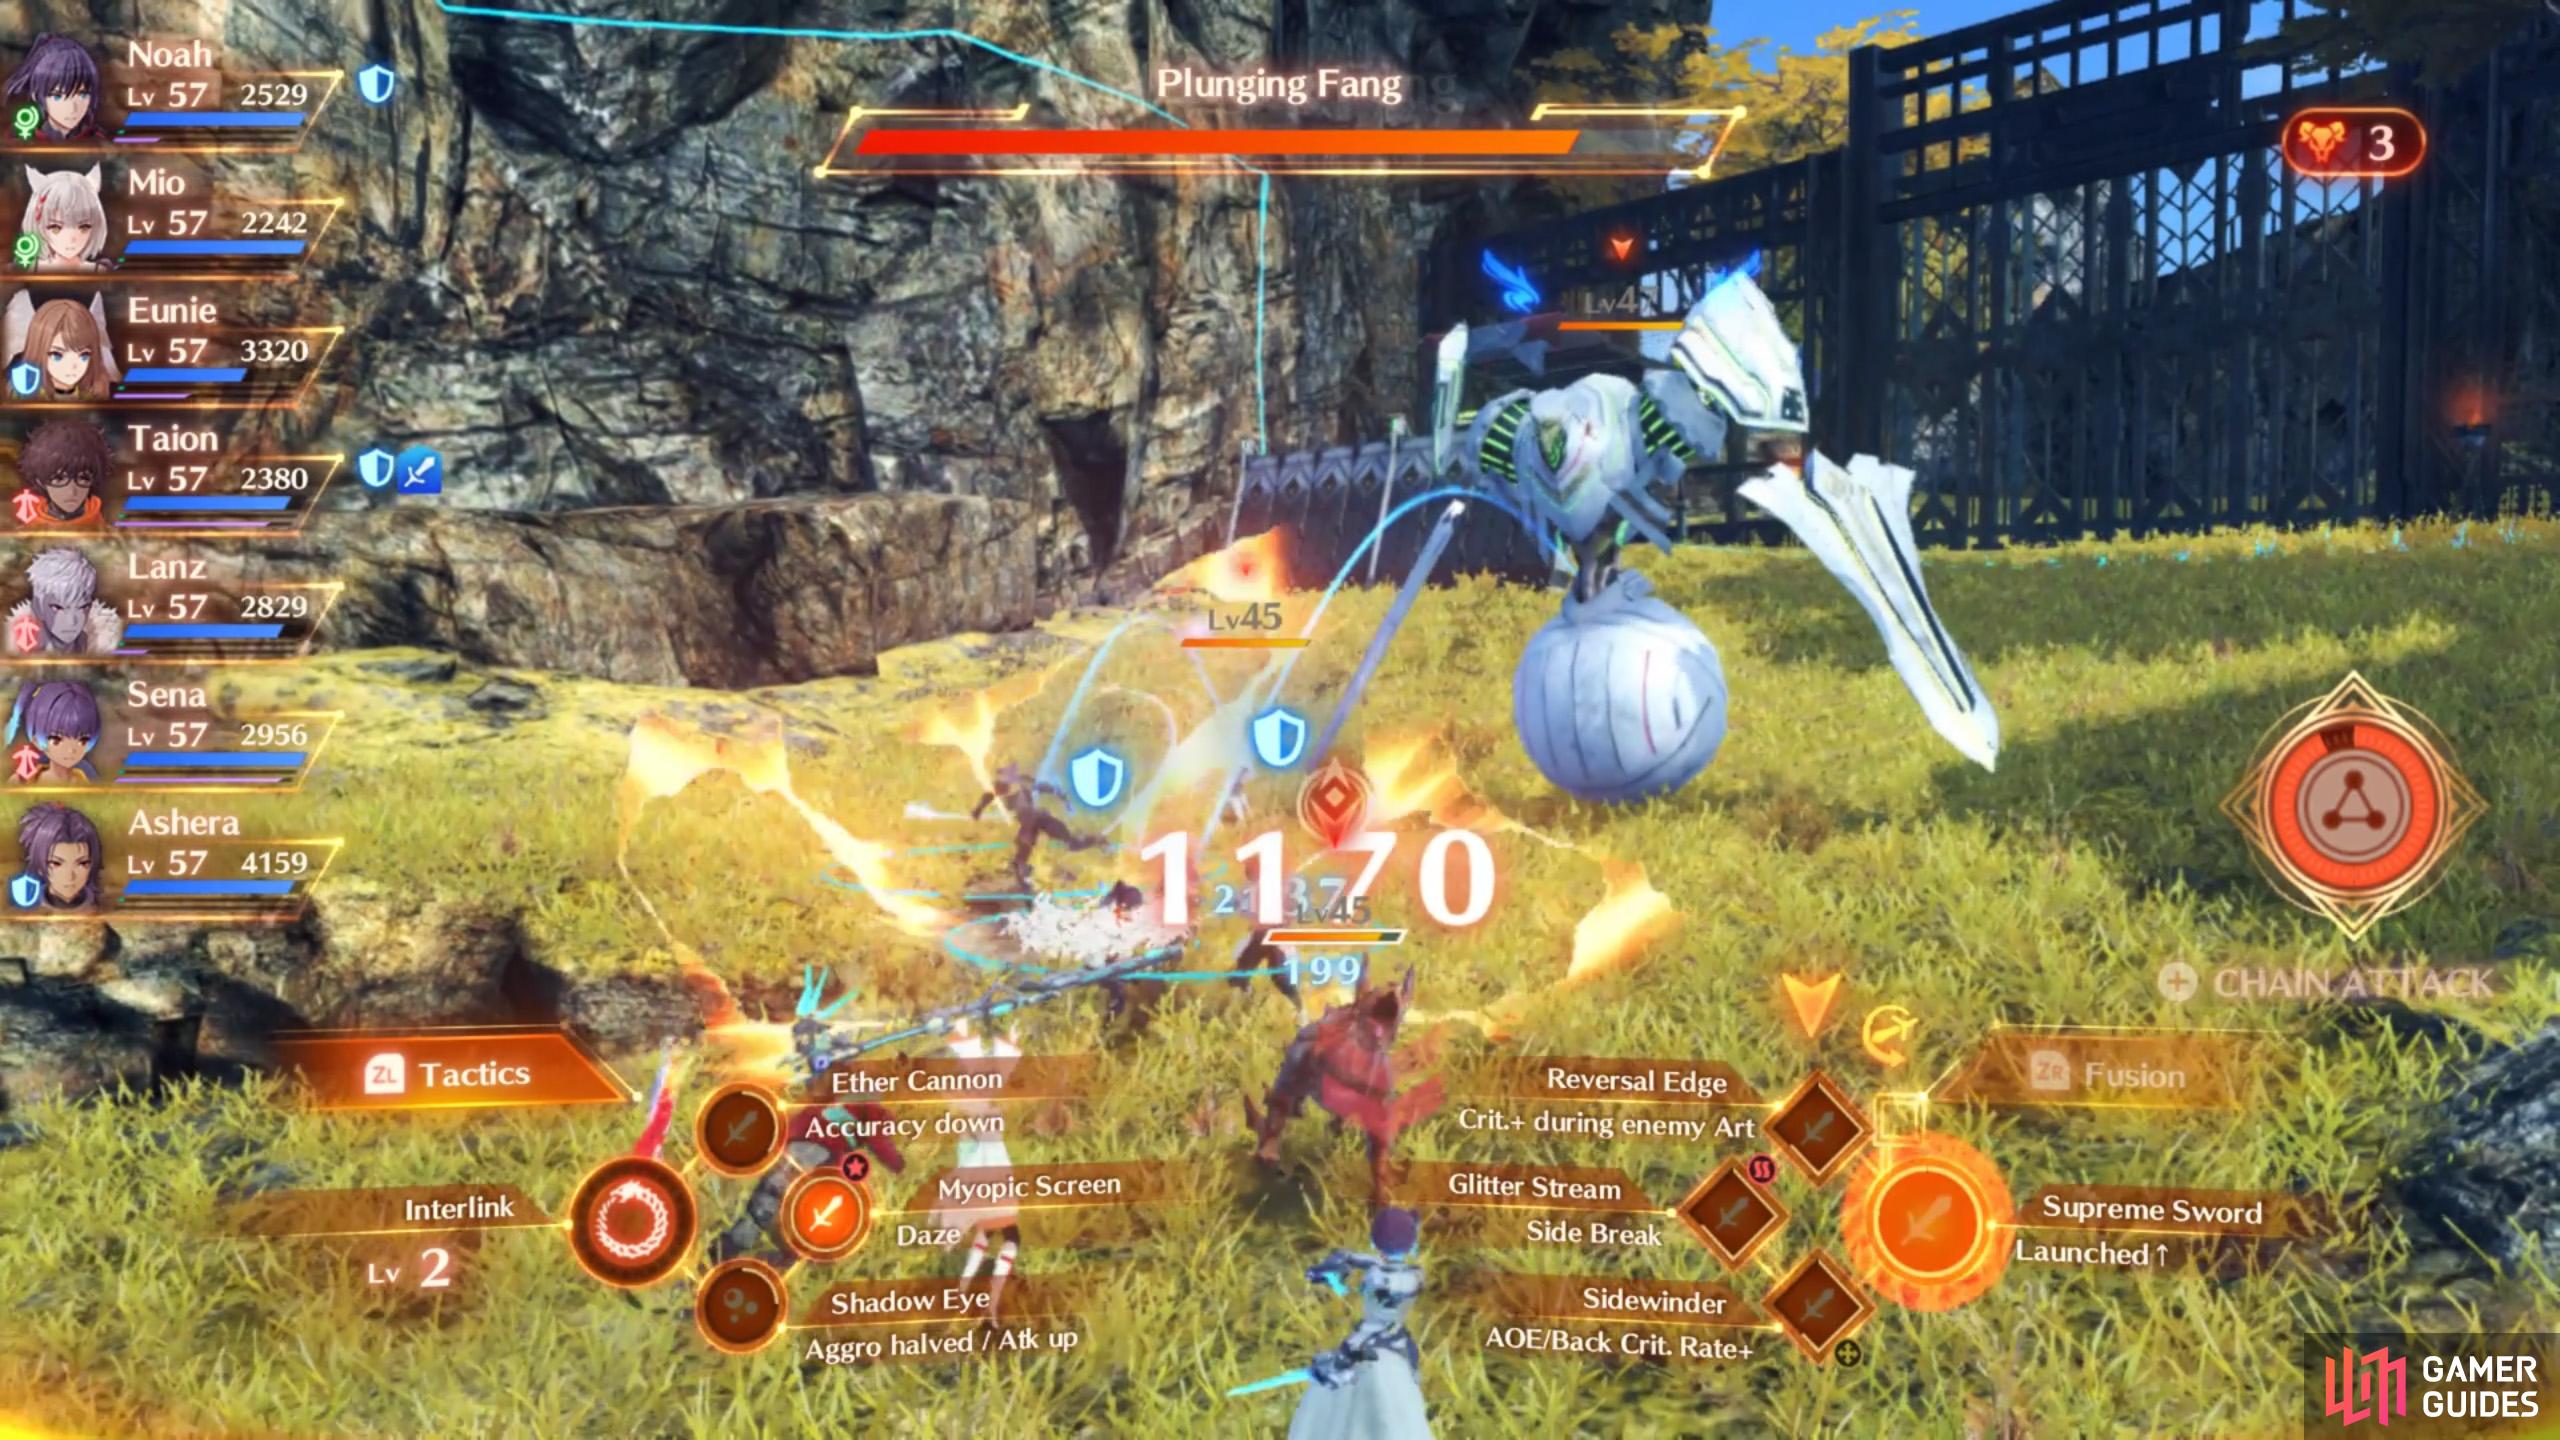
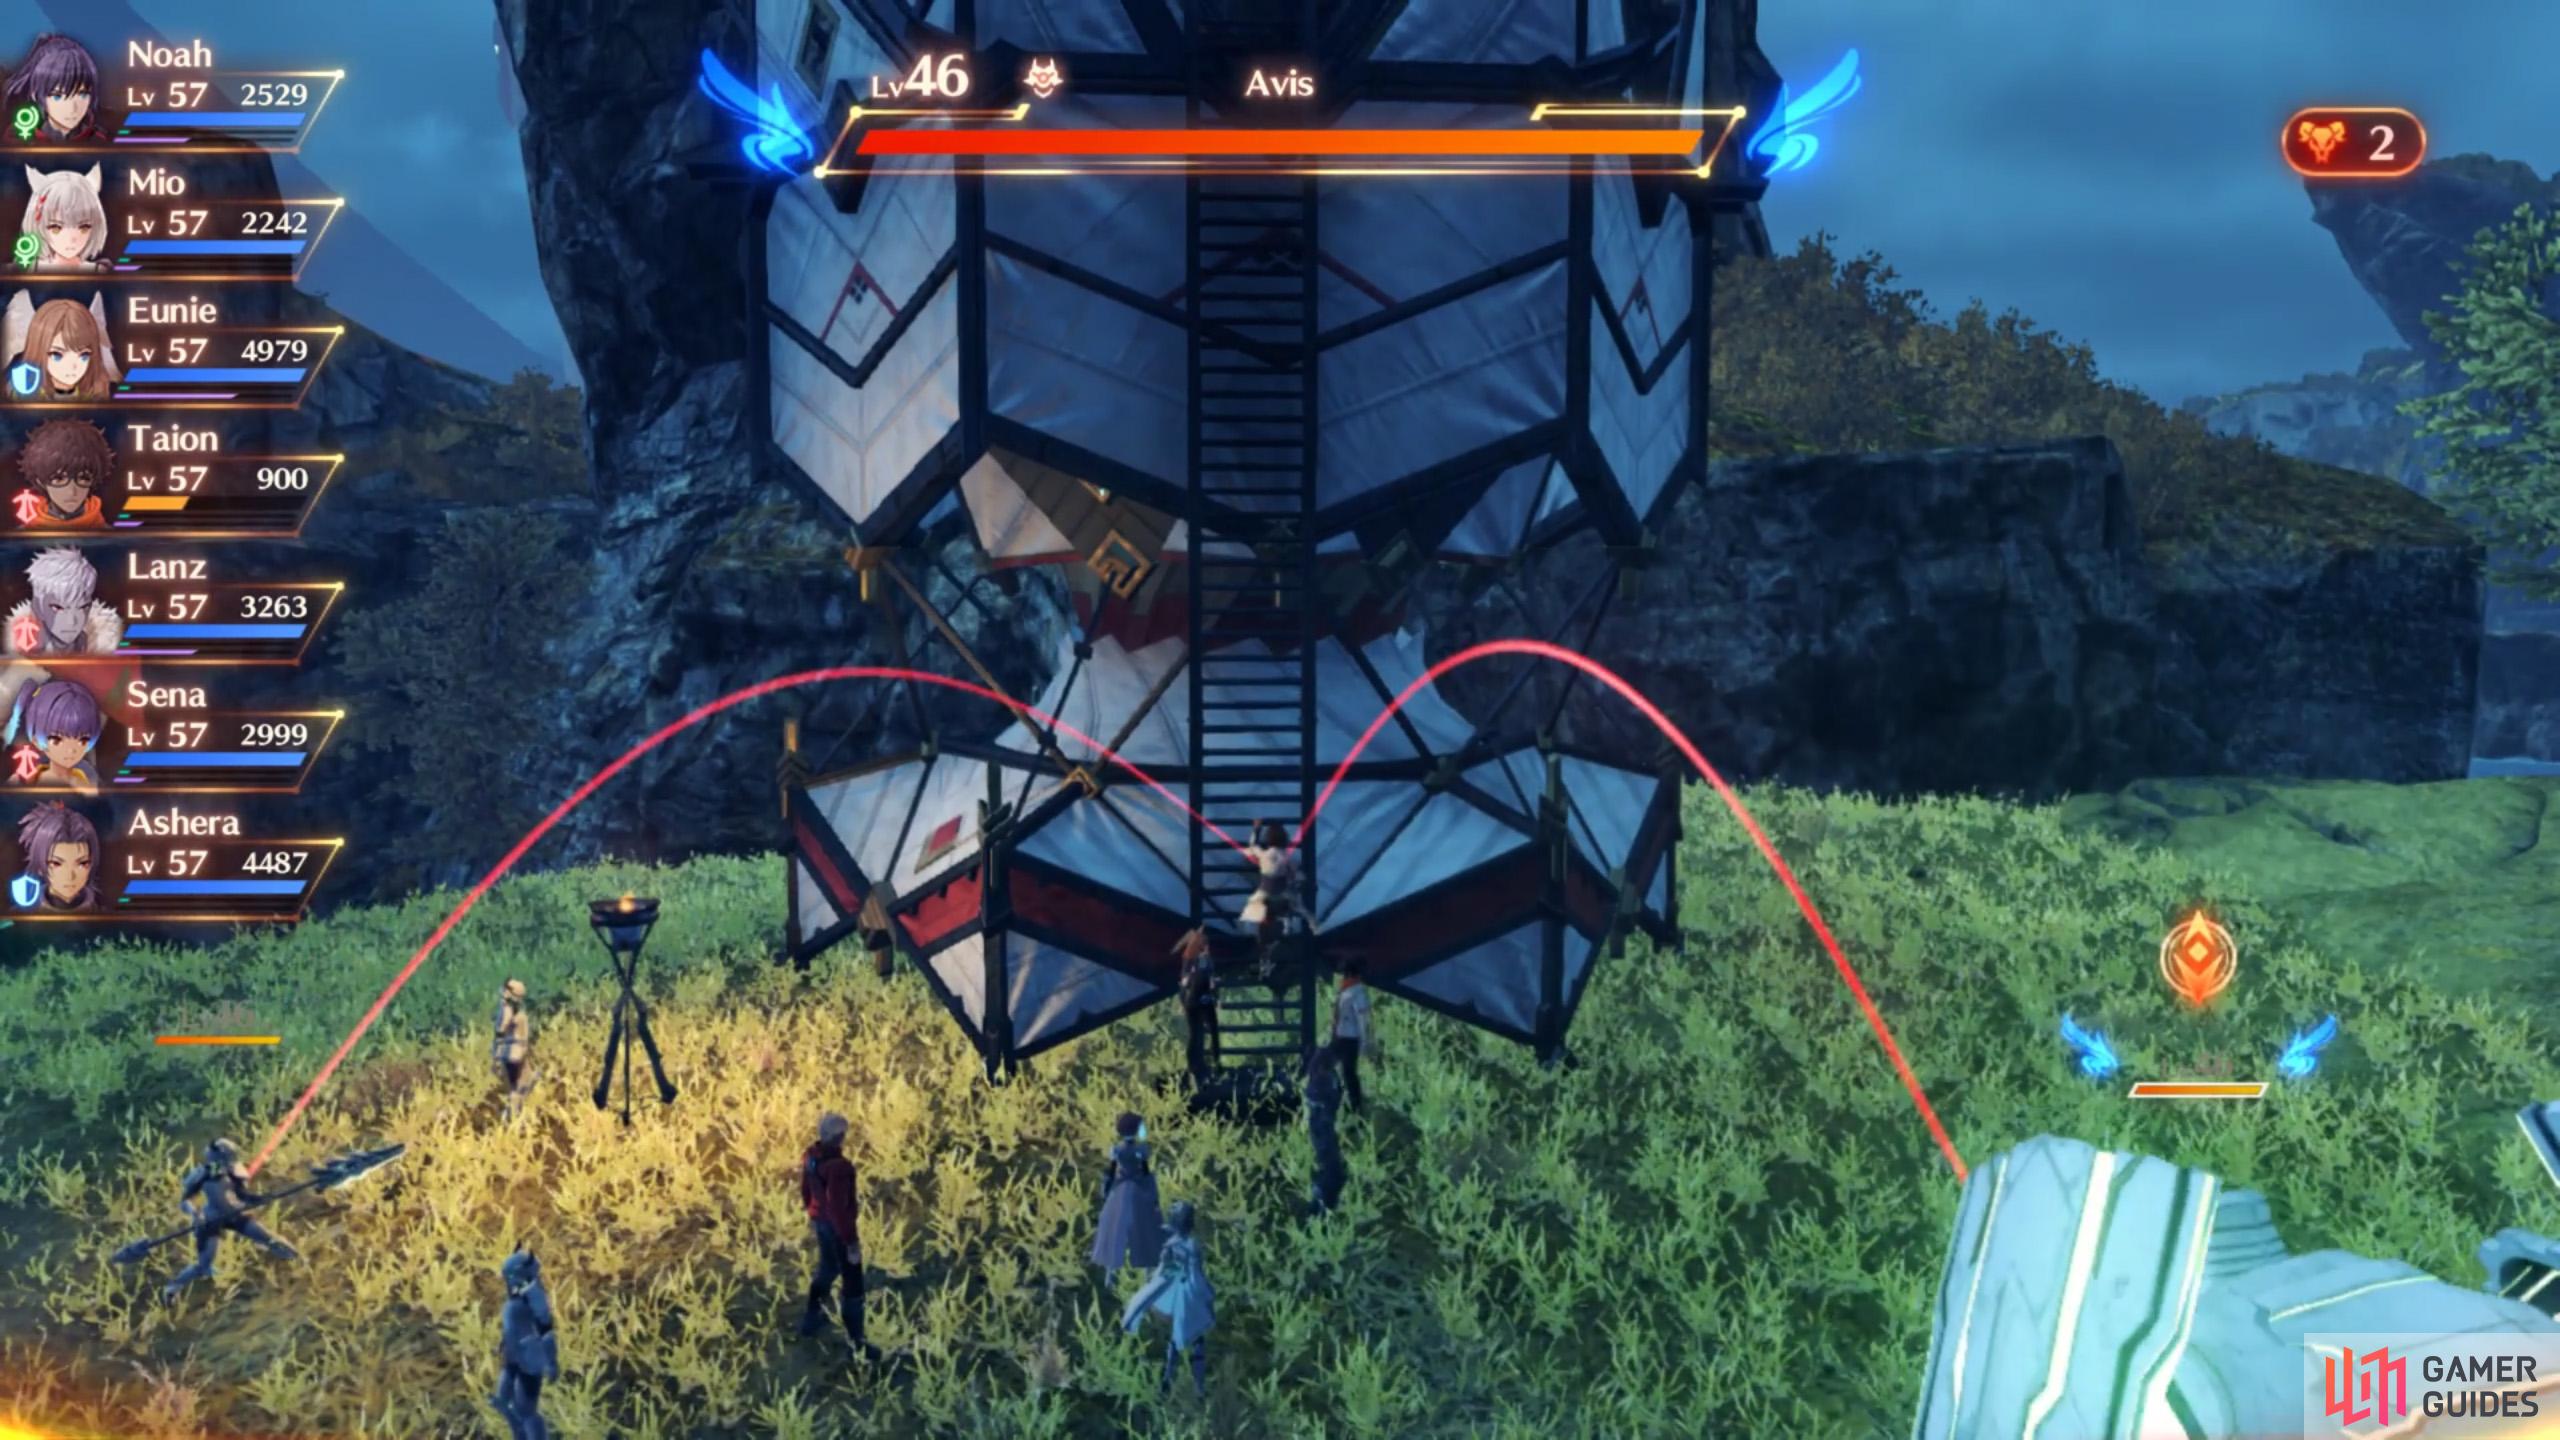
The enemies don’t seem to end, but keep going until you encounter the Avis.
Afterwards, grab the nearby key and use it to unlock the gate.
From Thurbin Habor, head east to reach a small enemy encampment. Inside, make your way south to a locked gate. As you approach the gate, multiple waves of enemies will attack. you.
- Wave 1: Level 45 Agnus Duoblade and Level 45 Soldato Feris
- Wave 2: Level 45 Agnus Skirmisher, Level 45 Agnus Duoblade and Level 44 Agnus Duoblade
- Wave 3: Level 46 Agnus Duoblade, Level 46 Agnus Blaster and Level 45 Agnus Skirmisher
- Wave 4: Level 45 Soldato Feris, Level 45 Agnus Medic and Level 47 Avis (Elite)
There will be no break between each wave, but thankfully they’re not too tough; mainly persistent.
After taking out the trash, check to the left of the locked gate to find the South Gate Key, which unlocks the nearby gate.
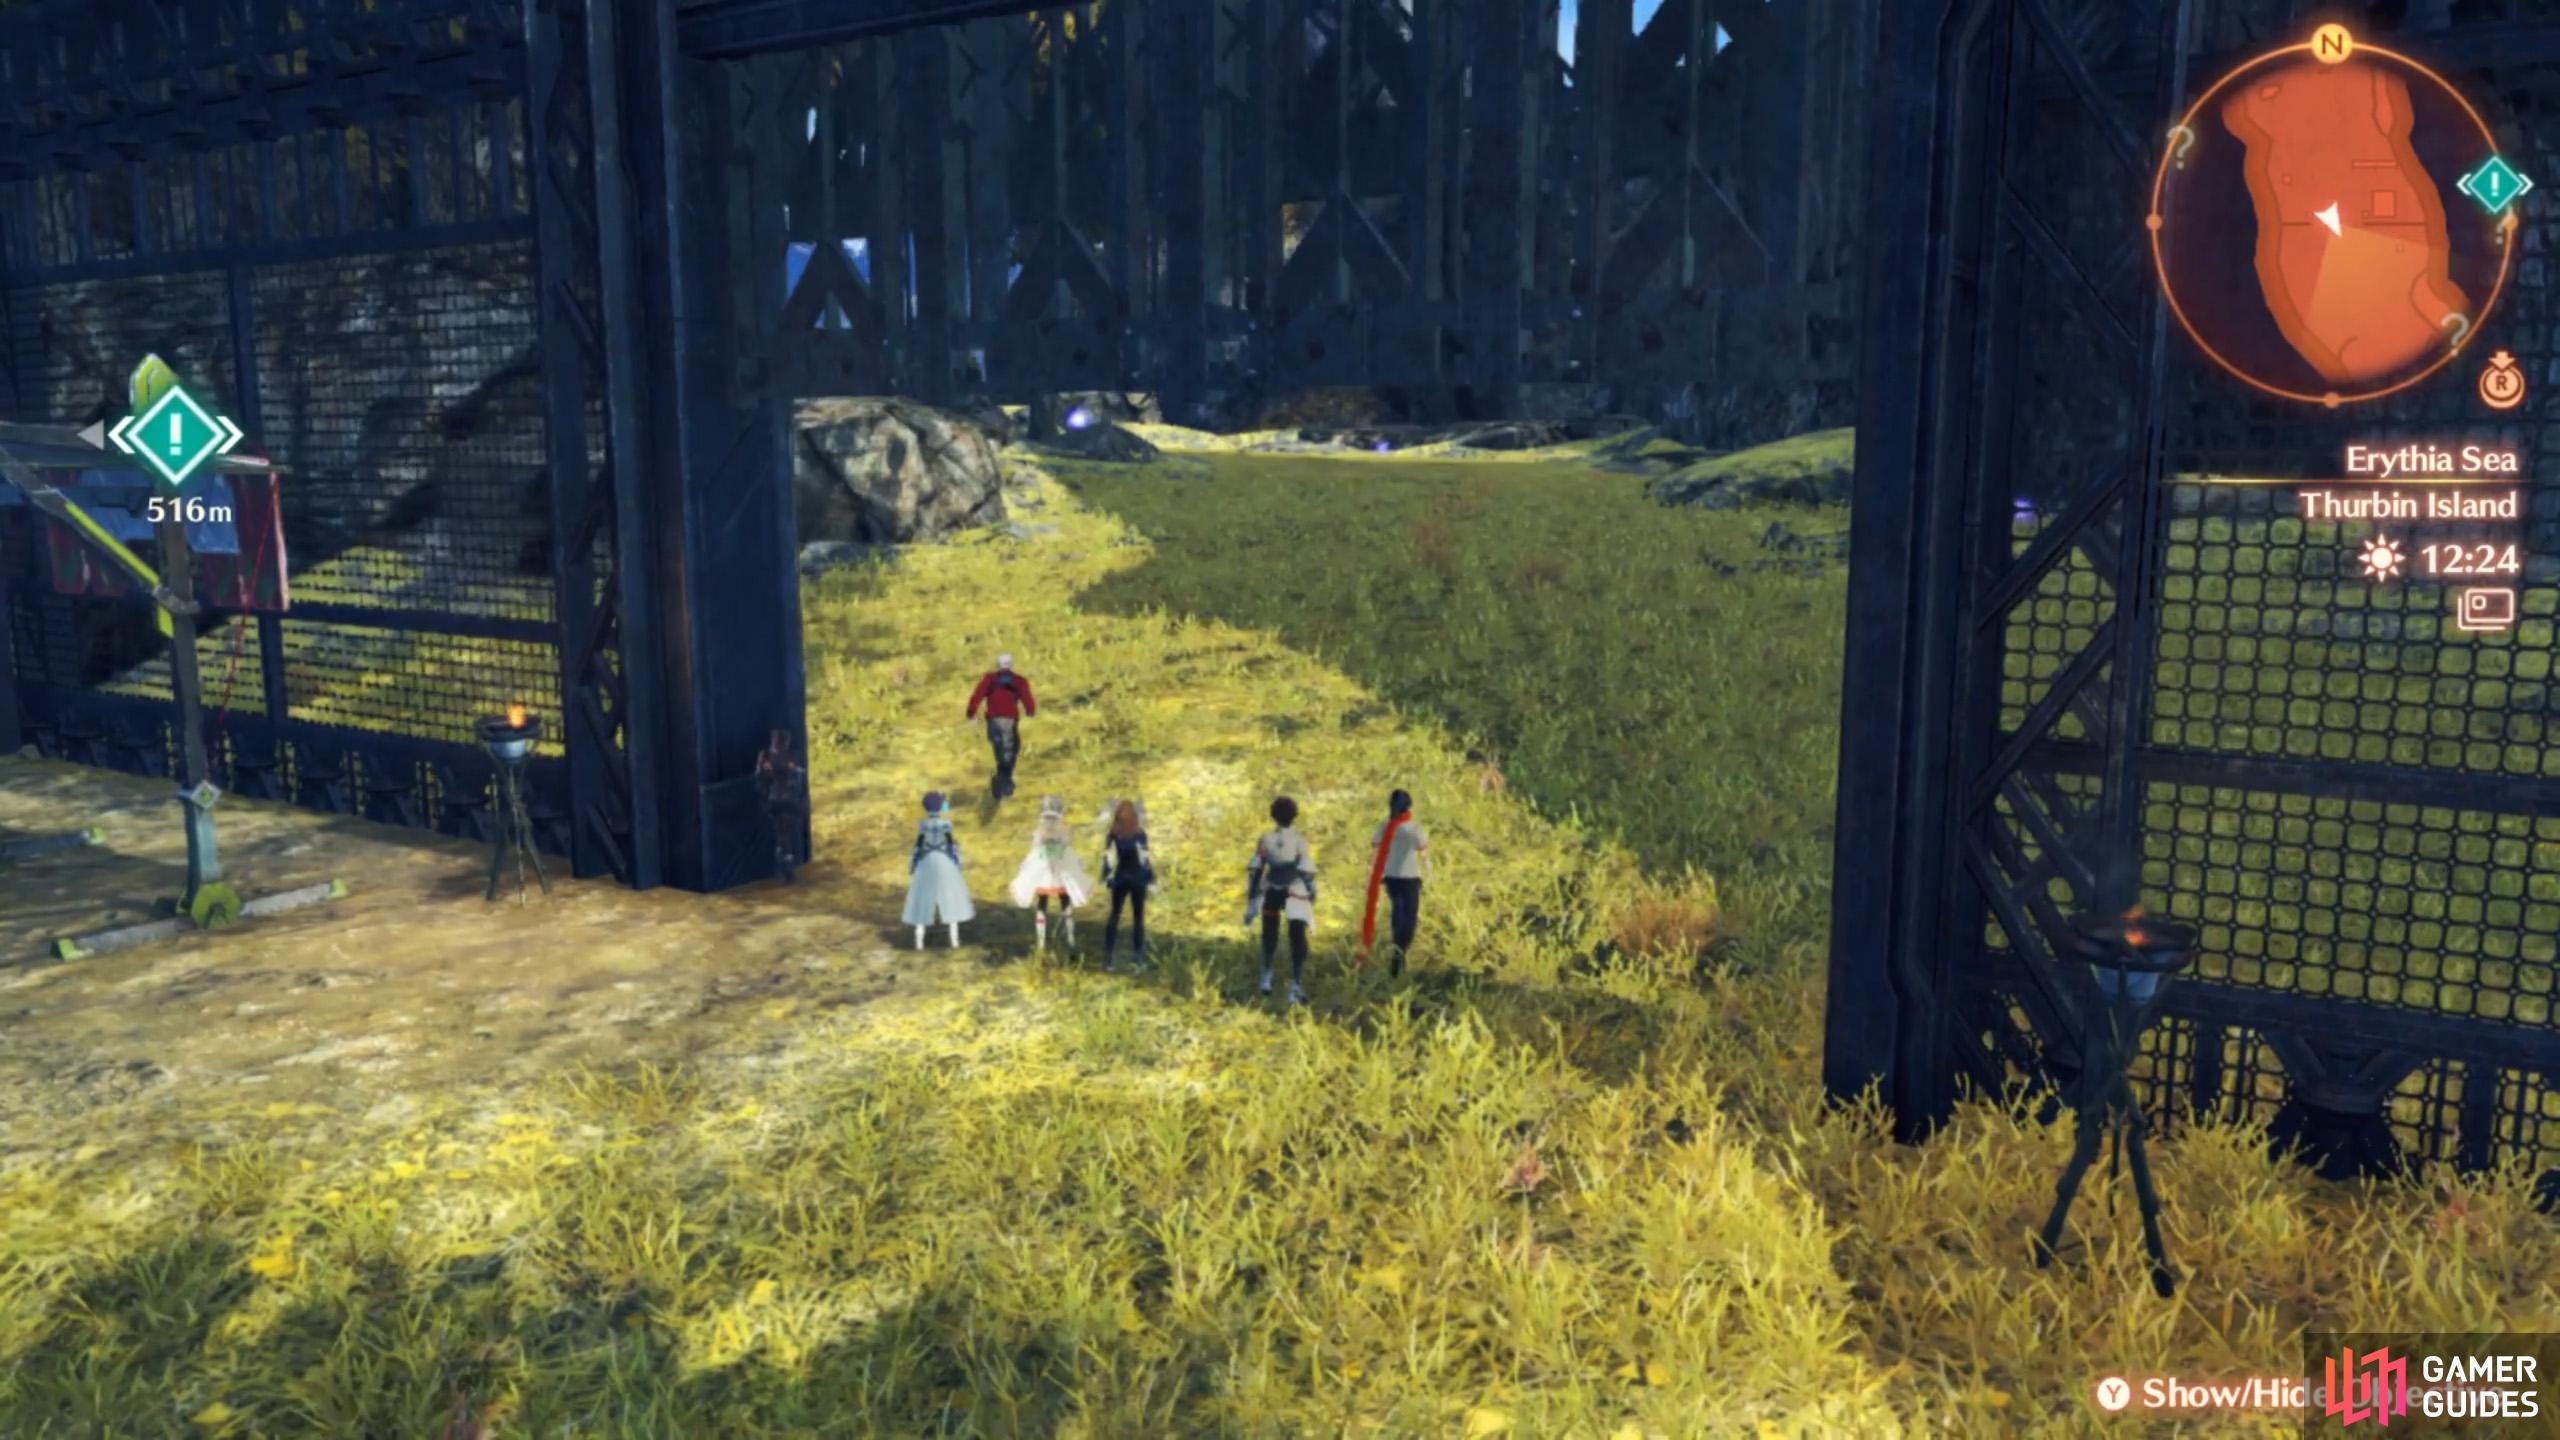
Follow the path south and around. You’ll reach another enemy encampment. If you stick to the right, you can avoid the foes. Go around the back of the tents. If you want, carefully enter the furthest tent, where a Level 45 Agnus Duoblade Elite is stationed. They’re facing the North Gate Key, which you can grab and run–or grab after beating them.
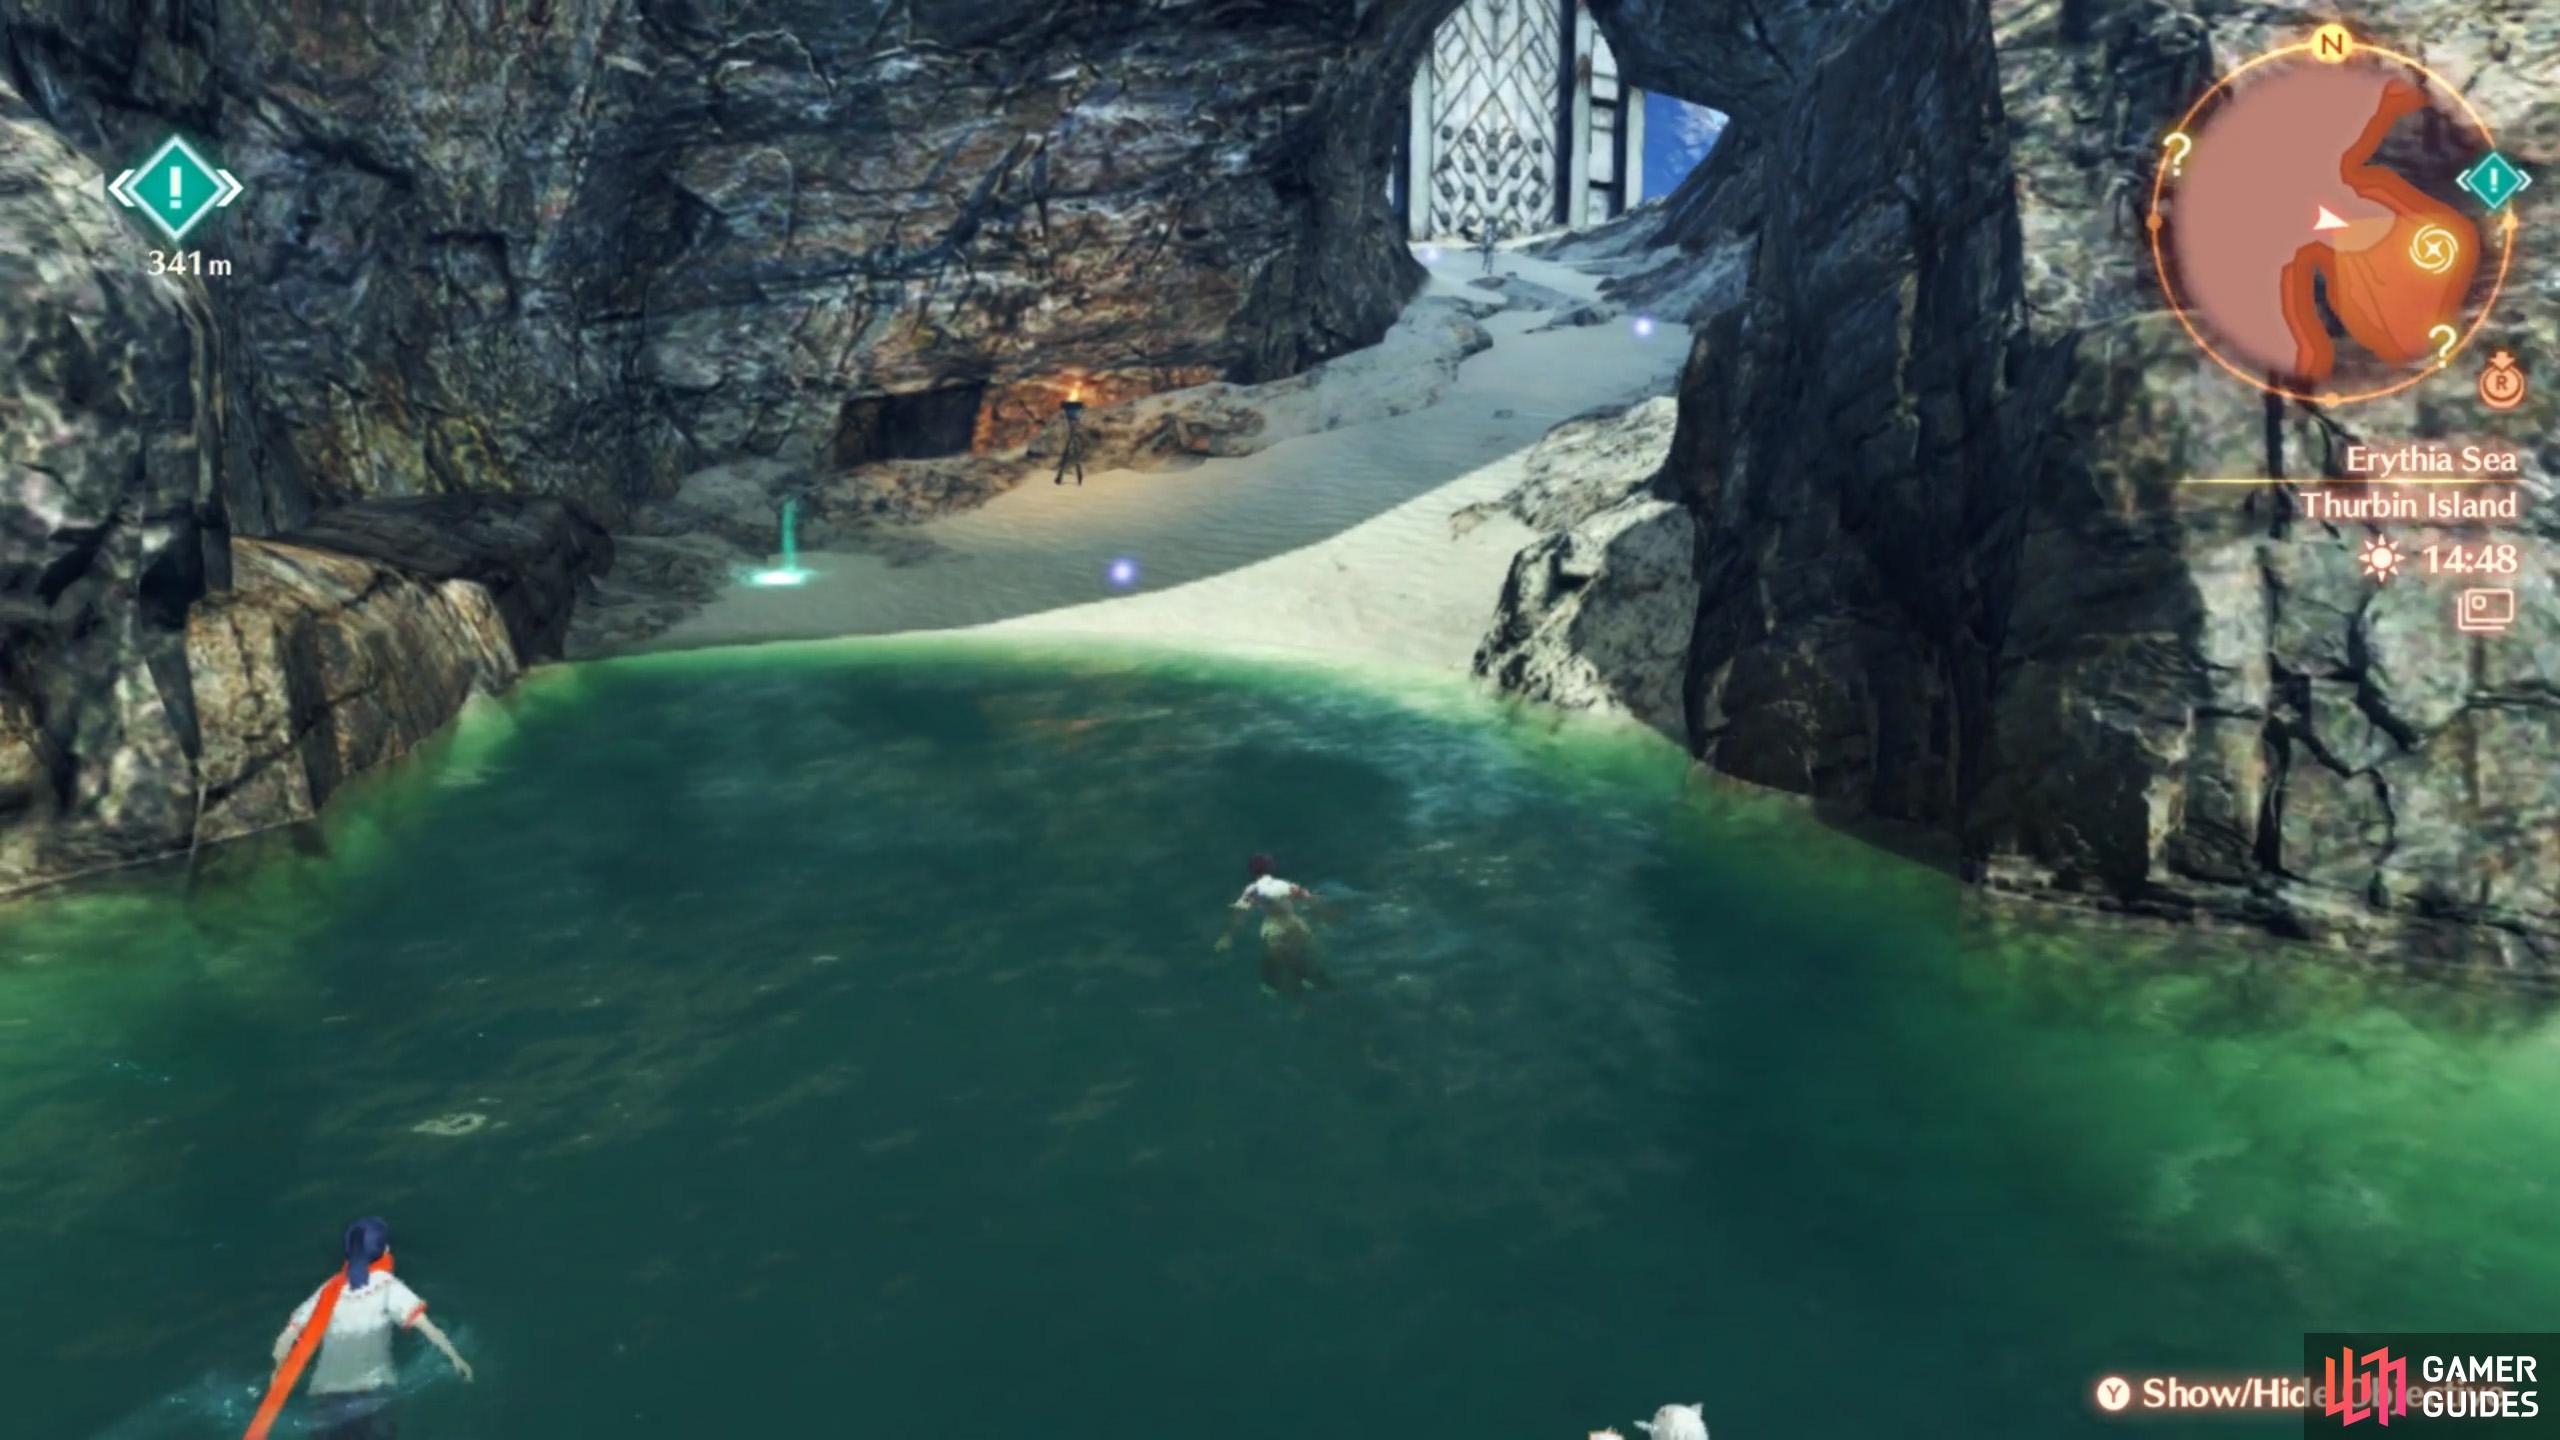
If you choose to run, you can jump into the nearby water to escape their wrath, then climb up the wall further north. Or just run all the way north to the next locked gate, hoping they’ll give up pursuit. This key will open the locked gate of course. Actually, you don’t need this key to proceed, but hey, it feels good opening stuff.
If you opened the north gate, you can proceed east across a bridge, except there’s a bunch of foes there. If you’re confident or feeling bloodthirsty, feel free to storm your way across the bridge, to reach the other side.
Here’s a sneaky back path you can take.
To avoid a fight, climb a ladder to remove aggro.
Otherwise, if you didn’t open the north gate or don’t want to cross the bridge, jump into the nearby water. Look for a pathway along the east side, where there’s an Ether Channel. Although you might suspect it’s an unguarded path, there’s actually a Level 47 Agnus Skirmisher here, but they’re hardly a threat. Or you can run past them to the ladder.
After climbing up, there are three foes, including two Elites. You can fight them or make a break for it when they’re not looking. Remember that you can climb on ladders to de-aggro enemies. Past these foes, head north. Near the end, there’s a blockade of three foes, including one elite. Likewise, you can challenge them or run past them towards the nearby ladder.
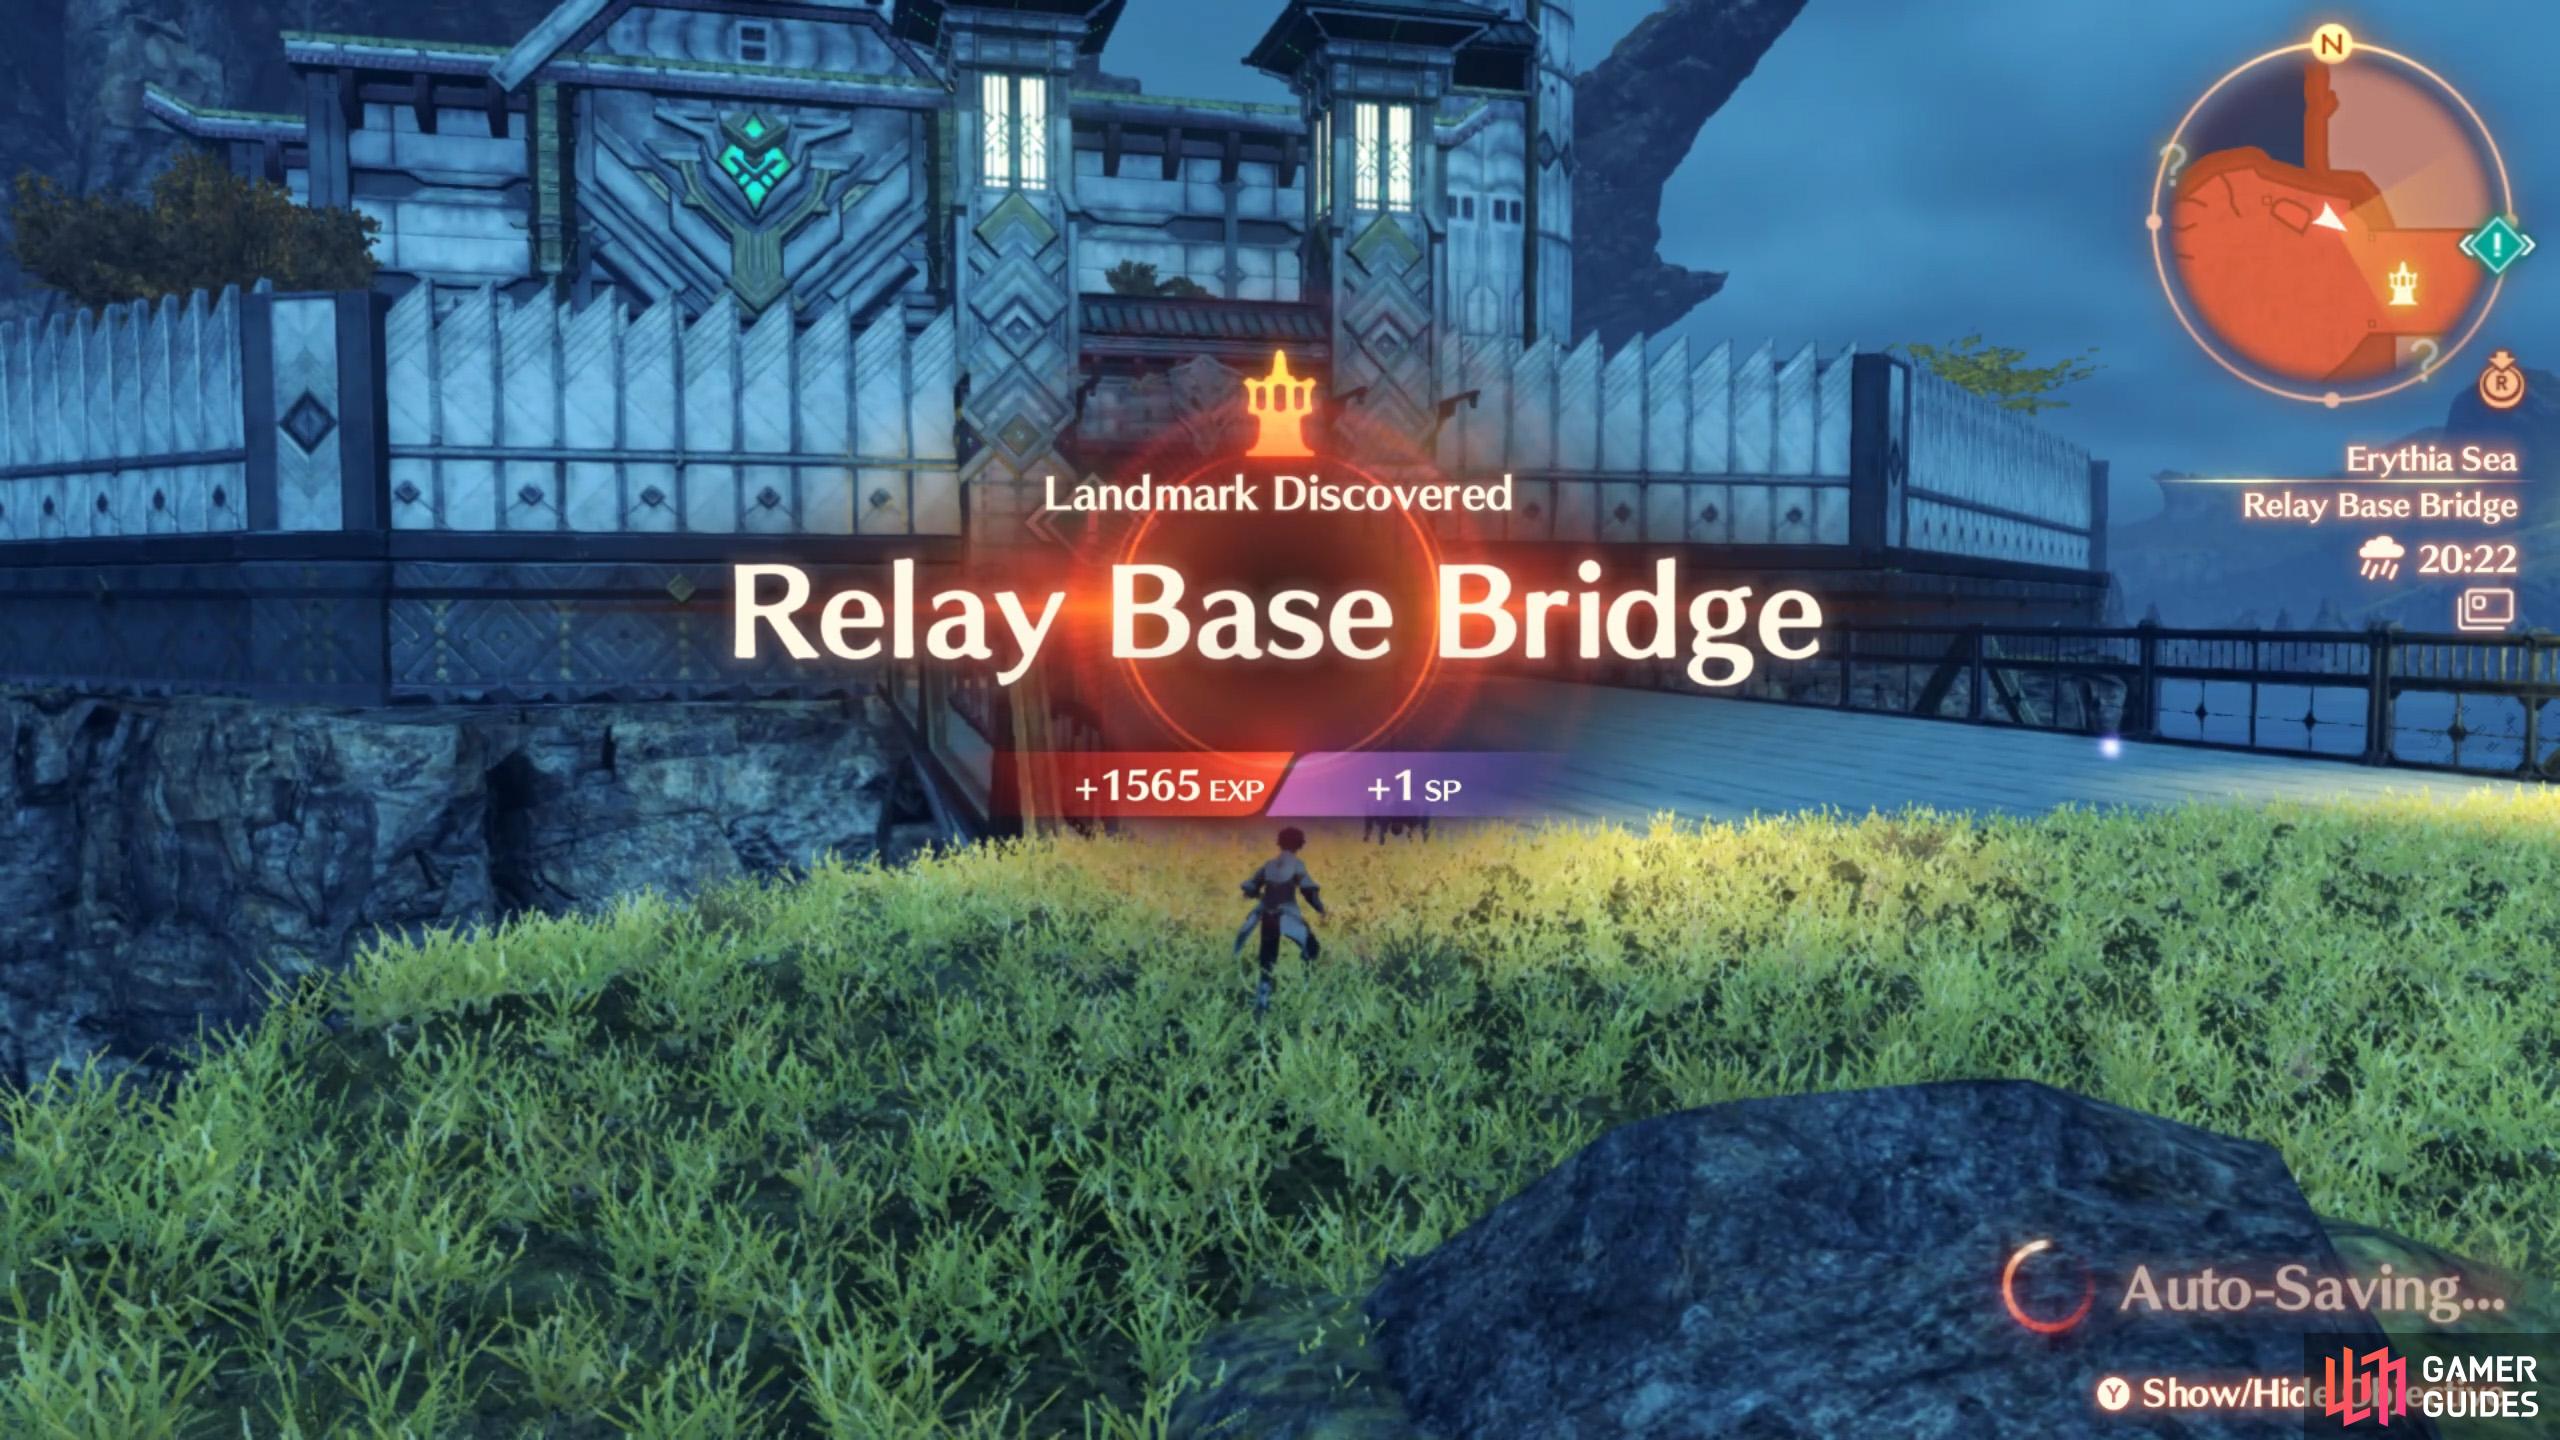
No matter which route you took, ascend the ladder by the side of the watchtower atop the knoll. Pick up the Front Gate Key here. Now drop down to the north-east, then make your way east towards the Relay Base Bridge, which is a handy landmark that you can return to. Inspect the locked gate to open it with the Front Gate Key.
Option 2. Sneak in via Anu Shoals
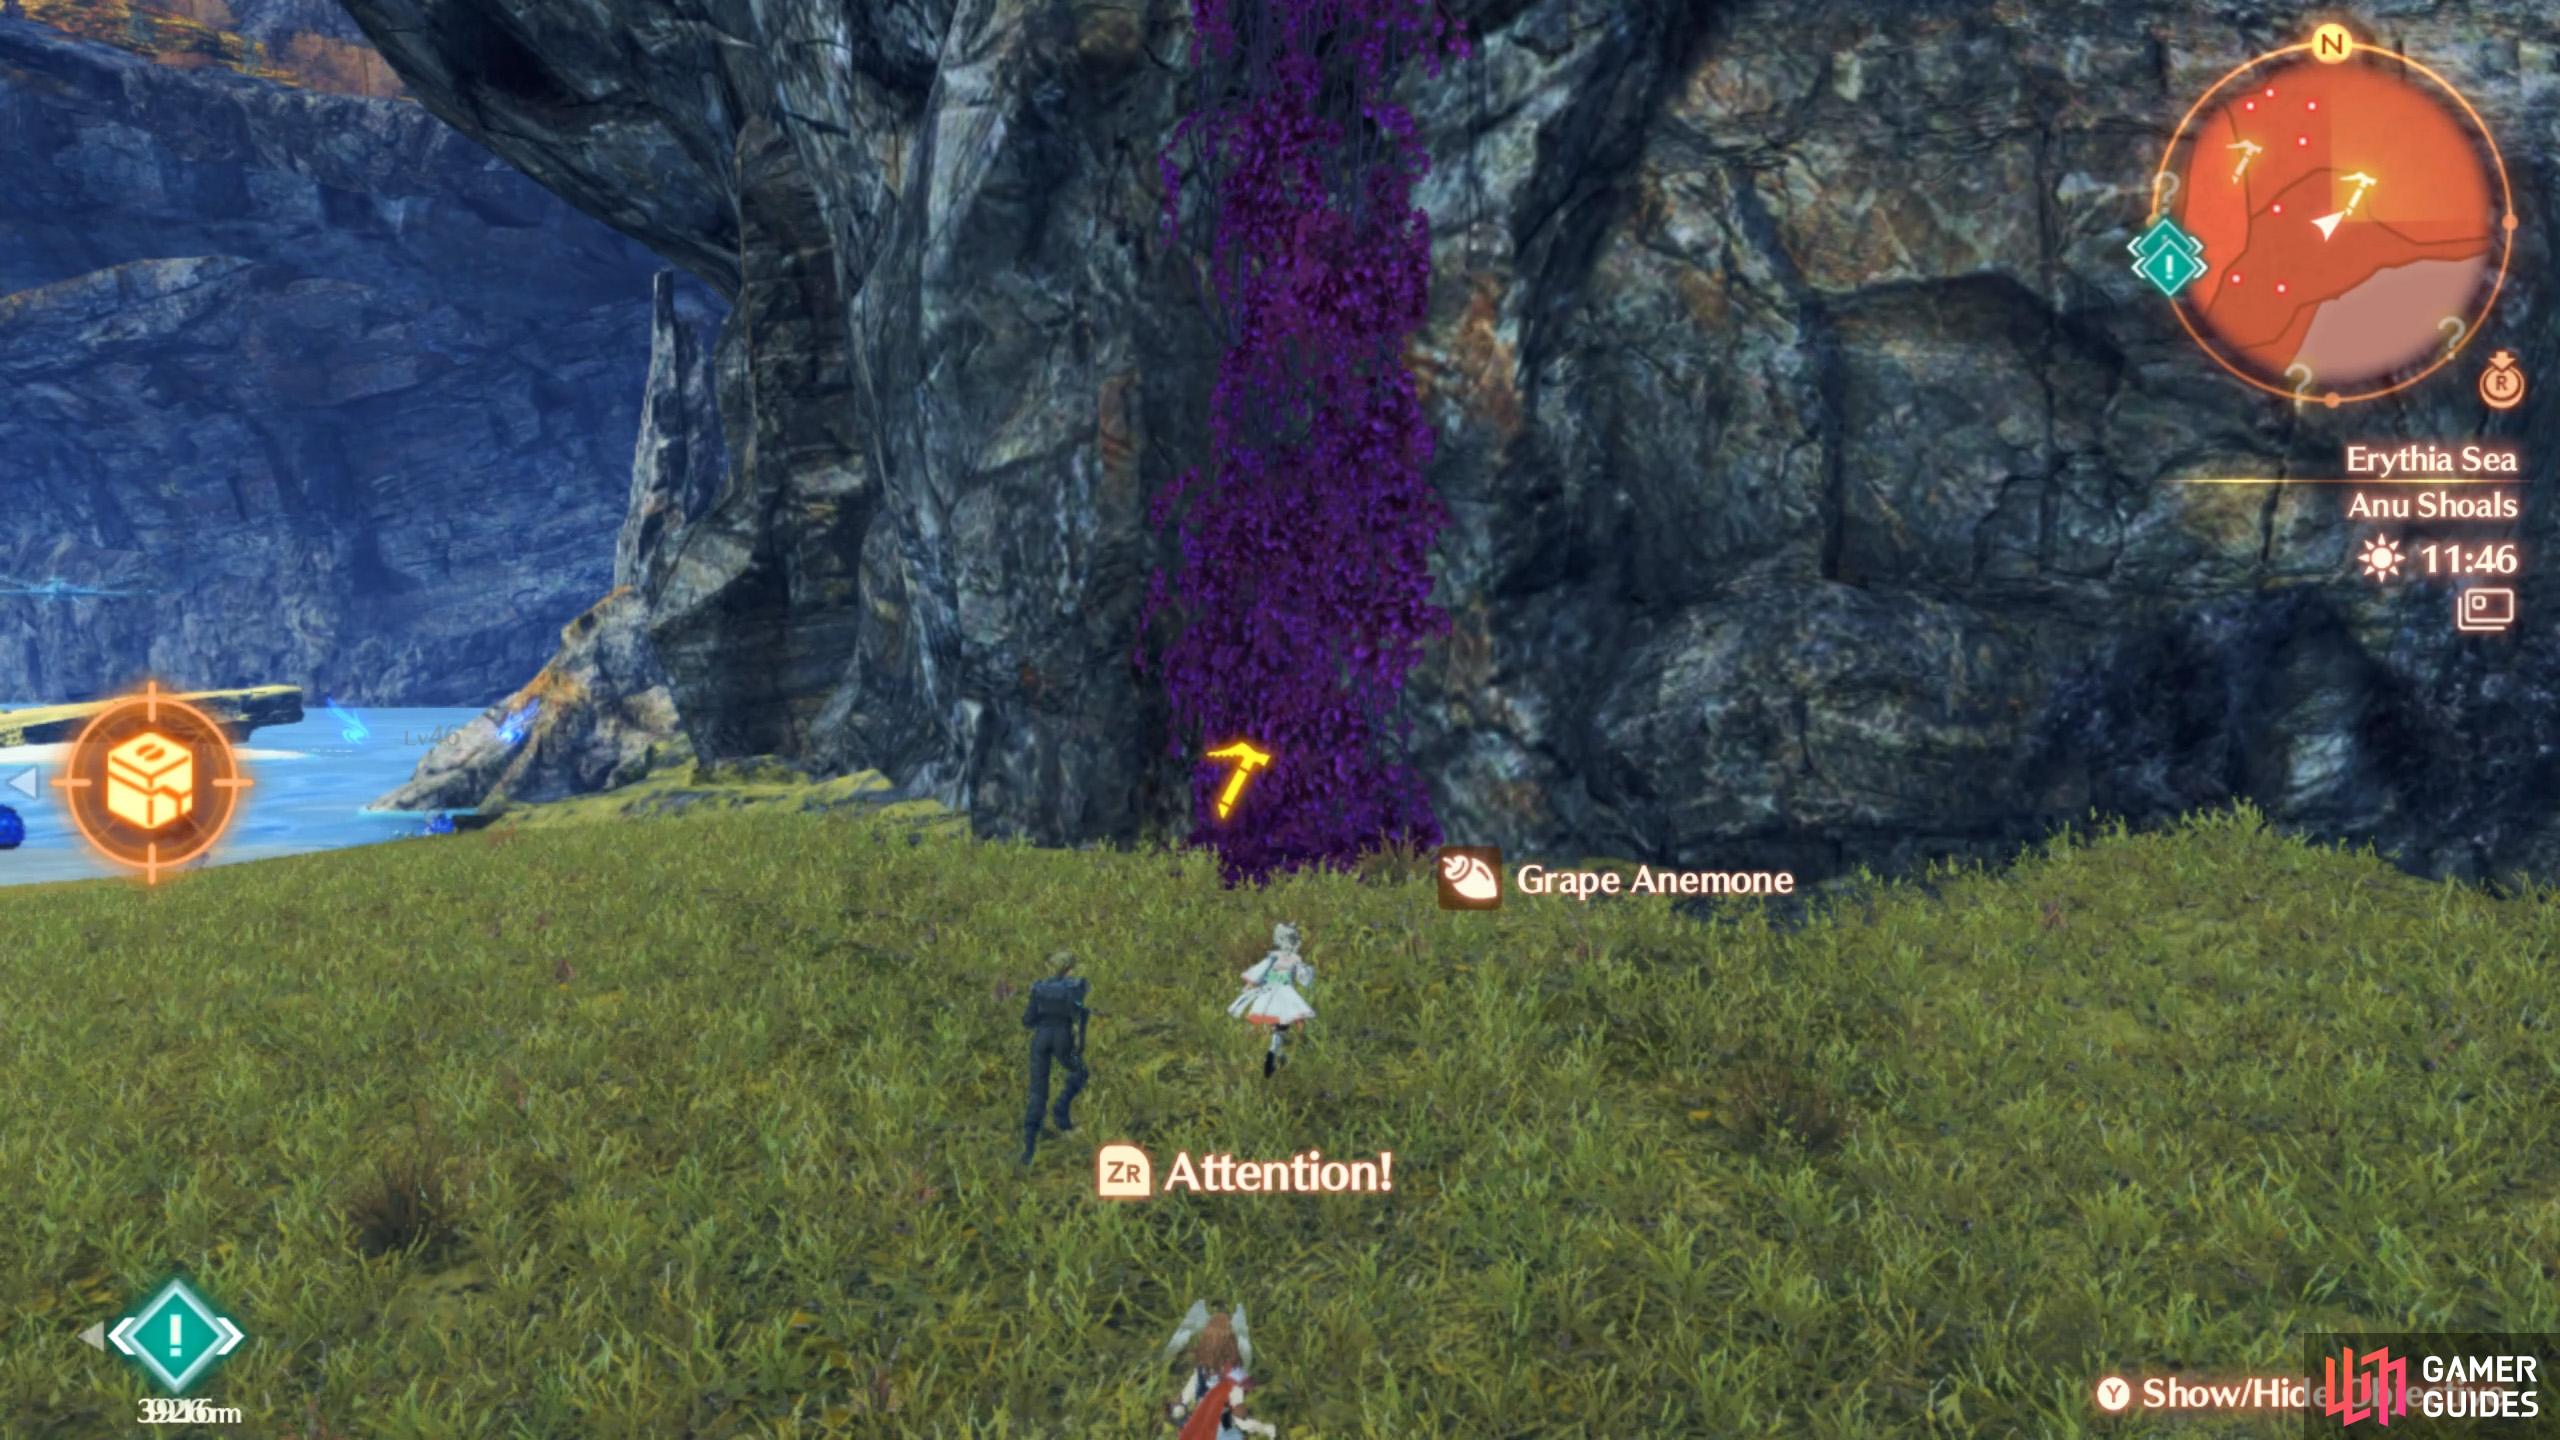
Alternatively, you can climb up Anu Shoals.

Then ride the zip-lines to the back of the relay base.
Board the Boundary and sail directly east from the east end of Thurbin Island, where the relay base is. Land on the first area of land you can find and look for Anu Shoals Camp to create a fast-travel spot. Next, swim or sail the Boundary north-east to the next patch of land.
Here, you can climb up one of two vine-covered walls to reach higher ground. Afterwards, climb up the next wall to the west. Then travel west towards Seaspray Lookout. You can also go anti-clockwise around instead, if you’d prefer–it’s longer, but there’s less risk of aggro-ing a unique monster.
From Seaspray Lookout, ride the zip-line west. Continue west and activate the zip-line machine, then ride the new zip-line further west. If you want, you can jump left to the zip-line below, then jump left again to reach a small, far-off area with a climbable wall, where a Legacy of the Seven can be found.
Otherwise, after riding the zip-line, clamber up the next vine-covered wall. When you reach the top, go around from the right. Then ride the already activated zip-line towards the right, which will take you to the back of Erythia Relay Base.
How to Infiltrate Erythia Relay Base
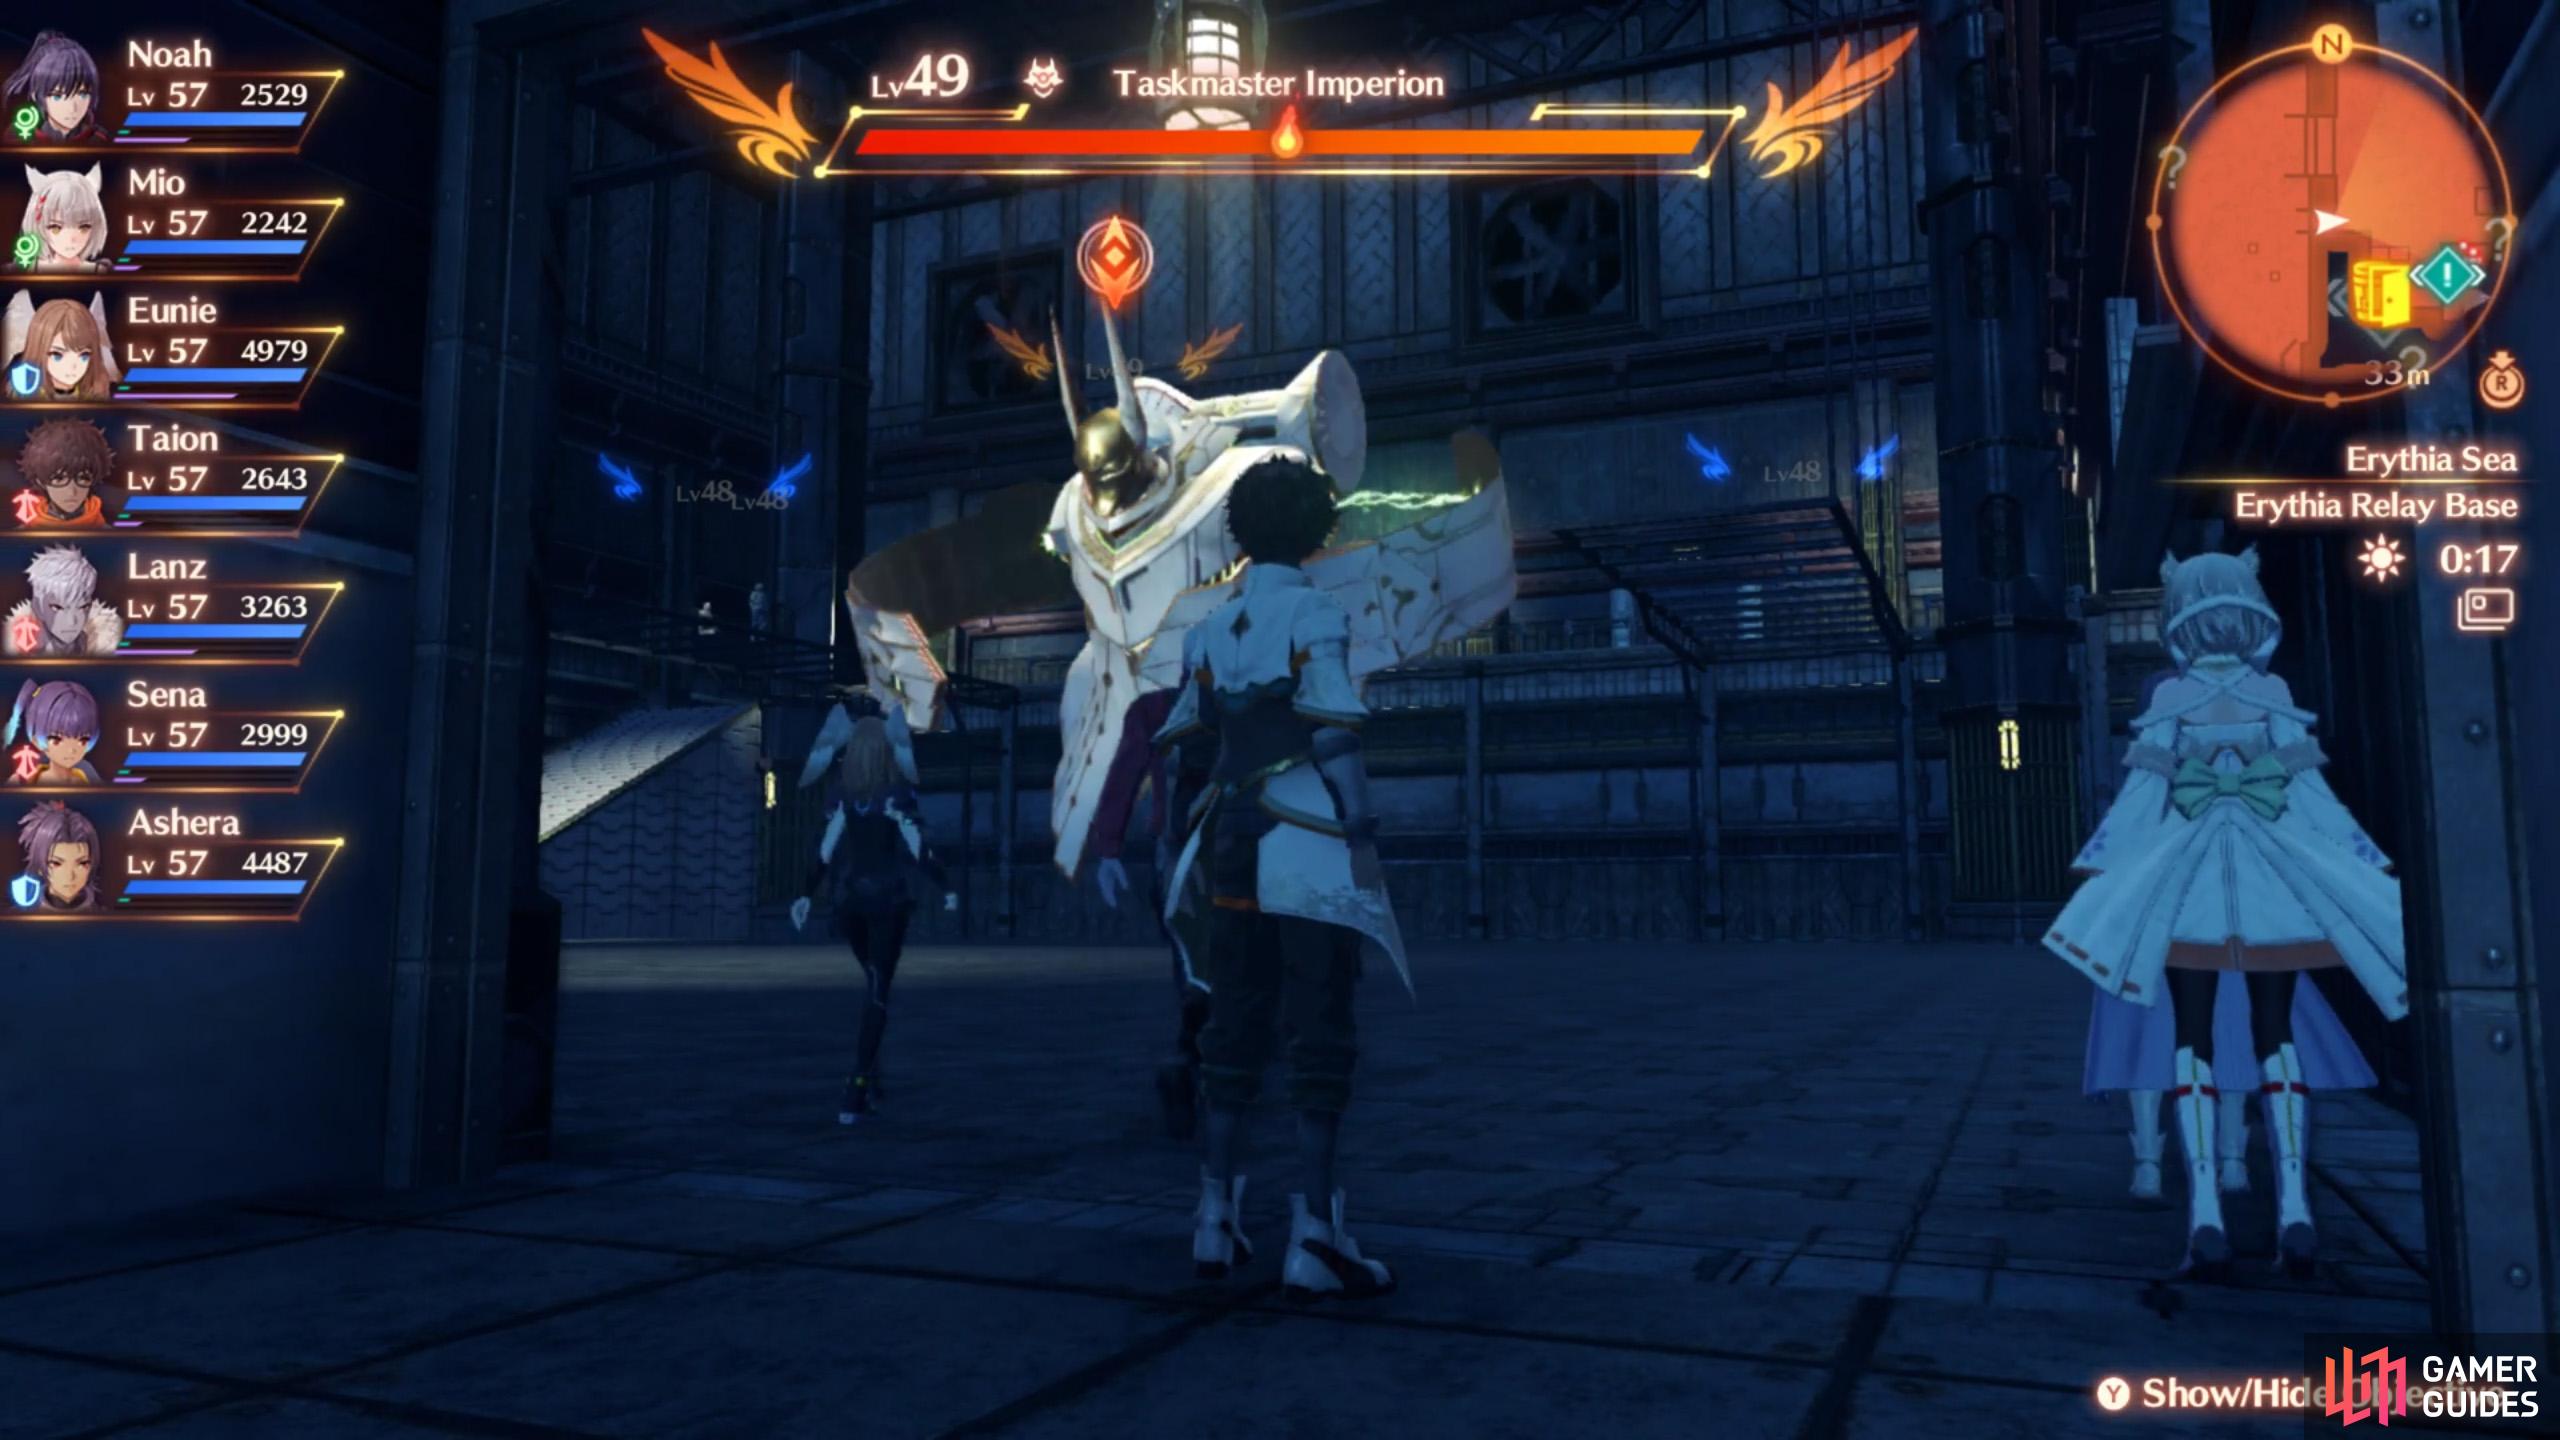
The front door will place you near Taskmaster Imperion.
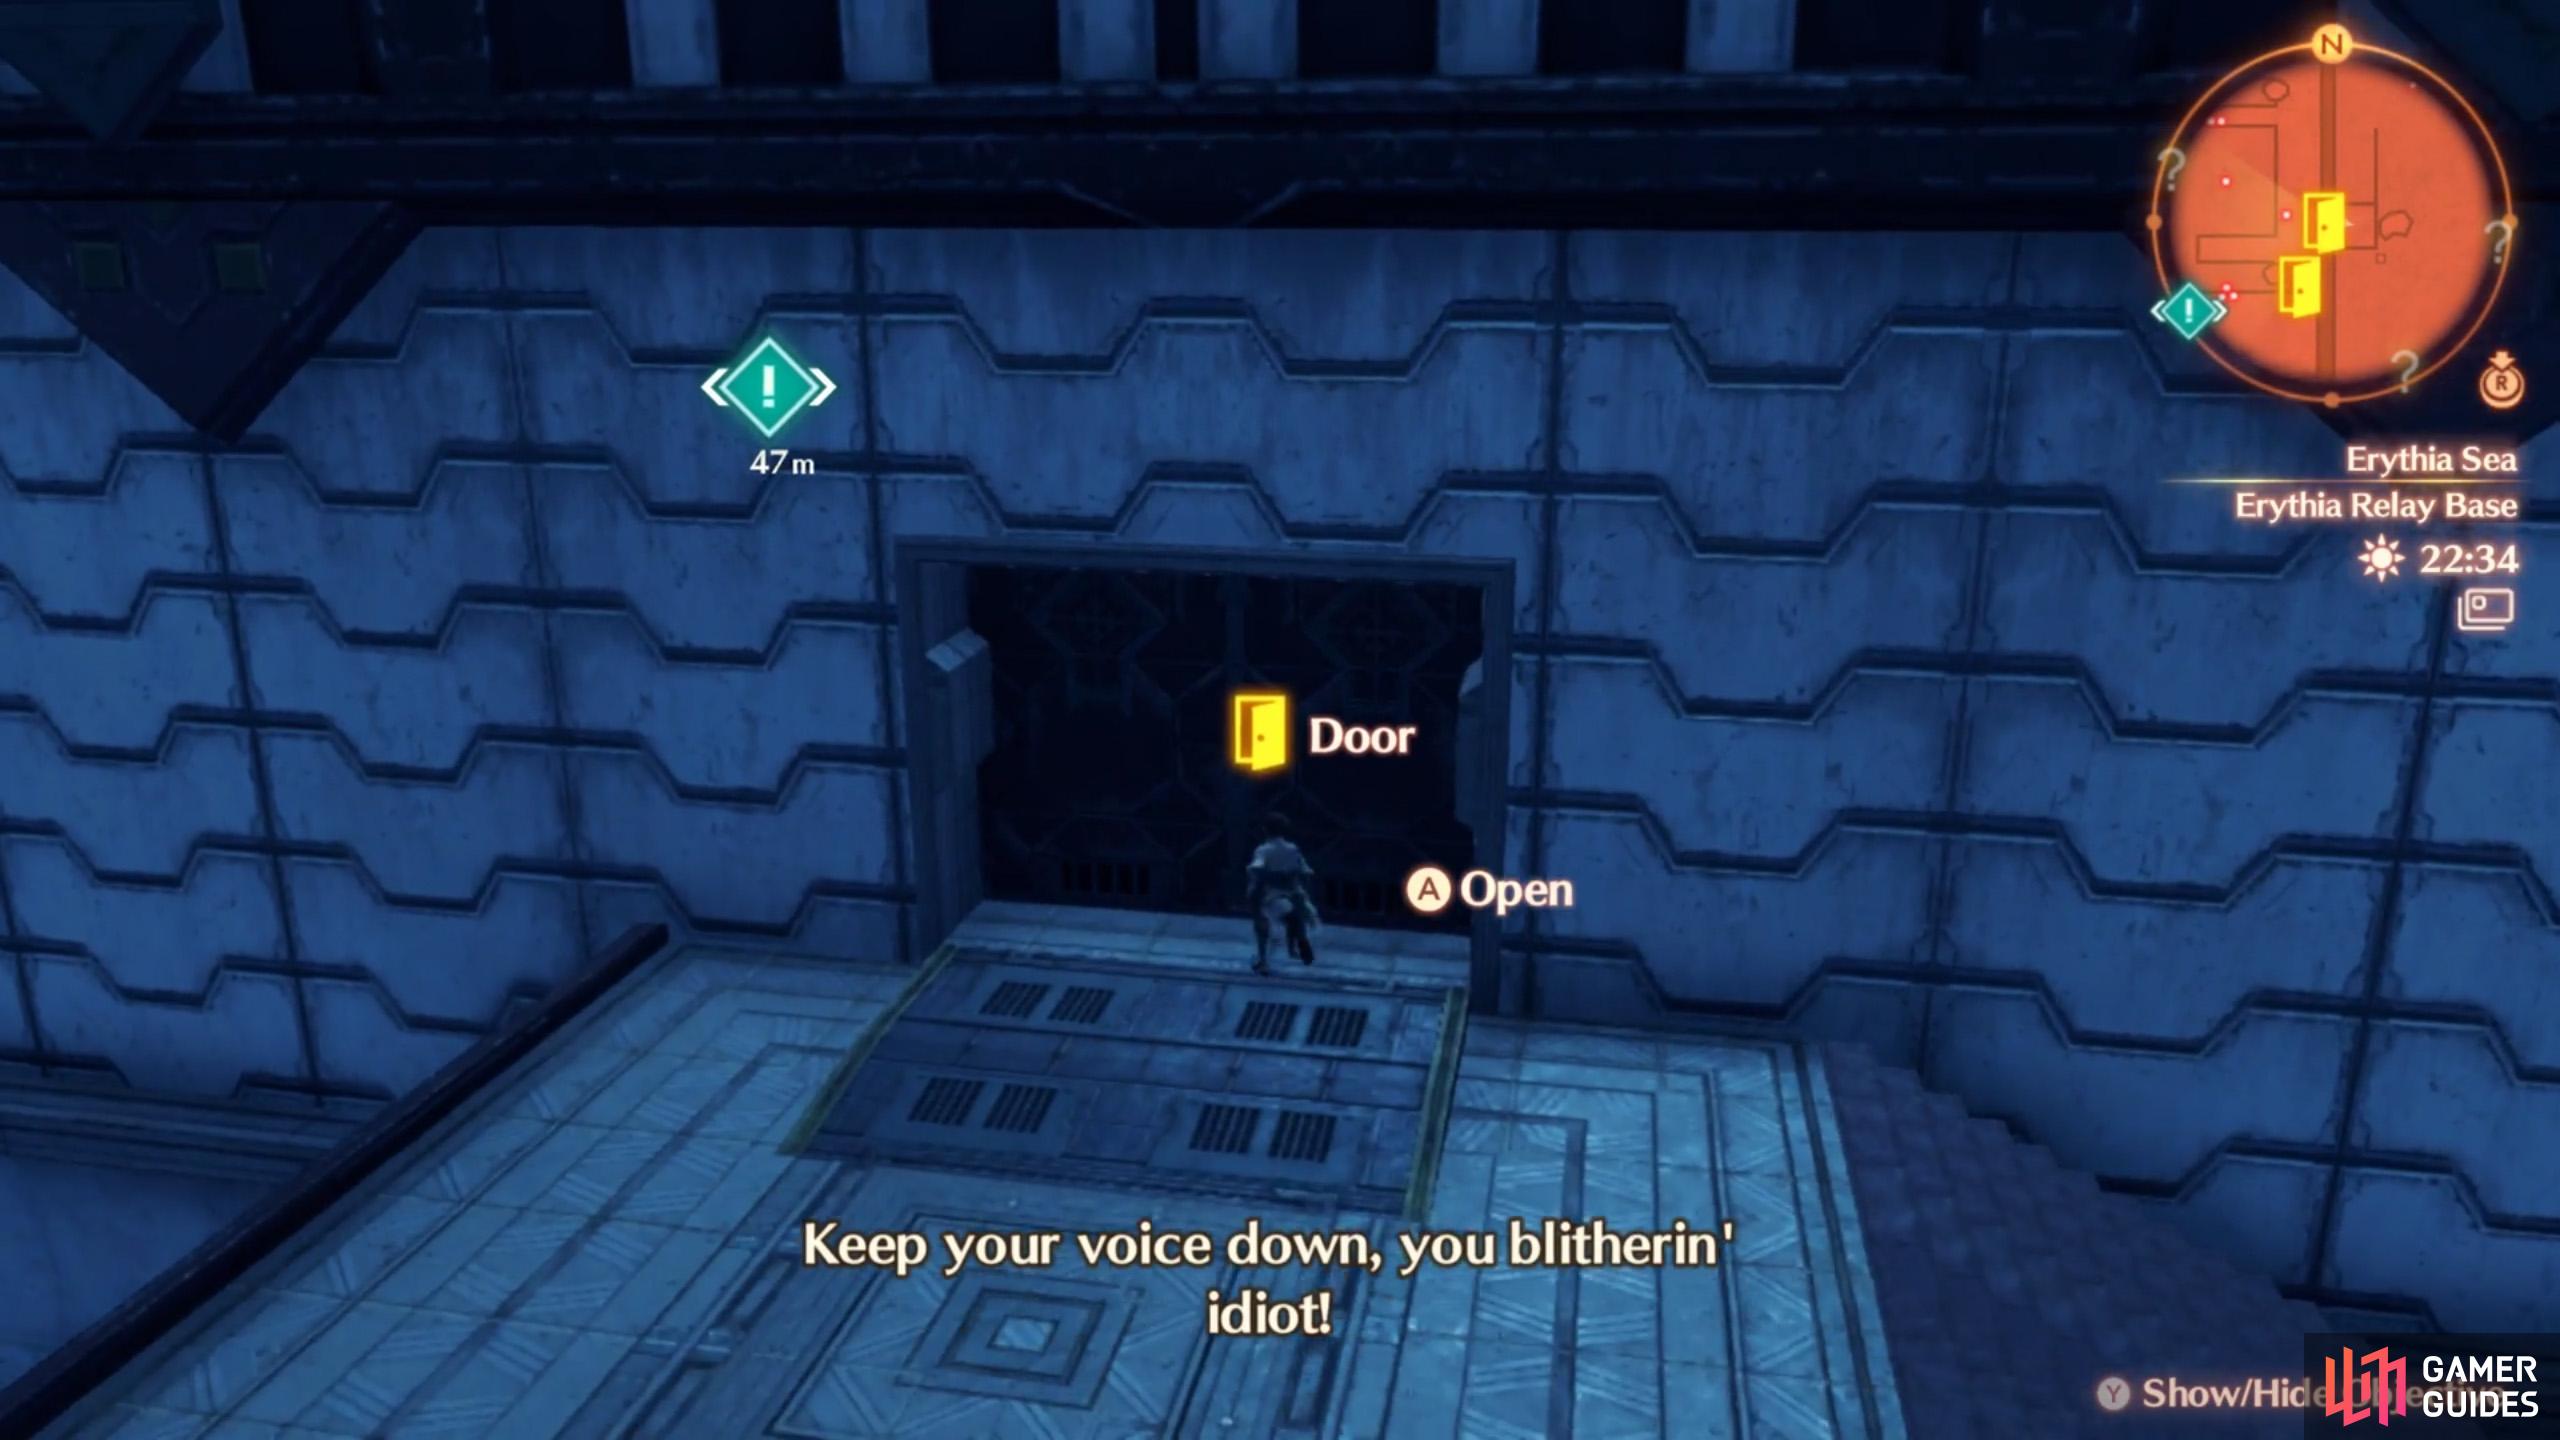
Meanwhile the back door isn’t guarded, but it doesn’t mean you don’t need to fight.
The base itself is patrolled by two Levnises, including a unique monster. They will circle the perimeter and are pretty easy to avoid. There’s also a ladder near the south-east corner that you can climb to de-aggro them.
To enter the building itself, you can use the front entrance, near the front gate. Or use the back entrance, up some stairs at the opposite end of the building. If you go from the front, you’ll encounter another unique monster, Taskmaster Imperion. However, you might be able to sneak past it or outright defeat it.
Entering from the back will put you behind Taskmaster Imperion, making it the safer option. However, regardless of how you enter, you’ll have to defeat some Agnian troops to enter the door near the south-east corner, on the upper level, which leads to the Data Archives, where you want to be. After entering the Data Archives, you’ll have to battle a group of tricky elite foes.
Locations at Thurbin Island & Anu Shoals
This landmark is accessible if you enter from the front.

Head here if you want to take the sneaky route!
Landmarks
| Name | Description |
|---|---|
| Thurbin Harbor | West end of Thurbin Island |
| Relay Base Bridge | Near east side of Thurbin Island, leading up to Erythia Relay Base. |
| Seaspray Lookout | Anu Shoals, north-east from Anu Shoals Camp. On upper-most level. |
Rest Spots
| Name | Description |
|---|---|
| Anu Shoals Camp | At southern-most part of Anu Shoals, directly east from Erythia Relay Base. |
Containers at Thurbin Island & Anu Shoals
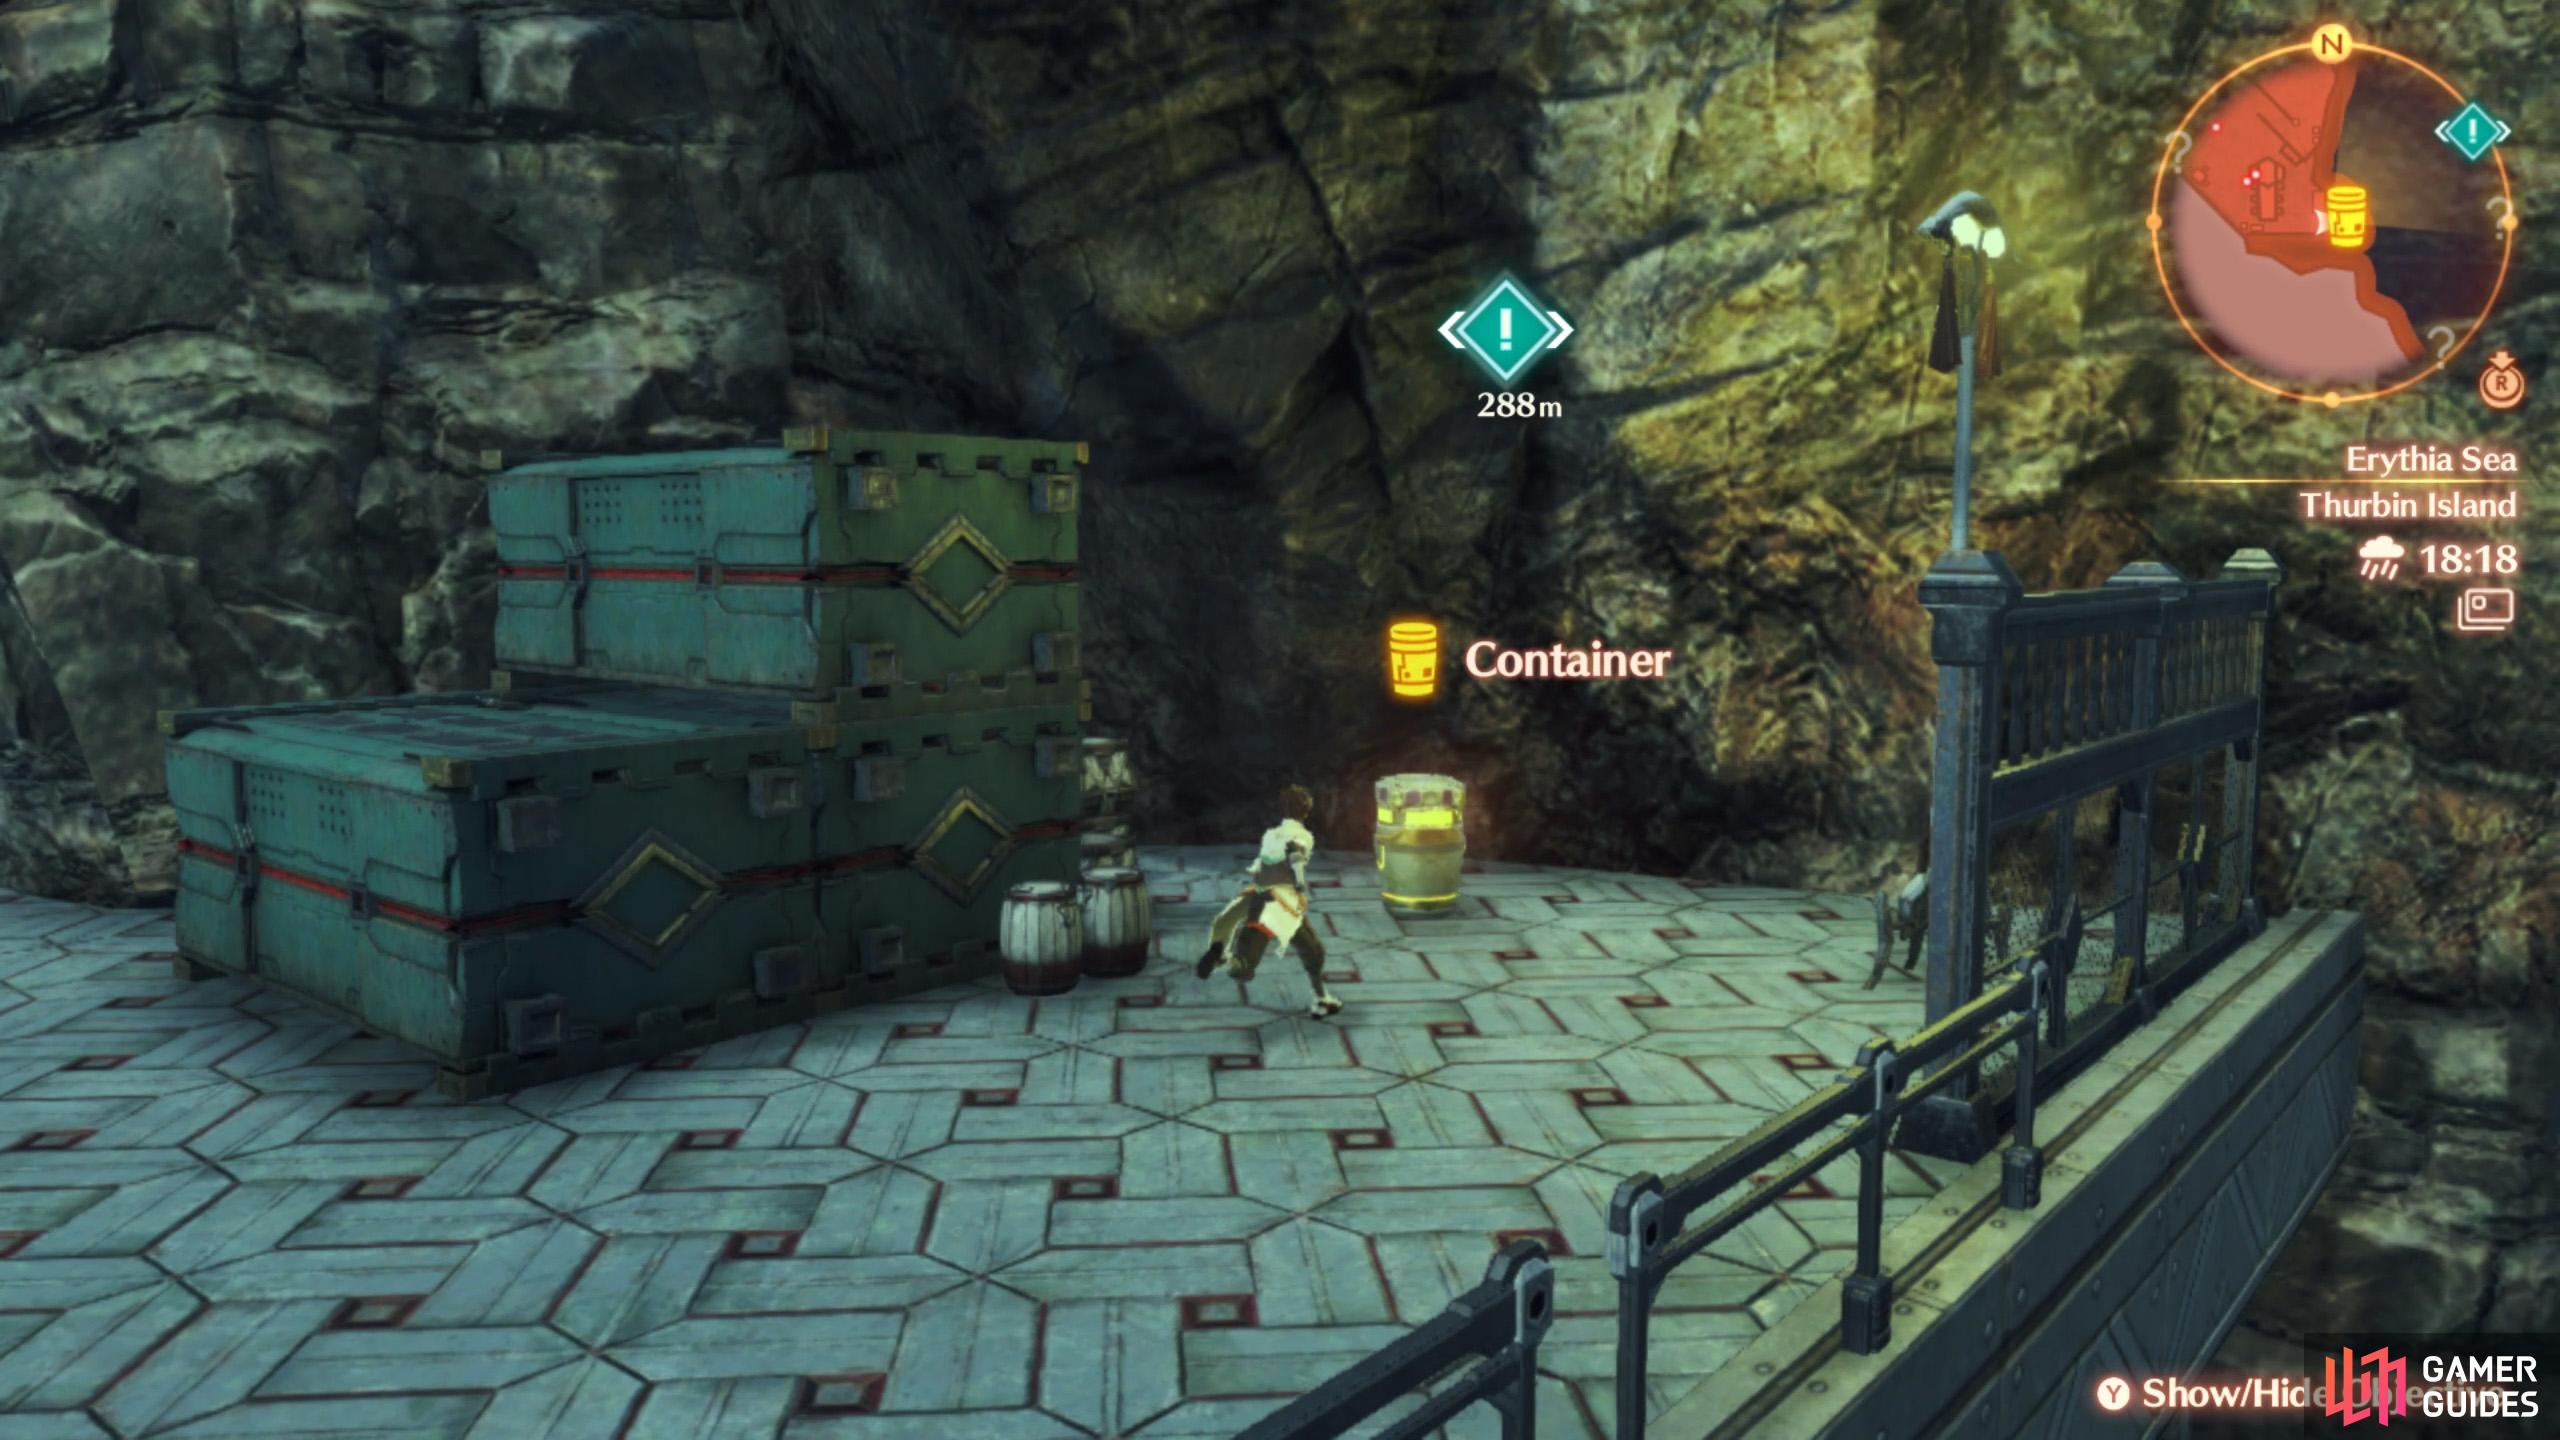
This one is along one of the back paths you can take.

To get here, you need to navigate Anu Shoals.
| Container # | Map Marker | Location |
|---|---|---|
| 1 | Map Marker | South-west from Relay Base Bridge. At far corner of area where there’s a dropship and three foes. |
| 2 | Map Marker | Inside Erythia Relay Base, at the south-west corner. To unlock the door, you must defeat all the foes around Erythia Relay Base. |
| 3 | Map Marker | At Anu Shoals, north from Seaspray Lookout, on middle level. |
| 4 | Map Marker | At Anu Shoals, north-east from Container #3. At end of slope, near unique monster Barbed Merod. |
| 5 | Map Marker | At Anu Shoals, near end of far north-western shoal. |
| 6 | Map Marker | At Anu Shoals, south-west from Seaspray Lookout. Ride the zip-line west, then the next one south. |
| 7 | Map Marker | North-east corner of Erythia Relay Base, outside. Accessible from Anu Shoals. From Seaspray Lookout, ride the zip-lines west, west, then south-west. |
Soldier Husks at Thurbin Island & Anu Shoals
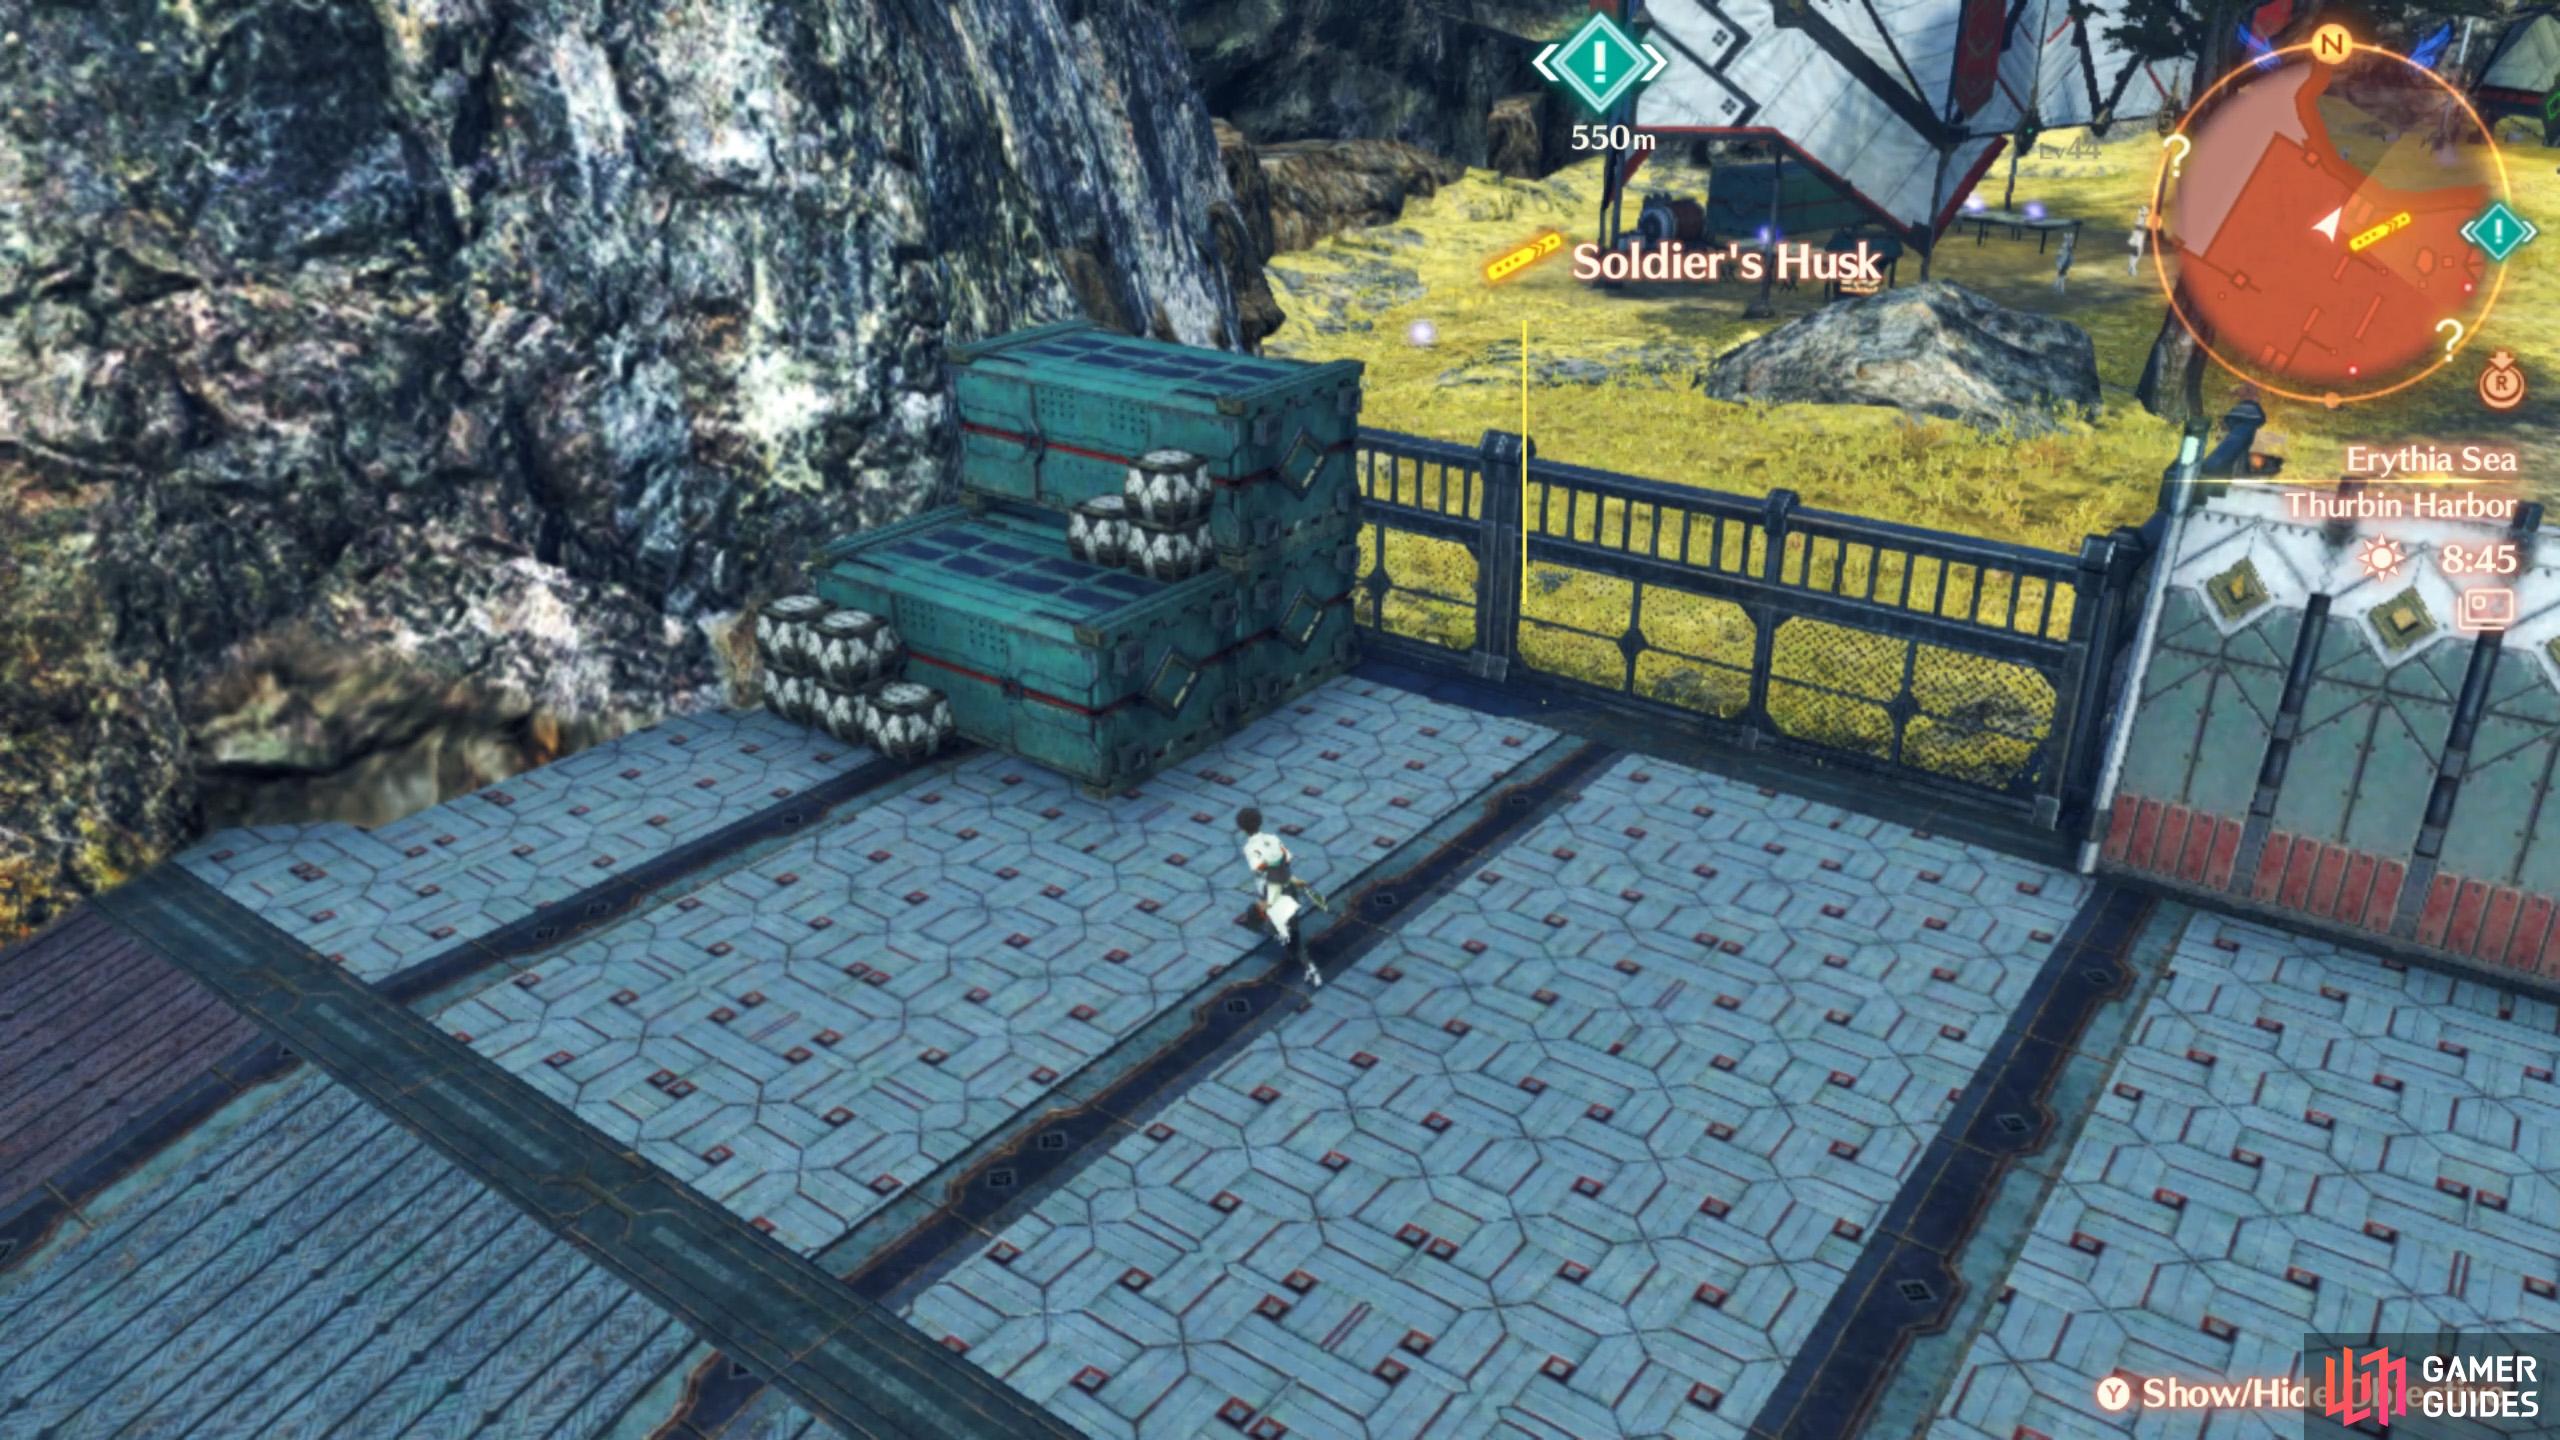
This poor sap didn’t get very far.
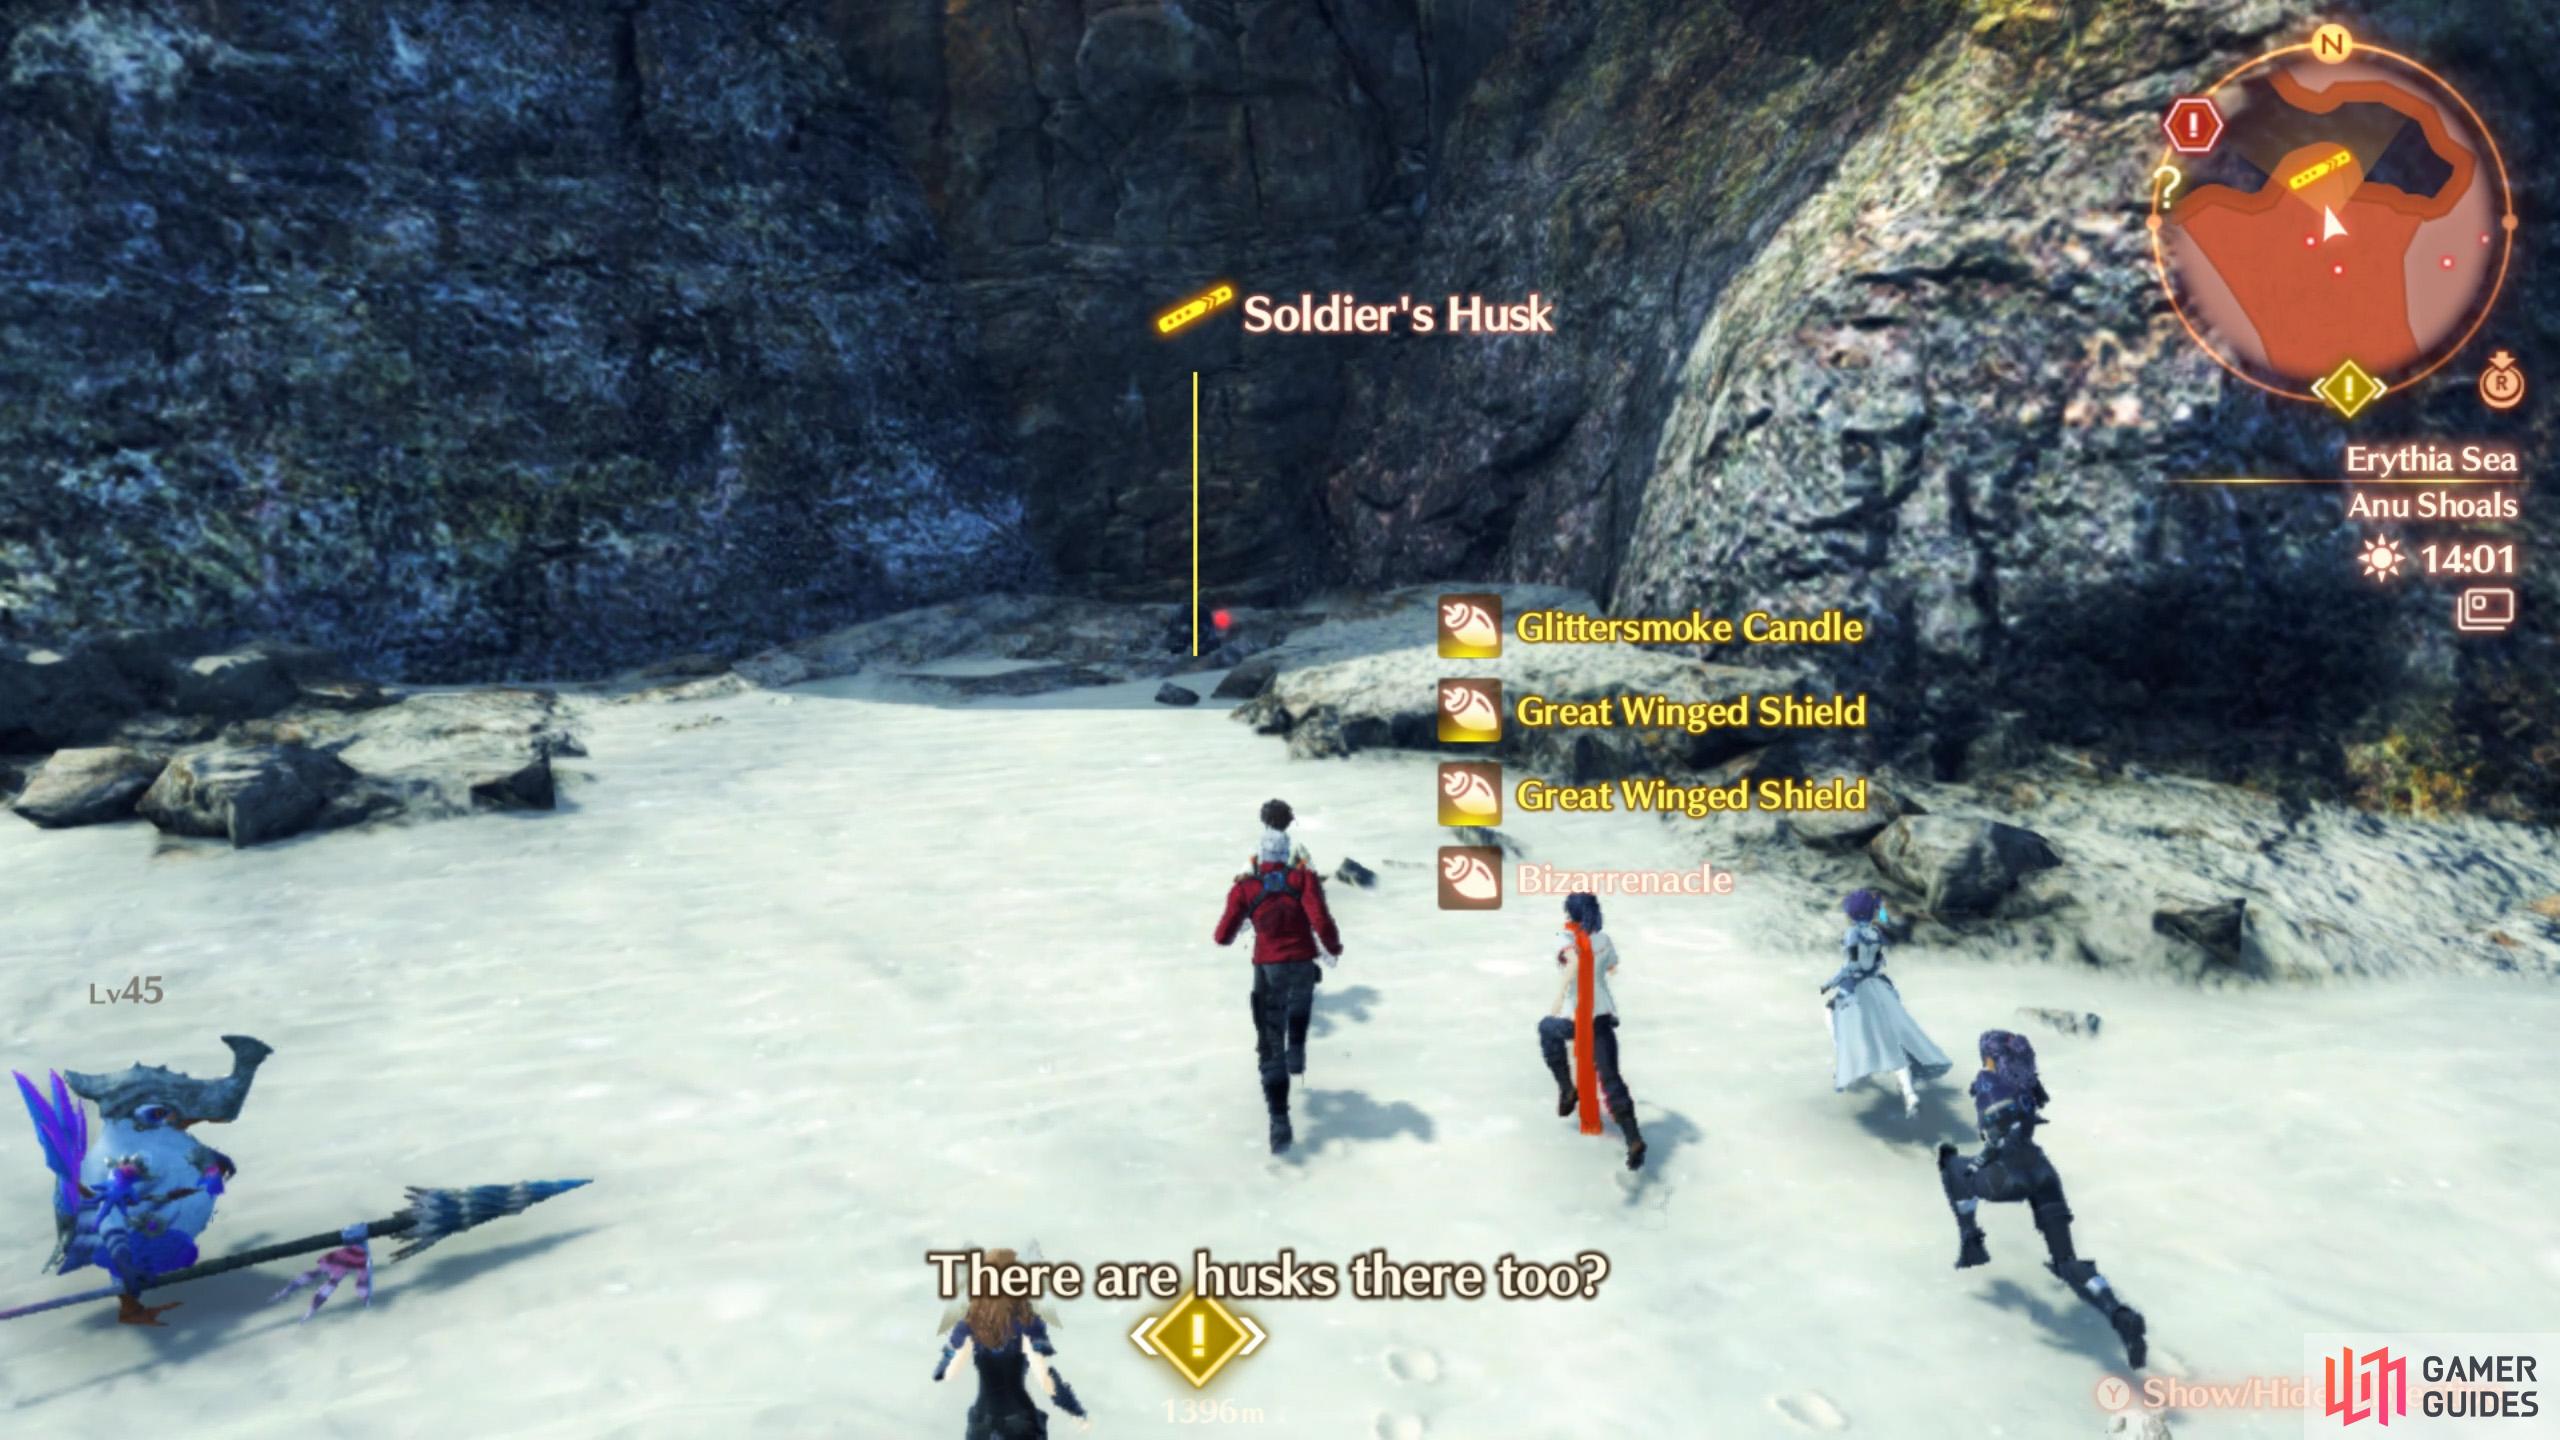
Hmm, doesn’t the shape of this shoal look like a…?
| Soldier Husk # | Map Marker | Location |
|---|---|---|
| 1 | Map Marker | Short distance east from Thurbin Harbor. |
| 2 | Map Marker | At the shoals north-west from Anu Shoals Camp. The one shaped like a… you know what. |
| 3 | Map Marker | West-north-west from Seaspray Lookout. On ground level, by the side of the wall. |
| 4 | Map Marker | Atop the final shoal, north-east from Erythia Relay Base. From Seaspray Lookout, ride the zip-lines west, west, then south-west. |
No Comments