
This is a guide for Chapter 7 of Xenoblade Chronicles 3, covering Noah’s Side Story in the Keves Castle Region.
How to begin Noah’s Side Story
A while earlier, we had Mio’s side story forced onto us–and now it’s Noah’s turn. After acquiring 5 pieces of Origin Ore, our heroes discover that the final ore is at Gardin Defense Base, just outside Keves Castle. However, being the final piece, this one won’t be quite as easy to retrieve compared to the rest.
How to enter Gardin Defense Base
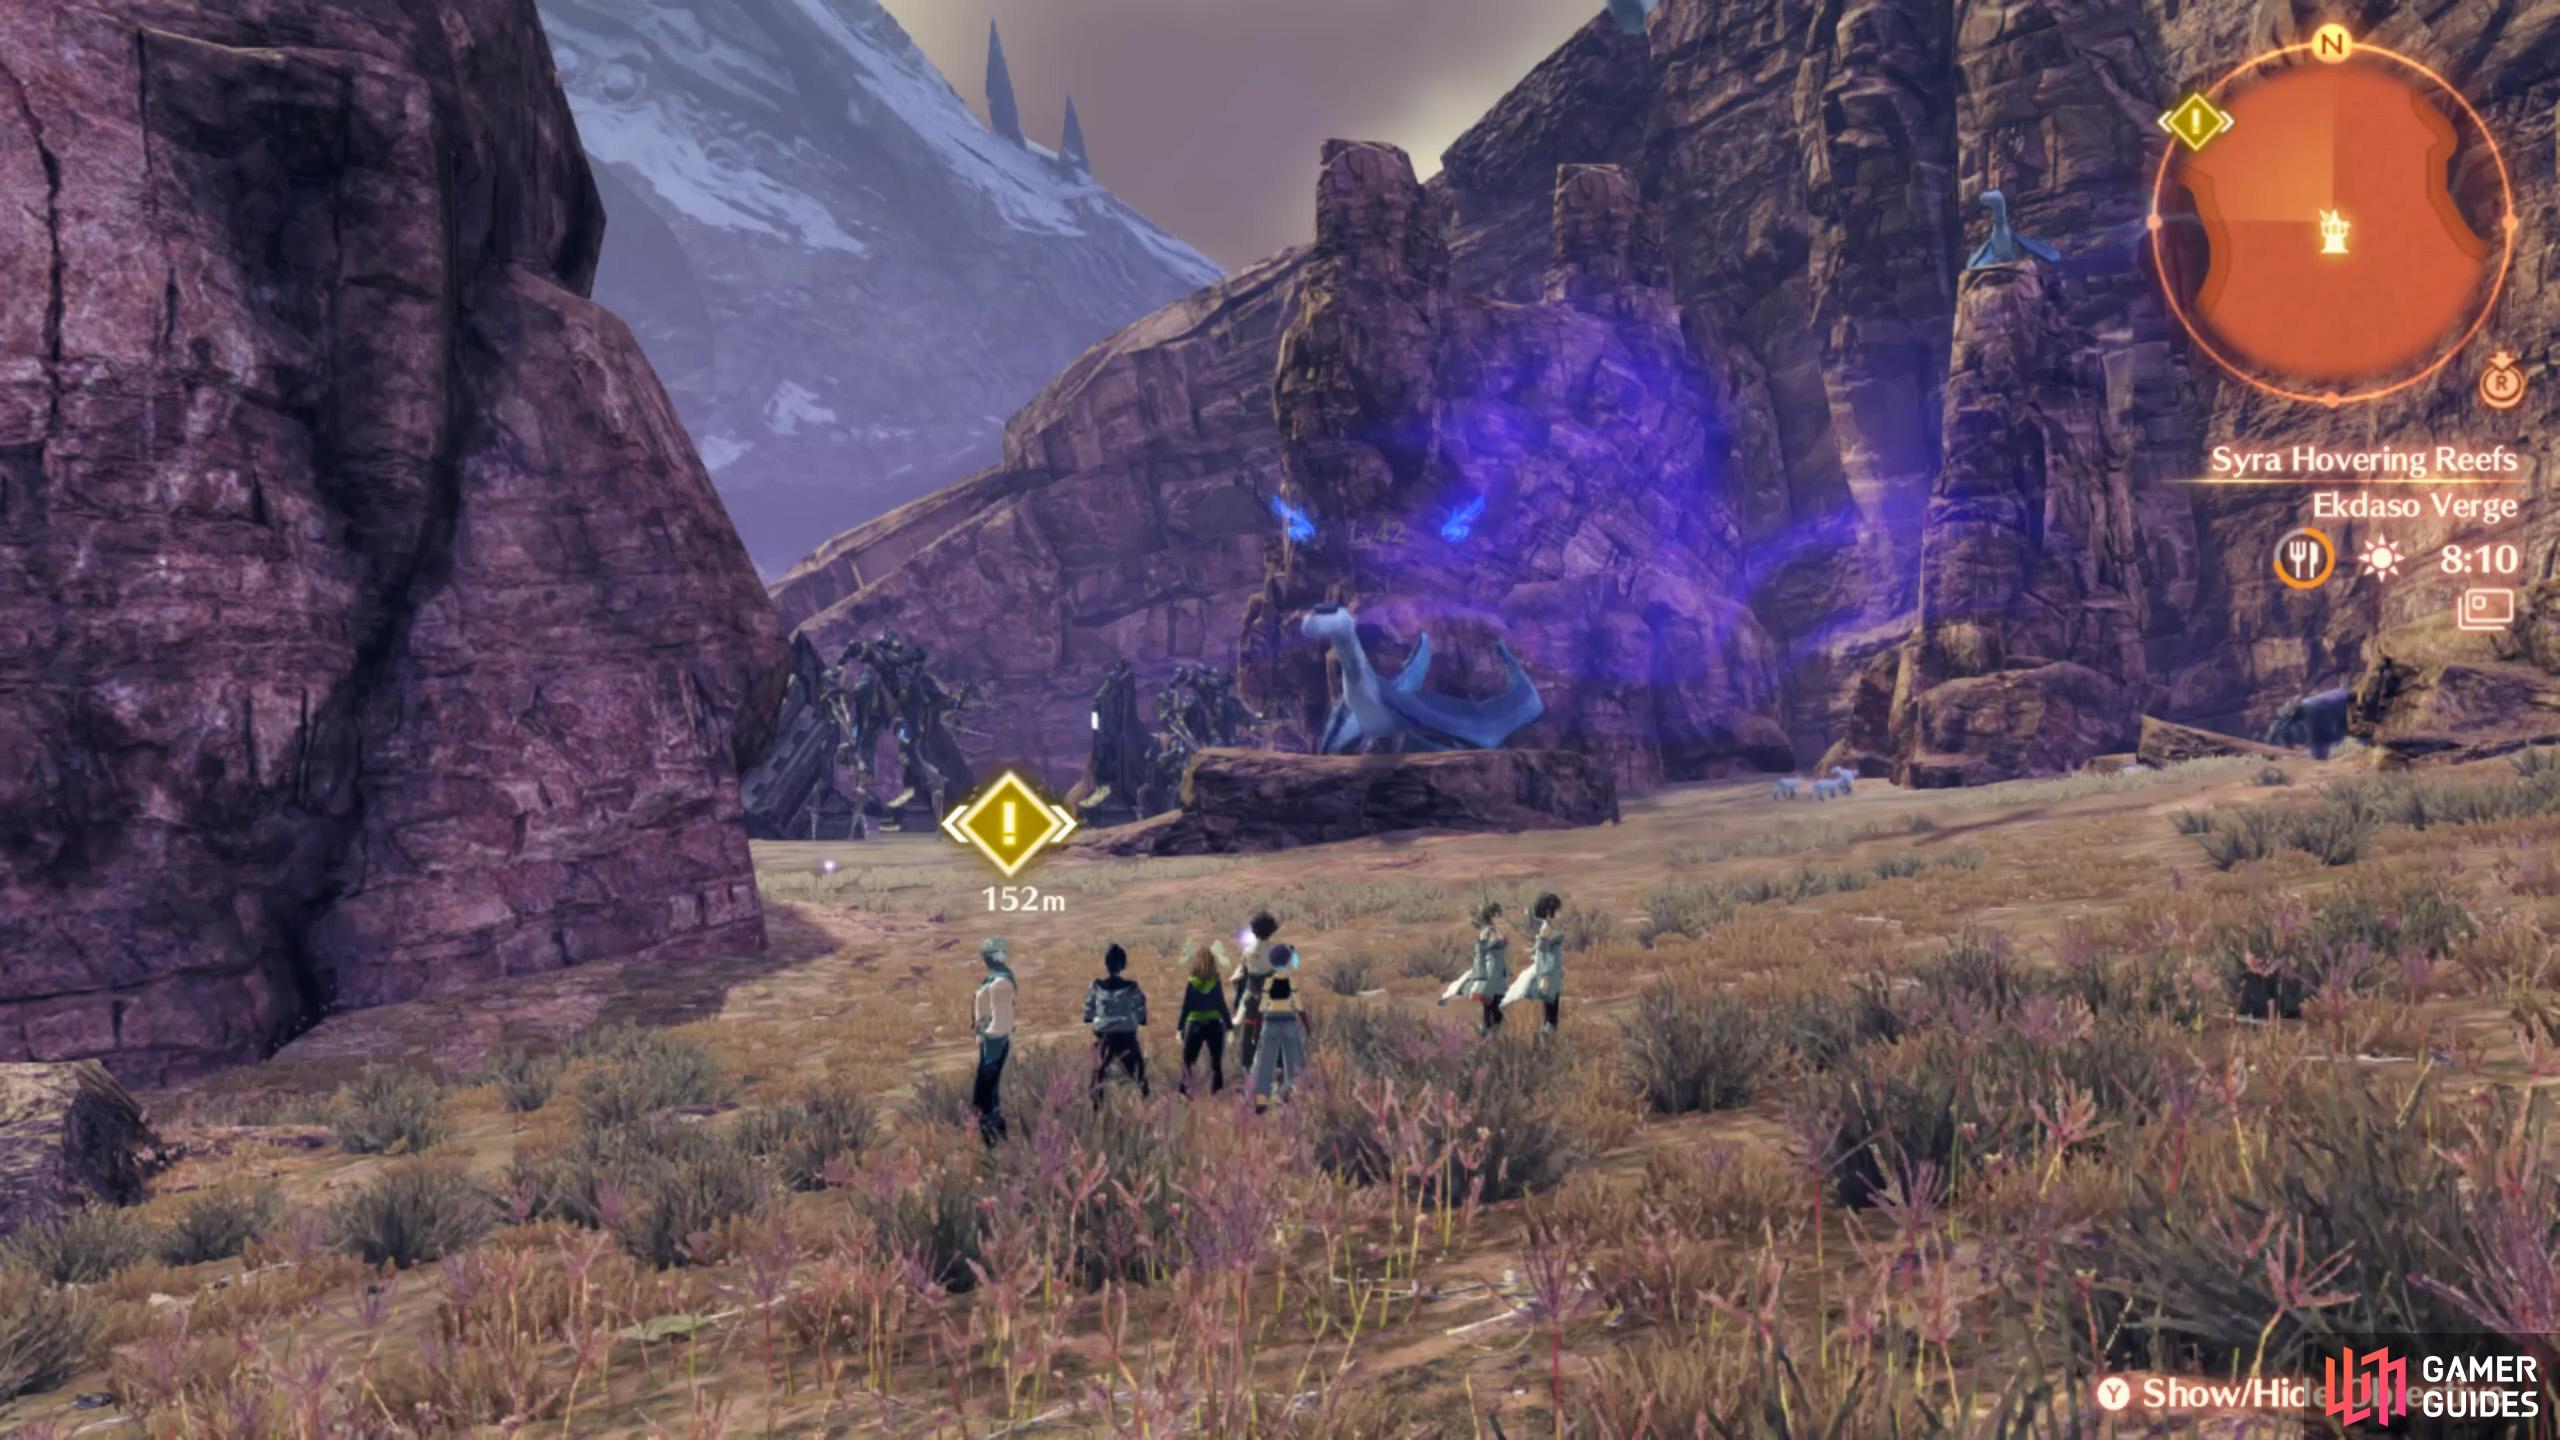
Begin by returning to Ekdaso Verge, near the eastern exit of the Keves Castle region.
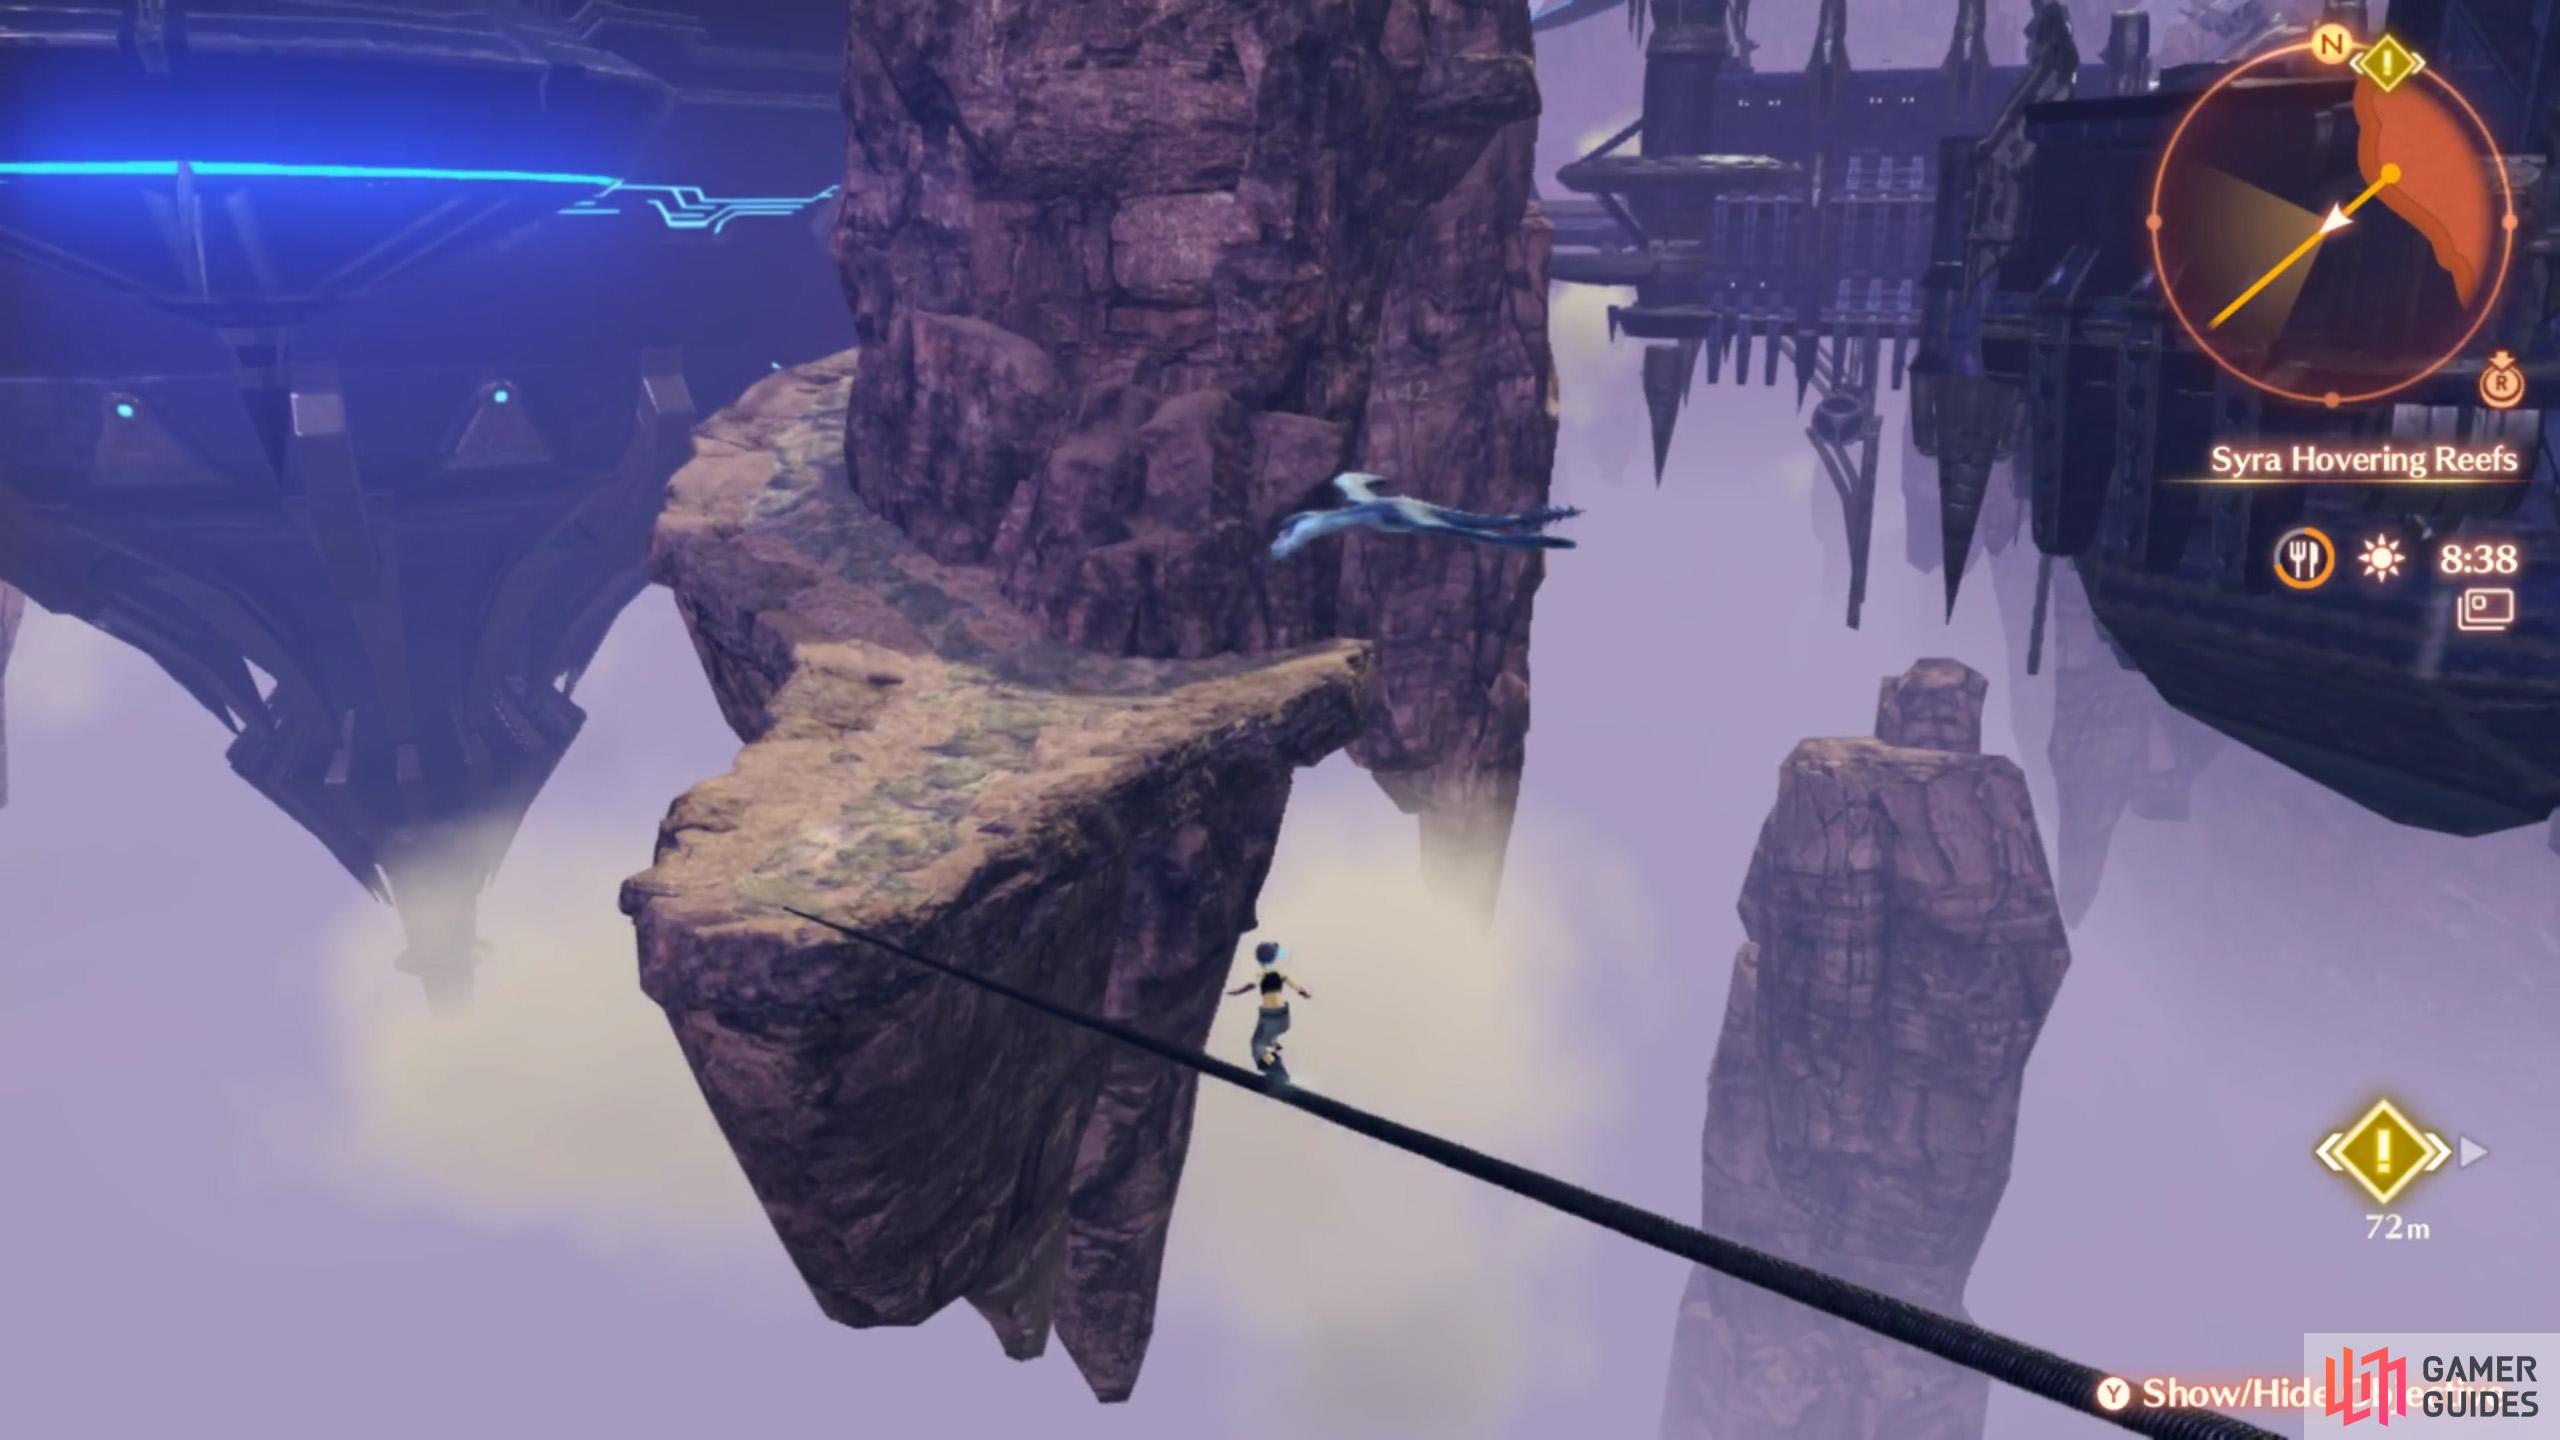
After visiting the Fourth Ixia Bridge, check out the new zip-lines south of the defense base.
We suggest fast-traveling to Ekdaso Verge, then going north-west to the quest marker at the Fourth Ixia Bridge. This’ll trigger another cutscene.
When you regain control, turn left and look for a new zip-line machine south from the beginning of the bridge. Activate it and ride it south-west to a floating island.
Now go around the island until you find a similar machine, which creates a zip-line going north-west. This’ll take you to the back of Gardin Defense Base. Drop down and go over to the quest marker further in. No fights will happen.
Return to Keves Castle
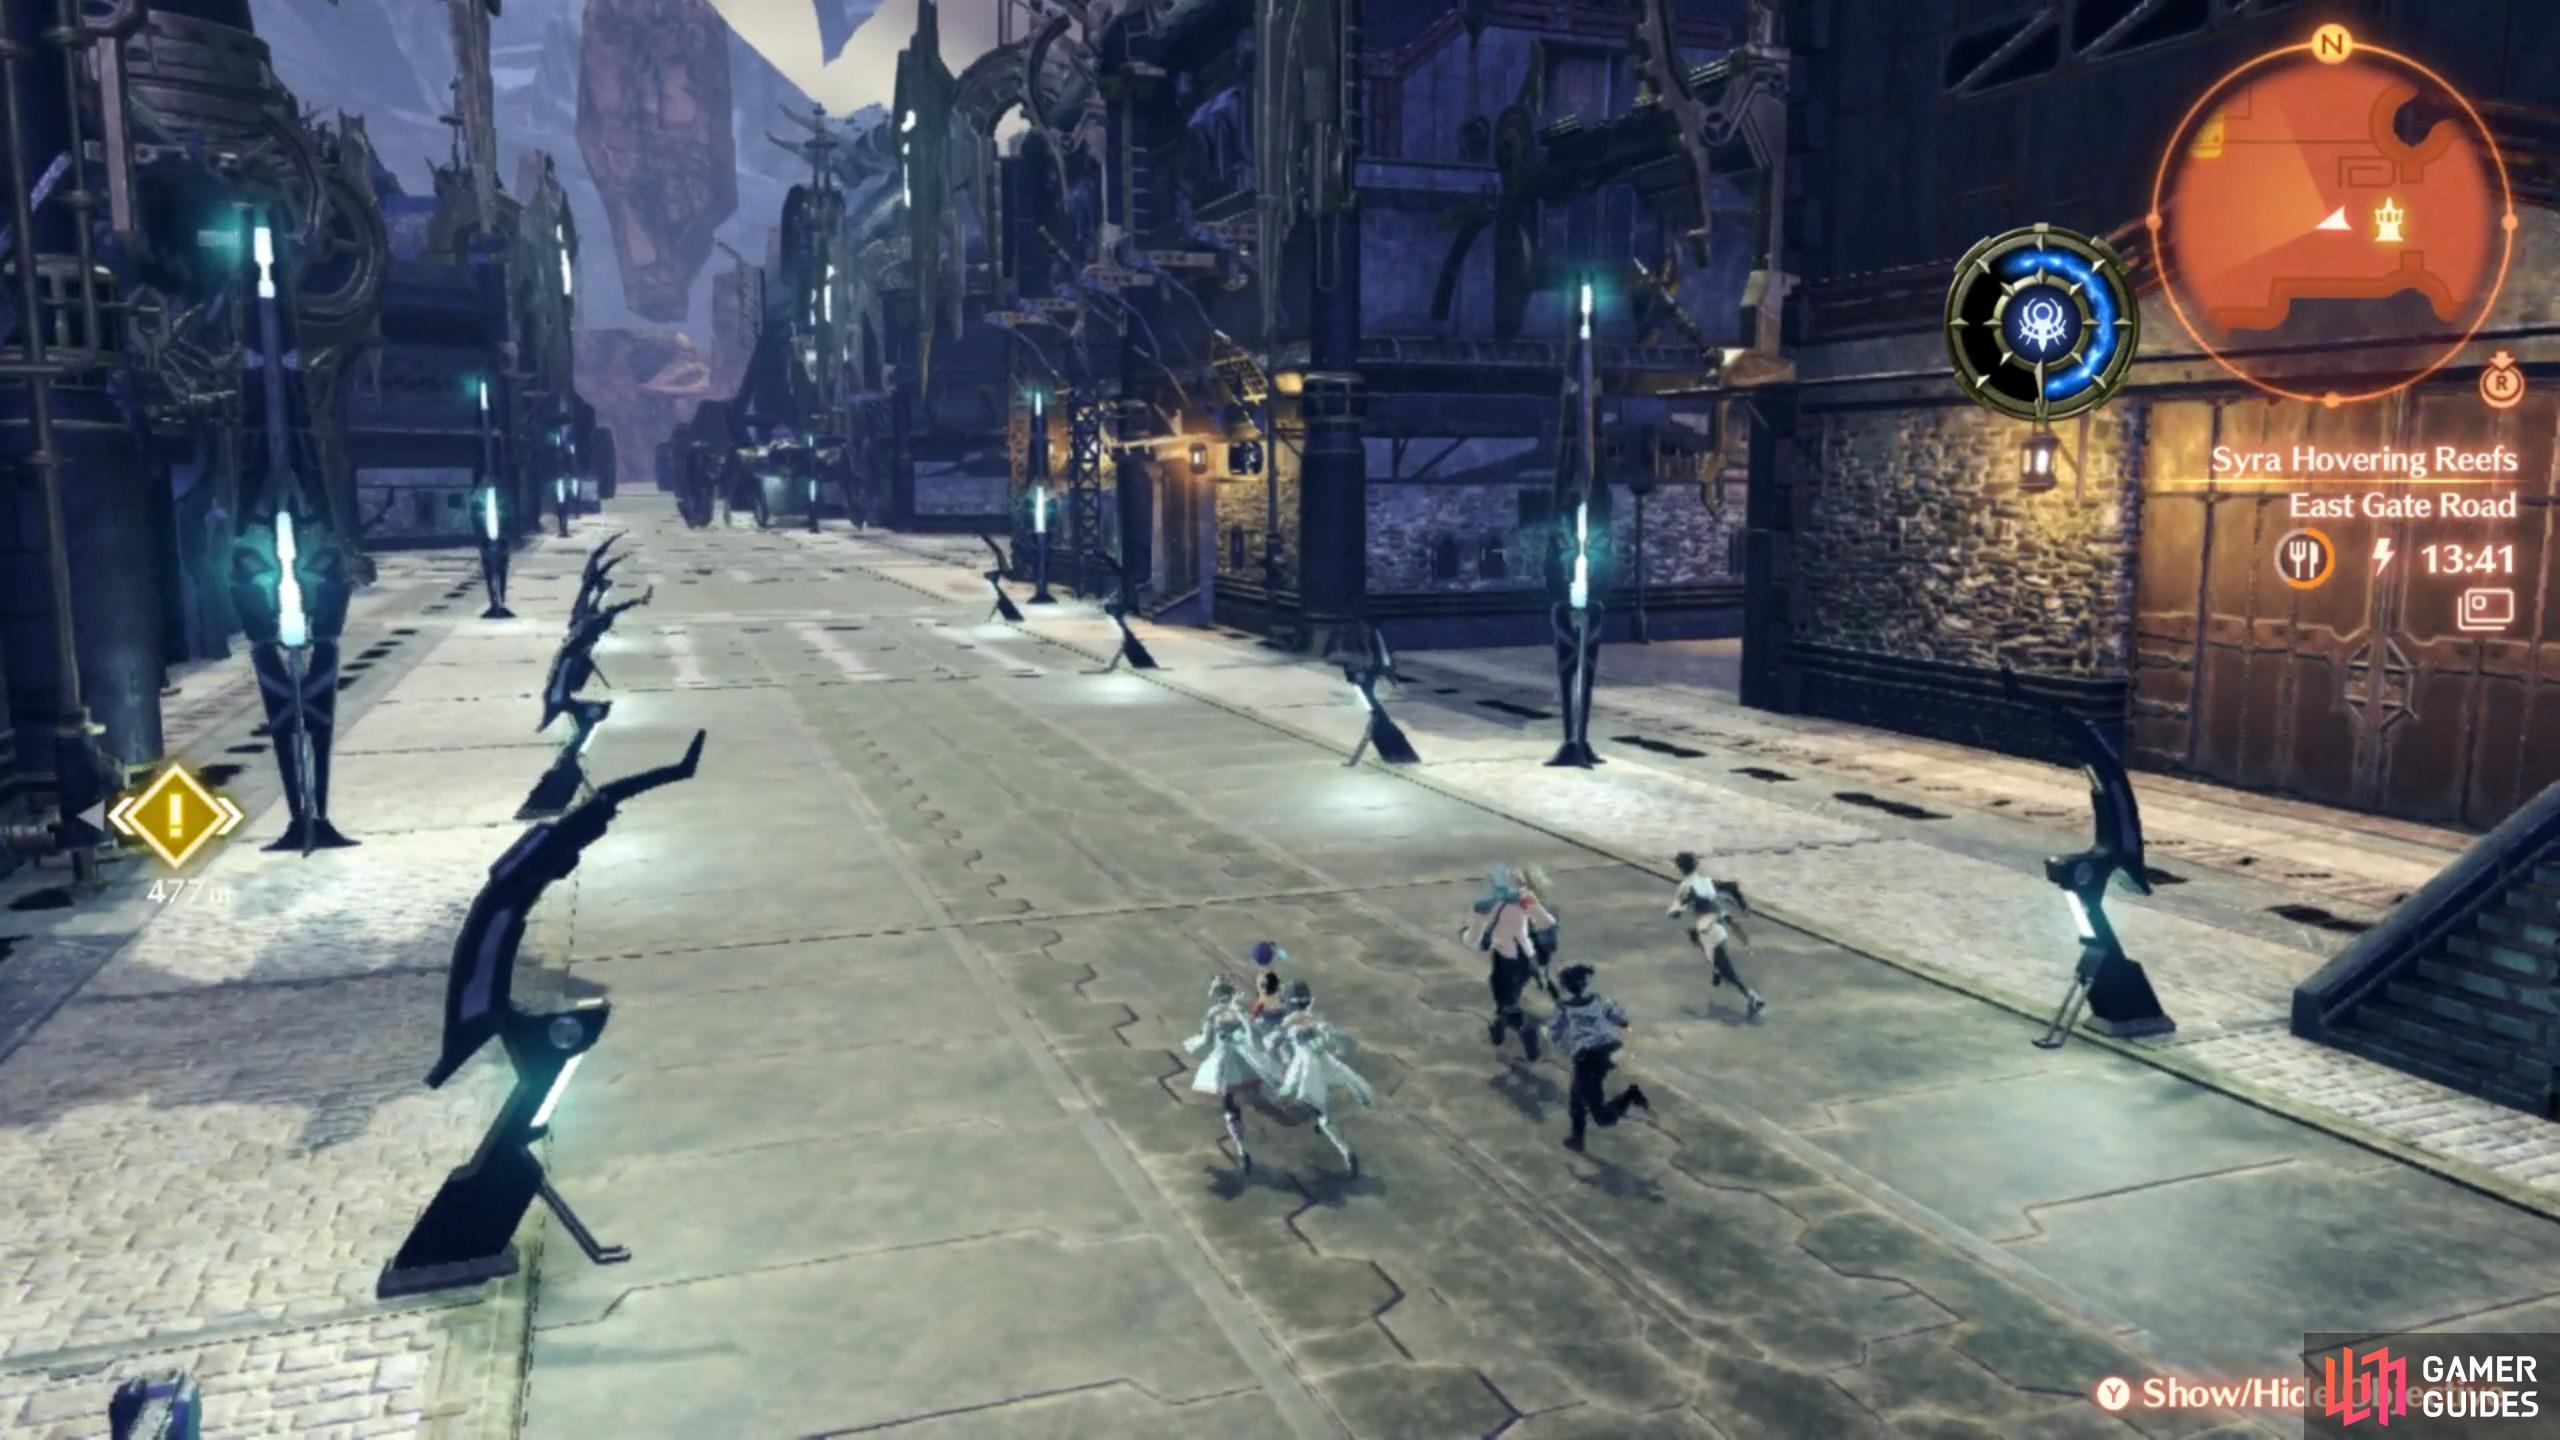
The streets of Fort O’Virbus are deserted.
You can now explore the northern sections of Keves Castle.
Afterwards, the metal gates leading west will open up, allowing access to the Third Ixia Bridge and beyond. Make your way west, entering the eerily empty Fort O’Virbus, until you reach Kismet Crossing at the center.
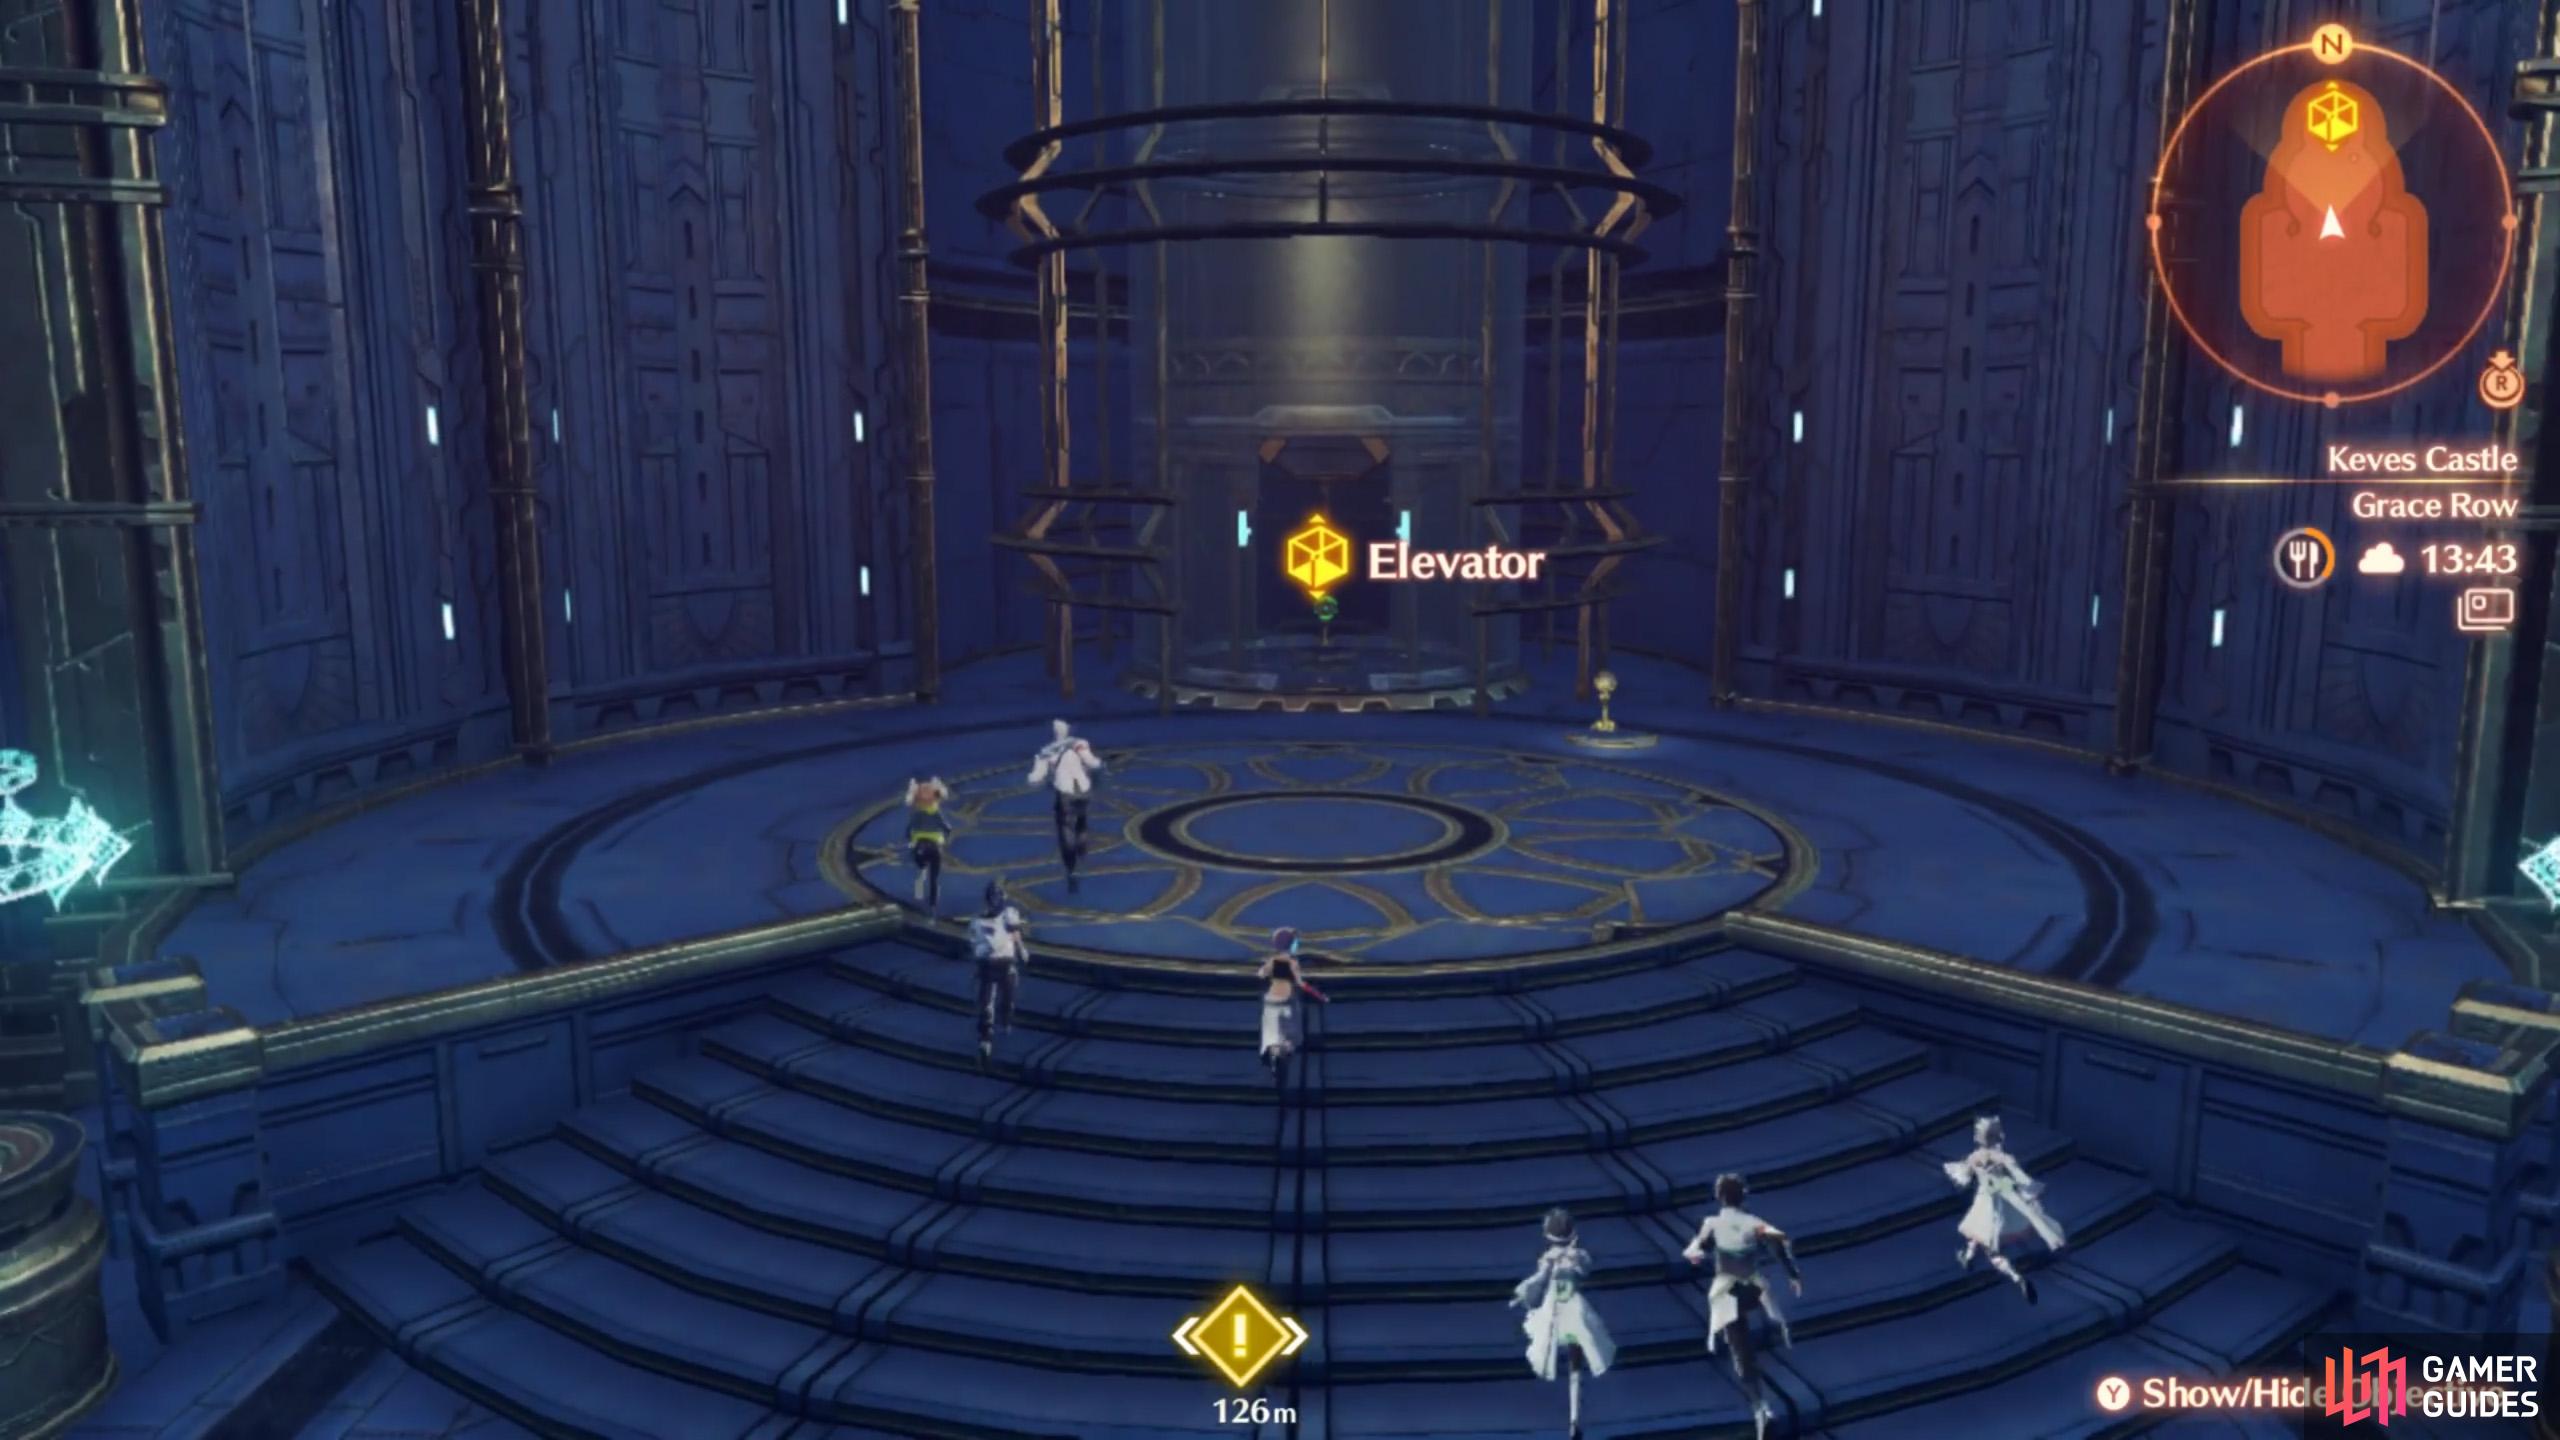
From here, travel south towards the front entrance of the castle. Keep going till you reach the next quest marker a bit past the Main Castle Gate landmark. Noah’s old friend and mentor will welcome him. Afterwards, continue further in. Approach the elevator near the Ascension Hall to trigger another cutscene, then hop inside the elevator.
Upstairs, you’ll arrive at the Revelation Hall. Head north, through Grace Row and ride the elevator at the opposite end of the corridor. Further up, you’ll be at the Throne Room where you fought the fake Melia.
On your right is the entrance you used during your castle infiltration; on your left is another ventilation grid that leads to the Upper Drainage, which leads outside the castle–your original escape plan. If you want, go that way to get some closure (and find some new stuff).
When you’re ready to proceed, head south to where you’d expect another boss fight to be.
No Comments