
This is a guide for Chapter 1 of Xenoblade Chronicles 3, taking place during the journey to Alfeto Valley which takes you through the Yzana Plains, located in the Aetia region.
The Yzana Plains is the first chance you have to explore freely.
Head to Alfeto Valley
Your first objective here sounds simple in nature, to join up with the rest of the Keves Soldiers enroute to Alfeto Valley. In practice, however, there is a lot more to see and do in Yzana Plains, where you first find yourself after leaving Colony 9. Be sure to check your Quest menu, as there is a new bout of Collectopaedia Requests for you to complete, and you’ll find three Standard Quests that you should focus on completing during your time here.
Monster Types
You’ll be immediately introduced to the different types of monsters in Xenoblade Chronicles 3. You’ll find Normal, Lucky, Elite, and Unique monsters in the world, all of which serve a different purpose. Normal are as you’d expect the regular enemies you’ll encounter everywhere. Lucky are similar to Normal, in that they’re not any tougher but instead will grant more EXP, SP and better items than their Normal counterparts.
Elite are slightly tougher versions of Normal enemies, and you’ll want to be at least the same Level before battling one but as a reward, you’ll get multipliers for EXP, SP, Gold and more. Finally, Unique monsters are the toughest of the bunch, they’ll have their own name, special skills and will generally be a challenge even if you find yourself the same level.
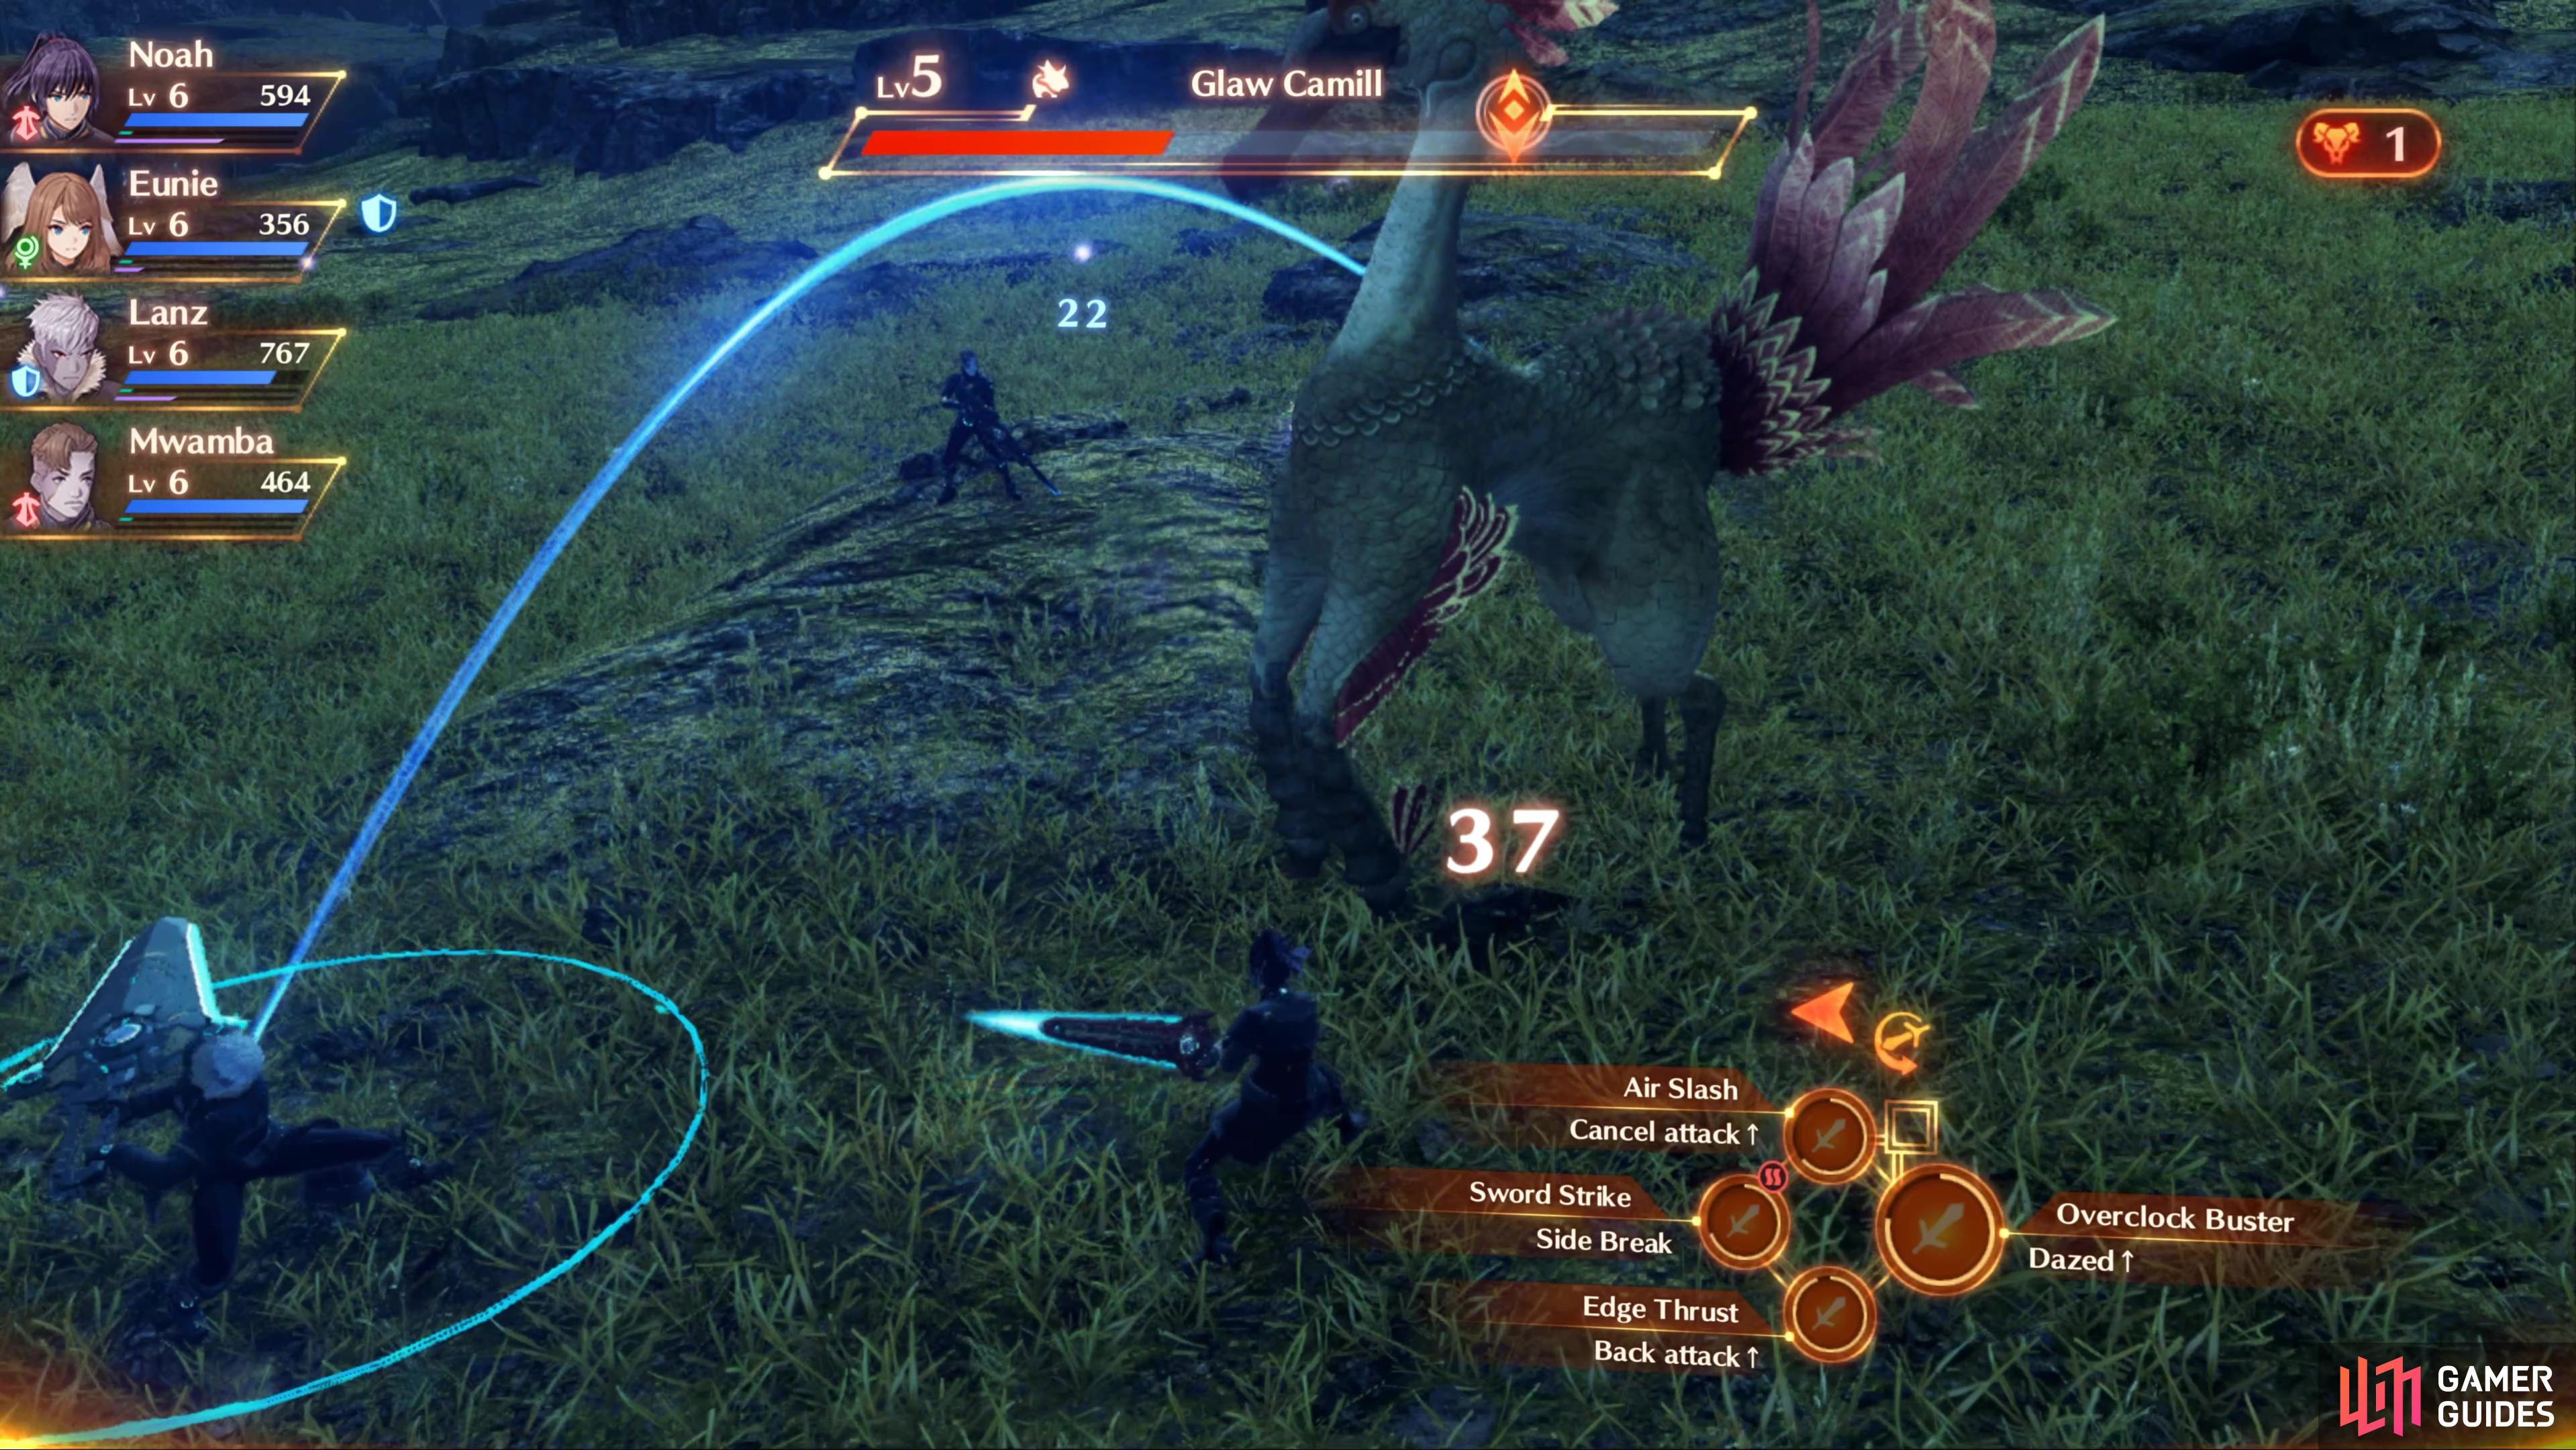
Skirmishes
Nearby the entrance to Colony 9, you’ll be able to press the  button to focus your attention on a nearby skirmish (indicated with a crossed swords icon on the map). Head over to it and you’ll be given an opportunity to assist either side, detailing rewards for your decision. For now, you can only assist your fellow comrades, but later in your adventure your choices may become more difficult with both offering a reward.
Once you’ve picked a side, you’ll need to defeat the other side with alongside the side you picked. This is a simple battle at this stage of the game, but it may be worth weighing up the difficulty of the other side when making your choice later in the adventure.
Alfeto Valley Mouth
Take the time to fully explore the Yzana Plains, defeating monsters, completing Quests and searching lost Containers. Once you’re ready to continue, make your way to the southwest of the plains to reach Alfeto Valley Mouth which will trigger a scene just beyond the Landmark. The following battle is a simple one against a pack of Rood Volff but more importantly, you’ll unlock the Tactics Palette.
The Tactics Palette gives you a bit more control over the characters you’re not controlling. Pressing  +
+  will cause your party members to drop what they’re doing and gather around the character you’re controlling, ideal for when you want to make a run for it. Alternatively, pressing +
  will cause them to focus on your current target, useful in situations like this when you want to focus down a single target at a time.
Following your victory, you’ll find yourself in Alfeto Valley and although the path here is linear, there are still Containers and Soldier Husks to find along the path. Once you reach the Main Story marker, a scene will take place and you’ll be thrust into battle with a mini boss.
How to Beat Drifter Ropi
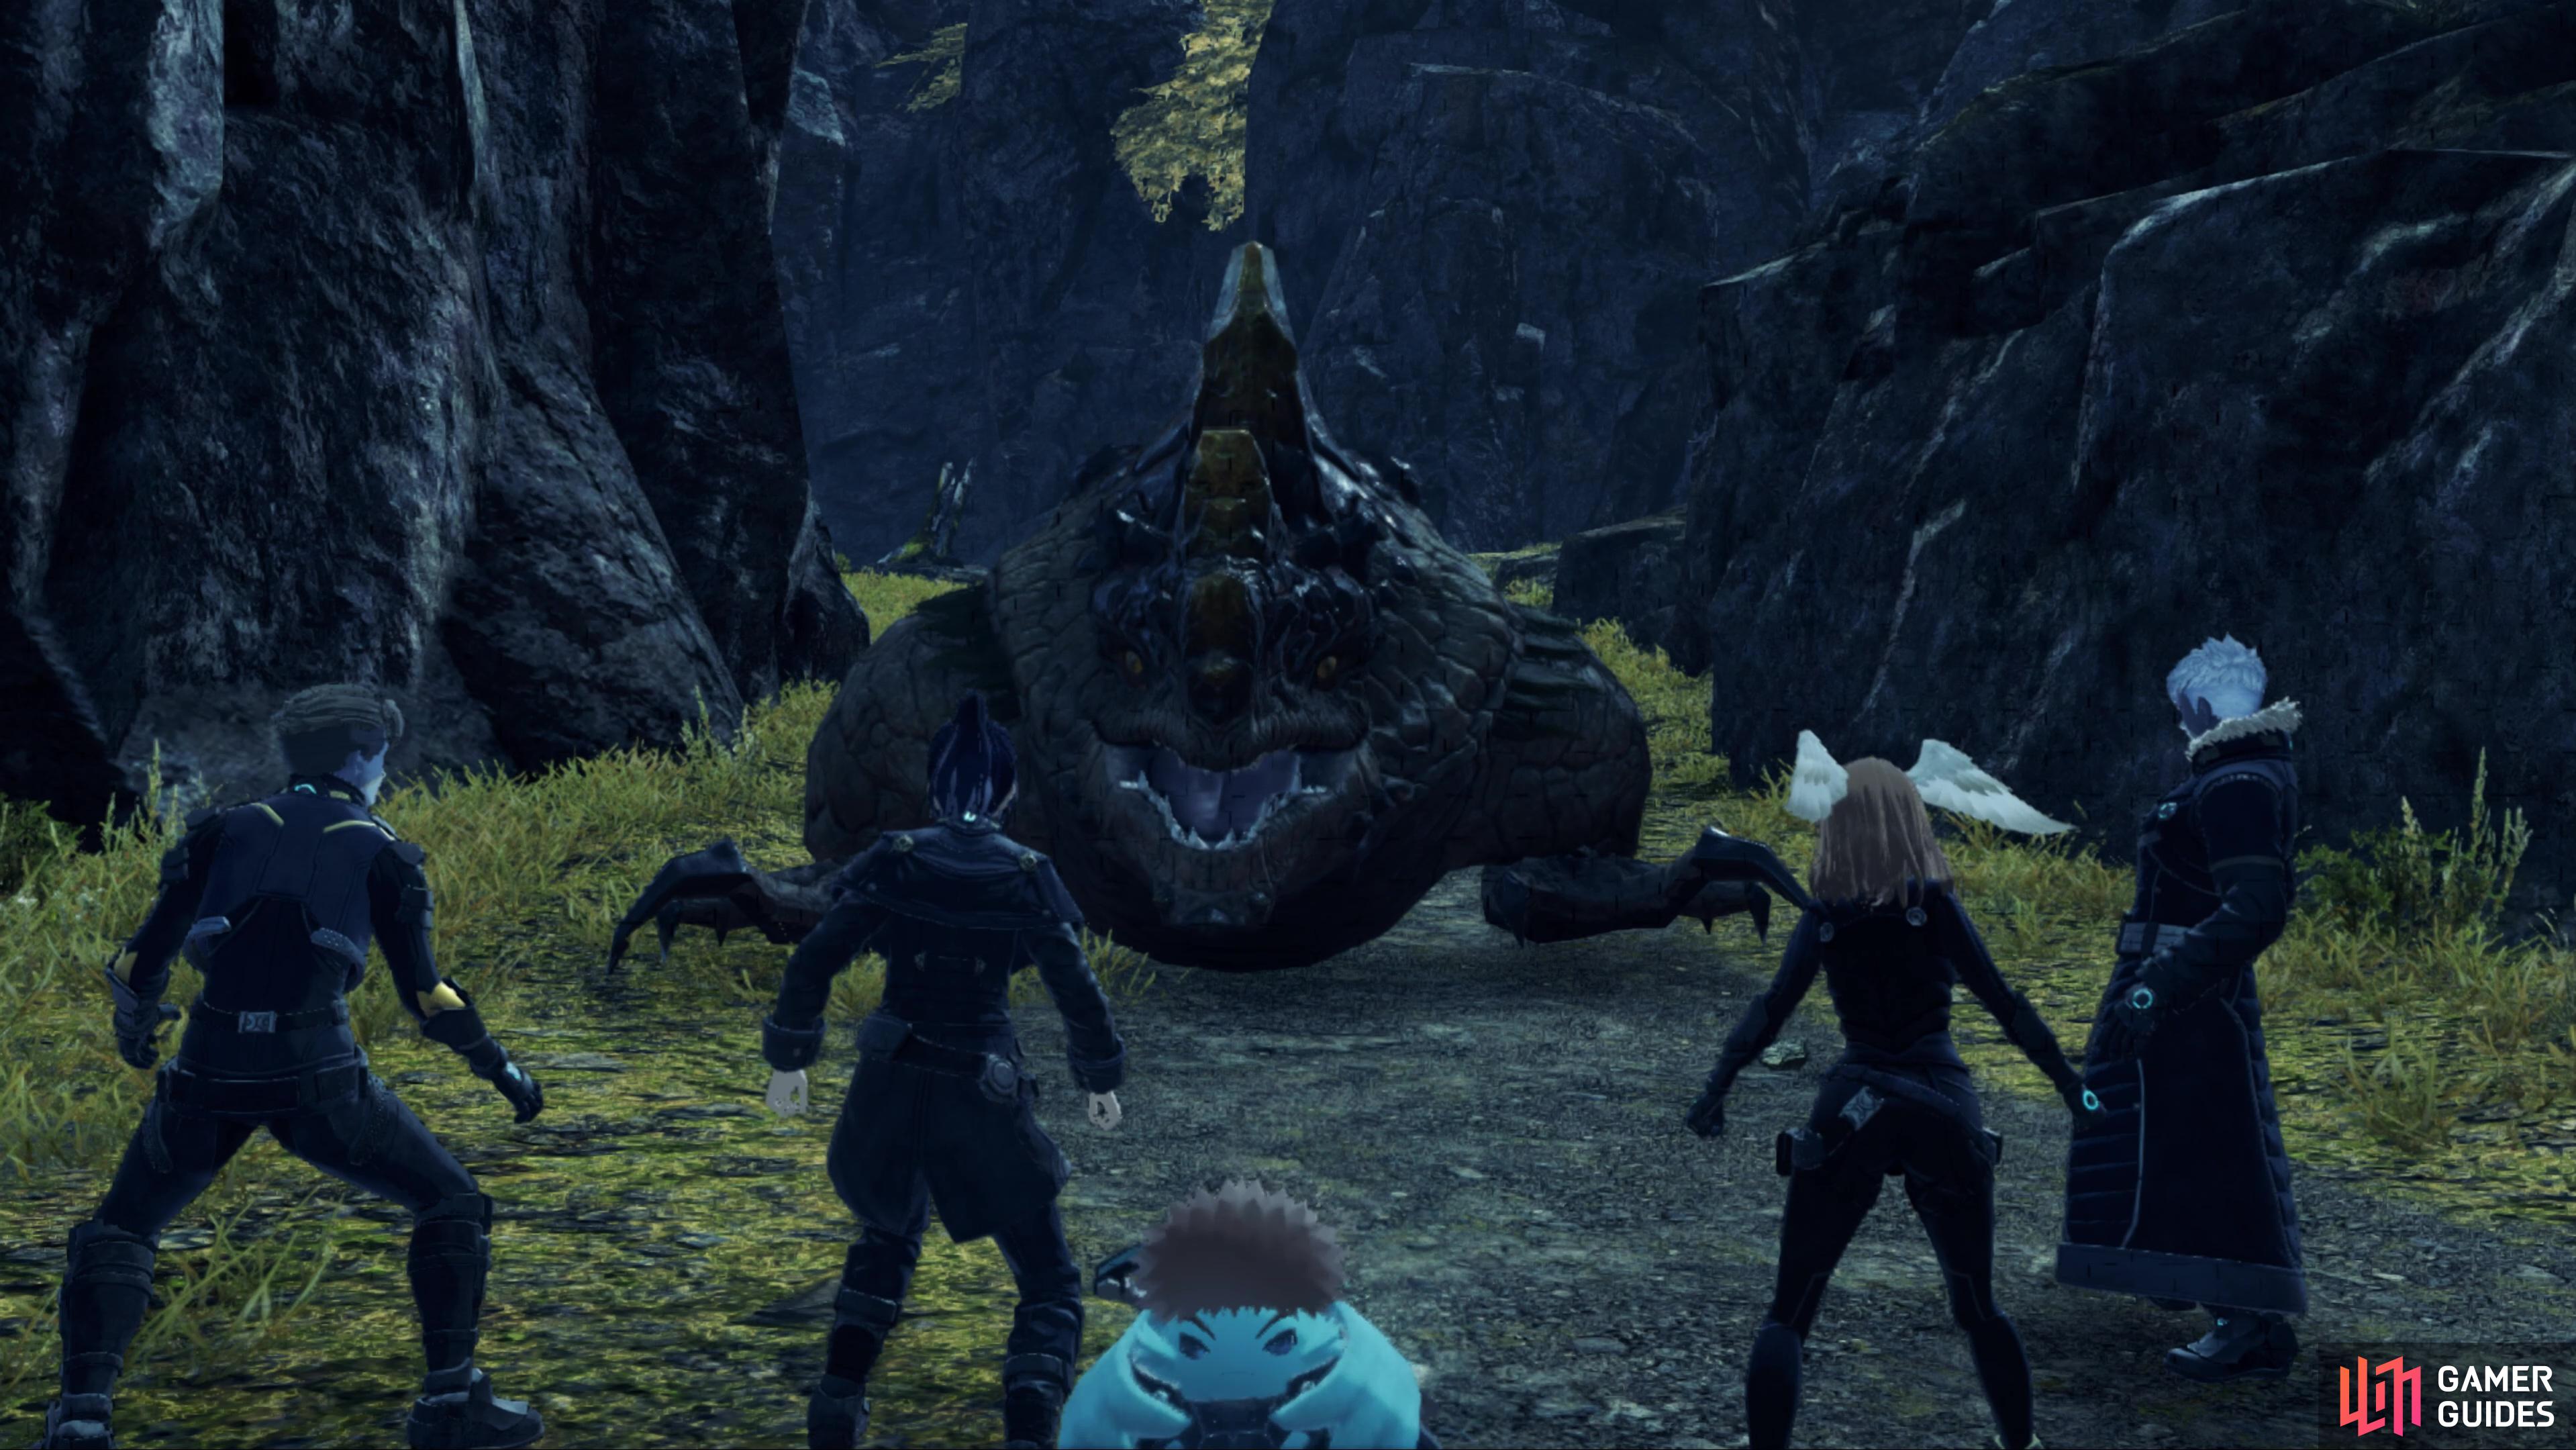
Drifter Ropi is far more difficult than anything else you’ve encountered so far.
Although not a full boss battle, the Drifter Ropi is probably your toughest challenge yet depending on how much you’ve taken the time to develop your party so far. Komodo Fire, its signature attack, is the main one to look out for as this will inflict Blaze on the targeted character, causing damage over time. This will often be Lanz, so you’ll need to hope that Eunie keeps on top of her healing as you don’t have a way of peeling the aggro off Lanz with Noah at this stage of the game.
Double Bite seems to be the go-to attack for Drifter Ropi, it’s a simple one, but being a double hit will cause the damage to add up a little. Cursed Cuisine, on the other hand, is used sparingly but will deal major damage to Lanz so hopefully Lanz is not already in low HP when Drifter Ropi uses it. As a whole, your options are still rather limited at this stage of the game, but there are measures you can take to make life a little easier.
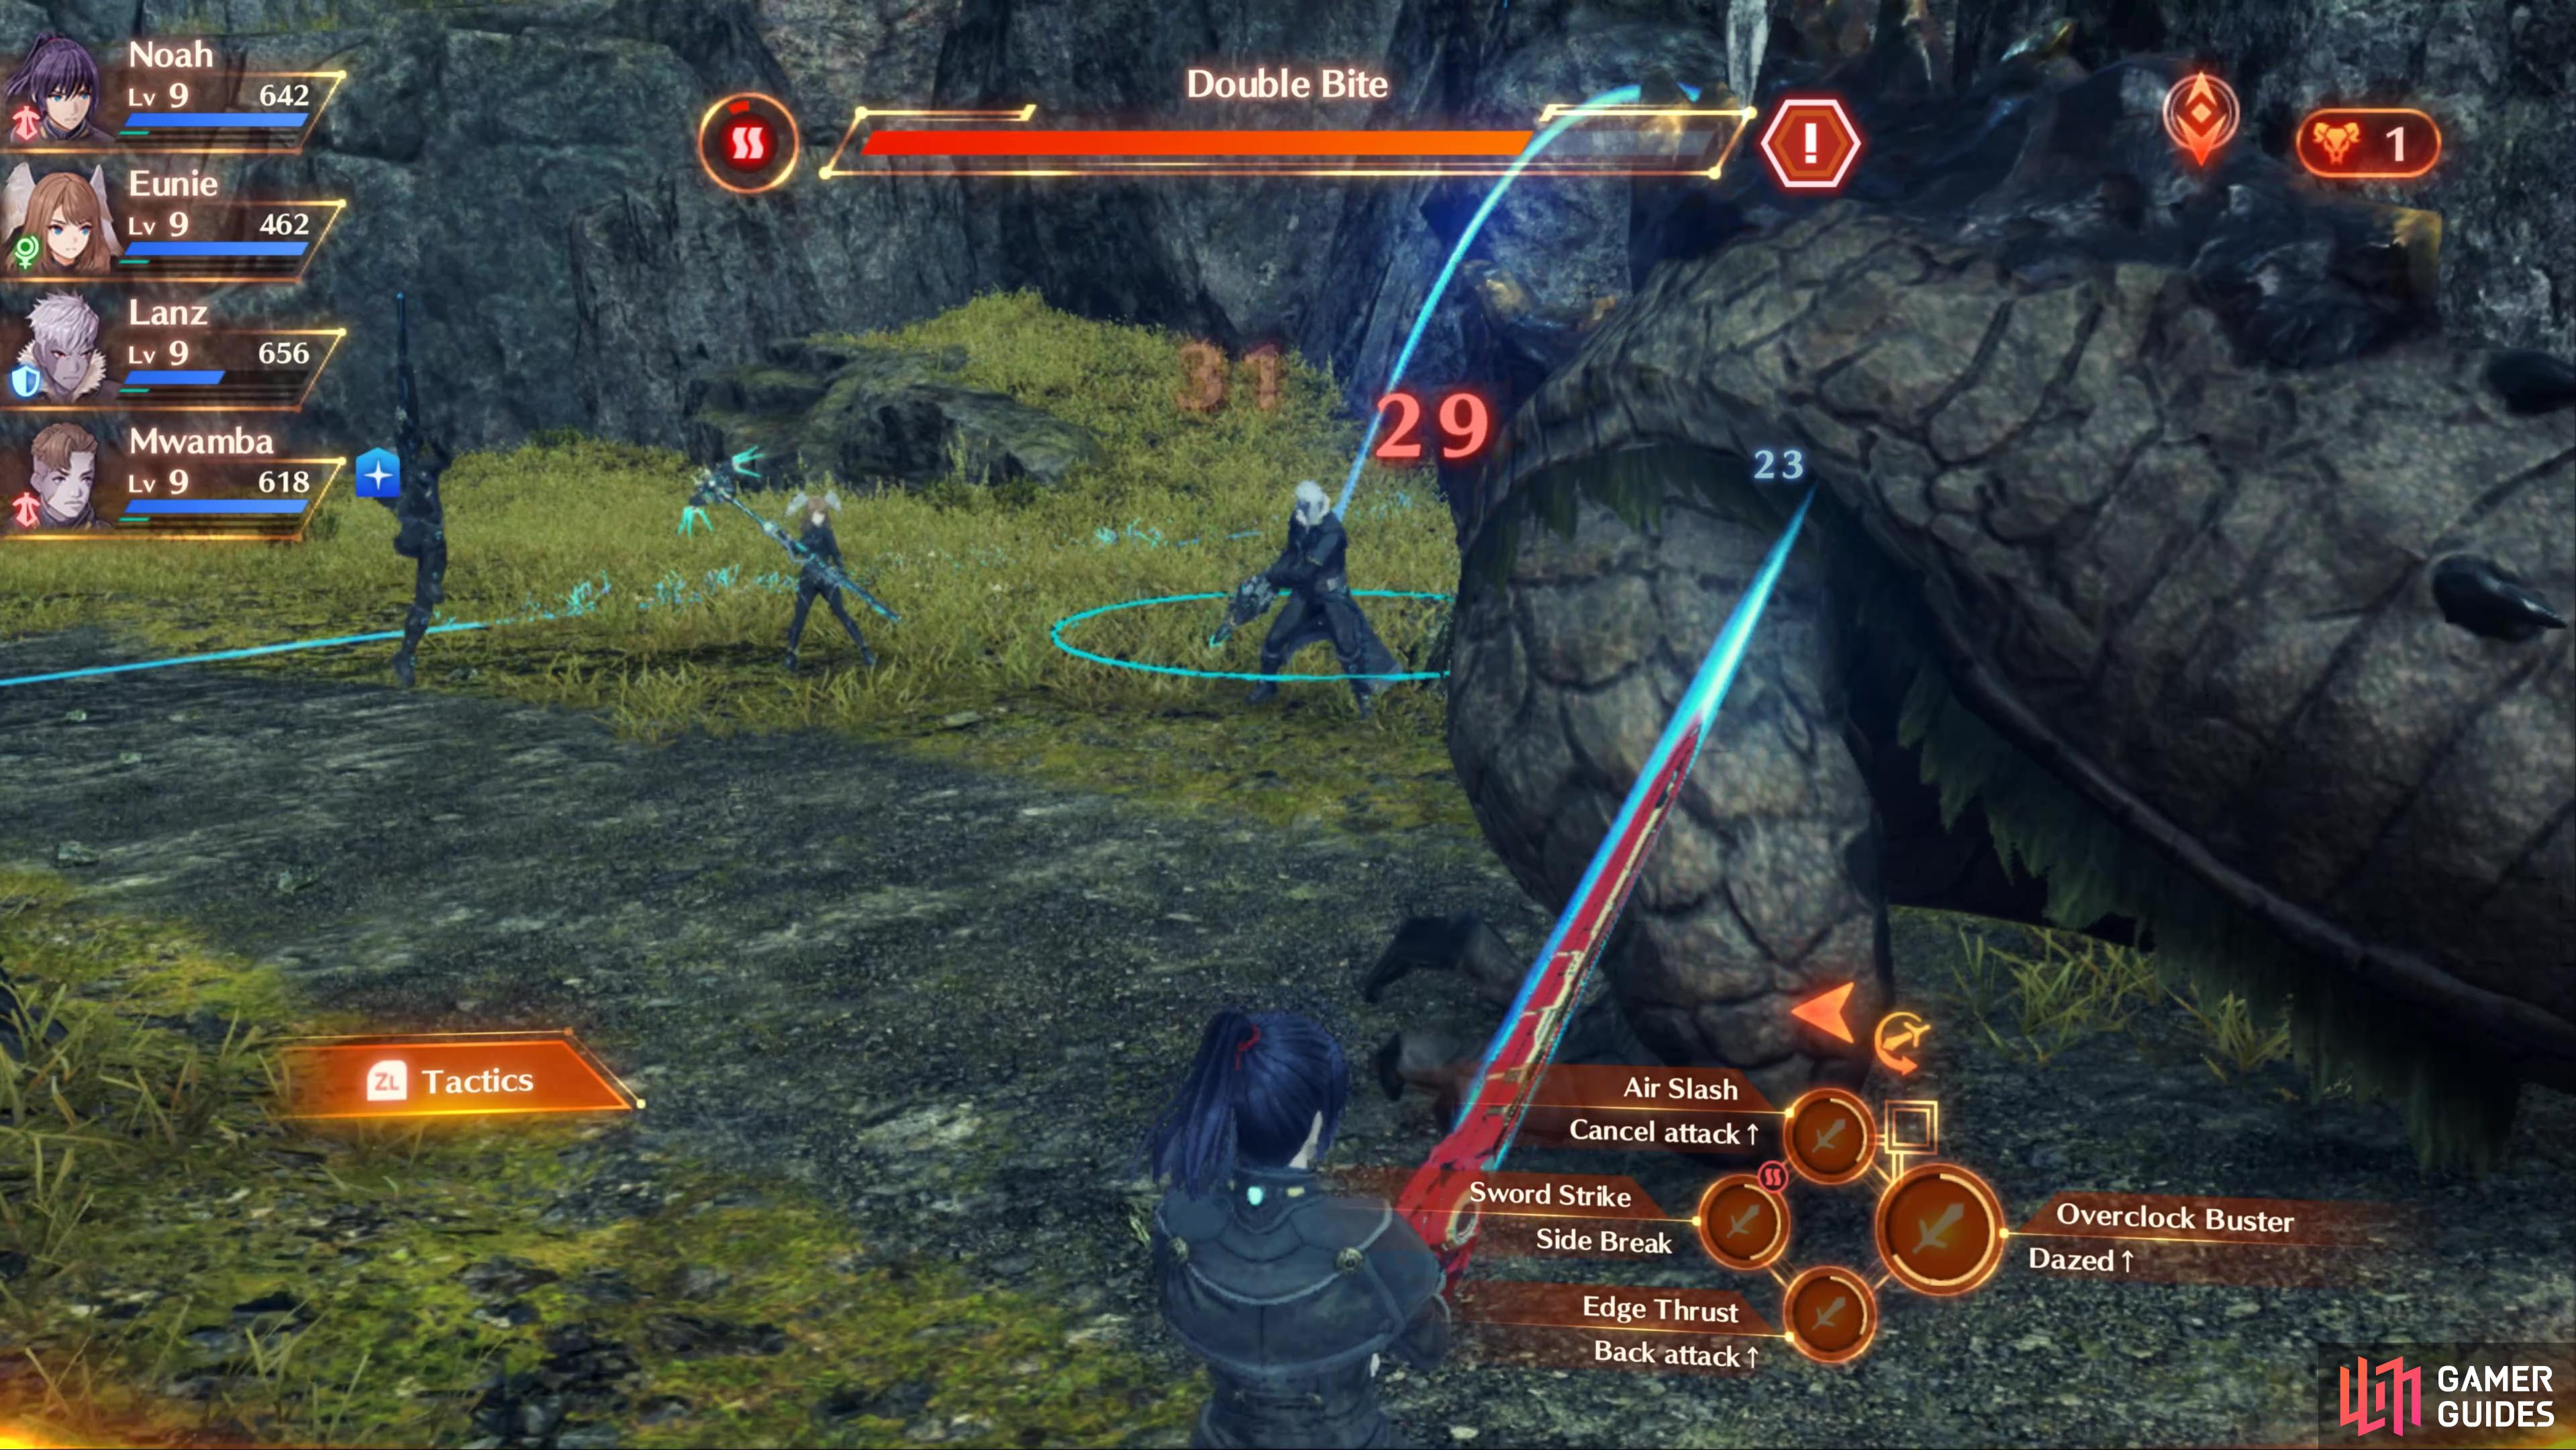
To begin with, you’ll want to save Noah’s Talent Art for whenever you successfully manage to perform the Topple Combo and Daze the creature, this will massively increase the damage you deal to it. If you’re playing Xenoblade Chronicles 3 on the Hard Difficulty, you may want to take the time to level beyond Level 6 to give yourself a better chance, without Blaze protection, Komodo Fire will really hurt on Hard (it’s no slouch on Normal).
What are Rest Spots?
There’s not much to do on the linear path throughout this part of the valley beyond slaying some beasts and a Container and Soldier Husk, so press on and you’ll trigger another scene where you’re introduced to Rest Spots.
You’ll discover these throughout Aionis and they act as a place where you can use your bonus EXP to level up your characters further. This is entirely optional, and if you find yourself way ahead of the difficulty curve, you may want to hold off on it to avoid the game becoming too easy. Do note however, that you cannot level your characters down (a feature introduced with Xenoblade Chronicles 2’s DLC) until you’ve beaten the game once.
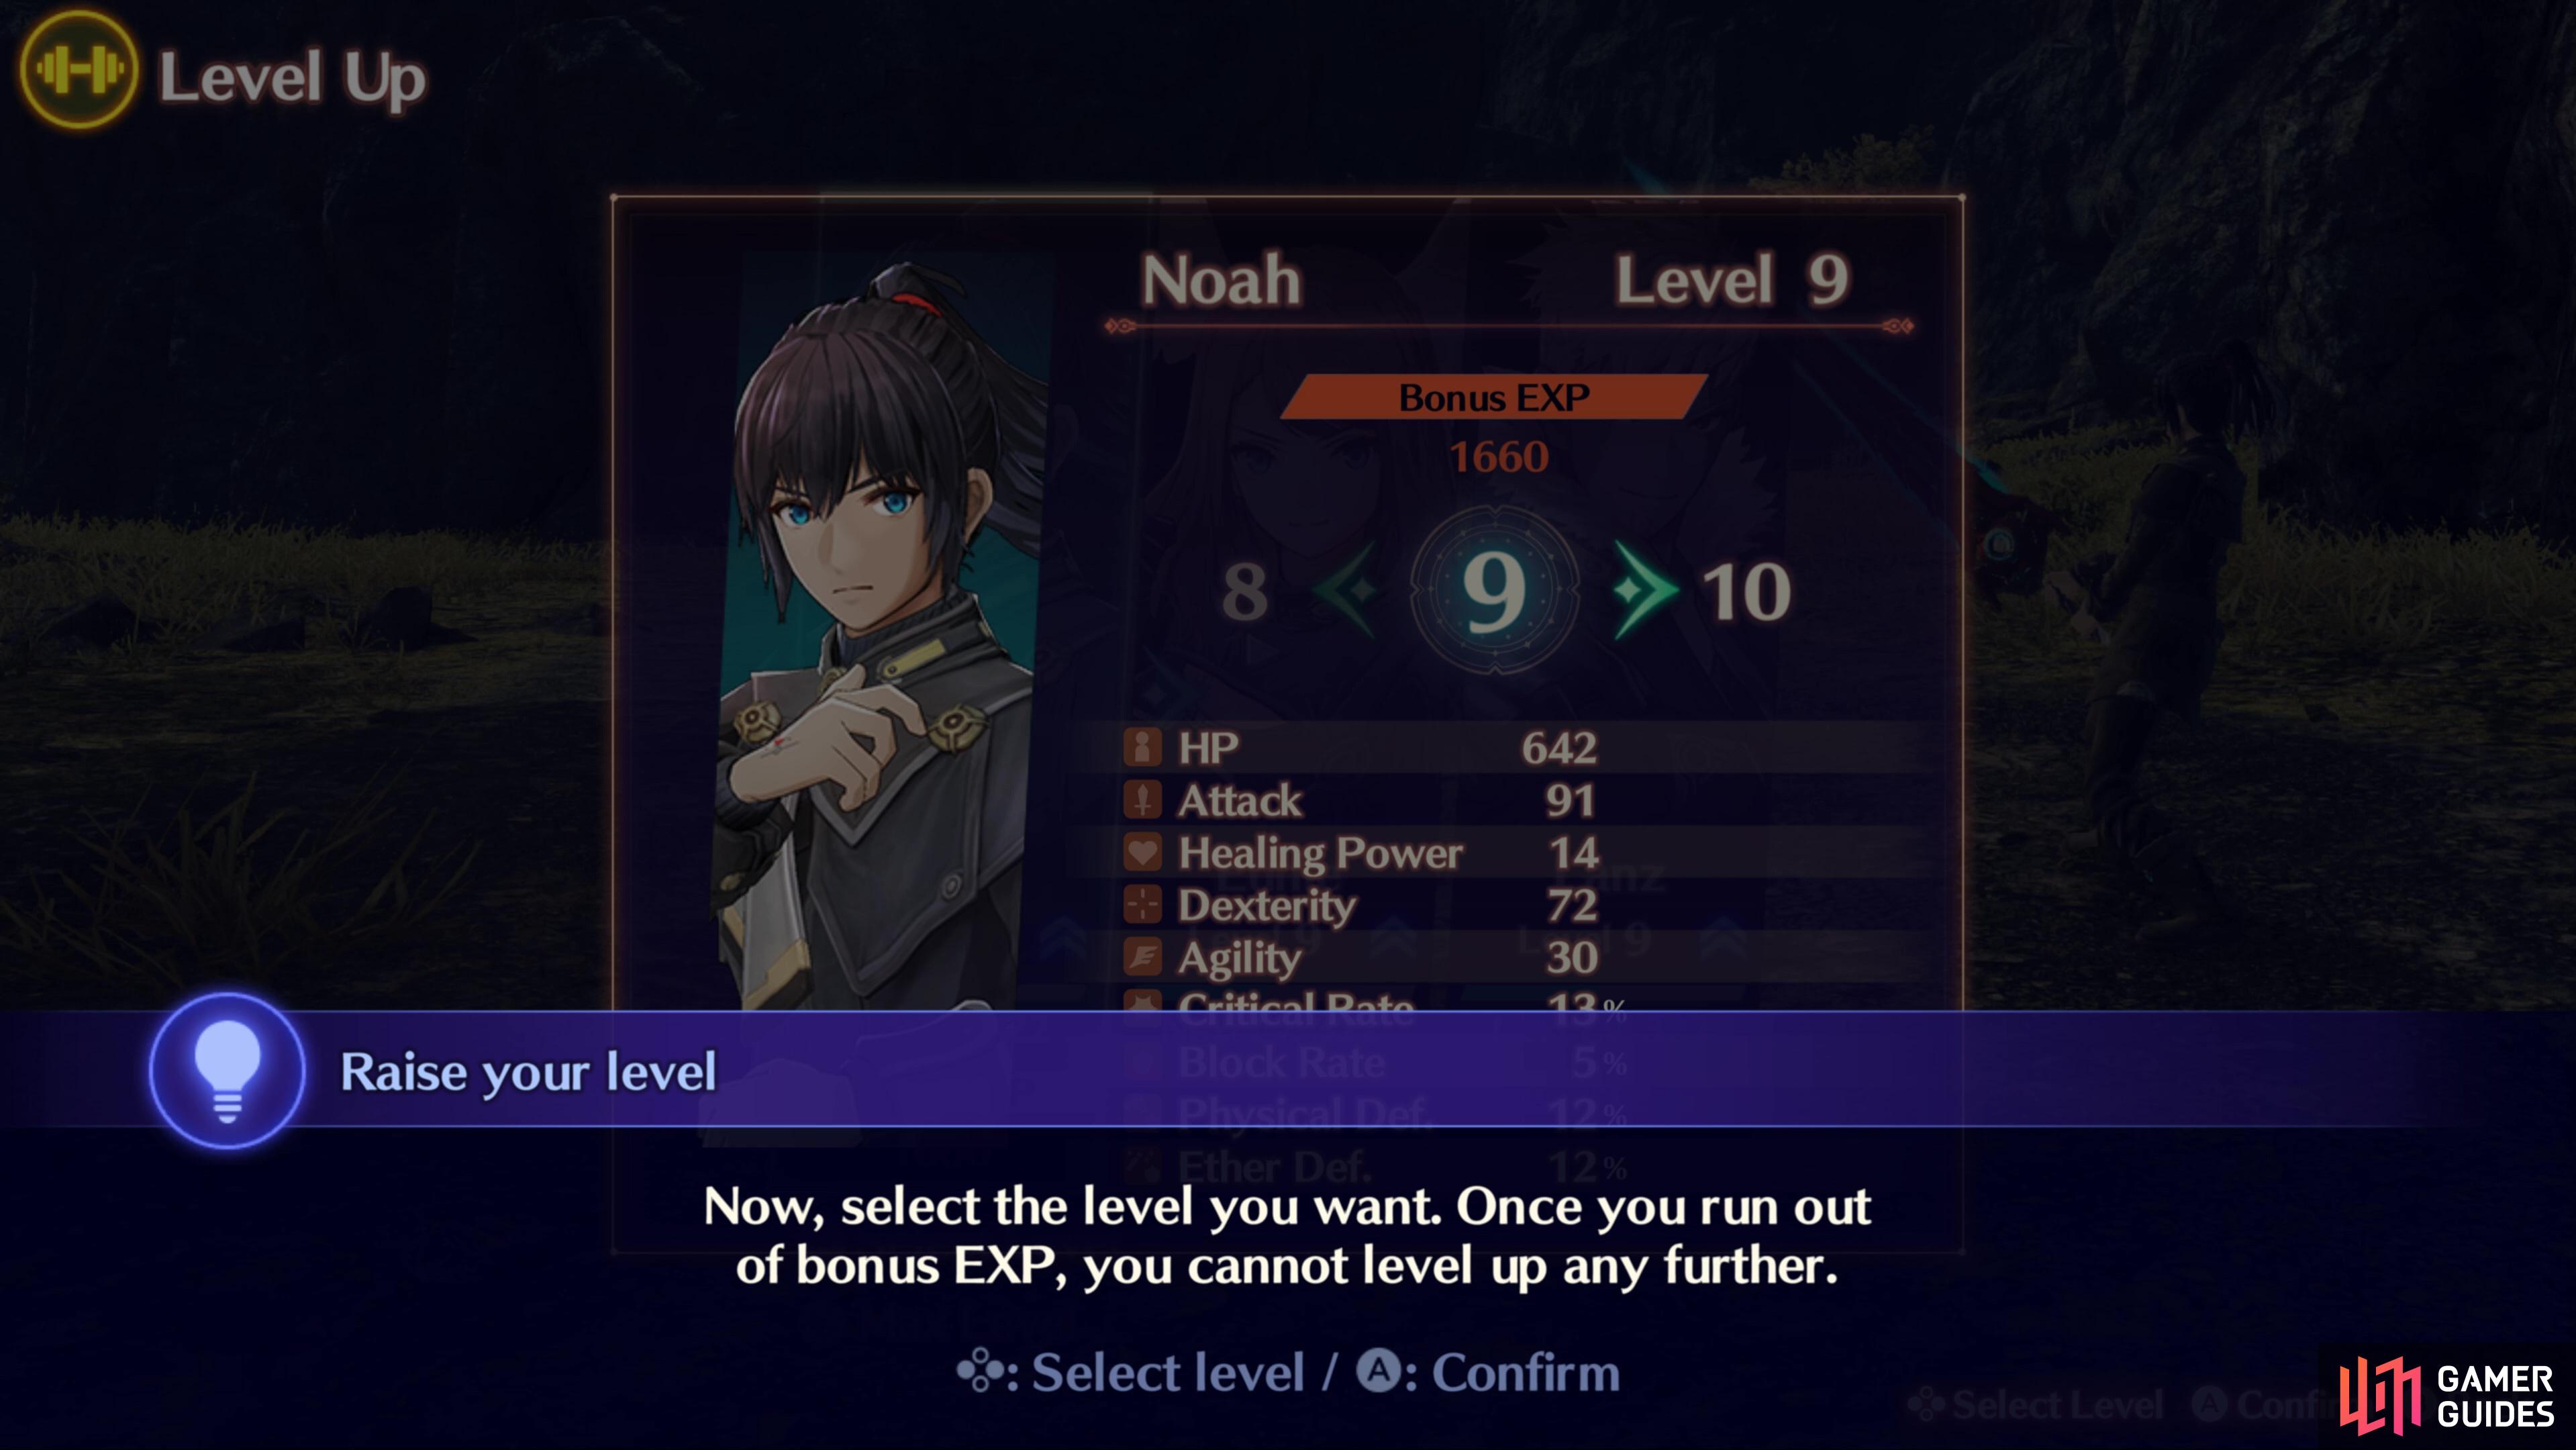
For now, Rest Spots act as a means to use your Bonus Exp and increase your Levels.
Beyond that, for now, your only other options at Rest Spots are to clean your clothes (and faces), which is a cosmetic option and to save your game (which you can do anywhere already). You’ll unlock more tasks that you can undertake at Rest Spots later in the adventure.
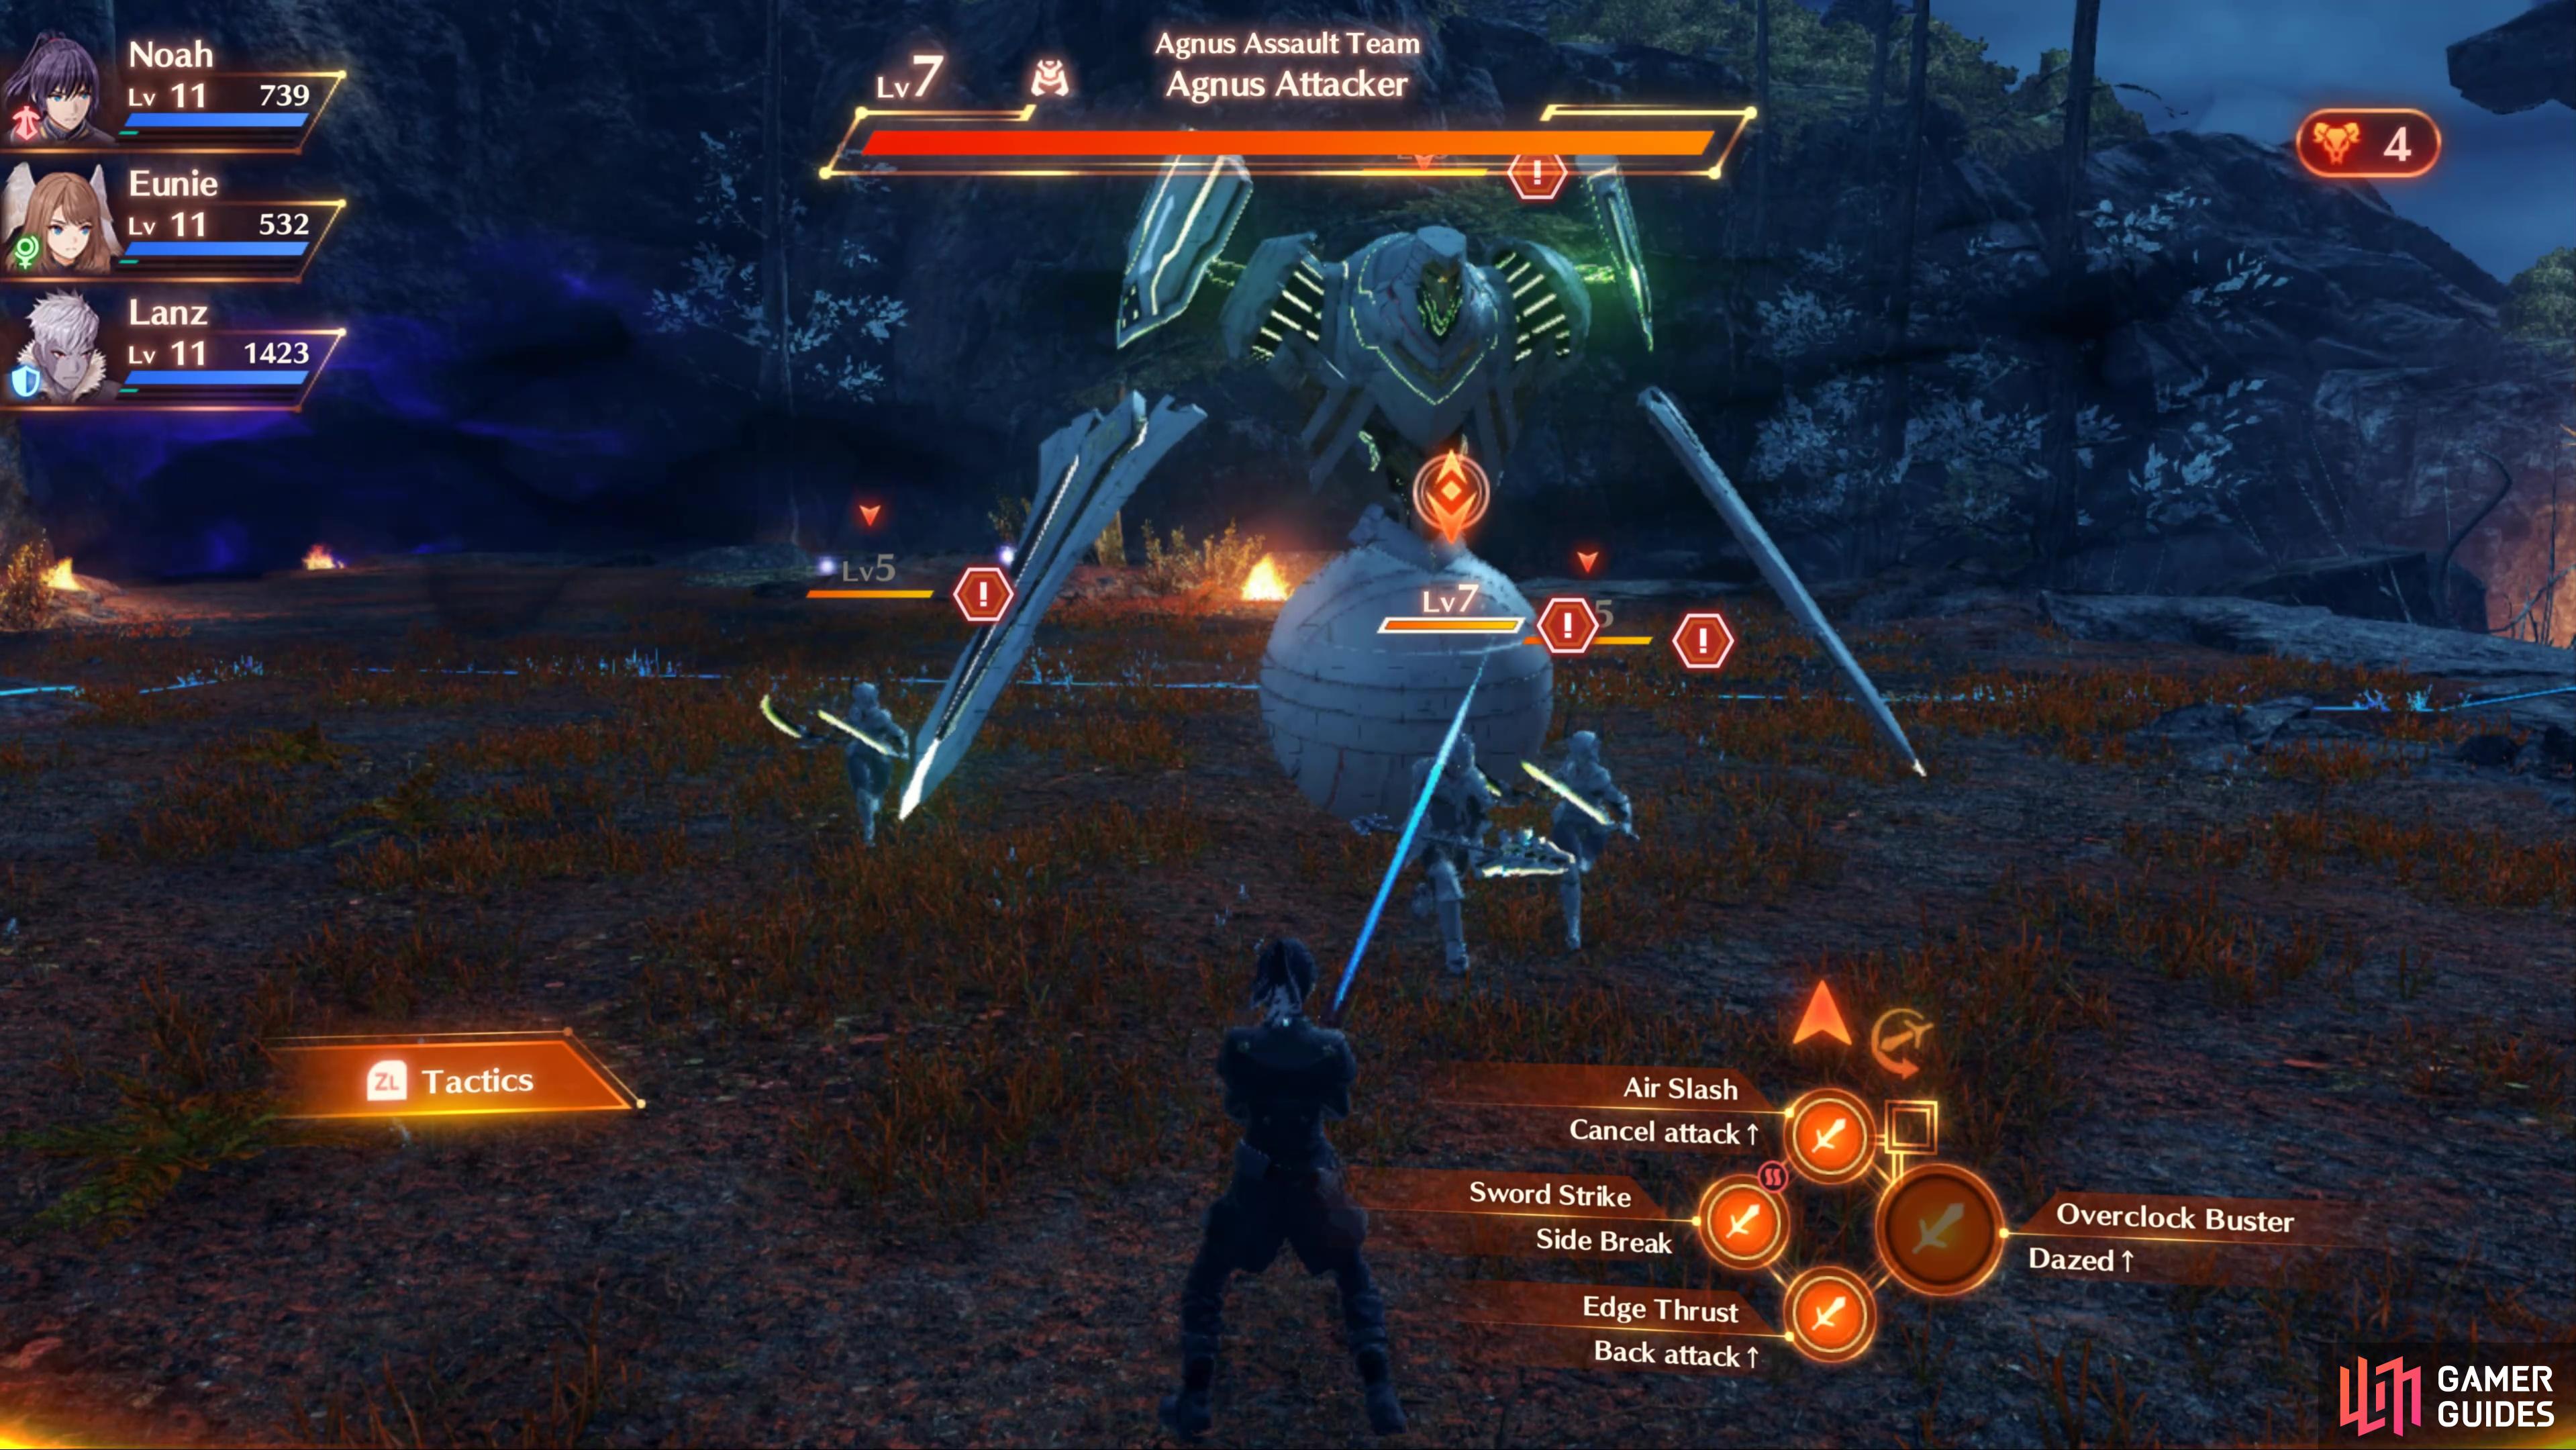
The Berje Belt
The operation will begin after taking a rest, proceed through the linear path and you’ll reach the Berje Belt and several cutscenes. An Agnus Assault Team awaits just up ahead, but so long as you’re at least Level 7 by now, they should pose little threat so long as you focus on one target at a time. A Skirmish is breaking out just in front of you, do your duty and help the Keves squad for a Nopon Coin (Silver) before pressing onwards.
You will encounter more Agnus Squads beyond the Rest Spot
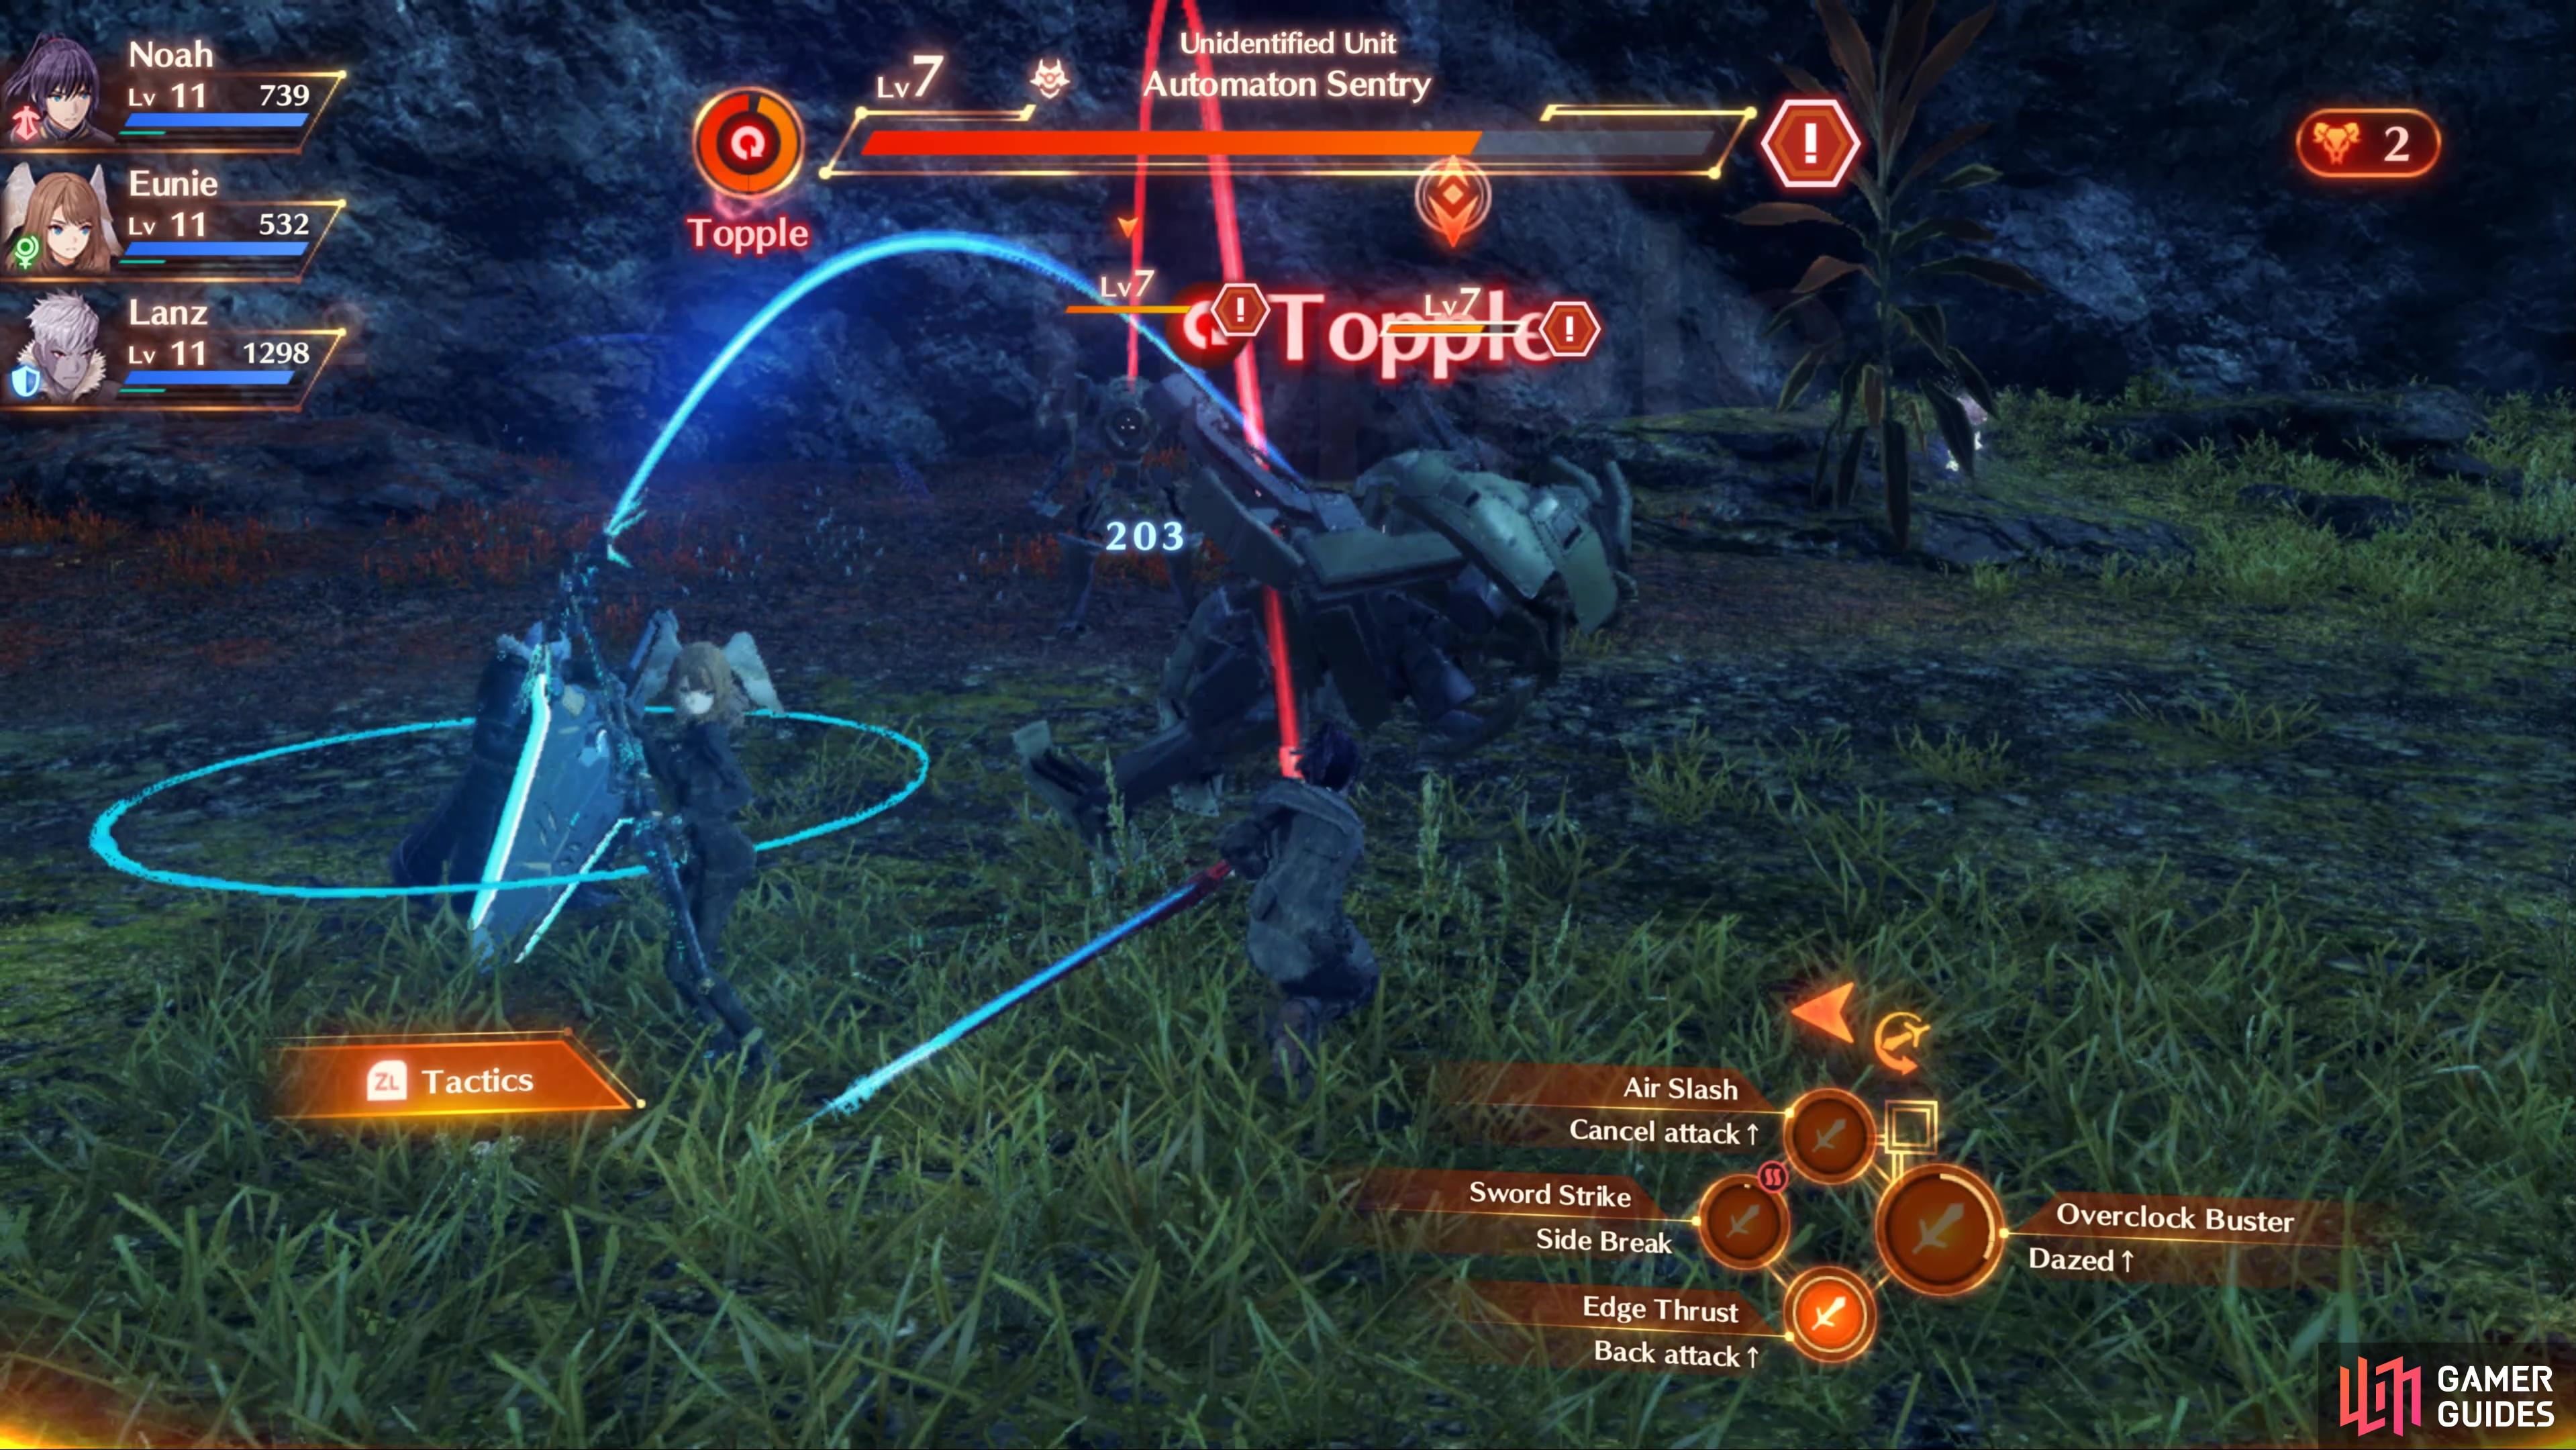
and eventually, Automatons which are more durable.
At the bottom of the Berje Belt, you’ll trigger another scene and be introduced to another new enemy, the Automatons. They may look imposing, but they’re not much more of a threat than the Agnus soldiers you’ve been fighting, albeit having more HP. You’ll encounter these as regular enemies going forward, and you’ll want to take the time to fight them as the next Main Story marker will trigger some scenes followed by your first Boss.
Quests in Yzana Plains
| Name | Giver | Type | Rewards |
|---|---|---|---|
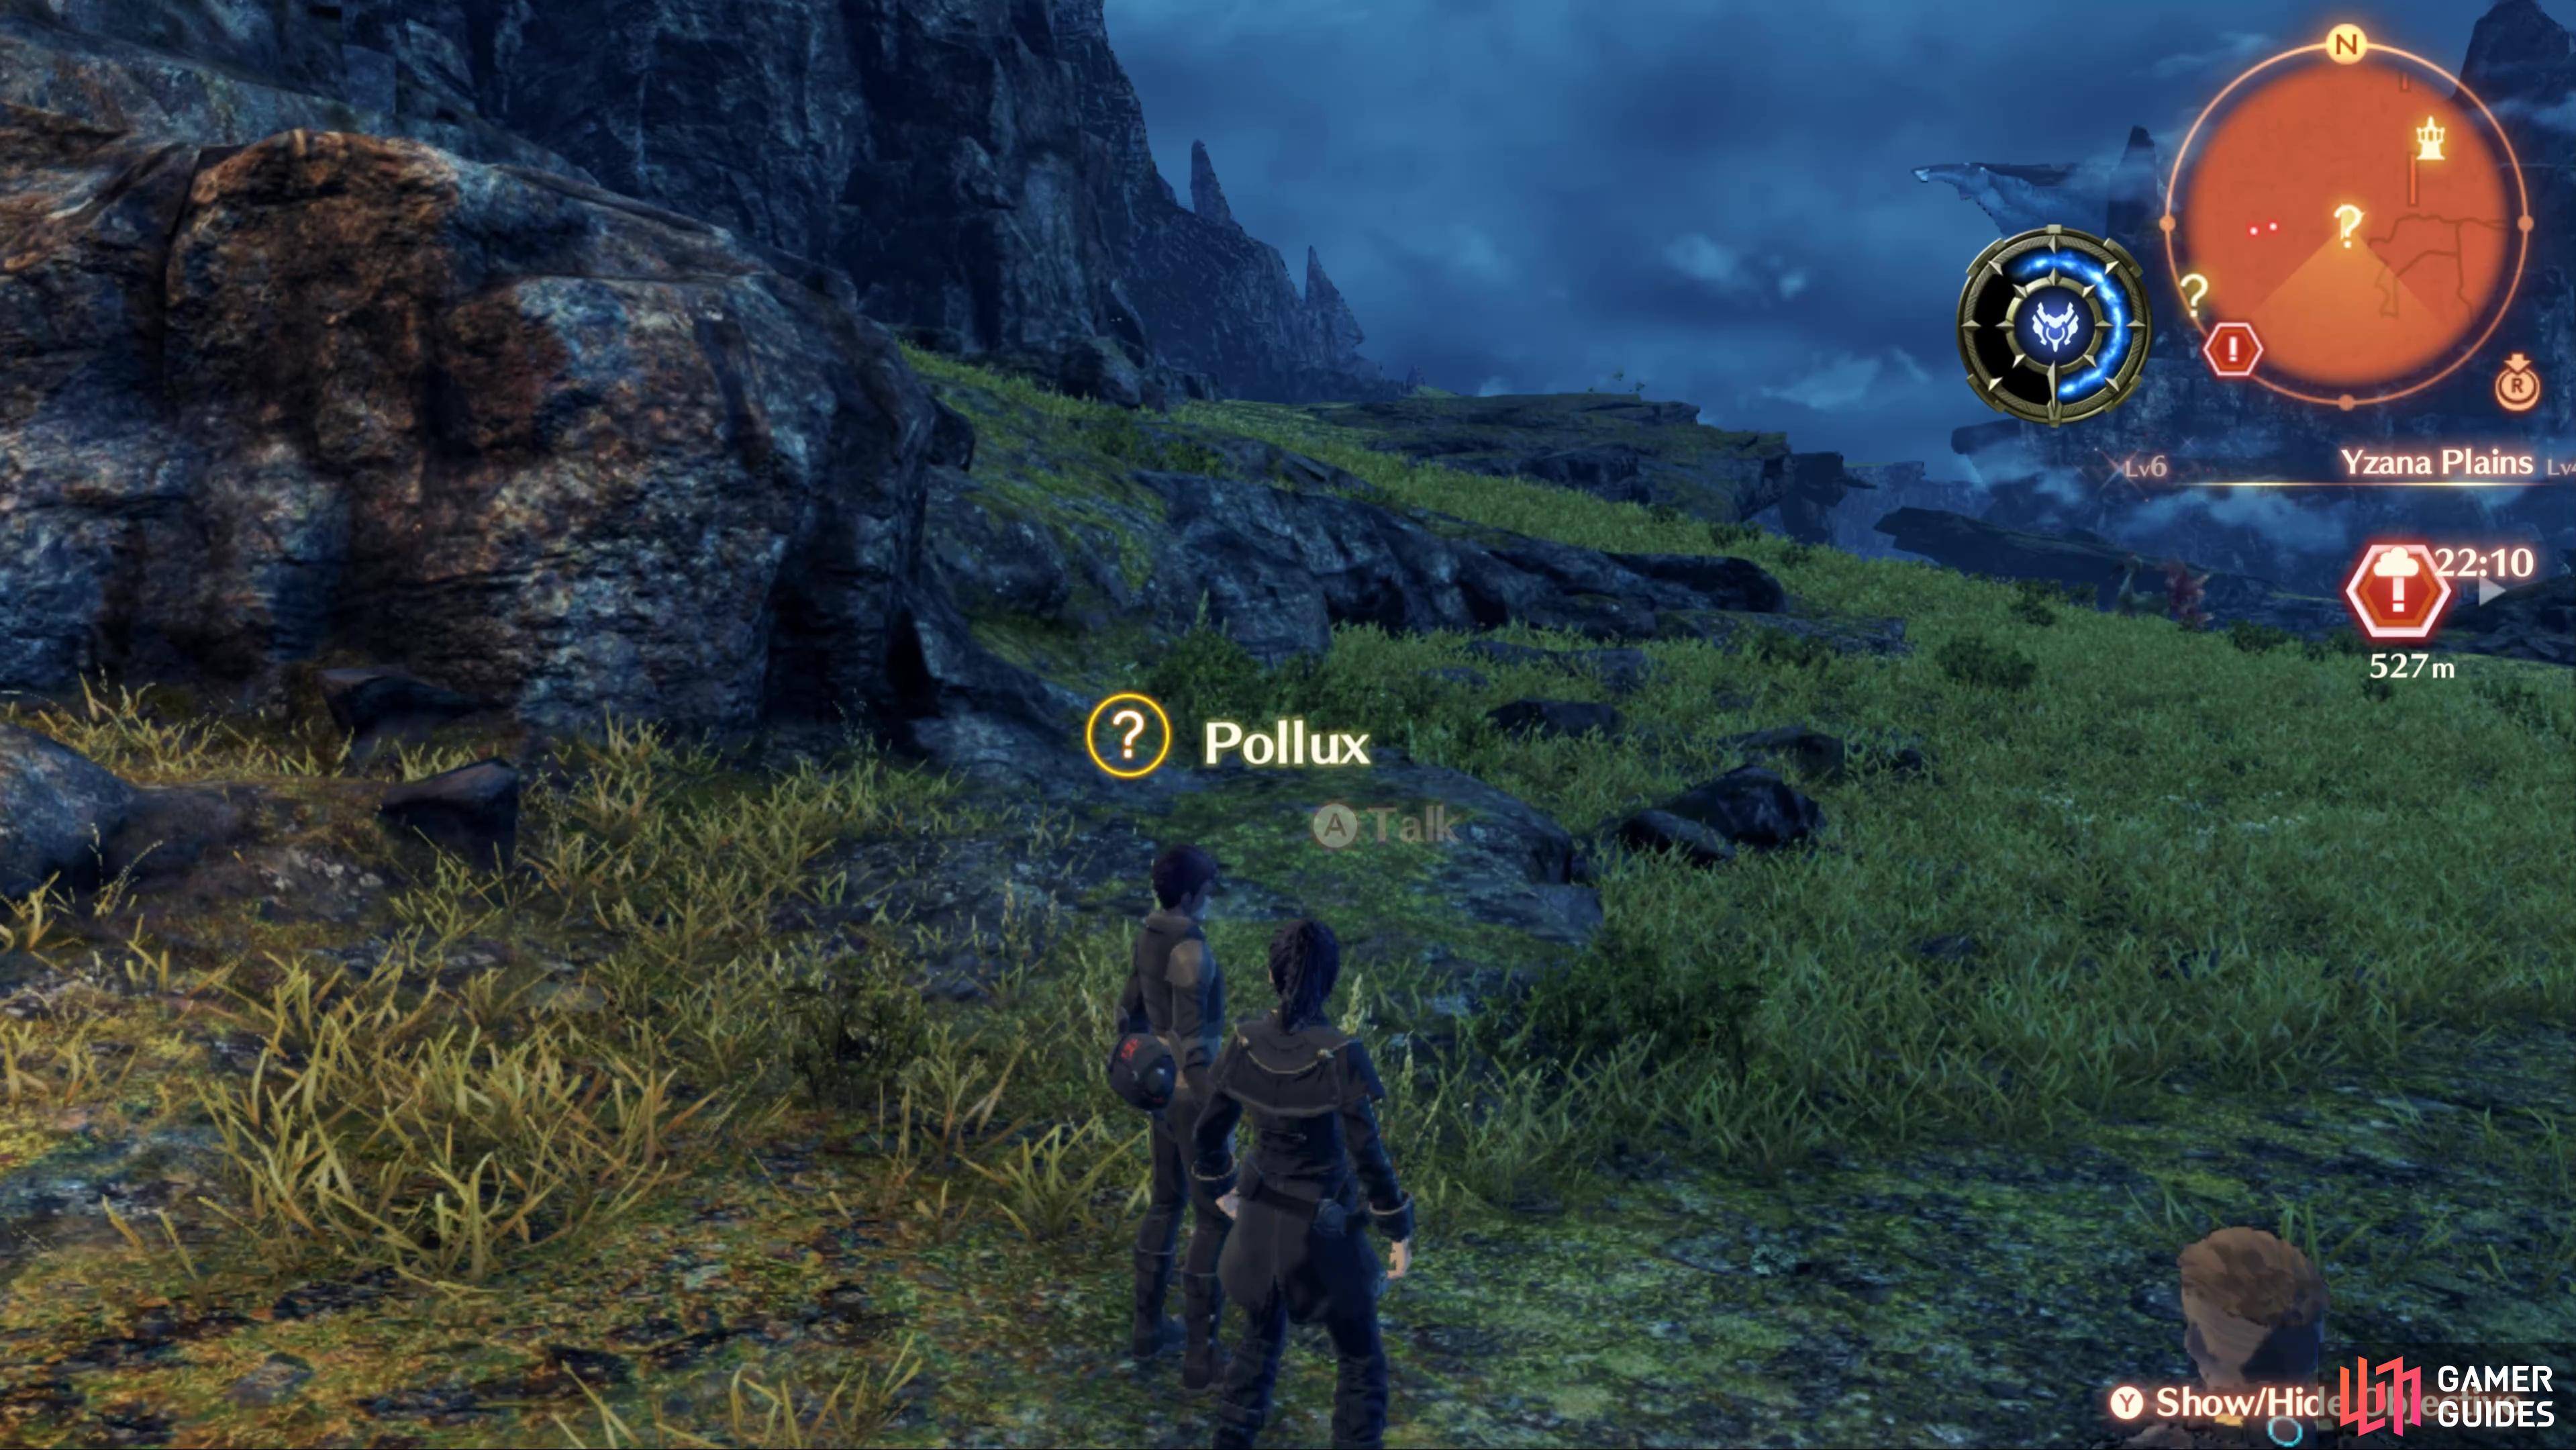
| Supplies in the Wind | Pollux |  |
x |
| Farewell Melody | Lenny | |
x |
| Friendly Support | Laurea | |
x |
There are three Standard Quests in Yzana Plains and they’re all rather time limited. Due to events that take place at the end of Chapter 1, you won’t be able to come back and complete them later. If you’re fully exploring the plains, you’ll naturally complete these Quests. Supplies in the Wind involves opening a container up at Skyview Falls, you’ll need to defeat a group of Bunnits for Farewell Melody and Friendly Support requires you to complete a Skirmish at Shark’s Jaw Cape.
Containers in Yzana Plains and Alfeto Valley
| Container # | Location | Items |
|---|---|---|
| 1 | Cliff south of Colony 9 | Gemstone |
| 2 | Skyview Falls | Nopon Coin (Silver) x2 |
| 3 | West of Shark’s Jaw Cape | Harvest Necklace, Seafoam Soap, Gemstone. |
| 4 | Alfeto Valley | Nopon Coin (Silver) x2 |
| 5 | Alfeto Valley | Nopon Coin (Silver) x2 |
As Yzana Plains is a much larger area than the previous areas you’ve trekked through, there are naturally more Containers to locate. There are three within this section of Yzana Plains with two on the linear path in Alfeto Valley.
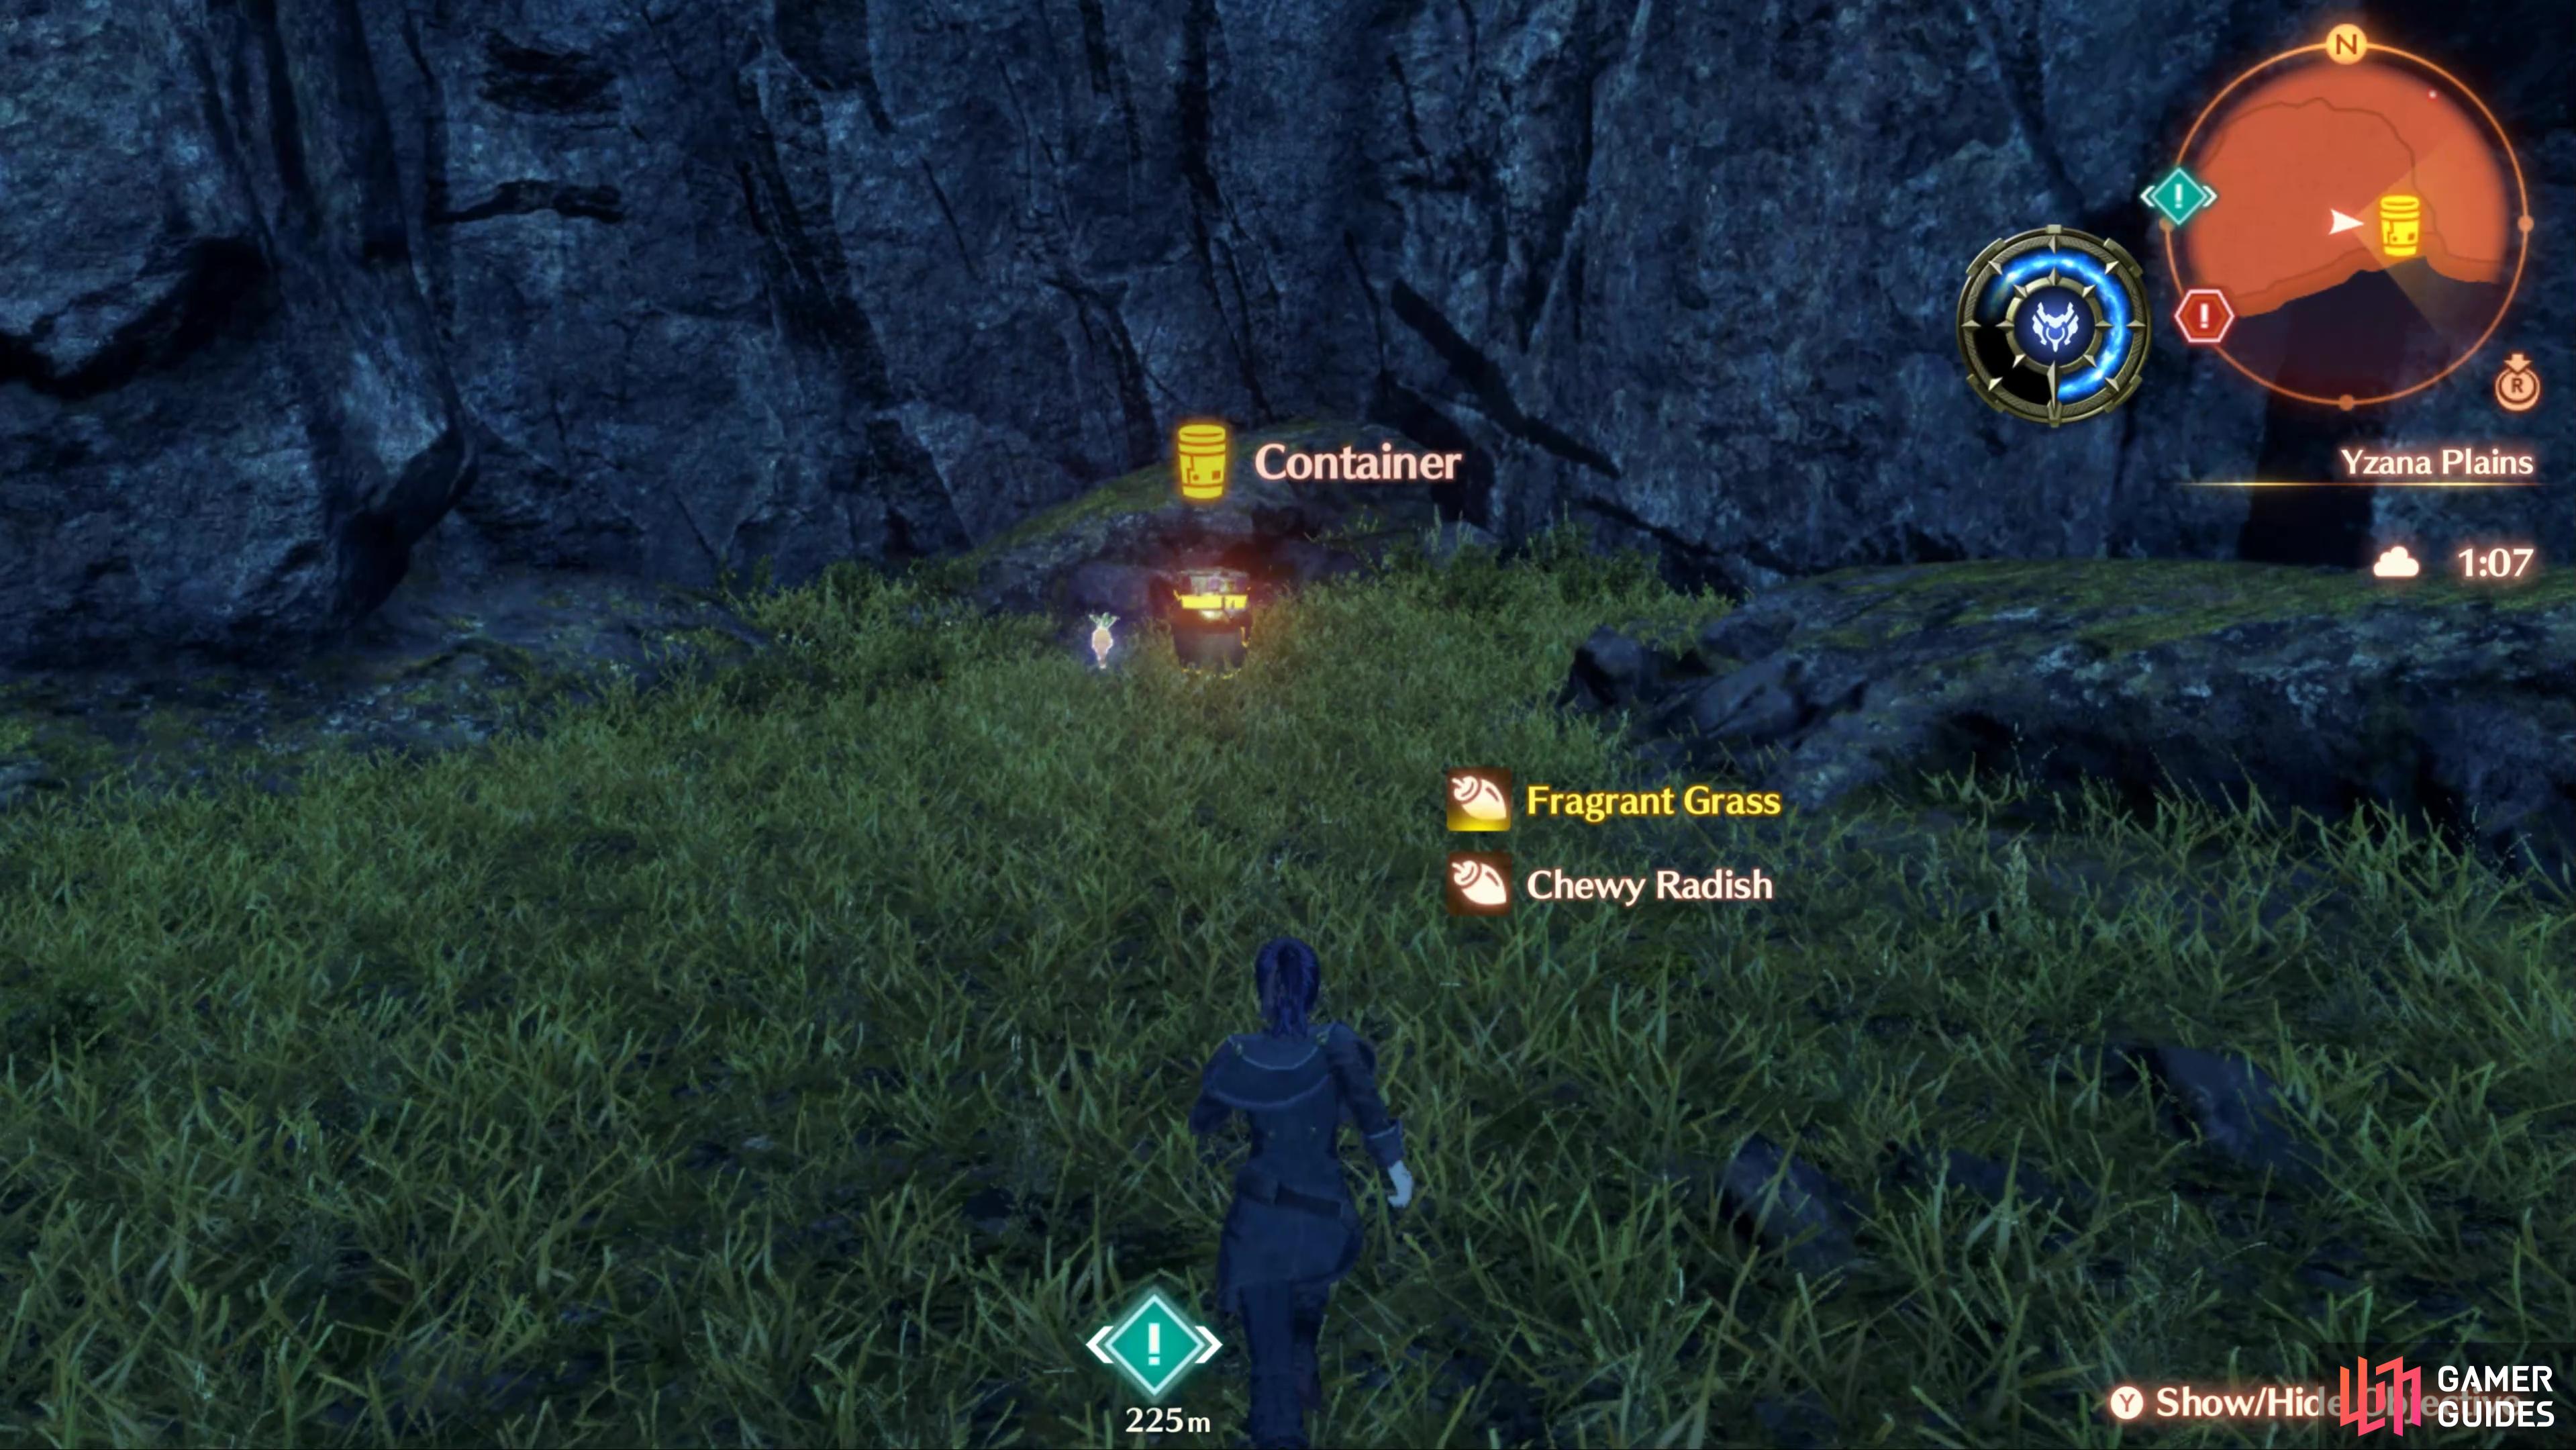
The first Container can be found by heading south from Pollux’s location until you reach the wall and then head east. Head west once you cross the Flamii Watering Hole to find Skyview Falls where another Container can be found at the western edge (along with the Quest objective for Supplies in the Wind). Container #3 can be found by heading east at the Flamii Watering Hole to head up and reach Shark’s Jaw Cape. Once you grab the Landmark, head west and leap over to find this Container.
The final two Containers are in Alfeto Valley’s linear path. The first requires you to head up the immediate northern slope, deal with the Elite enemy and then leap over to the Container. The final Container can be found in the southwest corner after defeating Drifter Ropi.
Soldier Husks in Everblight Plain
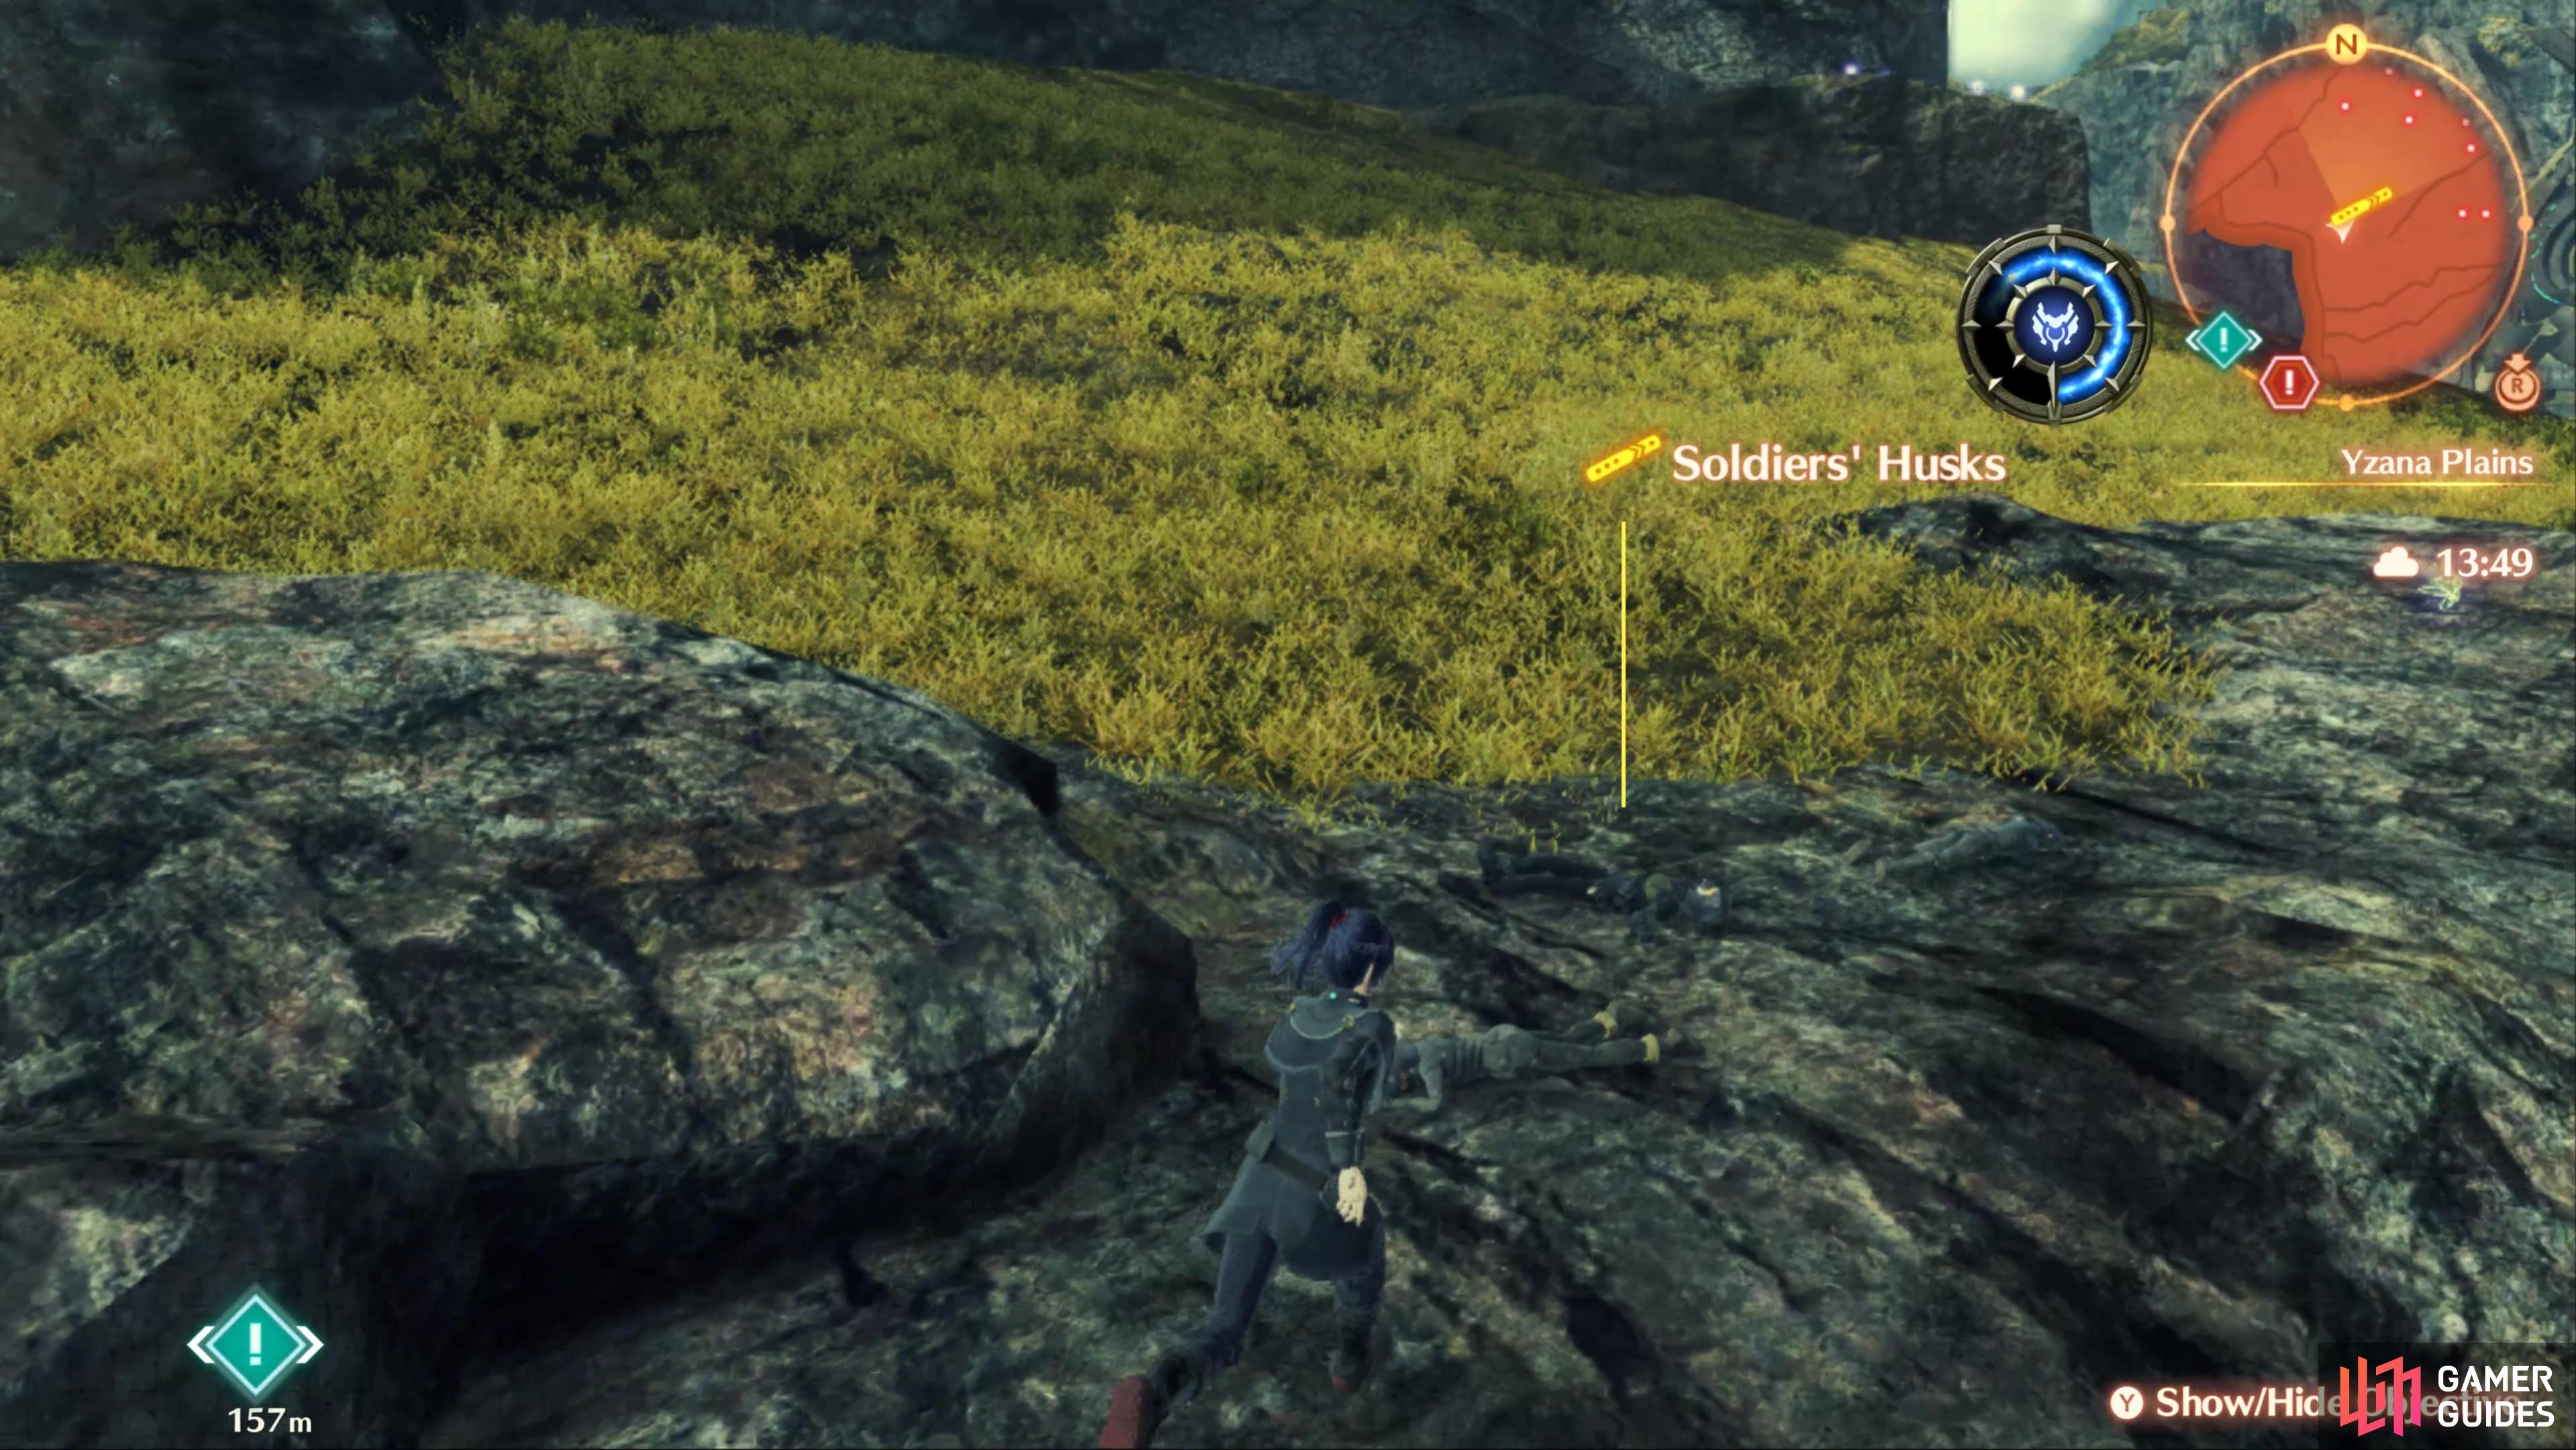
There are three Soldier Husks to seek out in these areas. The first can be found by heading to the cliffs to the west of the first Skirmish just outside Colony 9. The second can be found underneath the cliff at the Flamii Watering Hole. The final Husk is easy to miss, after defeating Drifter Ropi in Alfeto Valley, head up the platform directly to your east instead of continuing west along the path.
No Comments