This page offers a guide on how to complete Riku and Manana’s Hero Quest, A Nopon’s Counsel and unlock Riku & Manana as a permanent party member in Xenoblade Chronicles 3 during Chapter 3.
Riku and Manana’s Hero Quest is unlocked in Chapter 3 as part of the main story.
How to Unlock ‘A Nopon’s Counsel’
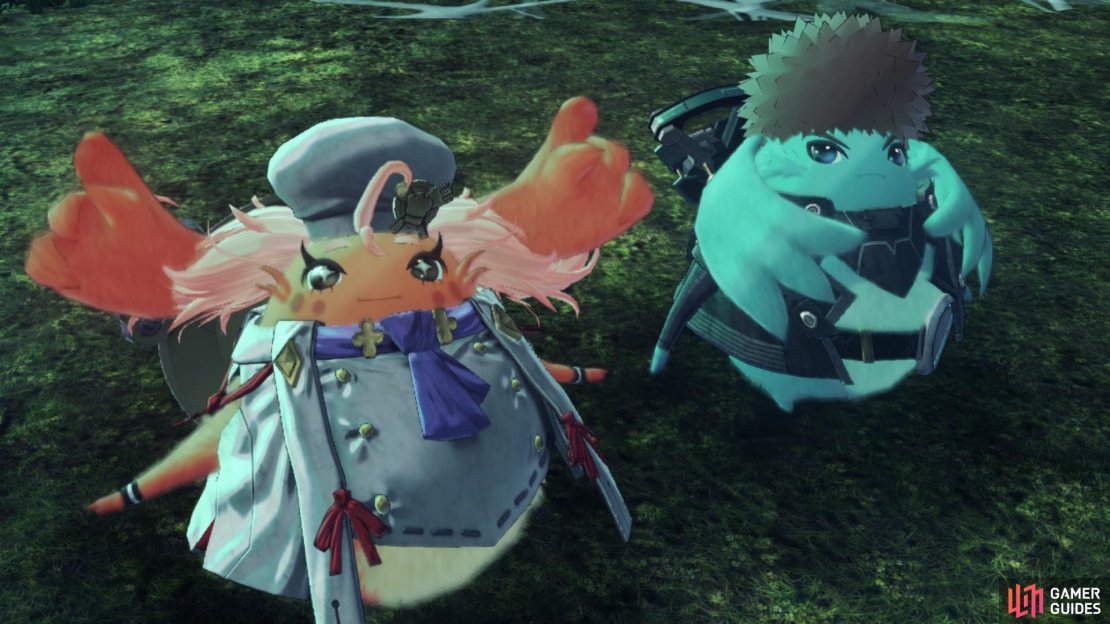
This is yet another Hero Quest that you’ll start as part of the main story in Chapter 3 and must complete to progress the game’s narrative. Once you enter the Urayan Tunnels for the first time, head forward and Riku will stop the group to discuss the potential of rare ore in these tunnels, starting the Quest in the process. Thankfully, there is no mandatory boss battle at the start of this Hero Quest for once, Riku and Manana are already your companions after all.
Where to Find the Ore
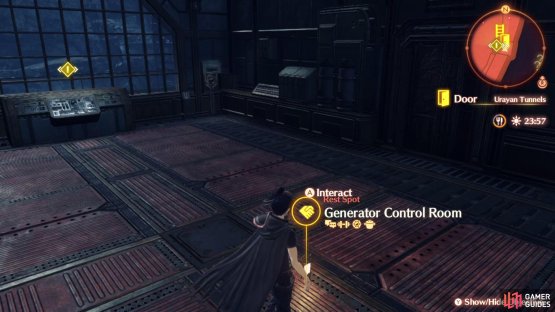
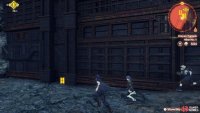
Your first task while in the Urayan Tunnels is to track down some rare ore for Riku, and he suggests you may need to head down on the nearby elevator. Upon inspecting it, however, you’ll discover that there’s no power to it. Follow the path to the east and head down the stairs near the locked door to loop around and enter the Generator Control Room. Make use of the Rest Spot should you need it and then activate the generator to supply power to Elevator 1. Return to the elevator and, after some heroics from Manana, take it down.
(1 of 2) Head down the stairs near the locked door
Head down the stairs near the locked door (left), to loop around and access the generator to get power to the elevator. (right)
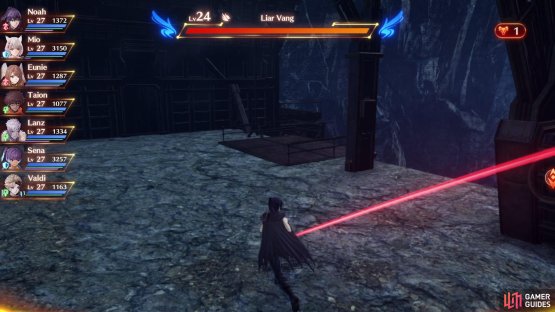
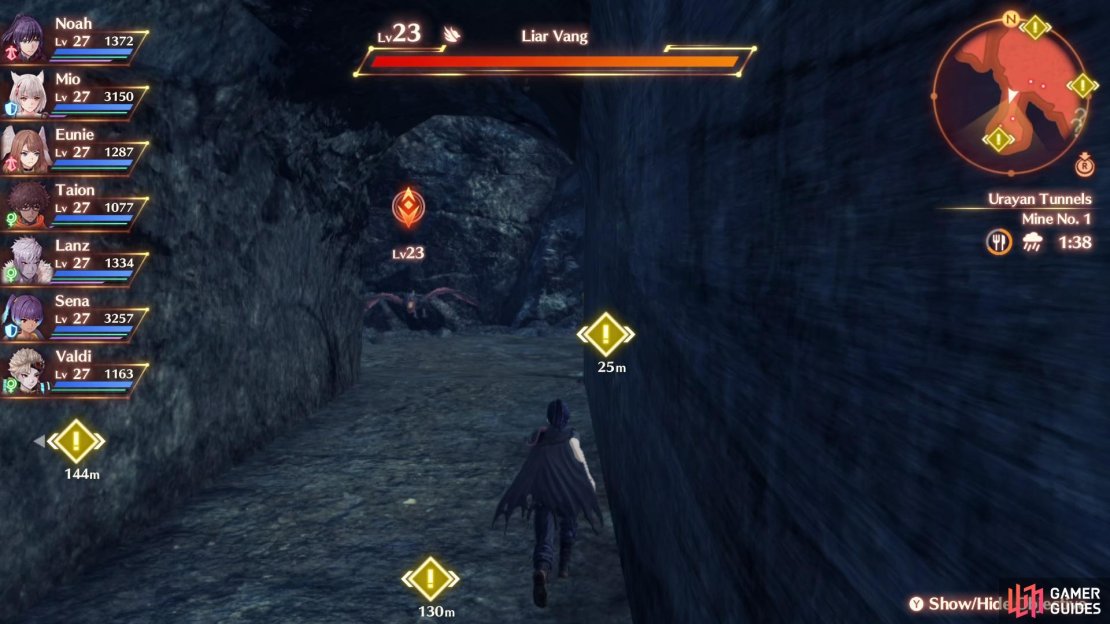
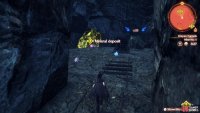
There are three ore deposits you’ll need to search here, and you can go about it in any manner you see fit. Head southwest from your starting position to find a path leading to a small cave that a Liar Vang has made their home. Swat them aside and search the ore, it’s not what Riku is looking for, but you’ll score a Nail Stone.
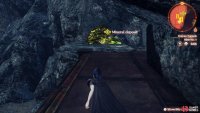
Head north behind the elevator next to find another cave guarded by an Elite Kattl Krabble. Your fighting area is limited, but so long as you match this Krabble’s Level, you should have no issues defeating it. Once down, search the nearby ore to discover that it too is not the ore Riku seeks but you’ll still pocket a Mille-Feuille Rock. The final location may at first look at out of reach, but head over to it and you’ll find a ladder that will take you up to it. Once again, this is not the ore Riku is searching for, but you’ll gain a Electric Cricket Fossil.
(1 of 4) The first ore location has a single Vang guarding it
The gang decides they’ll need to venture deeper into the tunnels if they’re to find what Riku seeks. Follow the only path south and follow the linear path down to the a Rest Spot where the party will take a breather (don’t forget the Soldier Husk along the way.)
Take the time to create any new Gems and eat another meal if your current one is in danger of fading soon. Once you’re rested up, head along the makeshift bridge and begin fighting your way through some Arachnos as you head further down the tunnels. Eventually, you’ll reach a clearing where it appears Riku has found what he was looking for, although the residents of these tunnels have other ideas!



No Comments