
This is a guide for Chapter 7 of Xenoblade Chronicles 3, where we explore the first section of the Origin Interior during the endgame.
Where to go inside Origin

Welcome to the final dungeon.
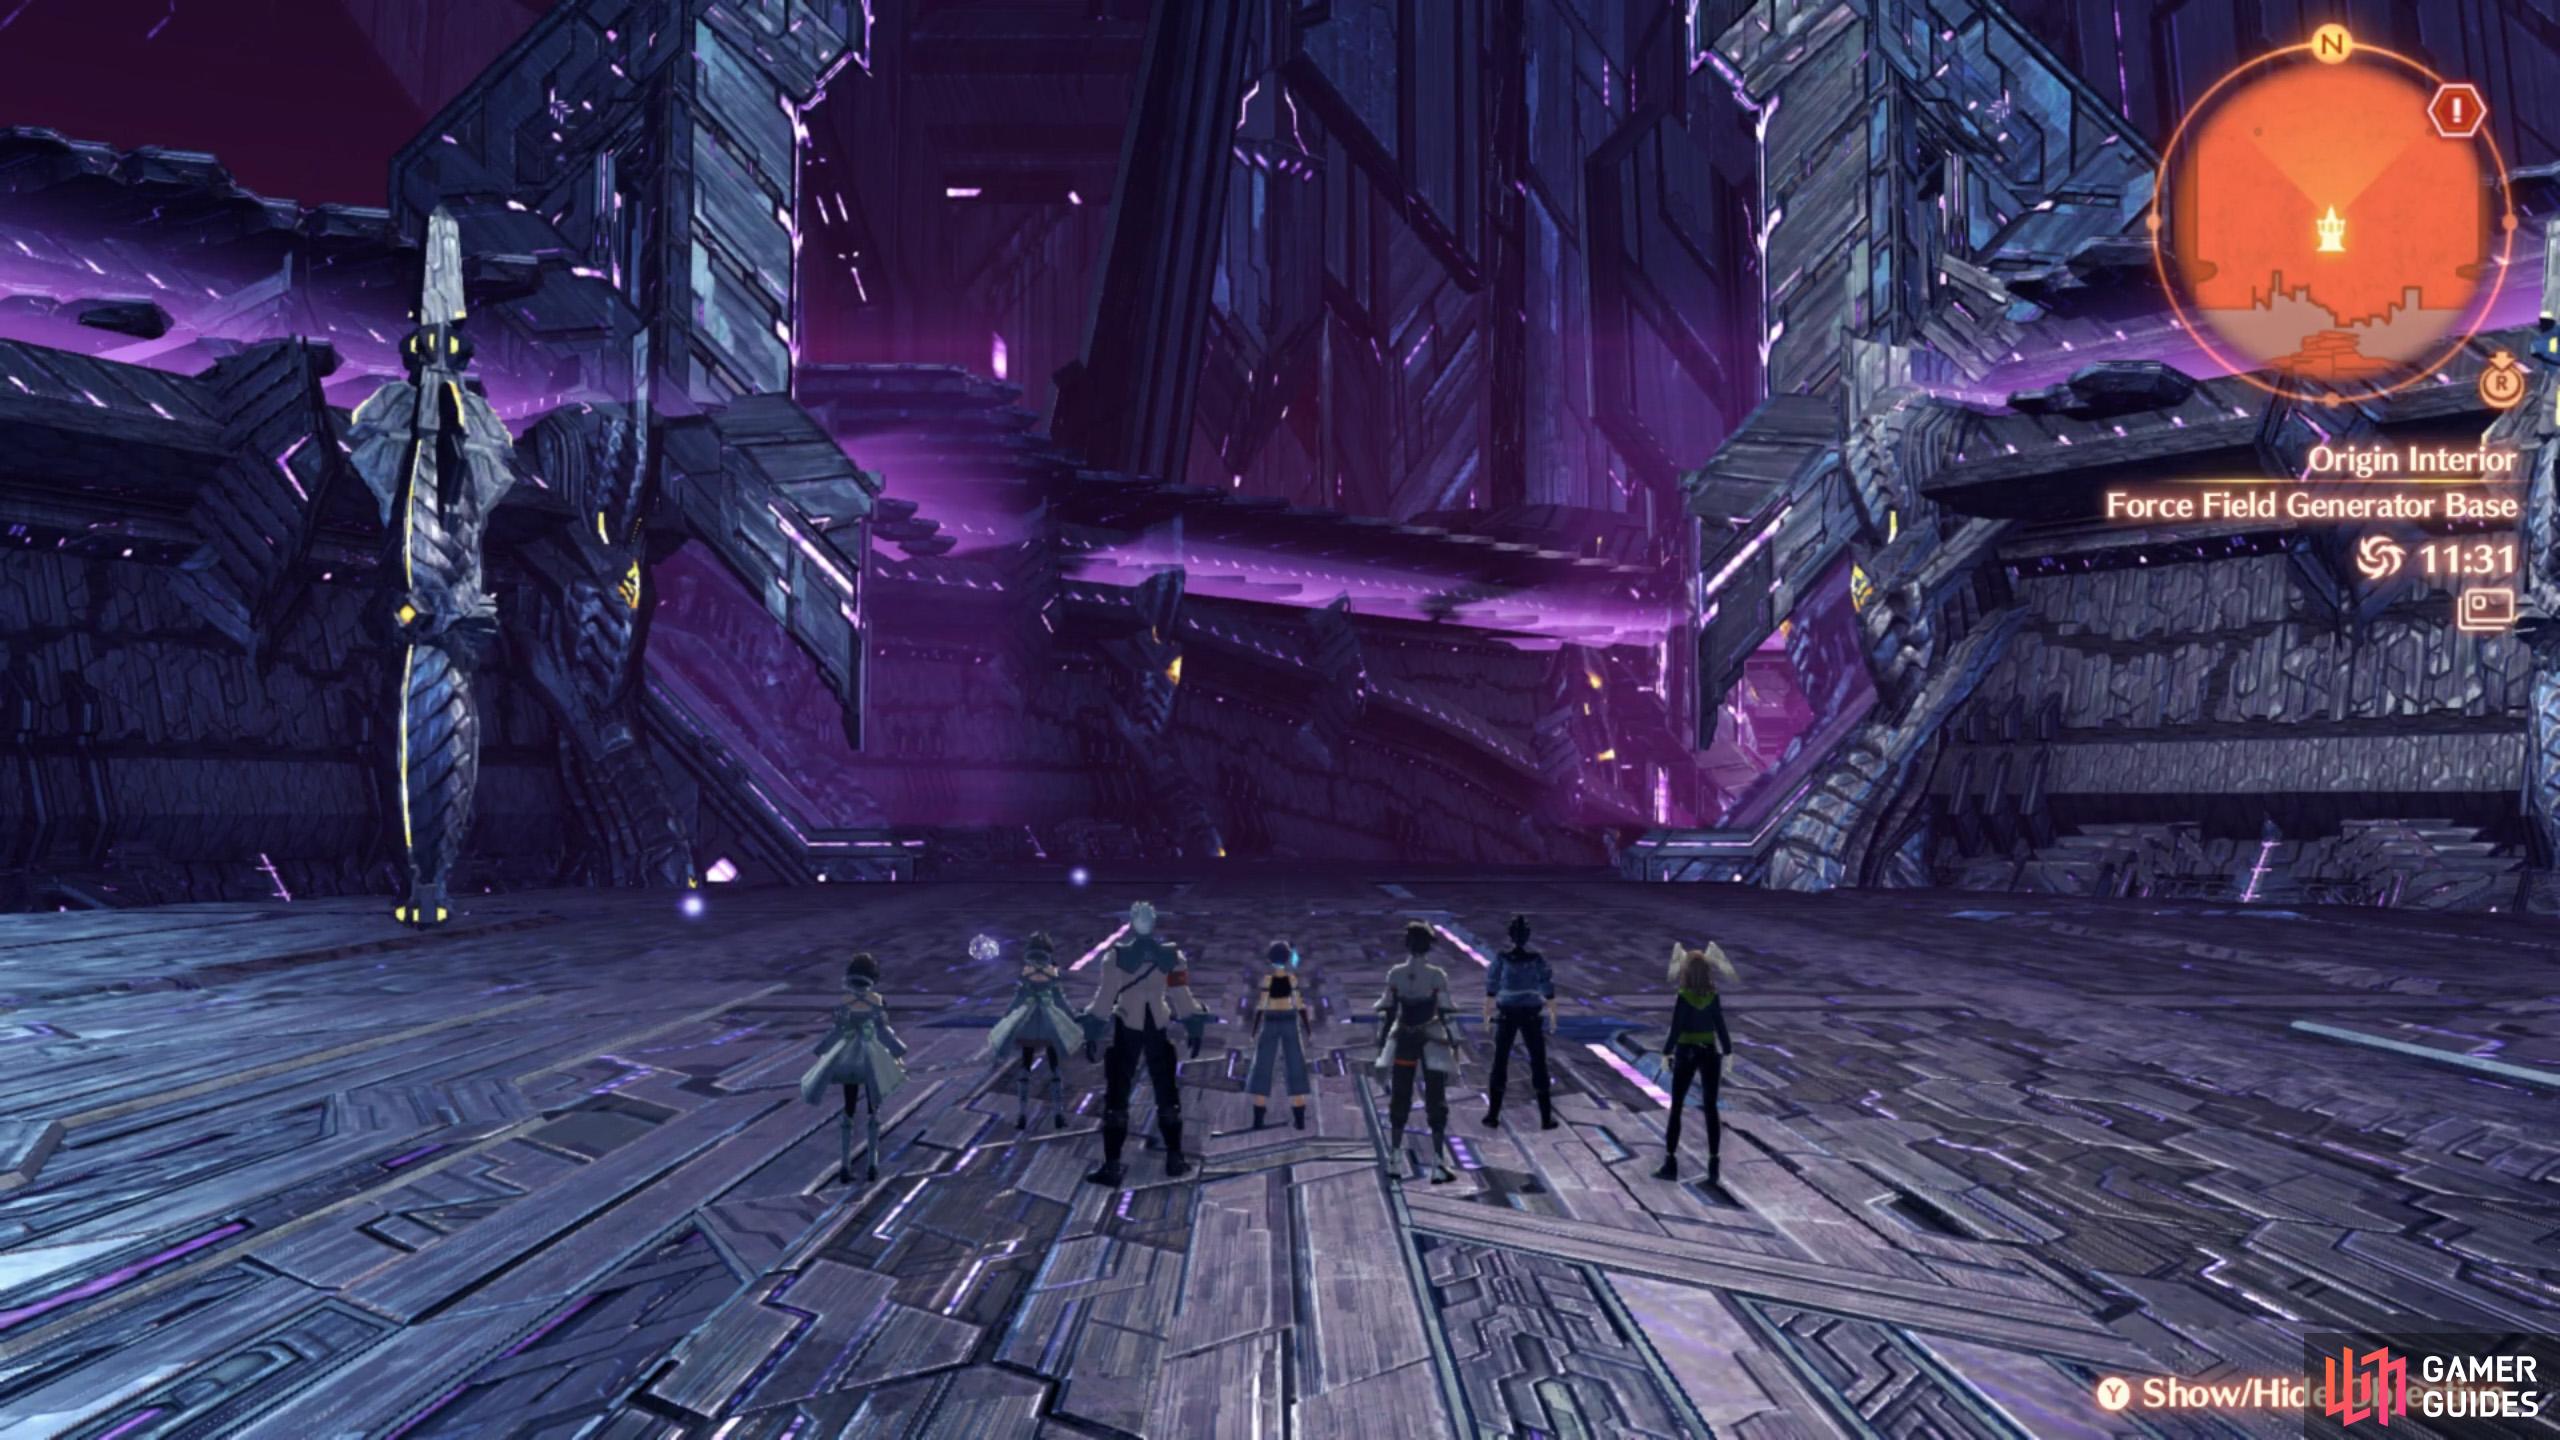
Origin was remodelled by Moebius; the paint color says it all.
After successfully entering Origin, you’ll begin at the Force Field Generation Base towards the east. If you need to rest, you can enter the Bravery and use the cabin. Also, you can leave Origin by fast-traveling outside.
To the Amplifier Control Room
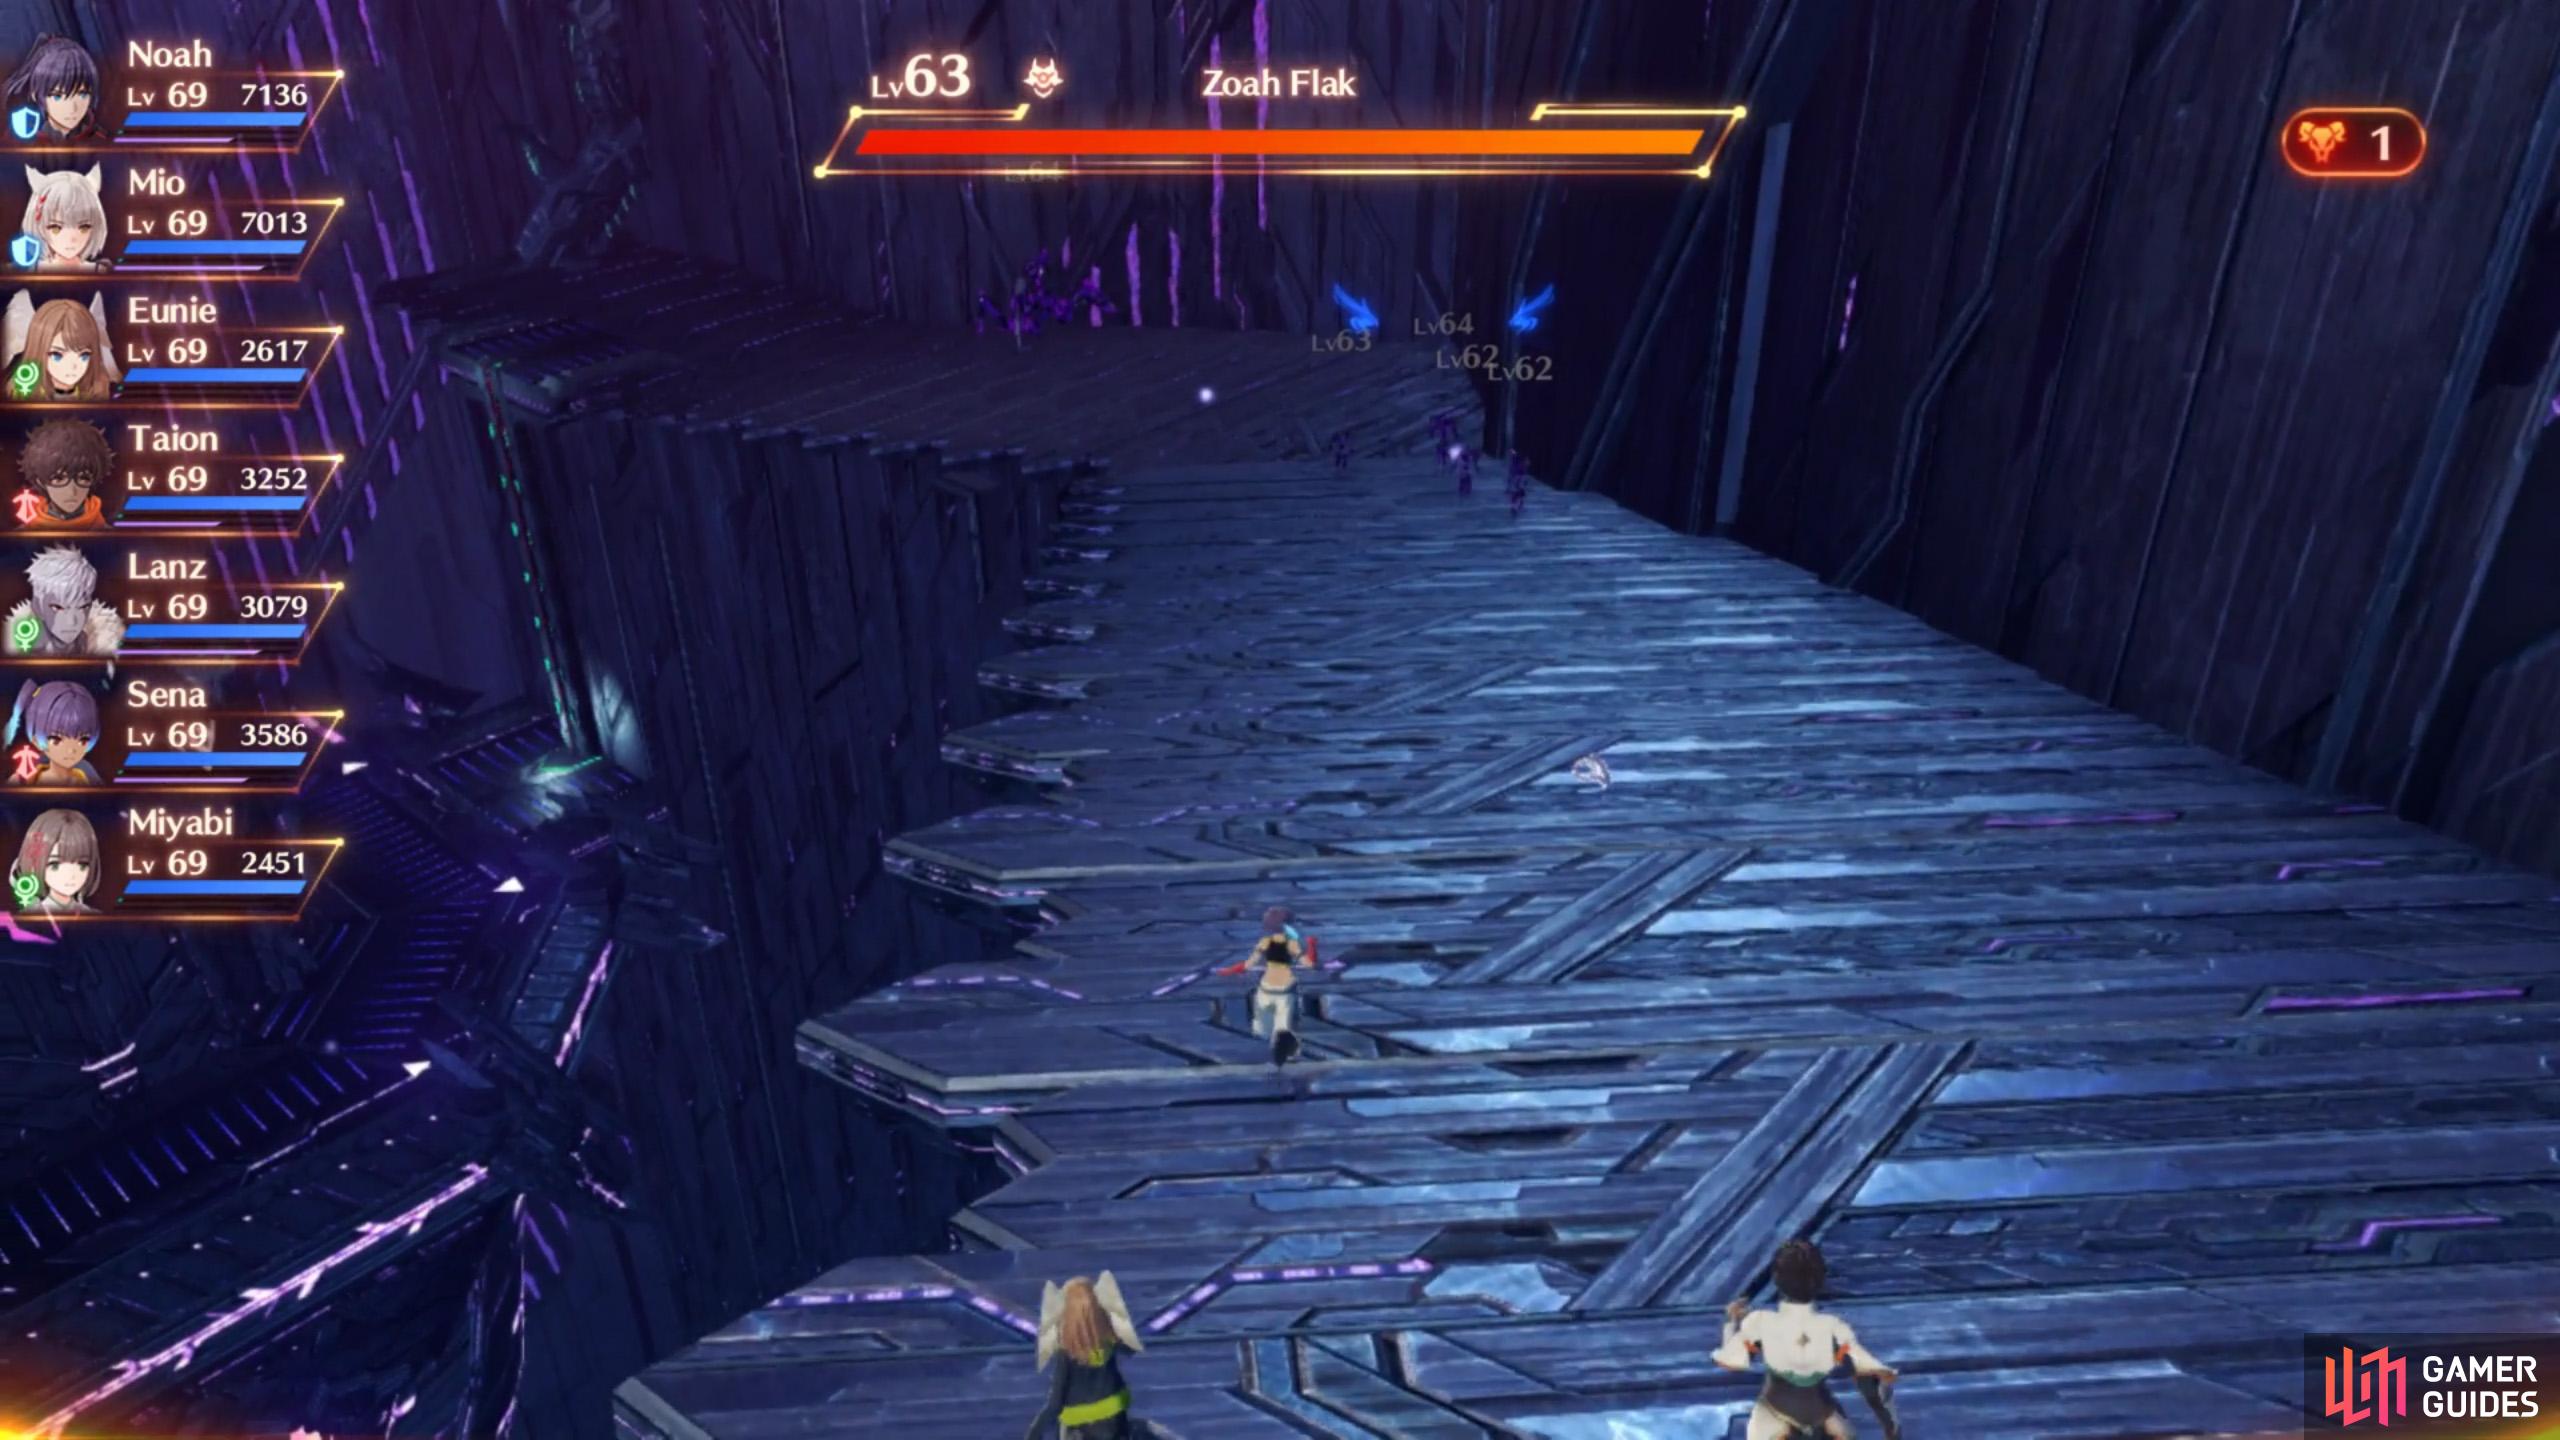
Origin is swarming with foes. If you’re high level, feel free to run past them.
There are plenty of places to rest inside Origin. Make yourself at home.
To proceed, head north from the Bravery, then east. After a short while, you’ll reach a door guarded by four Level 63 enemies, including two Kef Stamm, a Lods Toray and Kio Nos. After the battle and the ensuing cutscene, head through the door into the North Sector Passage and ride the elevator north.
On the other side, go through the west door to emerge at Amplifier No. 1. From the landmark, take a left and follow the path towards the center. Next, go up the ladders to reach the west side, then head anti-clockwise around to the ladder at the south. From here, travel north-east, then continue anti-clockwise to the exit to the north-west.
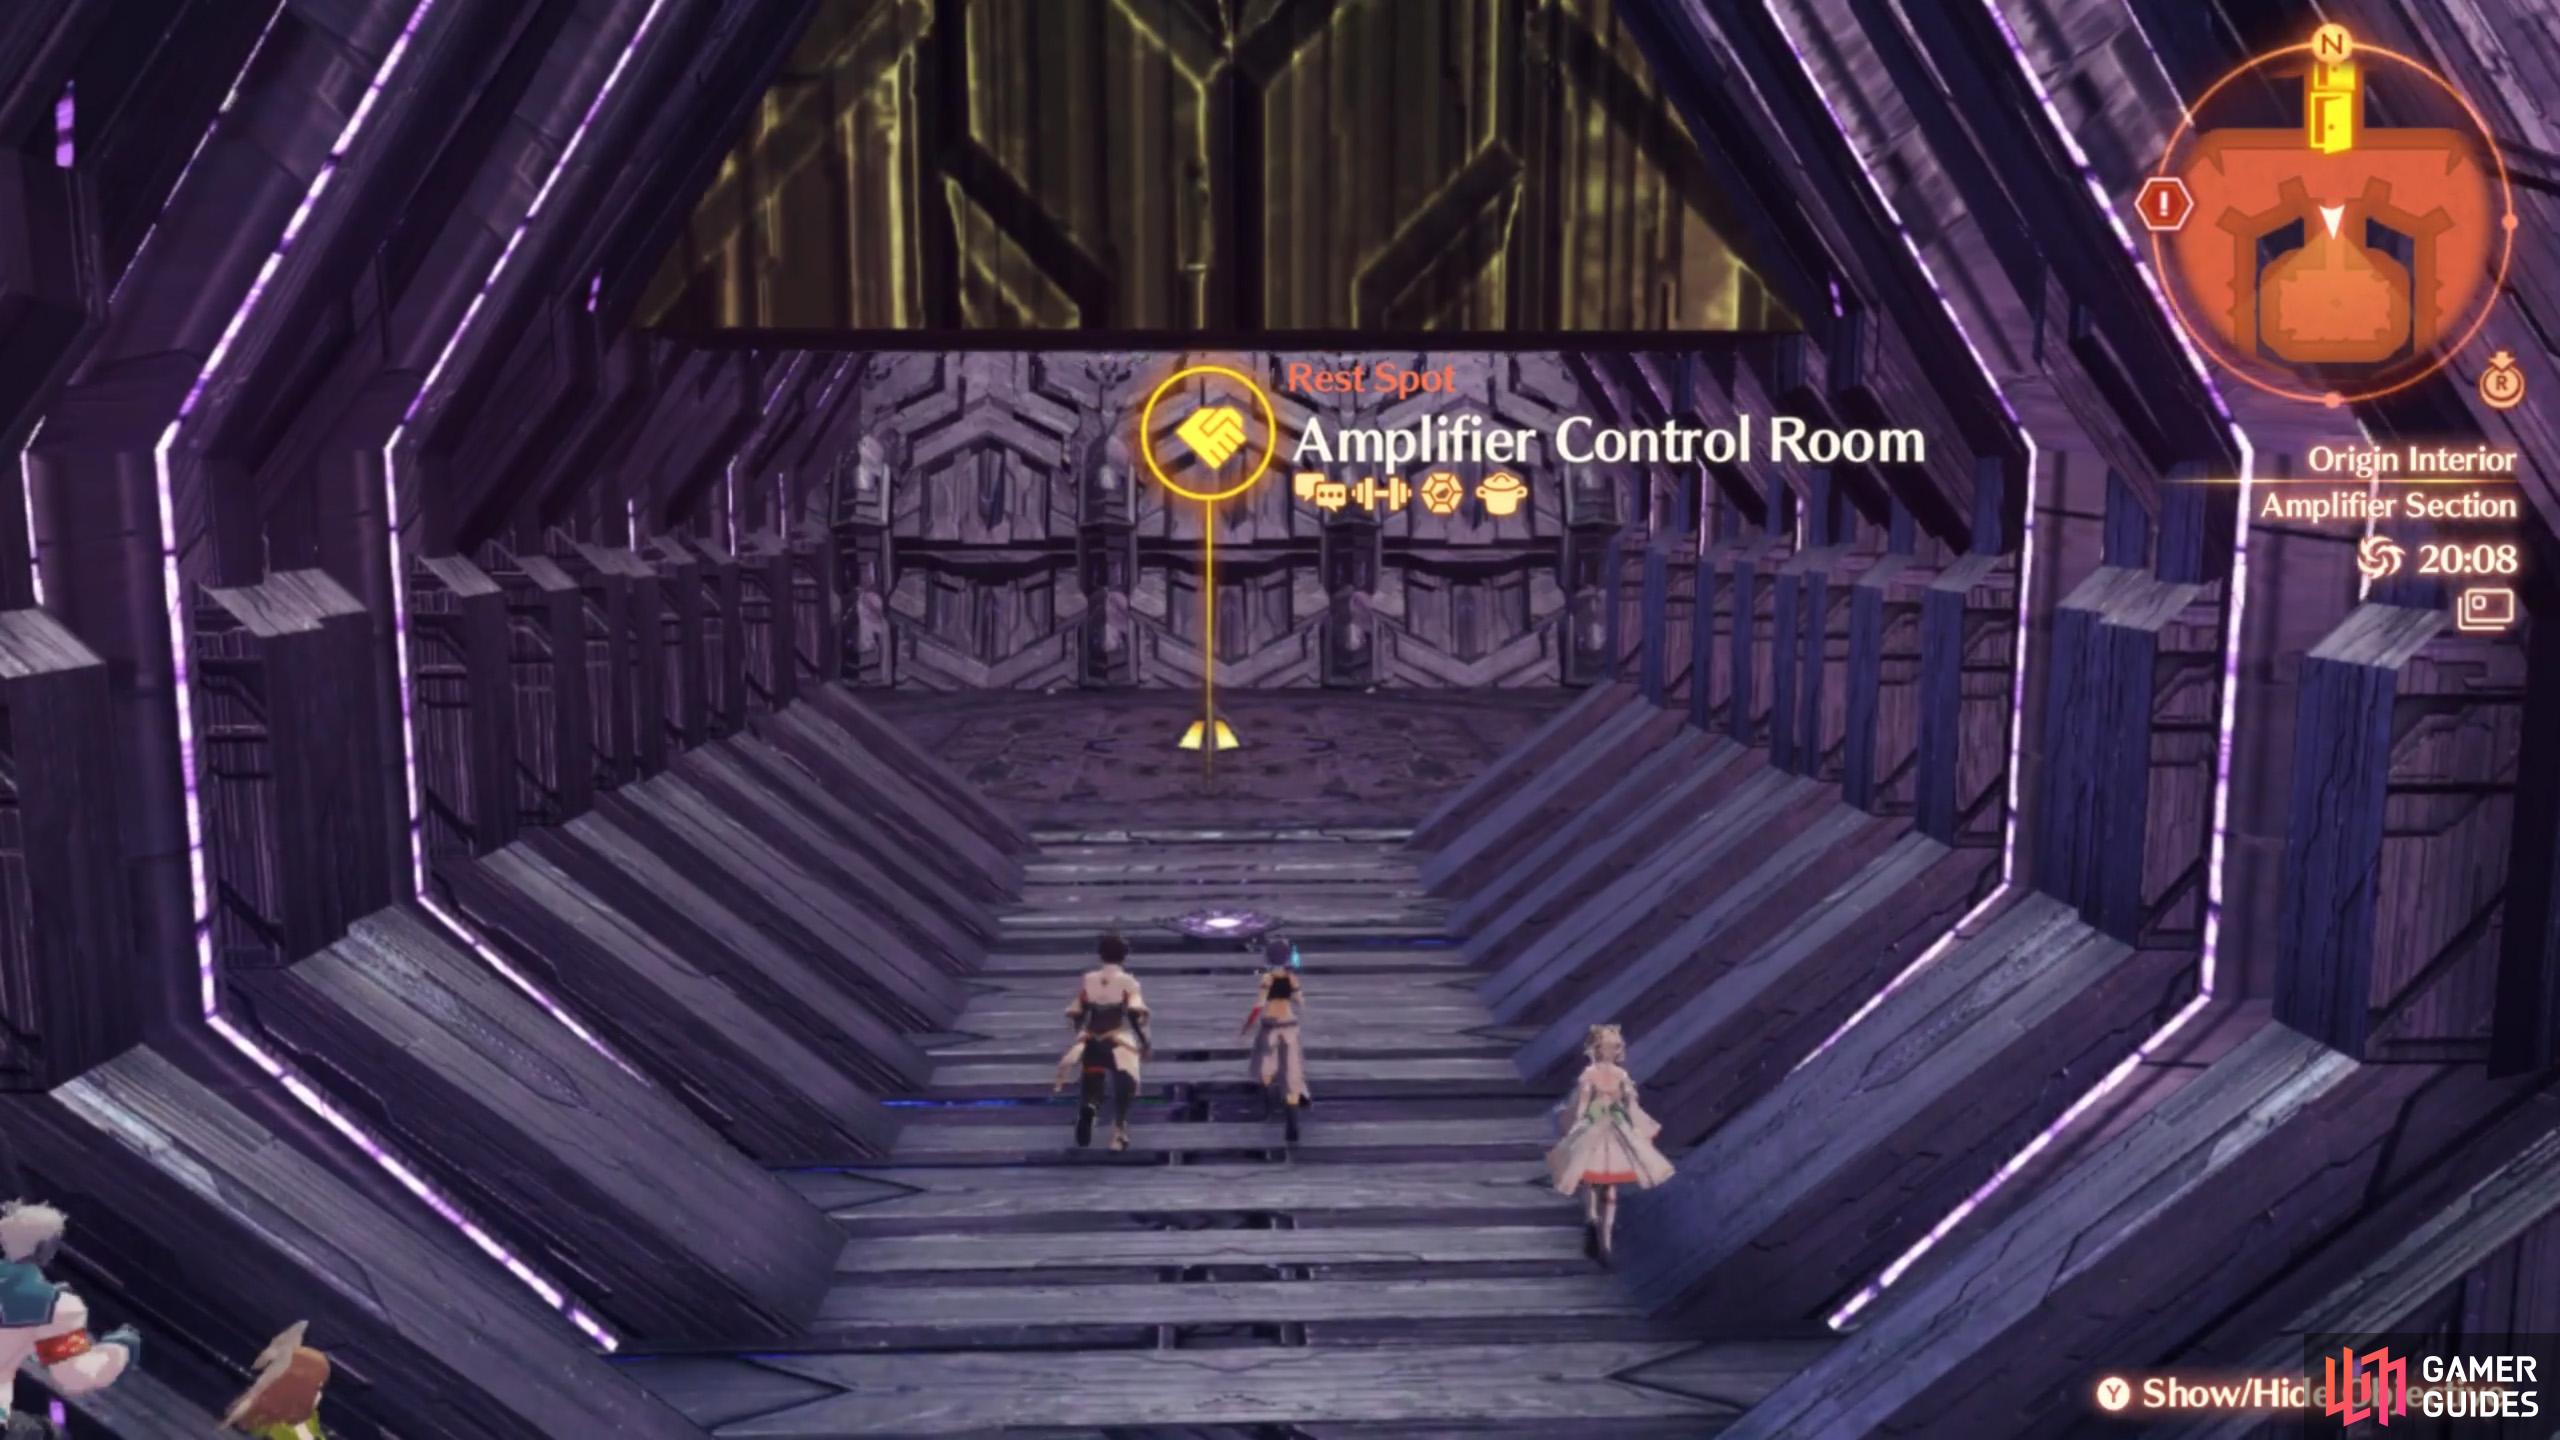
Across the bridge and past the next door, you’ll arrive at the North Shell Passage, where you can barely glimpse the rest of Aionios. Make your way west to a set of bulkhead doors, towards the Amplifier Section. Directly ahead is a door that leads to a rest spot: the Amplifier Control Room.
To the Arsenal Control Room
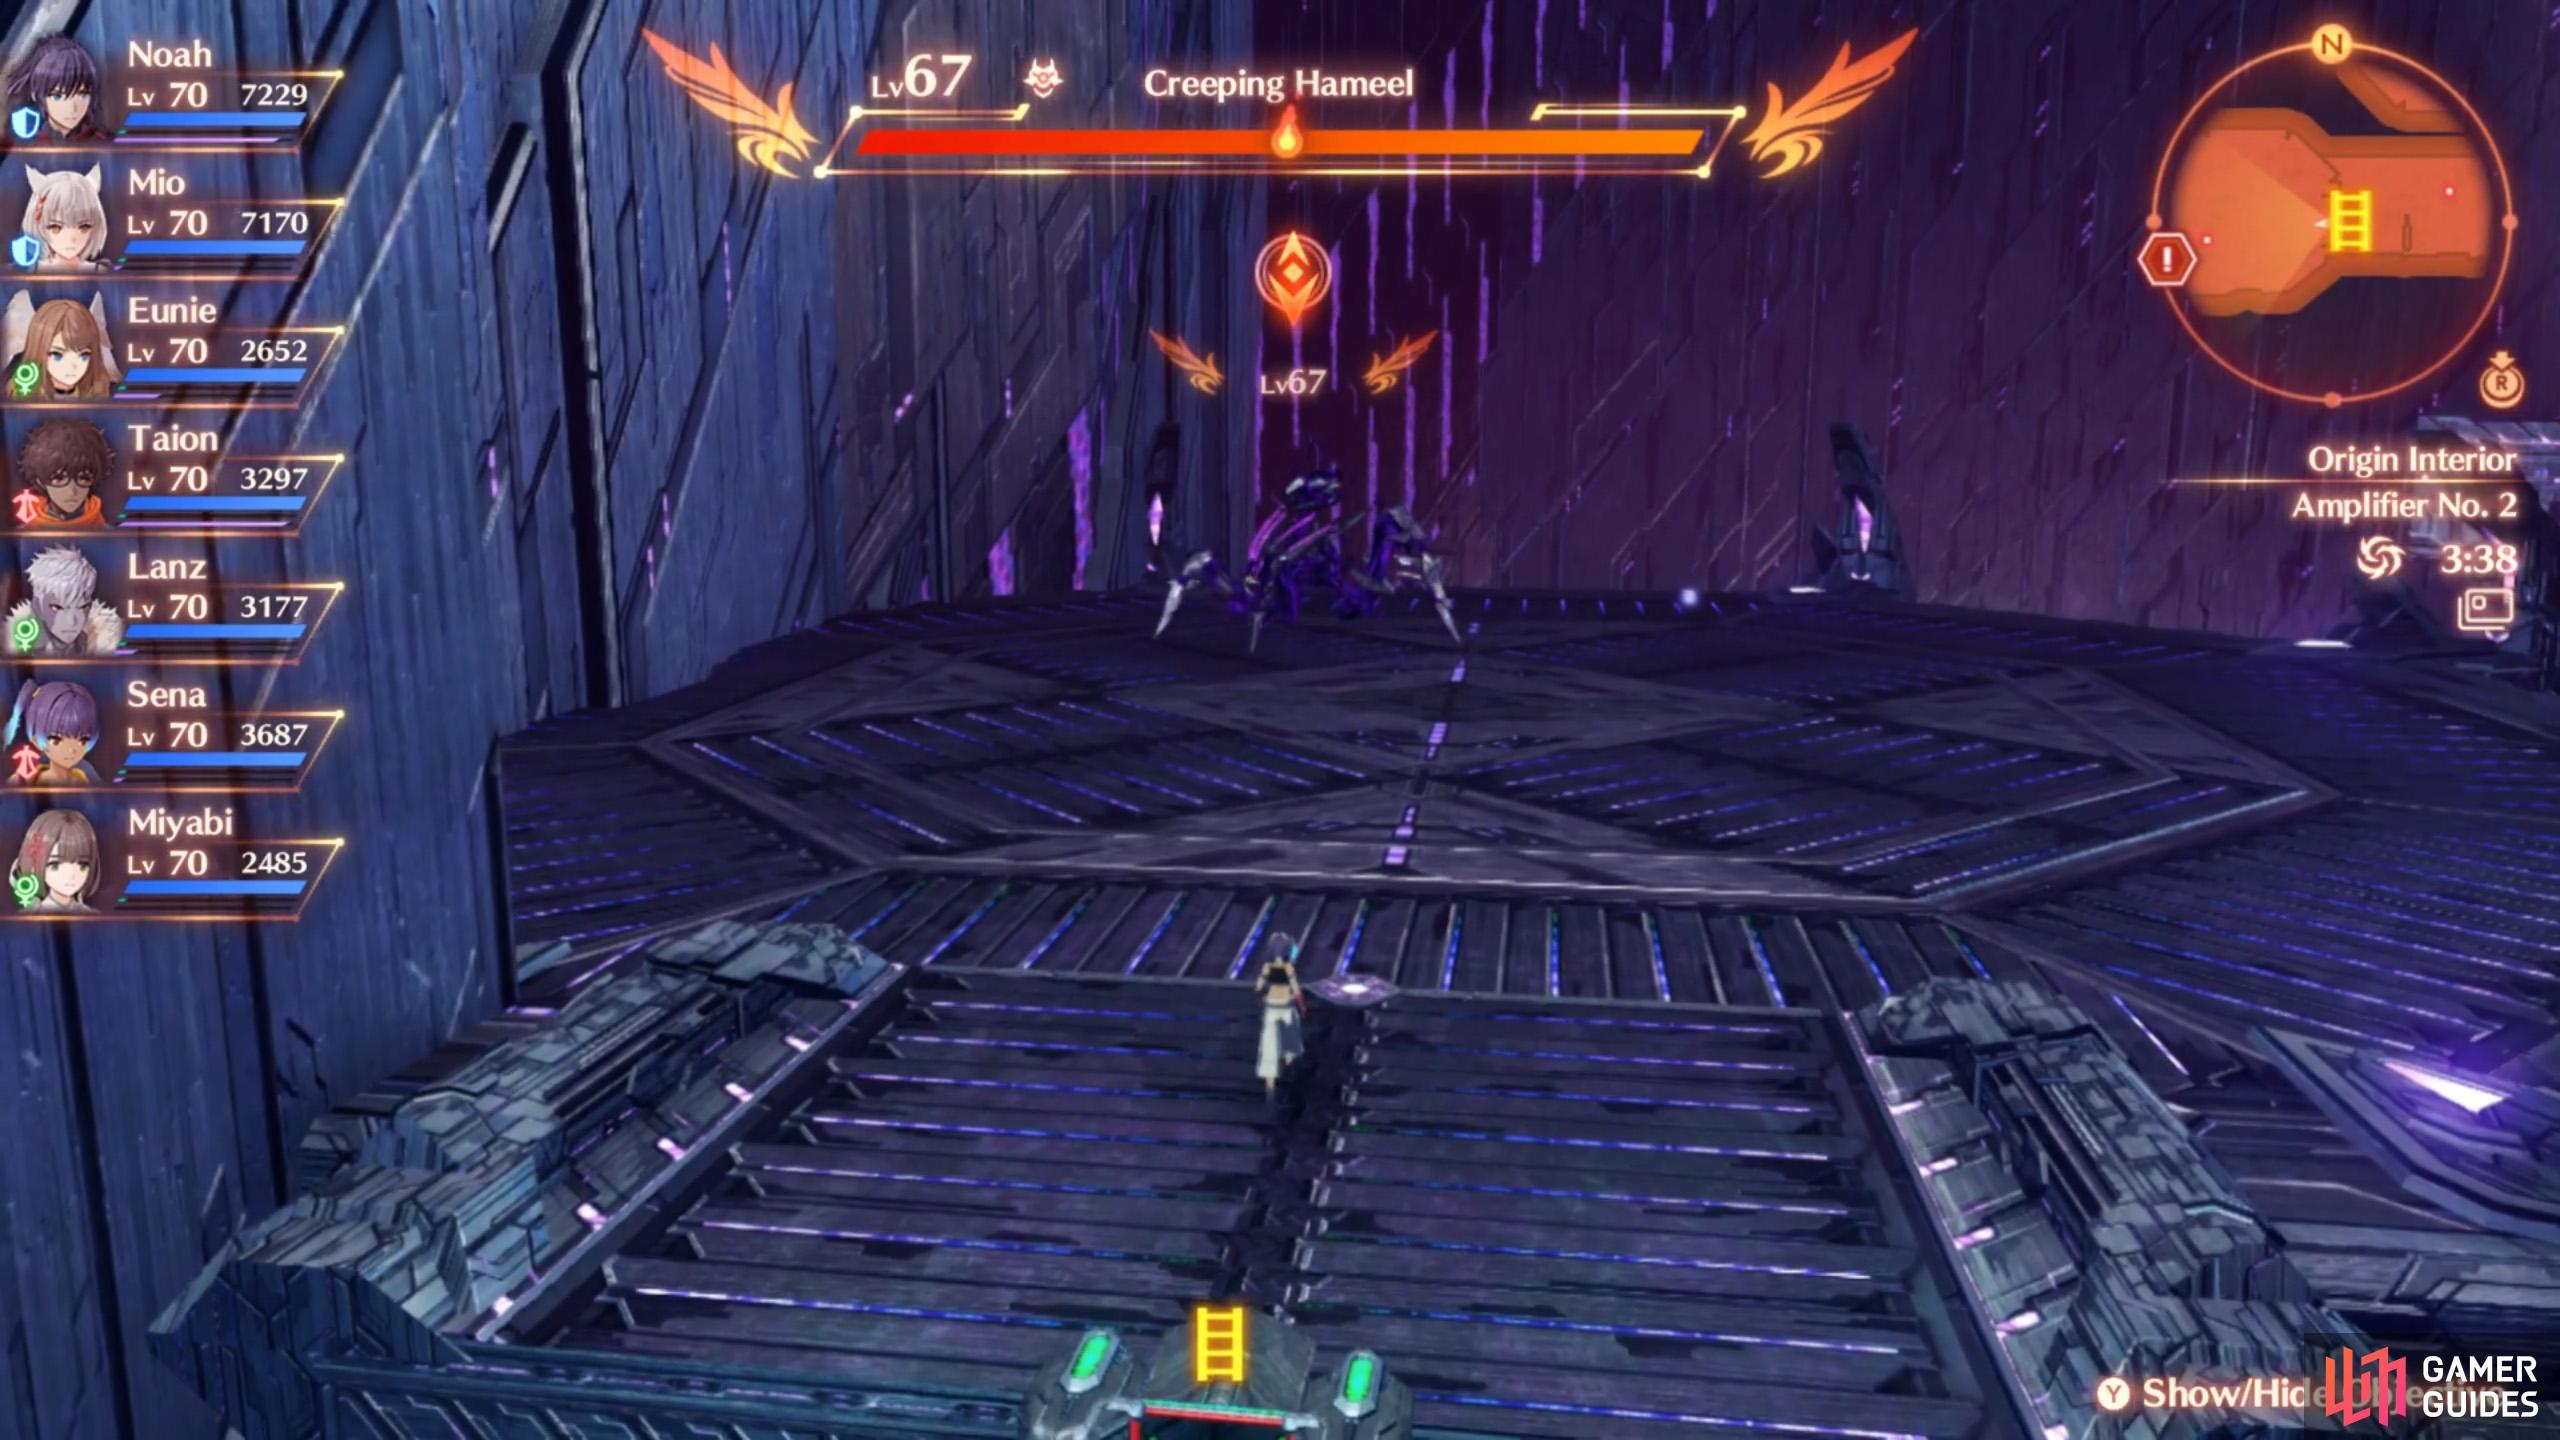
Several unique monsters would like to make your acquaintance.
Rotating platforms that occasionally require switching direction. Couldn’t Moebius think of some tougher puzzles?
After resting or otherwise, continue west through the Amplifier Section towards a door that leads to another part of the North Shell Passage. As before, keep going west to another door that leads back inside. Across another bridge and you’ll arrive at Amplifier No. 2. Here, travel east till you find a ladder that leads up to higher ground. After climbing up, follow the path south, then ride the zip-line west.
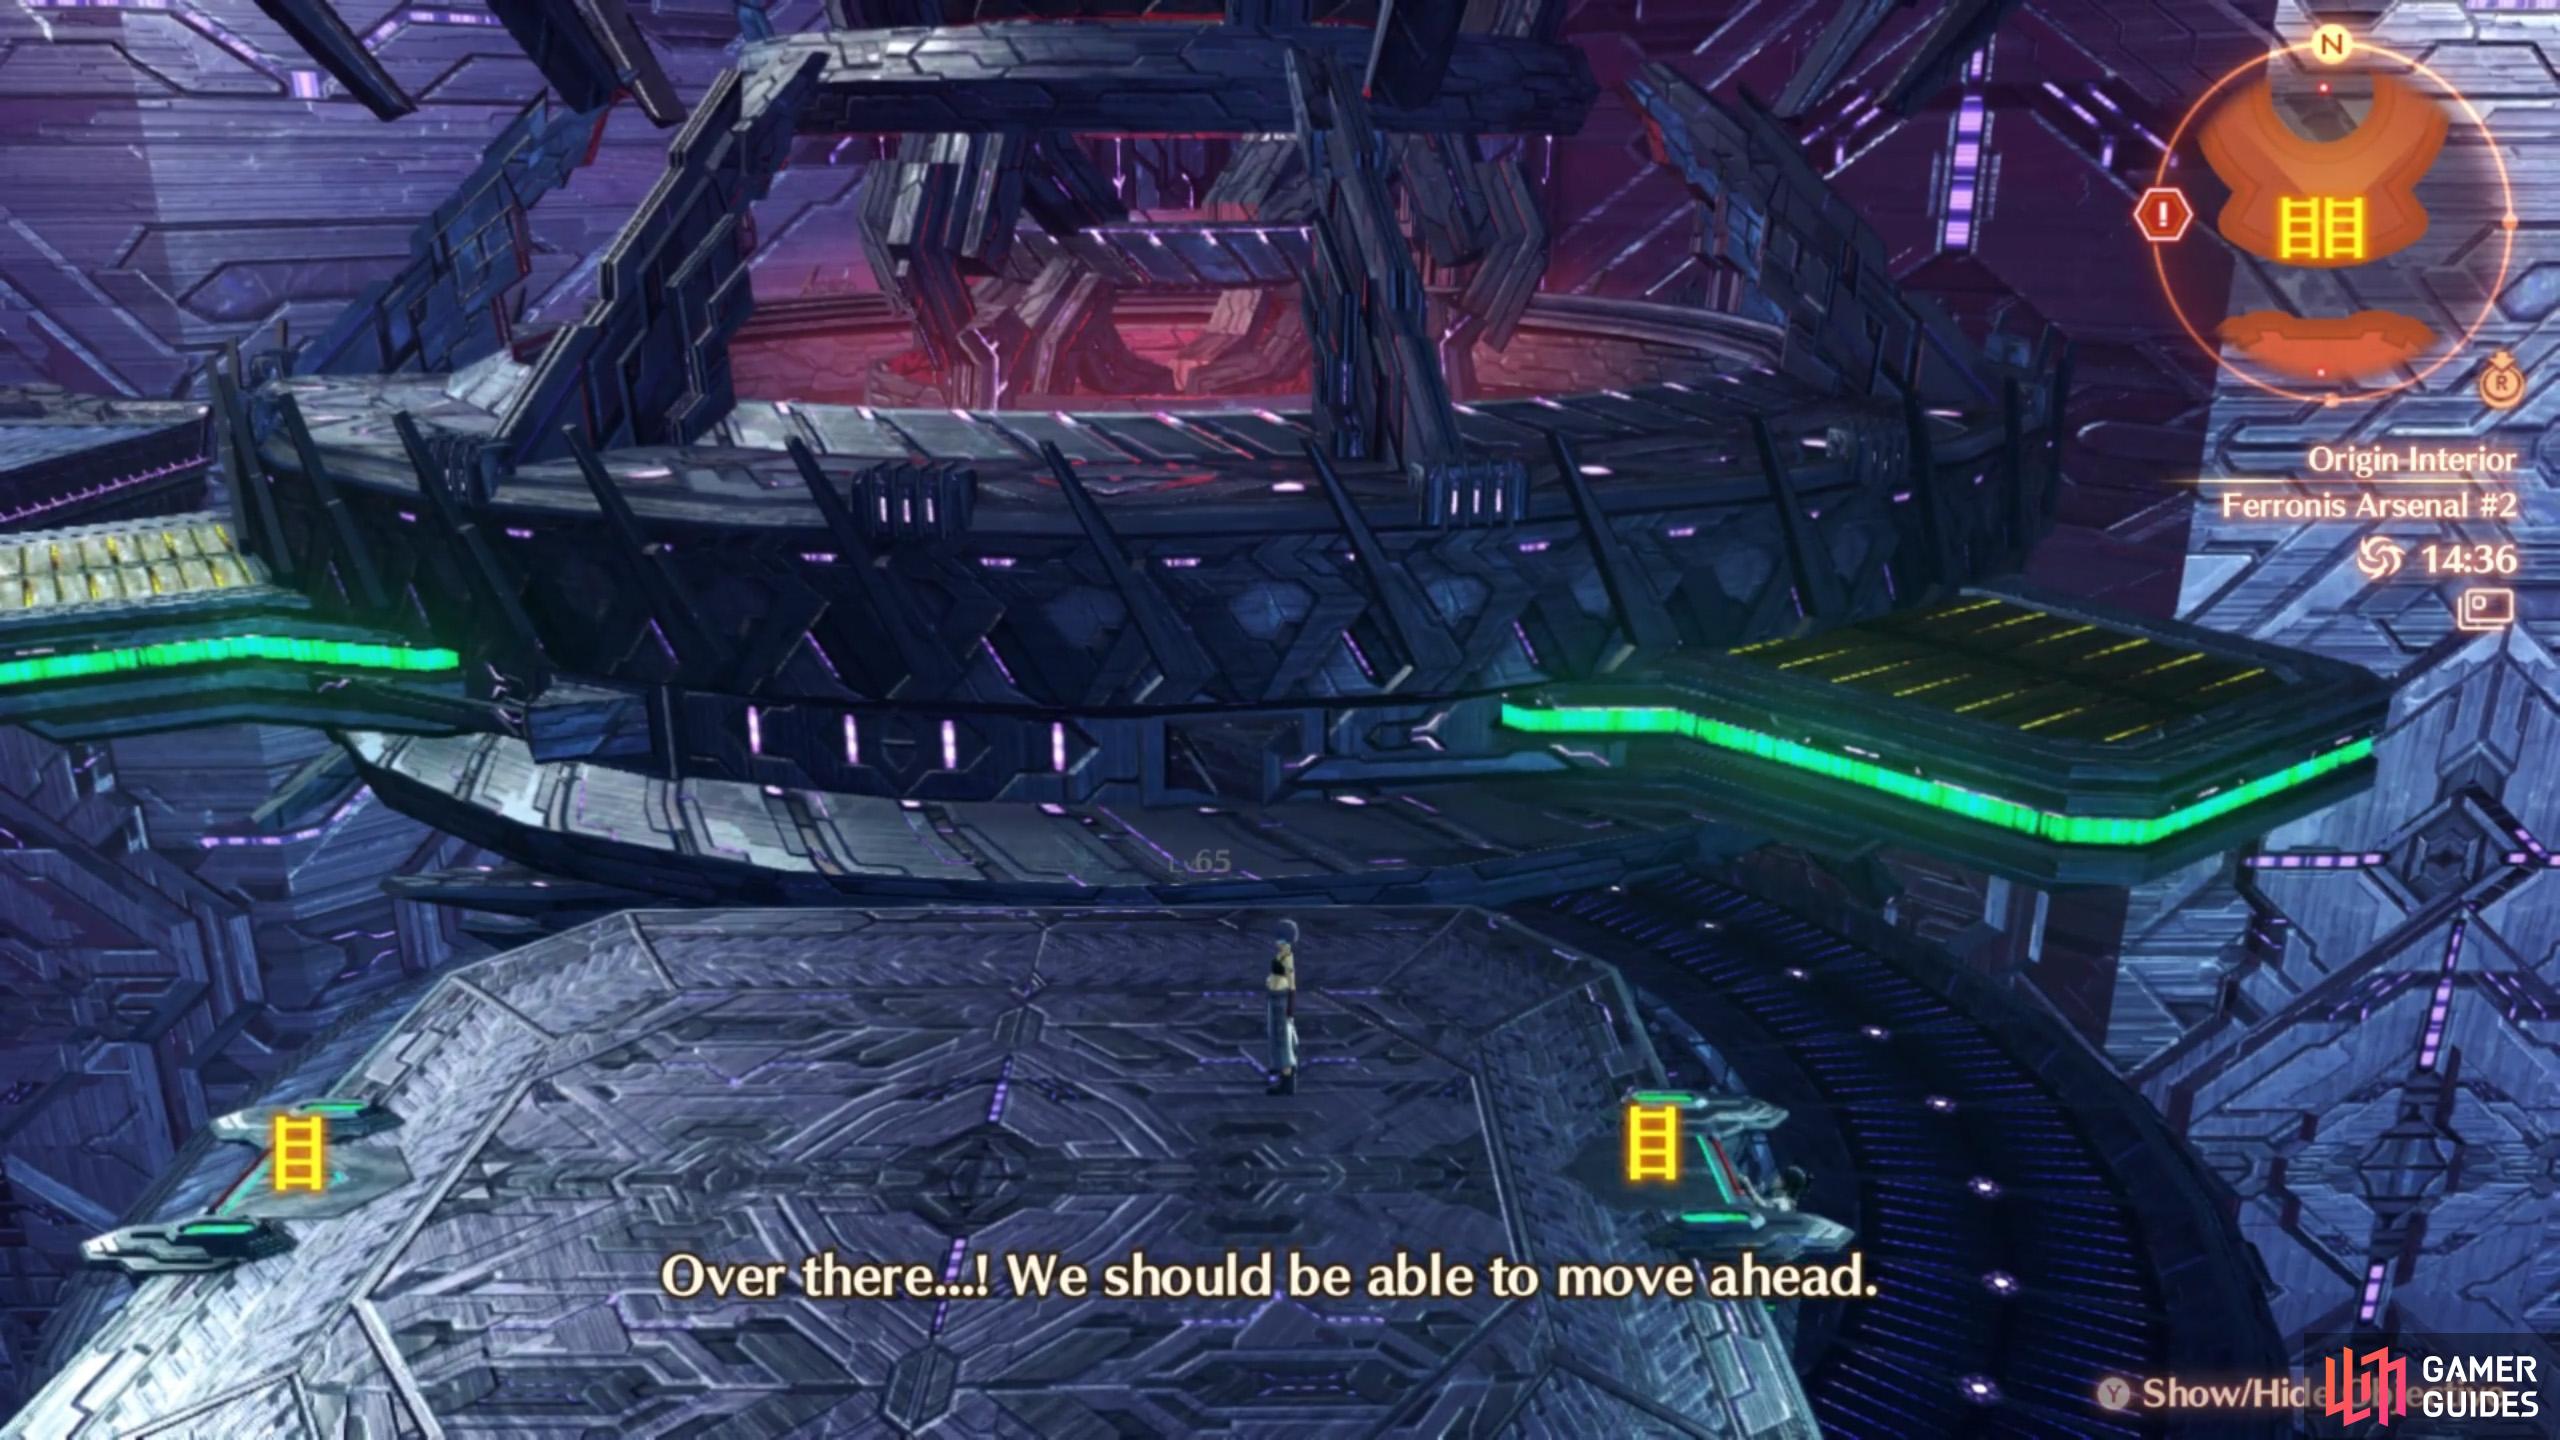
Further south, through the door, you’ll emerge at a small section of the Amplifier Section. Head west from here to reach Ferronis Arsenal #1 that’s just one massive loop. Make your way to the west side, where there’s a southward door. Beyond is Ferronis Arsenal #2, where there’s a bunch of rotating platforms.
First, head south and climb up one of the ladders there. At the top, ride the rotating platforms west. Further west, go down the ladders to the lower level. Head for the south where there’s a machine that you can use to reverse the direction of the platforms. Climb back up the ladders and ride the rotating platforms south. Further south, there’s a door that leads to a rest spot: the Arsenal Control Room.
To the Eternal Prison
You’re about halfway through Origin now.
A fierce boss battle awaits on the other side.
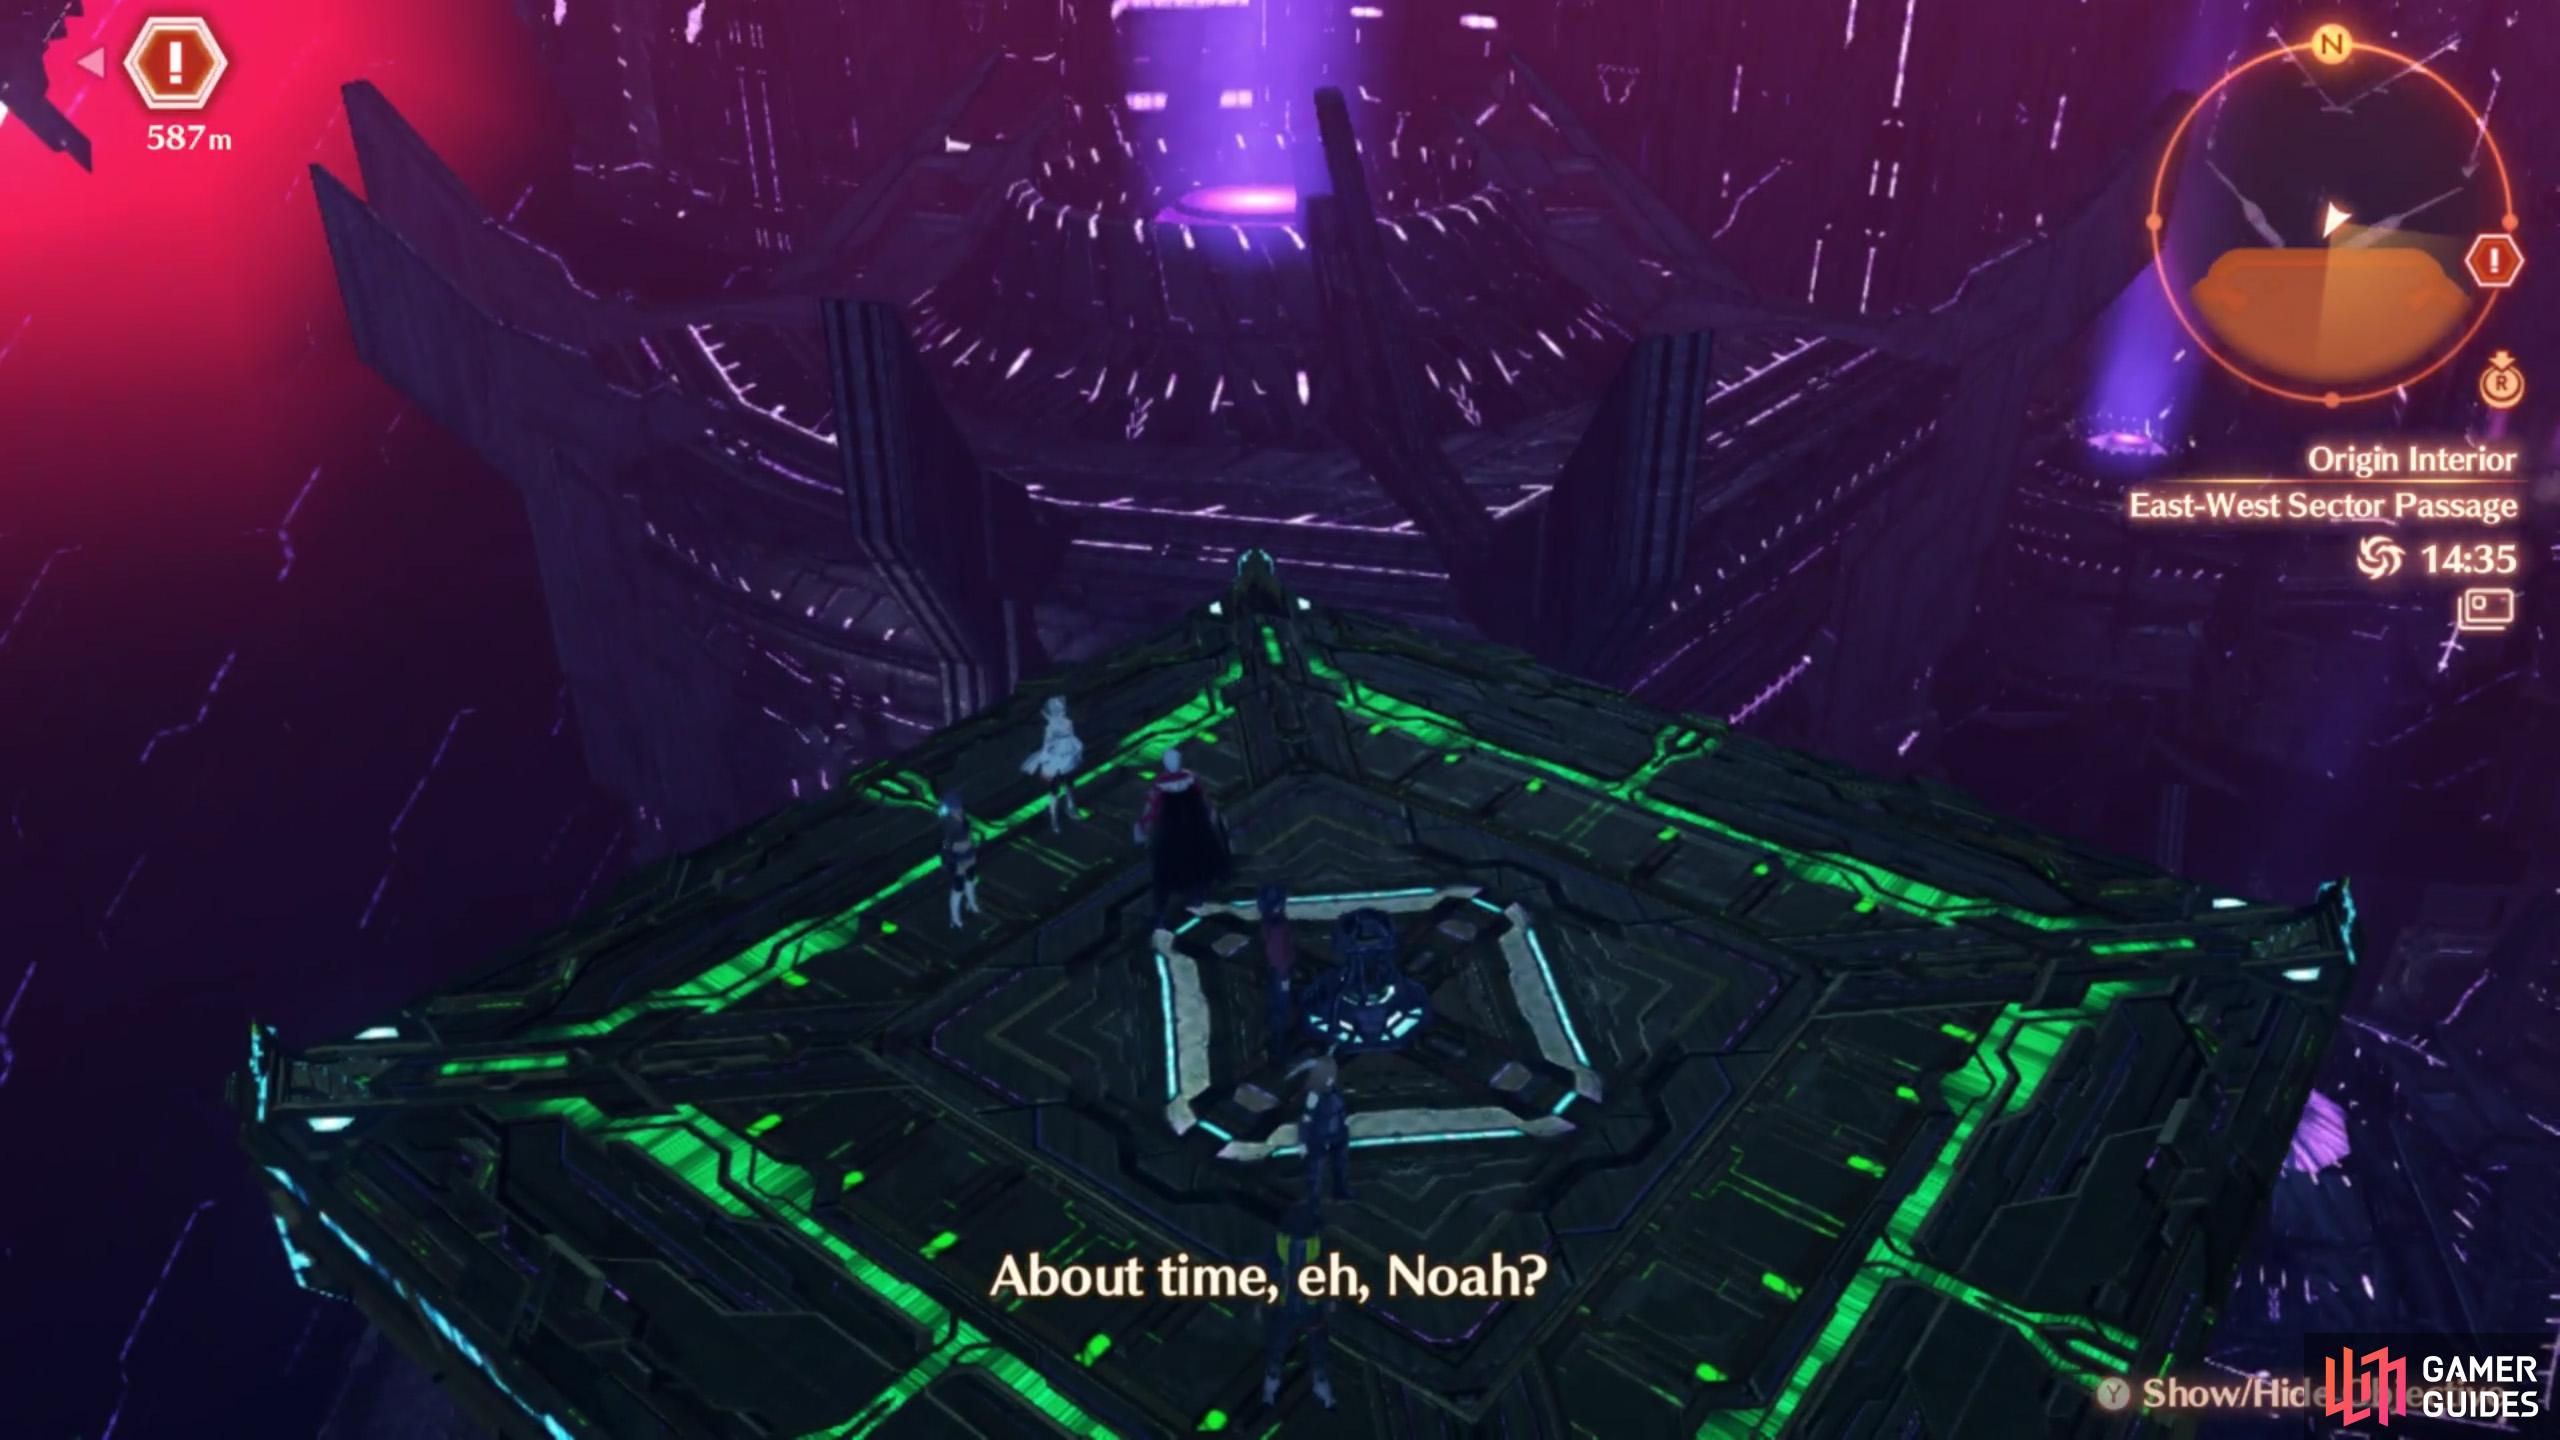
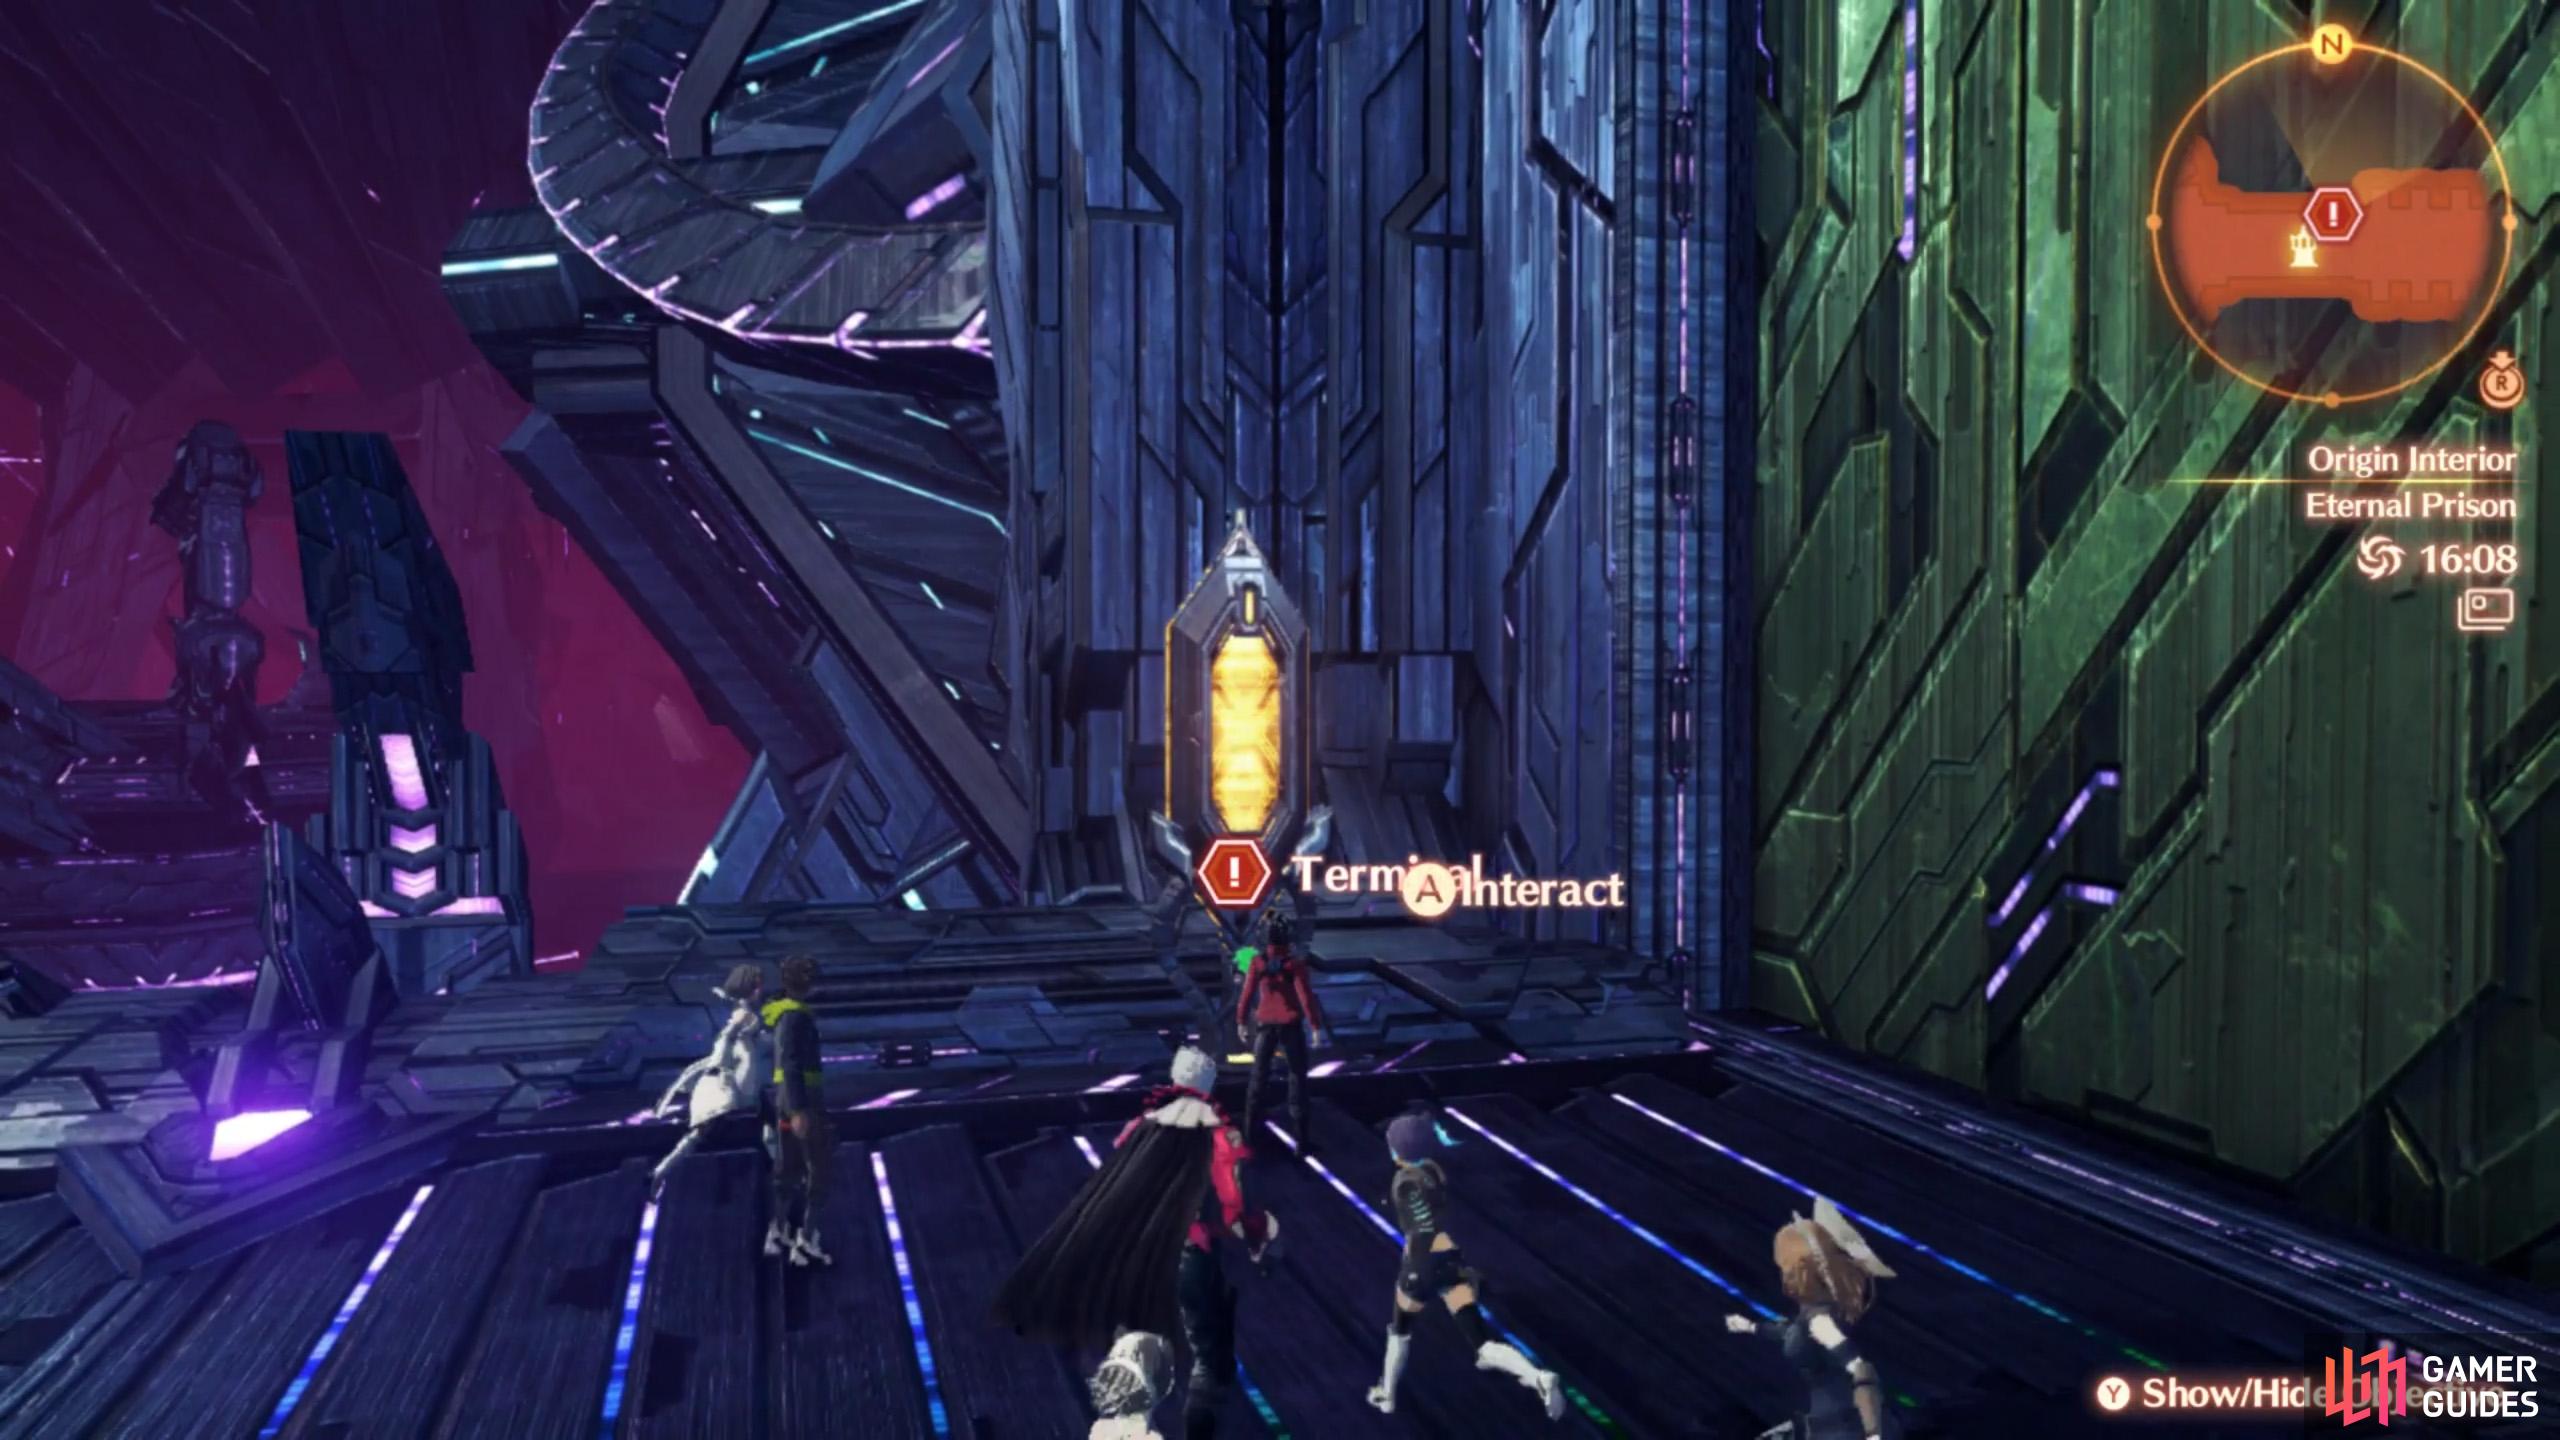
Moving on, travel east from outside the Arsenal Control Room, towards a southward door that leads to Ferronis Arsenal #3. This is also a massive loop like Ferronis Arsenal #1. Go around to the east side, where there’s a door that opens out to the East-West Sector Passage. Ride the elevator all the way east. On the other side, head south to reach the entrance of the Eternal Prison.
When you interact with the terminal here, the door will open and you’ll be confronted with a fated battle.
Locations at Origin Interior (Part 1)
Landmarks
| Name | Description |
|---|---|
| Force Field Generator Base | Entrance, near the east side. |
| Amplifier No. 1: Upper Gate | East entrance to Amplifier No. 1. |
| Amplifier No. 1: Lower Gate | North-west exit from Amplifier No. 1. |
| Amplifier No. 2: Upper Gate | North-west entrance to Amplifier No. 2. |
| Amplifier No. 2: Lower Gate | South-west exit from Amplifier No. 2. |
| Ferronis Arsenal #1: E. Gate | East entrance to Ferronis Arsenal #1. |
| Ferronis Arsenal #1: S. Gate | South-west exit from Ferronis Arsenal #1. |
| Ferronis Arsenal #3: N. Gate | North entrance to Ferronis Arsenal #3. |
| Ferronis Arsenal #3: E. Gate | East exit from Ferronis Arsenal #3. |
| Eternal Prison | East end of the East-West Sector Passage. |
Rest Spots
| Name | Description |
|---|---|
| Amplifier Control Room | Inside the room at the east end of the Amplifier Section, after exiting the first section of the North Shell Passage. Near the Armbenders. |
| Arsenal Control Room | South-west corner of Ferronis Arsenal #2. |
Containers at Origin Interior (Part 1)
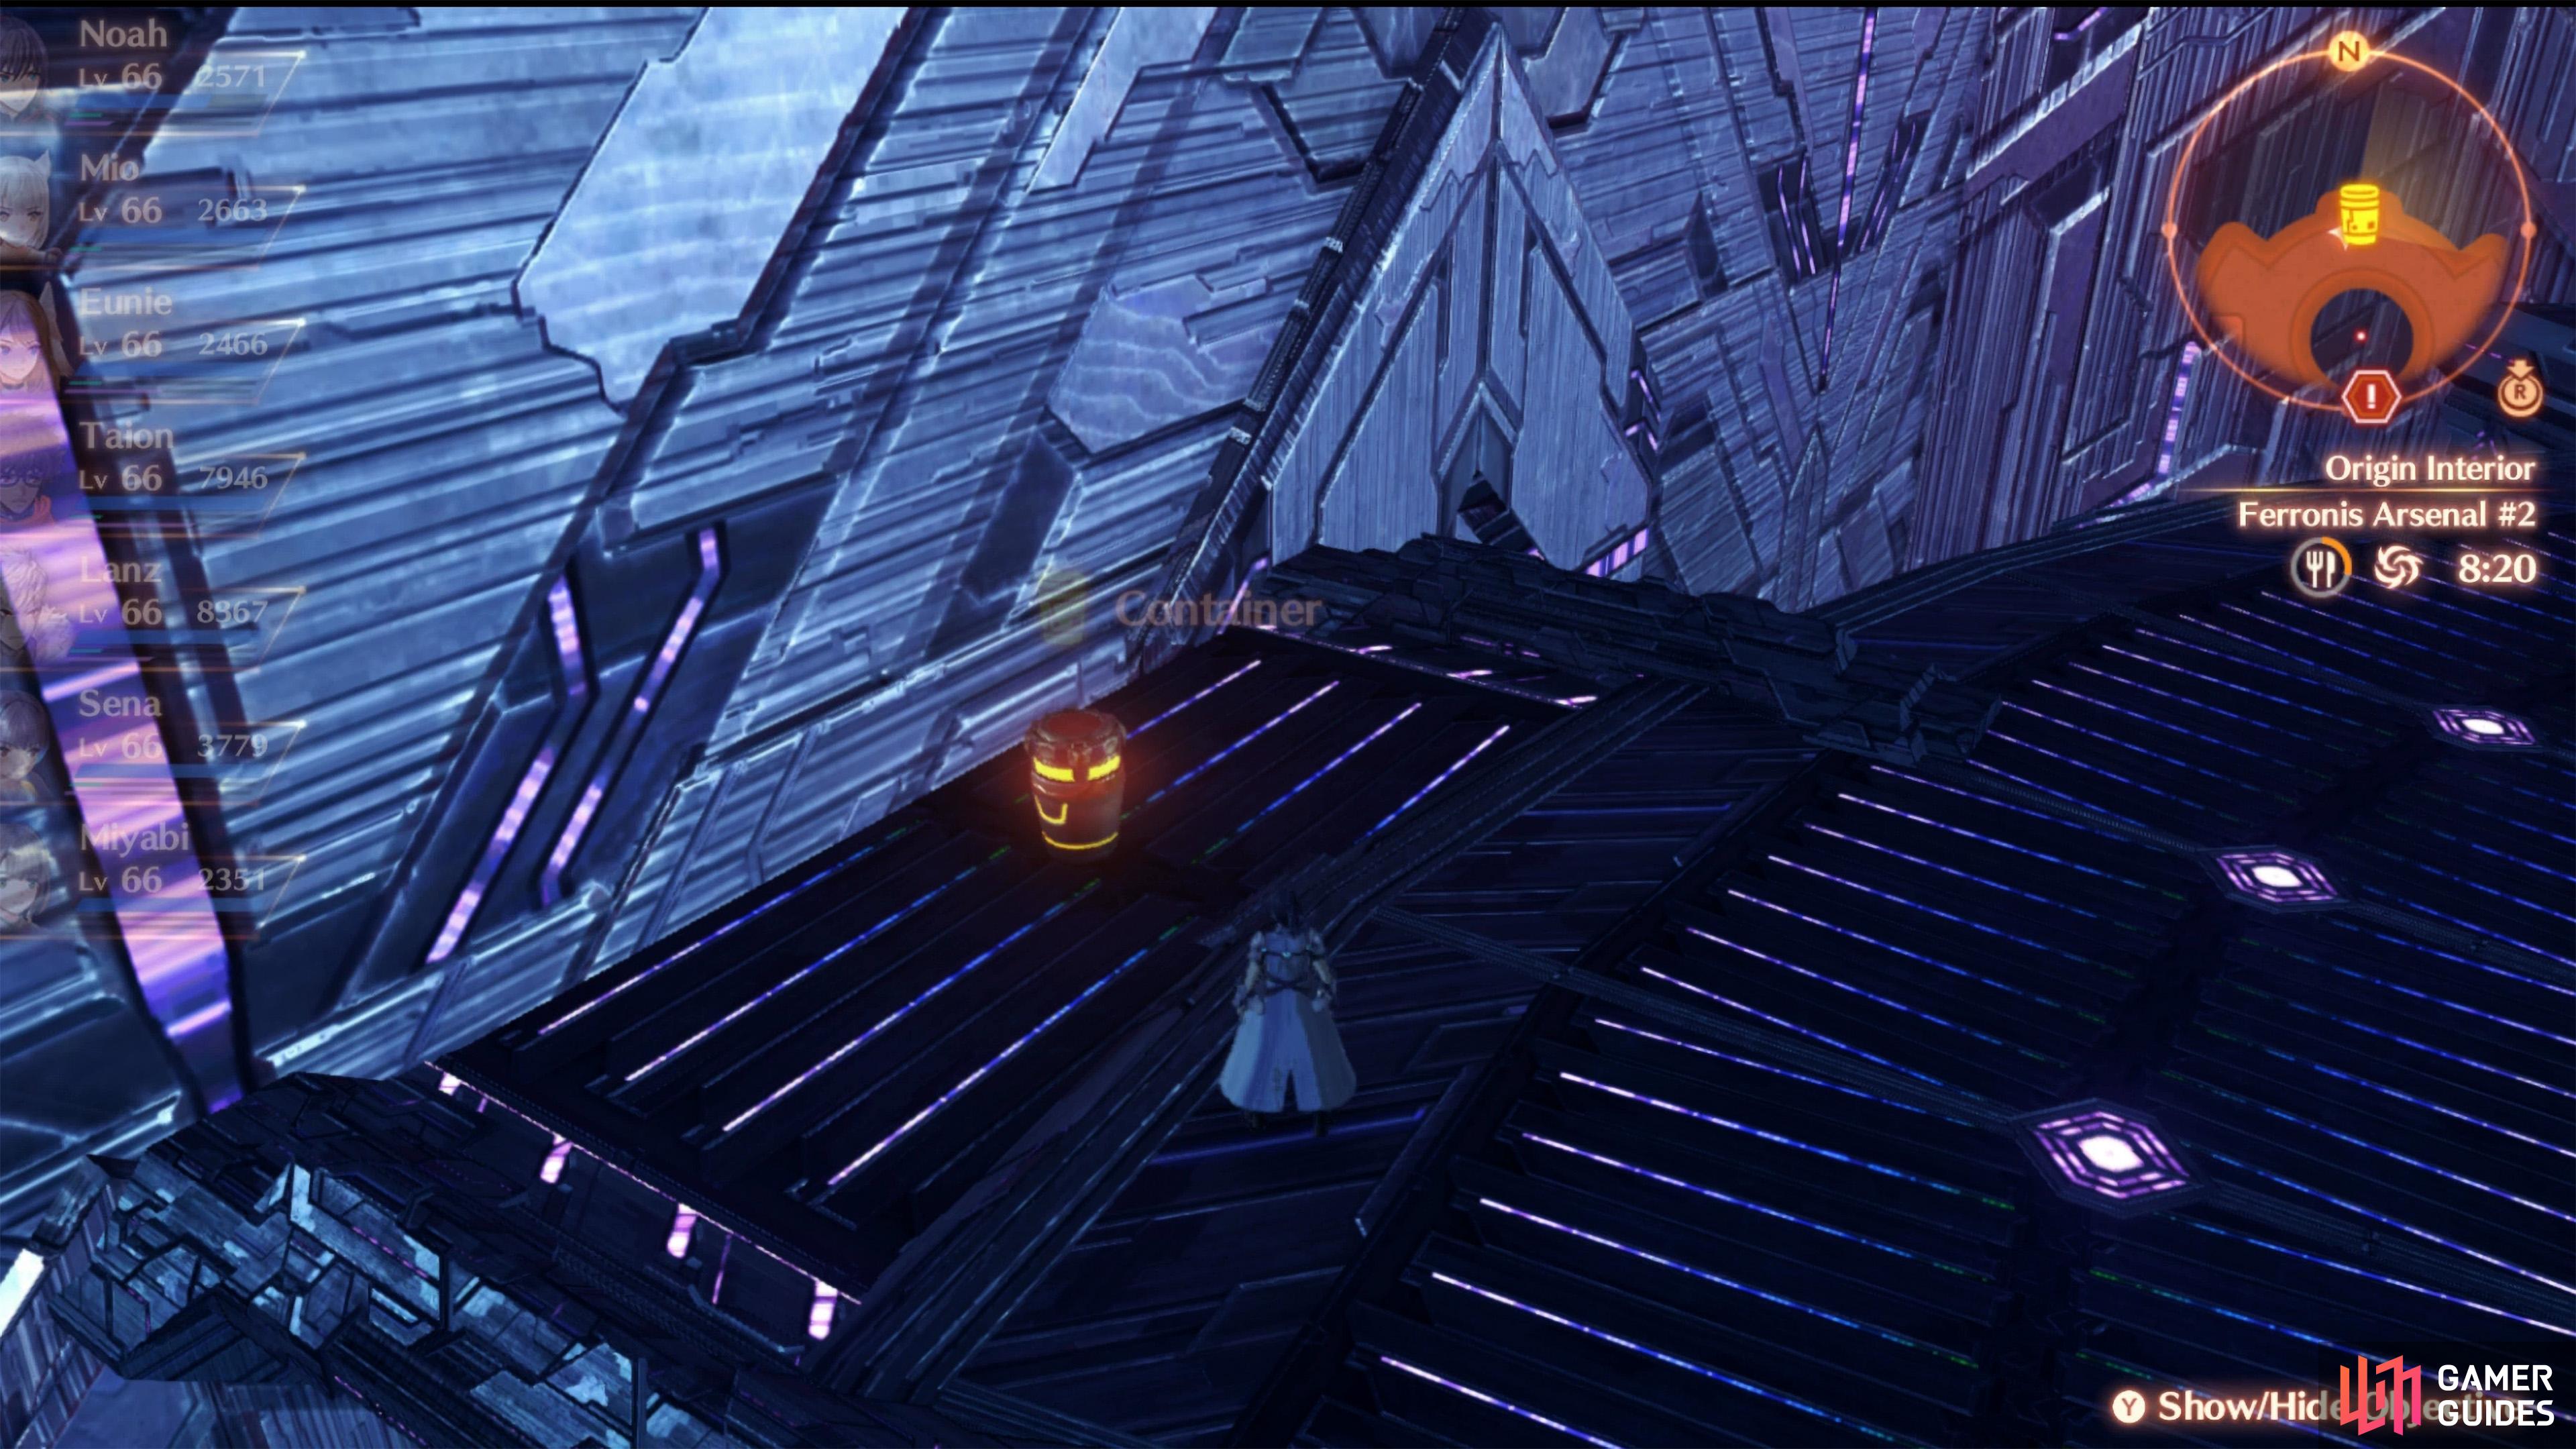
This one is near the north-east corner of Ferronis Arsenal #2.
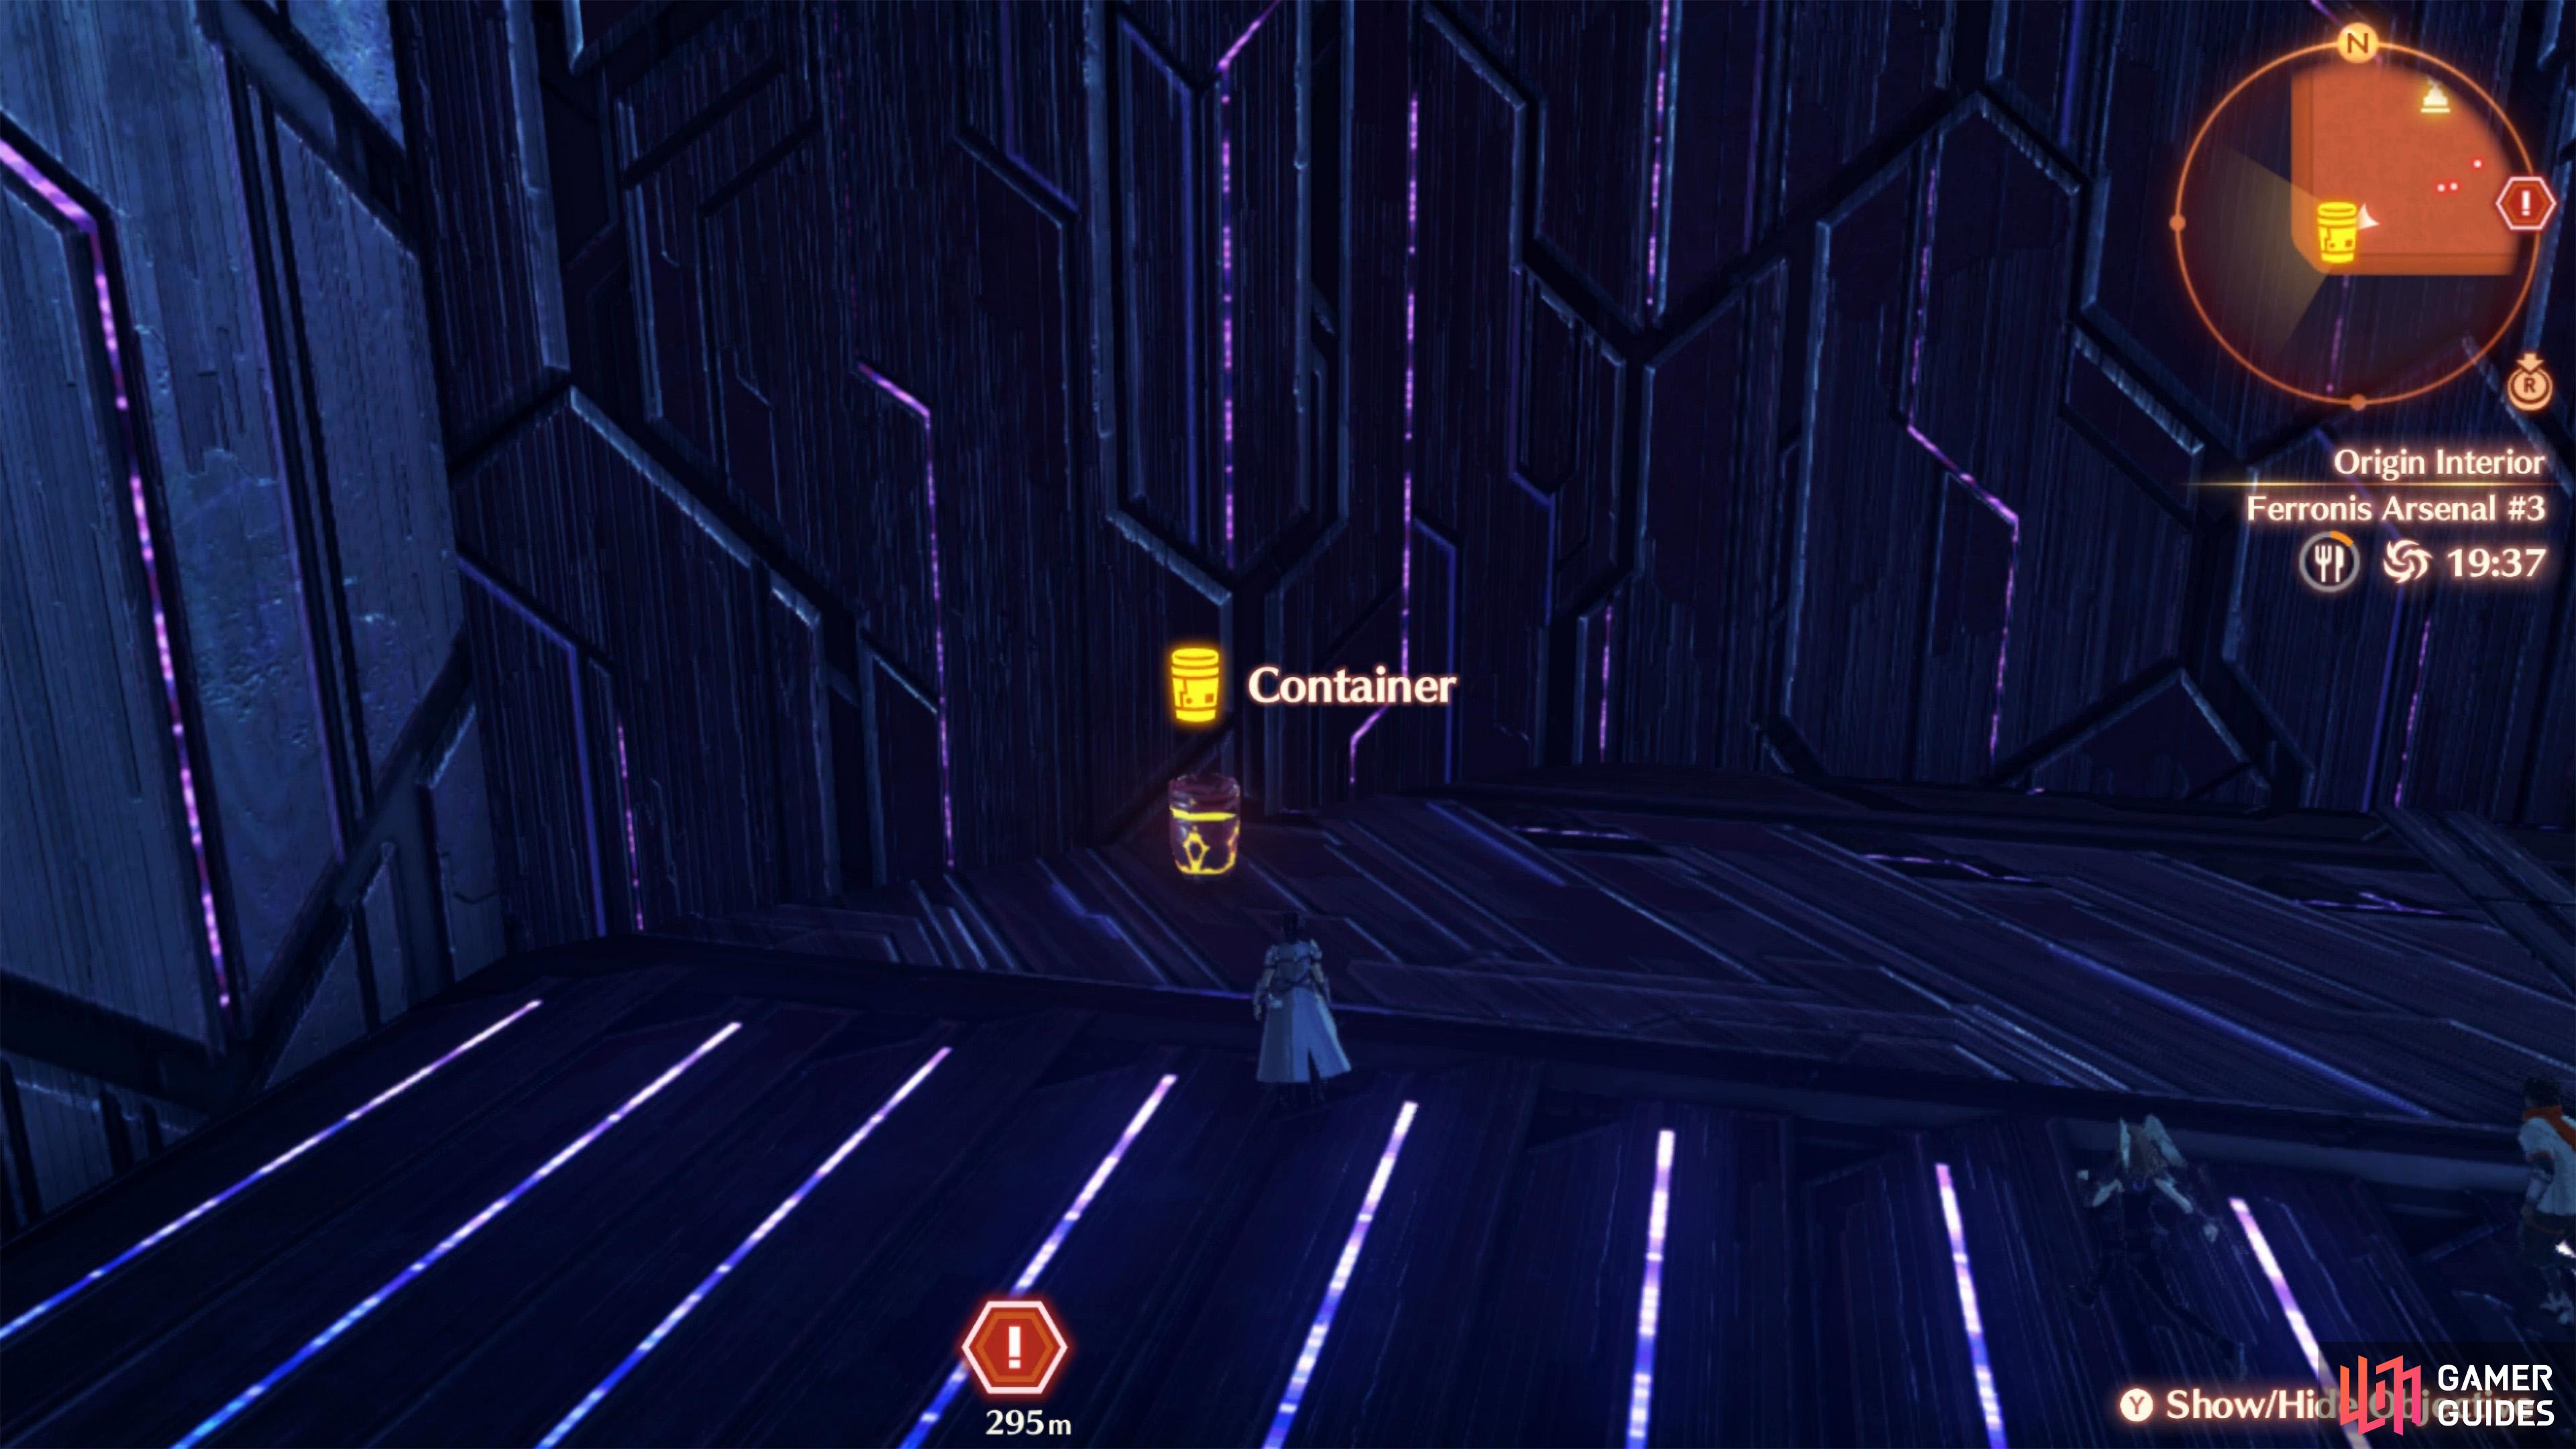
This one is near Defiled Ishtar at Ferronis Arsenal #3.
| Container # | Map Marker | Location |
|---|---|---|
| 1 | Map Marker | At Amplifier No. 1, north from the center. |
| 2 | Map Marker | At Amplifier No. 1, south from the center. |
| 3 | Map Marker | At first part of the Amplifier Section, in one of the southern alcoves. |
| 4 | Map Marker | At Amplifier No 2., near the north-east corner. |
| 5 | Map Marker | At Amplifier No 2., near the south-east corner. |
| 6 | Map Marker | At Ferronis Arsenal #1, towards the north. |
| 7 | Map Marker | At Ferronis Arsenal #2, near north-west corner, on the lower level. |
| 8 | Map Marker | At Ferronis Arsenal #2, somewhat near north-east corner, on the lower level. |
| 9 | Map Marker | At Ferronis Arsenal #3, towards west. Near Defiled Ishtar. |
No Comments