
This is a guide for Chapter 3 of Xenoblade Chronicles 3, covering the Urayan Tunnels in the Pentelas Region.
Where to go after recruiting Riku and Manana
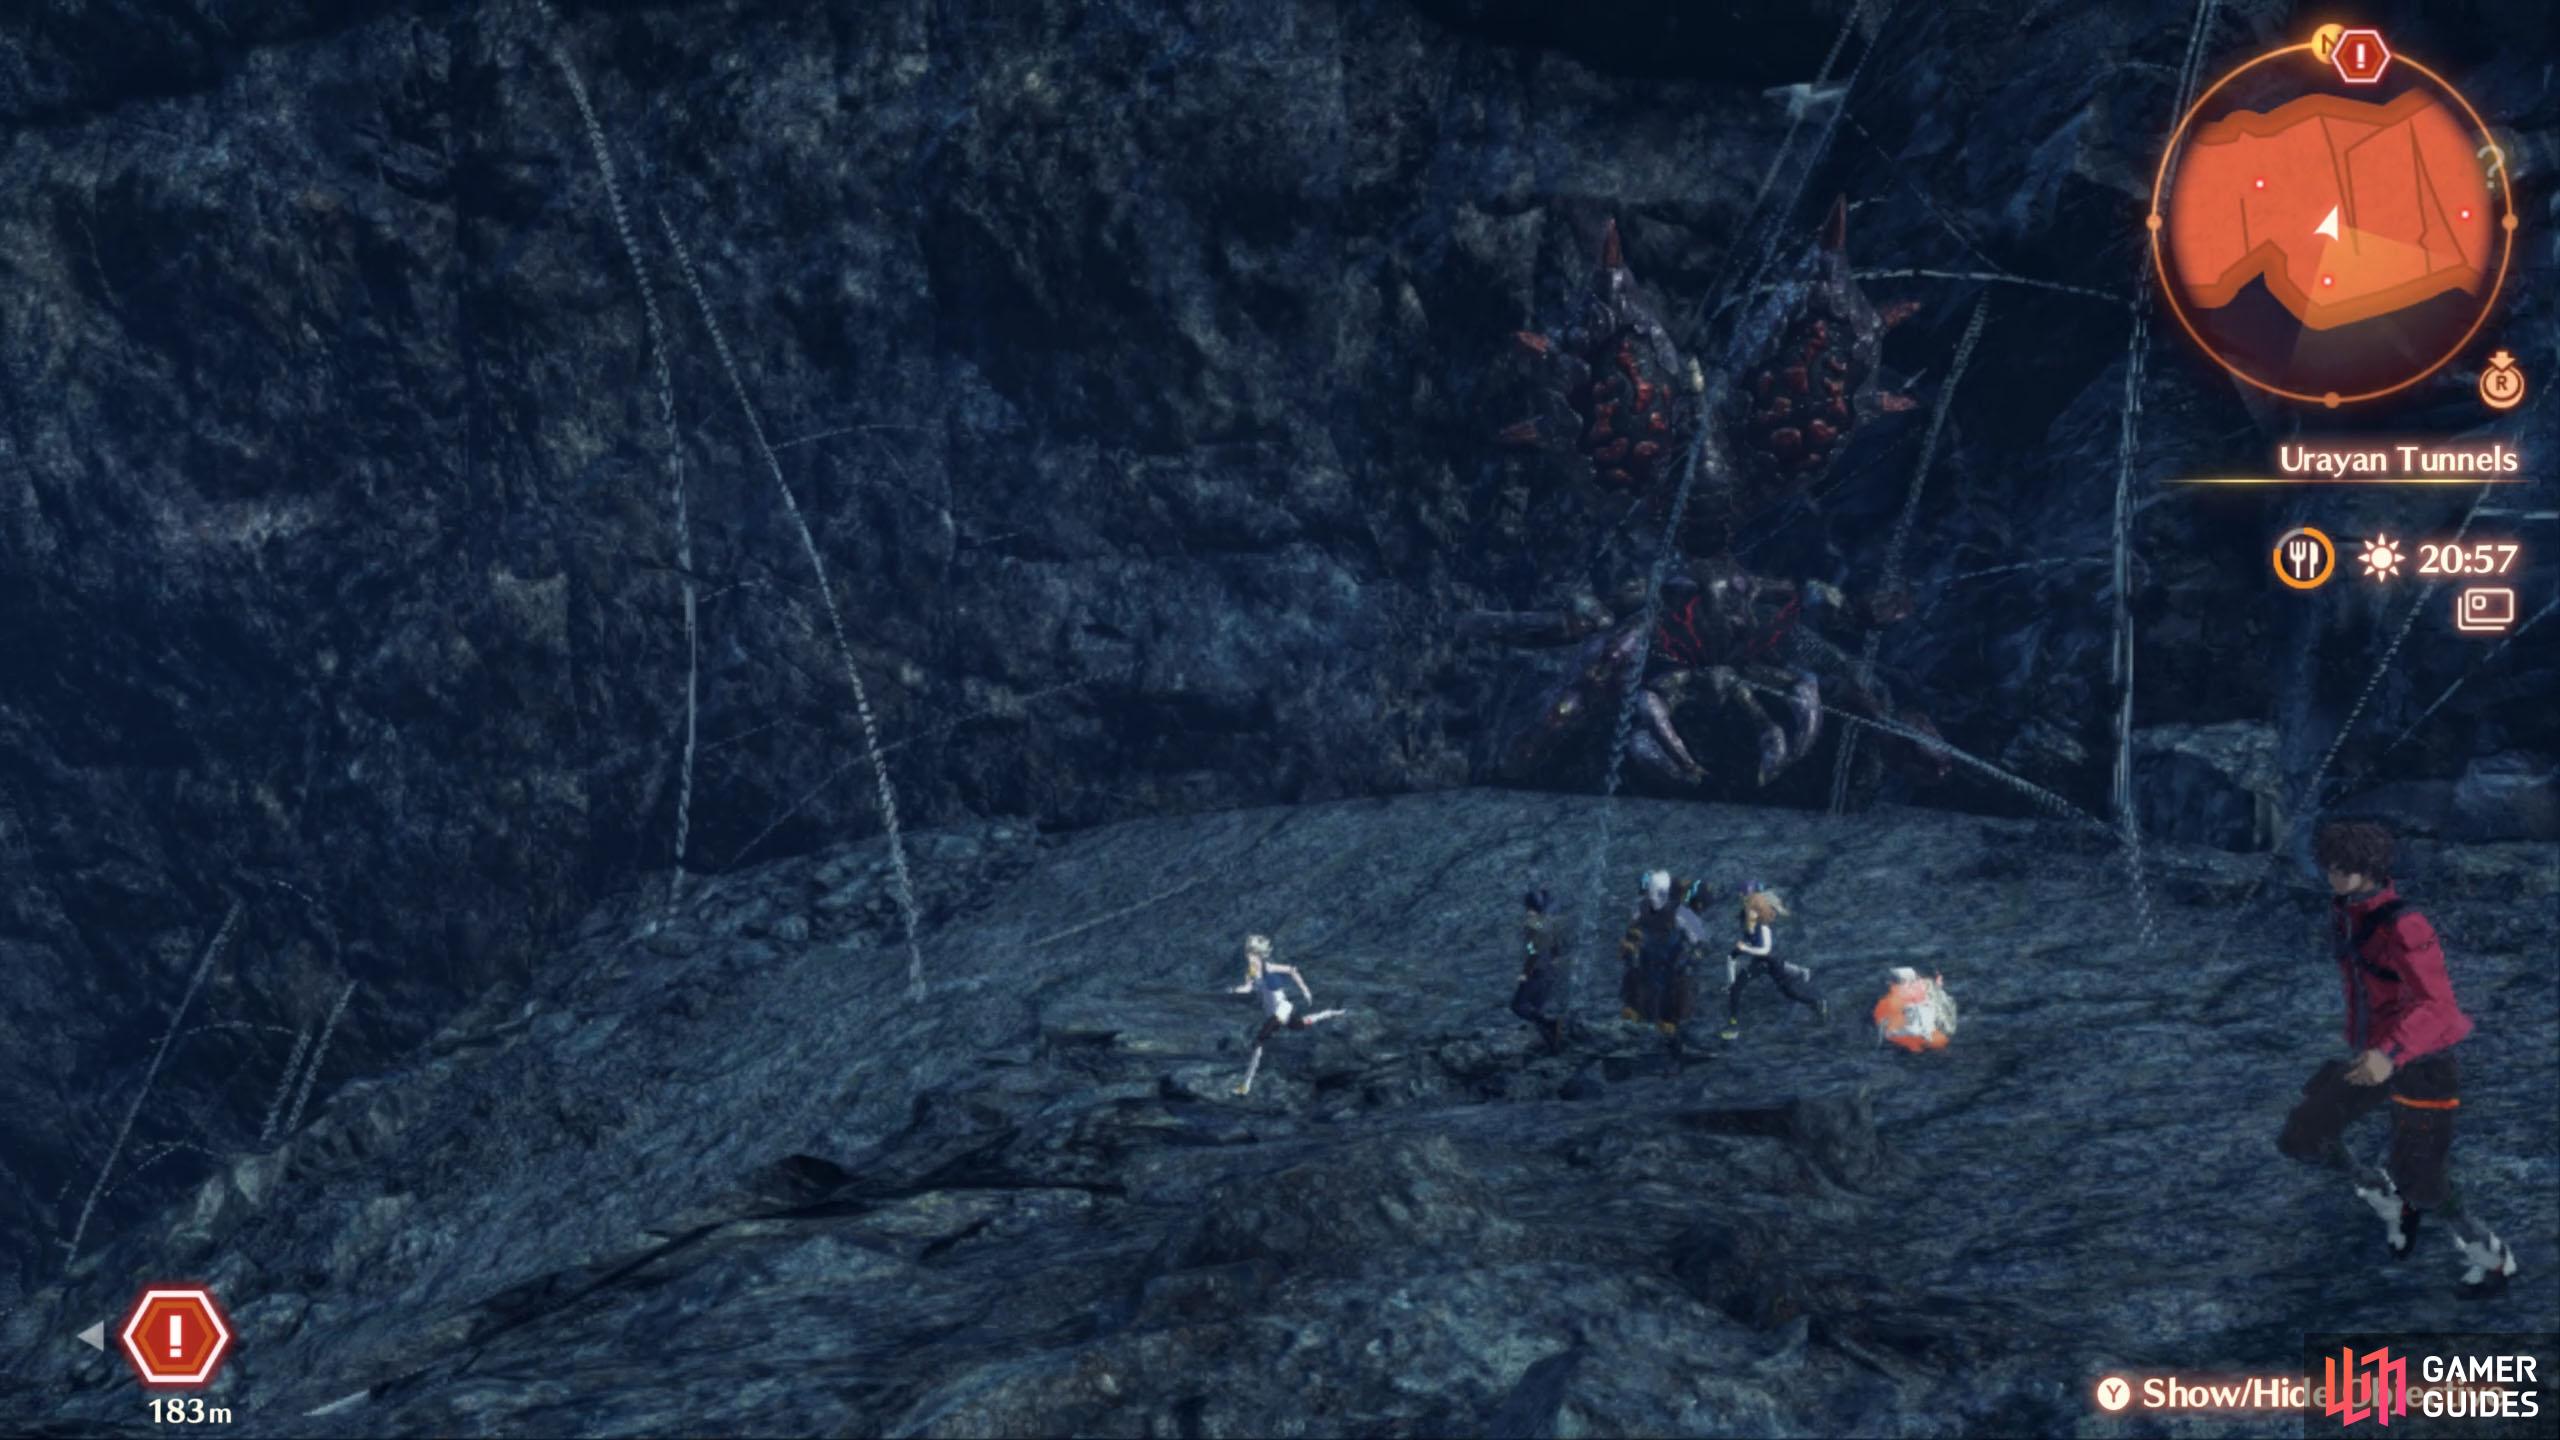
The tunnel ahead is a lair for spiders.
When you reach this story marker, be prepared for more trouble.
After slaying the Princess Arachno and inviting Riku and Manana to your battle party, the journey through the Urayan Tunnels is far from over. From where you left off, south of the Ruins of Seebu Camp, continue south for a little longer, then make your way east. Of course, feel free to check the nearby climbable wall.
As you travel east, you’ll stumble upon the Roaring Spring, where a Unique Enemy lurks. Challenge it if you’re feeling confident, but keep in mind there aren’t any landmarks nearby. Further east is a skirmish, followed by a spider-infested cavern with slopes that zig-zag downwards. Survive the spiders and you’ll discover Zoka the Nopon and a Traderpon ready to do business, after going around the corner.
From here, the next story marker is a short distance north. Before reaching there, there’s a passageway to the east that leads to more spiders. Towards the north of that area is an elevator that doesn’t go anywhere important right now, but will be useful during an upcoming Hero Quest.
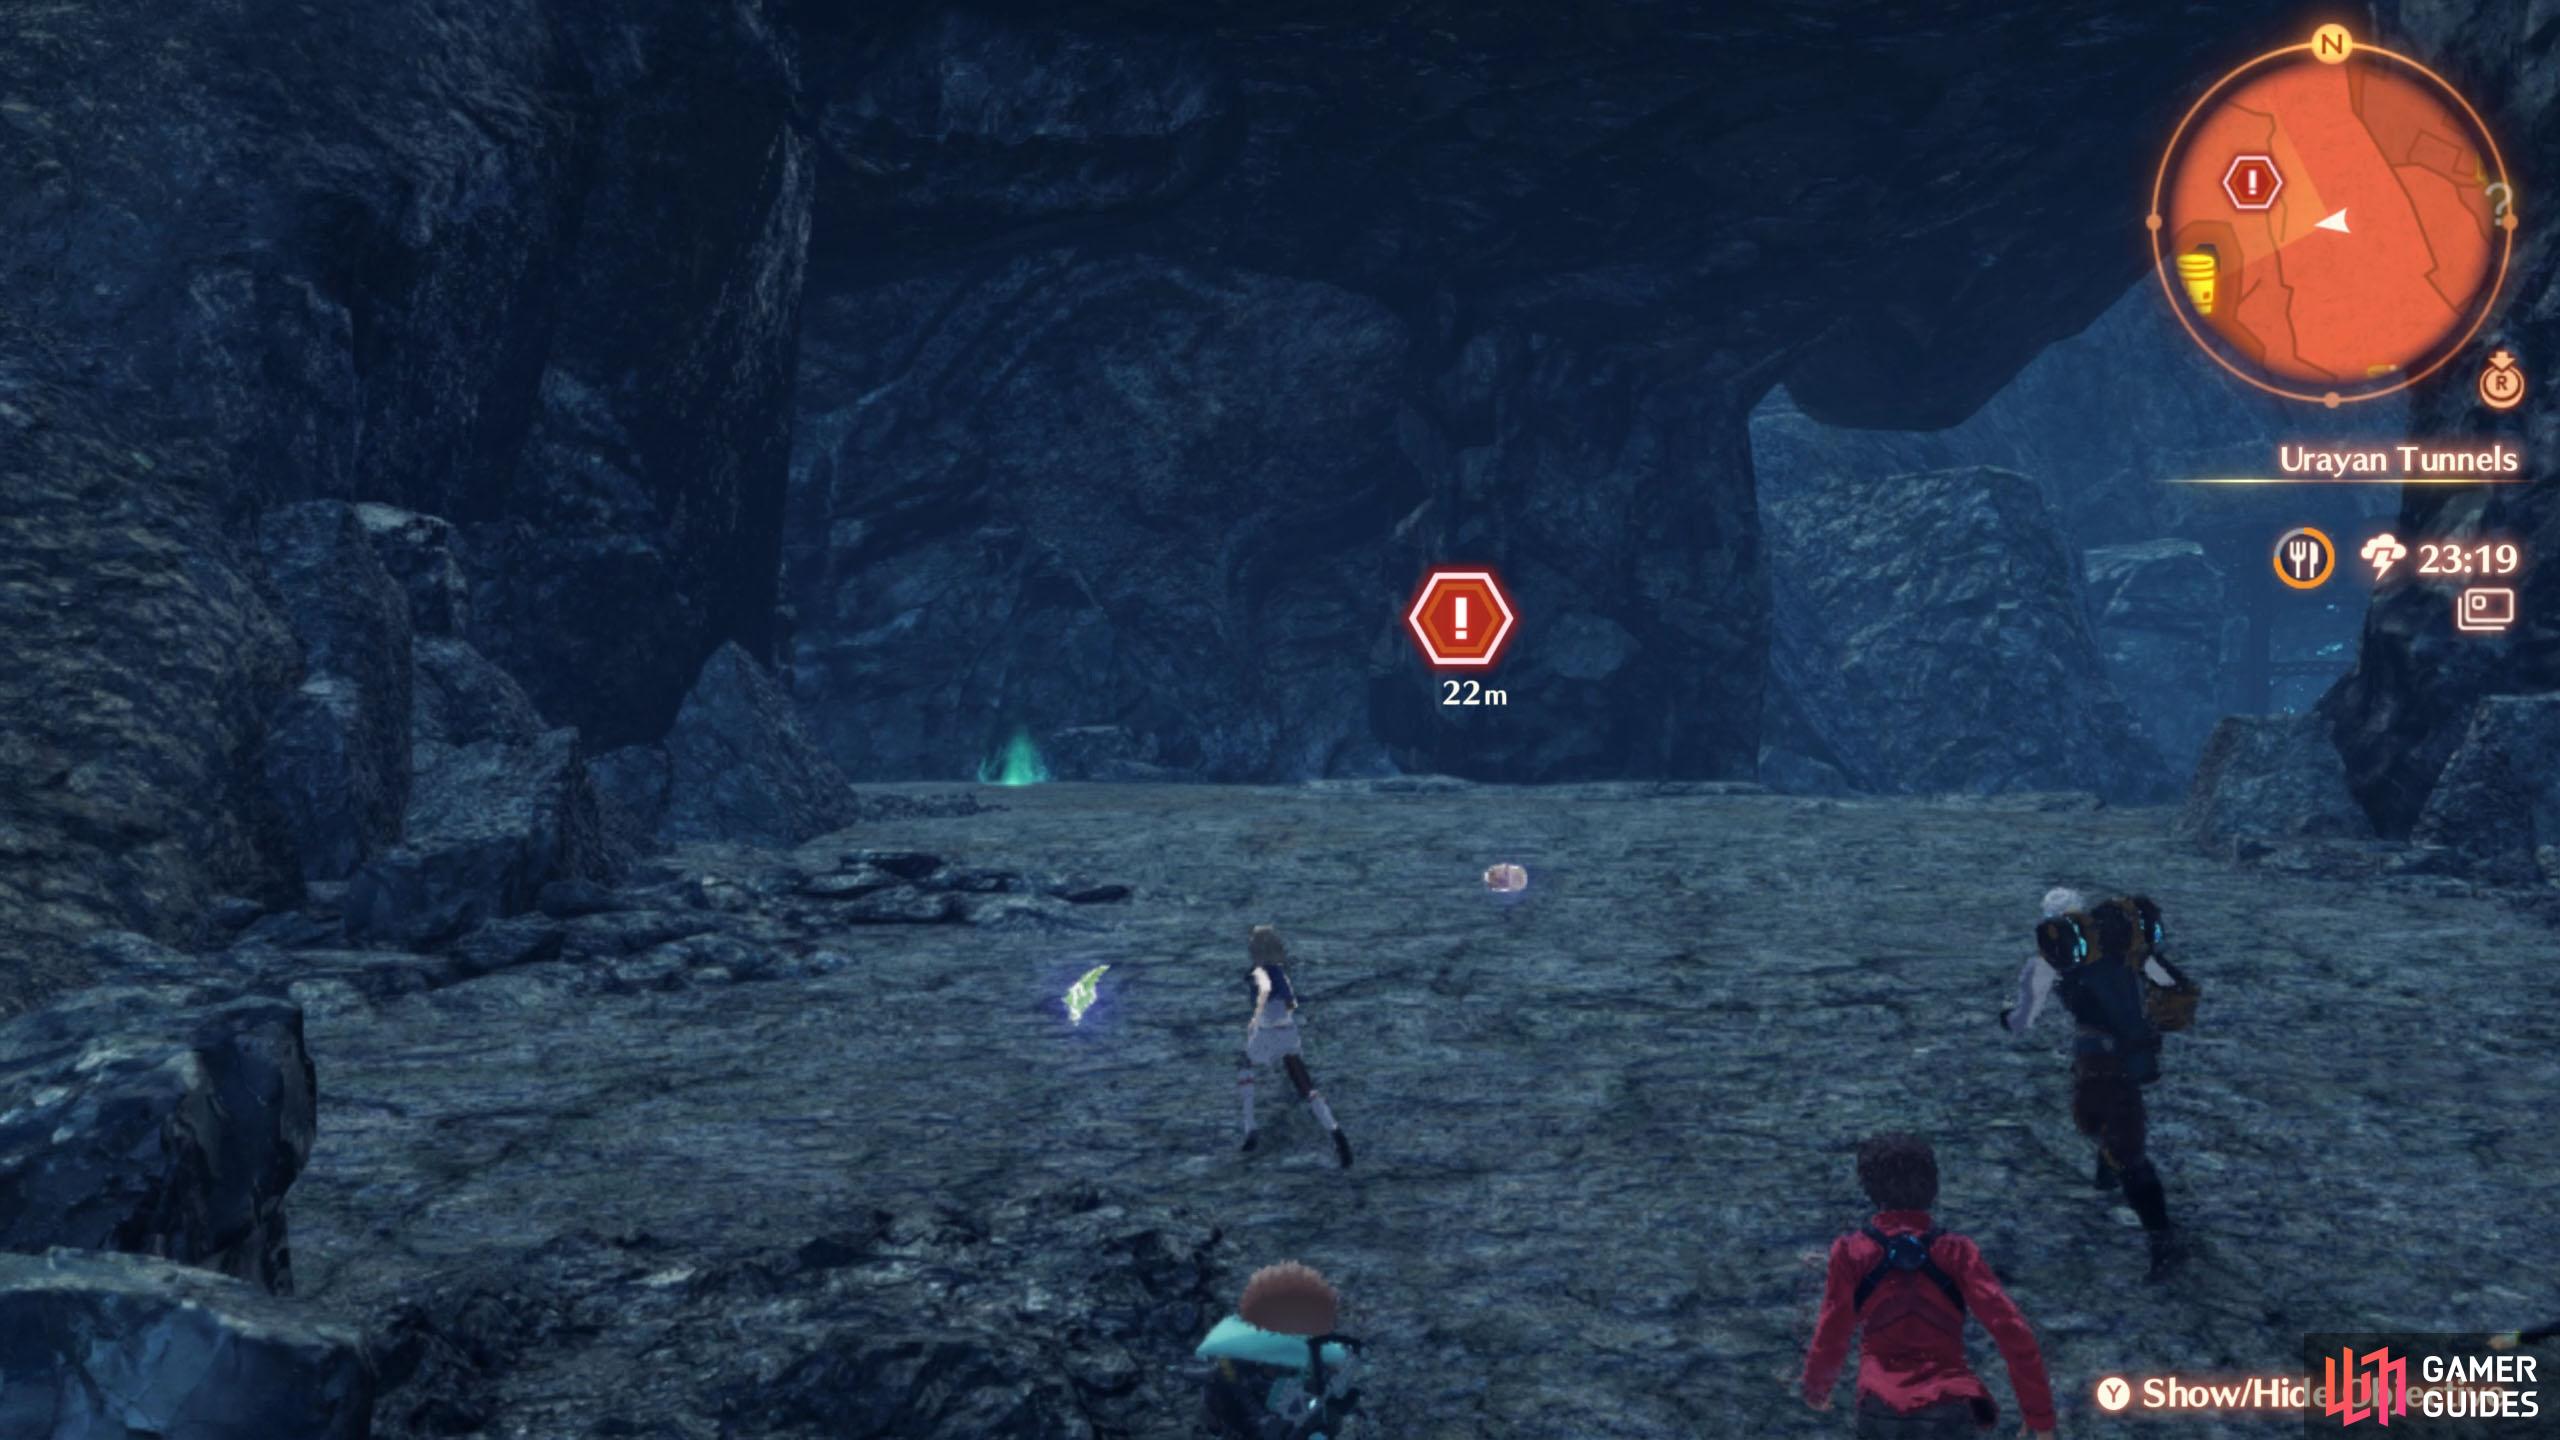
When you approach the story marker, the party will be ambushed by a new foe…
Escaping the Mysterious Enemies
You folks wouldn’t mind stepping aside, would you?
We thought not.
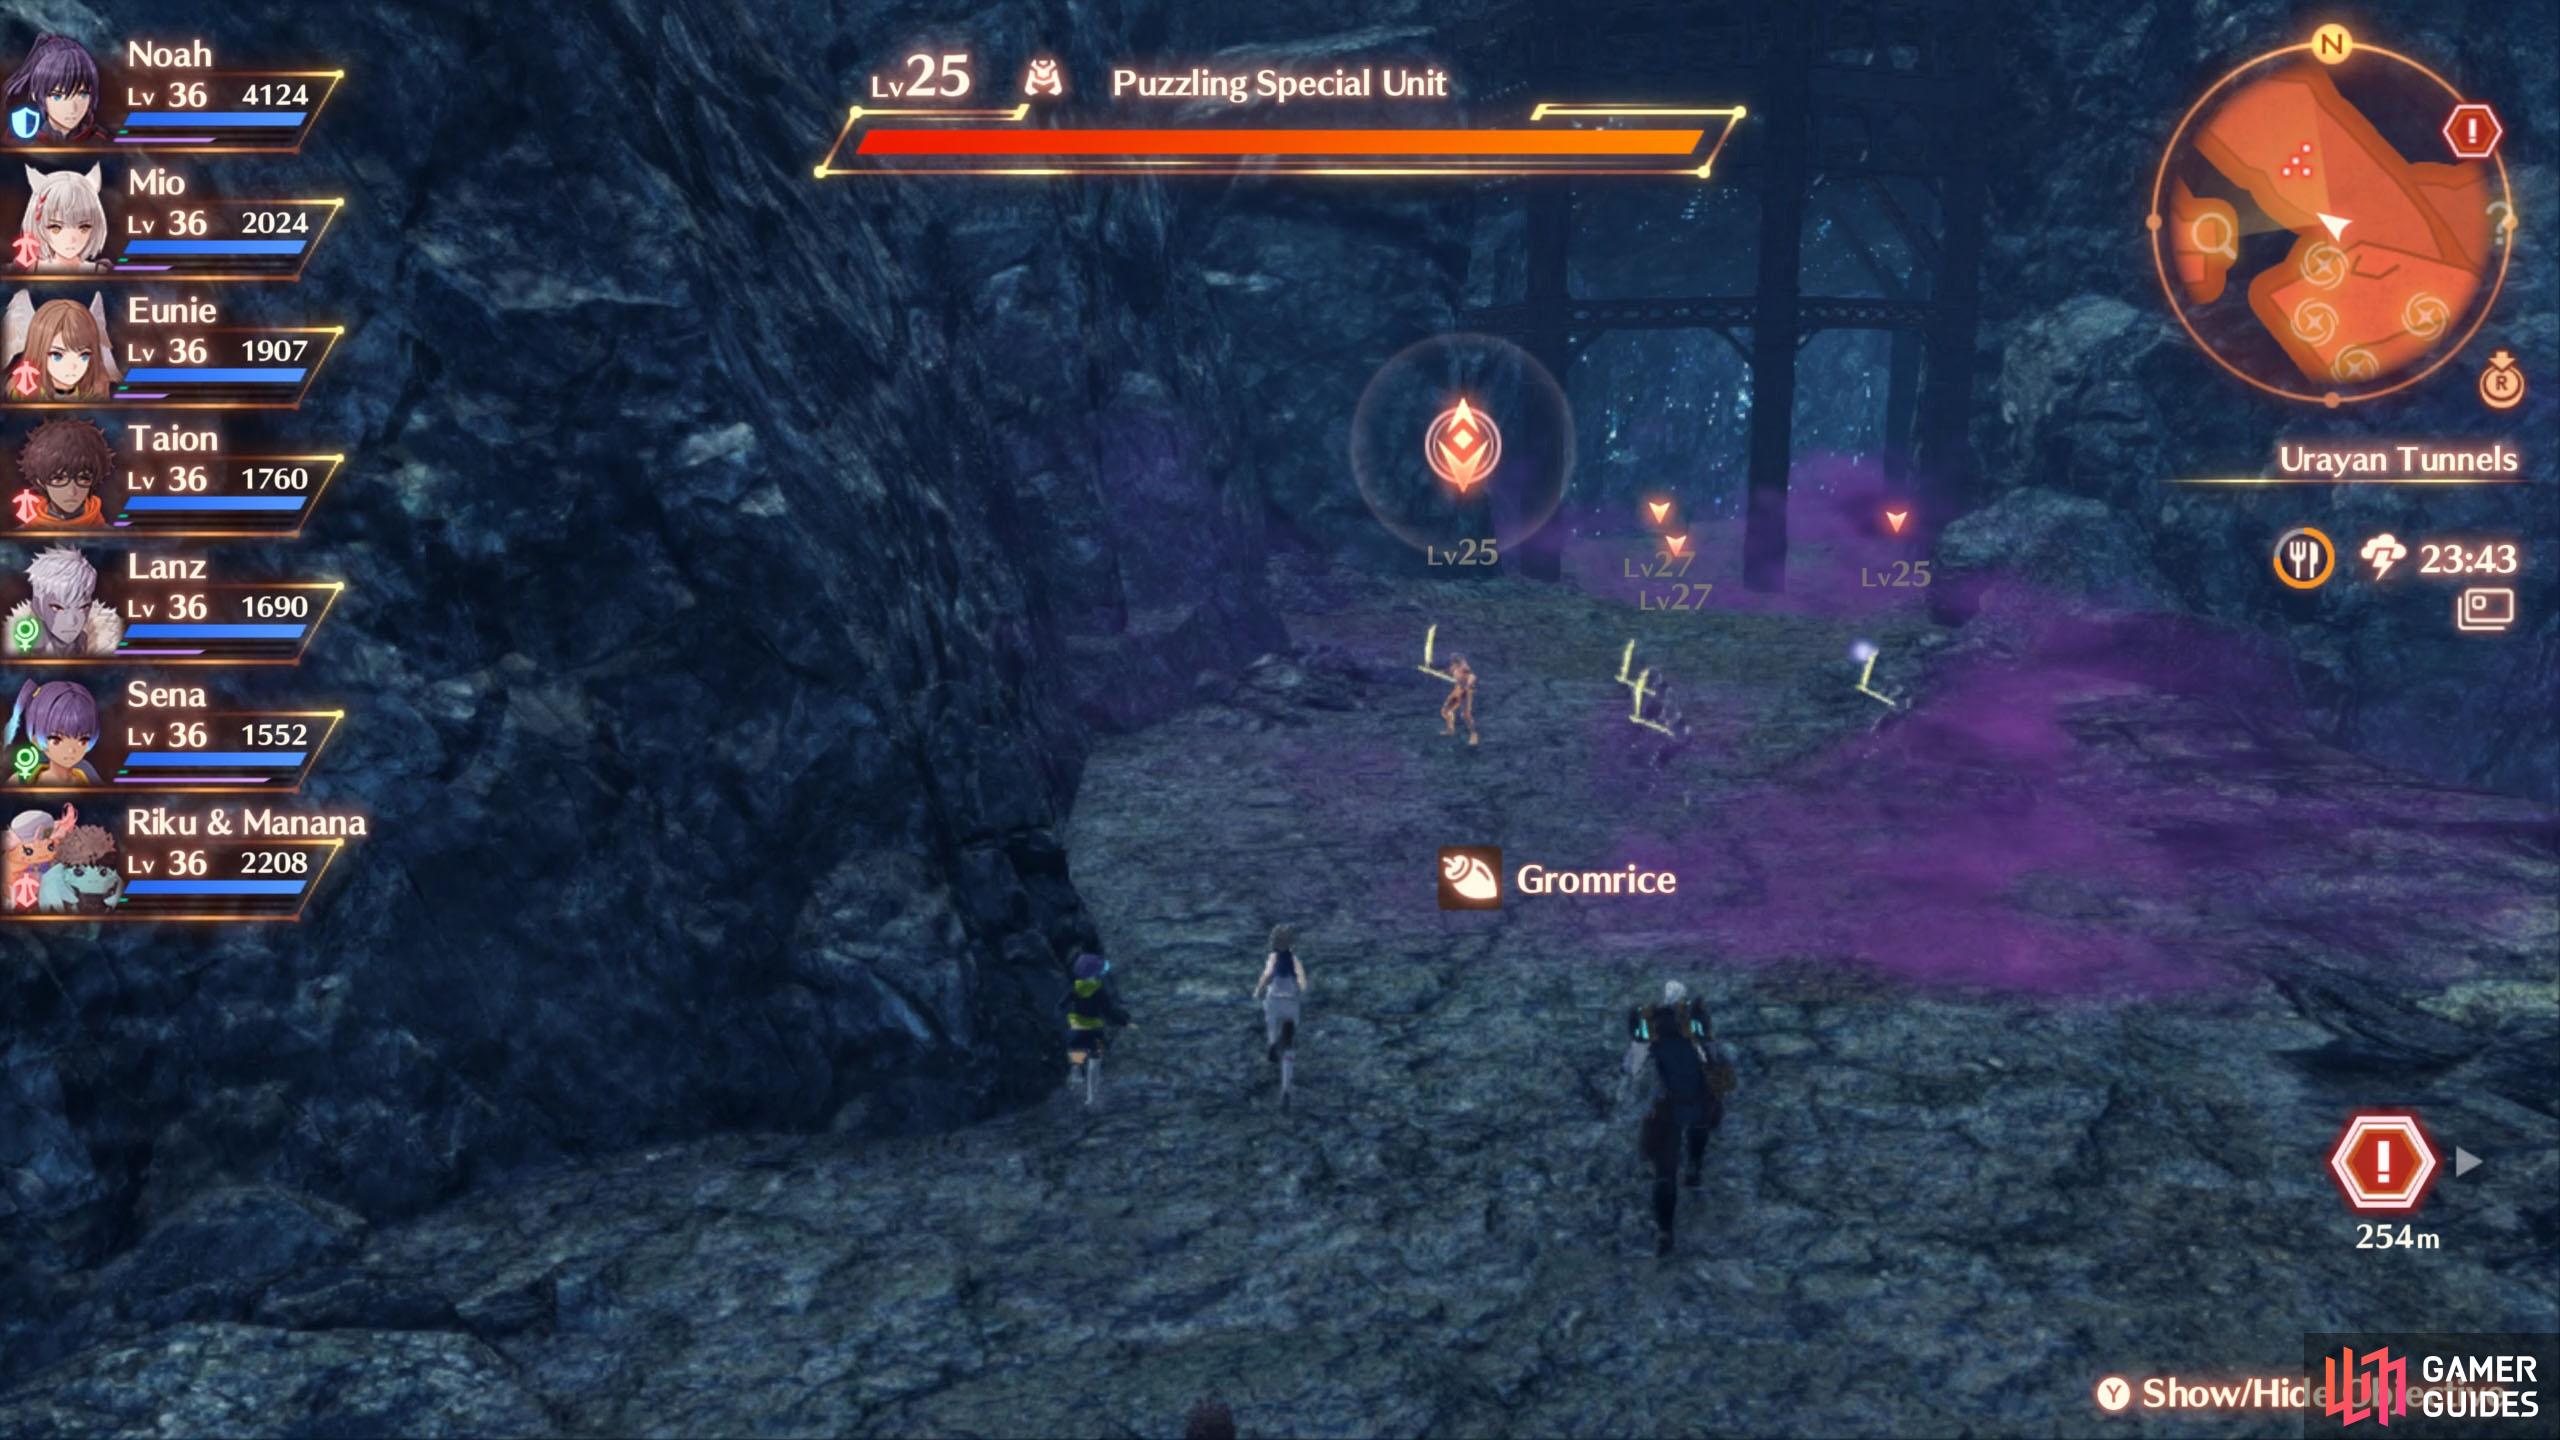
After the cutscene, you’ll emerge a short distance north of where you left off, at the bottom of a ledge. At the moment, you can’t go backwards, although a ladder will appear there later on. Anyway, begin by continuing north through the tunnels.
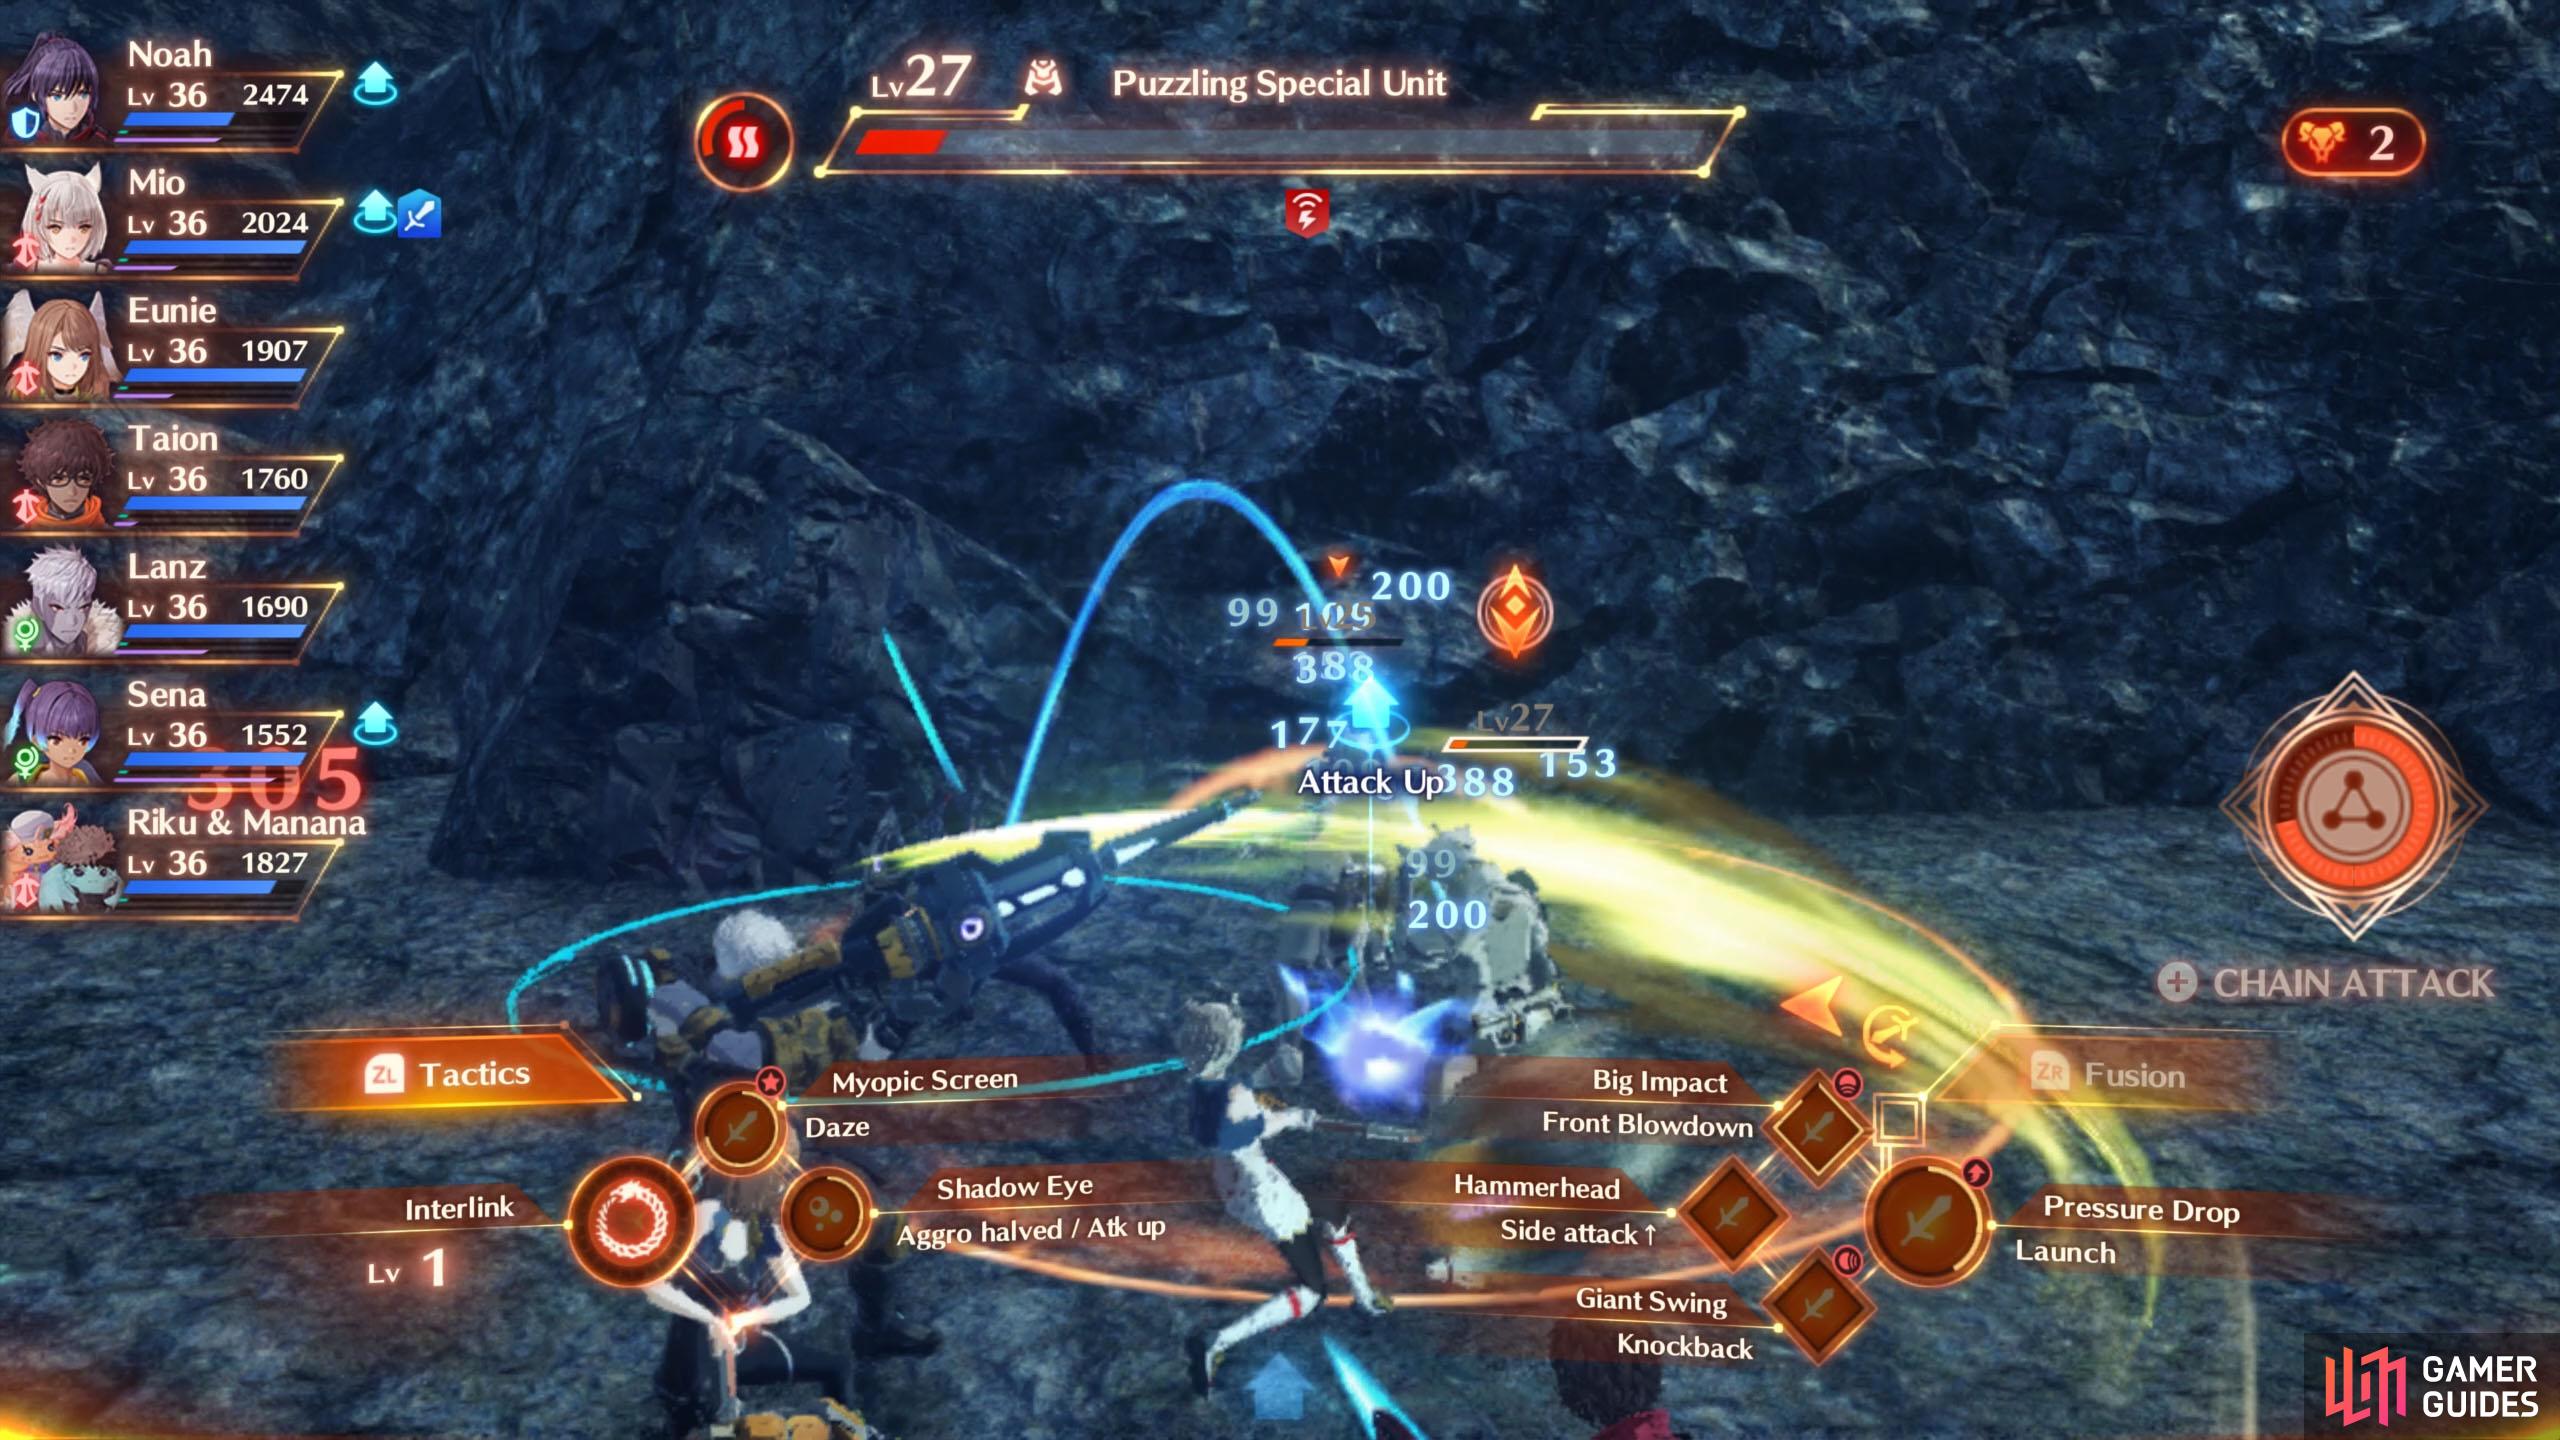
Just before a mine shaft, you’ll have to fight four Level 25~27 Puzzling Special Unit foes. Once they’re out of the way, head through the mine shaft, going along Quarry Road. Before long, you’ll encounter more of the same foes, when the mine shaft widens out slightly. Around here, there’s a bunch of Soldiers’ Husks.
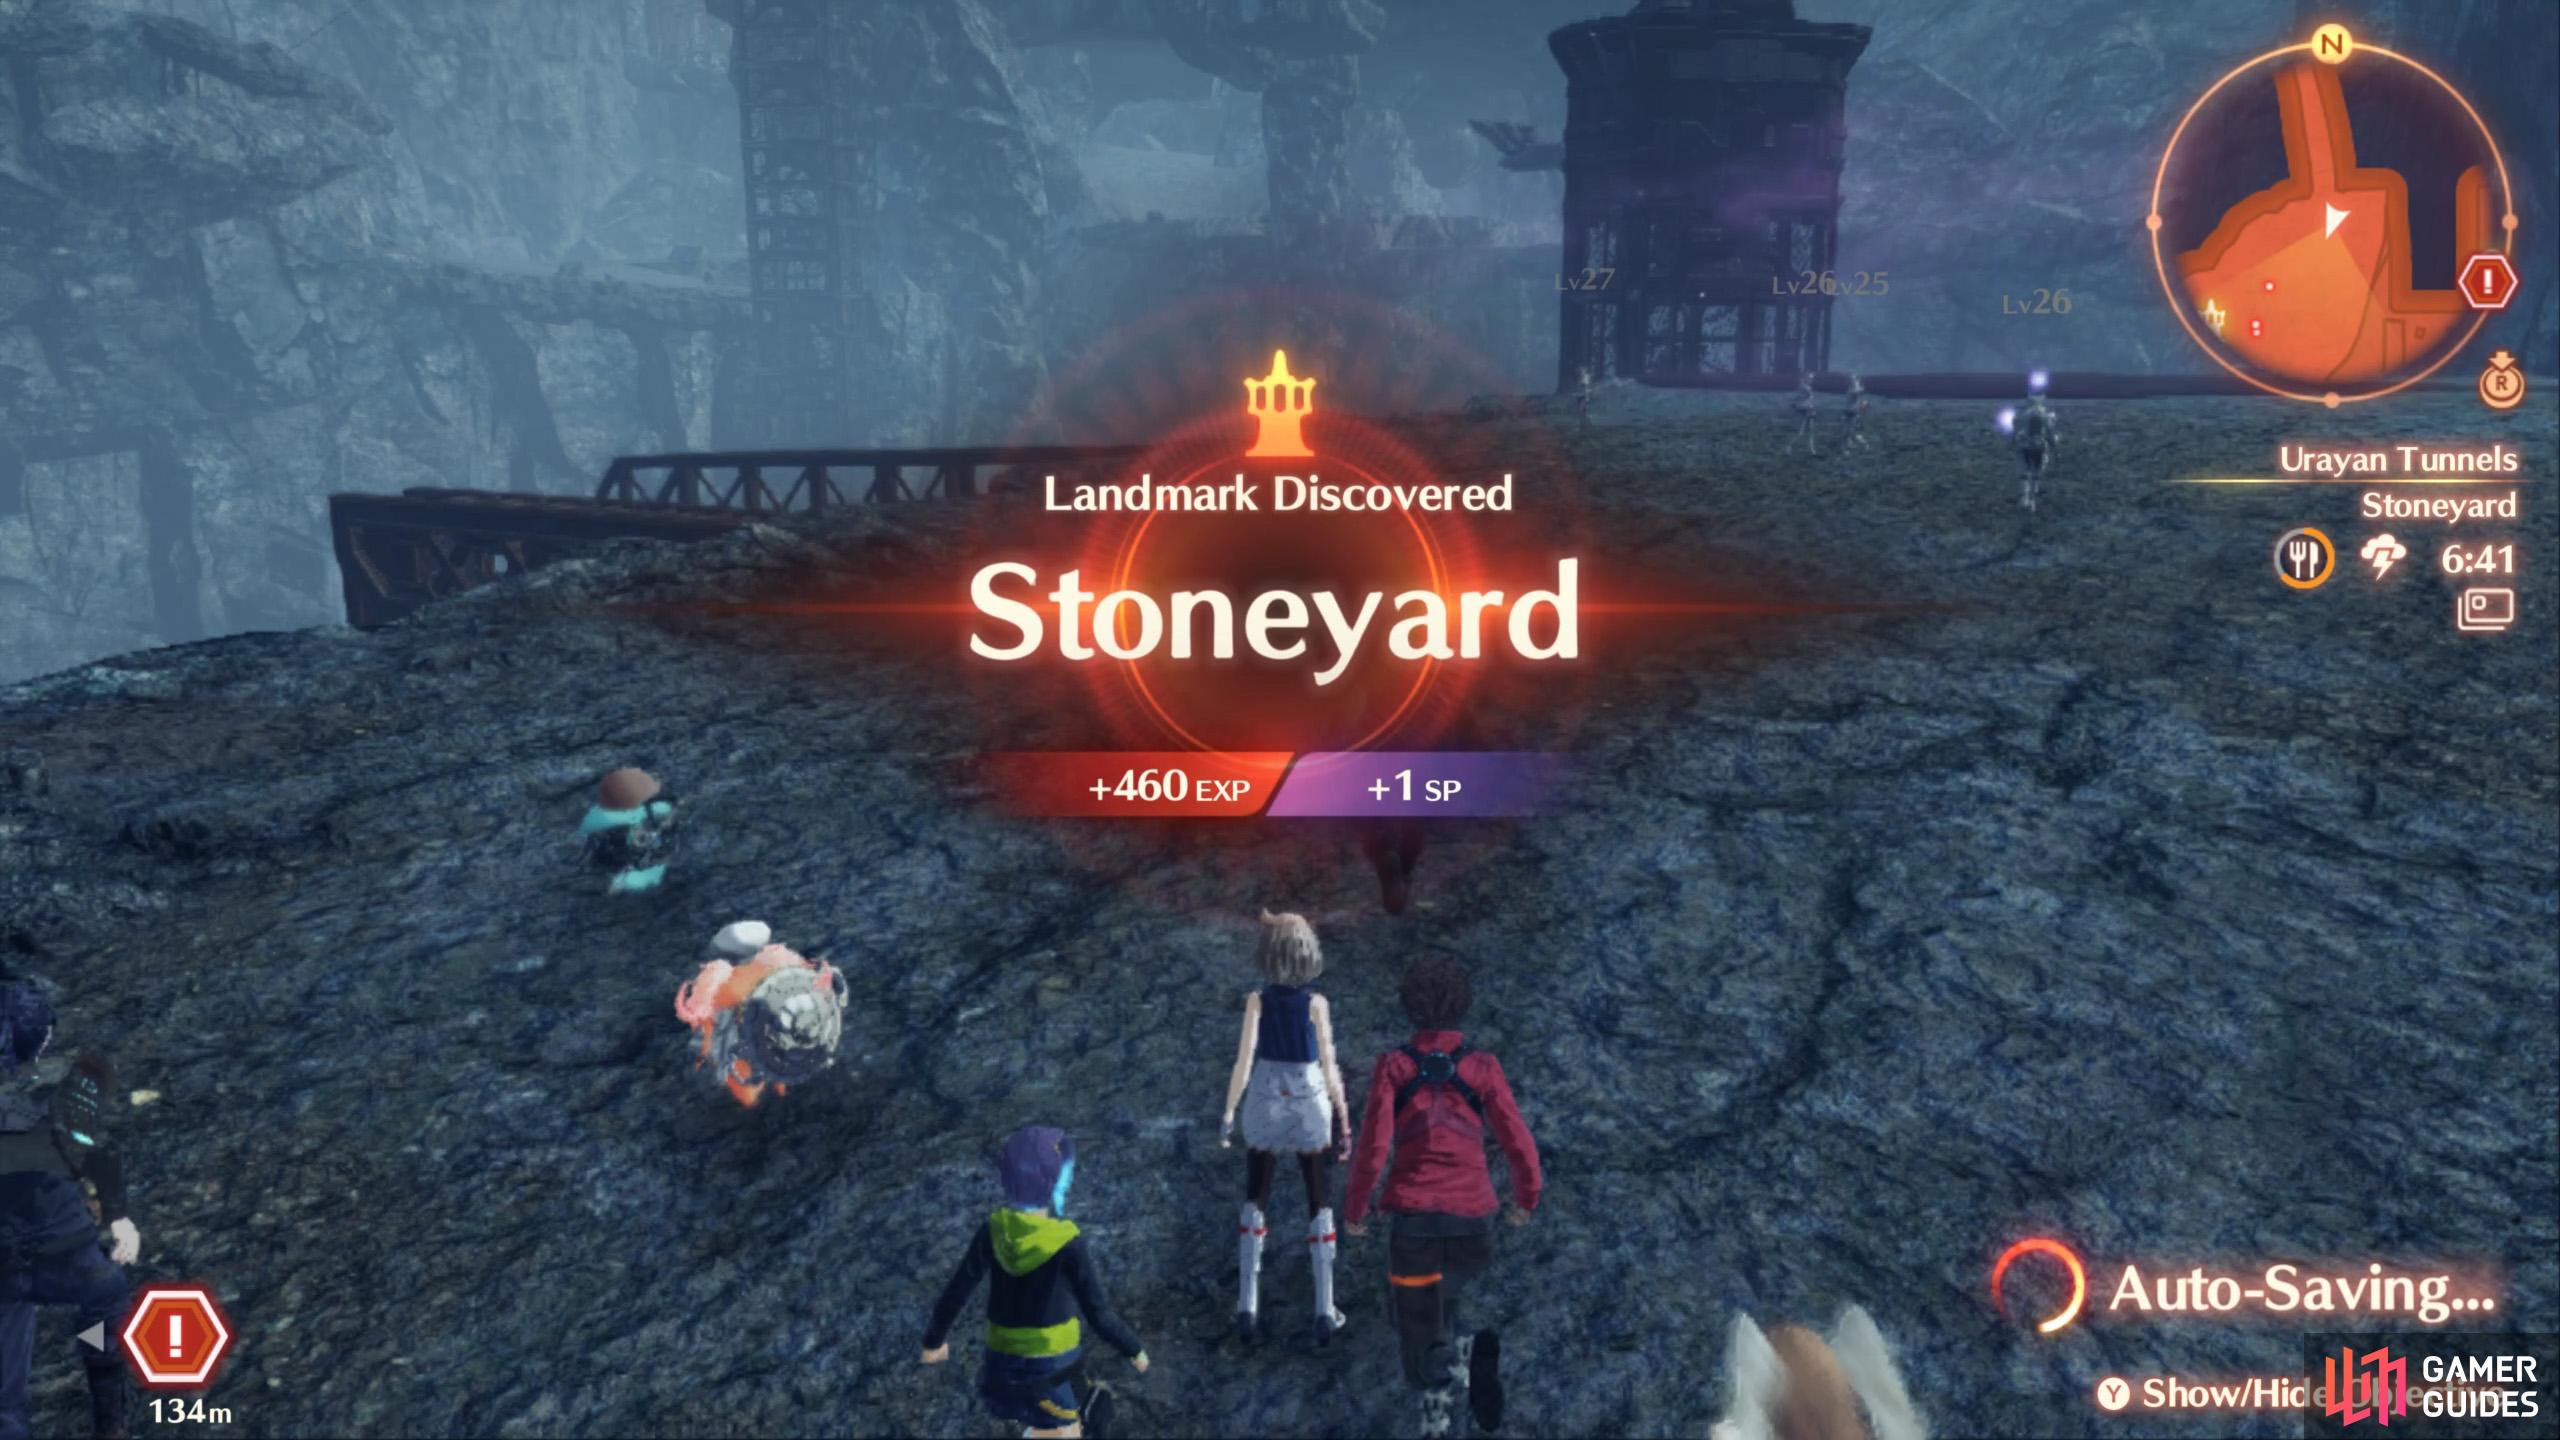
Further ahead is a group of three Puzzling Special Unit foes, including an Elite. When the tunnel bends and begins to point east and where there’s a small cove, a fourth group will assemble to take you on. Keep on following the tunnel and it’ll eventually lead south to a wide, open area: the Stoneyard.
Head south-west towards Elevator No. 3, dispatching the foes patrolling this area, then descend the elevator to the lower level. When you reach the bottom, you don’t have much further to go. But you will encounter two waves of foes towards the east. Once they’ve keeled over, head for the next story marker, near the water vein.
After the cutscene, jump in the fast-moving water and follow it to the end. It’ll lead you to the Aquifer Exhaust, which is the beginning of the Great Cotte Falls. From here, swim east to the area of dry land, where the next story marker is.
Locations
Landmarks in the Urayan Tunnels
Annoyingly, there aren’t many landmarks in the tunnel.

After the story events in the tunnel, feel free to re-enter to explore the rest.
| Name | Description |
|---|---|
| Garf Mine Track | Entrance of Pentelas Region; far north-west of the region. |
| Stoneyard | Before Elevator No. 3, not far from exit of the tunnels. On higher level. |
| Ore Stockpile | East from the Stoneyard. On lower level. |
| Myma Gate | Exit of Urayan Tunnels; towards the far east of the tunnels. |
Rest Areas in the Urayan Tunnels
| Name | Description |
|---|---|
| Generator Control Room | South-east from Elevator No. 1. Go down the nearby ladder and enter via the back door. |
| Ruins of Seebu Camp | South-west from Mine No. 1. |
Containers in the Urayan Tunnels
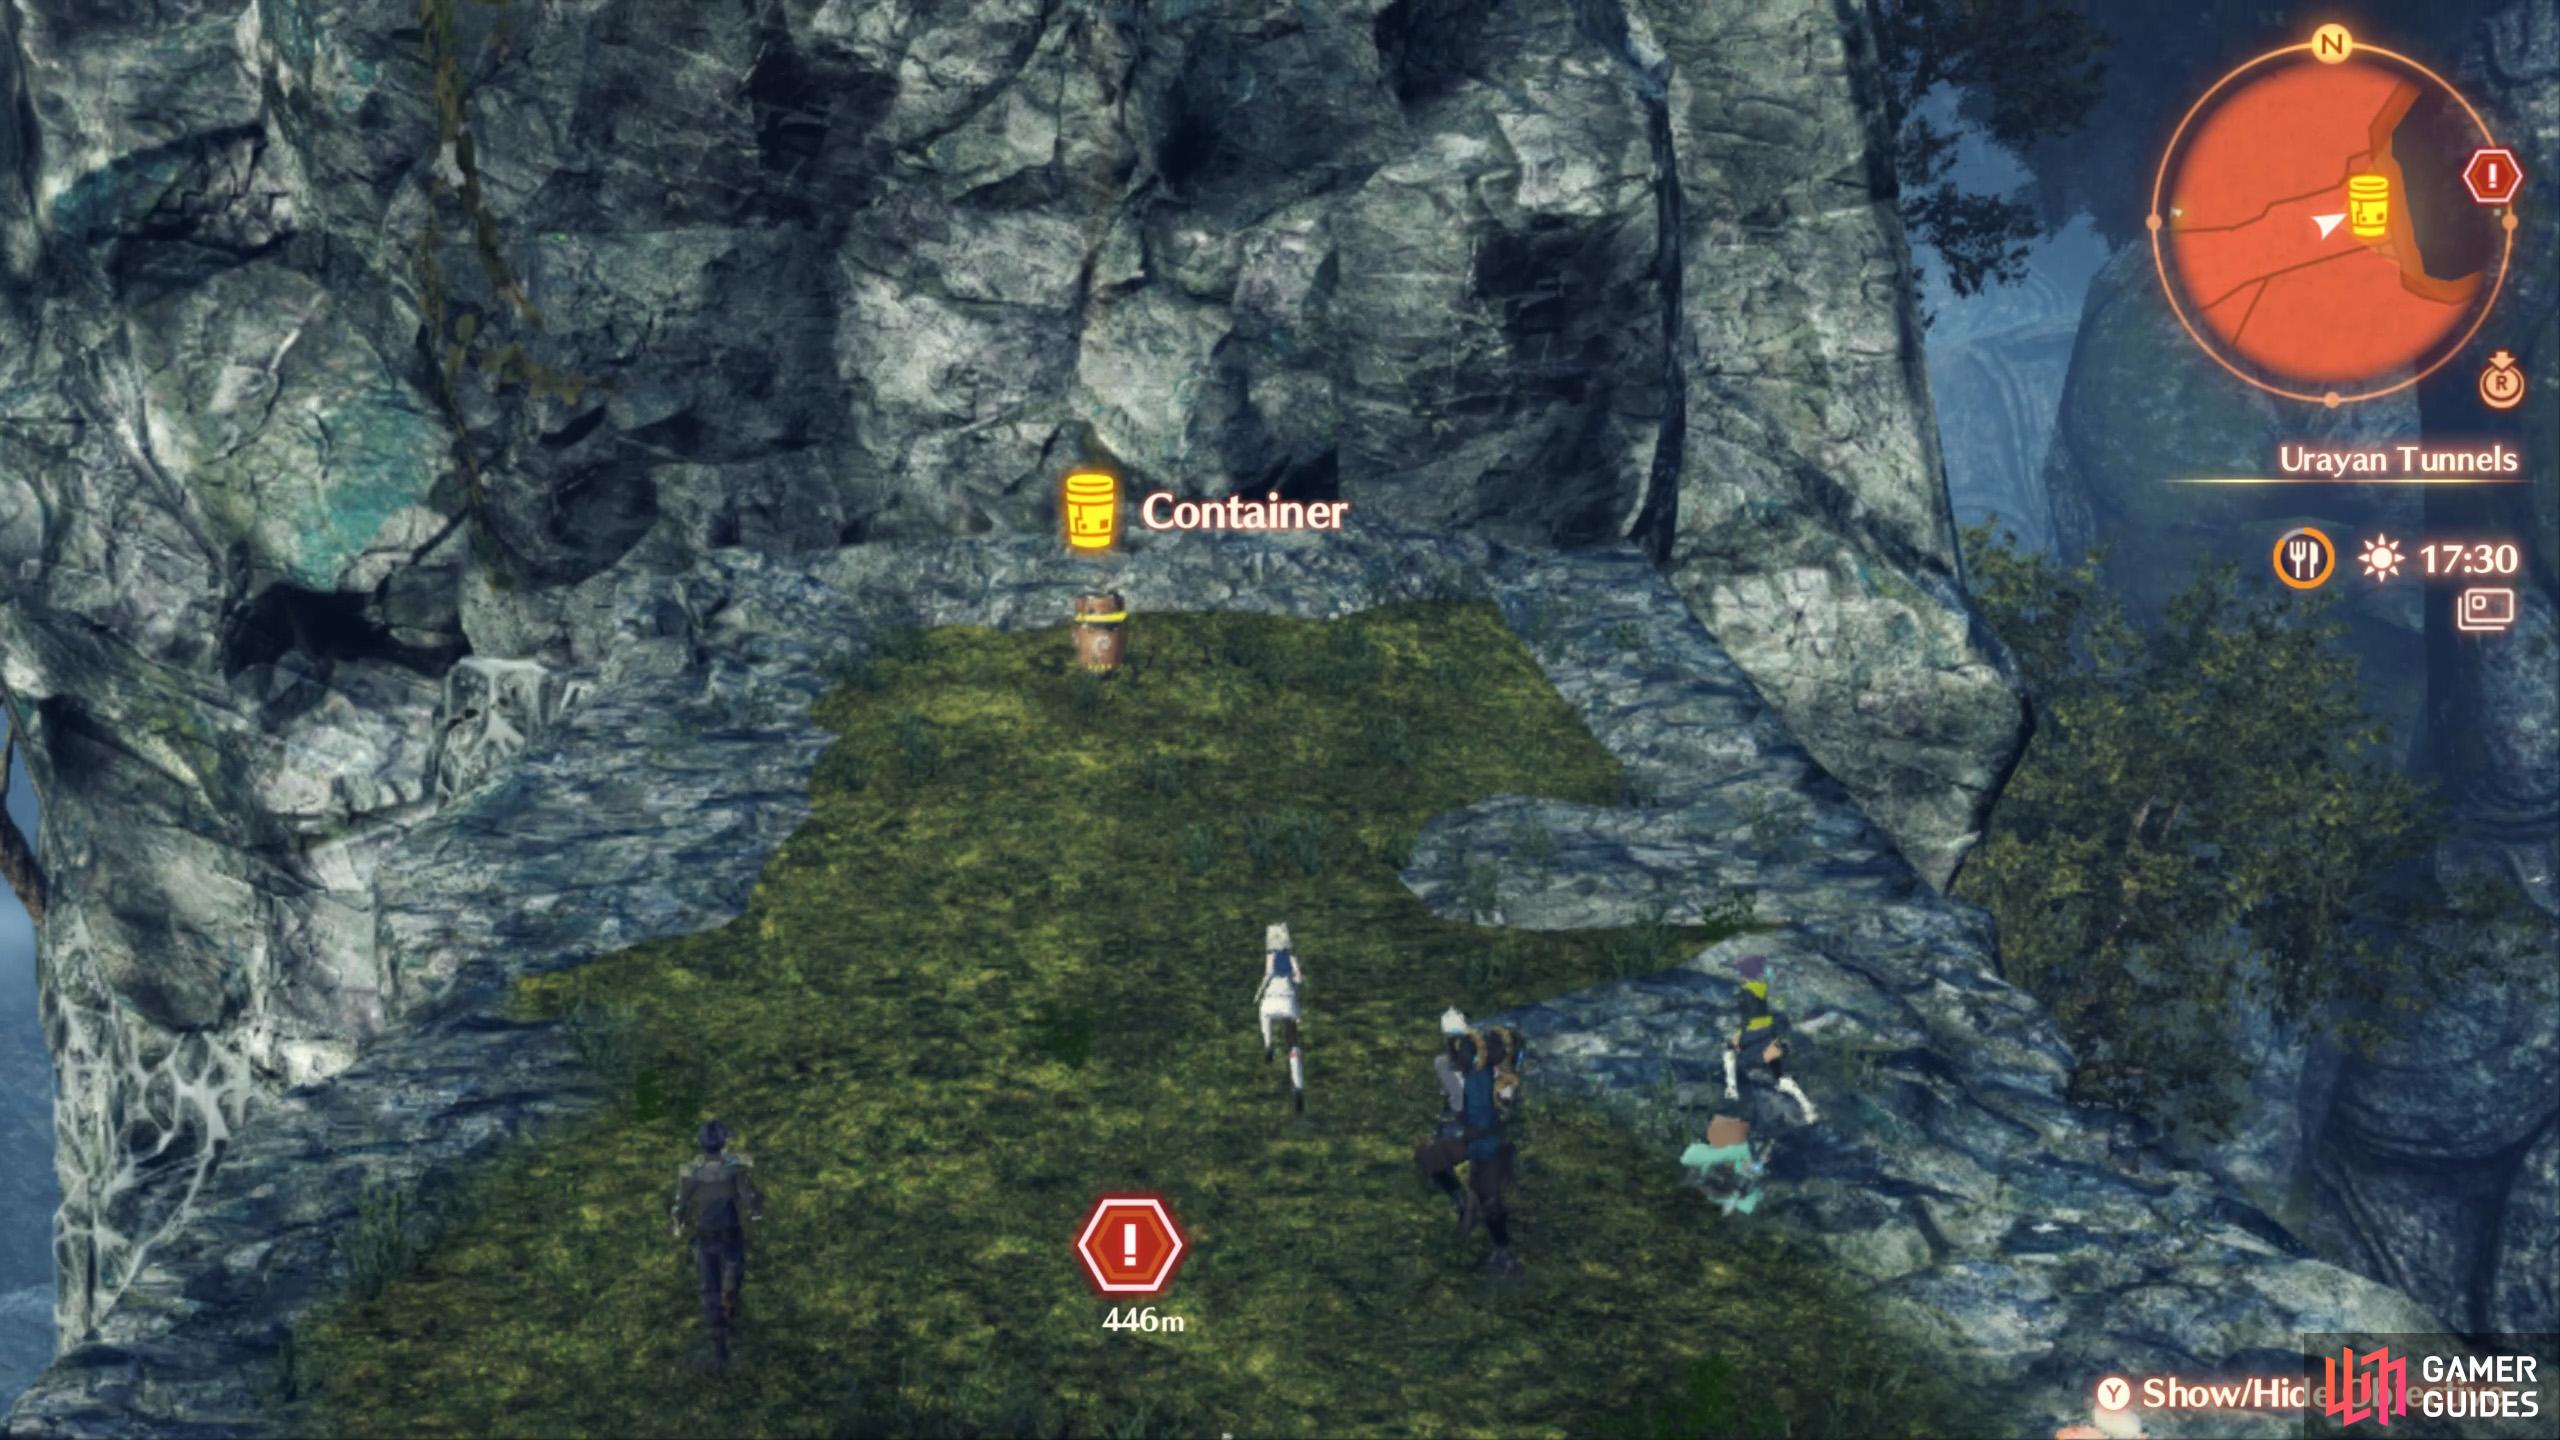
After dealing with Princess Arachno, you can climb a nearby wall.
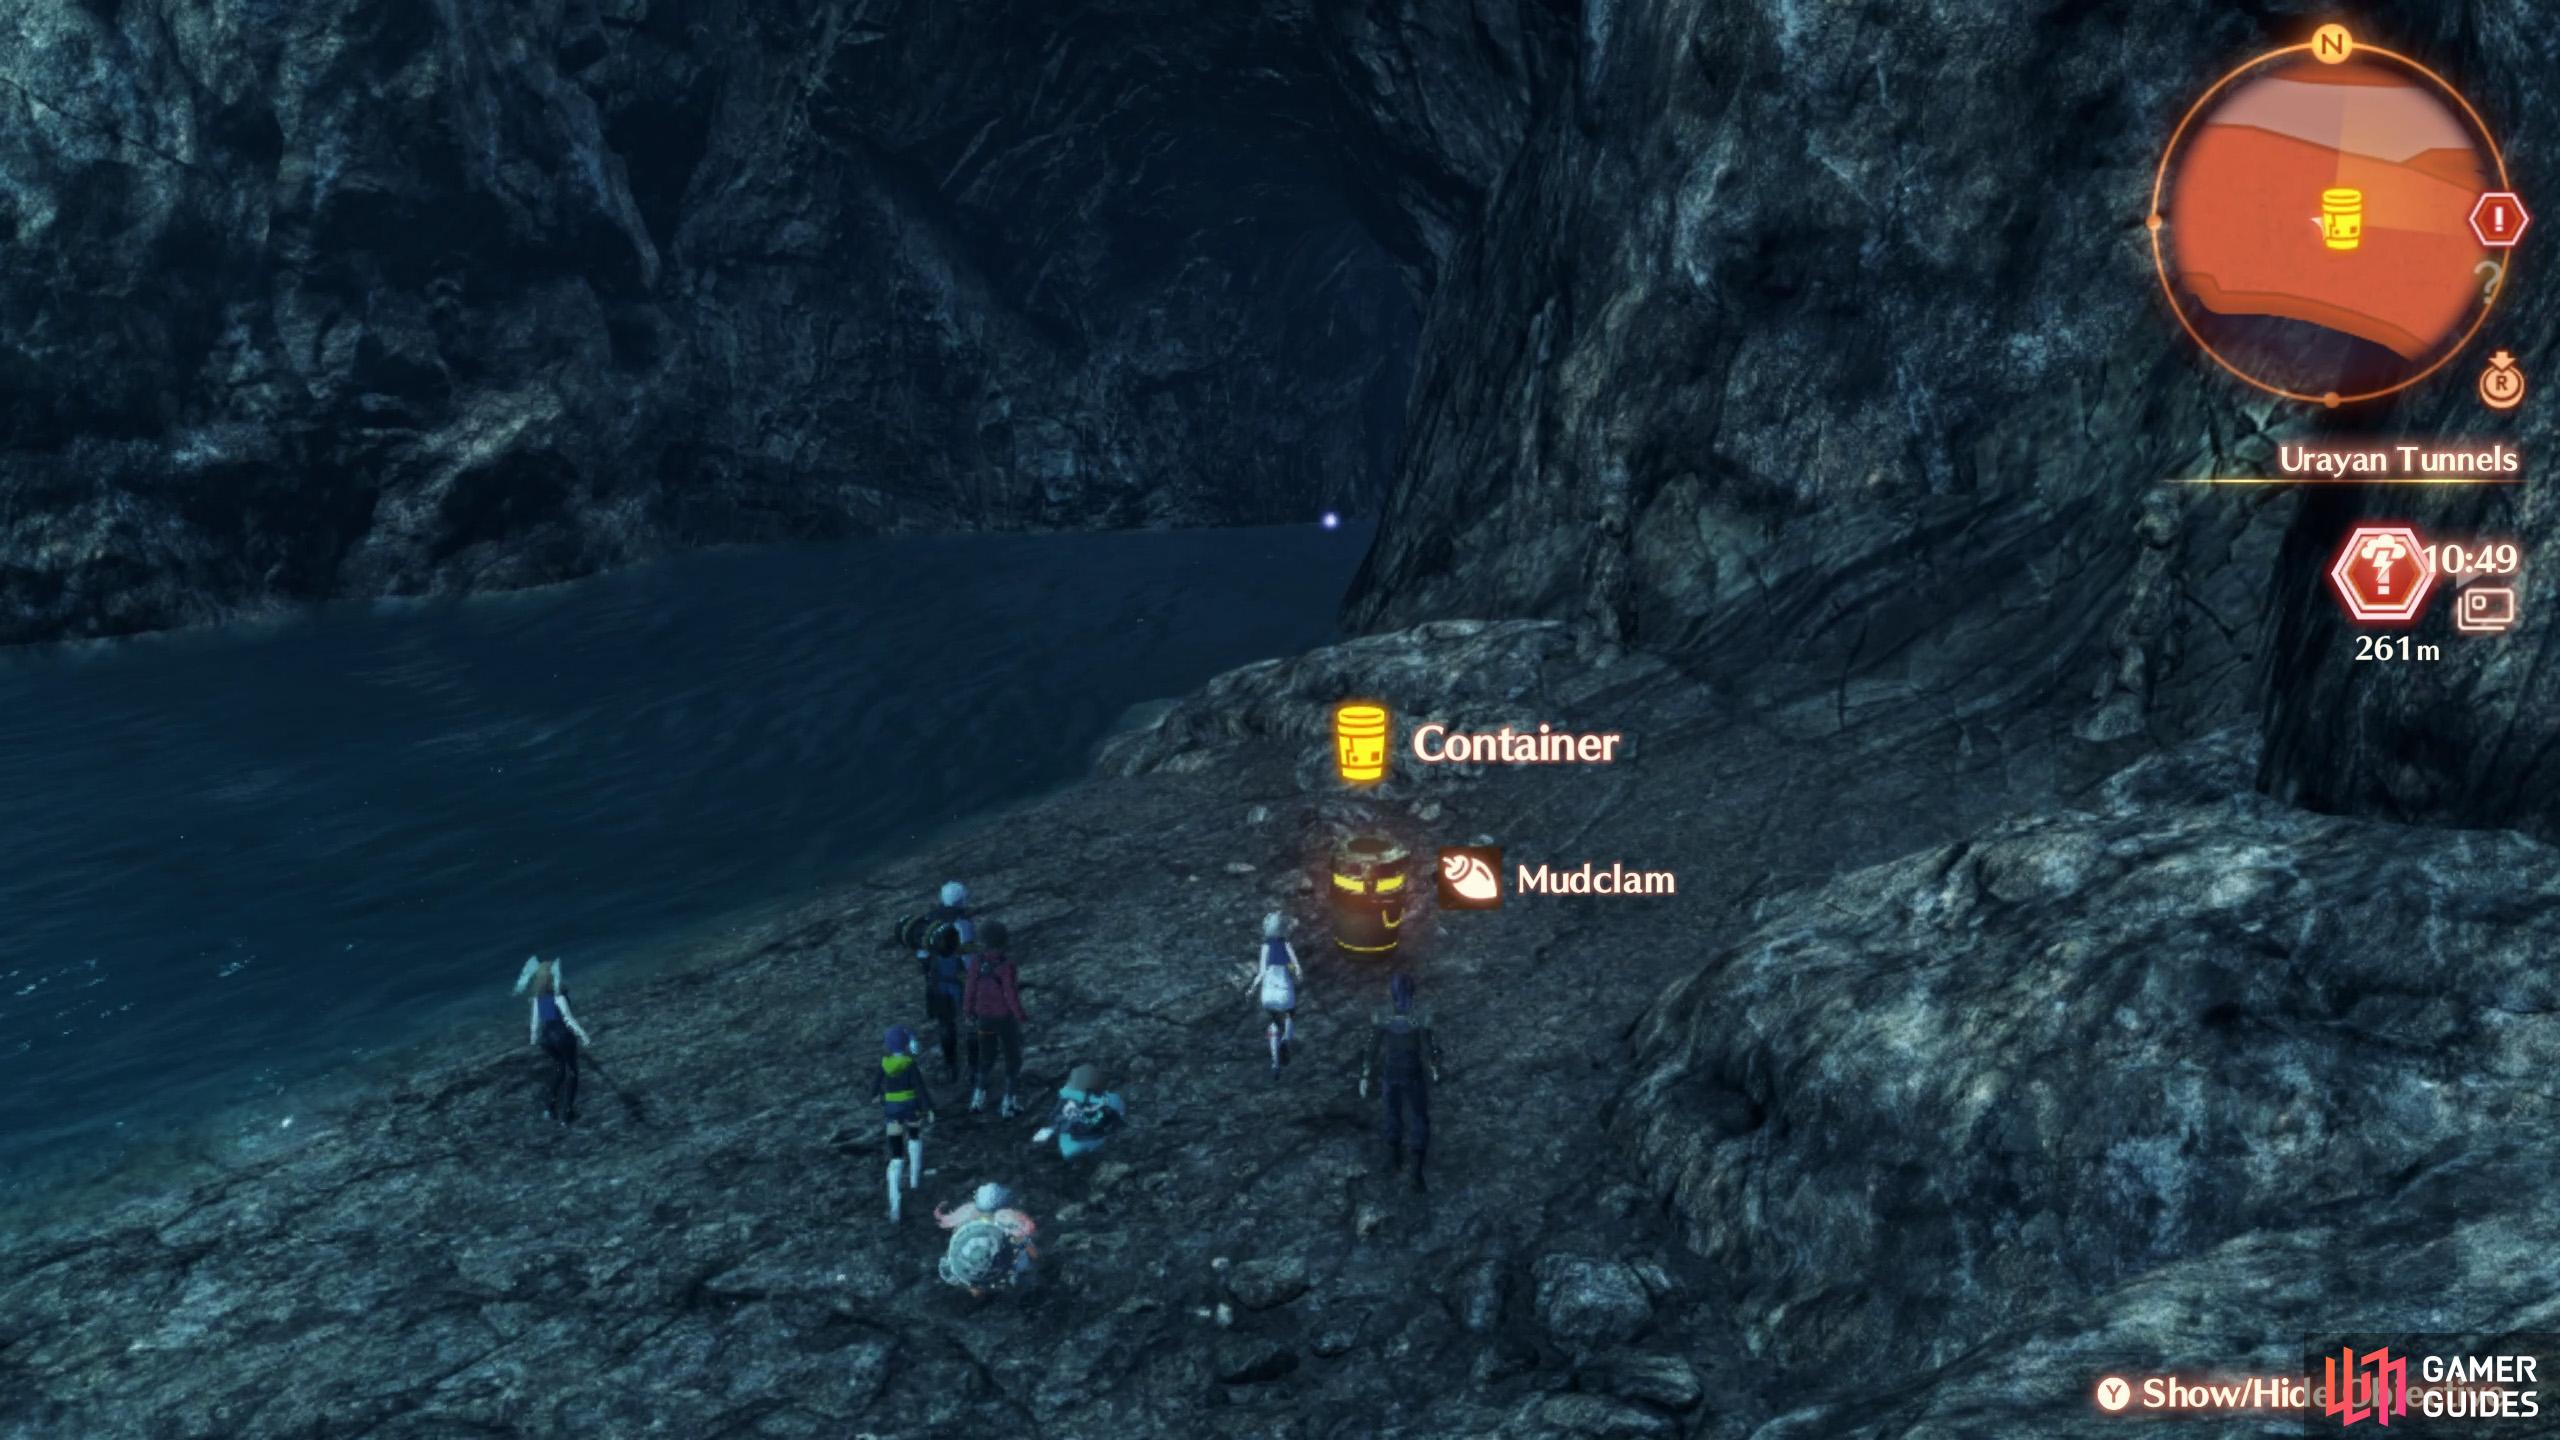
Grab this container as you exit the tunnel.
| Container # | Map Marker | Location |
|---|---|---|
| 1 | Map Marker | Along the west side of the tunnel wall, just before Elevator No. 1. |
| 2 | Map Marker | South from Container #1, on the same level. |
| 3 | Map Marker | West from Elevator No. 1, on middle level. Go downs steps east from the elevator. |
| 4 | Map Marker | West from Elevator No. 1, on lower level. Take a right after descending the elevator. |
| 5 | Map Marker | South from Ruins of Seebu Camp. After Princess Arachno fight, climb up nearby vine-covered wall. |
| 6 | Map Marker | After going north from the Traderpon, take a left. Might need to come back after triggering the story event. |
| 7 | Map Marker | At the end of the shore when going through the Cavern Waterway, just before the tunnel exit. |
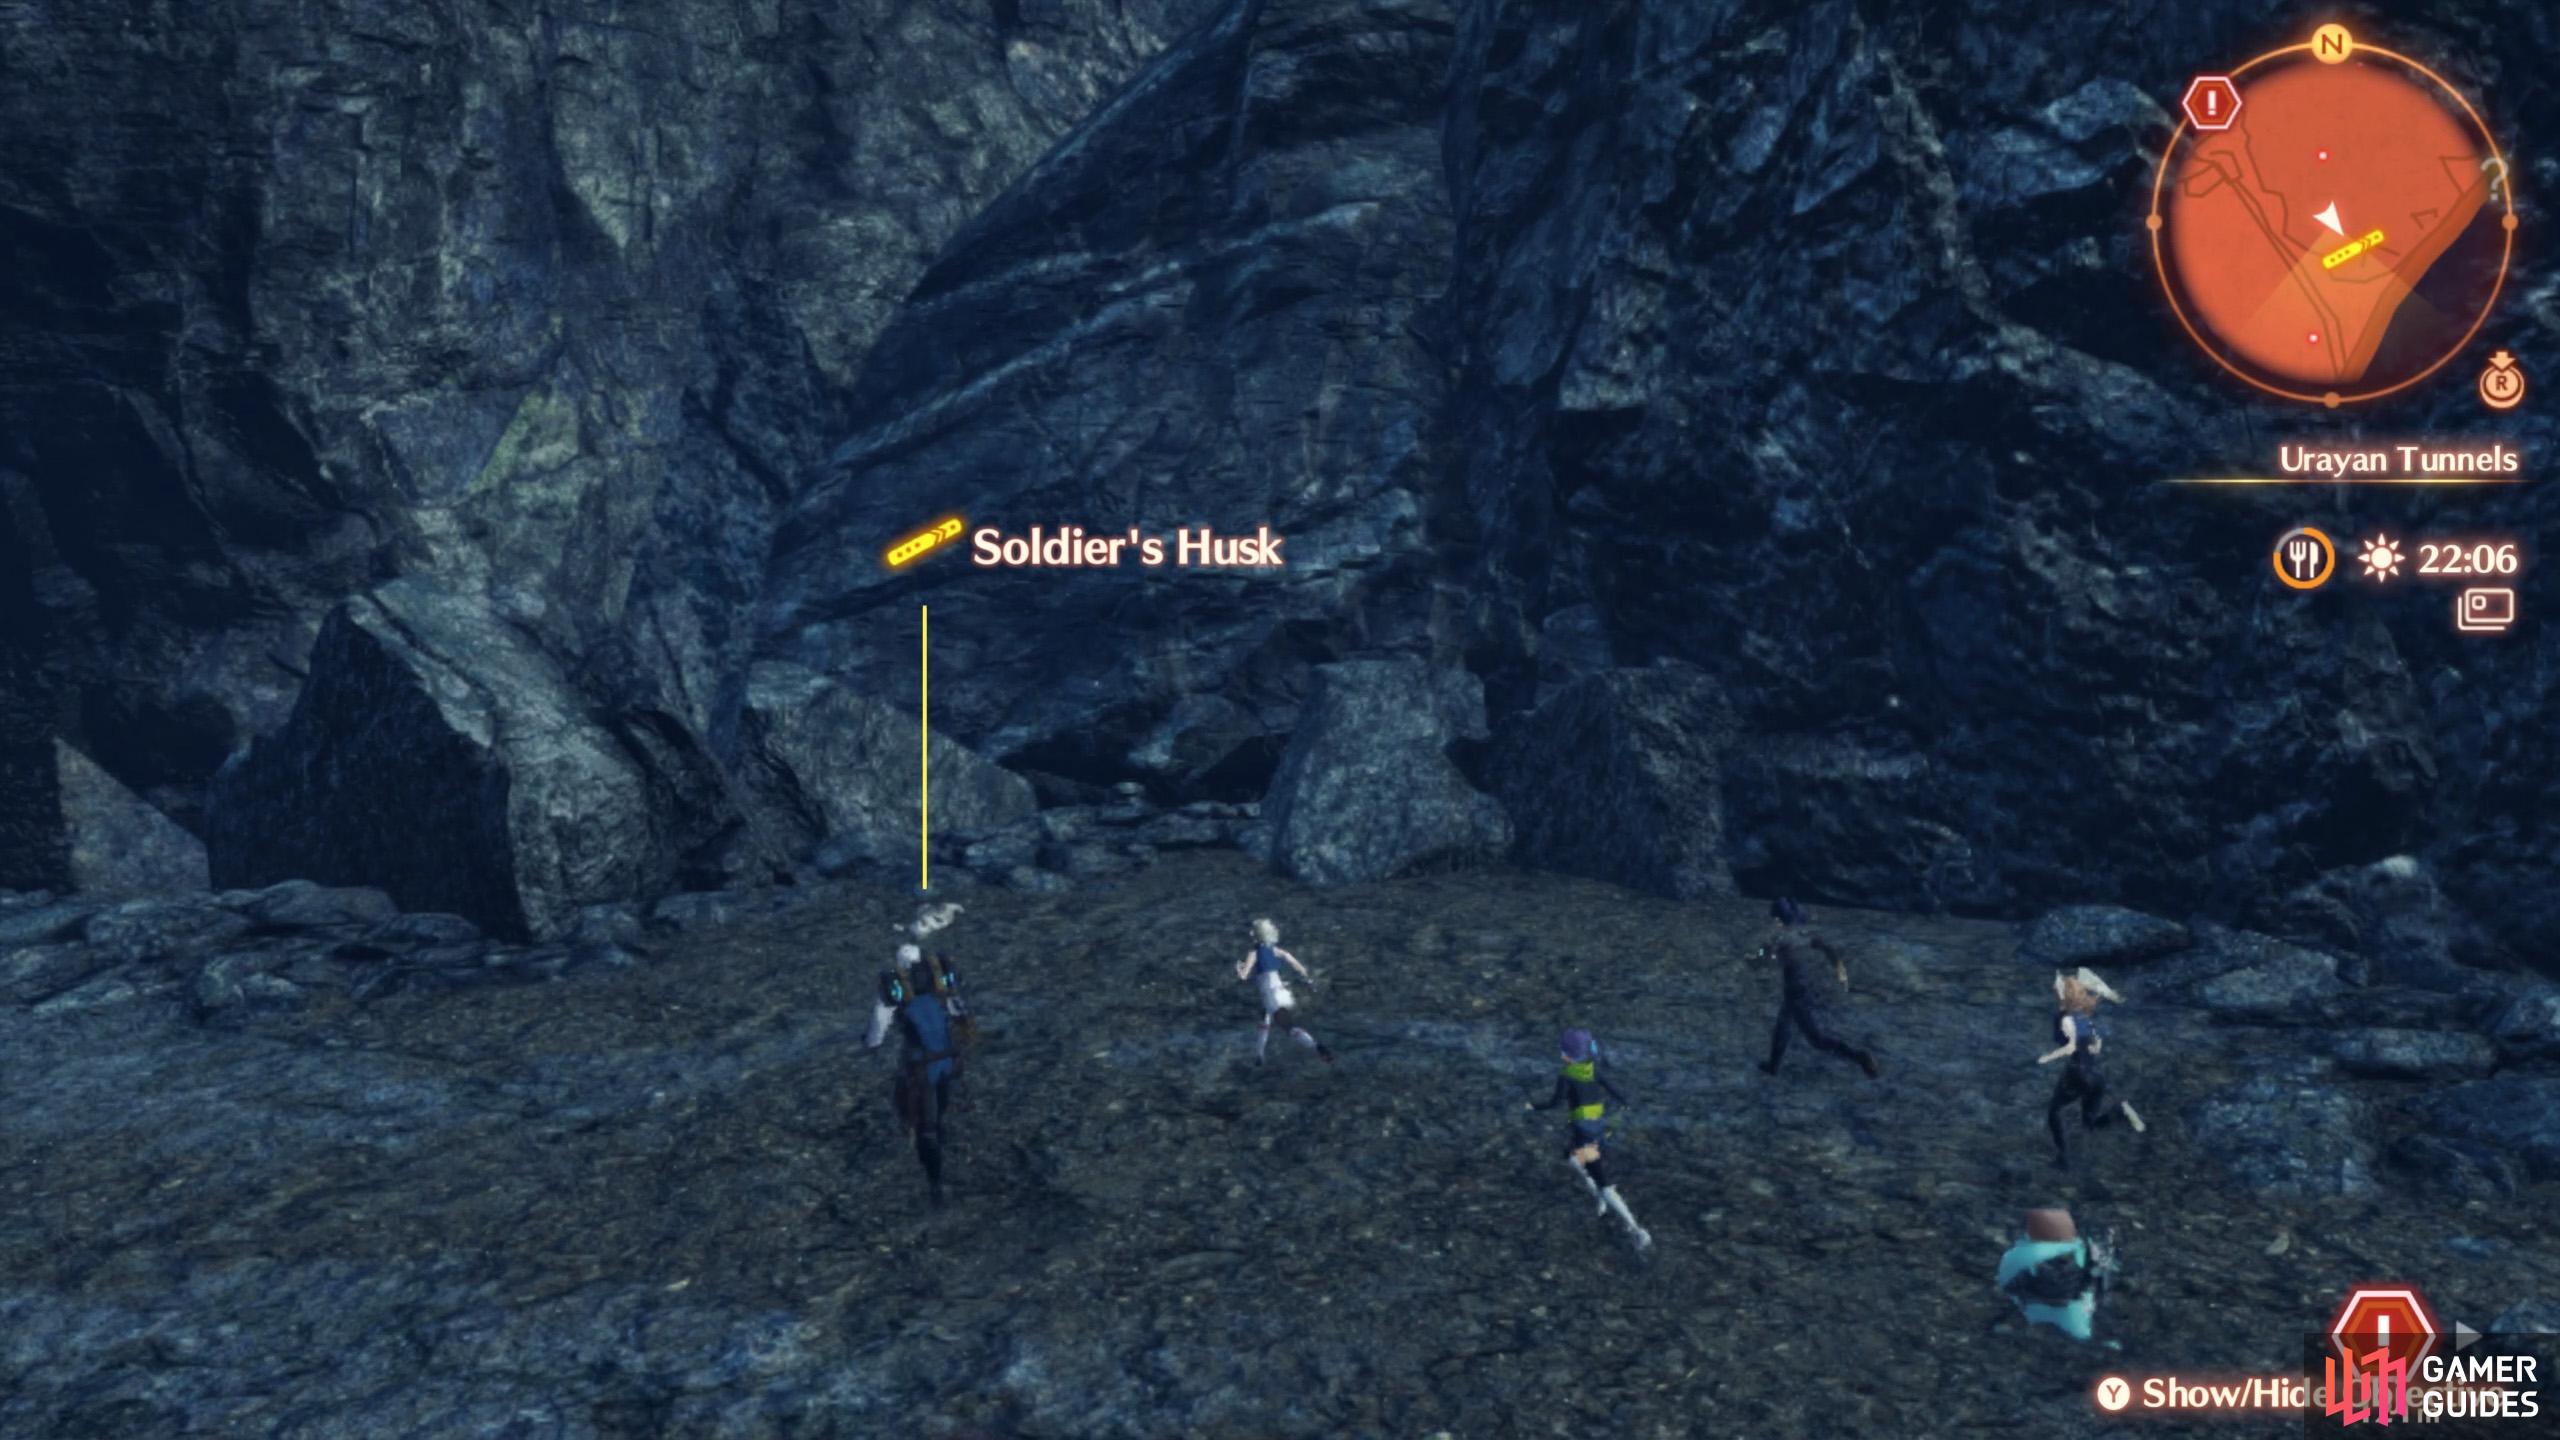
Soldier Husks in the Urayan Tunnels
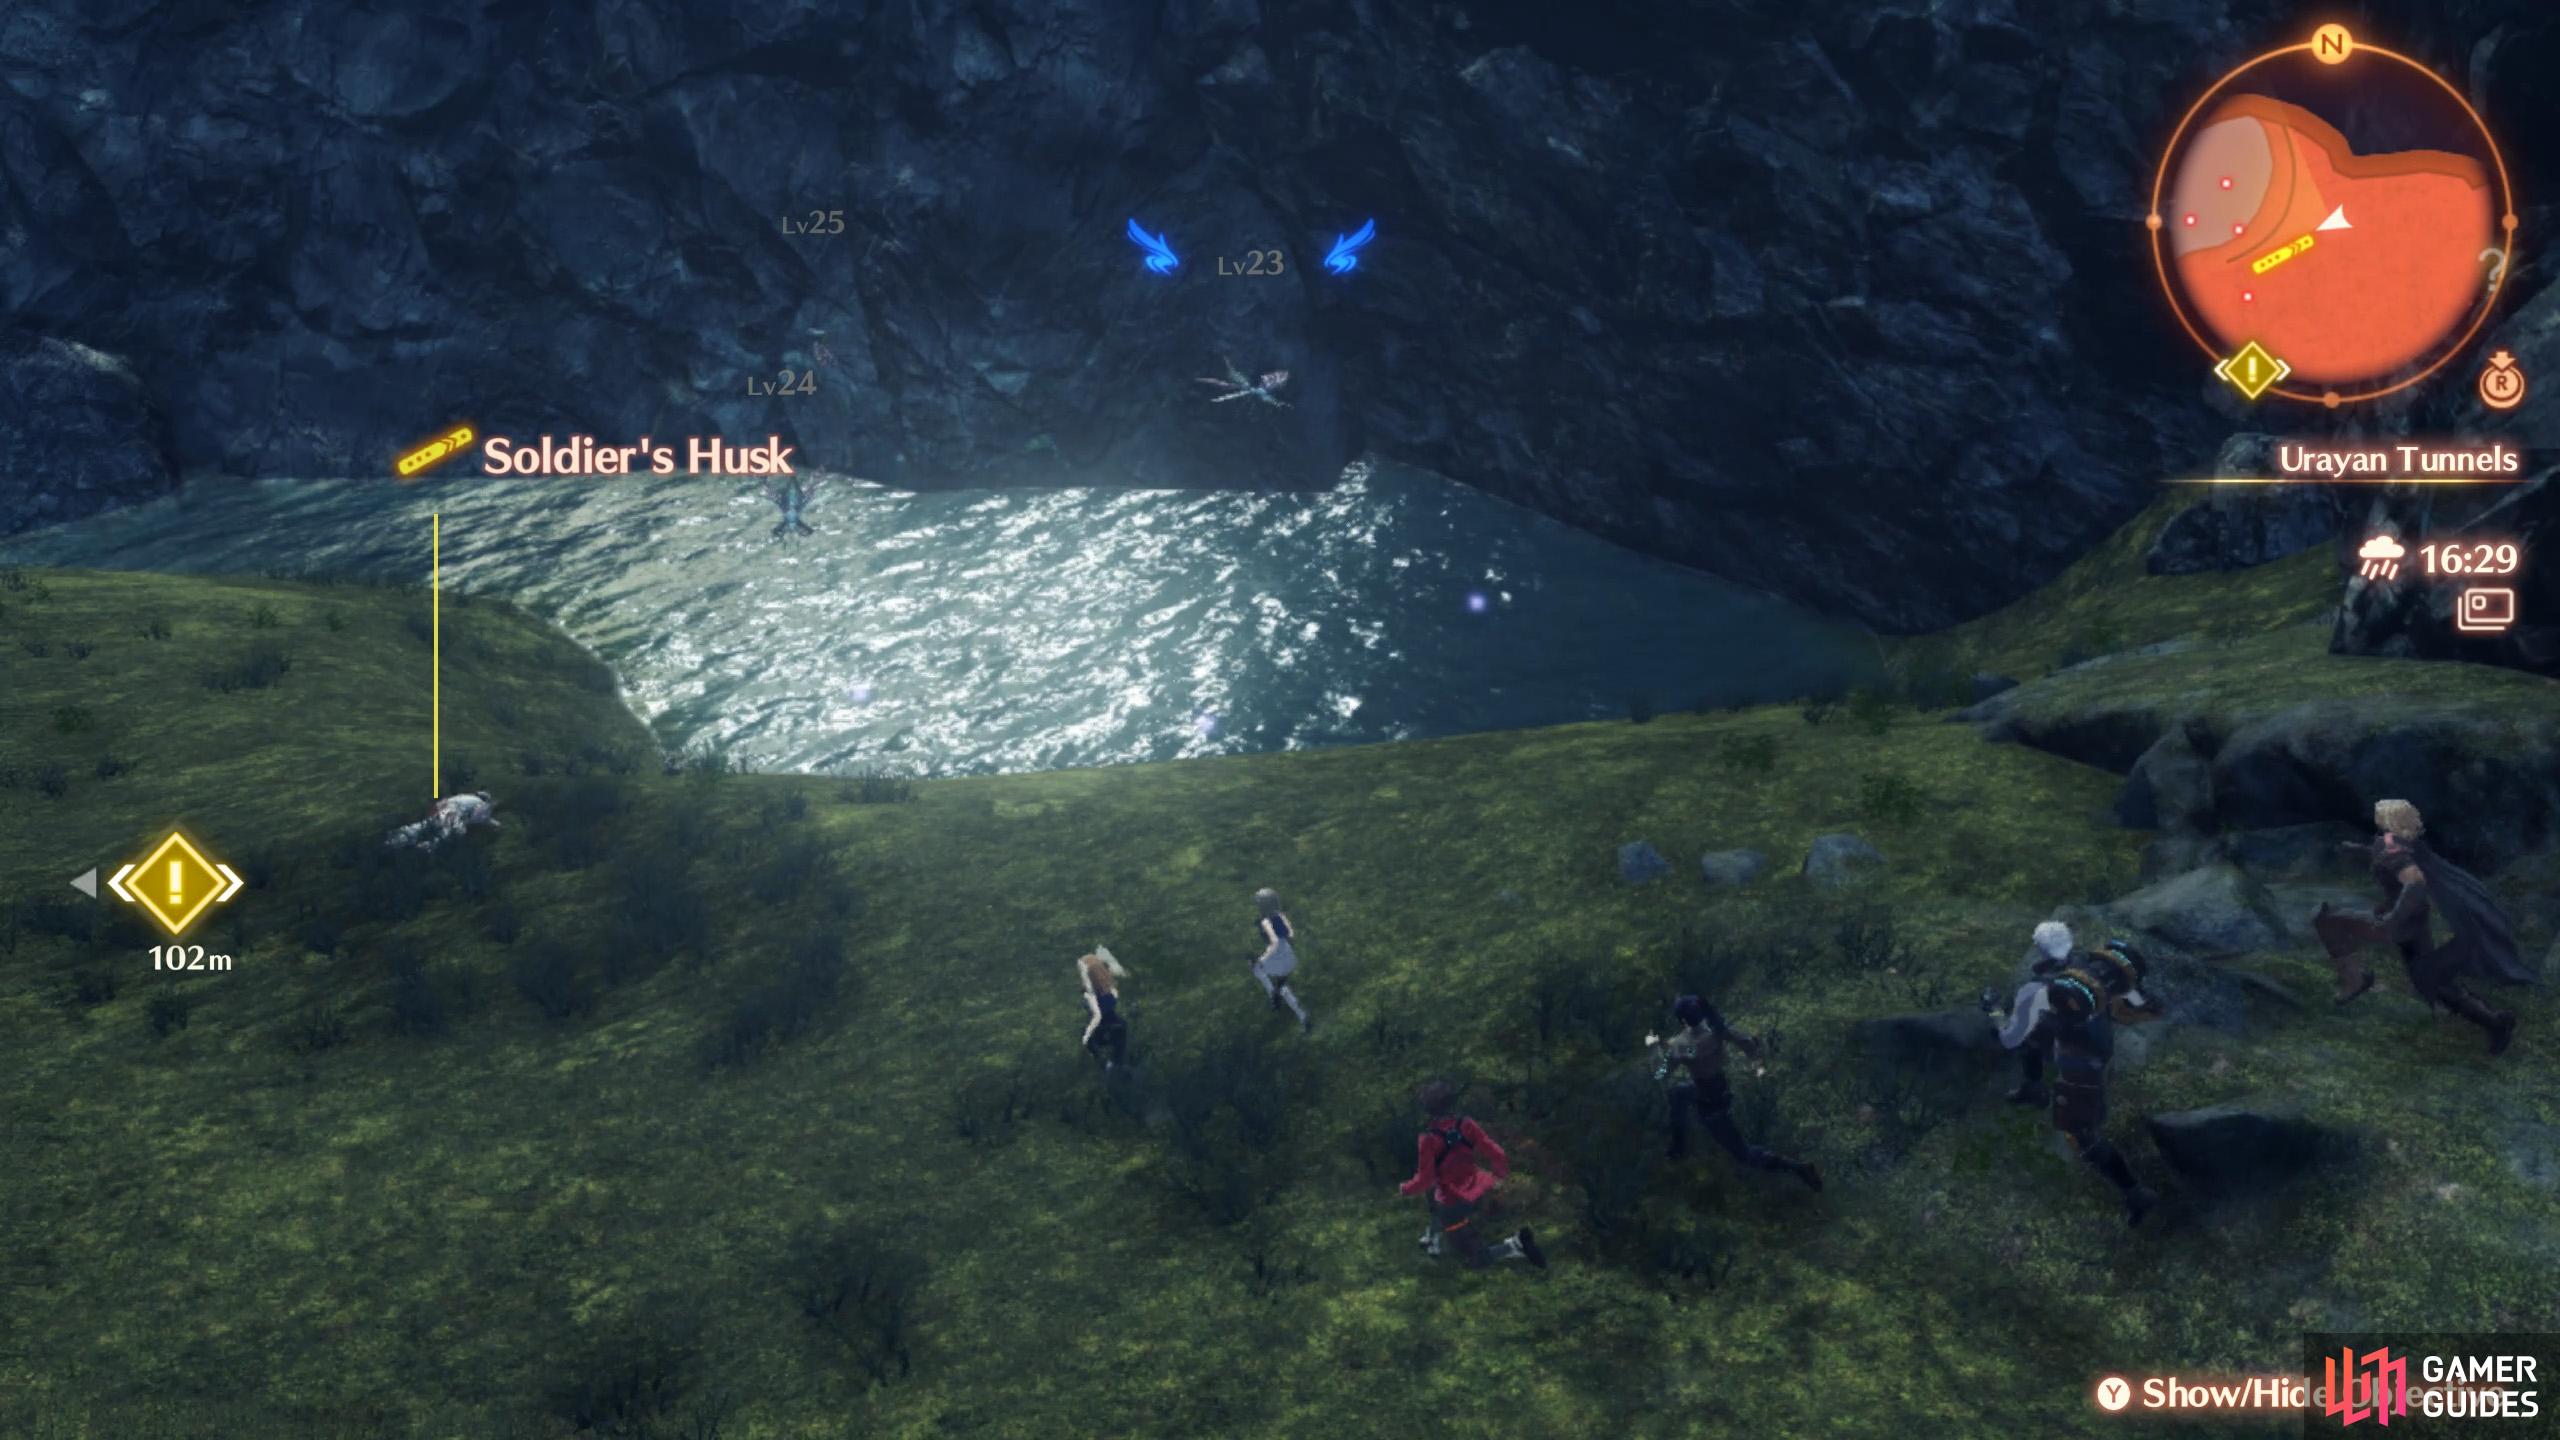
You’ll encounter this husk en route to the Ruins of Seebu.
This husk is in the area with Elevator No. 2.
| Soldier Husk # | Map Marker | Location |
|---|---|---|
| 1 | Map Marker | North from Ruins of Seebu Camp. |
| 2 | Map Marker | After Princess Arachno fight, climb up the nearby vine-covered wall. |
| 3 | Map Marker | South from Elevator No. 2 (before going down). |
| 4 | Map Marker | Quarry Road, in the somewhat wide area along the east. You fight some Agnian enemies here. |
No Comments