
This is a guide for Chapter 2 of Xenoblade Chronicles 3, explaining how to reboot the Hillside Hulk in Millick Meadows.
Beat up the 5 Crustips located here.
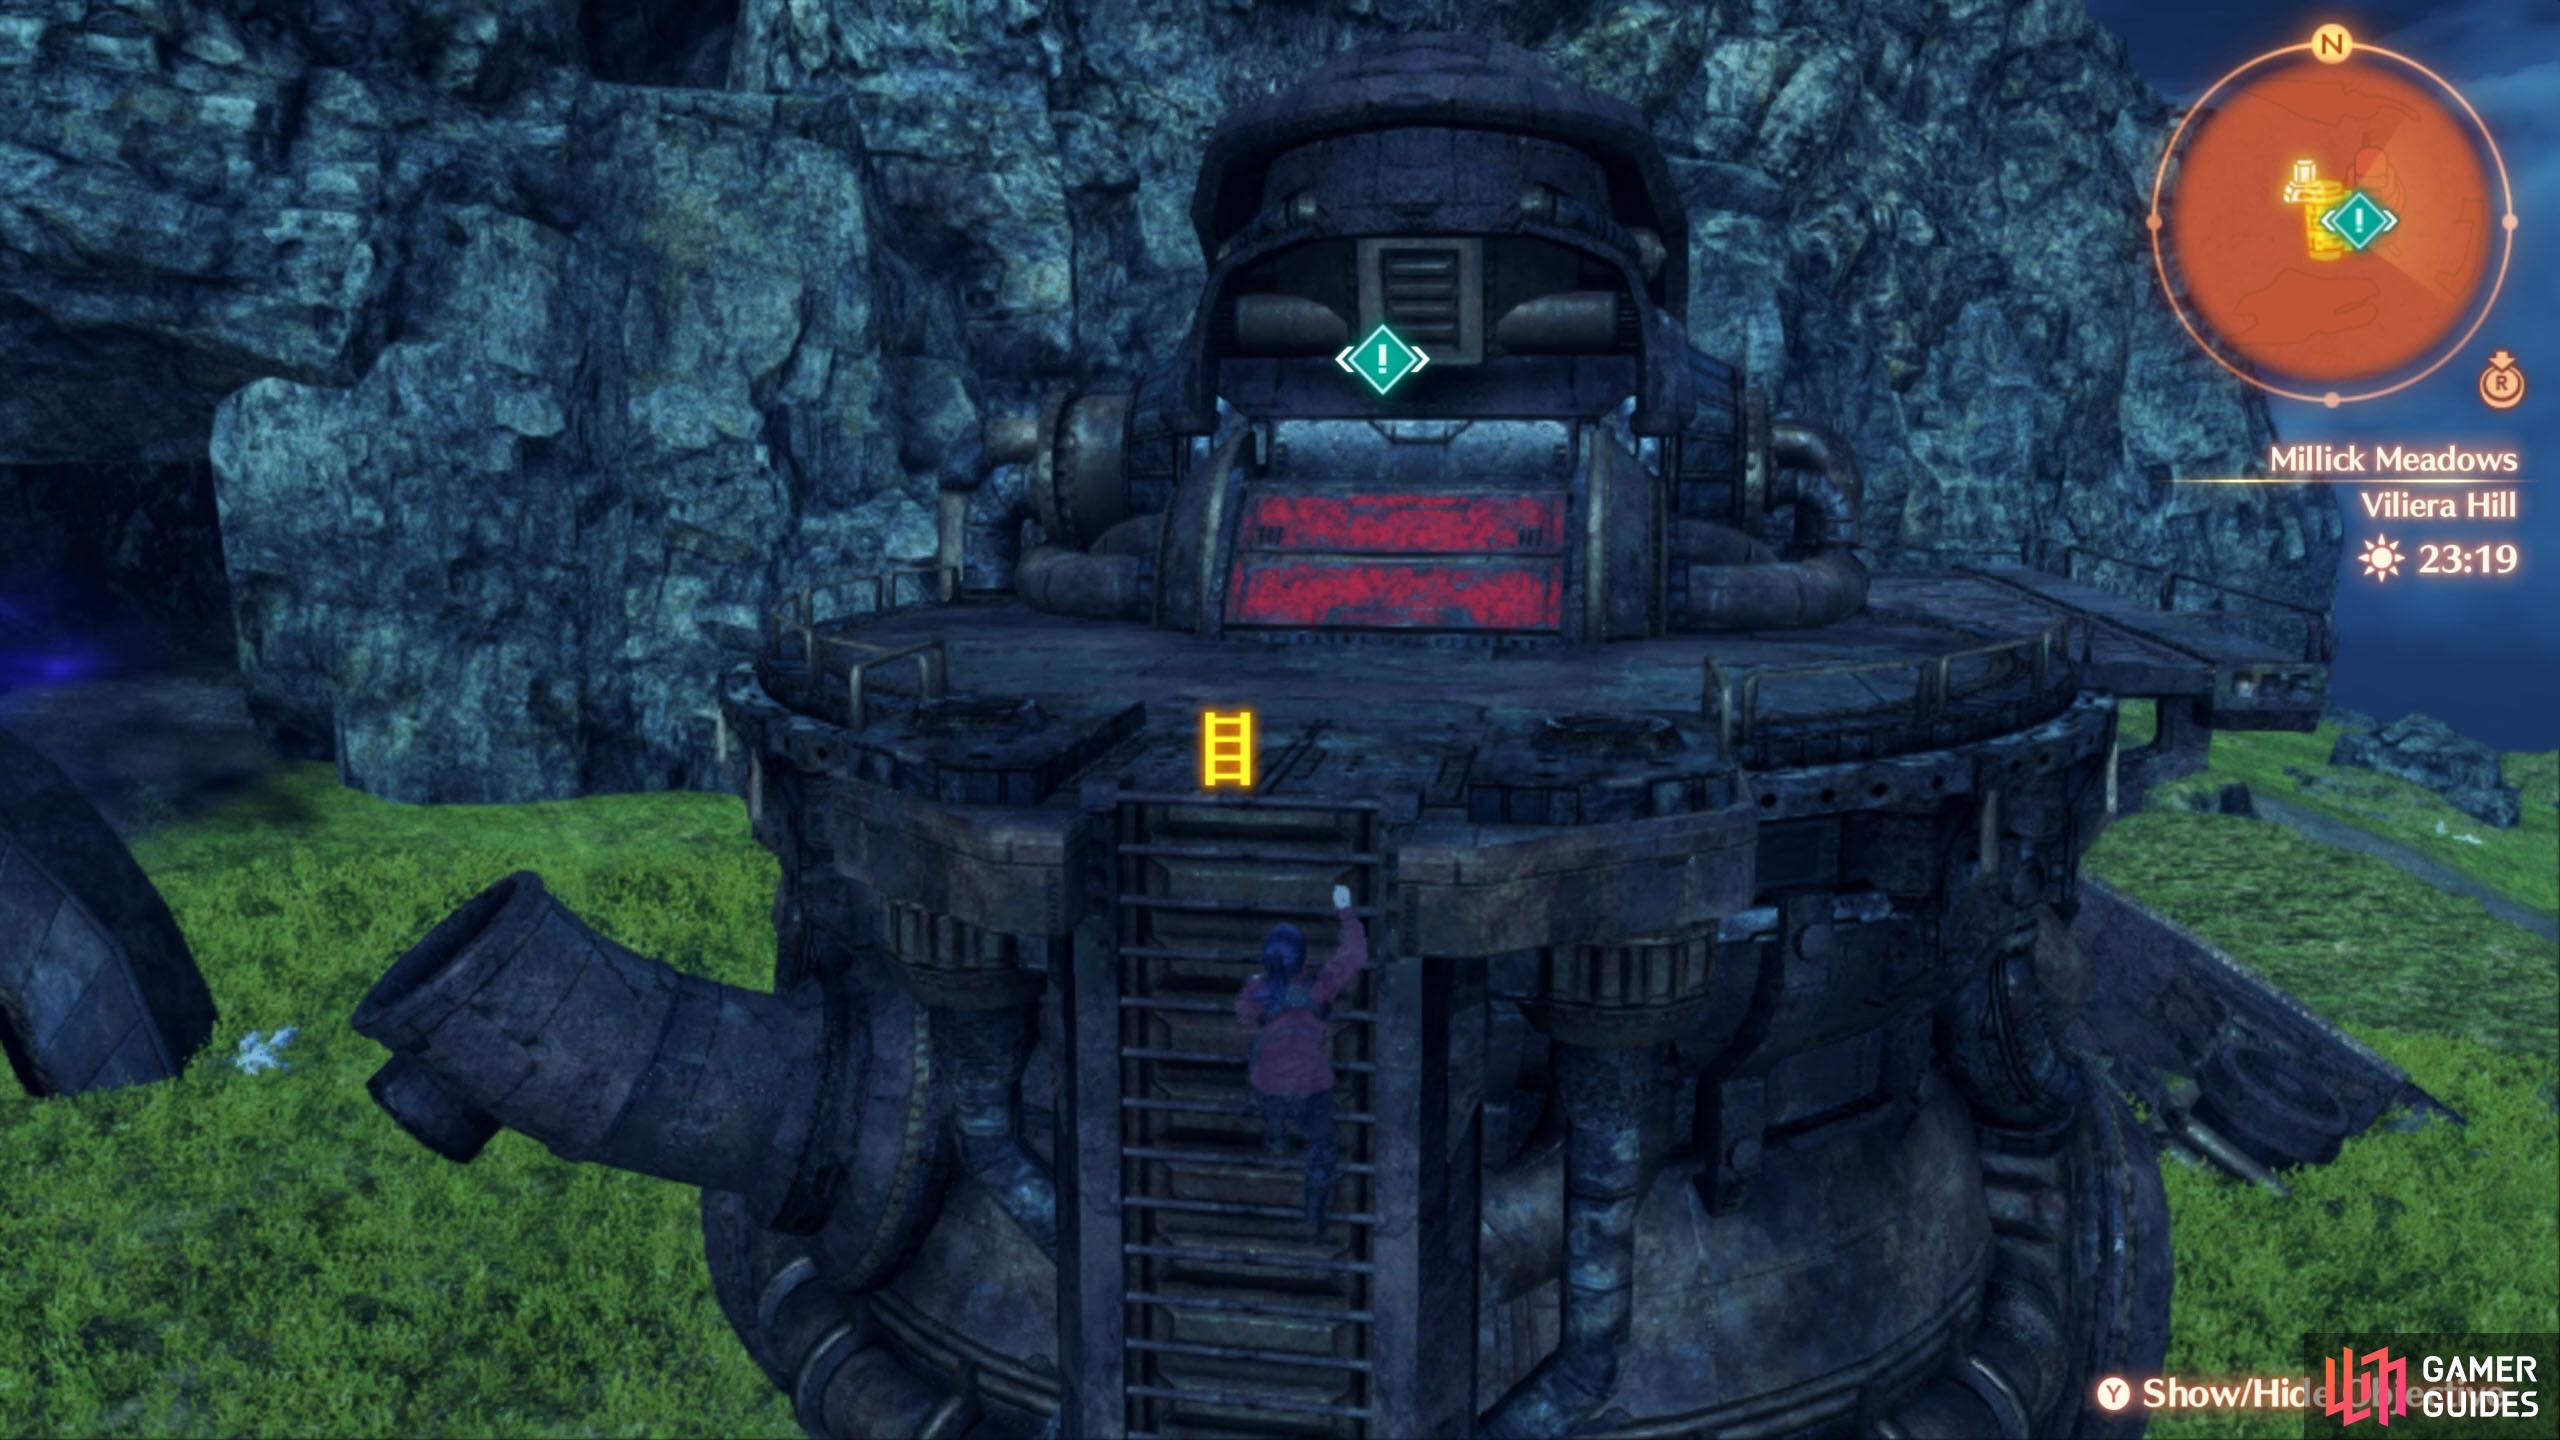
Once the coast is clear, inspect the top of the Ferronis Hulk.
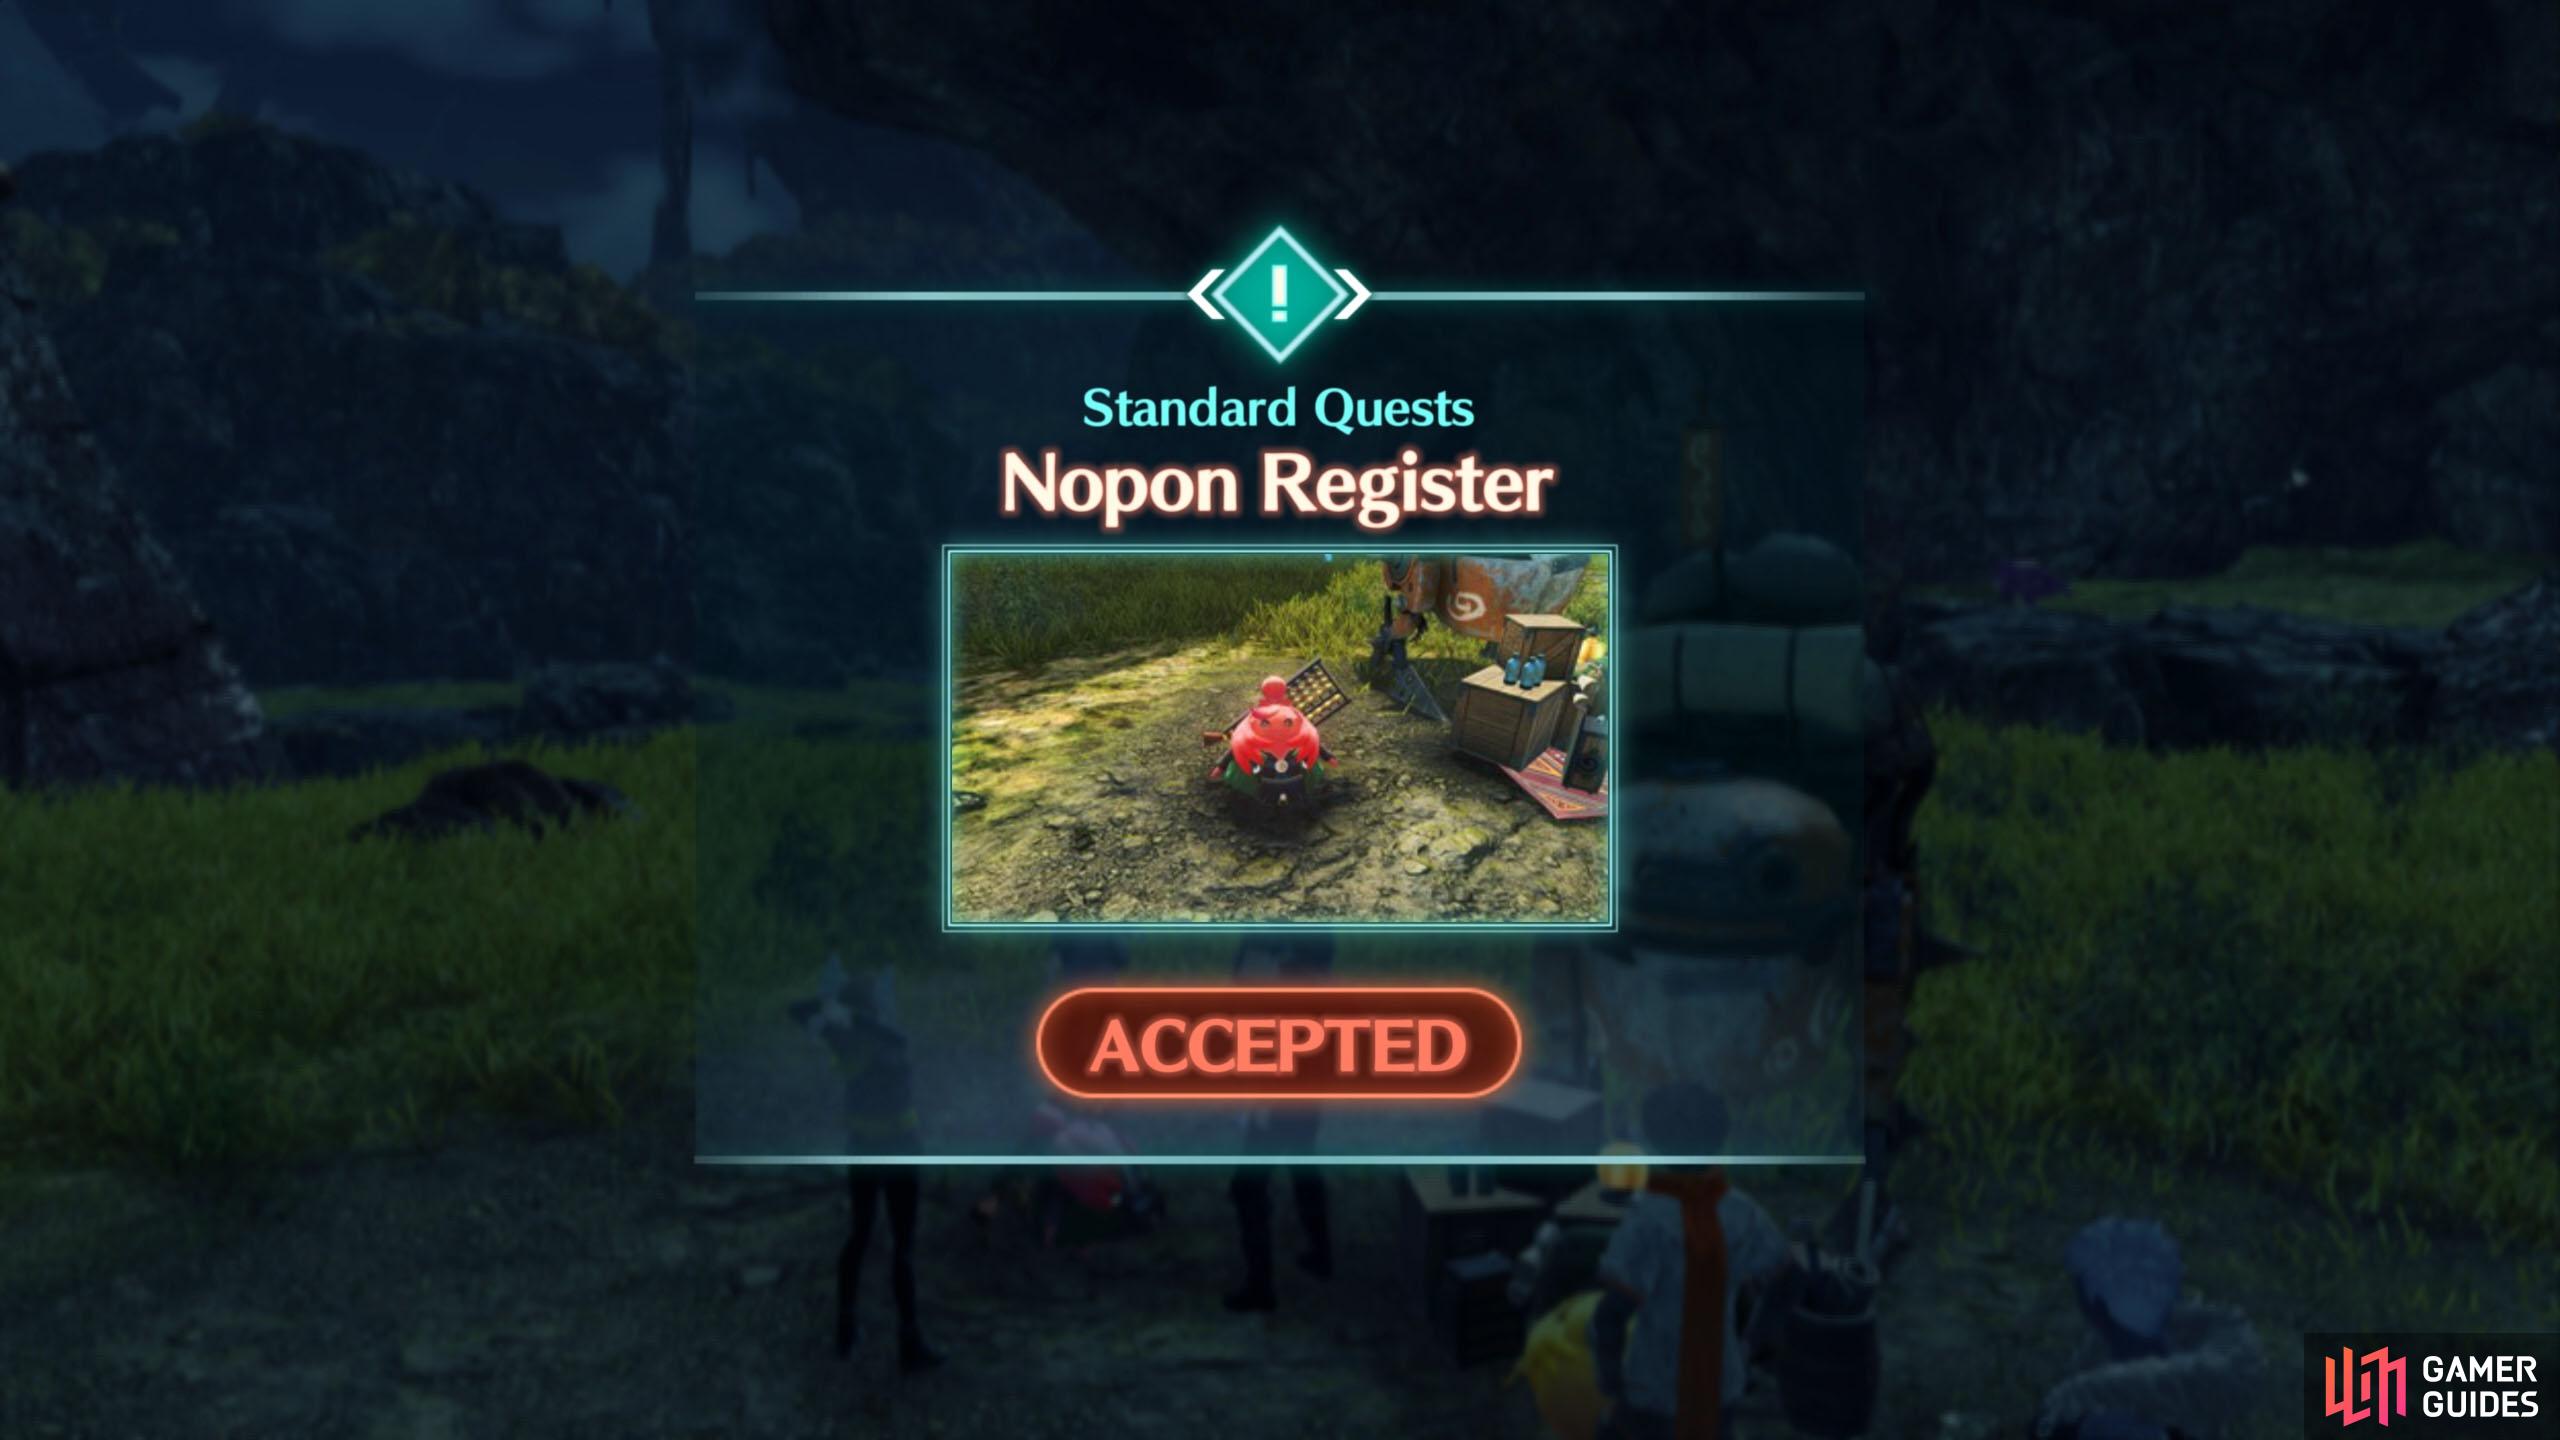
Standard Quest: The Hillside Hulk
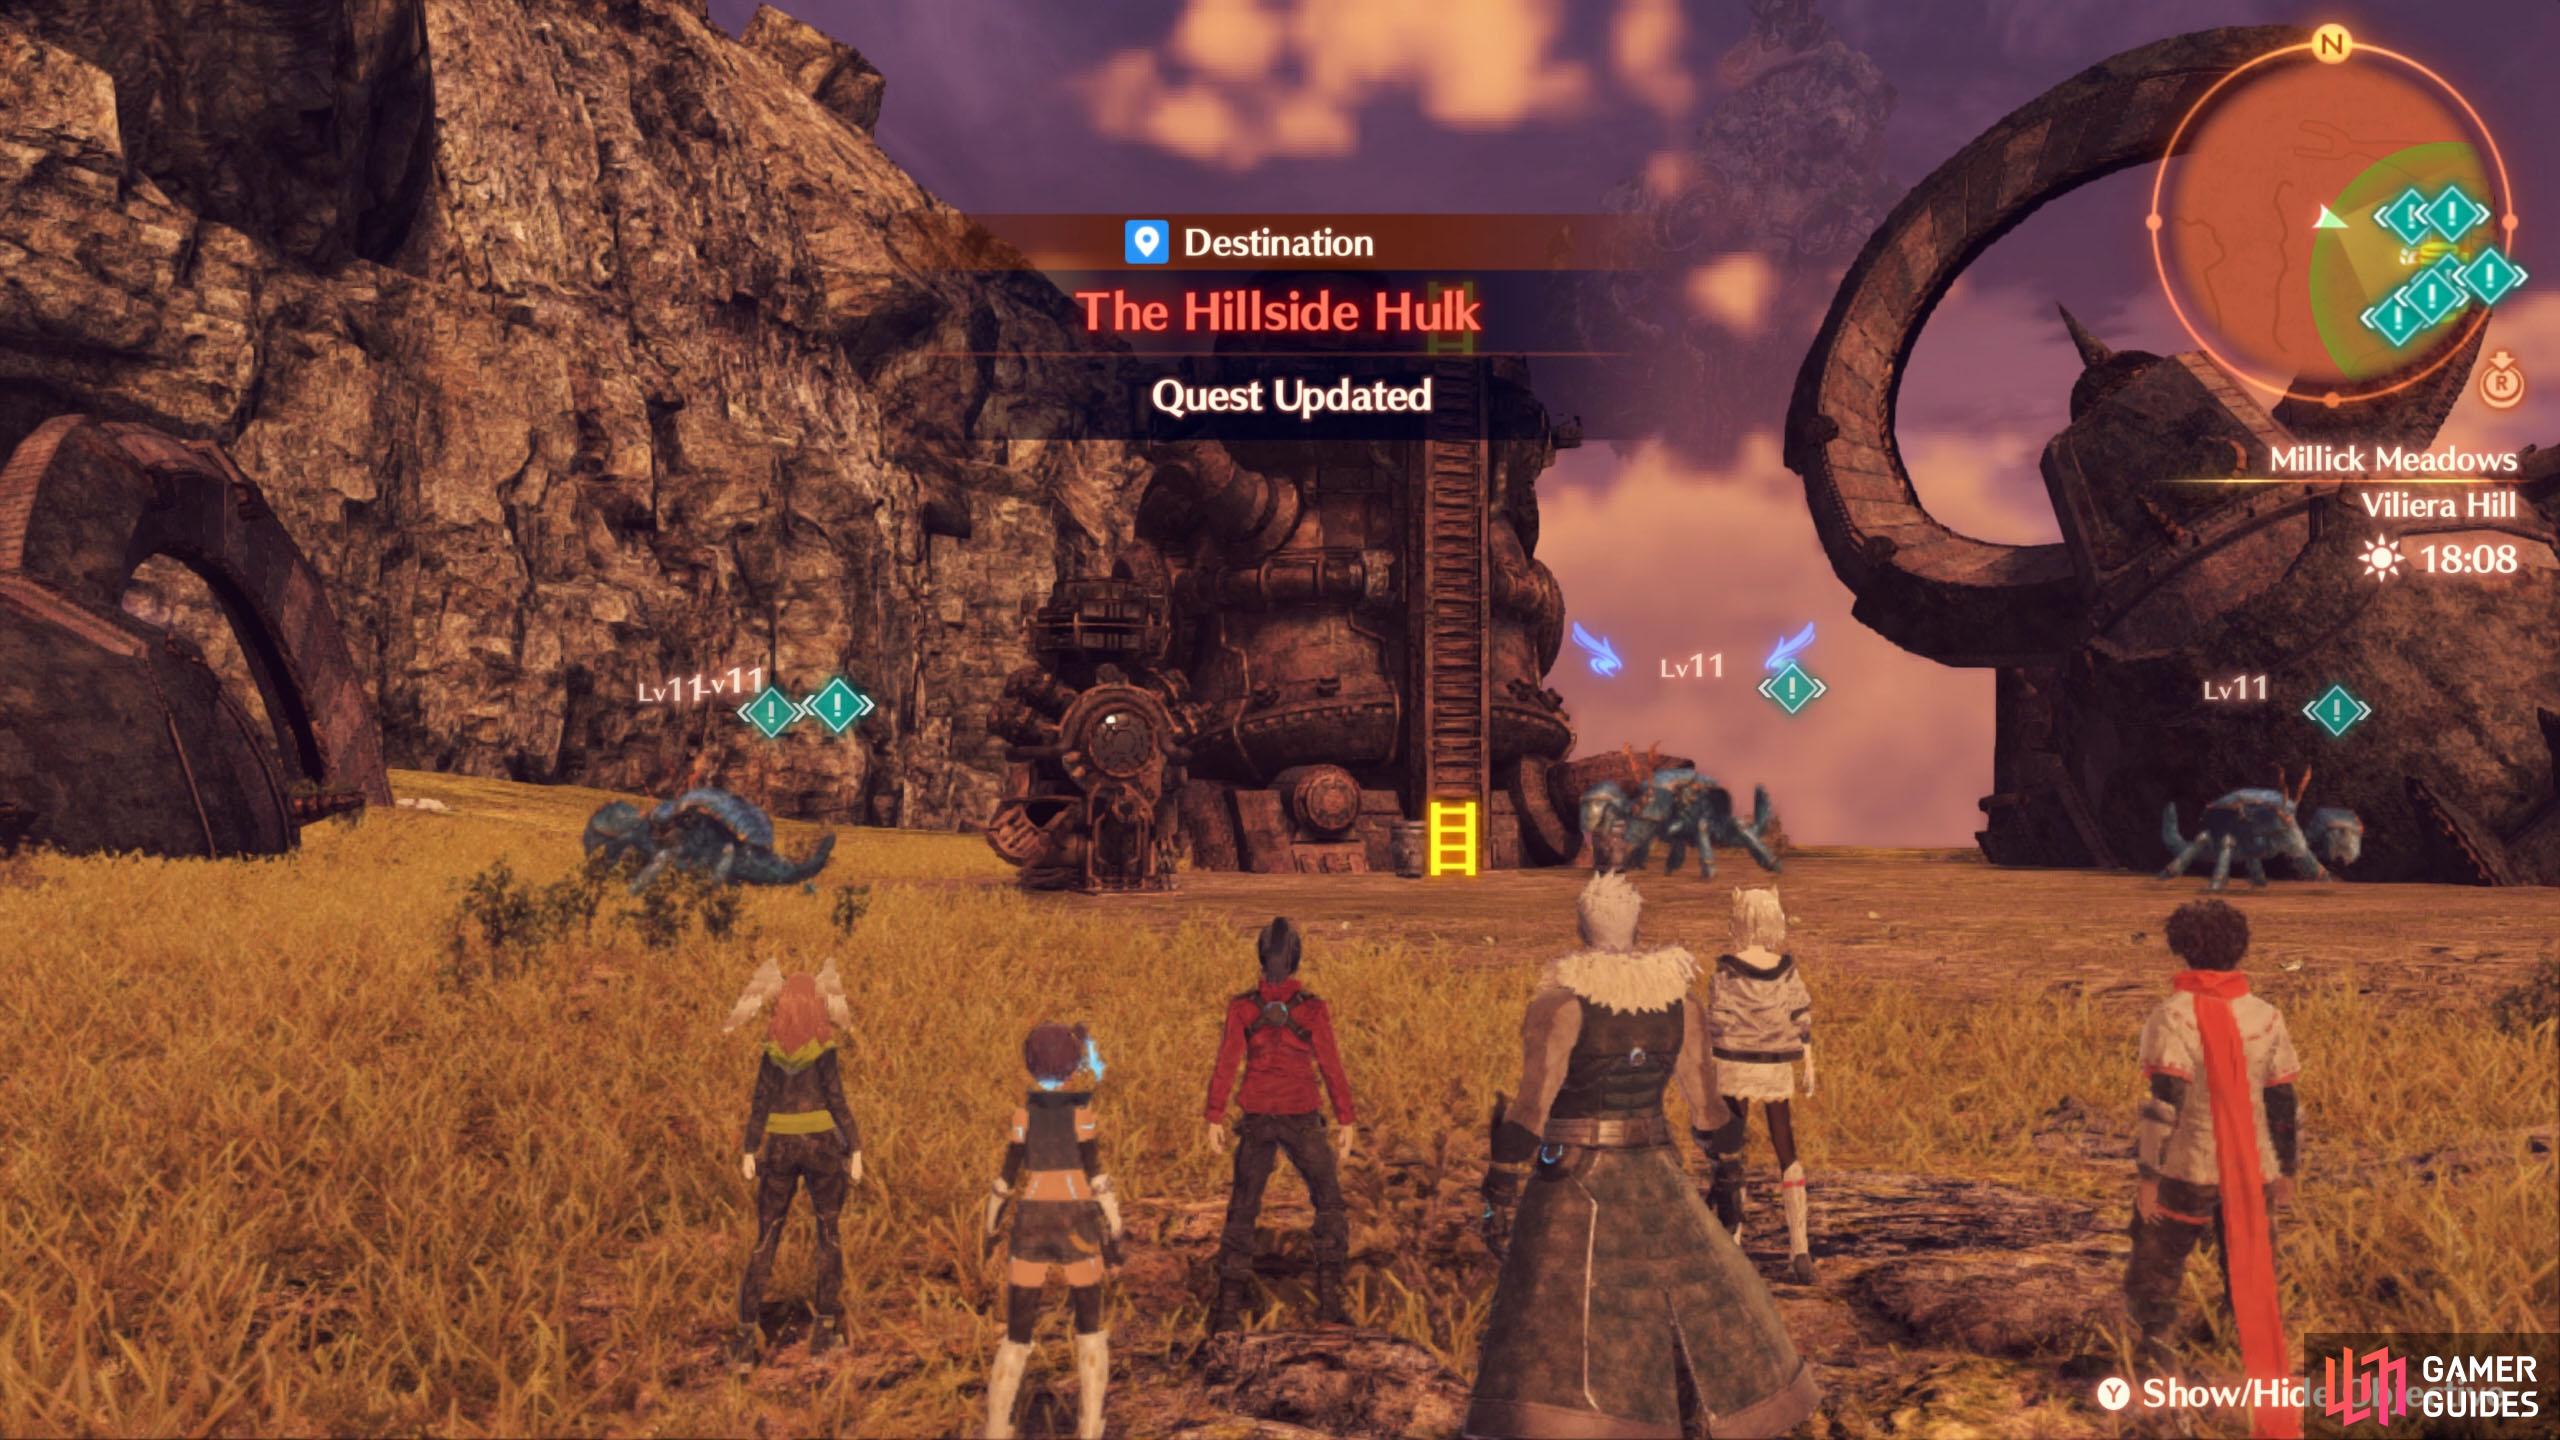
You’ll receive this quest after triggering the first cutscene in Millick Meadows. Over in the distance, there’s a large structure that catches the group’s interest. From the Kilmarris Highlands where you begin, you’ll want to head south through Lucas Eyot towards Viliera Hill.
When you approach the structure the Ferronis Hulk, you’ll be tasked with eradicating the monsters living there. To make your life easier, try to lure them in one at a time by pressing Up on the D-Pad when the enemy indicator (with their name and Level) is displayed.
Your target is five Level 11 Nestrand Crustips. One of them is an elite, so will take longer to kill (but give better rewards).
Once you’ve cleared away the trash, check out the front of the main structure, where the ladder and containers are. Sadly, the containers are sealed shut and the Ferronis itself is non-functioning. However, this can be fixed with a bit of magic–or rather, Ether.
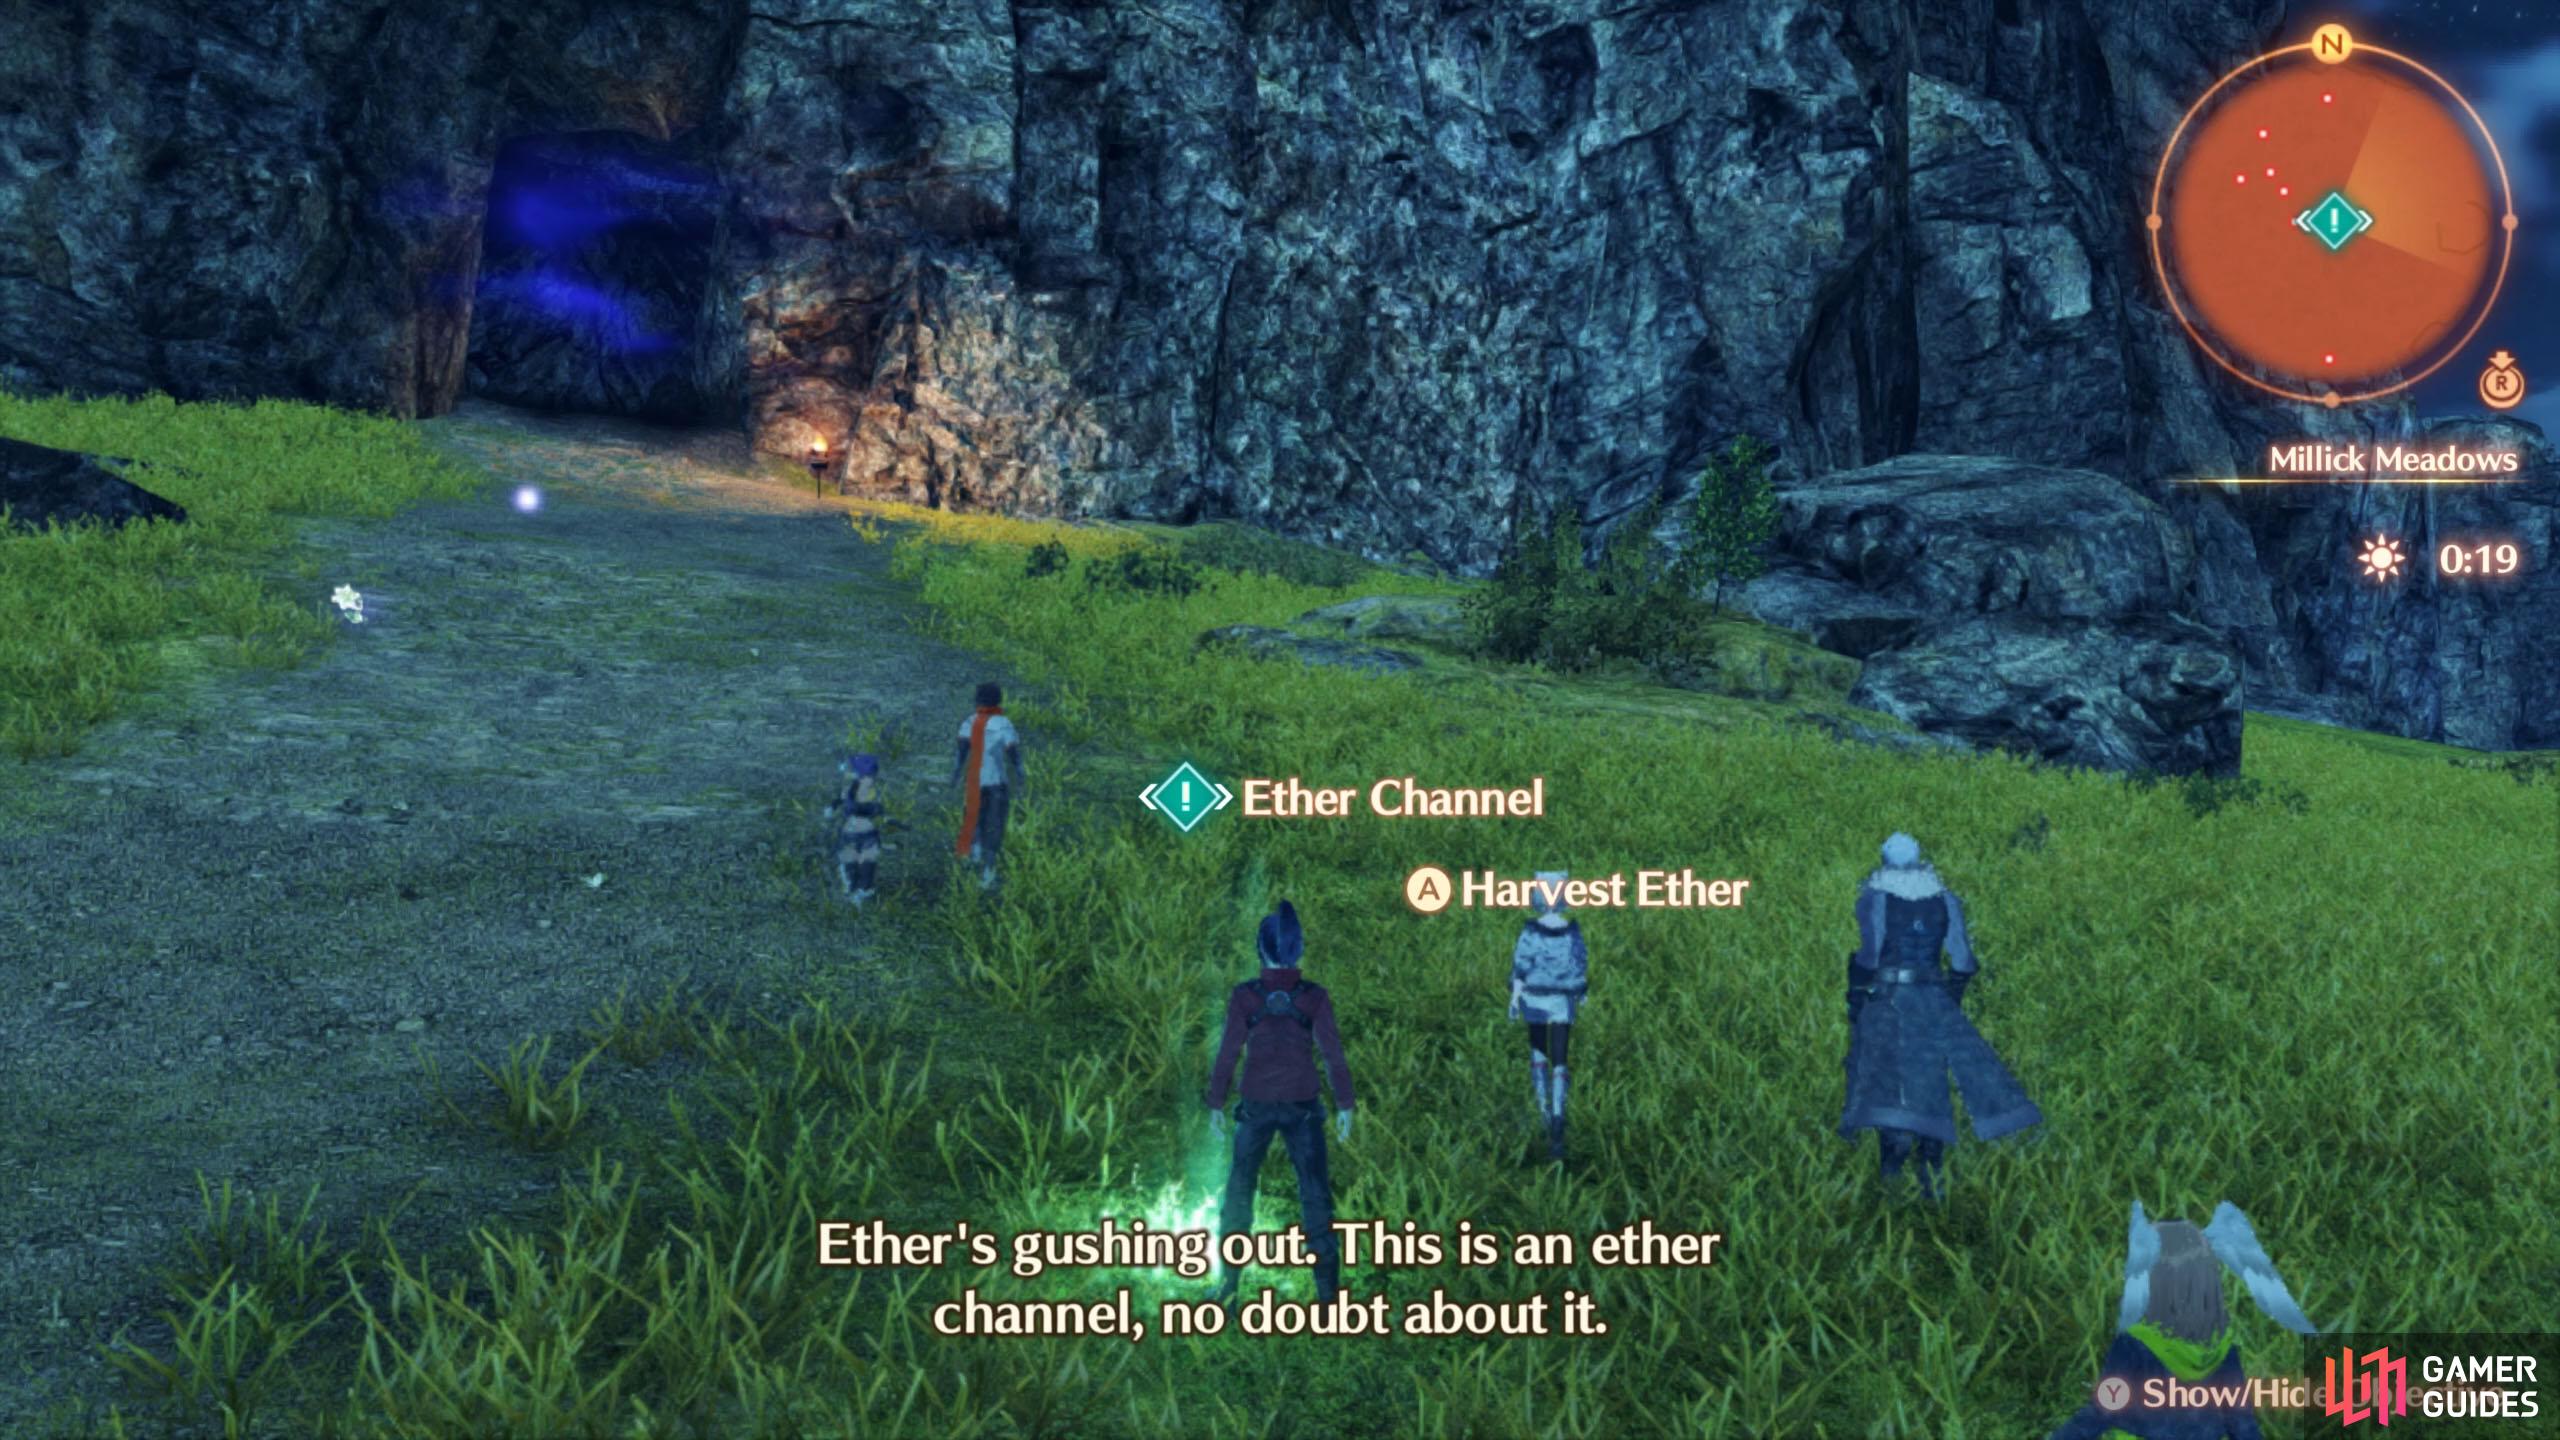
What are Ether Channels?
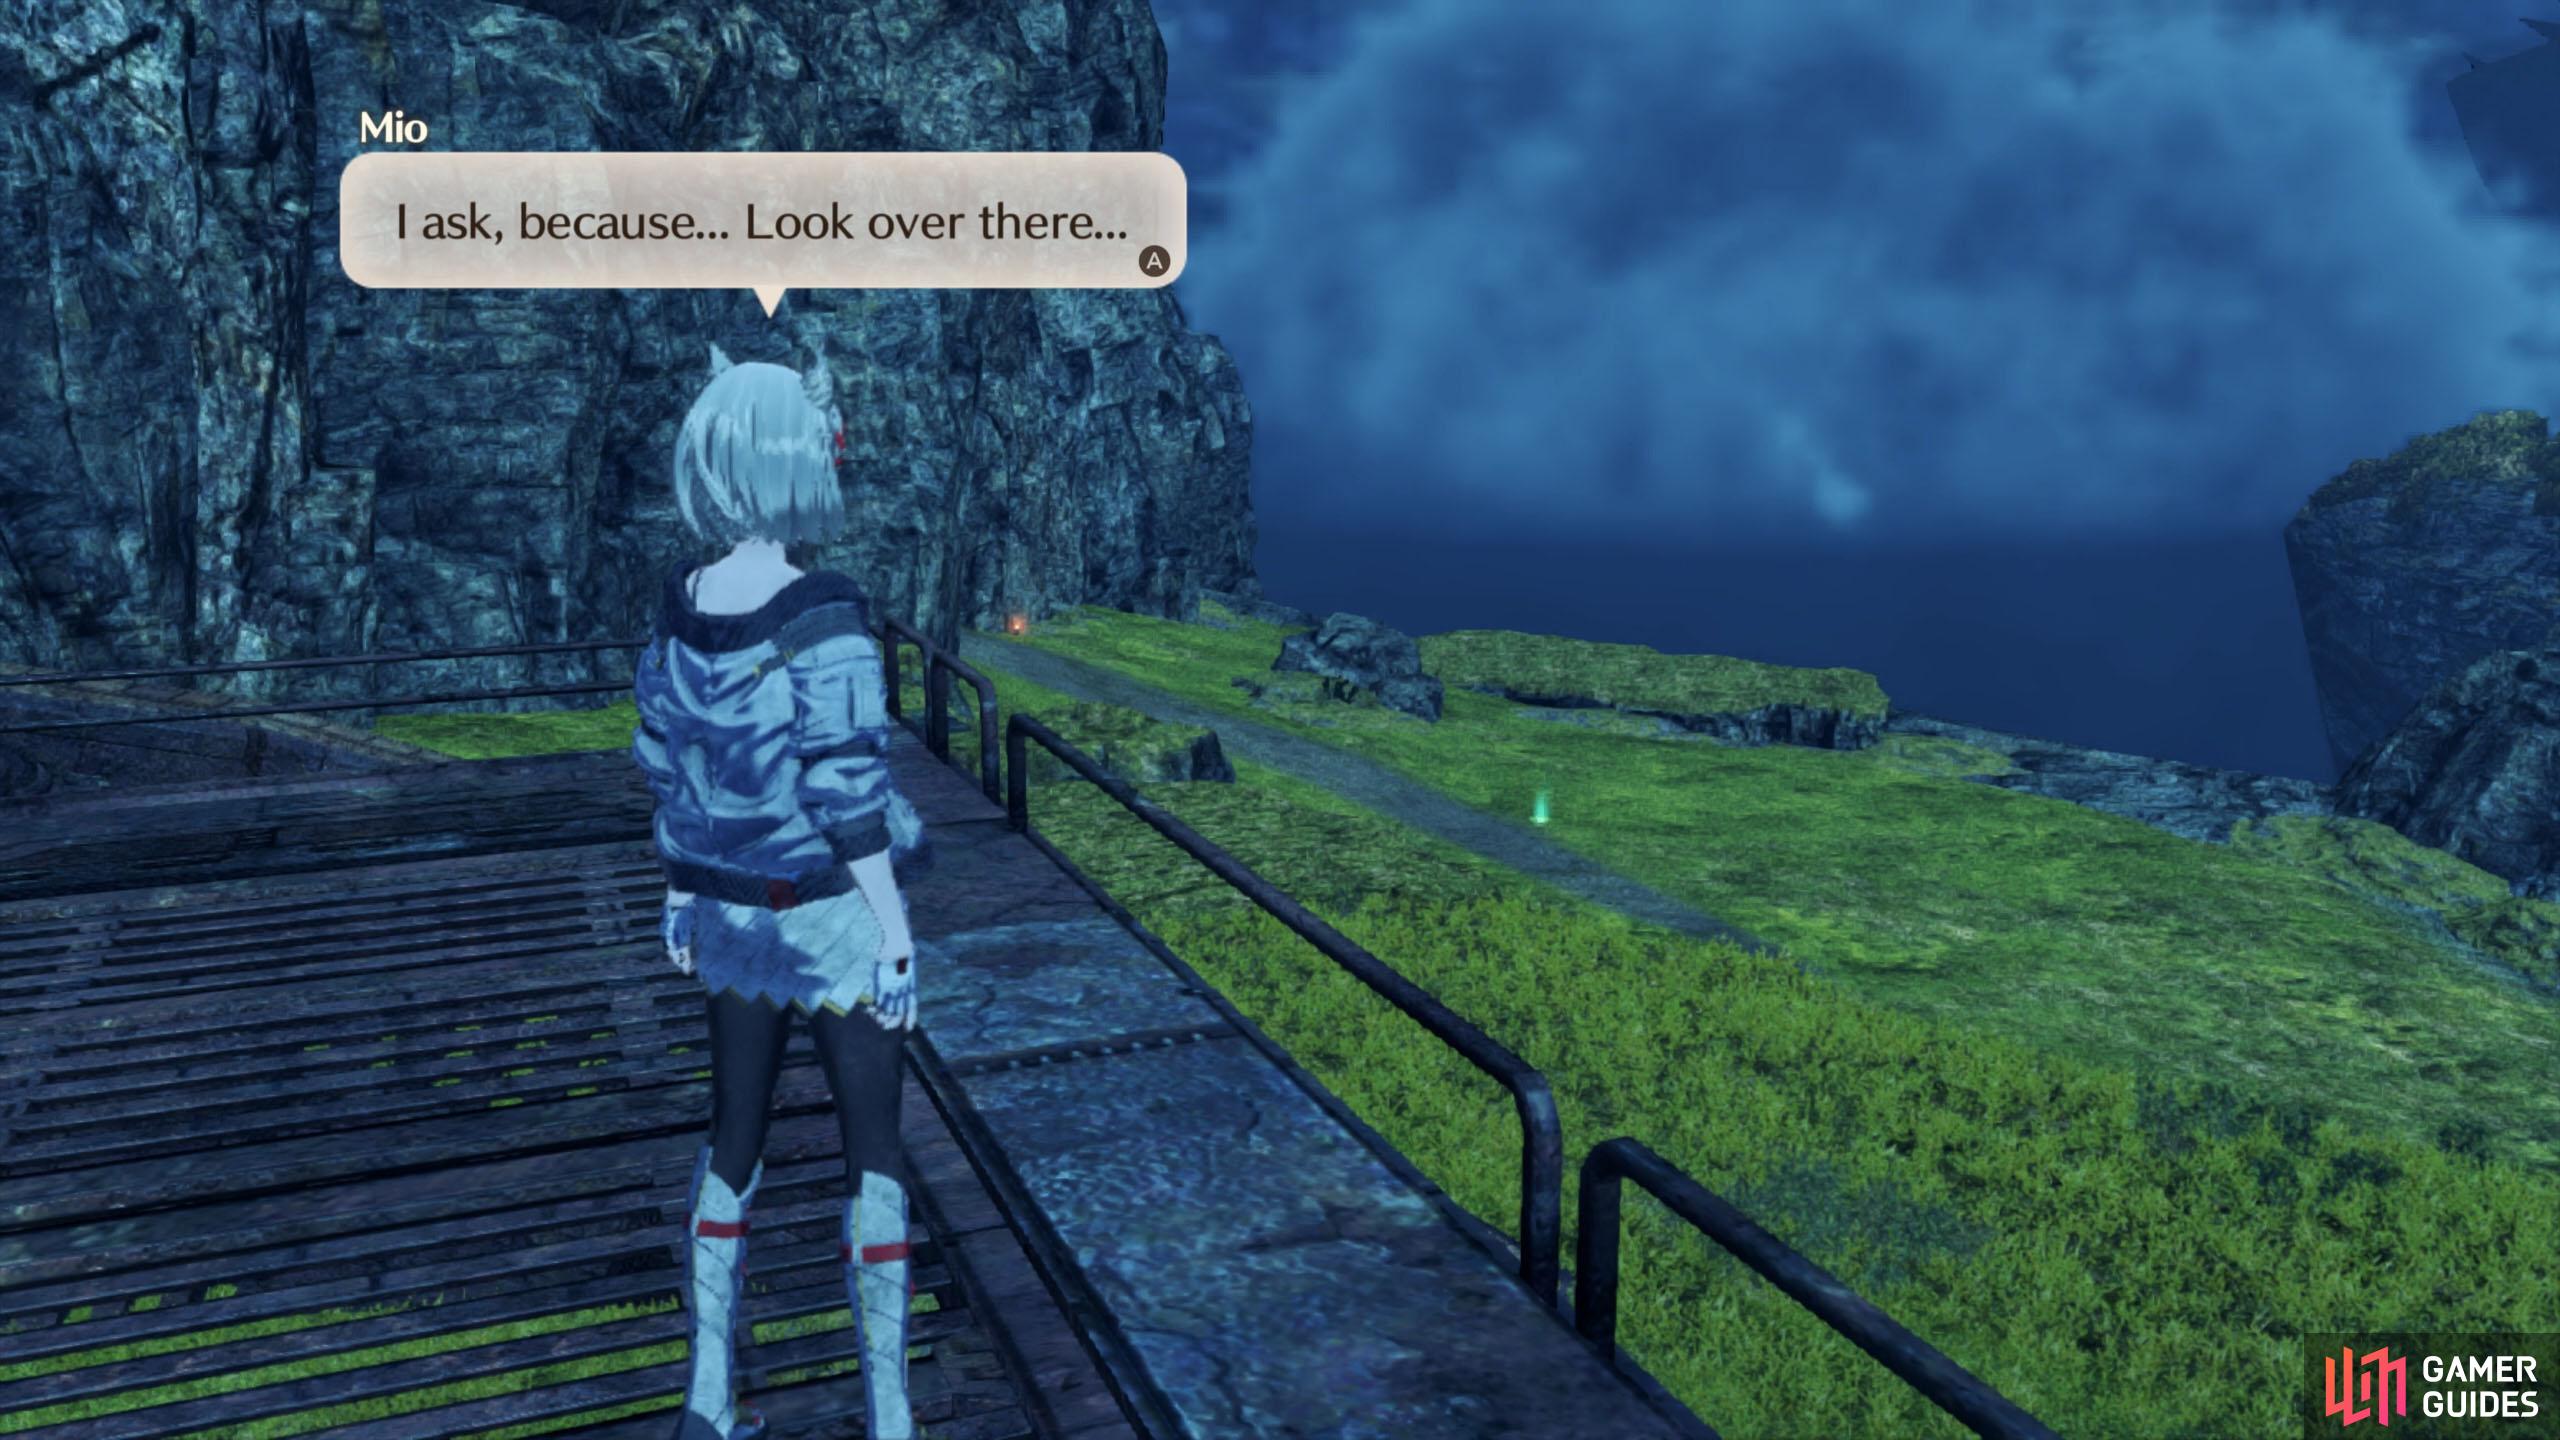
Good eyes, Mio.
No need to worry; no enemies will surprise attack you.
Without further ado, make your way south-east towards the place that Mio pointed out. If you’re not afraid of some fall damage, you can leap down directly south. Or you can go down the steps further east. Harvesting the Ether Channel is fairly hassle-free; no monsters will try and surprise you.
Having acquired what you needed, return to the Ferronis Hulk, either by going through the nearby cave, Wraith’s Void, keeping towards the left. Or by jumping up the steps at the east end of the ledge.
How to Reboot Ferronis Hulks

Mission accomplished!
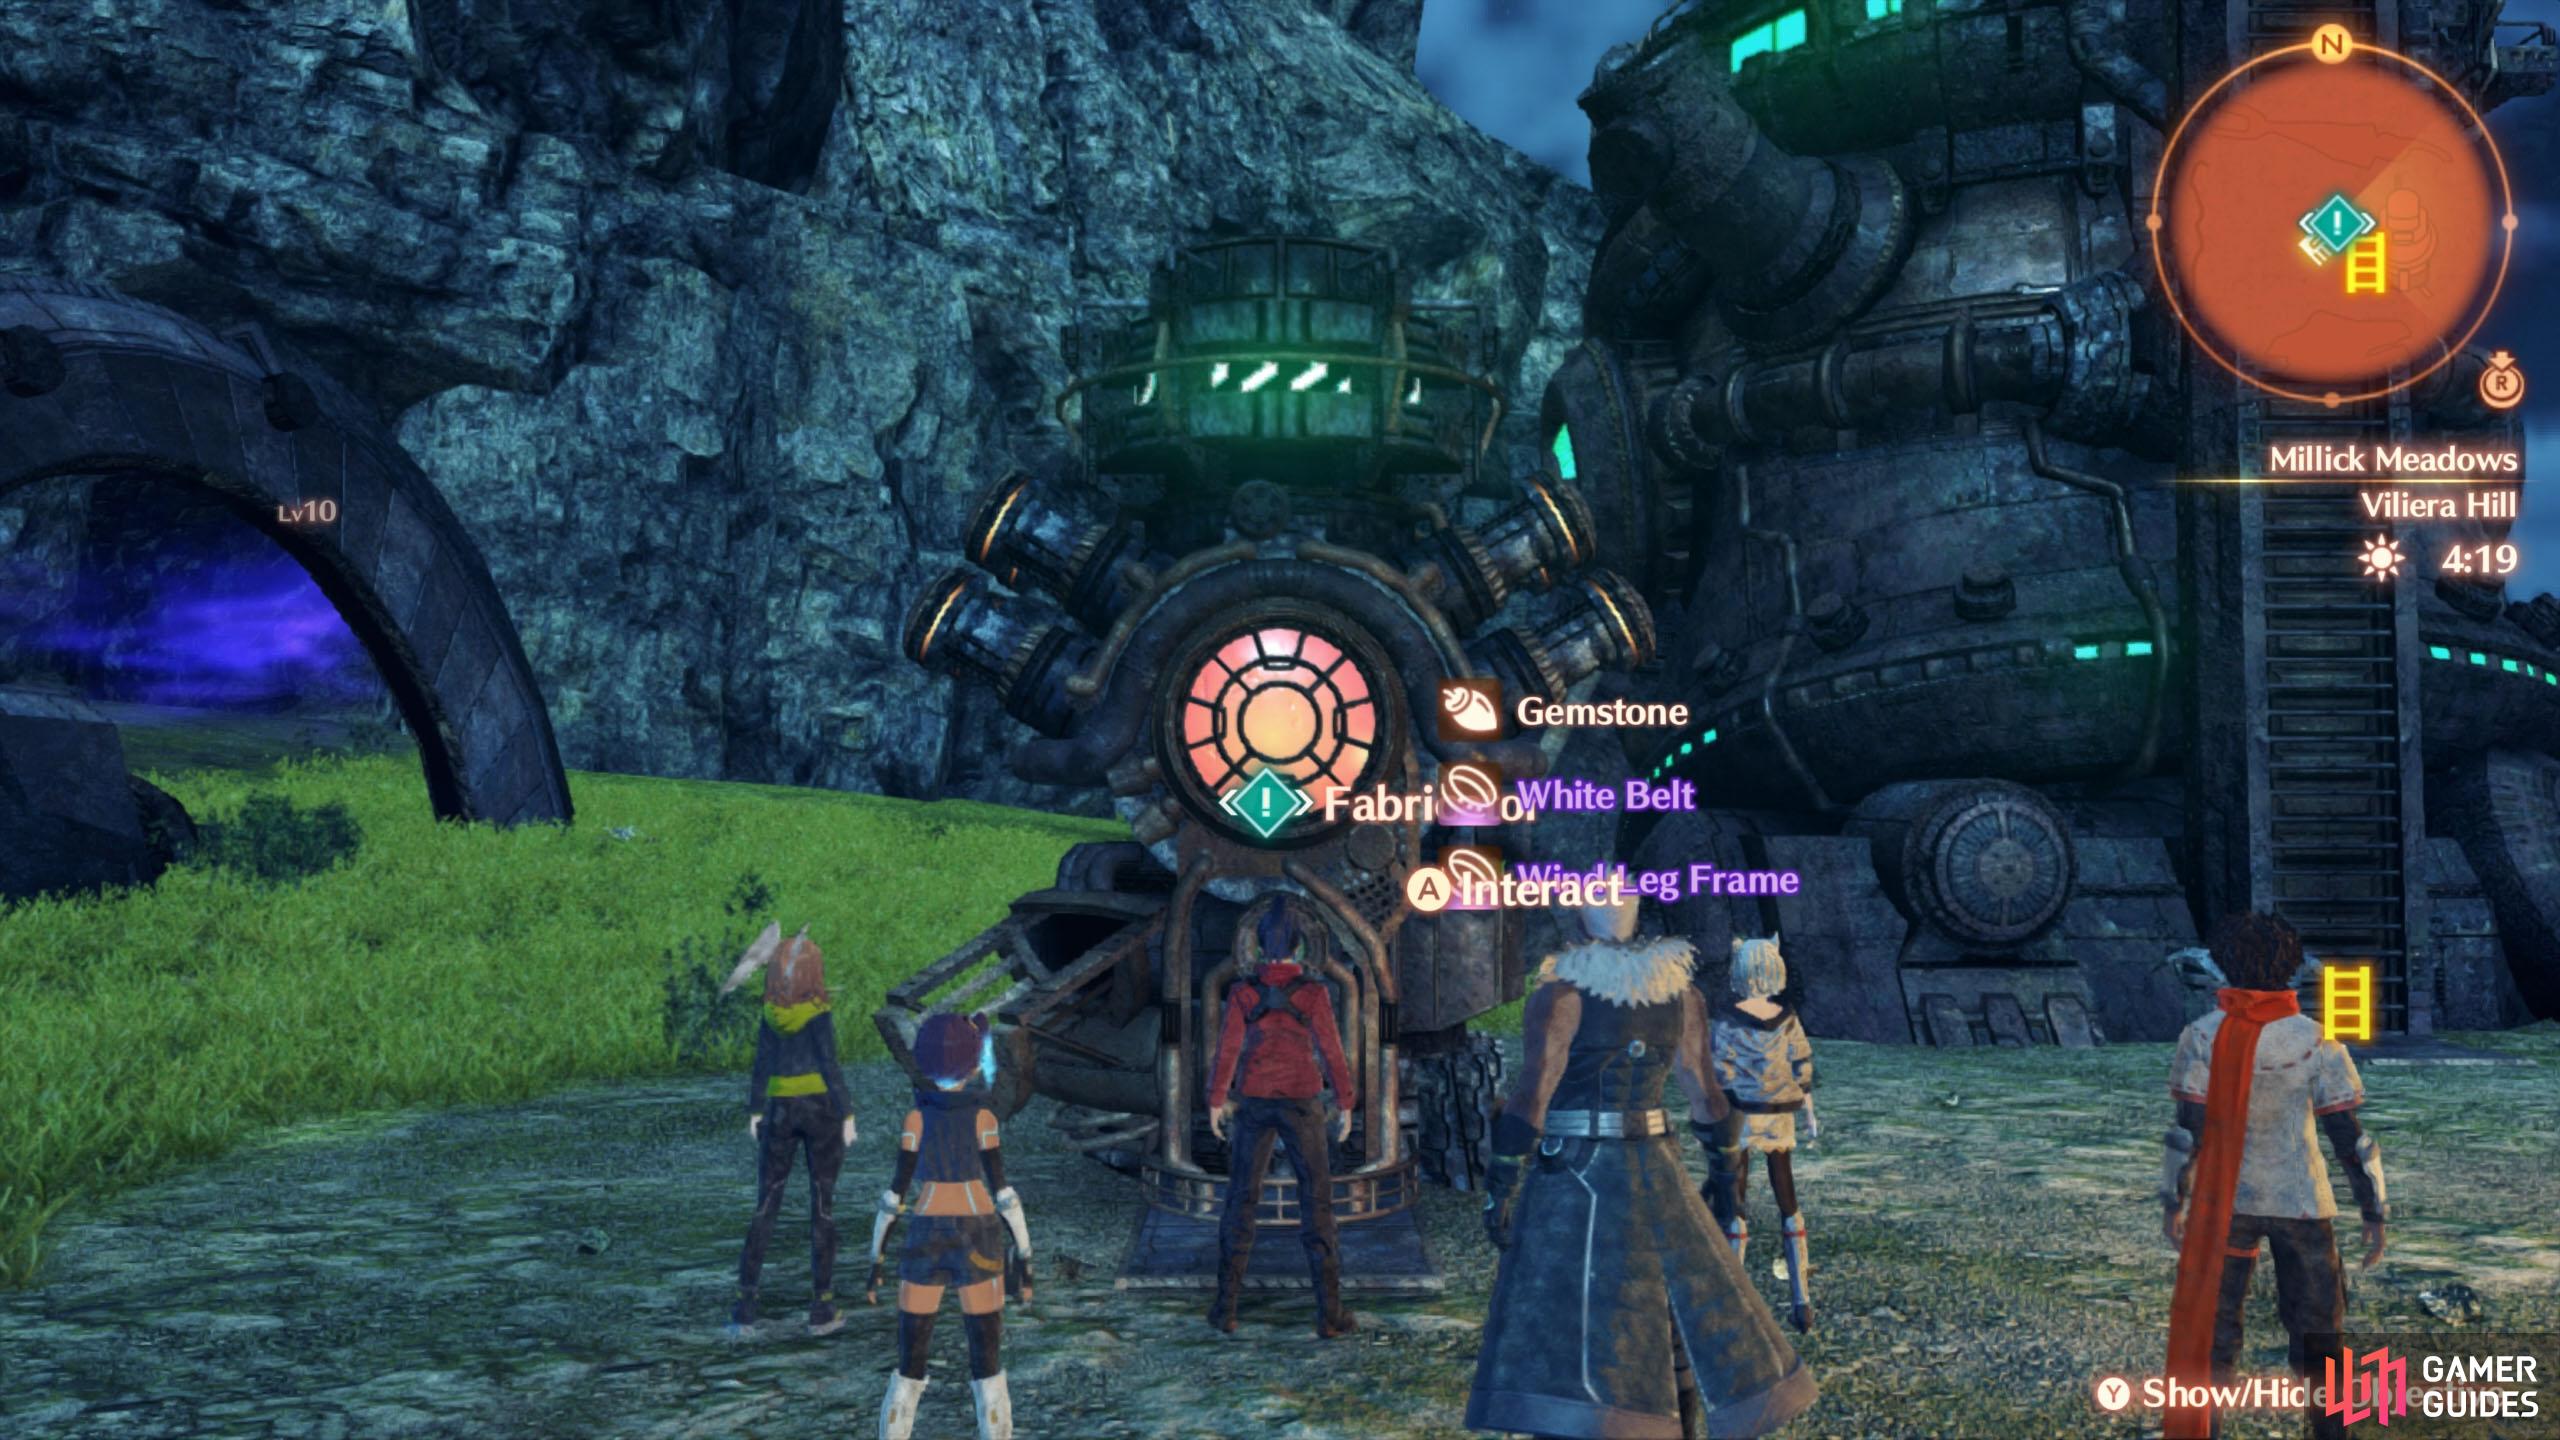
Fabricators are kind of like vending machines.
Inspect the terminal at the top of the Ferronis Hulk again to fuel it with your Ether Cylinders. This will reboot the hulk, activating the Fabricator machine nearby and unlocking the containers. From here on, you can reboot Ferronis Hulks in a similar manner.
Pilfer the containers first, then check out the Fabricator. For the reasonable sum of 300G, you can generate some random collectables. This is useful if you’re trying to farm a large number of collectables and/or you’re missing certain collectables.
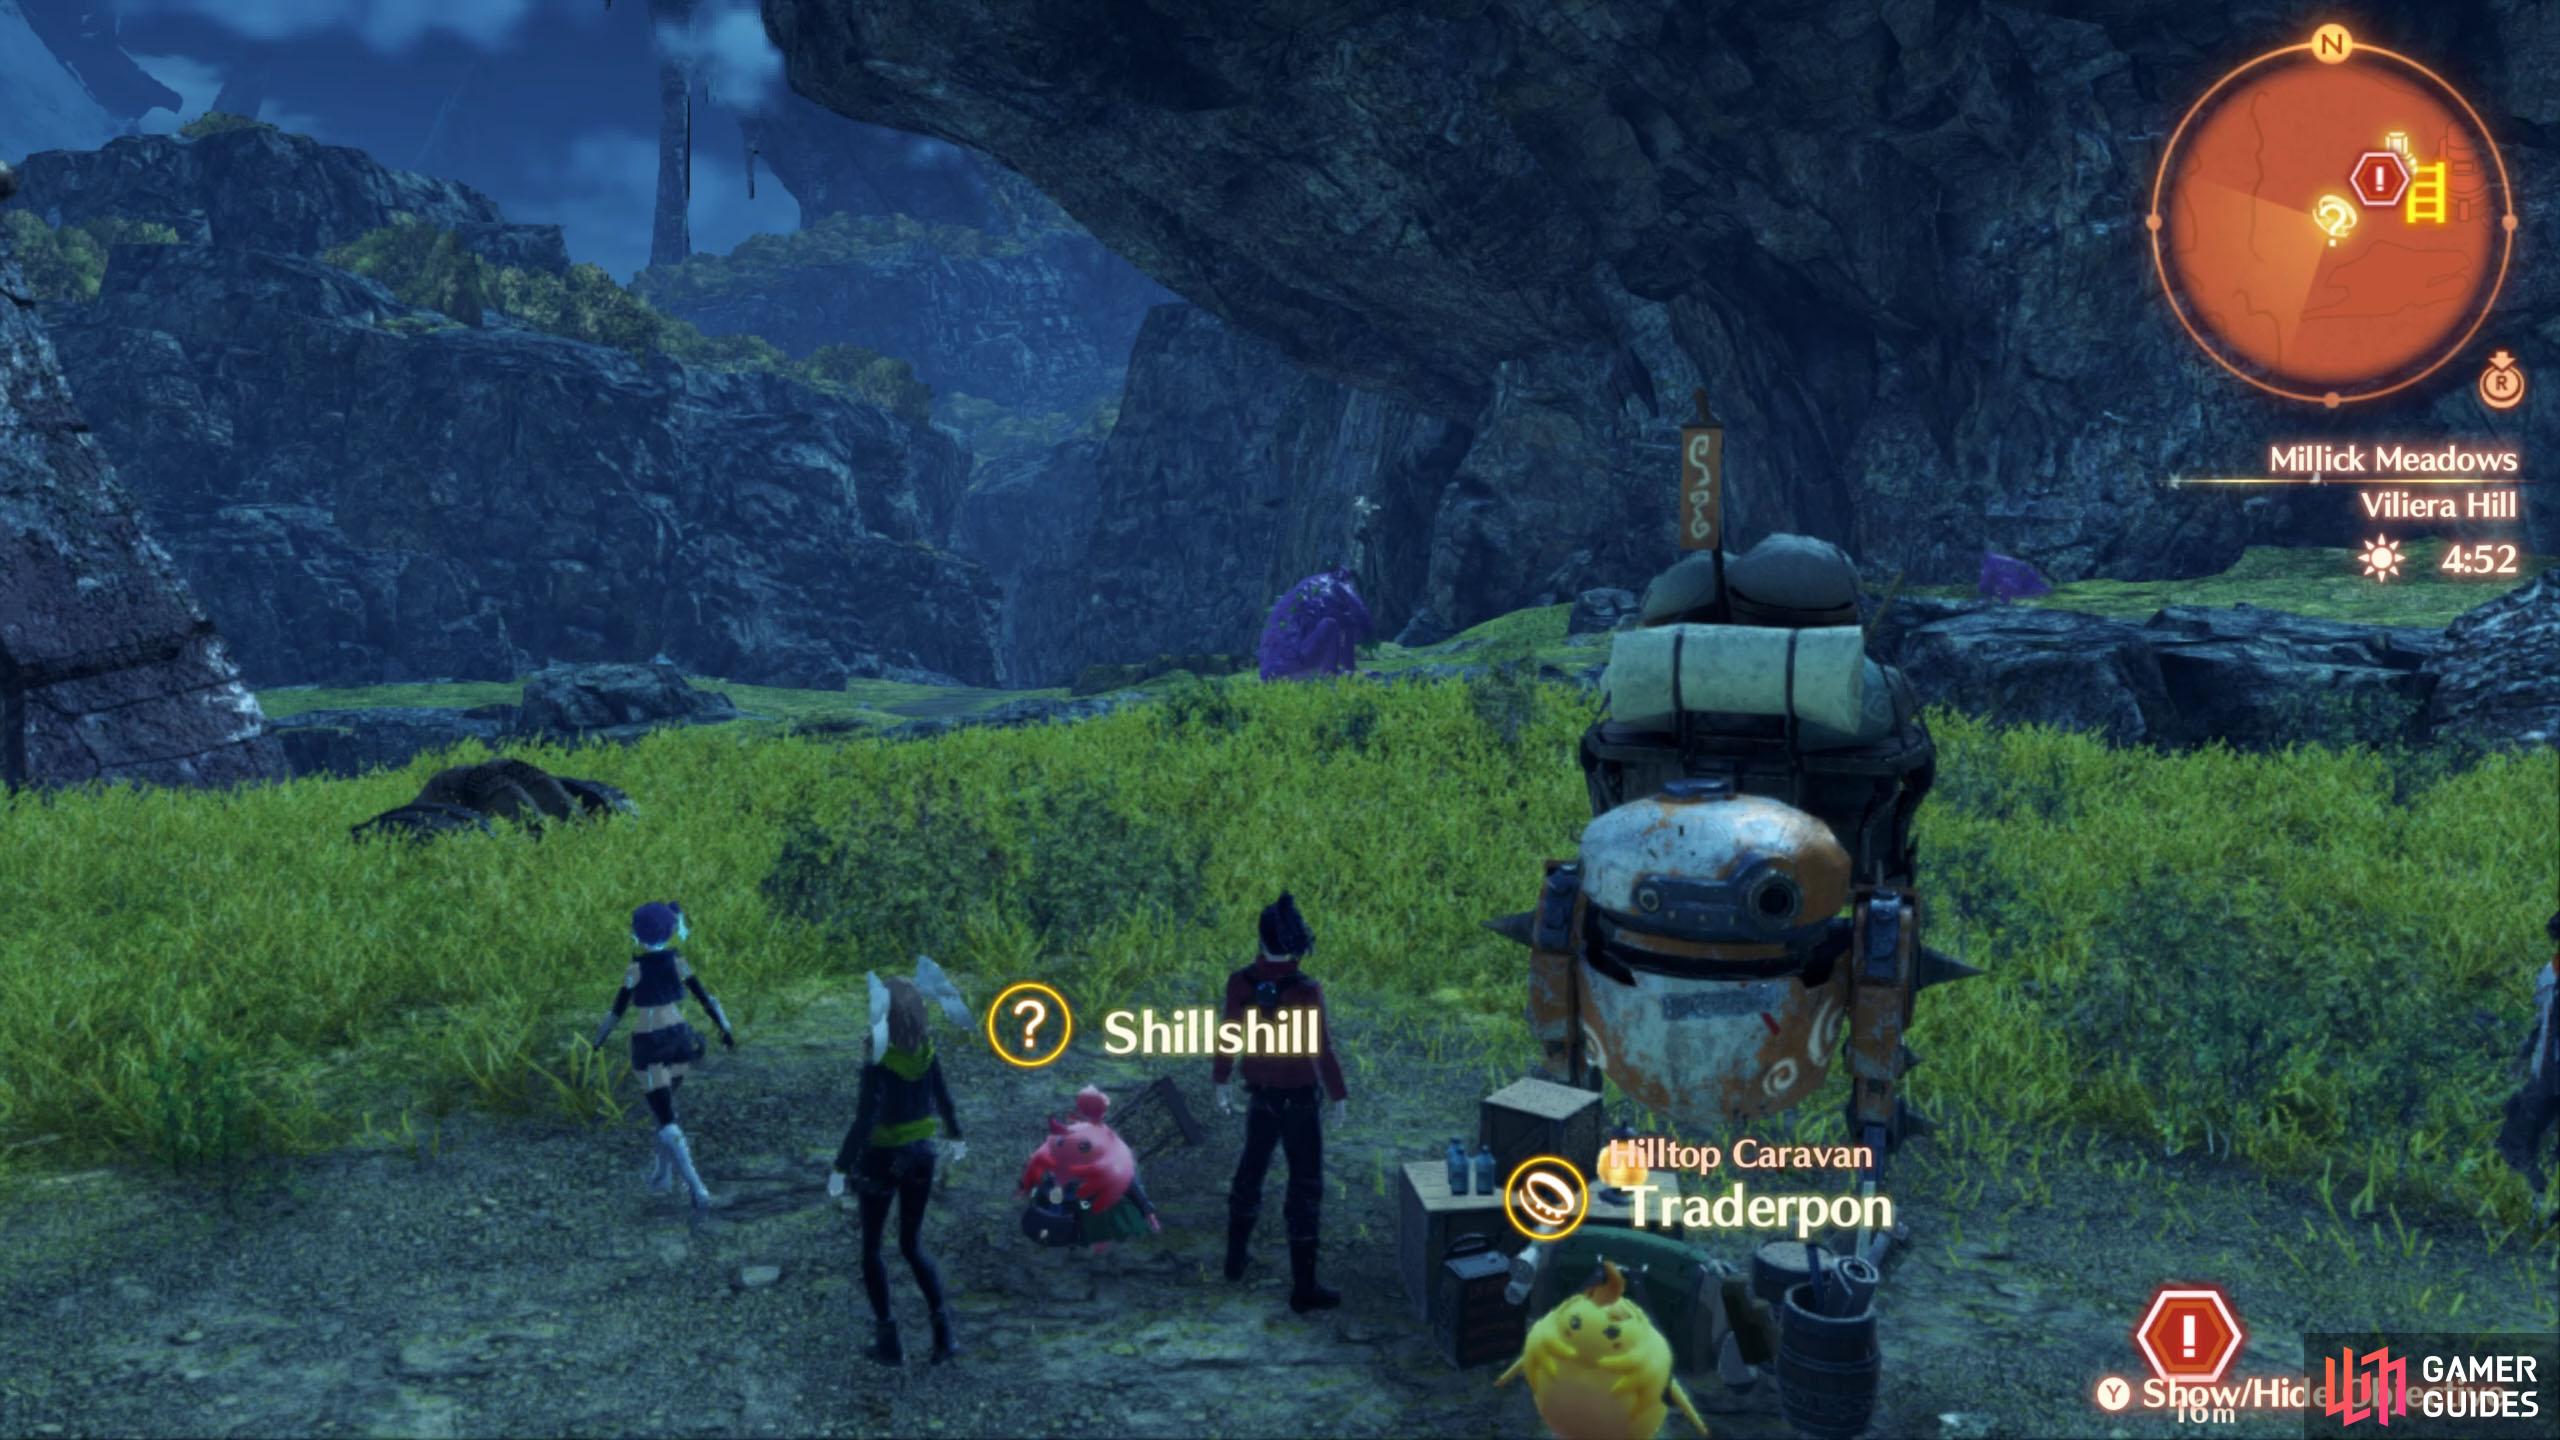
Afterwards, you’ll receive a visit from a traveling Nopon Caravan, headed by Shillshill.
You’ll also learn about Nopon Coins, those odd silver and gold coins you may have picked up. You can exchange these for items at Nopon Coin X-changes. Or you can use them to complete Collectopedia requests, cooking and gem crafting without using the required items or to level up classes.
Thus ends this particular quest.
Quest Rewards
| EXP | Gold | SP | Rewards |
|---|---|---|---|
| 690 | 0 | 5 | None |
Get some Rest
Shillshill has a task for you.
This is probably one of those sidequests you’ll hate doing.
To proceed, inspect the new rest spot. Feel free to Level Up your characters with Bonus Exp if needed. Or save your game etc. Then pick the left-most option (Rest) to progress the story.
No Comments