
This is a guide for Chapter 2 of Xenoblade Chronicles 3, covering the exploration of Colony 4 in the Fornis Region.
After those tough boss fights and numerous cutscenes, you’ll regain control at the Colony 4 Ferronis Hatch. You’ll receive a few more tutorials.
How to Upgrade Ouroboros
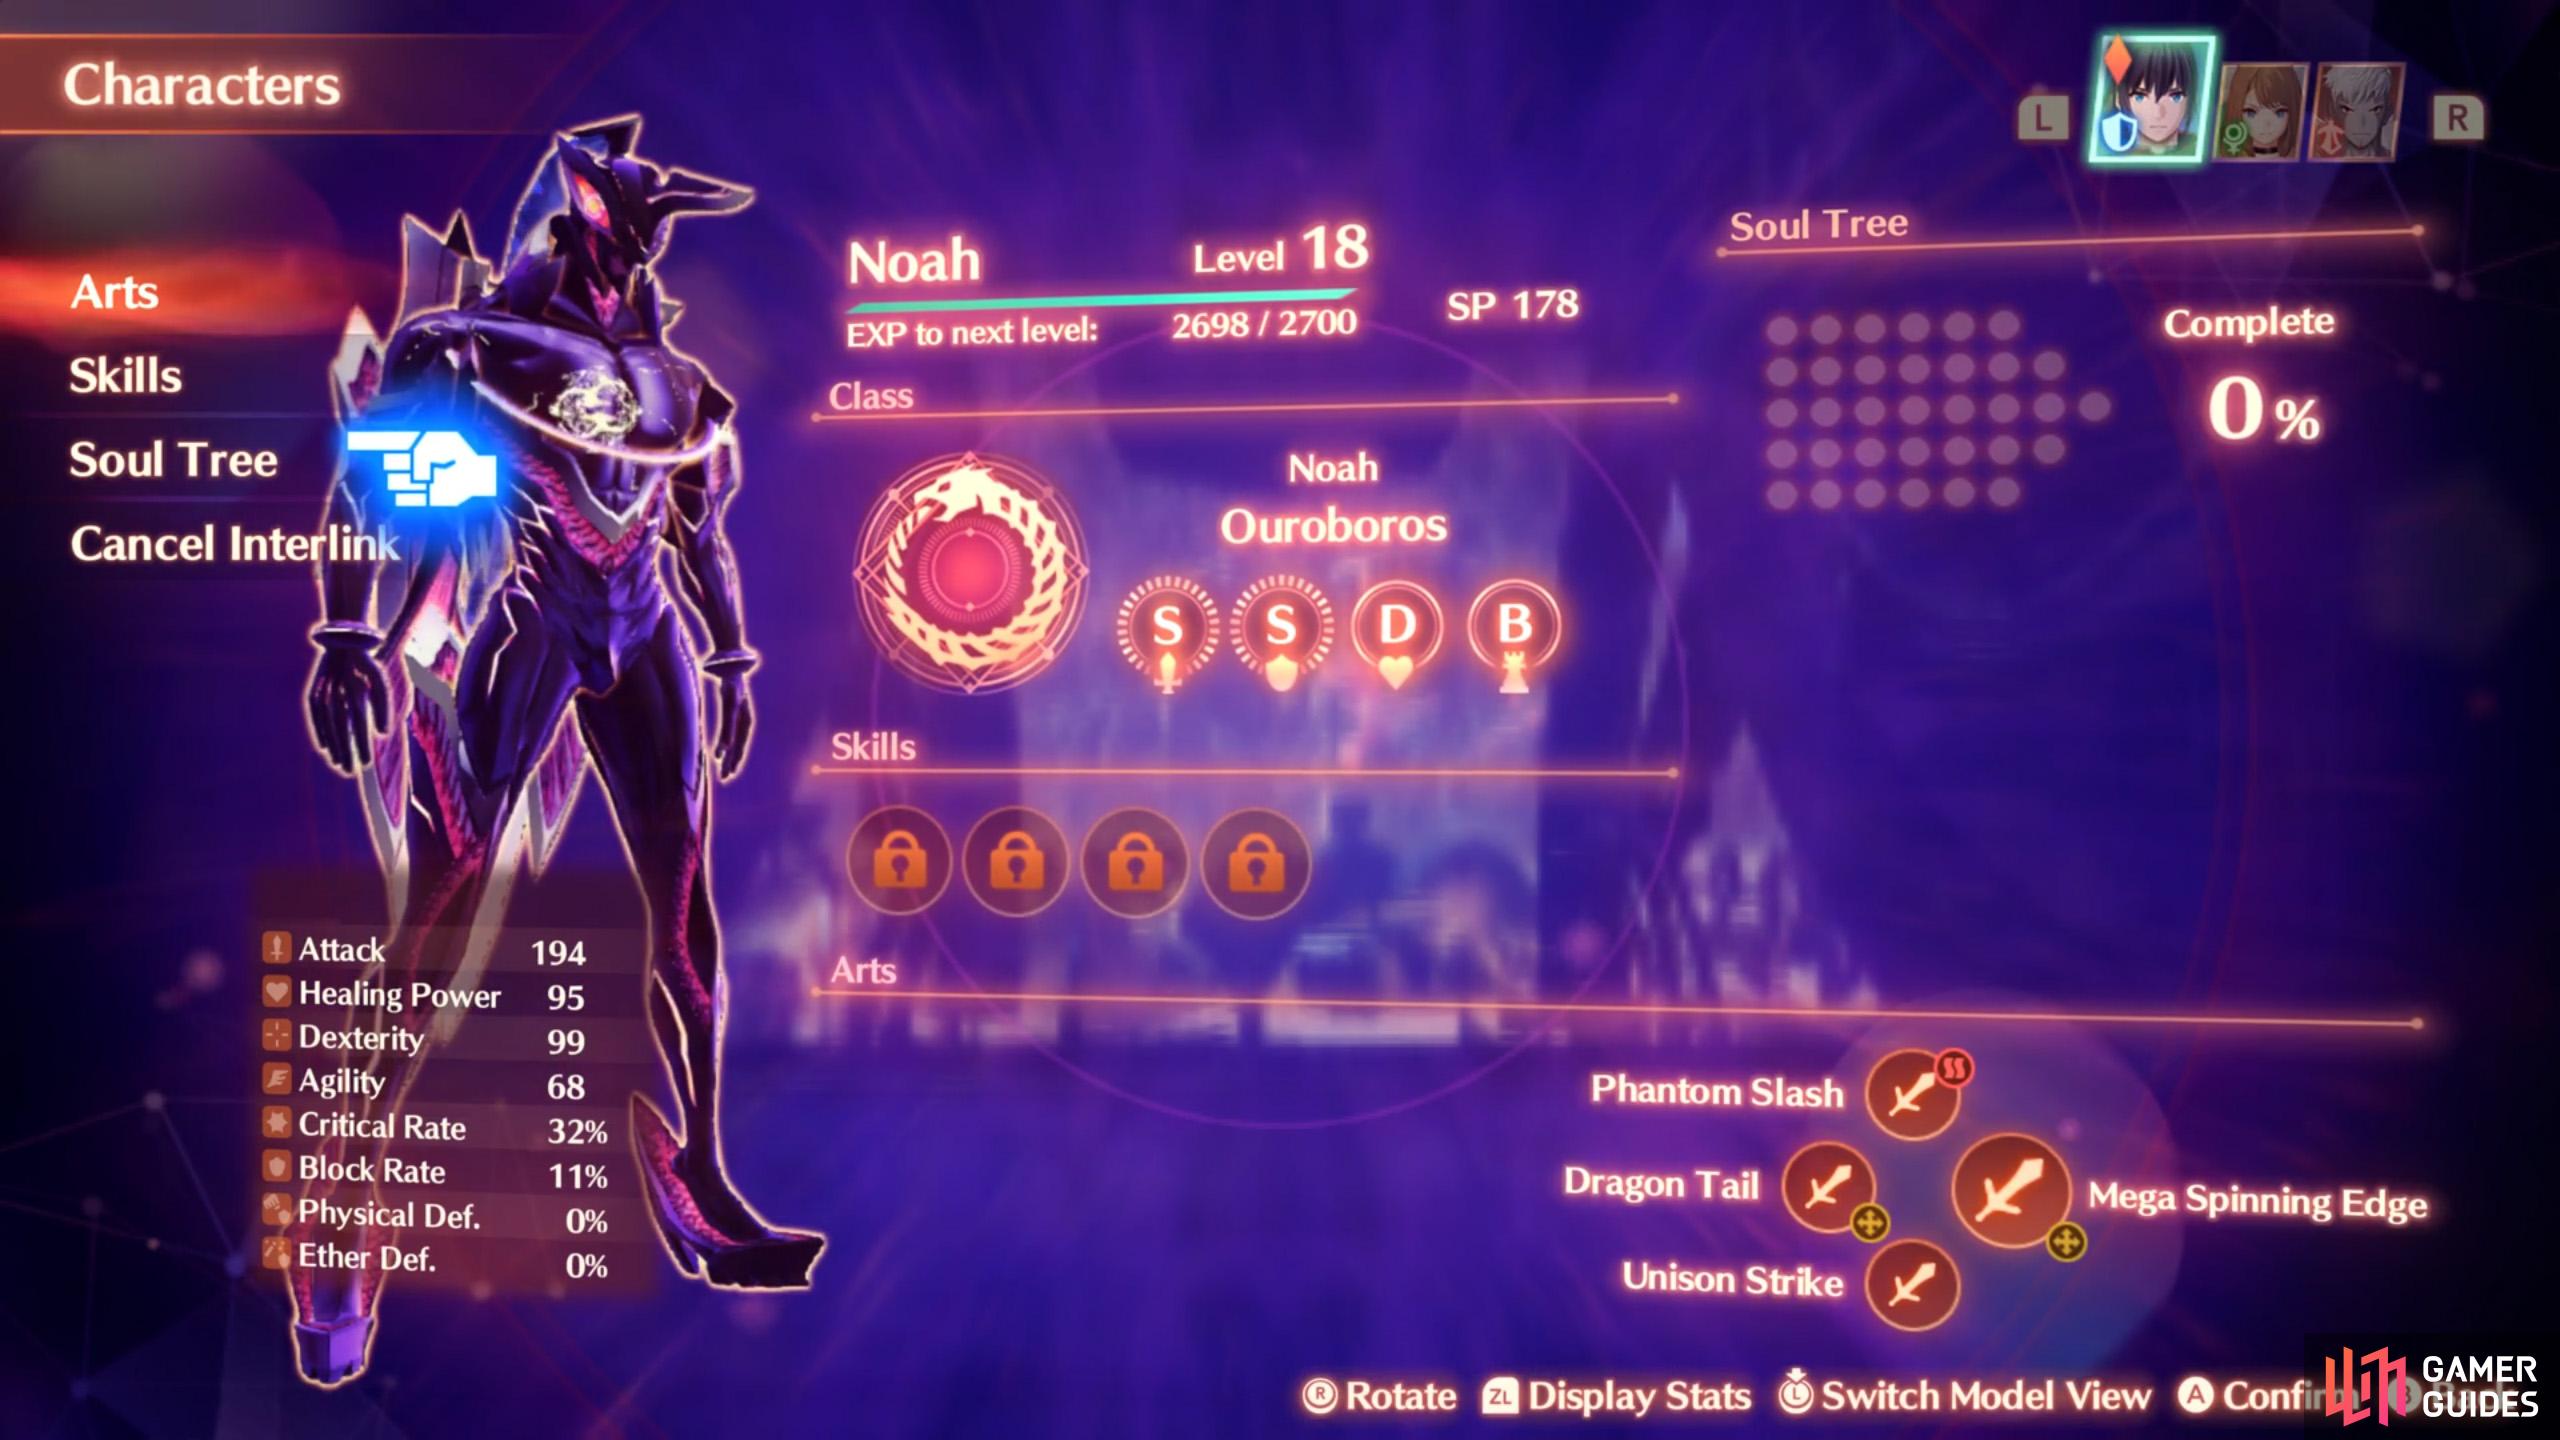
Ouroboros are powerful, but you can make them more powerful still.
SP can be earner from fights, containers, landmarks etc.
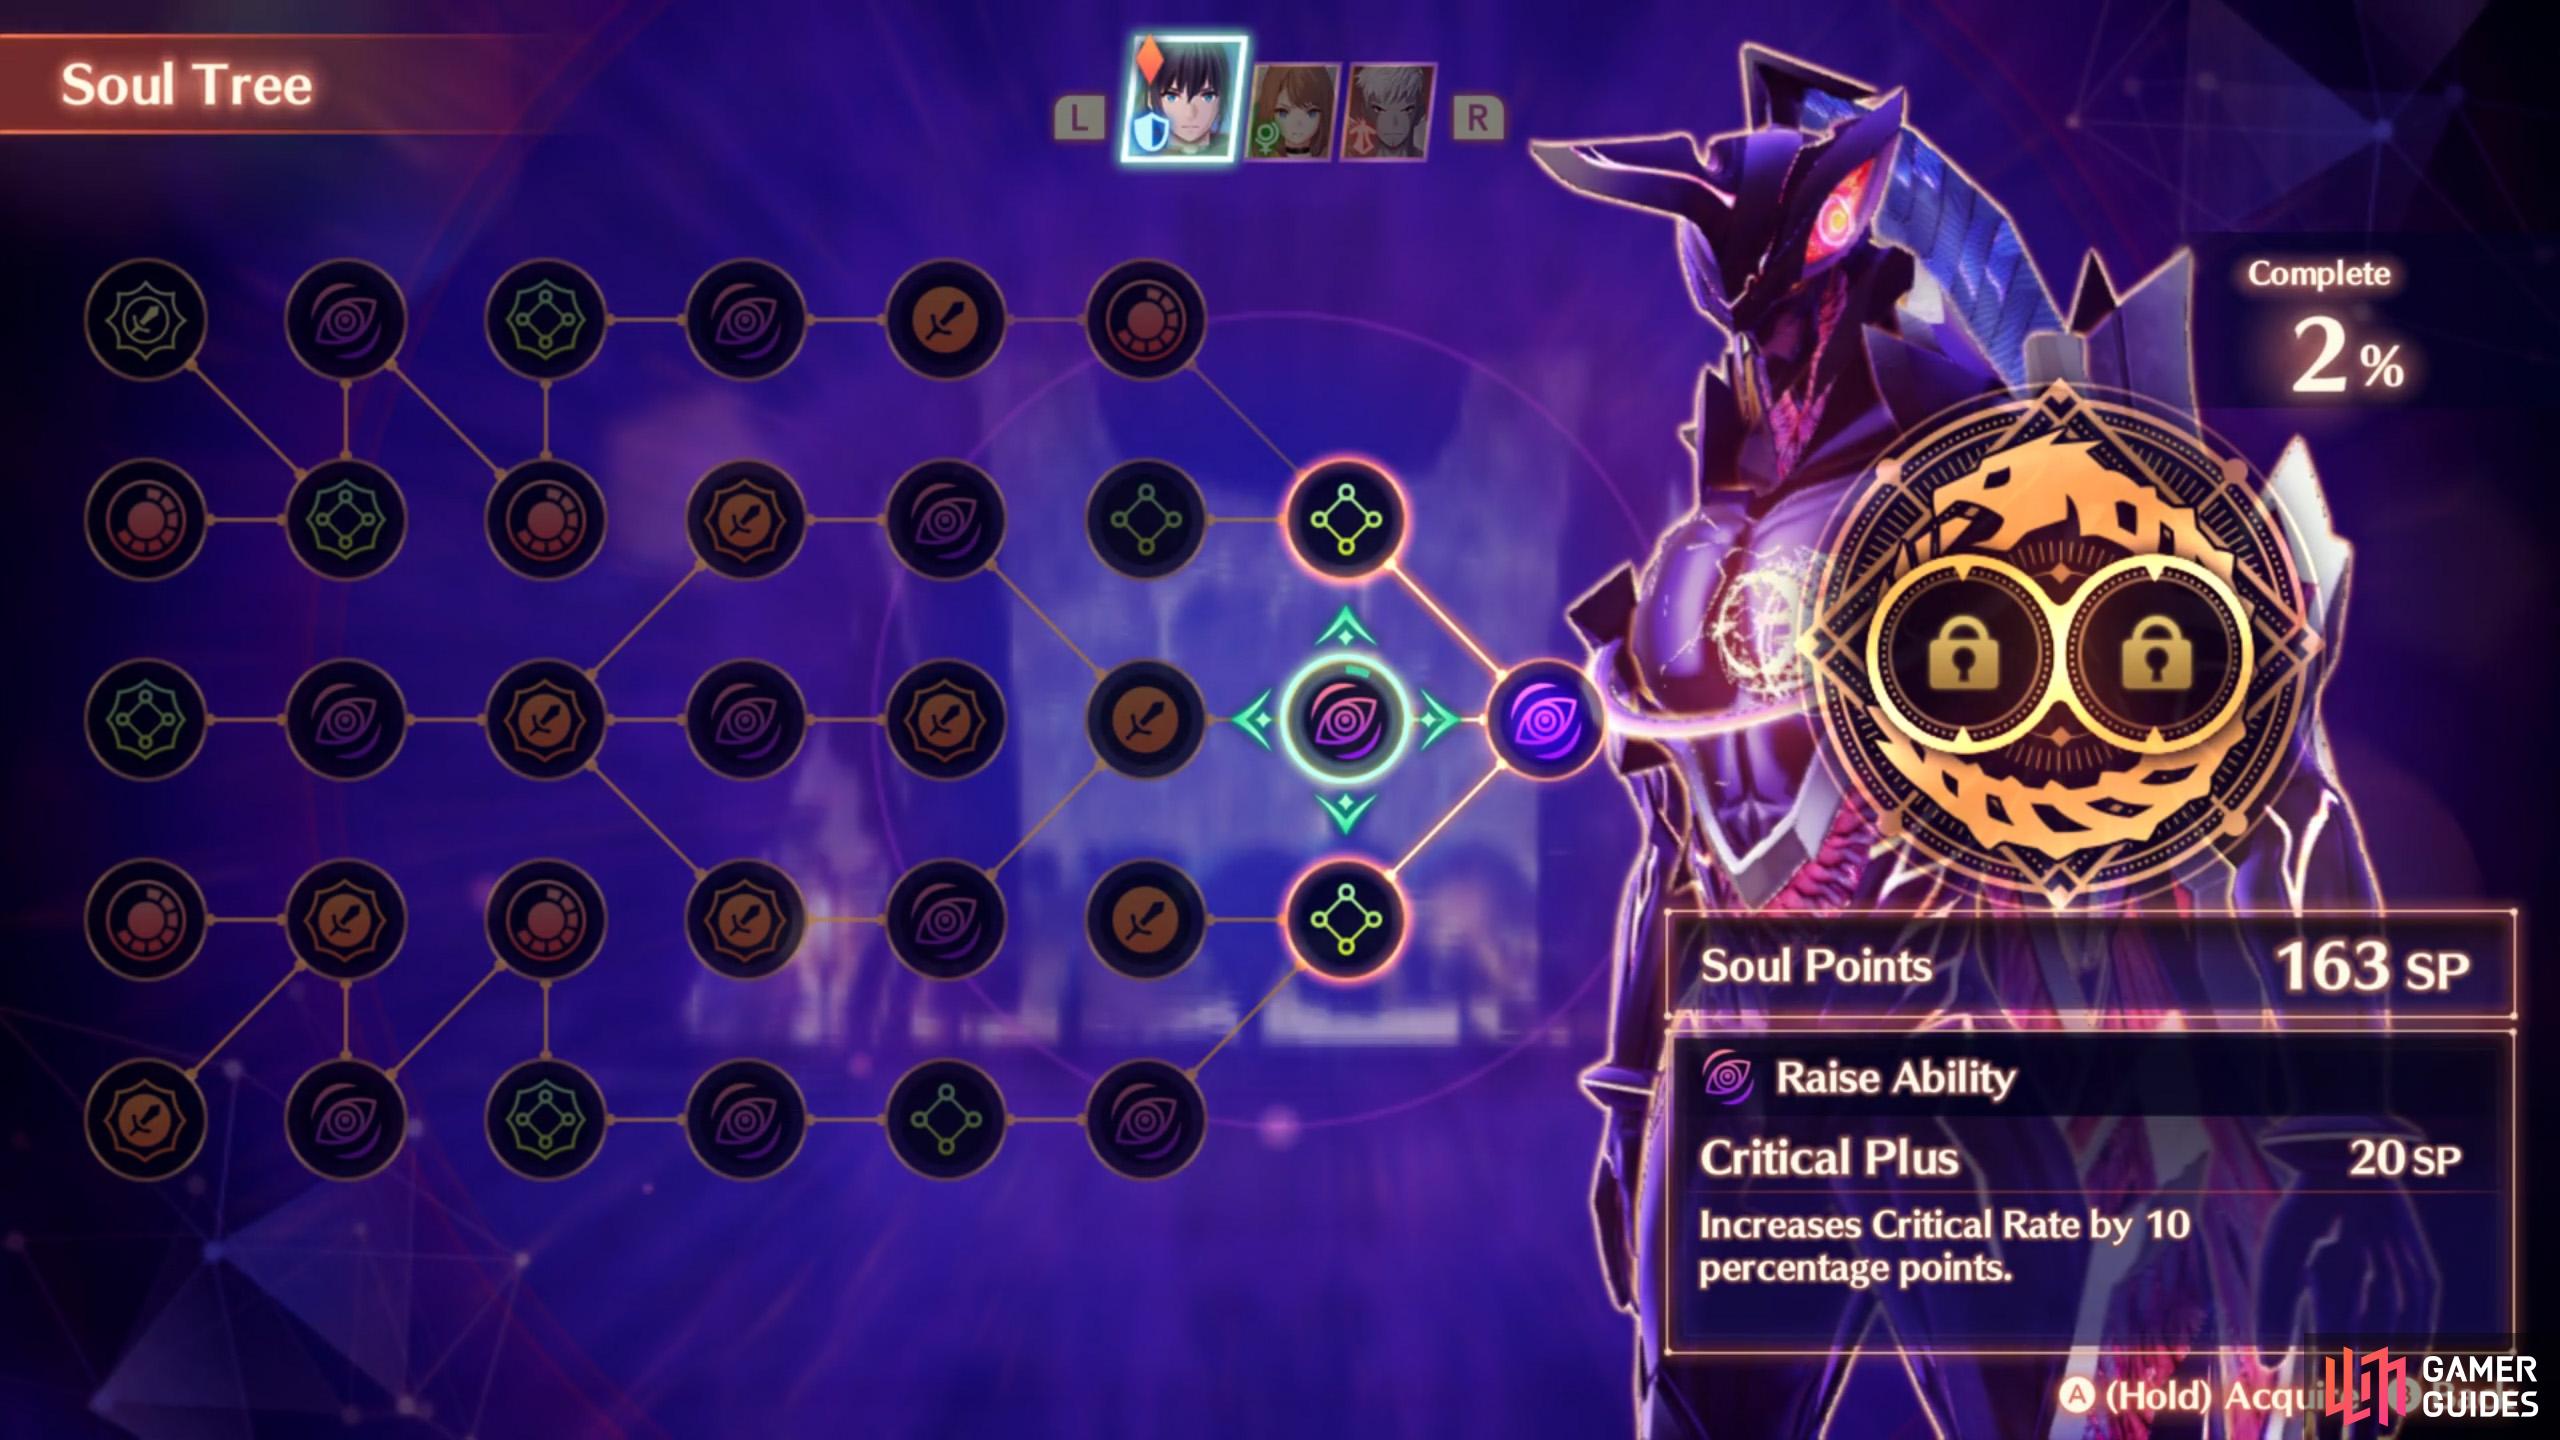
Next, you’ll have a guided lesson on powering up your Ouroboros. When you win fights or open certain containers, you can earn Soul Points (SP). These can be used to unlock new buffs for your Ouroboros forms. Following the tutorial, go to Characters, Interlink and Soul Tree in the menu.
Ta-da, you’ll be presented with the all-too-familiar skill tree. At the beginning, most of the abilities will be greyed out. But as you acquire abilities, other abilities with lines connecting to them will become available. To acquire abilities, simply hold A (similar to crafting gems), providing the character has sufficient SP.
Finally, after that tutorial, the game will auto-save. But you may want to manually save or Quick Save just in case.
Colony 4
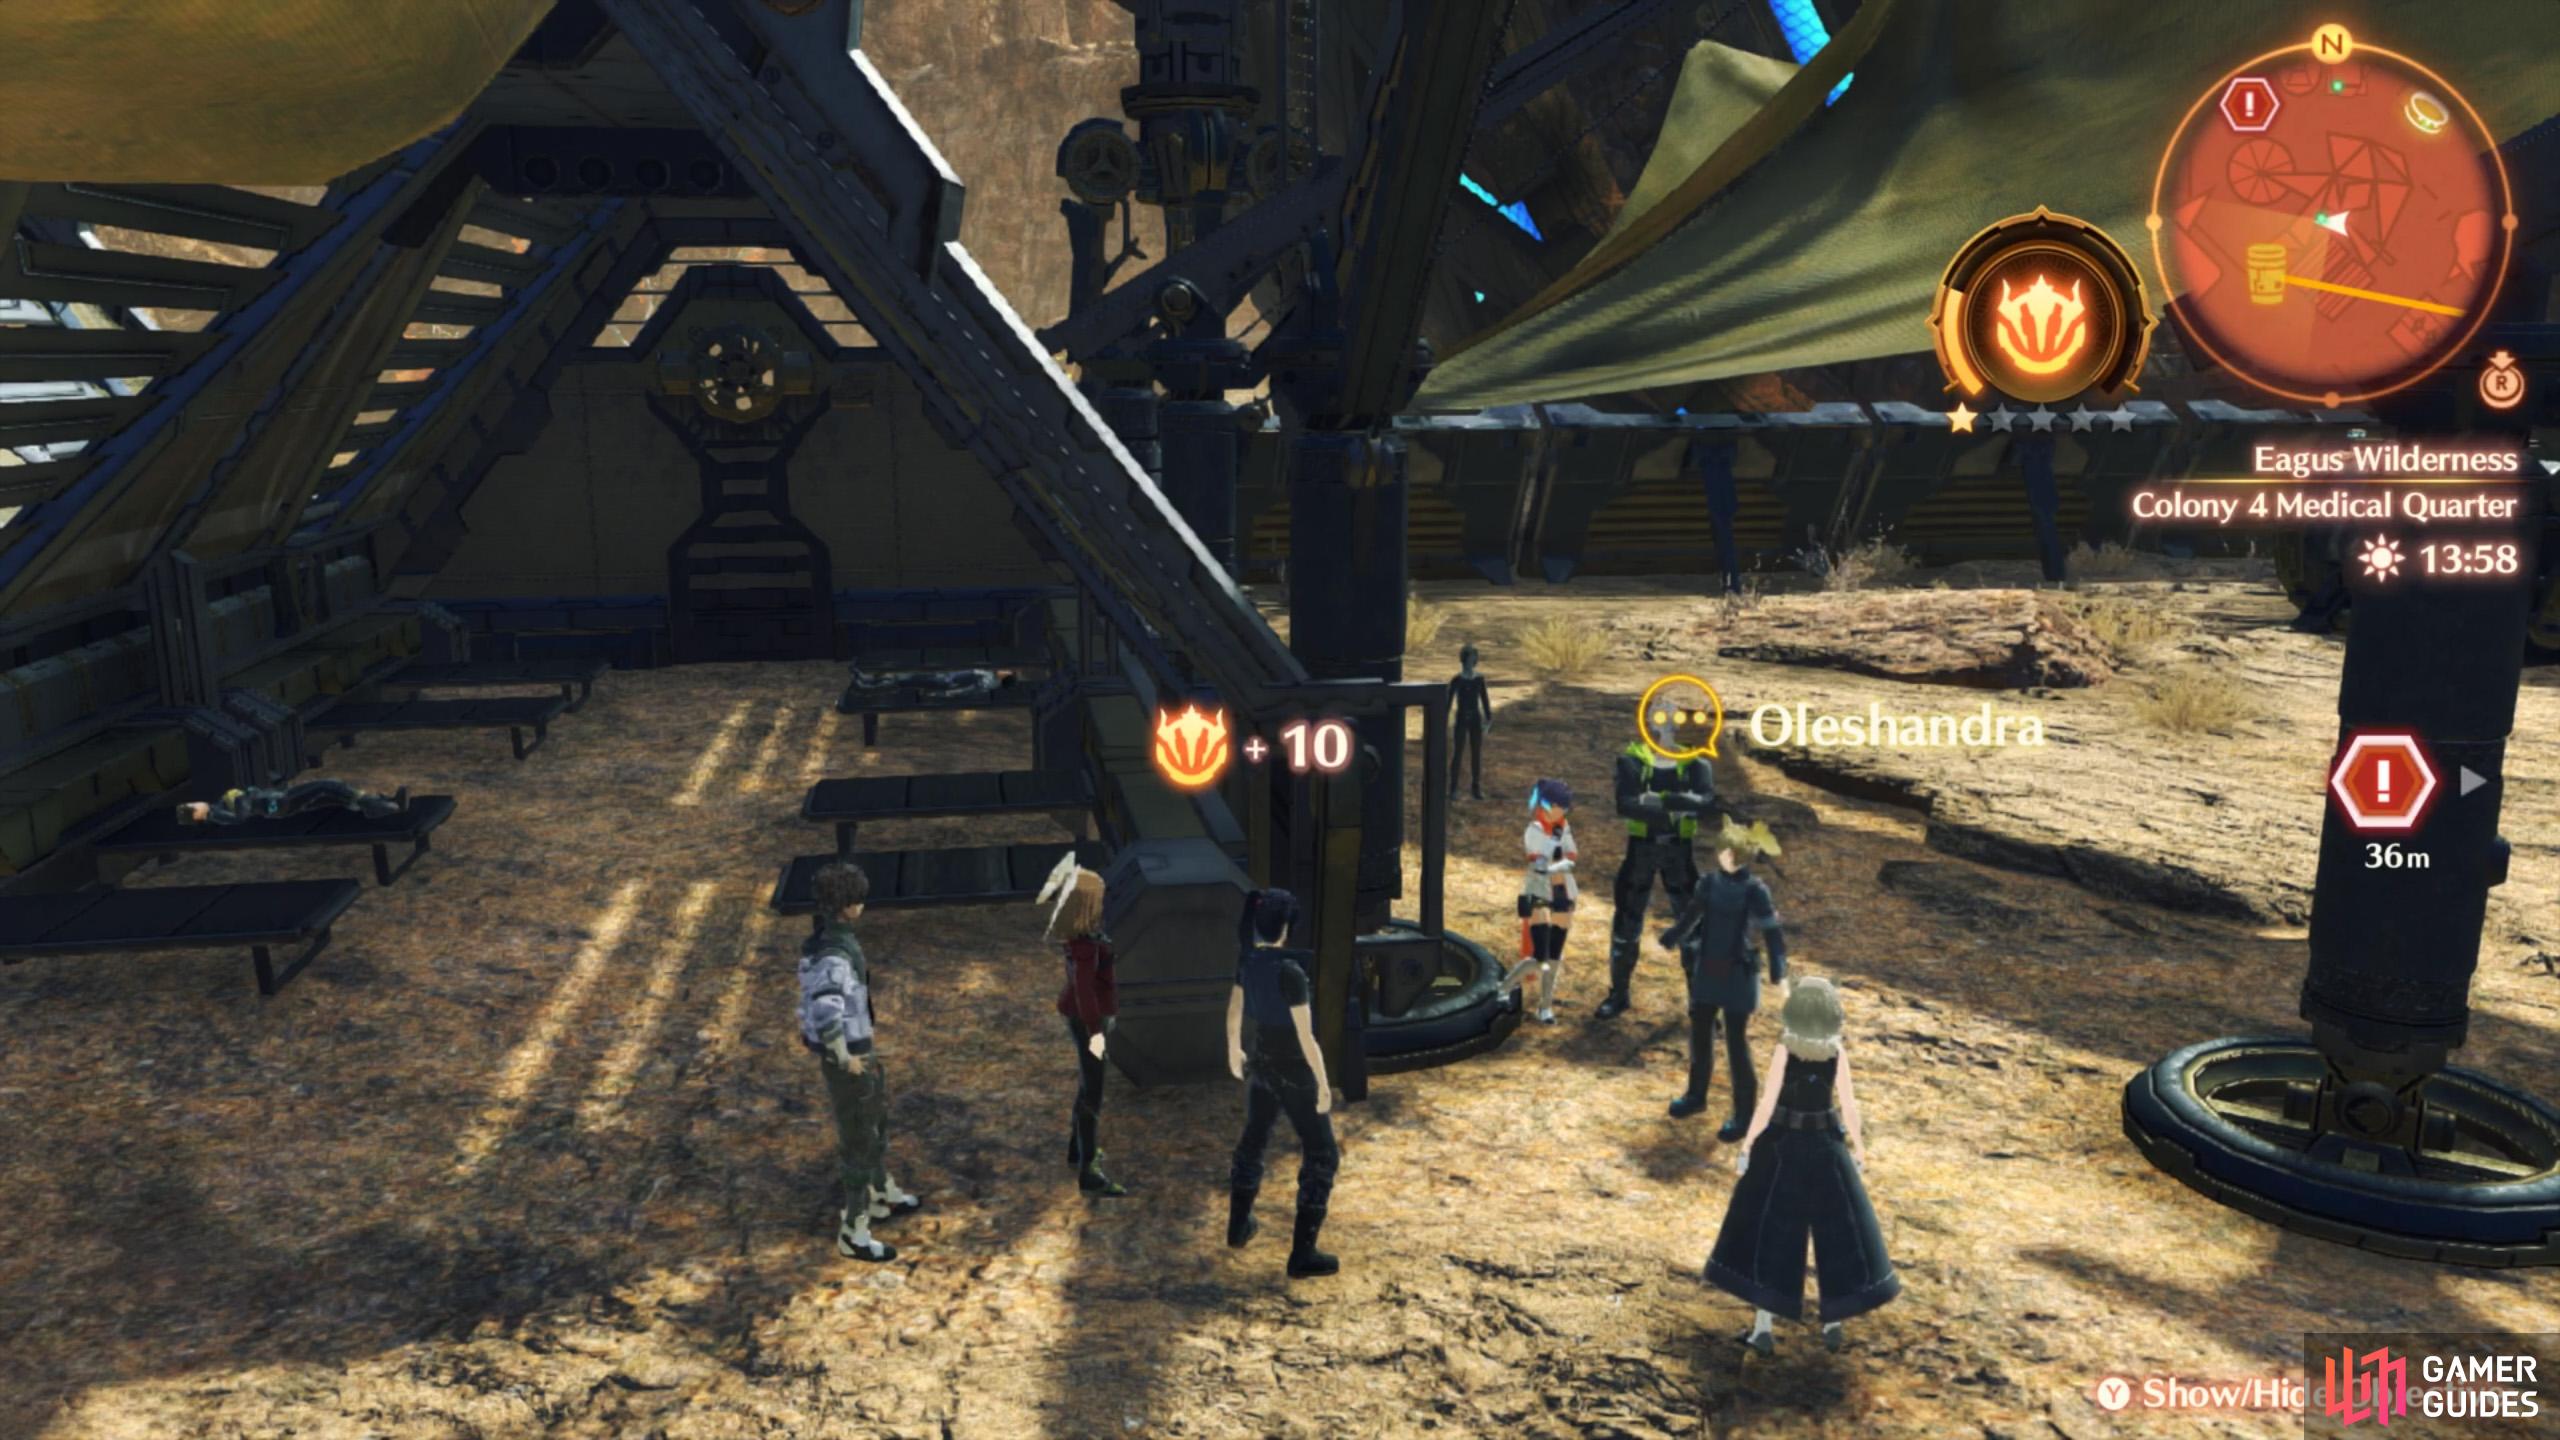
There are lots of new faces here, so it’s a good idea to chat with everybody with a star icon near their speech bubble, which should be everybody. Also, if you turn back around, you can check out the innards of the Ferronis.
NPCs in Colony 4
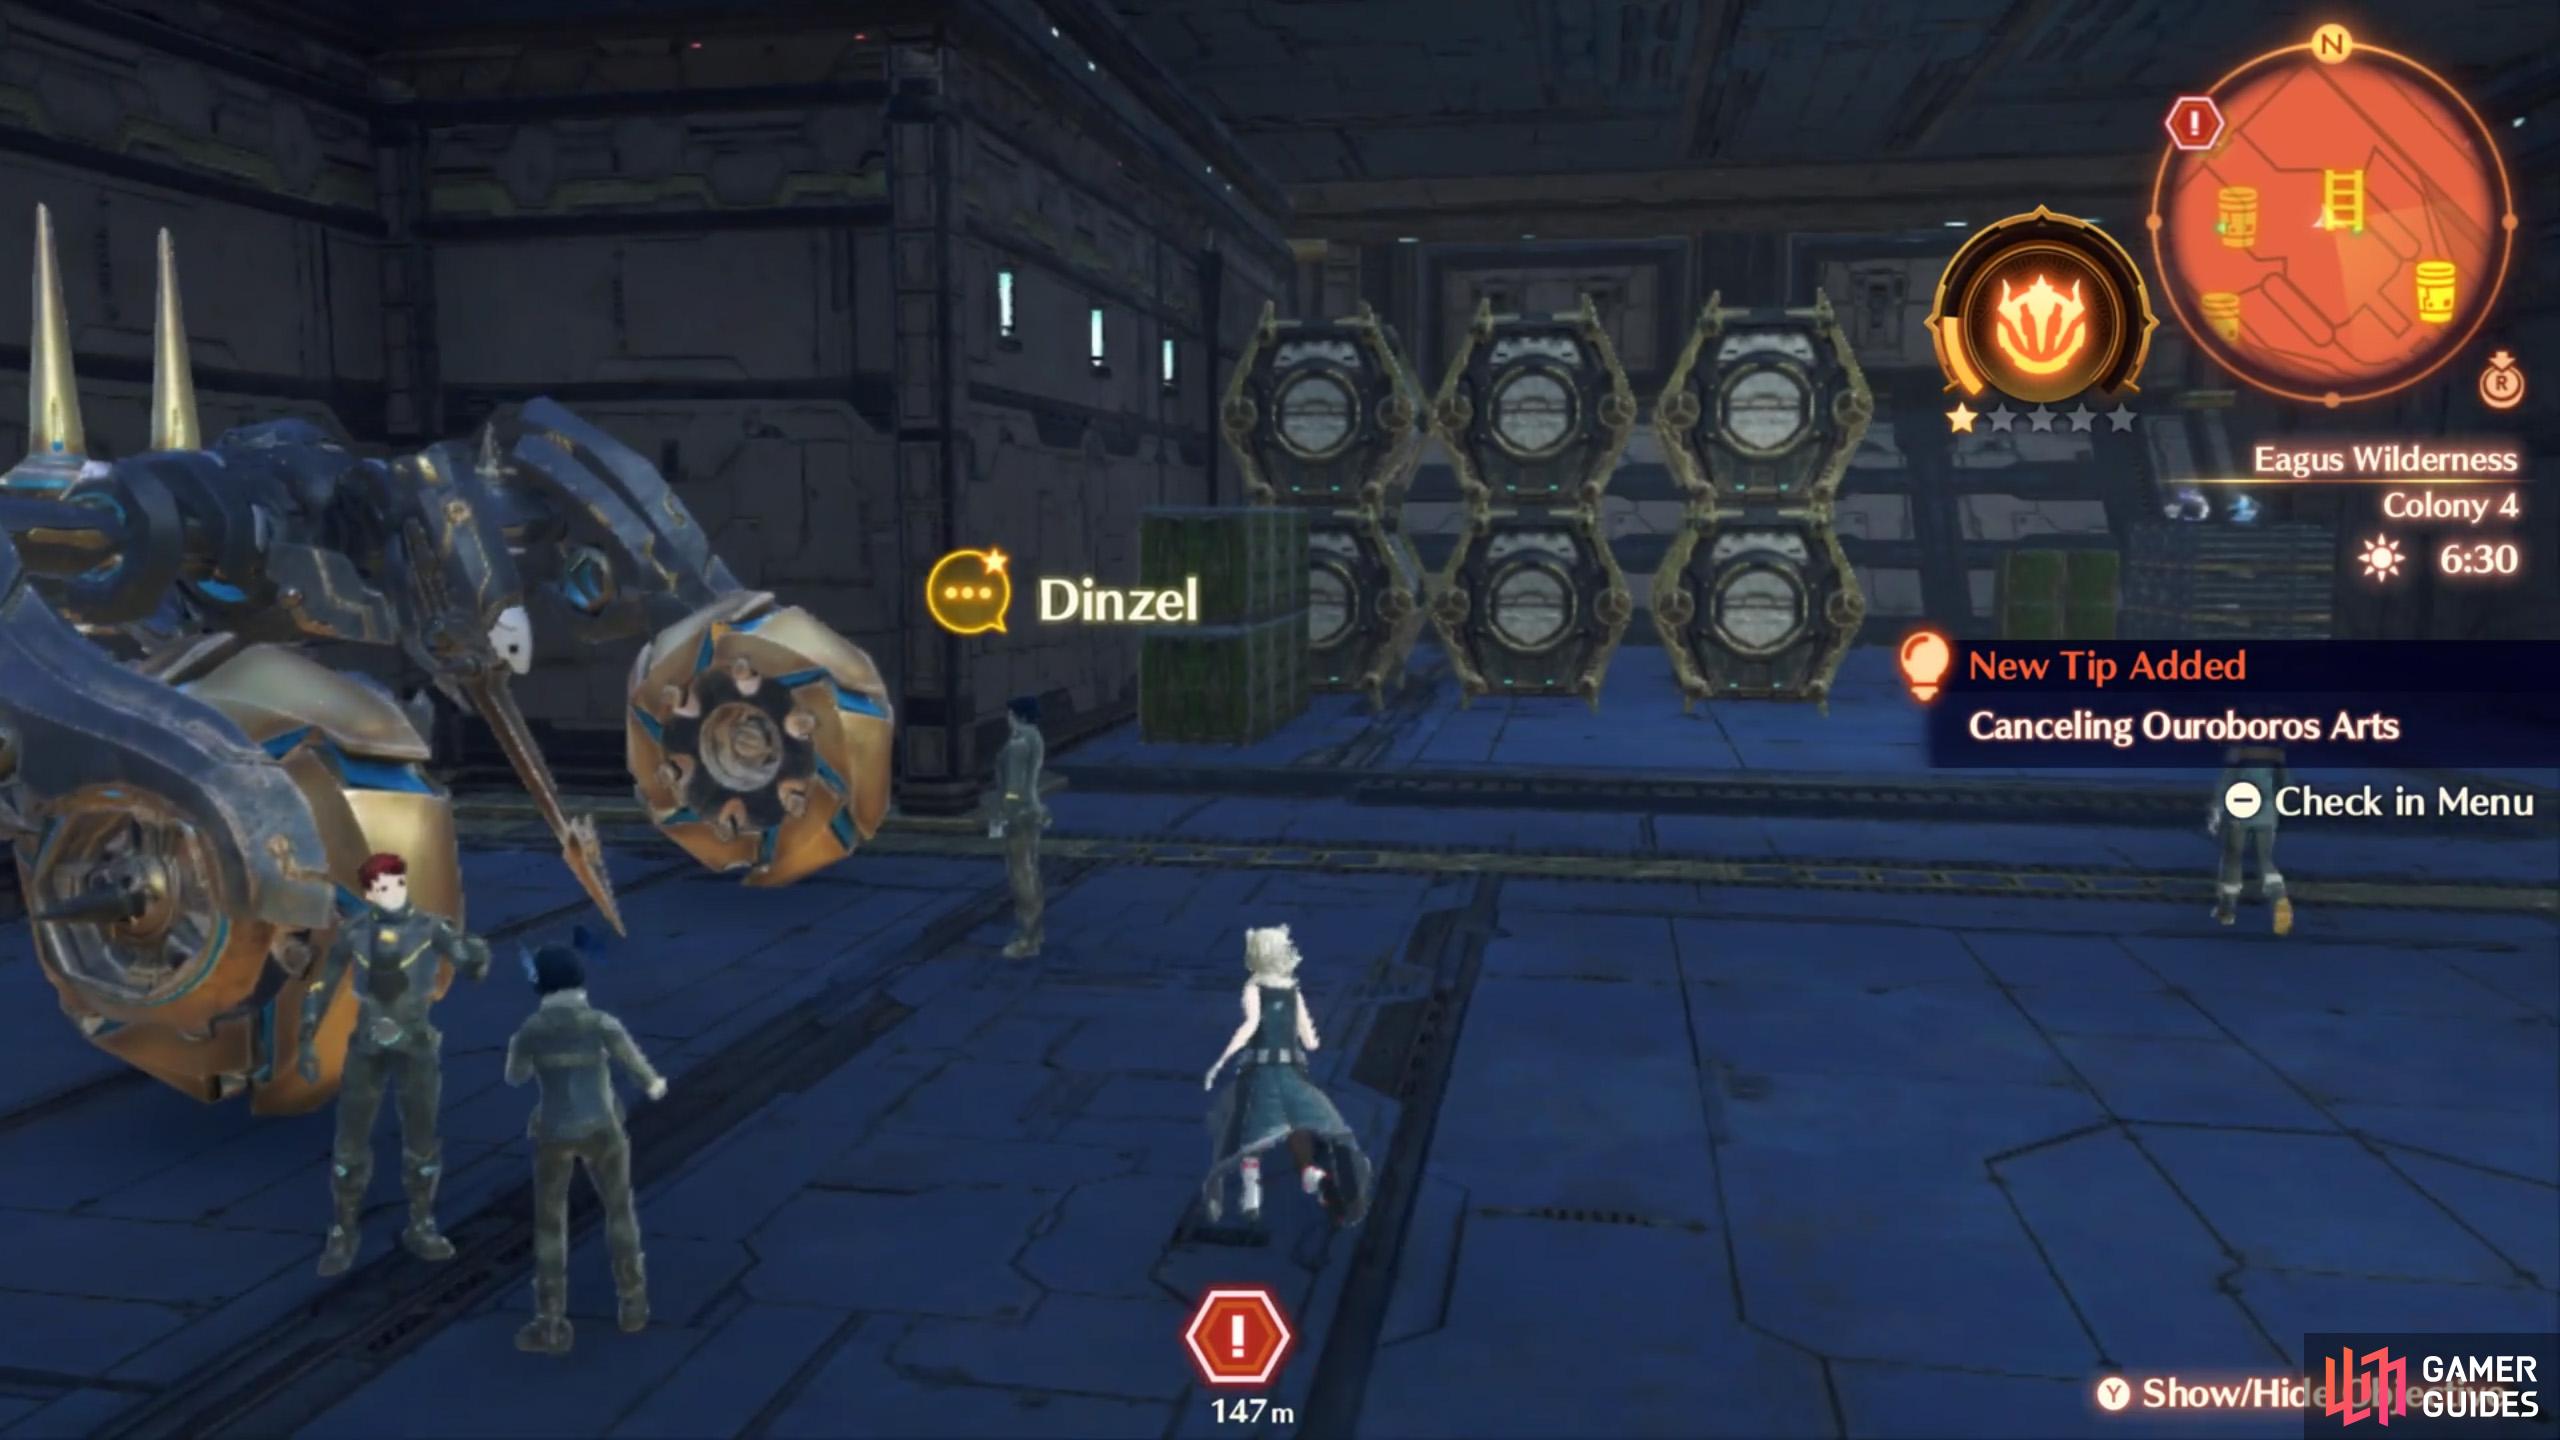
Most of the folks are outside the Ferronis, but some are inside.
The first time you chat to someone, you’ll earn some Affinity for their colony.
| Name | Map Marker |
|---|---|
| Ethel | Map Marker |
| Borealis | Map Marker |
| Maxie | Map Marker |
| Jeremy | |
| Fla’ran | Map Marker |
| Yorde | Map Marker |
| Kukucha | |
| Laszlo | Map Marker |
| Oleshandra | |
| Maybach | Map Marker |
| Solon | Map Marker |
| Brunella | Map Marker |
| Mikoko | Map Marker |
| Dinzel | Map Marker |
| Ymeer | Map Marker |
| Dorin | Map Marker |
| Bambam | Map Marker |
Containers in Colony 4
| Container # | Map Marker | Location |
|---|---|---|
| 1 | Map Marker | Back of the Ferronis hatch |
| 2 | Map Marker | Left side of the Central Hangar |
| 3 | Map Marker | Top level of the Ferronis. Keep going round and round. |
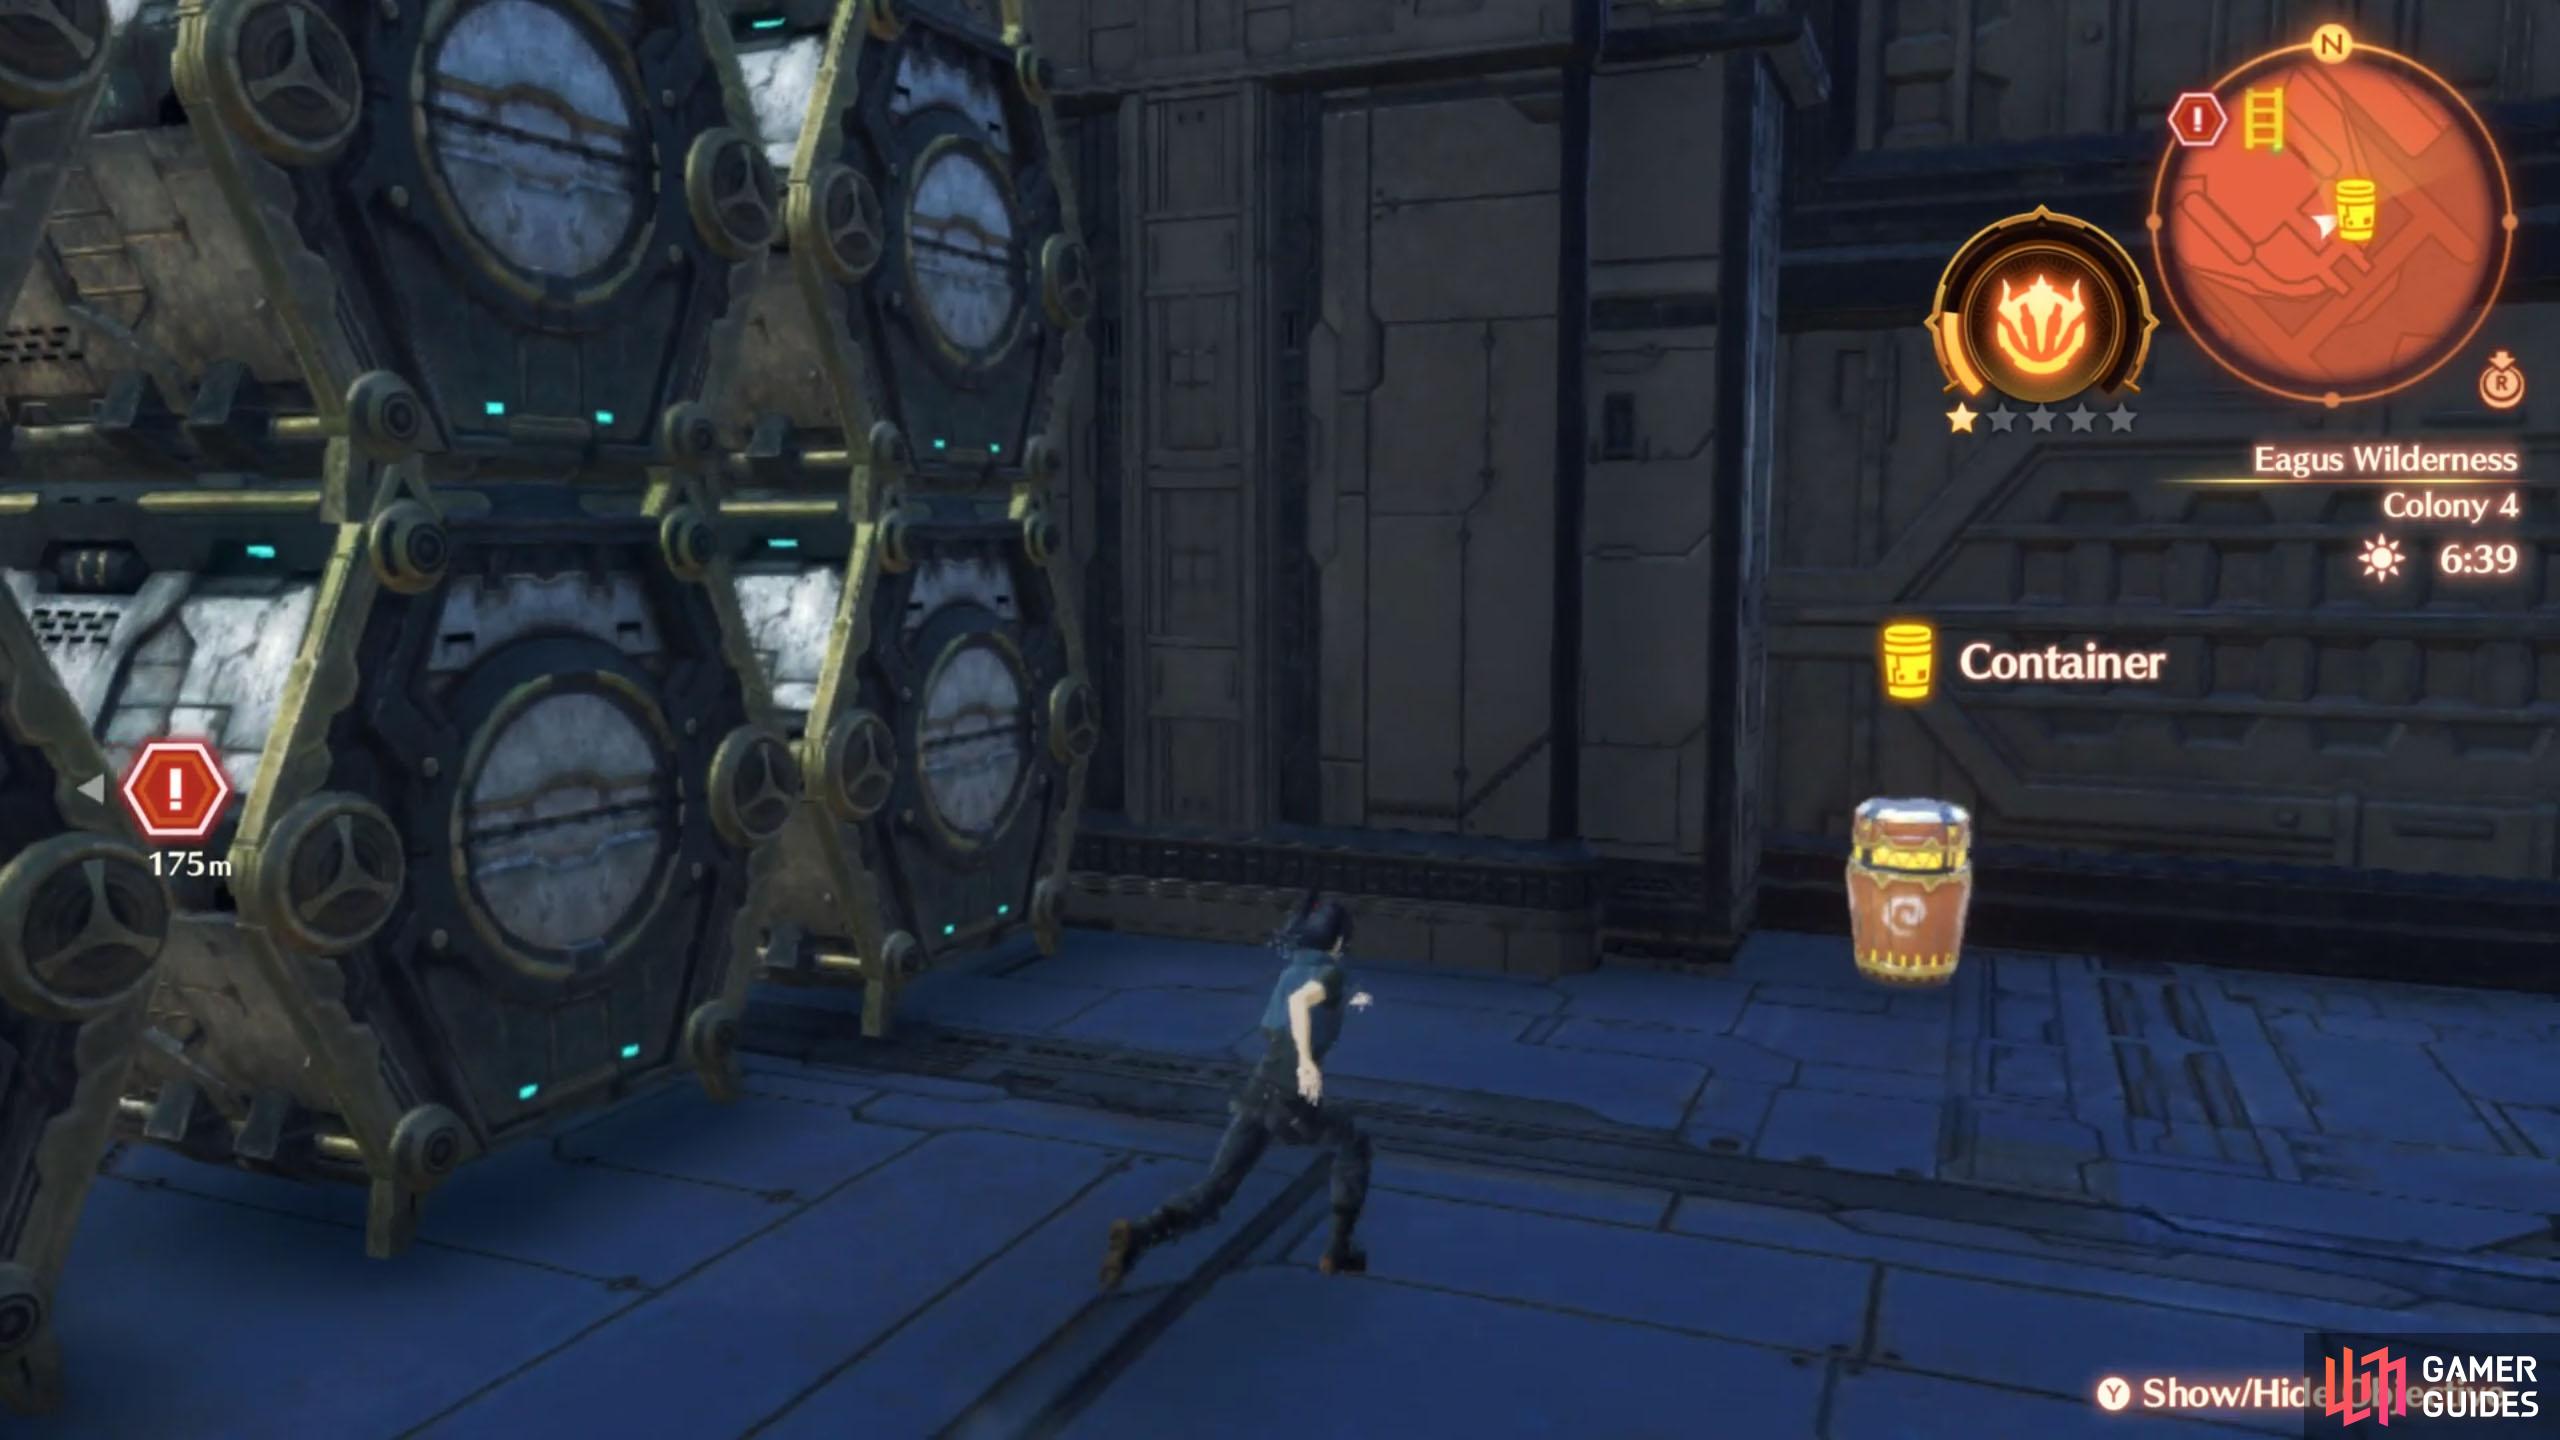
To begin with, there’s a container (number 1) not too far away from the Ferronis entrance. It’s at the far end, obscured by some hexagonal crates.
Upstairs, at the Colony 4 Central Hangar, there’s another container (number 2) up for grabs. You’ll need to go up the ladder on the right or head up the stairs on the left, then jump down.
Keep going upstairs. There’s a small section where you can go up some stairs then go down some different stairs. After this, follow the exterior in a clock-wise direction for the third container.
There’s also a fourth container, but it’s currently out-of-reach. When you exit the Central Hanger from the left, just before the up and down stairs, there’s a tight-rope if you continue along the same level, then jump down at the end. This leads to a container atop a tower.
Take a Break
When you’re all done, go to the Colony 4 Barracks, a short distance north-west from the Ferronis entrance, near the colony entrance. Thus concludes this chapter.
No Comments