This is a guide for the “The Hillside Hulk” standard quest in Xenoblade Chronicles 3.
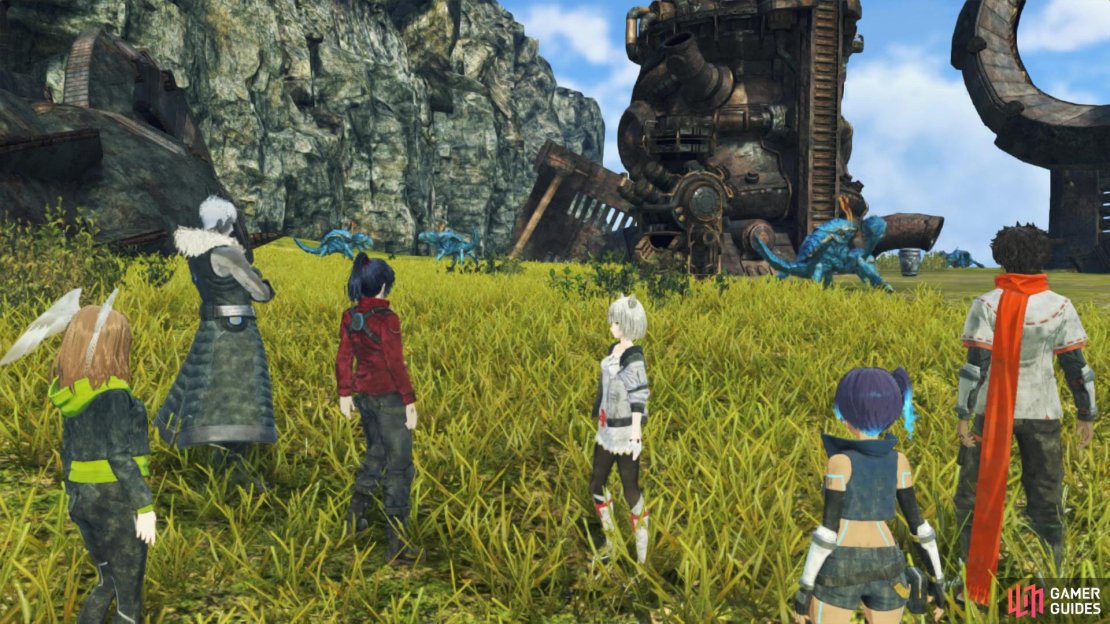
Noah and the squad come across a broken Ferronis.
The party finds a decrepit Ferronis on their travels. Search it to see if it contains any useful resources.
How to Start The Hillside Hulk Standard Quest
Progress through the game until you reach Chapter 2, then continue onwards through Alfeto Valley until you reach Millick Meadows. During the cutscene, Sena will spot a Ferronis by an outcrop and alert the team. Here Taion realizes that there’s no colony established in the nearby area, so everyone decides that they should take a look for any useful resources and so this Standard Quest begins!
Head For The Specified Location
After the scene has come to a close, look for the quest marker from the Kilmarris Highland Landmark and it’ll lead you south. Follow the path along until you reach the structure in Viliera Hill, then a short scene will play out along with a tutorial.
How To Defeat The Crustips
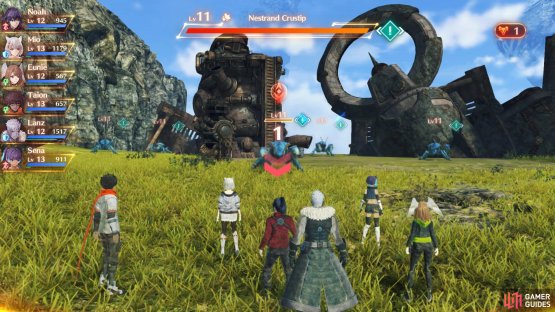
Before Noah and the team can get searching for any useful resources, you’ll need to work together and take out the group of Crustips which have taken over the area. You’ll want to avoid fighting them all at once, as you’ll get overwhelmed and the party could get wiped out pretty quickly, so target one and press 
(1 of 2) Press up on the d-pad to lure the enemies over
Press up on the d-pad to lure the enemies over (left), then defeat them one by one. (right)
They shouldn’t cause you too much of a problem to take down, but if you find that they’re arent dying quickly, make use of correct positionals and buffs to boost damage. Lure and take out the remaining four Crustips, then head towards the containers to see what loot awaits.
How To Restore Power To The Fabricator
Unfortunately, the containers won’t open as there’s no power in the Fabricator, so you’ll need to find a way of getting it going which can be done by climbing up the ladder and interacting with the power compartment. Riku discovers that there isn’t any power, so you’ll need to find a way to give the cylinder some juice. Thankfully, Mio has really good eyesight and has spotted an Ether Channel in the distance which can be harvested.
Harvest The Ether
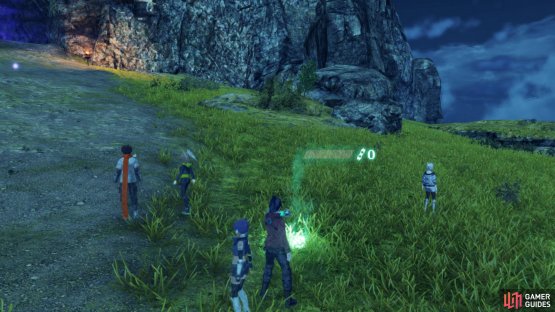
Climb back down and head southwest towards the Ether Channel, then interact with it by pressing 
(1 of 2) Use the ether channels to fill up the cylinders
Use the ether channels to fill up the cylinders (left), then place them in the Ferronis to reboot it. (right)
After the Ferronis has been rebooted, drop down and open both containers for a variety of loot, such as Gemstones, Nopon Coins and more, then interact with the Fabricator and spend 300g to use it.
Quest Rewards
| EXP | Gold | SP | Rewards |
|---|---|---|---|
| 680 | 0 | 5 | None |





No Comments