
This is a guide for The Hunt of Plenty Standard Quest in Xenoblade Chronicles 3.
How to Start The Hunt of Plenty Standard Quest
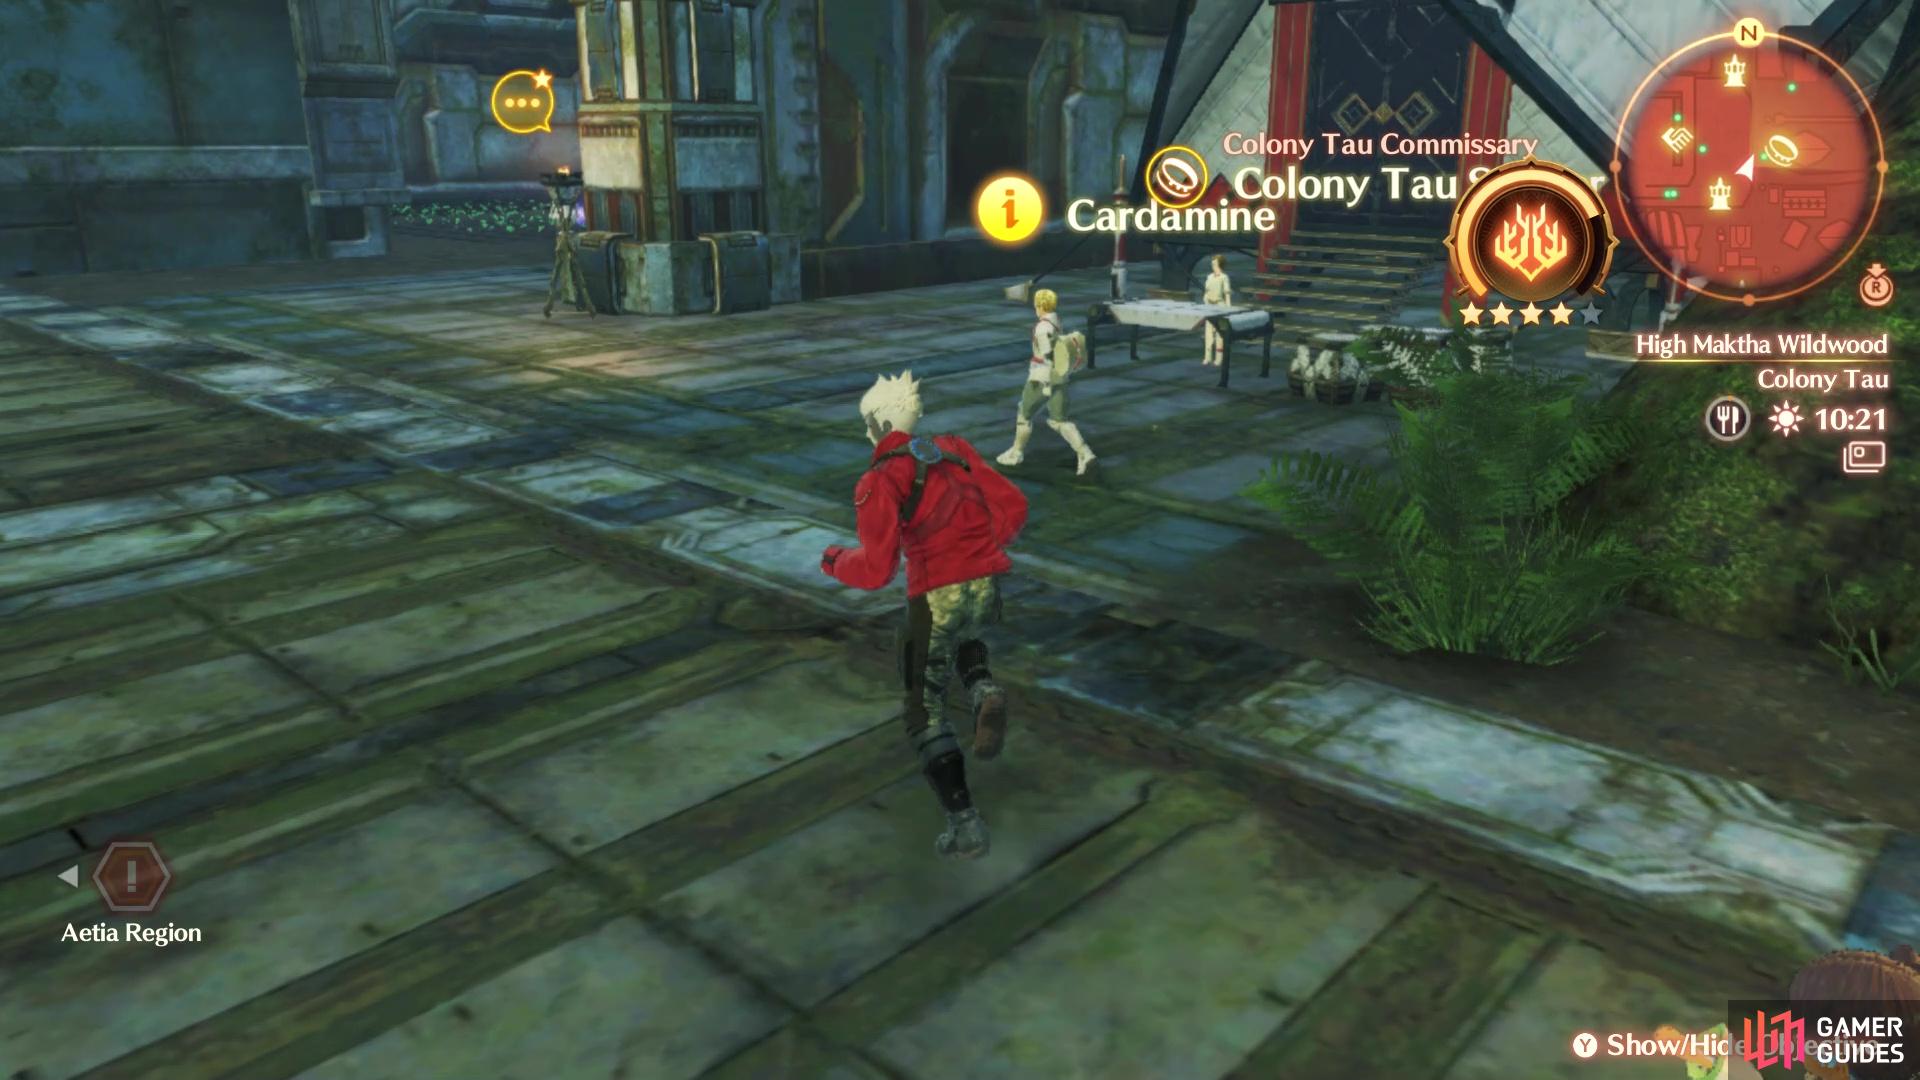
Cardamine will have one of your pieces of Info
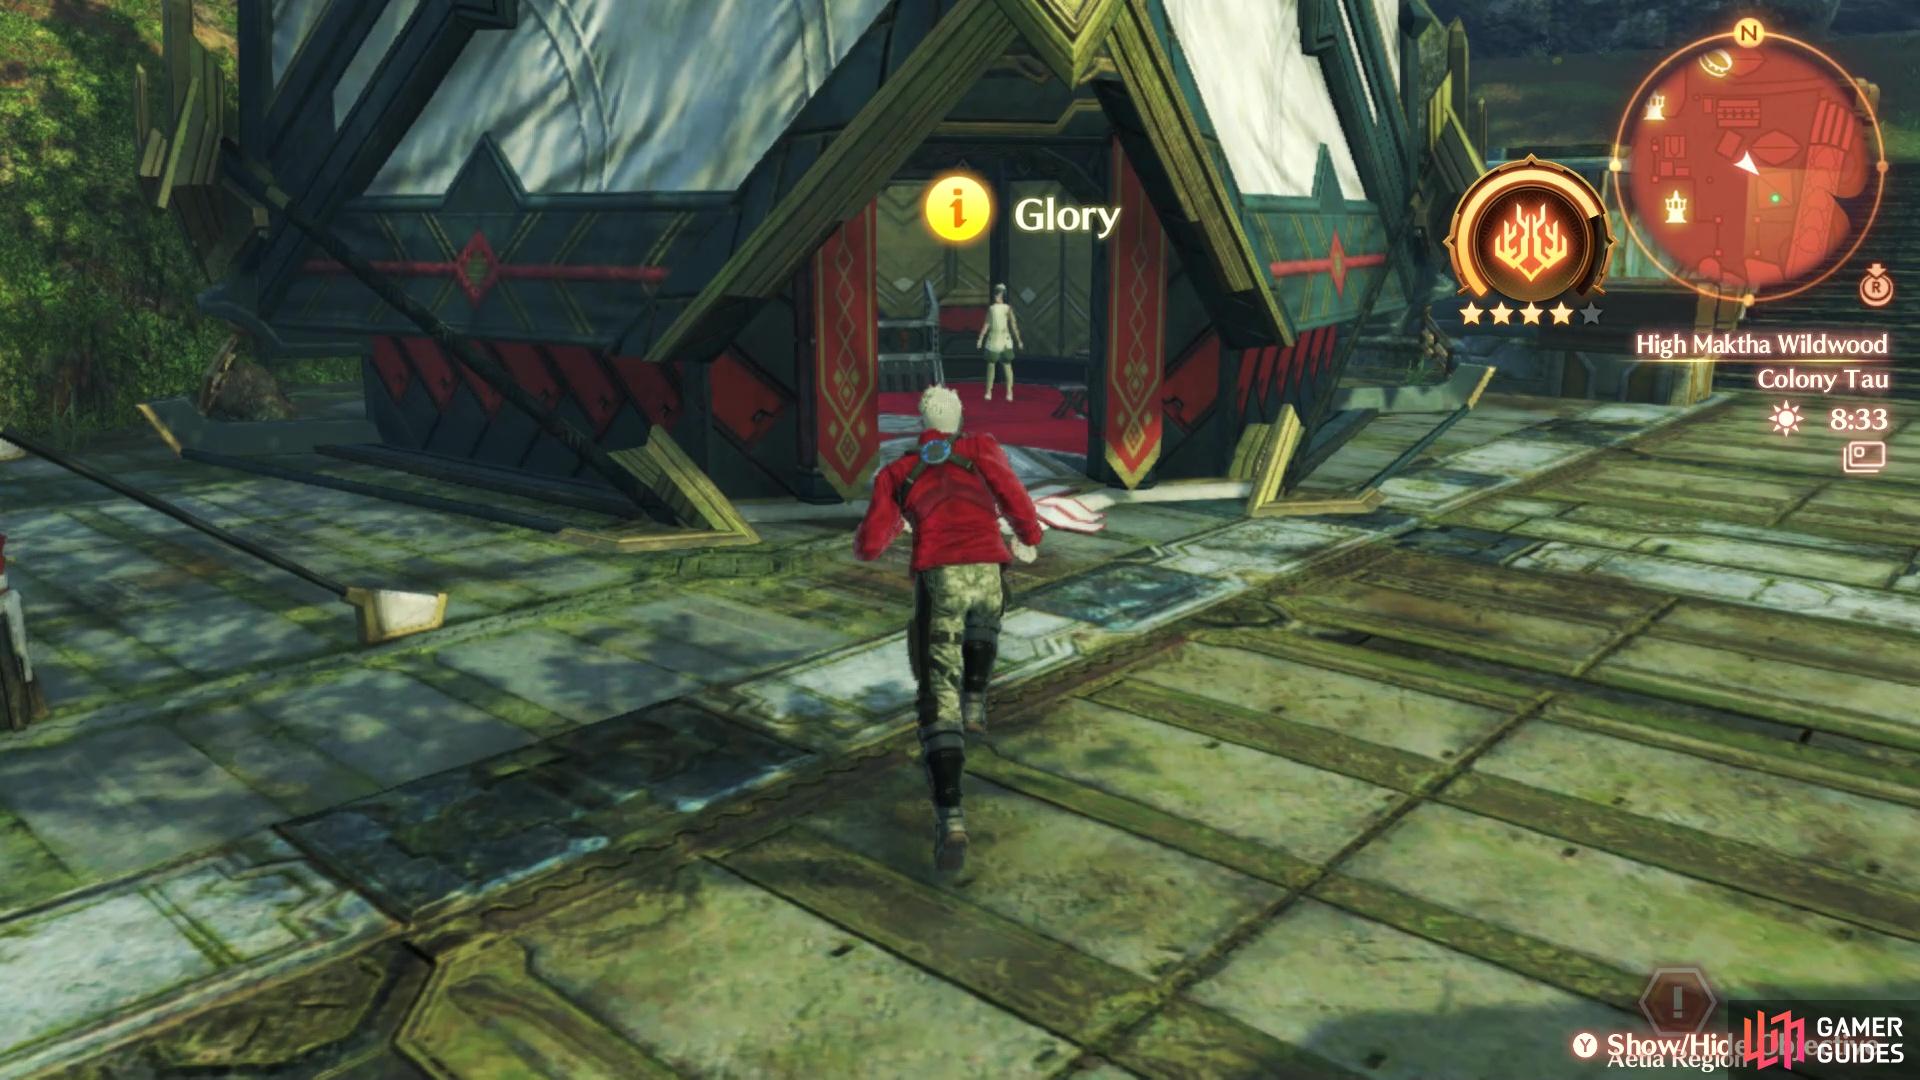
Glory will have the other
At the end of the Water of Rhonnar quest, you received The Returned Info Fragment. It’s unclear if this is needed to start this quest or not, but discuss it at a rest spot, just in case. Go around Tau now and look for two people with Info bubbles, one of which will be Cardamine and the other being Glory. You will receive the Raine Info, so discuss it to begin the quest.
How to Complete The Hunt of Plenty Standard Quest
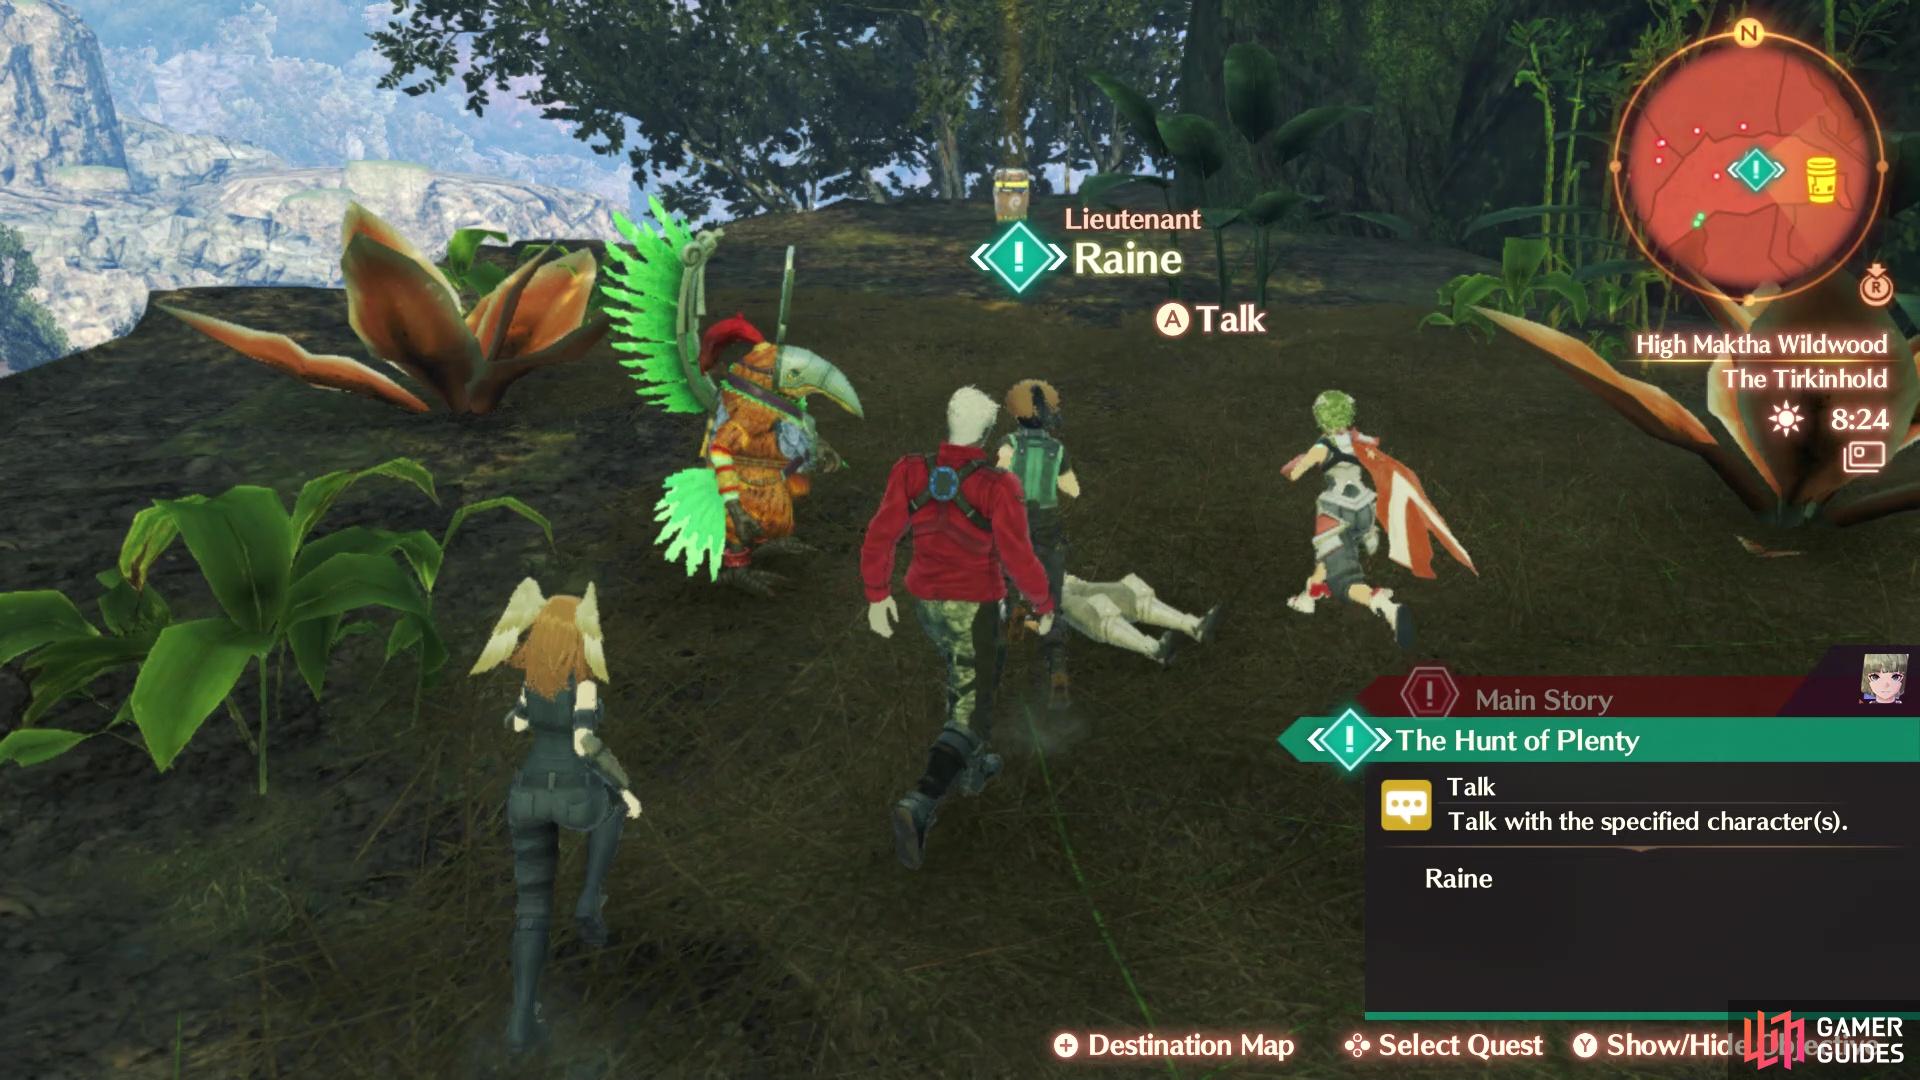
Colony Tau is deep with its traditions, and the Hunt of Plenty is one of them. Of course, there is no reason to do this anymore, and everyone is worried that Raine still seems deadset on doing it. You will need to speak with Raine, who will be standing right outside of the main gate. Of course, he’s stubborn and will still continue the ritual, so he goes off without saying where he’s going. Speak with Nootka now, who mentions that Raine probably went to get that Ageshu meat, but she didn’t know he went alone.
You will be tasked with going after Raine now, who went to the Lower Maktha Wildwood. If you haven’t been there yet, then go to the Sparkling Pool Camp and begin heading east, along the wooden walkway there. When you reach the climbable wall guarded by some Tirkins, ignore it and continue following the ground path. This will eventually take you to Lower Maktha Wildwood, which is filled with level 70+ enemies, so you will need to be extremely careful. This area is filled with a bunch of poison pools, which will slowly drain your health if you’re on them.
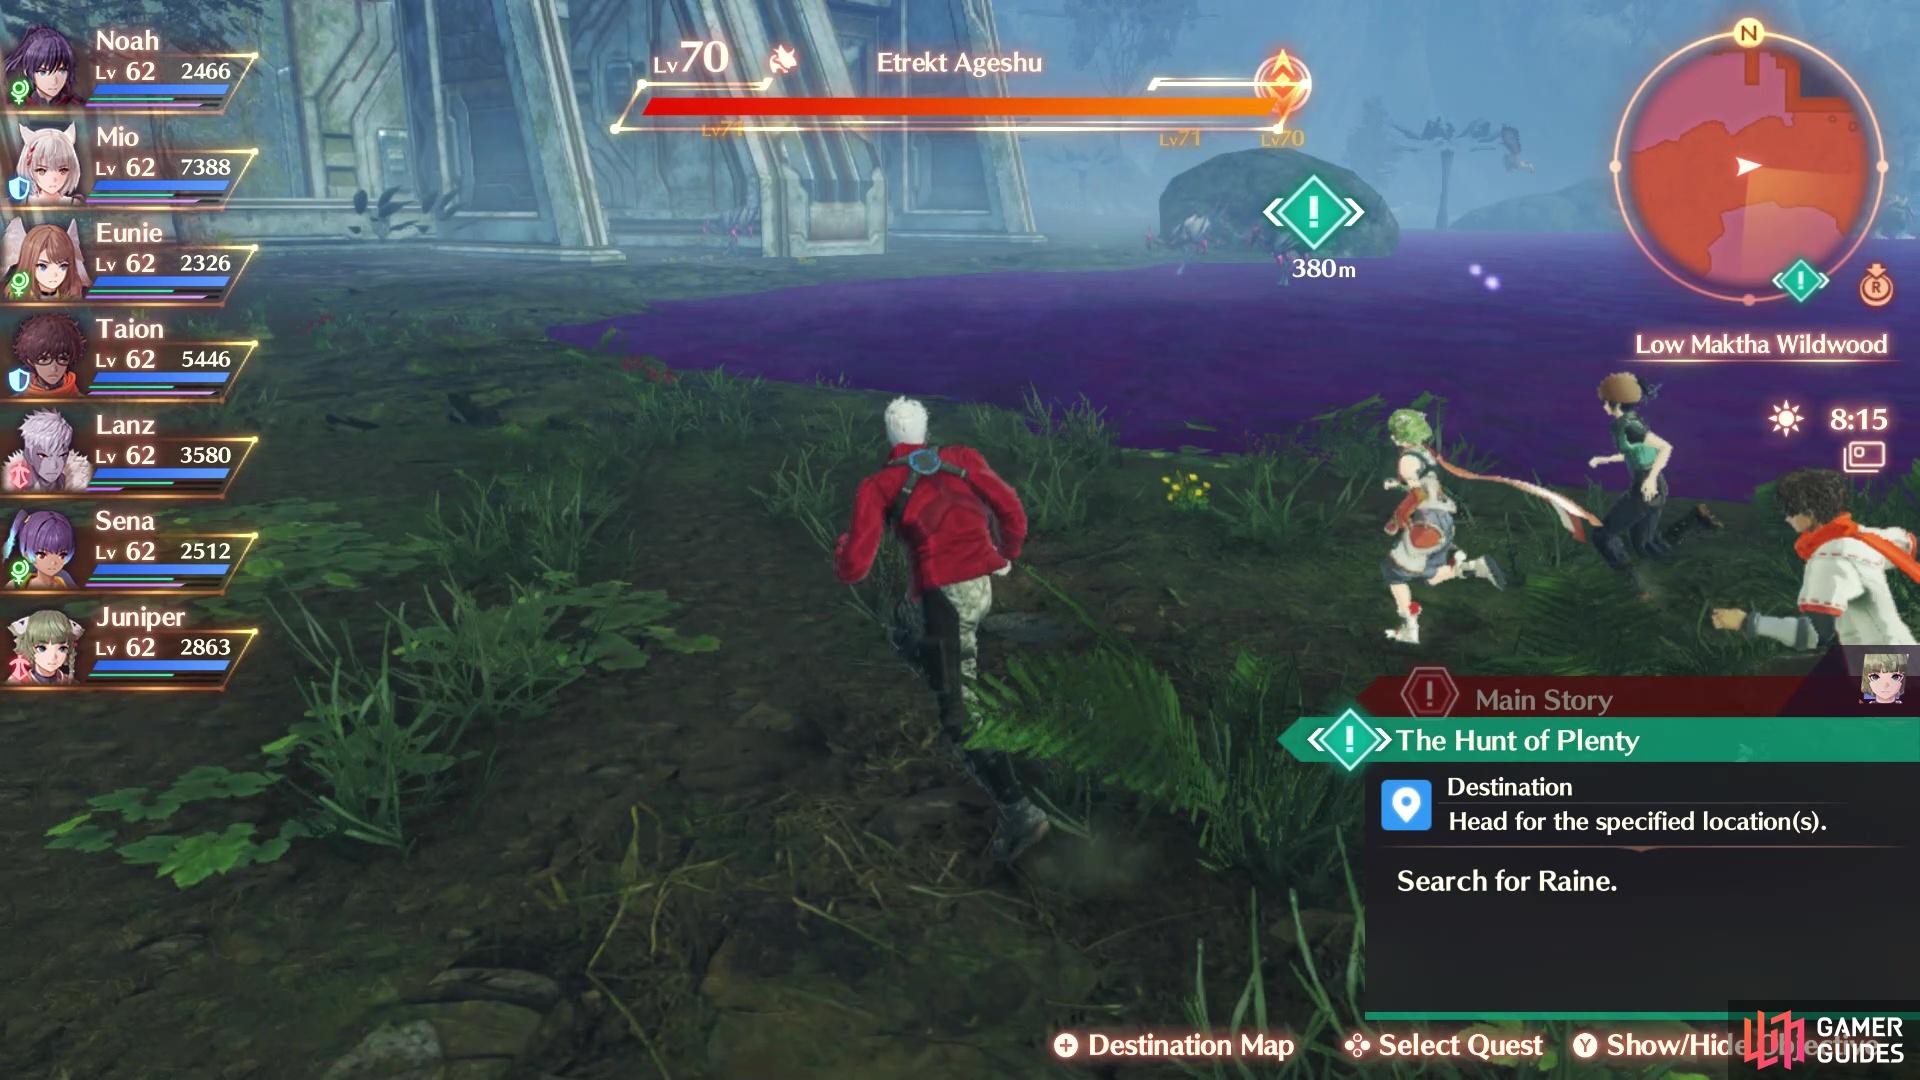
The enemies in Lower Maktha are 70+
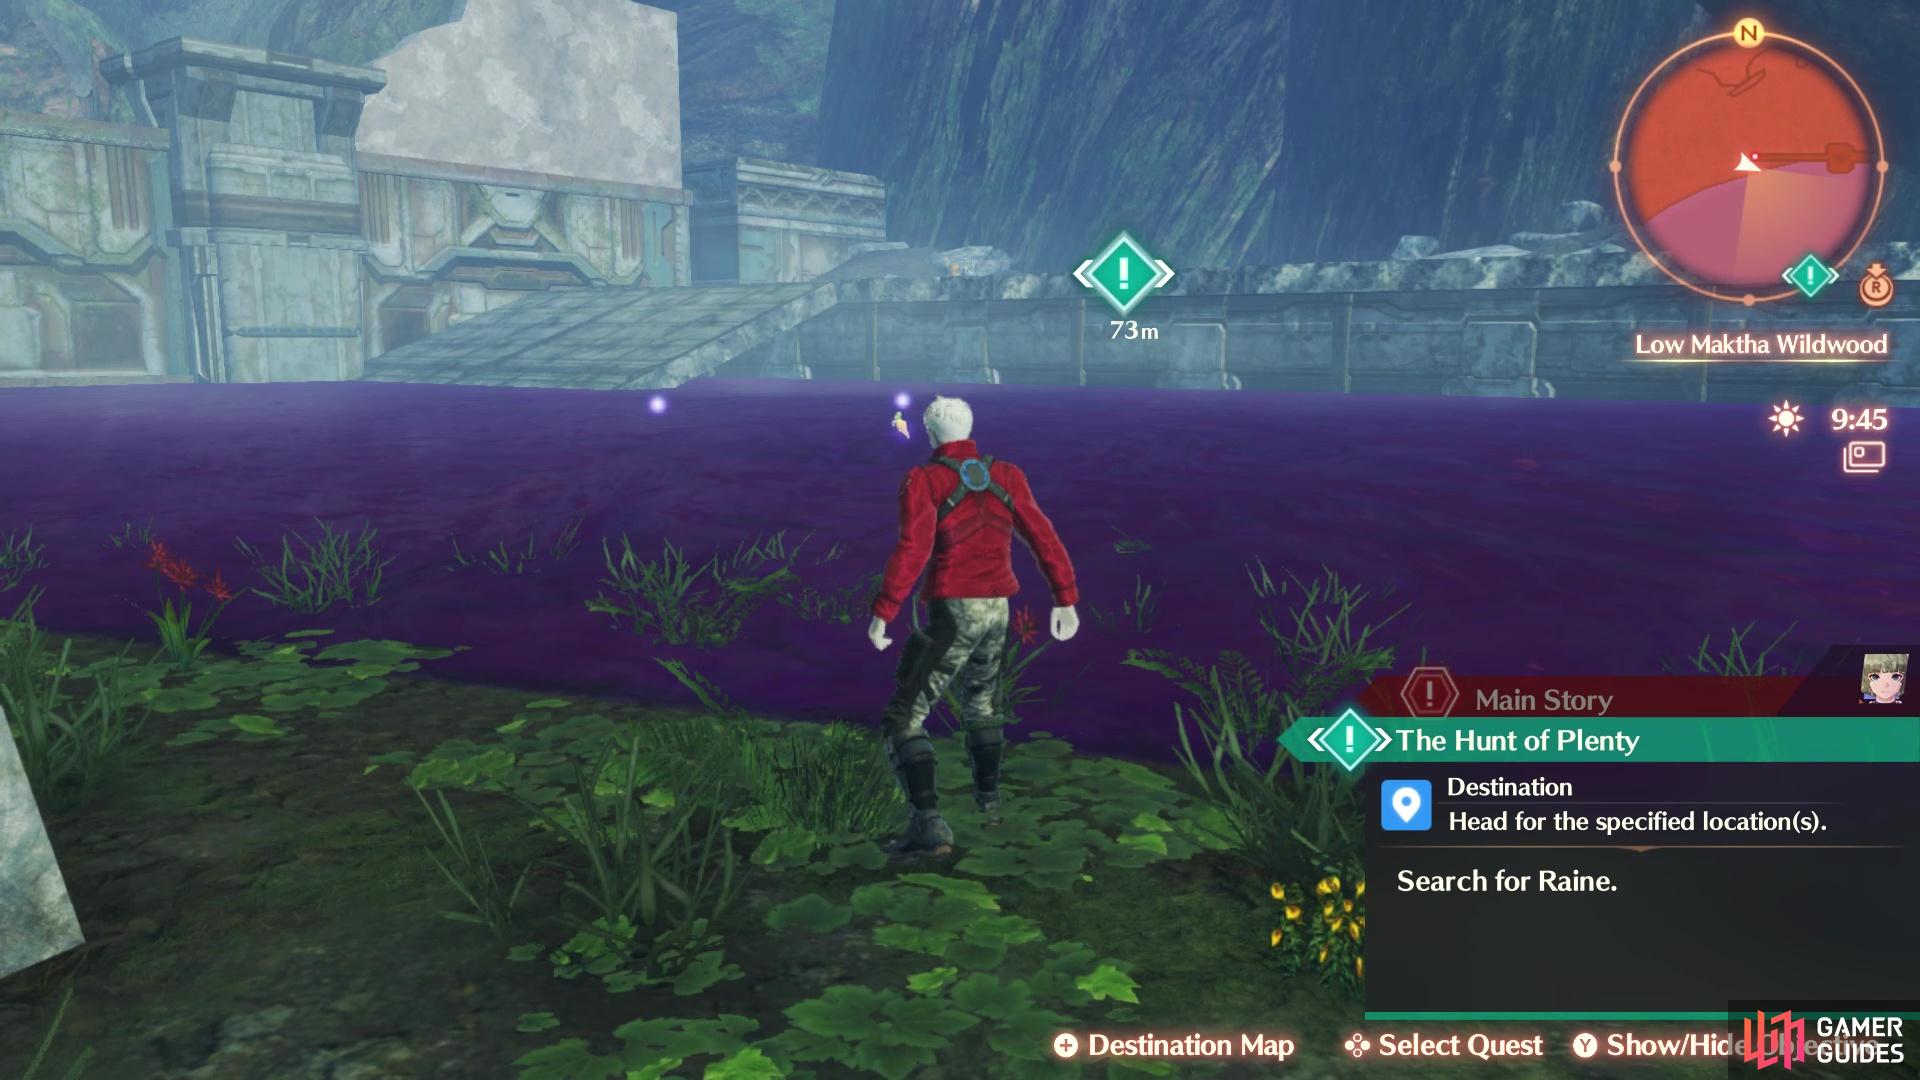
You will have to cross this poison pool to reach your destination
If you’ve done Segiri’s Hero Quest, then you should have her Traversal Skill, allowing you to safely walk on the poison pools. This makes it easier to do this quest, but it’s not required, so don’t worry if you haven’t done it yet. As already mentioned, the enemies in Lower Maktha Wildwood are level 70+, so unless you’ve been doing a lot of grinding, you are likely outmatched and should avoid them at all costs. Follow the only path until you reach the large dragon, where the path will split a few ways. Keep heading south and you will be presented with a poison pool.
Stopping at the shoreline, look for the ramp on the other side of the poison pool and hop your way across to it. You will find Raine just up the ramp, except Raine isn’t exactly there. You will find some Tirkins there, who mention that they rescued him and brought him to the Tirking to heal his wounds. Note that if you decided to go against the Tirkins in the Tau-Tirkin Alliance quest, then you will need to rescue Raine in the next spot. It’s not exactly clear if you have to fight any Tirkins in Lower Maktha or not.
Raine will be right by the Tirking
Either way, you will need to reach the Tirking, who is in normal Maktha Wildwood. From the Sparkling Pool Camp, go in the same direction as if you were going to Lower Maktha, but climb the vine being guarded by some Tirkins. If you follow the path up here, you should see another vine to climb, which leads to The Tirkinhold. Speak to Raine up here (assuming the Tirkins aren’t hostile) for one final scene.
| EXP | Gold | SP | Rewards |
|---|---|---|---|
| 4780 | 4330 | 3 | – |
No Comments