
It’s safe to say there’s a massive amount of depth to Bravely Default, due in part to the complex battle system. As you get to grips with the game, here are some helpful tips that will make your experience more enjoyable.
1. Connect Online
If you’re reading this guide, you must have the Internet, right?

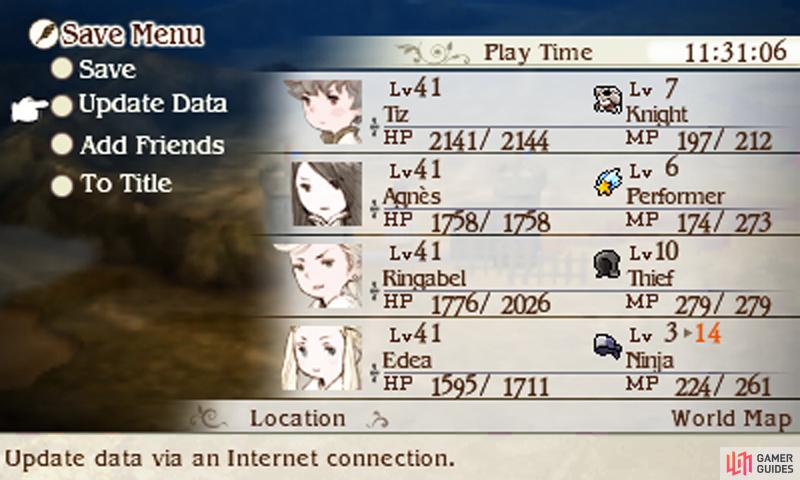
This game includes many incentives to connect your 3DS or 2DS to the internet. Early on, you can access the online functions through the save menu–accessible by speaking to the red-suited Adventurer or from the world map.
Choose the Add Friends option and the game will automatically comb your 3DS or 2DS friend list, adding all of your friends (up to 20) who have played Bravely Default. Having friends is ace because you can borrow any of their learned abilities via Abilink, under “Tactics” in the main menu, which is useful if they’re further ahead than you.
Additionally, when you’re in a pinch or need a helping hand, you can summon your friend into battle to perform their most recent move, which again is great if they’re ahead. Secondly, choose Update Data and you will download guests from across the globe and nemeses (optional bosses) for Norende village.
Guests can be summoned like friends, but you can’t use Abilink with them. However, for each guest you will receive a resident for Norende village–perfect for rebuilding the village if you lack StreetPass tags. Note that you can only update data every 24 hours.
2. Play How You Want
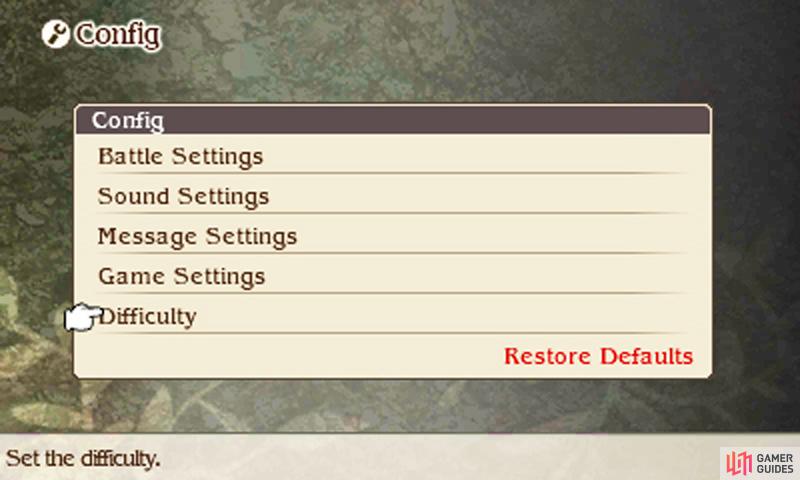
Go to “Tactics” in the main menu, then go down to “Config” and “Difficulty” to adjust these settings.
You’ll be informed at the beginning that you can adjust the game’s difficulty and encounter rate at any time (provided you’re not in a battle or cut-scene). We can’t emphasize enough how useful this ability is. Difficulty is easy to explain–if you’re struggling and not finding the game fun, don’t be ashamed to lower the difficulty.
When you start getting the hang of things, you can always up the difficulty later. Similarly, if the game is proving unchallenging, maybe it’s time to raise the bar to “Hard”. Some gamers may refrain from touching the difficulty because of missing in-game accomplishments or other negative effects. In this game, there are none, so don’t worry.
However, as the game often warns you during the startup screen, if you always play on the easiest setting, you may never learn. As a general rule of thumb, we recommend playing on Normal difficulty at least, since that’s the setting the game was meant to be played–but at the end of the day, you’re the boss!
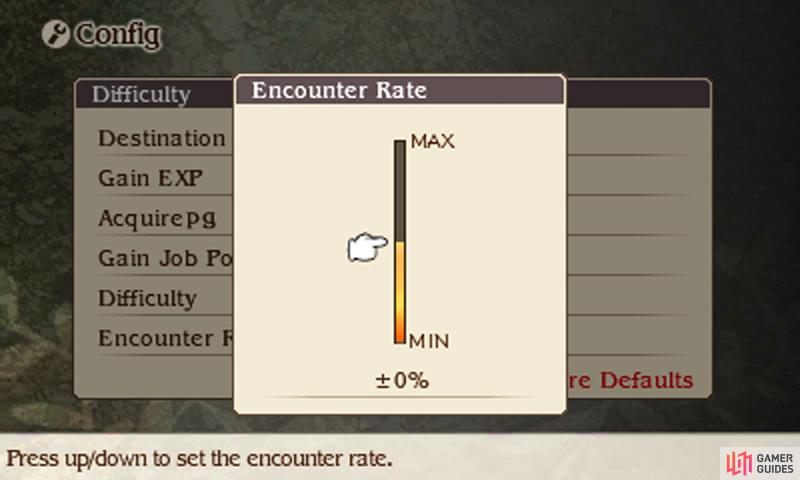
Encounter rate can be set between +100% (double encounters) and -100% (no encounters). No encounters is useful for backtracking, when you don’t want to be interrupted–or when your party is in serious need of care and you’re desperate for the nearest inn.
Don’t hesitate to disable encounters at all, if it’s more convenient. Just be wary that going for long periods with no encounters–fun as it may be–could lead to your characters being underleveled (which isn’t an issue if you’re just backtracking). Meanwhile, double encounters is useful for speeding up grinding.
3. Know Your Stats
It’s also smart to re-evaluate your gear after swapping jobs, as your weapon proficiency and stats change.
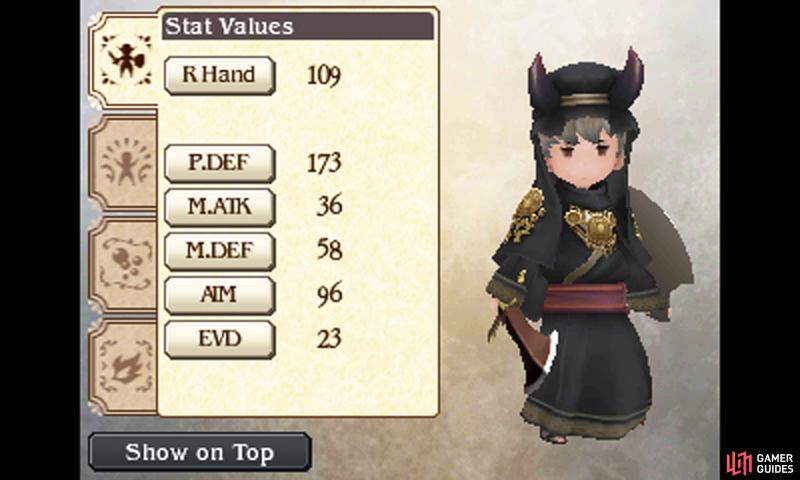
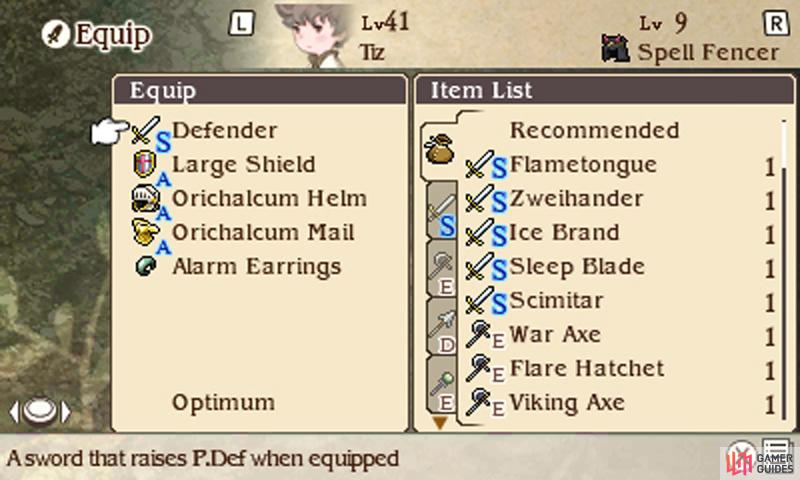
There’s a lot of number-crunching in this game and you might get bogged down by all the stats at the beginning. As a shortcut, you can let the game choose for you by picking the “Recommended” option when selecting a piece of equipment or even “Optimum” near the bottom to let the game choose your entire gear.
Generally speaking, the game is very good at choosing your gear; for weapons, it will prioritize attack for physical characters and magic for magical characters, while for armor it’s all about defense. So don’t worry about the game dealing you with a terrible hand.
However, if you want an edge in battle, it helps to learn the stats. Did you know you can touch the name of a stat on the bottom screen to give a brief description of what the stat does? For example, EVD (Evade) is the ability to dodge enemy hits, as well as reduce the number of hits in an attack.
So while focusing on attack, magic and defense are great, don’t overlook slightly lesser equipment that give big boosts in other areas–White Mages would love any equipment with Mind boosts for better healing, while Agility is always good for getting an attack before the enemy.
4. Auto-Battle
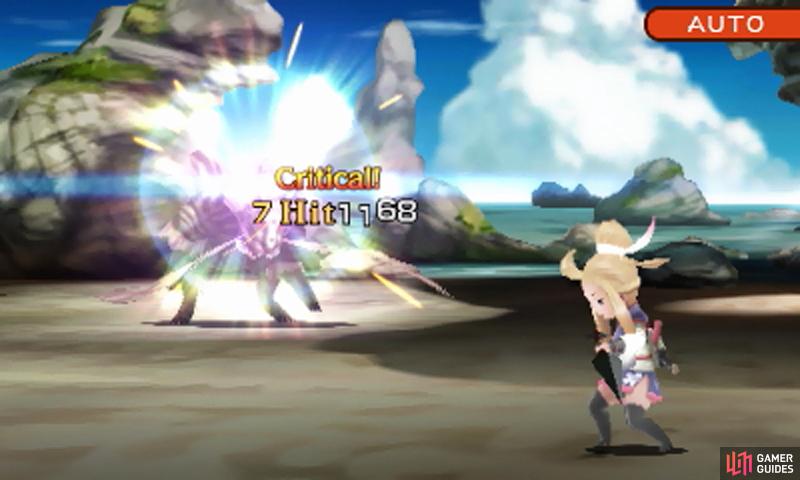
Once you’ve become suitably powerful, you can switch to Auto-Battle to speed things up.
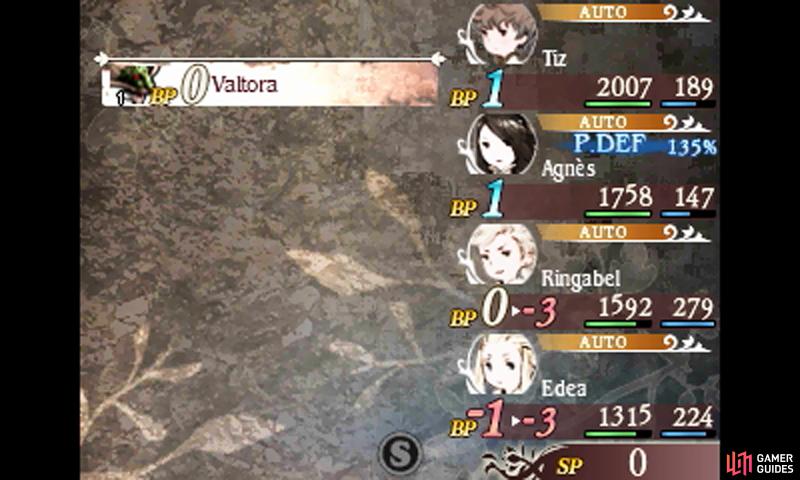
Sneakily, the game doesn’t really go out to great lengths to teach you about this convenient feature. In battle, press the Y button at any time during your turn to activate Auto-Battle; until you press Y again, your characters will repeat the last commands you selected for them.
Even better; Auto-Battle lasts after the battle and through to the next one. So if you can normally blitz through mobs by Braving three times on everyone, you can save yourself the hassle of inputting the same commands again and again by just enabling Auto-Battle.
By the way, Auto-Battle paired with 4x battle speed is great for speeding up grinding. Of course, Auto-Battle isn’t recommended when you’re facing tough mobs or against bosses, where repeating the same commands can be suicidal (not to say you can’t beat bosses with Auto-Battle…).
Even so, you can still use Auto-Battle momentarily to save time–for example, if your fourth character always uses the same moves (like healing the party), you can enable it after choosing commands for the third character. A fair warning: Auto-Battle can make you a lazy player if you’re not careful.
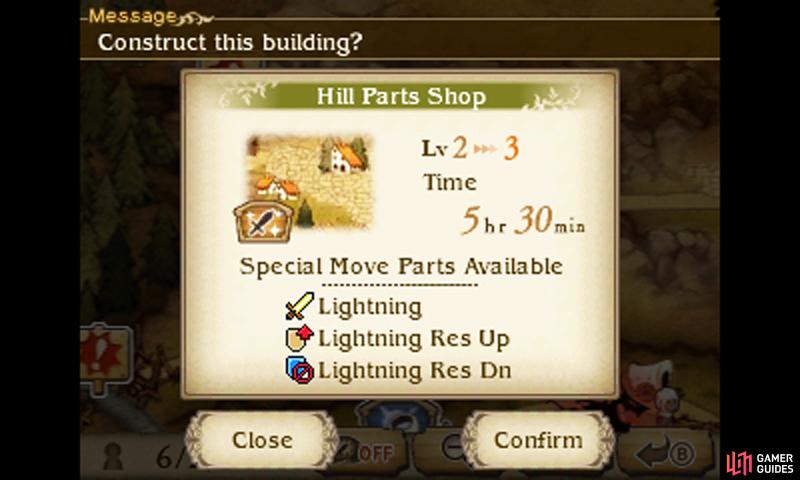
5. Get Village Constructing
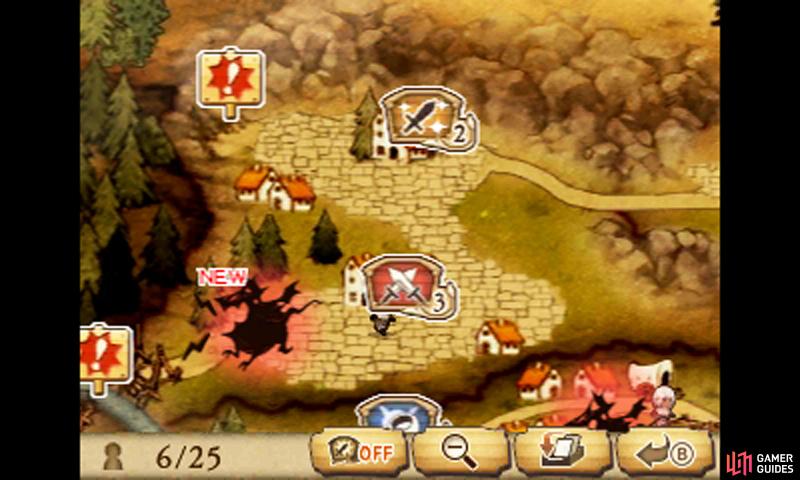
It’s a minor hassle rebuilding a village from scratch, but–hey–you’re not getting YOUR hands dirty at least!
There can be a tendency for some people to focus on the main game and neglect the optional content, such as the online features and, on this note, the reconstruction of Norende Village. There’s little excuse to ignore Norende, since the game blatantly thrusts this task at you near the beginning.
Plus, you’ll be presumably spending a lot of time playing this game, so you might as well drop some workers on projects, to make the best use of time. Leaving your 3DS or 2DS in sleep mode allows you to build up SP at the same time, so you can kill two birds in one stone.
Getting Norende built up is great for your ego, but the more important thing is that it opens up a variety of useful weapons and items for sale–depending on your success with StreetPass or updating data, you can easily grab some kit more powerful than those in current shops.
Norende is also the only place where you can obtain Special Moves beyond the first–these are insanely useful for felling tough foes. Finally, you will receive some free samples (potions, for instance) from shops at intervals–and who can say “no” to free stuff?
No Comments