
Eisenberg needs YOU to bring an end to the civil war, again. To get started, visit Commander Goodman at Eisen Bridge, so you can be granted access to the town of Hartschild. During your asylum, head for the Hartschild armory to find a shiny new Gladius being sold for 24,000 pg.
Following the original order of battles, you’ll need to seek the ghost ship in the Sea of Corsairs, where Captain Barbarossa fruitlessly searches the waters in his dear friend’s place. To begin this task, you must first awaken the Water Crystal in the Florem Region, so the seas return to normal.
Next, enter the House by the Sea at the eastern edge of Eisenberg to learn of the ghost ship’s existance. Like earlier, the ship can be found in the waters around Grandship (the water-bound one), within the bank of fog by the north, south-west or south-east (try the north first).
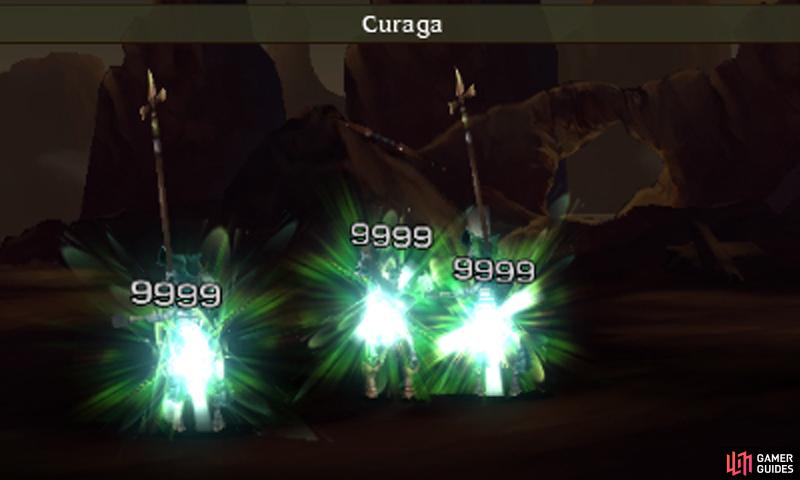
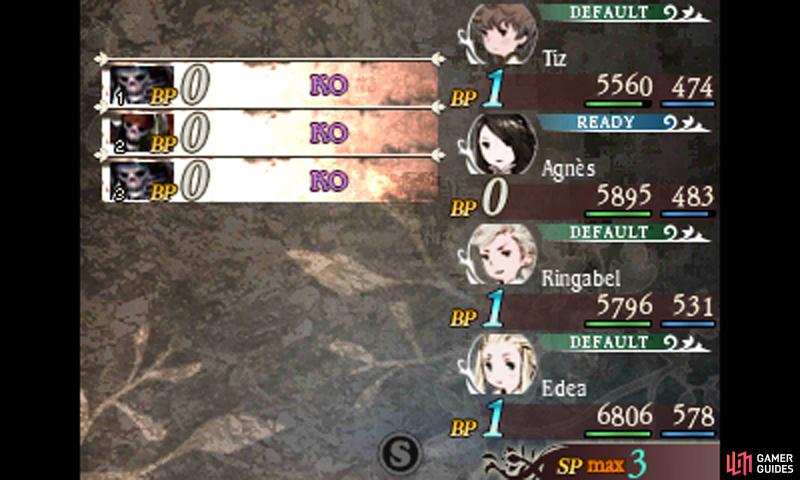
In case you missed it, you can heal enemies by going to “Enemy List” when choosing a target to heal.
Boss: Captain Barbarossa
| Level | HP | Weak to |
|---|---|---|
| 48 | 90,000 | Lightning |
Have you been finding the rematches simple enough up to now? Well, Barbarossa is ready to put a dent in your smooth sailing. Like in the first battle, the Captain uses Defang to drop a character’s attack and Shell Split to lower their defense. Where he becomes dangerous is when he Braves to use Shell Split followed by Double Damage.
Even with your enhanced abilities, don’t get cocky and underestimate Barbarossa’s prowess; be sure to Default every now and then to weather Captain B’s heavy hits. This will become especially important when Barbarossa’s HP drops and he Braves twice for an extra serving of Double Damage.
The Ninja‘s Utsusemi and Templar‘s Rampart are great for surviving one hit, but it’s possible the same character will get hit twice, for fatal damage. If desperate, you can combine Utsusemi and Rampart and use Kairai to focus Barbarossa’s attacks on your twice-protected Ninja. Have a Salve-maker ready to resuscitate anyone who faints.
Ready for an encore performance? If so, speak to good old Goodman at Eisen Bridge and choose the “Let’s take care of that” option to confront Praline. Fortunately, now that you know the trick to silencing the diva, you don’t have to sail around most of the world–instead, the gang are immediately ready to hold their own Shieldbearer concert.
Boss: Praline a la Mode
| Level | HP | Weak to |
|---|---|---|
| 48 | 80,000 | Nothing |
Praline could be quite annoying to defeat the first time and she’s no pushover the second time either. The diva uses Love Power to boost her party’s Physical Attack and One More For You to give 1 BP to an ally. She’s also protected by two loyal Black Blades and she’ll summon more on her next available turn if you defeat both.
Before hitting the stage, equip your characters with Peace Rings or the Swordmaster’s Confuse Immunity to stop the Black Blade bodyguard from confusing your characters and disrupting your performance. For an easier time, use the Vampire’s Sandstorm to blind the two bodyguards and then leave them alive.
Also, remove Transience from your Ninja and bench your Swordmasters so you don’t kill a grunt with a counter. With this setup, the bodyguards’ attacks will be crippled and you don’t have to put up with Praline continuously summoning replacements.
Now that the grunts are flailing around, you can whack Praline with your powerful single-targeting moves. If Praline’s baton is getting to you, drop her attack with the Pirate‘s Defang or Vampire’s Curse. If you missed Sandstorm, just use the Vampire’s Firestorm or other powerful group-hitting attacks to stave off the grunts.
Anyway, there certainly aren’t a shortage of officers in these parts. Next up, time to deal with everyone’s “favorite” Salve-maker, who’s concocting vile plots at the end of Starkfort’s west path.
Boss: Qada
| Level | HP | Weak to |
|---|---|---|
| 48 | 60,000 | Nothing |
We hope Qada didn’t trouble you last time–even if he did, you’ve got plenty of ways to stop him this time. Like last time, equip your party with Star Pendants before going in, to avoid getting inflicted by his Potion Hi-Potions. Without the poison damage to worry about, you can laugh as Potion Hi-Potions do a feeble 1000 damage.
Whatever you do, don’t let Qada get the last laugh and watch out for the other tricks hidden up his sleeve. Water of Life, which slowly restores Qada’s HP, can be removed with the White Mage‘s Dispel. Dark Breath is what likely caused problems last time, dealing damage equal to Qada’s missing HP
Very soon, Dark Breath will do 9999 damage–a guaranteed K.O. Wait for Qada to Default, which means he’ll use Dark Breath and another move on the next turn. Then cast Rampart to shield your party from his foul breath or use Kairai to direct Dark Breath to a Ninja with Utsusemi. If anyone perishes, have your own Salve-maker bring them back.
After disposing of Qada, head for the War Room at the top floor of Starkfort to meet with his superior–Kamiizumi, the Black Blade’s commander.
Boss: Nobutsuna Kamiizumi
| Level | HP | Weak to |
|---|---|---|
| 48 | 80,000 | Nothing |
The Swordmaster hasn’t strayed from the path of the sword and fights exactly the same as before. He will use Nothing Ventured to counter physical attacks, Before Swine to retaliate against magic and Know Thine Enemy to unleash his fury on a chosen target who foolishly attacks him.
Like in the first bout, fighting him is a mind game, as you try to guess what move he’s going to use. If you don’t mind going slow, you can use Utsusemi or Rampart before unleashing a move–if Kamiizumi counters, he’ll simply miss his mark and your character will remain unscathed.
Alternatively, you could try your luck and have one character rain attacks on a single turn. If you’re lucky, Kamiizumi will choose the wrong counter and you’ll dish out impressive damage. Whereas if your character eats a counter attack and dies, then fair game.
On the turn after somebody is KO’d, Kamiizumi will Brave twice to unleash three attacks. Default (paired with the Templar’s Default Guard if necessary) to weather his storm, then bring back your fallen comrade with a Salve-maker’s compounds or White Mage with Arise and unleash your own fury on the defenseless Swordmaster.
Murder mysteries aren’t quite as compelling the second time.
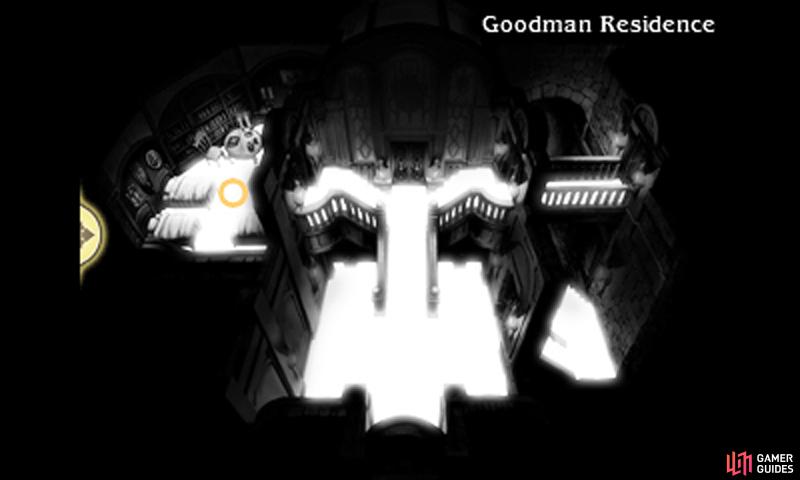
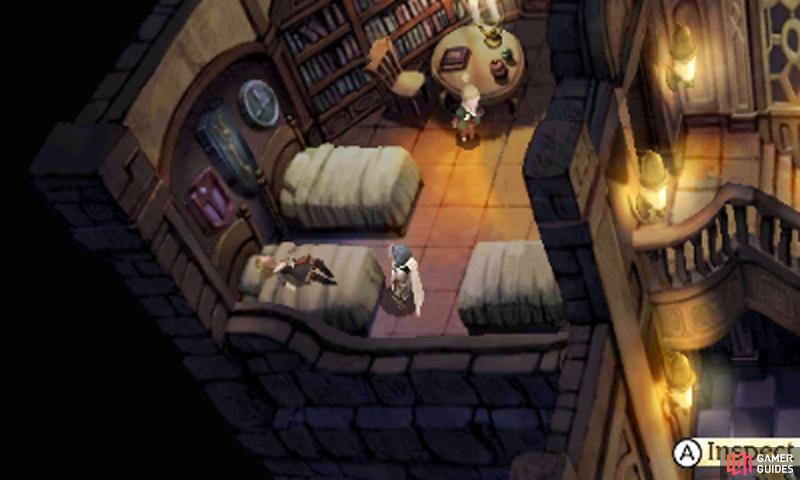
Even with the commander out of commission, one more task remains. When you have time, visit the Goodman’s residence and say “hi” to Eleanor. Next time you visit the residence, you’ll relive the murder mystery involving the Goodmans, their servant and the two Shieldbearer officers.
If you solved the mystery the first time, the gang will use their foreknowledge to unmask the perpetrator near the very beginning, saving you much time and hassle.
Boss: Konoe Kikyo
| Level | HP | Weak to |
|---|---|---|
| 48 | 80,000 | Nothing |
Exposing the Ninja is the easy part, it’s figuring out how to deal with her that’s tricky. Like last time, she loves to use Shippujinrai to attack at the start of the turn, easily taking out your low HP characters. She will occasionally Default once and later dish out two lots of Shippujinrai to really rub in the pain.
Sometimes Kikyo will forgo Defaulting and use Shippujinrai twice, leaving her immobile. Either way, Default with the Templar’s Default Guard for optimum protection against her attacks. When you have a chance, use the Ninja’s Utsusemi or the Templar’s Rampart to put up protection so you can start attacking.
Just be warned that Kikyo is FAST with her 80 speed so expect her to act first even she doesn’t use Shippujinrai. Characters with high defense definitely wouldn’t go amiss here! Like previously, a high defense Knight (or Templar) can hold their ground and use Protect Ally to take hits for their injured companions.
When the Ninja’s not hounding you with attacks, she’ll use Utsusemi to evade one physical hit–and follow through with a Transience counter. Use your own Ninja with Utsusemi or somebody with Rampart to pre-empt her and remove Utsusemi. Magic is also good, but don’t use sword magic while Utsusemi is up, as it still counts as a physical hit.
Kamiizumi will only show up after the fire crystal is awakened, which can only be done after the vestal garb is repaired.
Kamiizumi will only show up after the fire crystal is awakened, which can only be done after the vestal garb is repaired.