
If you’re still training your jobs, head back to the world map to grind because the Dark Aurora is far from an ideal training spot.
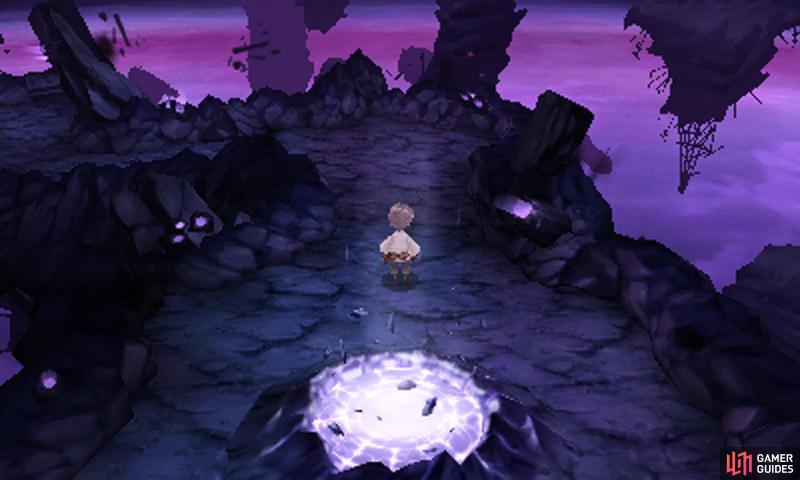
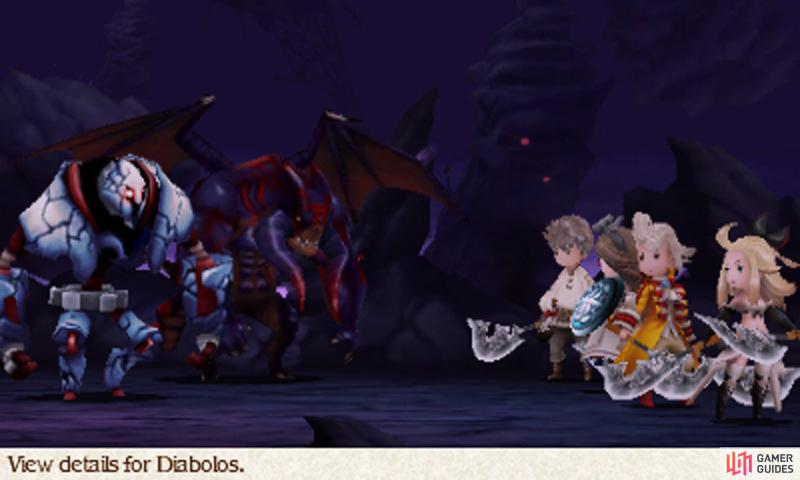
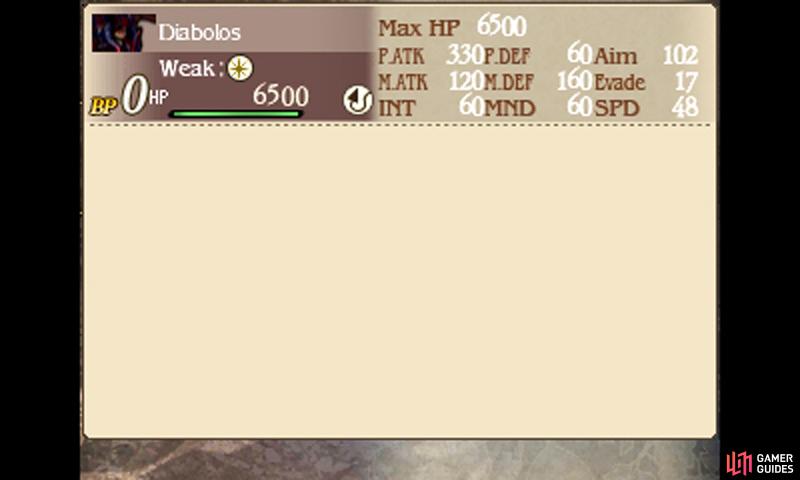
The final reckoning draws near, as our heroes enter the otherworldly Dark Aurora to sever the evil at its source. Needless to say, now is the time to bring out all your big guns–in other words, your best jobs, abilities and equipment.
Floors 1 to 3

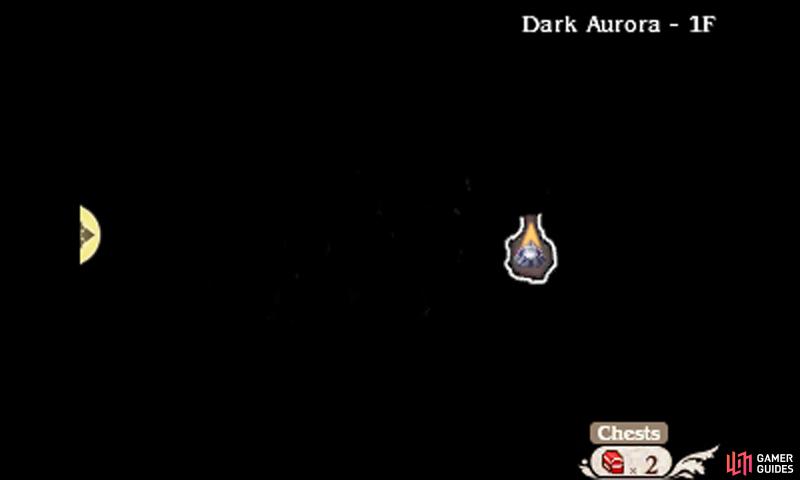
From the entrance, start by heading left. Before turning the corner, open the chest containing a Safety Ring. Keep going along the path until you reach another magic circle. Before entering, carry on left for a chest with a potent Megalixir (fully heals your party’s HP and MP). Then go backwards and jump into the magic circle, which leads to the next area.

On the aurora’s 2nd floor, begin by heading up; when the path splits, take either route as the path will soon loop around. As you come below the magic circle, on the opposite side, the path splits again. Go down to be greeted by a number of possible routes; following the other path will lead you back to the magic circle whence you came.
At the intersection, you will find chests tucked away in the corners to the far left (Lamia’s Tiara), far right (Life Ring) and bottom-left (Black Belt) of the map. Meanwhile to locate the exit, head in a southerly direction, via either of the lower pathways; along the south of the map, turn into the junction for a new magic circle to the next area.
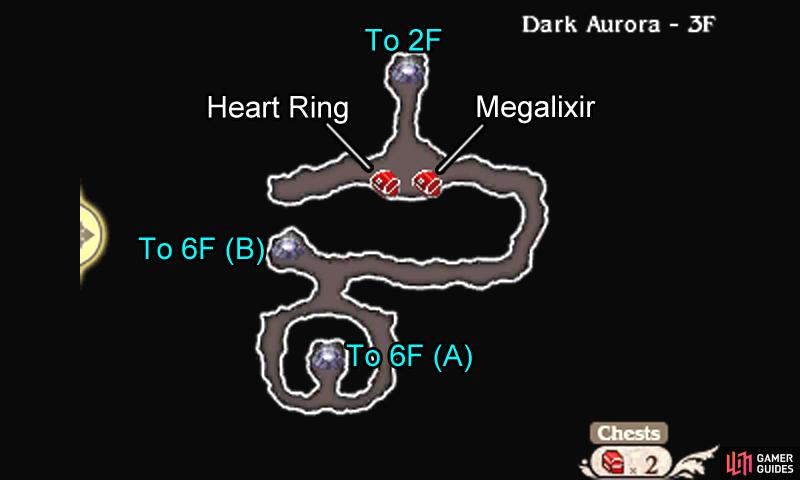
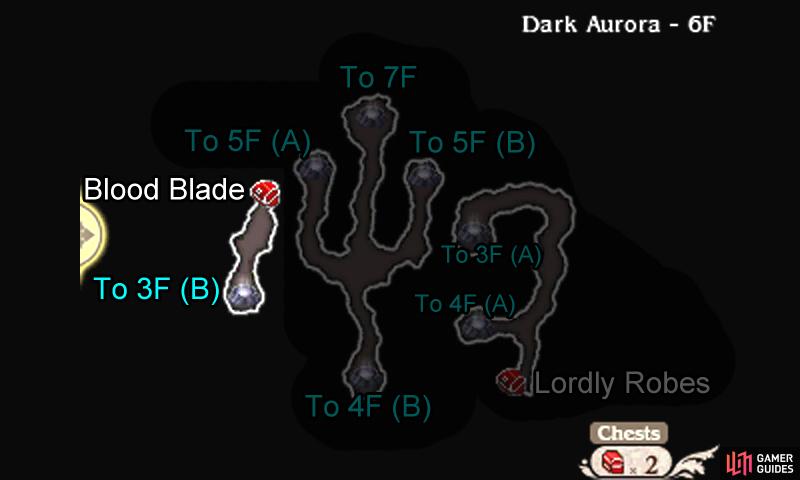
You’ll begin the 3rd floor near the north; first stroll down for a double dosage of chests, which contain a Heart Ring and Megalixir. From the chests, follow the auroral path clock-wise until you reach a junction not far from the bottom. Continue left to find a magic circle–step inside to be propelled to an isolated part of the 6th floor, where a chest with a Blood Blade awaits.
Back at the previous junction on the 3rd floor, go down to encounter another looping path; turn in along the south for another magic circle, which will transport your further ahead.
Floors 4 to 6

When you emerge again, you’ll be on the 6th floor–make no mistake; you’ve indeed skipped 2 floors! Follow the path around and southward to find a chest (or is a closet?) with a Lordly Robes (raises Mind; great for healers). Then reverse back a bit and turn left for the next available magic circle.
Be careful not to trip right before the end!

Now you’ll be on the 4th floor–one of the previously missing floors. Keep to the right initially to find a treasure chest with a shiny Gold Hairpin (reduces MP consumption). Next, follow the remaining path as it takes you on a roller-coaster ride. Towards the right side, the path sprays out; keep to the right for a chest with a Ribbon (negates many status ailments; essential!).
To exit this floor, continue northward and around from the broken path; at the end, another magic circle will entice you in.

On the other side, you’ll be back on the 6th floor, but by the south now. As you eagerly make your way up, the road ahead will fork; to begin with, head left and step into the magic circle in the corner.

On the 5th floor, head right for a chest with a legendary Aegis Shield (nullifies Dread); then follow the path as it goes around to the right. Along the way, prise open those chests to score yourself a Lilith’s Rod (near the center) and Brave Suit (right from center; gives you an extra 1 BP at the start of battle). At the far right, leap into the magic circle to reach uncharted territory.
You’ll re-materialize on the 6th floor, to the right of the central fork; now only one direction remains to explore–the path leading north. At the far end, hop into the magic circle to be whisked away deeper into the aurora still.
Floor 7+
Now how did the Adventurer get here before you? Was it when you were busy looting the chests or beating down the local monsters?
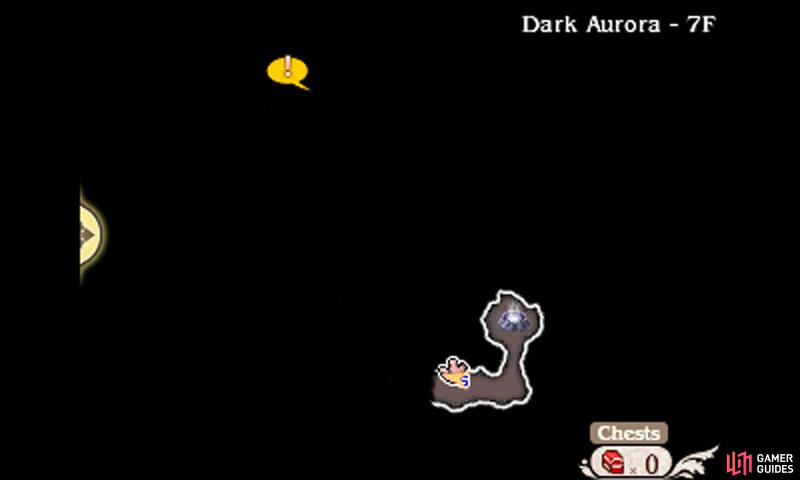
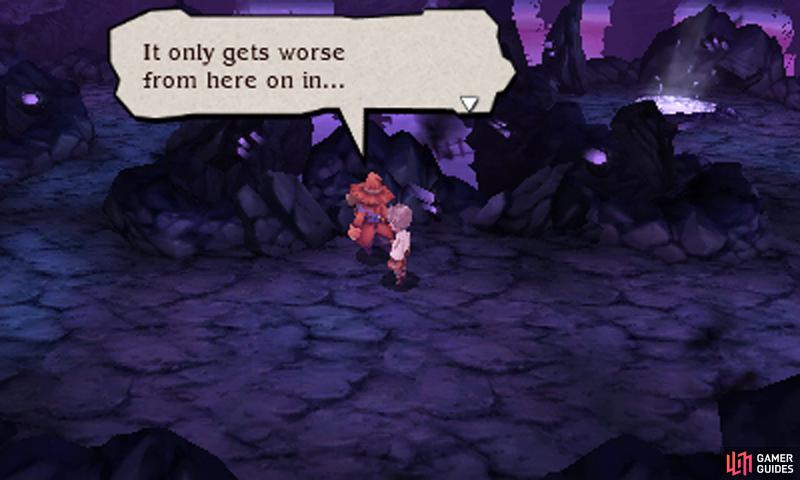
Finally, we come to the 7th floor, which is just an one-way road. Not far from the entrance, you’ll find the Adventurer chilling around as usual. Take this opportunity to save your game and check that your inventory has enough of the essential Phoenix Downs, Ethers and Potions.
As soon as you’re prepared, bid the Adventurer a teary farewell as you continue along the doomed path; at the far end, step into the magic circle to reach the final destination…
No Comments