
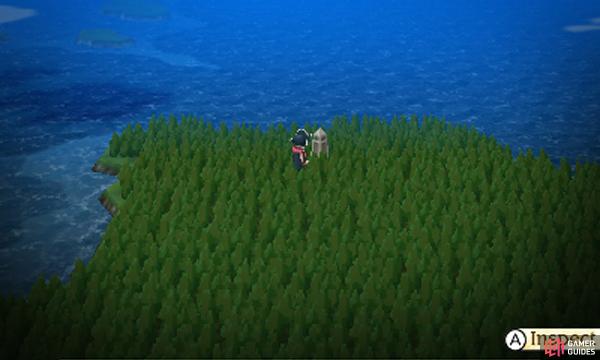
Once you’ve cleared Eternian Central Command and the path to Everlast Tower opens up, a sub-scenario will appear in the area west of Eternian Central Command. To reach this optional destination, you must travel a little ways south from Central Command and then follow the cold mountain trail due west.
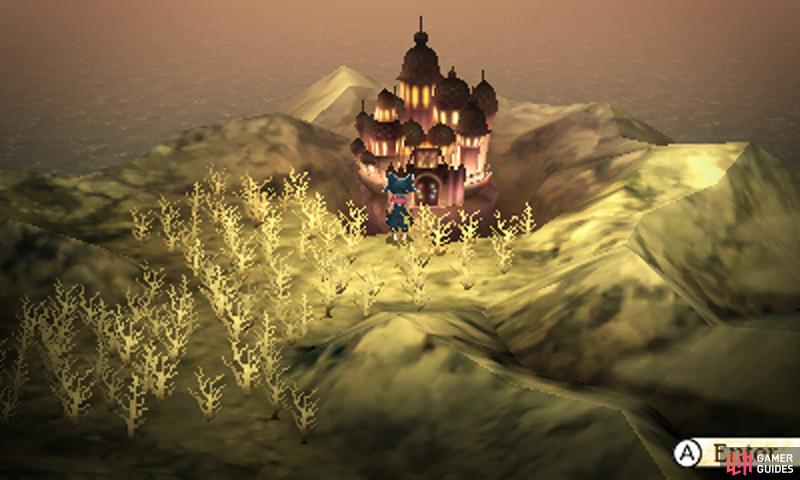
Annoyingly you can’t fly and land next to Vampire Castle due to the trees blocking the way.
At the end, you should stumble upon a withered forest and, in the corner, a giant foreboding castle–Vampire Castle. If you came here earlier, there wasn’t anything you can do; however this time DeRosso gives you a vague clue about how to unlock the castle door.
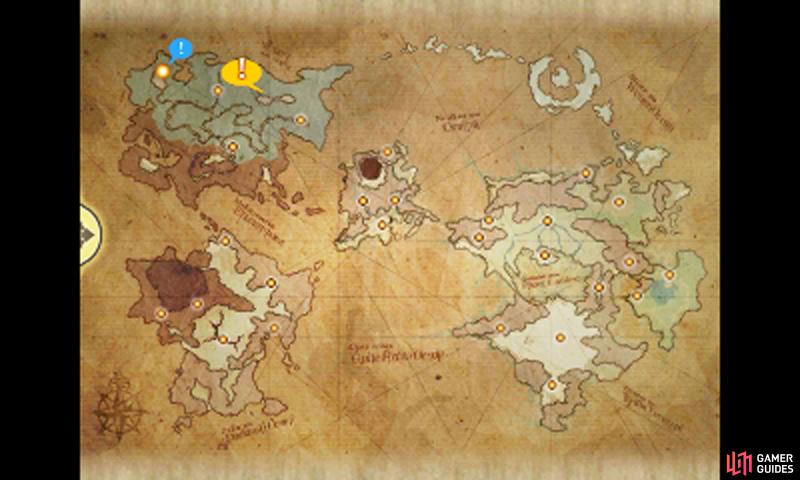
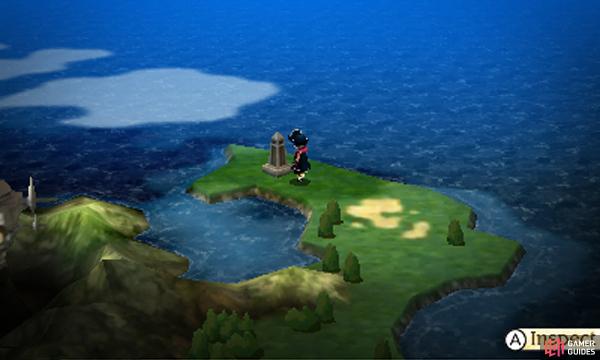
Now you must travel all over Luxendarc and seek the six obelisks dotted around the land. At each of the obelisks, you can fight a mighty dragon and, upon its defeat, claim one of the six keystones required to unlock Vampire Castle’s door. Be warned that this quest can be quite long and difficult, as the dragons won’t go down without a good fight.
If you’re feeling intimidated, you can do this quest at any time, but the longer you leave it, the less time you get to play around with the prizes! All six dragons fight the same and can be defeated with the same (or similar) tricks, so it stands that if you can beat one, you should be able to beat them all.
What you need to watch out for is each dragon’s elemental alignment, which affects 3 things: the type of damage it does, its elemental weakness and immunity. For example, the fire dragon is weak to Water and absorbs Fire. Furthermore, many of the dragons cause status ailments to your party, which you’ll ideally want to avoid.
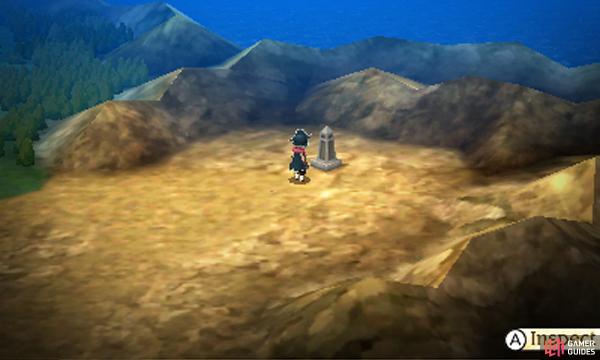
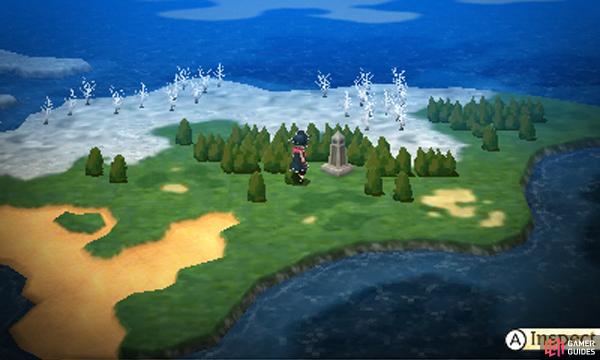
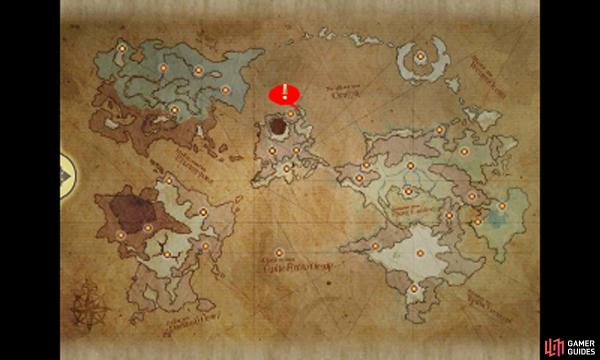
Dragon 1: The first obelisk we’ll visit is located near the north-east of Eisenberg, between Starkfort and Grapp Keep. Inspect the monument to invoke the wrath of Salamander the fire dragon.

Boss: Salamander
| Level | HP | Weak to | Absorbs |
|---|---|---|---|
| 50 | 99,999 | Water, Dragon | Fire |
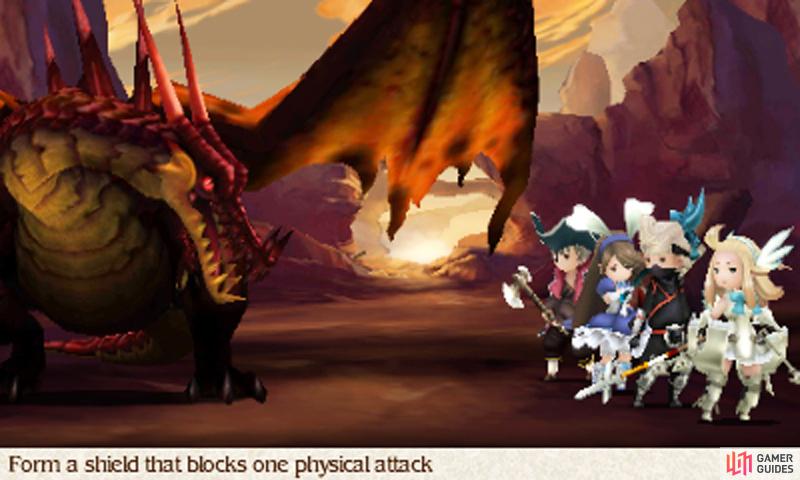
On paper, the Salamander sounds pretty simple. It uses Bite to damage a single character and Fiery Breath to do massive fire damage to your party–and we mean enough to K.O. weak characters in a hit. To make things worse, it loves to use Scorching Eye to make your party weak to fire (overriding any elemental protection), further increasing the power of Fiery Breath.
Fighting Salamander head on is pretty much suicide, unless you have an utterly overpowered party. However, we’ve got your back with an efficient defensive strategy that doesn’t sacrifice too much power.
Rampart Strategy
Who cares about damage if you can negate it?
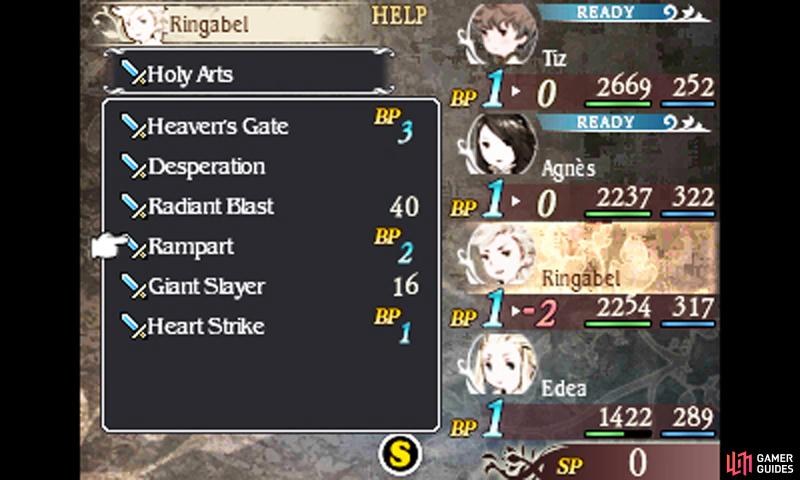
First you need a Ninja with the Templar’s Holy Arts Job Command (Level 5 at least), so you can use Rampart to negate one physical attack for all party members (you want to be a Ninja to outspeed Salamander). Next, craft yourself a Performer with the White Mage Job Command so you can use One More For You to farm BP for the Ninja.
This allows you to use Rampart more often (as 2 BP is quite a high cost), heal the party when it takes a hit and buff the party if no more BP is required. You can fill the other two roles with your favourite powerhouse jobs, like Pirate for raw damage (and debuffs) or Spell Fencer (for targeting elemental weaknesses).
Also, slap on the Hermes Sandals on your Performer and the best Speed raising abilities you have (you can get 20% Speed from a Level 5 Thief) on both your Ninja and Performer so Salamander won’t take an action before you. It also wouldn’t hurt to add Angelic Ward (White Mage) or Default Guard (Templar) to your characters to mitigate damage.
On your first turn, Default on everyone and your party should survive a hit. Next turn, cast Rampart and have your Performer Brave and use One More For You twice. From then on, just keep casting Rampart and build up BP to recast it by Defaulting with your Ninja and/or using One More For You.
Between all this, your two powerhouses can maul the dragon without fearing death. For general offense, Salamander is weak to water, so Blizzaga sword magic is good or you can target its dragon weakness with a Ranger. Should Salamander use Scorching Eye, that’s a free turn for you because you’re not getting hit by Fiery Breath anyway.
If Salamander Bites, you can either Default with the character(s) not protected by Rampart, to save up BP and mitigate damage, or use the Ninja’s Utsusemi to dodge a hit. Beyond this, Salamander doesn’t have any clever tricks up its sleeve and won’t bother using Brave unless you somehow force it to gain BP.
Ninja and Spiritmaster Strategies
Who cares about damage if the enemy can’t hit you?
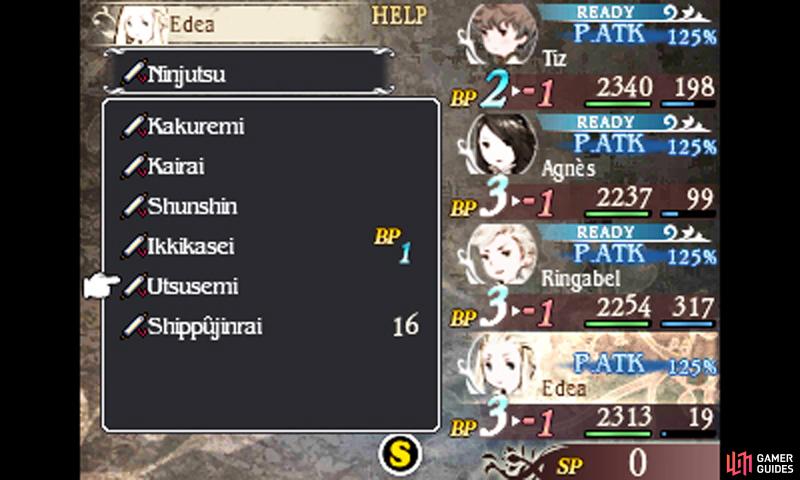
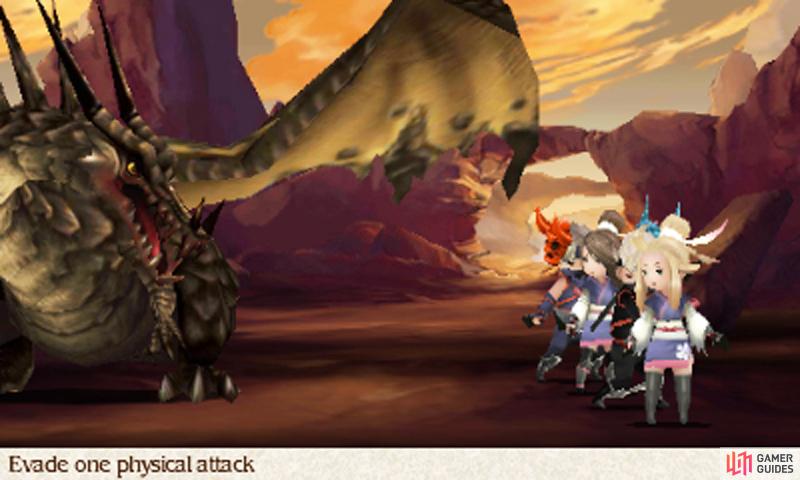
If you’re really patient, there’s an alternative strategy for winning without taking a hit, but it can be tedious. Simply change all four characters to Ninjas and equip them with Transience (Ninja), Turn Tables (Red Mage) and Counter Amp (Swordmaster).
On the first turn, use Utsusemi (Ninja) to evade one attack, then pummel the dragon with Counter Amp-boosted counters from Transience and the spare BP you gain from Turn Tables.
To be frank, we find the Rampart strategy more skilful and interesting than using Utsusemi up to four times per turn, but the choice is yours. That said, a distinct advantage of the four Ninja strategy is that–if you’re not urgently trying to get ahead–you can have everyone use Utsusemi, then enable Auto-Battle and leave to do some other activities
Alternatively, you can also use the Spiritmaster’s Adaptation, Greater Spirit Ward or Enigma (the latter two abilities will require grinding or Abilink with friends much further ahead) to boost your elemental defense–you should also do this after Salamander uses Scorching Eye, to replace your elemental weaknesses with resistances.
This works like the Rampart strategy, in that you’ll need to keep feeding BP to your Spiritmaster so they can keep using these high-cost abilities. If you use Greater Spirit Ward, you will suffer some damage, but enough for you to heal. The advantage is that the Spiritmaster’s abilities last longer than Rampart, which breaks after one hit.
Dragon 2: Slay Salamander and you’ll obtain the Fire Keystone–one of the six needed to enter Vampire Castle. Next up, there’s Mizuchi the water dragon who slumbers in an island north-east of Florem.
Boss: Mizuchi
| Level | HP | Weak to | Absorbs |
|---|---|---|---|
| 50 | 99,999 | Lightning, Dragon | Water |
Got the hang of the strategy used to slay Salamander? Well it’s time to put it into practice again! This time there’s a little twist: Mizuchi’s Icy Breath causes the Stop ailment to all party members. If you use Rampart, you’ll avoid Mizuchi’s damage but not Stop, which will throw a spanner in your works.
However there’s a simple, if slightly time-consuming, solution and that’s to grind everyone until they’re Level 7 Time Mages so they learn Stop Immunity. Once everyone shrugs off Stop, fighting Mizuchi is essentially the same as fighting Salamander.

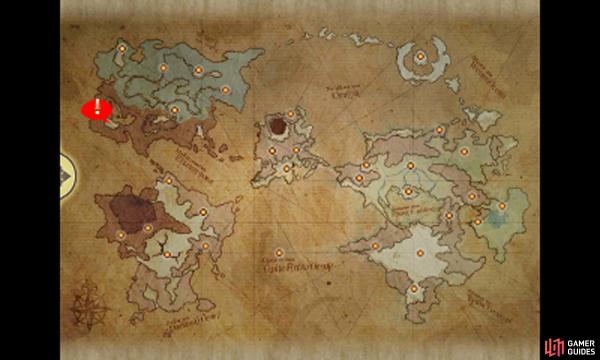
Dragon 3: Take down Mizuchi and you’ll have four more dragons to slay. Next is Wyvern who’s staking its turf north-west of Ancheim, near the mountains’ edge.
Boss: Wyvern
| Level | HP | Weak to | Absorbs |
|---|---|---|---|
| 50 | 99,999 | Fire, Dragon | Wind |
For all intents and purposes, Wyvern is the same as Salamander, but does wind damage and is weak against fire. It causes no status ailments like Mizuchi, so you don’t need to worry about kitting out your characters with protective gear. Just note that Wyvern is the last of the two dragons (Salamander being the other) that doesn’t cause a status ailment.

Dragon 4: Send Wyvern crashing down and you’ll be halfway through your quest. Next, head for the island south-west of Eternia, where Ladon the earth dragon is ready to crush some skulls.
Boss: Ladon
| Level | HP | Weak to | Absorbs |
|---|---|---|---|
| 50 | 99,999 | Wind, Dragon | Earth |
Ladon is weak to wind and causes earth damage and Paralyze with its Megaton Press. Paralyze is pretty easy to avoid, by equipping the Earthing Rod accessory or the Ranger’s Paralyze Immunity ability (learned at Level 5). You can buy Earthing Rods from Florem and Grandship so you don’t need to grind any Rangers.
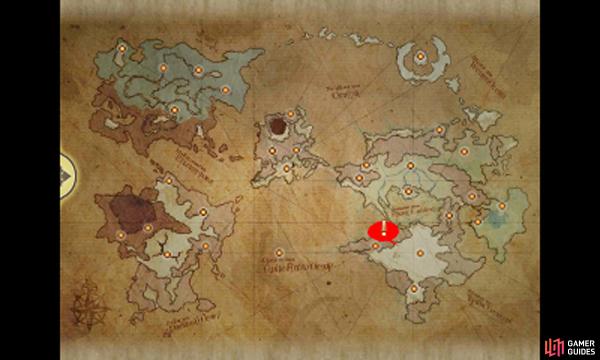
Dragon 5: Bury Ladon and you’ll be another step closer to Vampire Castle. Set a course for Yulyana Woods, then go on foot and head for the north-east corner of land, where Shinryu the light dragon awaits.

Boss: Shinryu
| Level | HP | Weak to | Absorbs |
|---|---|---|---|
| 50 | 99,999 | Dark, Dragon | Light |
Perhaps not surprisingly, Shinryu does light damage with Holy Breath and is weak to dark. Its Holy Breath also has the added effect of blinding your party, which isn’t as fatal as Paralyze or Stop, but still bothersome. Blind Immunity is learned by Monks at Level 8 or you can buy Silver Glasses from Ancheim.
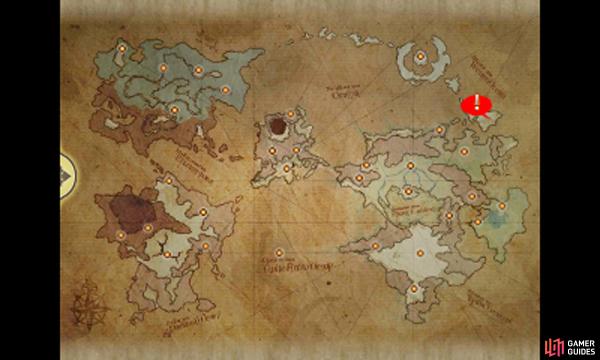
Dragon: 6: Turn off Shinryu’s lights and only one more dragon remains before your task is complete. Finally, we have Jabberwock, the dark dragon, who’s found east of Lontano Villa in the Caldis region.
Boss: Jabberwock
| Level | HP | Weak to | Absorbs |
|---|---|---|---|
| 50 | 99,999 | Light, Dragon | Dark |
The dark dragon is weak to light and causes dark damage and Dread with its Fearsome Breath. No job has Dread Immunity and you can only get two Courage Rings, which negate Dread, right now. You could just equip your Performer and Ninja with the Courage Rings, while your two attackers suffer.
Those affected by Dread can still attack, but they can’t Brave or Default and you can use healing items to remove Dread if need be. Otherwise, Shorten Ailment (Salve-master Level 7) is a decent alternative for reducing the time Dread is in effect.
No Comments