
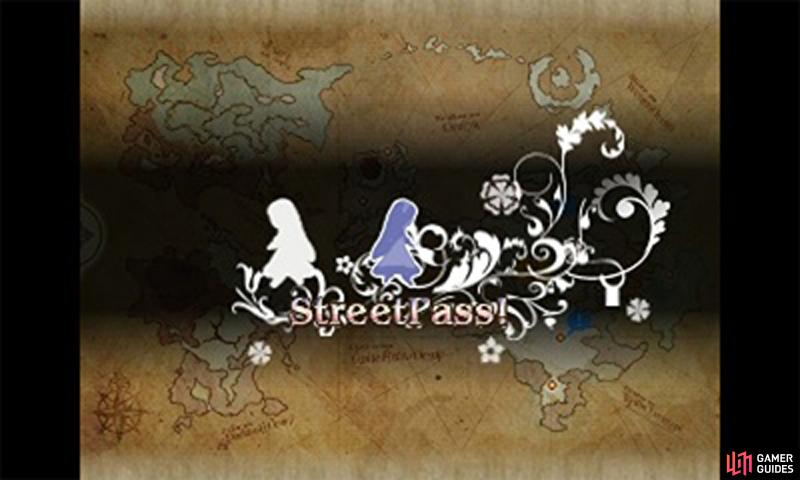
Oh, glorious StreetPass. You bring new hopes and dreams (and additional work labor).
Thanks to the wonders of StreetPass, you can automatically exchange data with other 3DS or 2DS owners who have played Bravely Default. This involves exchanging profiles (and Friend Summons) and receiving village residents.
How To Setup
To get started, you’ll need to select the inbox icon in the map menu (press Left on the D pad when outside of battle or tap the arrow to the far left of the bottom screen). The very first time you access the inbox, you’ll be asked to register StreetPass data for Bravely Default, which involves adding a Mii to your Bravely Default profile.
Once you’re done registering, you’re ready to go out and seek those Bravely Default tags! Should you change your mind about StreetPass for whatever reason, you can deactivate it by going to System Settings in the 3DS or 2DS Home menu and going to “Data Management” and then “StreetPass Management”.
Receiving Tags
To receive tags, you must have your 3DS or 2DS switched on or in sleep mode (but it mustn’t be in the middle of Local or Internet communications). You don’t need to have the game running, but it will help with rebuilding Norende and amassing SP. Then it’s a simple matter of walking around (in real life) and hoping you encounter other 3DS or 2DS owners or StreetPass relay points.
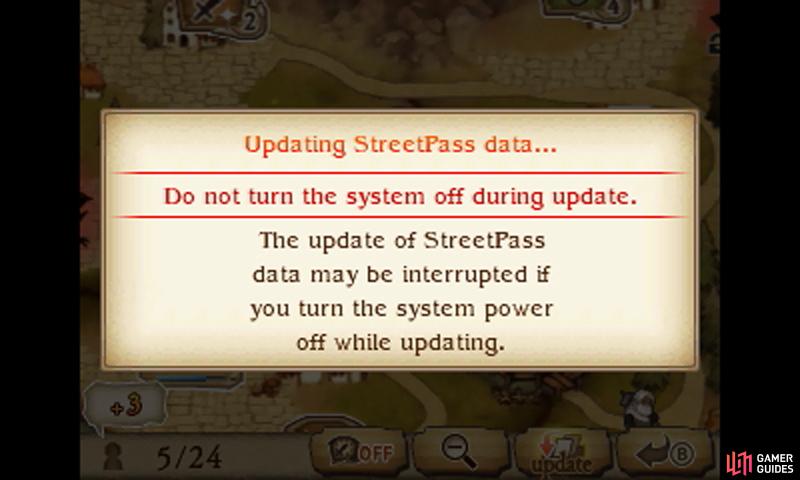
If you successfully tag a player (or relay), a green light will appear in the top right corner of your 3DS or 2DS. However, to receive a Bravely Default tag, the other player must also have registered data for it. Should both conditions be fulfilled, an “Update” symbol will appear next to the inbox in Bravely Default, which means you got your tag(s)!
Benefits of StreetPass
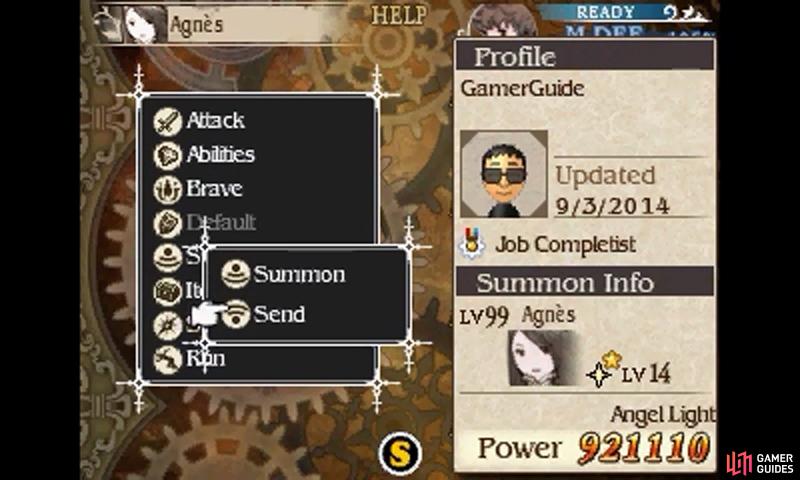
Once you start hitting the 9999 damage cap, activate Bravely Second before using Send so you can pass along higher damage moves…
When you access the inbox now, the game will save the profiles of those you tagged (guest profiles) and their sent move can be used as a Friend Summon. Furthermore, for each person you tag, you will receive an extra resident for Norende village and a Nemesis if they were sending one.
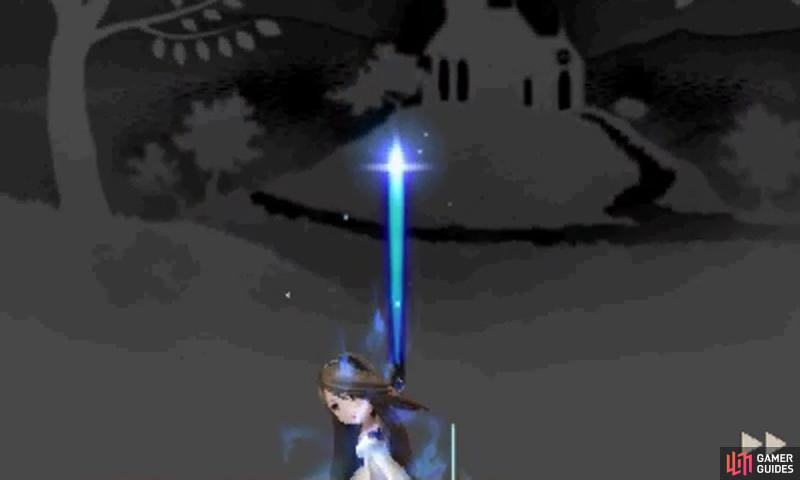
To be extra helpful, from time to time you should update your sent move. There’s nothing more annoying than tagging a Bravely Default player and receiving a basic Level 10 Tiz summon. To do this, select the “Summon Friend” command in battle and go down to “Send”, then choose your best move. At the end of the battle, your sent move will be updated for all to enjoy!
StreetPass Relays
If you live in a town with few Bravely Default players, you can try hunting for a Nintendo Zone (refer to Nintendo’s official website). Your 3DS or 2DS should automatically connect to the Nintendo Zone and it’ll also act as a StreetPass relay, potentially giving you StreetPass tags from across the country!
No Comments