
Our next destination is the area around Ancheim, also known as the Harena region, where the Khamer and Profiteur Merchantry continue to oppress the masses with their dodgy pricing, thievery and forced labor. During your stay, scout the local armory for a Poison Rod (weapon attacks may Poison), selling for 20,000 pg.
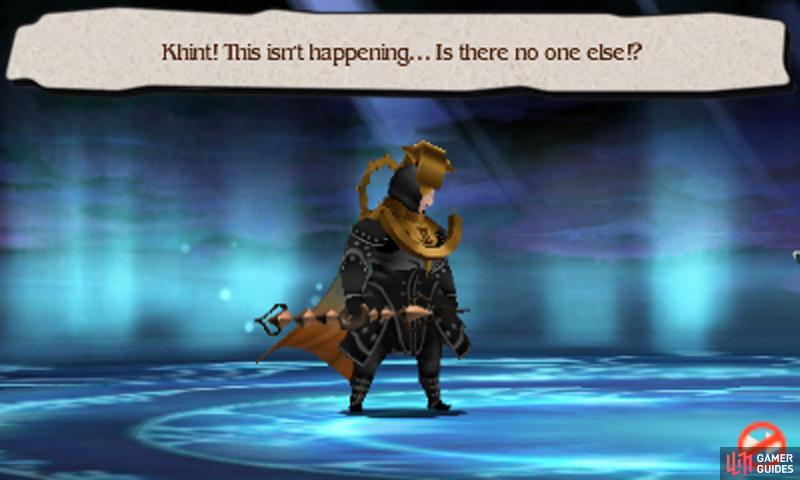
Give Khint an early retirement during the Khamer battle and he won’t bother you in the other battles.
We’re assuming you completed all the merchantry sub-scenarios the first time–otherwise, please refer to Chapter 1 of this guide for a detailed breakdown of events.
As before, enter the city of Ancheim when it’s night time and then sneak into the back of the royal palace through the Grand Mill Works. King Khamer VIII seems to believe his plans are all going according to… um, plan, but never did he expect Agnes and company to come and expose his foul deeds. Guess we’ll just have to dethrone him again!
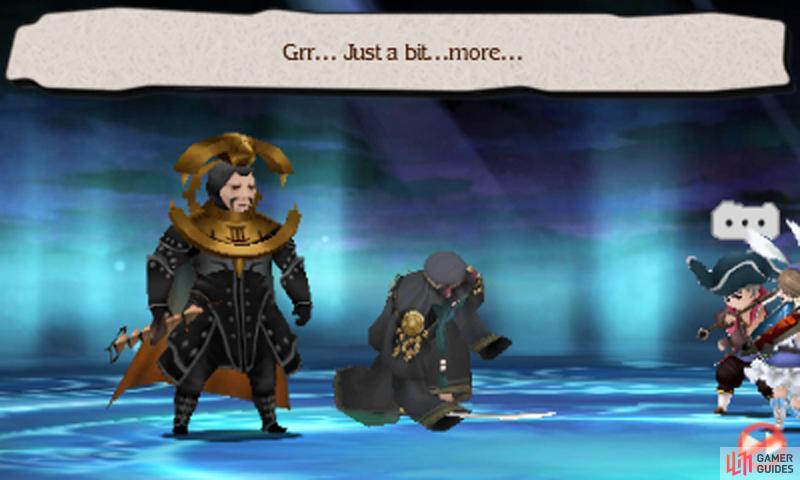
Boss: Khamer VIII and Khint
| Level | HP | Weak to |
|---|---|---|
| 48 | 60,000 (Khamer), 80,000 (Khint) | Nothing |
The double-K duo have improved stats, but no new tricks of note. King Khamer VIII will occasionally Default and then Brave once for two attacks on the next turn; he uses his classic Time Magic spells Veilga (boost evasion), Stop (immobilize one character) and Quara (earth damage).
This time you can negate the annoying Stop ailment with your own Time Mage’s Stop Immunity or resist earth with the Swordmaster’s Abate Earth or a good old Earth Charm. Khint is no different either and uses Sword Magic Fire or Silence and will occasionally Brave once.
Like with Khamer, you should have plenty of defenses against Khint by now, such as Abate Fire and Silence Immunity from a Black Mage, Flame Charms and the Iceflame Shield (negate fire) on your healer. You can also cast Dispel (White Magic) to remove Khint’s sword magic.
You can totally cripple the duo’s damage output with the Spiritmaster‘s Adaptation, causing their fire and earth attacks to restore your characters’ HP. Against Khint, the Ninja‘s Utsusemi allows for evasion against all of his attacks, as they’re still physical-based despite doing elemental damage.
From here, you can break the links in the merchantry’s chains by paying a visit to Profiteur or The Jackal. Since we started in reverse order, we’ll continue in this order and interrogate Profiteur first. Outside the royal palace, continue right to the merchantry’s office and show your evidence to the Merchant of Death.
Unsurprisingly, Profiteur doesn’t take your finger-pointing well and you’re forced to fight him to permanently freeze his gold.
Boss: Erutus Profiteur
| Level | HP | Weak to |
|---|---|---|
| 48 | 80,000 | Nothing |
Profiteur’s business tactics remain unchanged, but he’s amassed more wealth since last time and his Takeover attack now does a hefty 2000 damage. Like earlier, he will Default and then Brave to unleash two lots of Takeover on a single turn. As before, you might not survive two Takeovers, but now you have many more options.
Monks learns various HP increasing abilities, which can help to raise your HP above 4000. Meanwhile, the Vampire’s Absorb Physical Damage lowers the HP required to survive to above 3400, which should be more manageable. You can also rely on a Ninja with Utsusemi to evade one malicious Takeover.
Should anybody succumb to Profiteur’s extreme business tactics, a Salve-maker compounding the usual mixture of a Phoenix Down and any potion will restore them to full health, ready for another round. With your character’s survival in safe hands, just mercilessly pound the merchant with attacks the turn after his Defaults.
Finally, in your bid to keep Ancheim’s peace, head for the deepest depths of the Harena Ruins, where The Jackal–king of thieves–waits all alone. If this is your second time, The Jackal will reveal a bit more about his past, but still that’s no excuse for him to continue stealing from the most desperate.
Boss: The Jackal
| Level | HP | Weak to |
|---|---|---|
| 48 | 80,000 | Nothing |
Without Khint to back him up, The Jackal will Brave once to dish out two attacks from the start of the battle, leaving him defenseless for one turn. Like earlier, he’s a dab hand at stealing your potions, to heal himself later. Otherwise, that’s all the boy thief is capable of.
In a drastic change to his previous fight (perhaps because he’s not super angry from being abandoned mid-battle), The Jackal will no longer Brave three times to unleash a flurry of attacks, so surviving the battle should be a simple affair. Keep your thirst in check and show the Thief just how far you’ve progressed.
No Comments