
Now we’re back where we left off: in front of the Wind Altar at the end of the Temple of Wind. Remember the lack of a boss here, the previous time? Well, you may be pleased to know there’s a boss battle coming right up!
So before you enter the altar, make sure you’re fully healed and properly kitted up (with all the best equipment pg can buy), because one heck of a battle awaits you there.
Boss: Orthros

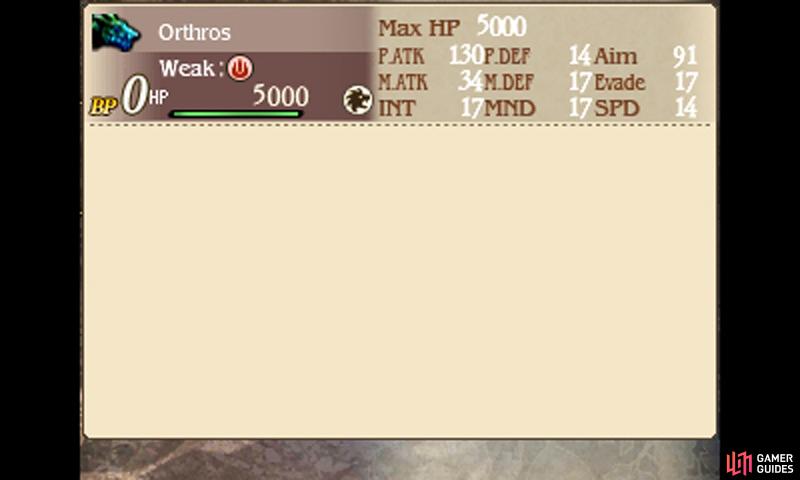
| Level | HP | Weak to | Immune to |
|---|---|---|---|
| 18 | 5000 (Both Heads) | Fire (Blue Head), Water (Red Head), Beast (Both Heads) | Water (Blue Head), Fire (Red Head) |
The Bringer of Doom is a two-headed hound–you must behead both of its heads to prevail. The blue head deals water damage with Deep Freeze and is weak to fire, while the red head deals fire damage with Hellfire and is weak to water.
When both of the beast’s heads are glowing (it should be obvious if you stare), they can use Blazzard for major damage to your party.
When a head stops glowing, besides being unable to use Blazzard, it also cannot use its group attack (so Deep Freeze for the blue head), massively reducing its damage output! Just note that this effect only lasts a turn or two. Plus you’ll still need to watch out for their single-target attacks.
Once you’ve felled one head, the ride becomes more straightforward, but you’re far from safe. Now; the remaining head will attack three times in one turn and become immobile for two turns. If you survive the barrage of attacks, perfect–unleash your fury on the turns the head can’t act and heal accordingly.
After triumphing against the hellish beast, Agnes will begin the rite of awakening. While Agnes stands in front of the dulled crystal, repeatedly press the X button to channel energy to the crystal. Slow and gradually, the crystal will regain its light in increasingly spectacular fashion.
Tying Up Loose Ends
With the Wind Crystal awakened, you have three more crystals to go. However, rushing will get you nowhere, so why not pay a visit to Ancheim? Like your first visit to the city, King Khamer VIII is making a speech to his citizens with the intent to put down Agnes, but this time Agnes has the courage to oppose.
Once the scene’s over, exit the city and your next destination will become clear: Florem, where the Water Crystal lies. First, return to your airship so you can seek guidance from Sage Yulyana. Trouble soon rears its ugly face, however, and the airship is compromised–now it cannot fly (so we suppose it’s just a ship now).
Without the ability to fly, you can’t return to Yulyana (nor Caldisla), so there goes that plan… Instead, the party decides to try their luck by passing through the Miasma Woods to reach Florem. Head for the woods, north-east of Ancheim and this chapter will come to a close.
No Comments