
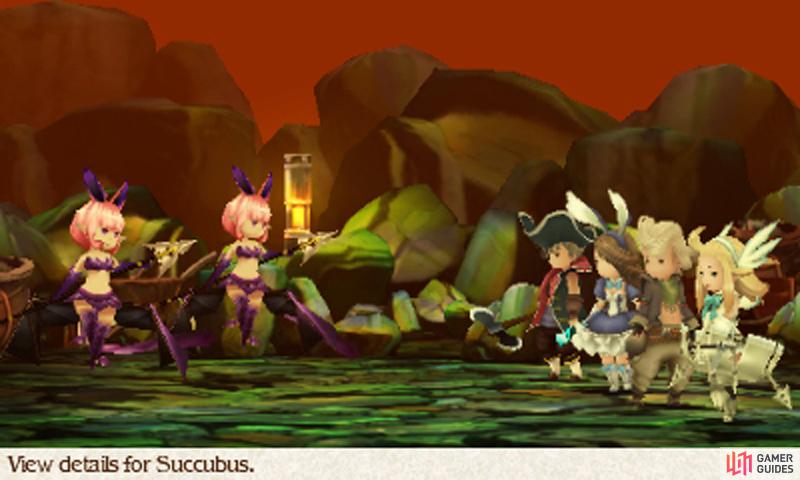
Ringabel probably doesn’t mind being charmed, but it’s going to mess up your battle tactics for sure.
Within these claustrophobic tunnels, the Swordbearers are forcing young children into slave labor, all for the purpose of the civil war; Tiz ain’t having any of this though. As soon as you step foot inside, Tiz will encounter one of the canary boys–according to him, there are a total of 19 (including himself) working in the mines at the current time.
Just as Tiz is about to lead the boy to safety, a Black Blade mercenary appears and a battle breaks out. The Black Pikeman counters single-target physical attacks, so use magic (lightning preferably) to crush him.
Basement Level 1

Your coming task is to rescue the remaining 18 canary boys in the mines. From the entrance, head all the way left to find another Black Blade mercenary (can be a Black Blade, Black Axefighter or an annoying Black Pikemen) at the end–defeat him and you’ll rescue two boys. Nearby, prise open the chest to claim an X-Potion.
Return by the entrance and, at the junction, follow the path down. Not long afterwards the path will split; follow the path right to find a Black Blade and another two boys. Go back and follow the path left to find a myriad of paths before you–best you tackle them in systematic order.
First, continue left to find a Black Blade and two more kids to rescue. Next, make your way to the bottom-left corner to find a chest containing an Earth Drum attack item. Finally, head for the bottom-right corner to find a Black Axefighter and another pair of kids requiring your attention.
At this point, you should have rescued 9 kids (including the one when you first entered), with 10 remaining. Head back to the point where the paths divided and take the stairs nearby, leading further down.
Basement Level 2

Downstairs, you can follow the tunnels clock-wise or anti-clockwise; we’ll go clock-wise. At the first junction, the lower path leads to a dead end, so take the higher path instead. When you reach the next junction, head left to stumble upon a Black Blade who’s holding two canary boys ransom.
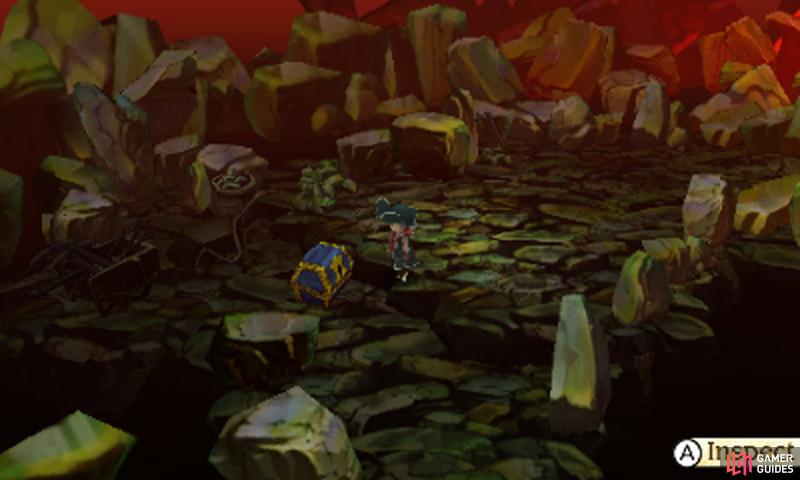
Let’s see… you’re on Chapter 3 right now. Nope, still a few more chapters to go before you can open these!
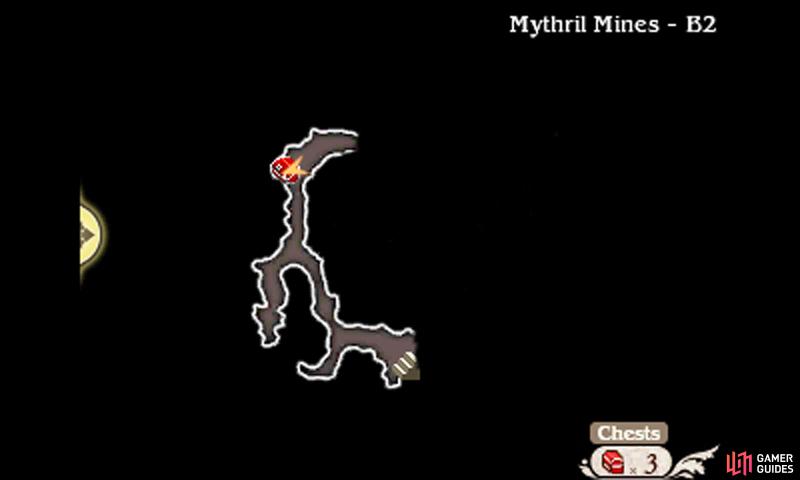
Continue up the tunnel to find a blue locked chest and, soon afterwards, a splintered crossroad. At the far north, the Adventurer is ready to save your game or provide you with his special services. Head down at the crossroads to bump into a Black Blade and another two boys.
Travel right from the crossroads to discover a junction; here, go down for another junction. To the left, there’s a chest containing 1000 pg, while continuing down will send you towards a Black Blade and two more canary boys. Back at the first junction after the crossroads, head right for the third junction in near proximity.
From here, go up to find a Black Blade and two kids, plus a chest with a Turbo Ether inside. Finally, follow the tunnels all the way down and then turn right at the junction to confront a Black Blade and free the last two kids.
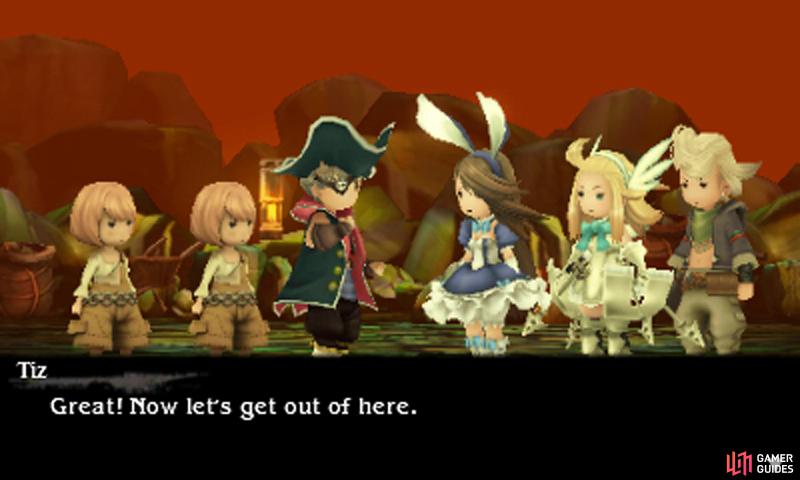
Tiz won’t leave any of the boys behind. What a lad.
With all the canary boys safely secured, exit the mines–use a Teleport Stone or follow the tunnel left to reach the stairs leading back up. Once you reach the entrance of the mines, you’ll learn that the 20th canary boy, Egil, was taken into the Swordbearer’s custody earlier.
Apparently Egil found a hidden passage in the mines and Agnes has her suspicions that this passage may lead to the Temple of Fire. Tiz doesn’t mess around and orders the party to march to the Swordbearer’s HQ, located to the far north, to rescue Egil.
No Comments