
To begin this ordeal you must have completed the previous five sub-scenarios of this chapter. Once you’ve driven away all the asterisk holders, they’ll regroup at Eternian Central Command for a final, epic showdown. Now you must face all 23 asterisk holders again in a series of new–and tougher–group battles. Time to crack some more skulls!
General Strategies
None of the bosses here can survive 4 lots of 9999s from 3 characters.
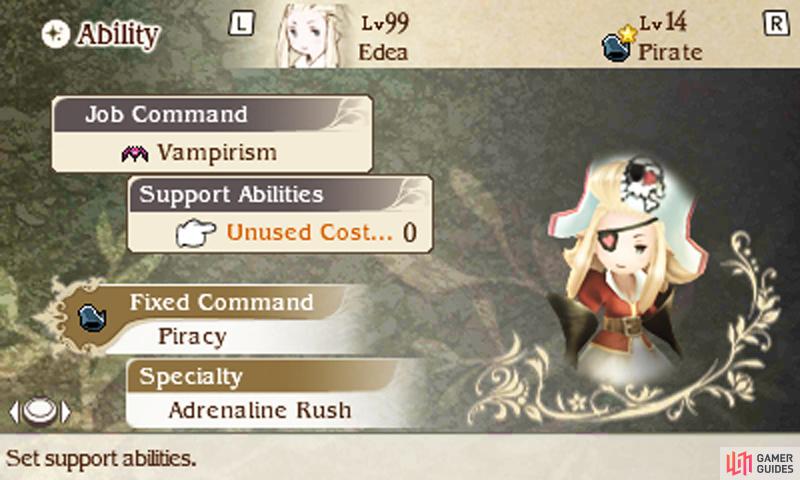
Our strategy for most of the Central Command battles revolves around 3 Pirates and a Performer, all with the Vampirism Job Command. On your first turn, buff everyone’s attack twice with your speedy Performer, then have everyone use Firestorm (learned from the Flame Moths in Eisenberg’s Underflow).
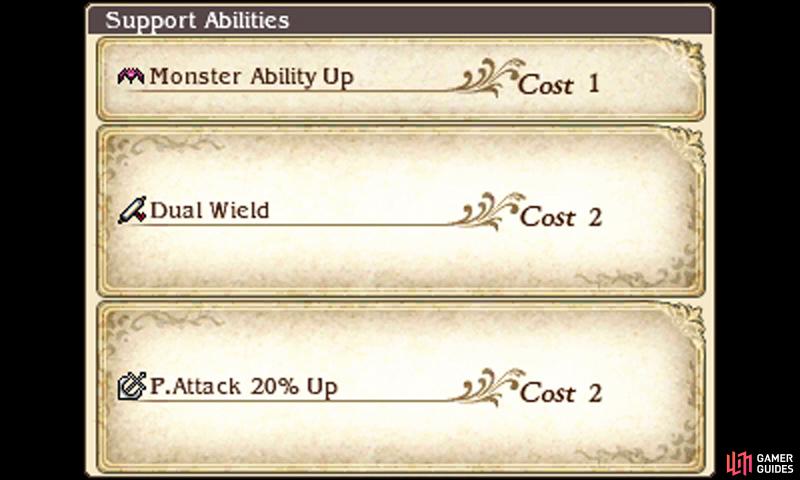
With Monster Ability 10% Up, the Pirate’s Physical Attack 20% Up (Level 9) and the Ninja‘s Dual Wield (Level 11), plus Giant Axes (you can get 5 from Gigas Lich) or other similarly powerful axes, you can wreck the enemies on the first turn. If your Performer isn’t fast enough, you may have to retry until they act first or your damage could fall short of a wipe out, leaving you exposed.
Alternatively, you can have three Dark Knights using Dark Nebula (Level 11). However, as Dark Nebula hurts everyone on the field–including its user–you’ll need to have a speedy character cast the Spiritmaster‘s Adaptation (Level 7) on your whole team or you’ll be the one with everybody on the floor…
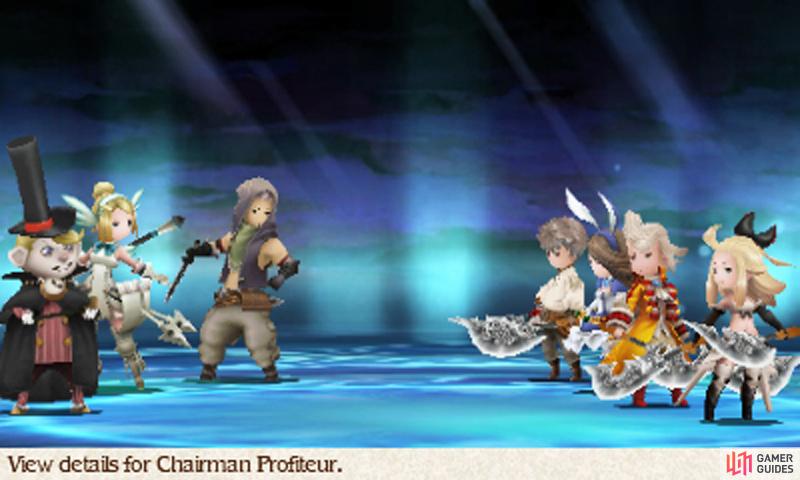
The first group of asterisk holders awaits you before the elevator in the top-right corner of the first floor. In their prep talk before the battle, the group’s sub-leader Profiteur explains that he’ll be using his massive wealth to buy BP for his subordinates so they can use their powerful moves without worry. We don’t like the sound of this already…
Boss: Profiteur, Einheria and The Jackal
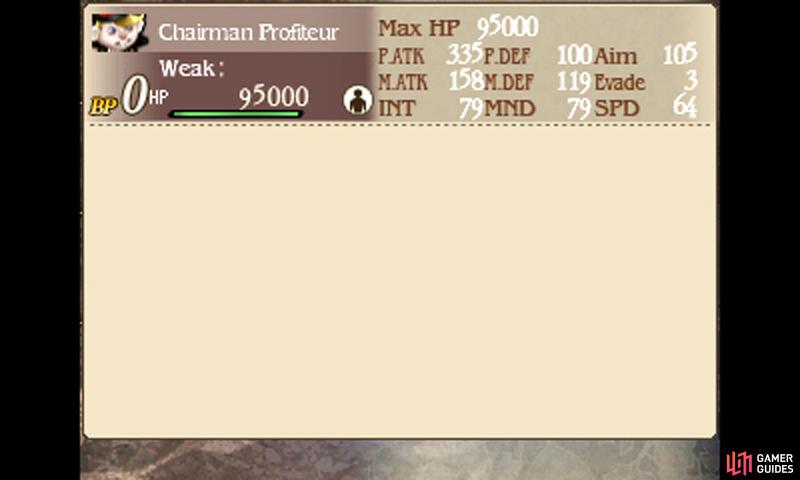
| Level | HP | Weak to |
|---|---|---|
| 70 | 95,000 (Profiteur), 105,000 (Einheria), 99,999 (The Jackal) | Nothing |
This battle is nuts if you’re not quick to the kill. Profiteur is the team’s driving force, using Large BP Drink to increase his or one of his comrade’s BP by 3. With their massive pool of BP, the trio will unleash their powerful attacks with high frequency.
For Einheria, this means a constant barrage of Crescent Moon on your party, while The Jackal now uses the powerful Godspeed Strike to hit one character. As soon as you can, buff your party’s defense, raise Rampart and drop Einheria’s attack (Pirate’s Defang, Vampire’s Absorb Stats or Curse) and The Jackal’s speed (Pirate’s Shin Smash).
The wily Merchant is a force to be reckoned with too; once he’s gathered BP for himself, he will Brave up to 3 times, attacking with Takeover four times. Focus your attacks on Profiteur first, to stop the supply of BP; fortunately he has the lowest HP of the lot. Several lots of the Pirate’s Amped Strike preceded by the Swordmaster’s Free Lunch is ace for a swift kill.
The second group is standing by near the middle of the 47th floor; their tactics are to create an imposing wall of steel, while raining down their swords from behind.
Boss: Holly, Kamiizumi, Kikyo and Heinkel


| Level | HP | Weak to |
|---|---|---|
| 70 | 85,000 (Holly), 99,999 (Kamiizumi), 90,000 (Kikyo), 95,000 (Heinkel) | Lightning (Heinkel), Nothing (Other three) |
This is a rather formidable team any way you look at it. Kamiizumi specialises in countering your attacks, Kikyo uses Shippujinrai to move first and fell your weakened characters, Heinkel is there for Protect Ally, misdirecting your single-hitting moves onto him, while Holly supports her party with Reflect to negate magic.
Besides Holly, everyone here is a physical, single-hitting attacker. Therefore you can field a Knight with Dual Shields and then have a Ninja use Kairai on the Knight, so the Knight acts as a sponge for the enemy’s attacks and counter attacks, creating your own highly formidable wall. This allows your remaining members to dish out attacks without fear of danger; no sweat!
Should your characters take damage, don’t heal them with magic if Reflect is in effect or you’ll just heal the enemy. This is one occasion you’ll want to rely on Potions, the Vampire’s White Wind or Blood Thirst or other abilities that can restore your health.
For the kill, go for powerful group-hitting moves to bypass Heinkel’s Protect Ally. Summon magic isn’t affected by Reflect, so you can use Deux Ex, for instance, on a high Magic character for big damage. Alternatively, if you can get rid of Heinkel with single-hitting attacks first, you’re free to pick off the other three in turn–go for Holly to stop her healing and Reflect.
Group number three will battle you as you approach the far north of the 48th floor; these guys are ready to end you using any means possible…
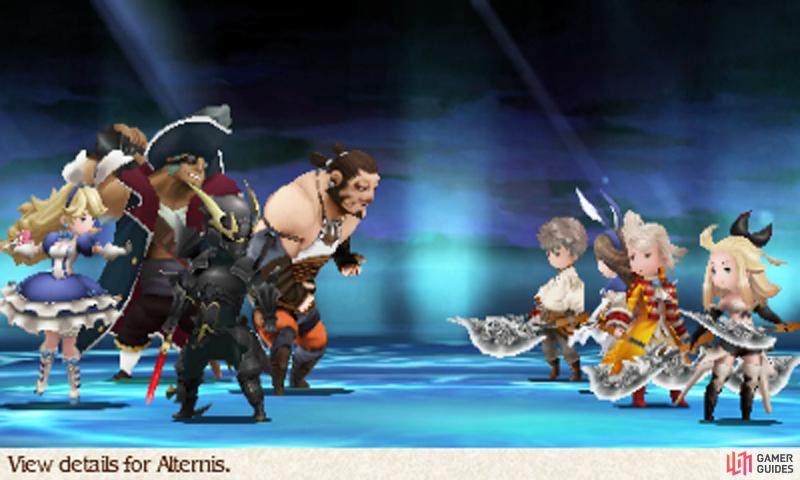
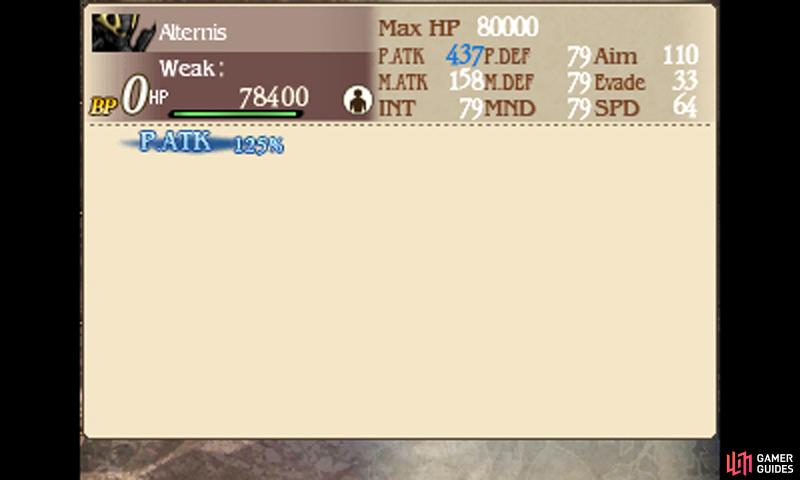
Boss: Praline, Barras, Alternis, Barbarossa
| Level | HP | Weak to |
|---|---|---|
| 70 | 85,000 (Praline), 99,999 (Barras), 80,000 (Alternis), 95,000 (Barbarossa) | Lightning (Barbarossa), Nothing (Other three) |
Remember the last battle in Starkfort? This one is essentially the same, but everybody here is a heavy-hitter. So another total nightmare basically… Each turn, Praline will use My Hero to up everyone’s BP by one, while the other three dish out two powerful attacks each.
Fielding a normal team is suicidal here. If you aren’t going to wipe out the enemy in one turn with the Vampire’s Firestorm or Dark Knight’s Dark Nebula, you’ll need some extreme tactics. Here, you can still rely on the good old Ninja using Kairai on a Knight with Dual Shields, except you’ll need all the Defense you can muster–plus the Dark Shield to shrug off Alternis’s moves.
To make your Knight’s life easier, drop the enemy’s Attack (Barbarossa’s especially) with the Pirate’s Defang, Vampire’s Absorb Stats or Curse, while bolstering your Knight’s defense with Ironclad. Take out Praline first to demoralize her team-mates, followed by Barbarossa so you don’t have to put up with his Amped Strike.
Next, defeat Barras, making sure he doesn’t survive with low HP as his Invigorate does massive damage, fatal for your team–though bearable for your Knight. When Alternis is by his lonesome, you can let your Ninja assume decoy duty, using Utsusemi to make Alternis’s Minus Strike miss its target.
No Comments