
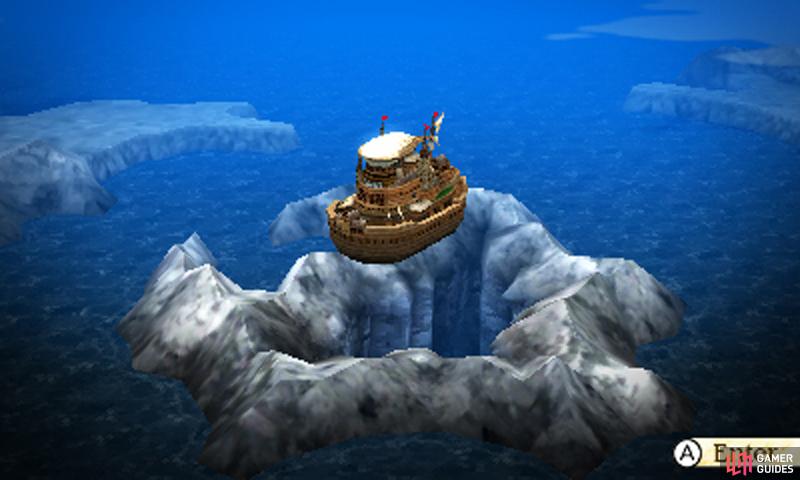
What lies deep within? Only a super boss far stronger than the final boss of course.
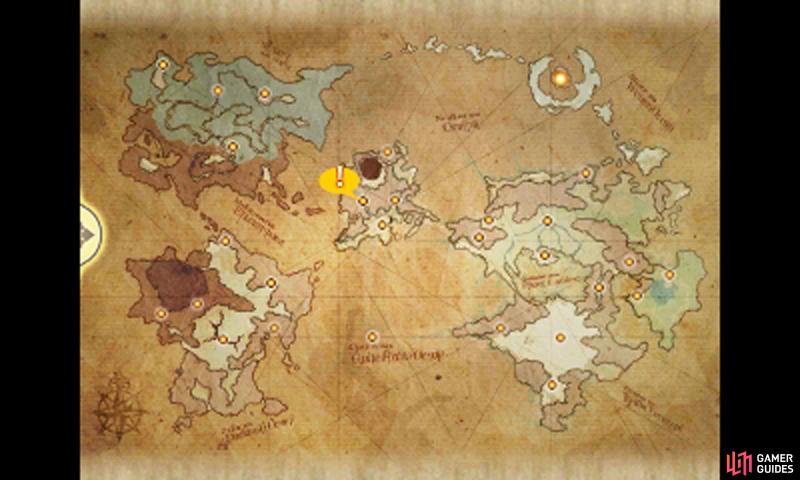
This optional dungeon is located in the north-east corner of the world map, in the center of the frozen island shaped like a crescent moon. You can reach it with the airship, but you can’t enter until you reach one of the two final chapters: Finale or The End.
During the Finale or The End, speak to Lord DeRosso at the top of Vampire Castle after besting him in battle and he’ll open the entrance for you.
Once you’ve spoken to Sage Yulyana in The End, he will also open the dungeon for you and the locked door will be removed, allowing you to access the entirety of the dungeon. To save yourself much hassle, you’re probably better off waiting until Yulyana opens the way before tackling the dungeon.
Purpose of the Dungeon
Missed a monster? Here’s your chance to fight them again!
Dimension’s Hasp is a veritable labyrinth made from parts of other dungeons in the game, so don’t be surprised to experience a little deja vu. The reason why you’re coming here is to loot the powerful and forbidden items that Yulyana stole from the Orthodoxy centuries past–valuable assets for the tough battles ahead.
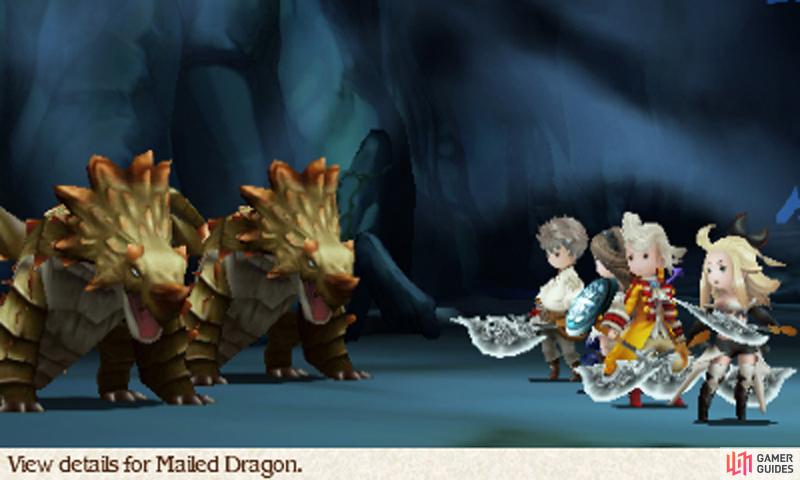
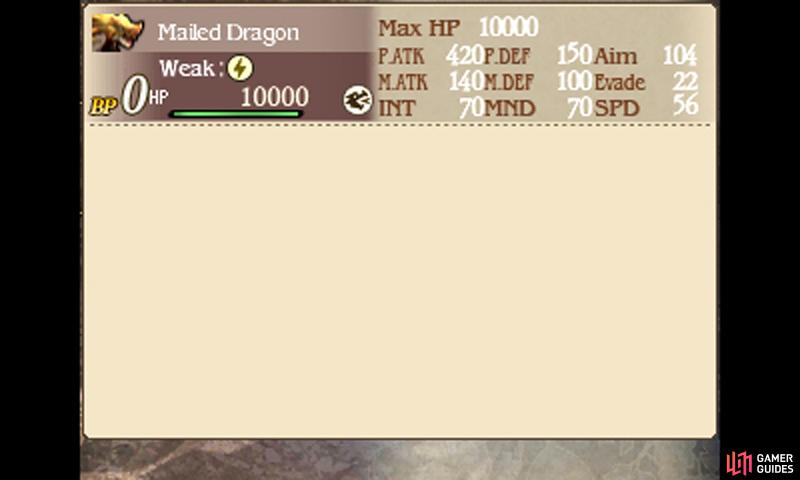
This dungeon also acts as a sort of zoo or Noah’s Ark, in that it houses a multitude of monsters. More specifically, you can encounter pretty much all the monsters (and humans…) that you can no longer find from Chapter 5 and onwards, when superior monsters came to take their place.
So if you’re missing entries in your bestiary or Genome Abilities because you missed your chance when Chapter 5 rolled in, well here’s your second chance! To keep you on your toes, all of these “old” monsters have buffed up stats too; the game never makes it easy, does it?
Floor 1
Make sure you’ve got a lot of hours spare, because there’s no easy way to exit the dungeon once you’re inside
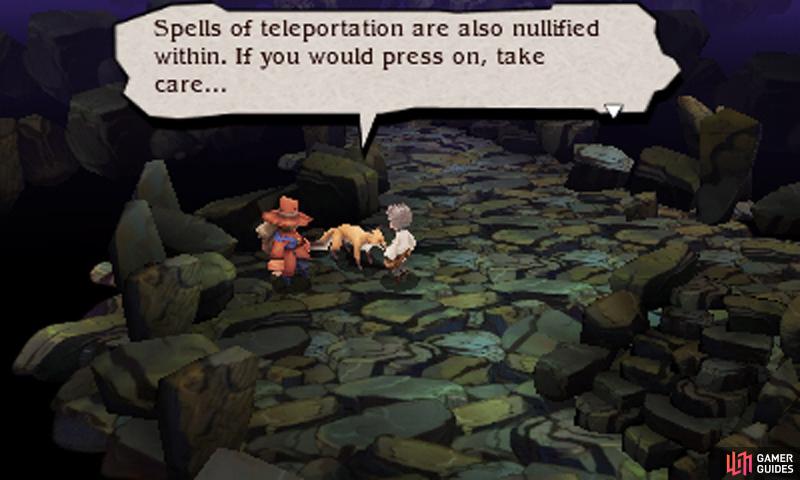
The first area of the dungeon is a clone of Vestment Cave‘s bottom floor, except somebody has added some stairs by the north. This floor is devoid of monsters and you’ll find the Adventurer and his companion waiting by the entrance. The companion tells you a key fact: you can’t use Teleport magic inside this dungeon.
For this reason, if you’re planning to go deep, you’d be wise to put aside some time as it’ll likely be a while before you return to the surface again.
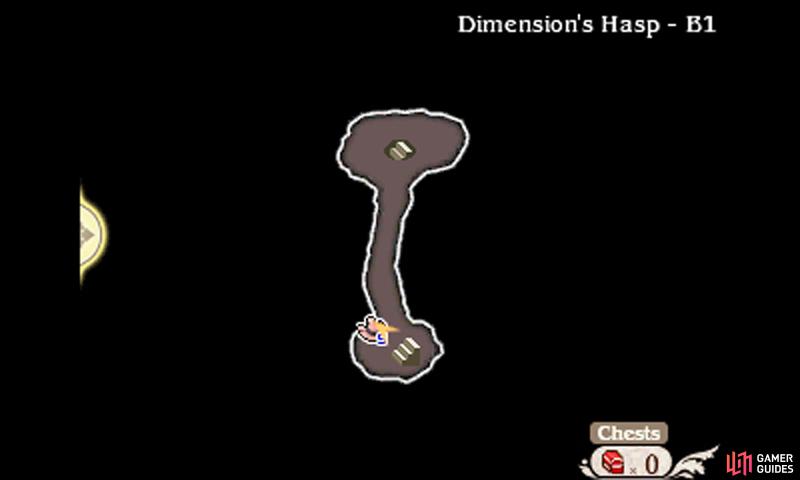
Floor 2

Basement level 2 is where the dungeon really starts–and with the last floor of Harena Ruins, no less. Equip the Dungeon Master (Freelancer) ability onto one of your characters, so you don’t get blinded by your old friends–the gas-spewing statues. You may as well keep Dungeon Master on for a while, as a few more floors have status ailment traps.
From the entrance stairs, go down, while keeping to the right. At the junction by the middle, head right for a chest containing a potent Megalixir. When you reach the south-most part, the next sequence should be familiar if you did the Thief Sub-Scenario; here, rows of dangerous blind-gas statues line the walls to the left and right.
In the bottom-left corner, you can find a chest containing a Longinus (strong against Aquatic), while if you continue left there’s a blue chest that seeks to contain the fury of the Yatagarasu (strongest knife). For the exit, follow the path right from the south-most junction. No need to hurry if you have Dungeon Master, but better not keep the monsters waiting…
Floor 3

You will magically emerge in a carbon copy of the Temple of Wind‘s basement–a.k.a. basement level 3. In the bottom-left corner, not far from the entrance, there’s a blue chest containing a widely-feared Demon’s Staff (best staff). Near the north, the pathway will branch into a couple of direction. Go down towards the center for a chest with a second Megalixir.
Head for the top-left corner to find a chest with a Lordly Robes (raises Mind; great for your healer). Finally, to exit this floor, make for the top-left corner, then head in a southerly direction, ignoring the first passageway as it leads to a dead end. It’s a minor trek, but you should find the next set of stairs in the bottom-right corner.
Floor 4

Now we’re climbing Mount Fragmentum for basement level 4. Head left from the entrance to find a blue chest at the end of a looped path–inside is the Earthbreaker, capable of rendering mountains (best axe; does Earth damage). Next, follow the mountain path right; along the way there will be chest containing a spooky Death Axe.
Towards the right side, turn right at the junction for a chest with a Wonder Rod, then continue past for the exit to the next area.
Floor 5

Basement level 5 brings us to a replica of the final area of the Witherwood. As in the real version, a lot of the paths meet up, so it should be easy navigating. At the first junction, go down for a chest with a Gale Staff (amplifies Wind). Next, continue in a downward direction and keep to the left at the next junction.
By the bottom-left corner, there’s a blue chest containing a forbidden Demon’s Rod (best rod). From the blue chest, follow the forest path right, then up, making your towards the center of the area. Here, you can follow the path up for a chest with a Brave Suit and the path down for the exit–after a really long bend.
Floor 6

Past the halfway point, we’re now at a copy of the final part of Florem Gardens for level 6. Dungeon Master would be very useful here to avoid getting silenced by the purple flower beds on the ground. In a similar fashion to the previous floor, the paths all meet up eventually, so you can go any way you want really.
You can find standard chests in the bottom-left corner (Yoichi’s Bow) and center (Air Knife). For the fabled blue chest, take a trip to the bottom-right corner–lurking inside the chest is the one and only Artemis’s Bow (best bow). To exit this area, just head in a northerly direction from the entrance.
Floor 7

For a change, basement level 7 is a man-made construct–the first floor of Starkfort to be precise. Standard chests can be found in the bottom-left corner (Genji Armor), to the far right (Genji Gloves) and the far north (Genji Helm), providing you with another complete Genji set!
Meanwhile, the blue chest awaits you in the top-left corner–inside is the mighty Ama-no-Murakumo (best katana; strong against dragons). For the exit, just head in a northerly direction from the entrance, until you’re clear of the middle section. Then when the path splits left, right and up, follow the right path.
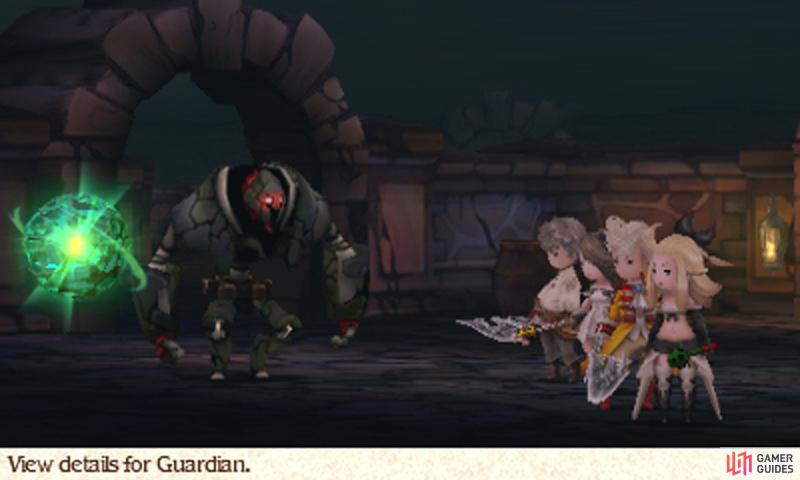
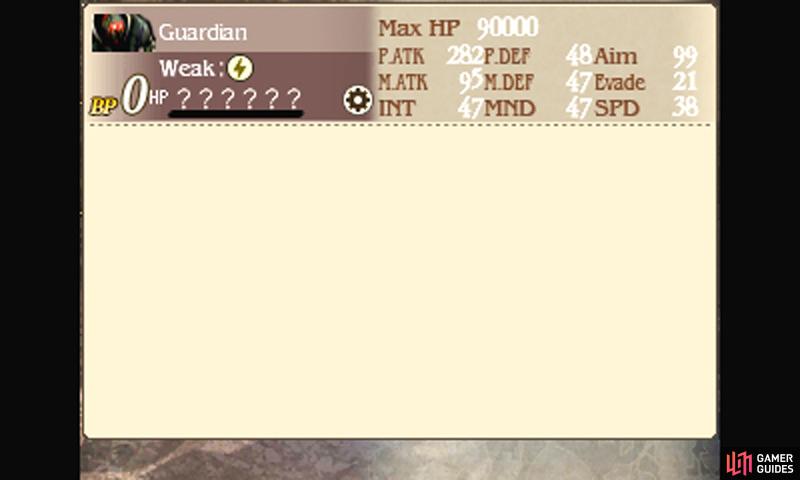
We’d turn off encounters here in case you run into the Guardian.
Floor 8

Whew, it’s getting hot here… Level 8 is identical to the final part of the Underflow and the largest map here. Definitely put on Dungeon Master so you don’t burn your feet on the scorching-hot rock path. Like in the real Underflow, don’t be surprised if parts of the path give way into the lava–just take a detour around
From the entrance in the top-right corner, first head down at the initial junction to score yourself a Gold Hairpin from a chest; then continue left from the junction. Once you reach the south-most part of the area, head right and turn in at the first junction you find to discover a chest with a Luminous Robe (amplifies Light).
Back near the south, make your way left for the exit in the bottom left corner. Just before the exit, head in a northerly direction and you’ll eventually come across a blue chest containing a pair of godly Kaiser Knuckles (best knuckles).
Floor 9

Almost there! Basement level 9 is taken straight out of Eternian Central Command. To begin with, follow the corridor anti-clockwise until you reach the far north. At this point, head downwards and immediately turn right for a chest with a Chaos Blade. Then, continue all the way down to the end; just to the left is a chest with an Aegis Shield.
Next, follow the remaining right-ward path clock-wise from the center. At the end, near the far south, there’s a blue chest containing a legendary Gungnir (best lance). Finally, backtrack to the center and follow the left-ward path opposite the Chaos Blade chest.
Towards the far left side, head up at the junction for a chest containing a Brave Suit; then head down for the exit. As a reminder, if you entered this dungeon from the Normal Ending route, the exit will be blocked off by an impassable door–should this occur, you’ve no recourse but to walk all the way back to the entrance.
Floor 10

The final floor is clone of Everlast Tower‘s final floor, but the layout is slightly different. From the initial stairs, head left for a chest containing a Muramasa. Back at the stairs, head right and keep to the right as you go down–do so and you’ll bump into a chest with a pair of Hadean Claws.
Finally, follow the path left and around; near the bottom-left corner, there is an open passage to the right–there wasn’t one here in the original Everlast Tower. Cautiously make your way right to discover the final blue chest, containing a deadly Durandal (best sword). …And that’s a wrap!
So… were you disappointed with the dungeon’s end? Were you expecting an epic boss battle or something?
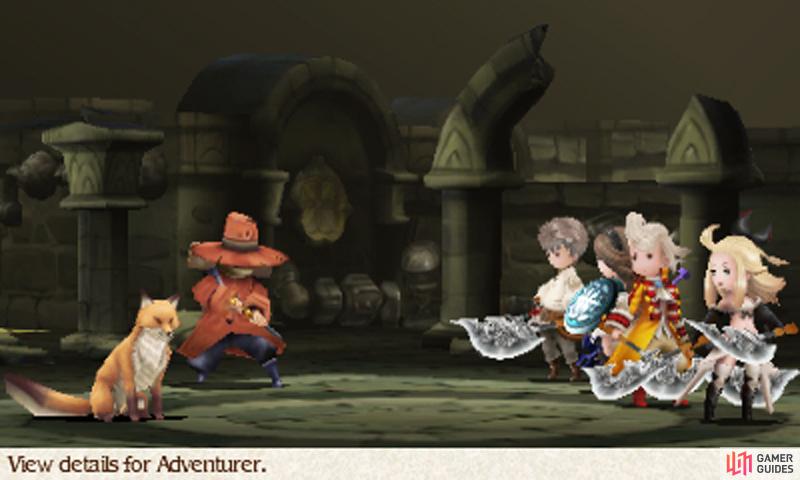
Hey, don’t turn back and leave just yet! If you continue right from the Durandal chest, there’s a secret passage beyond the wall that leads further right and then down. Whom might you meet at the end besides the Adventurer and his creepy talking animal companion? Your first reaction might be: “Cool, I can finally save my game” or maybe “Yes! The exit!”
The truth is…
Boss: Adventurer and Companion
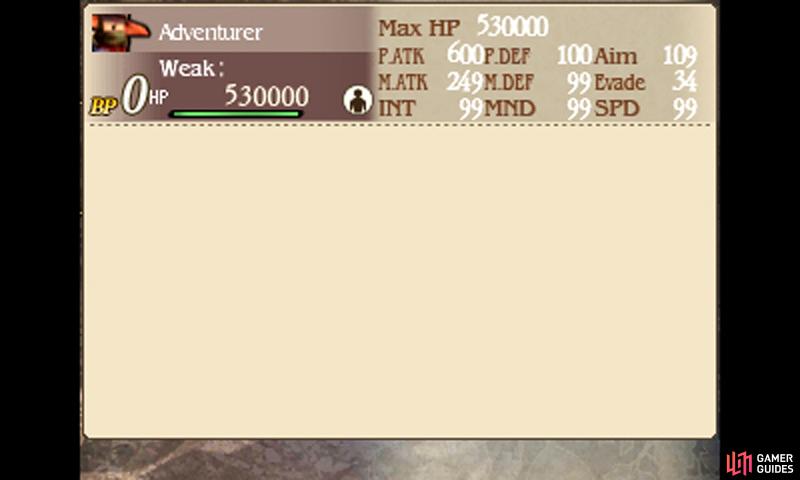
| Level | HP | Weak to |
|---|---|---|
| 99 | 530,000 (Adventurer), 50,000 (Companion) | Beast (Companion), Nothing (Adventurer) |
Bravely Default’s optional super boss is here to fight! This guy is stronger than the final boss, so don’t hold anything back and expect nothing short of an intense battle. Before you begin the battle, we recommend your characters are Level 99, but you can get by with a Level 80 team… If you’re good. Also, put on Blind Immunity on your characters (your healer should be wearing the Ribbon from the Dark Aurora).
The Adventurer ain’t a pushover with 530,000 HP on Normal mode and 99 Speed. He will use Mass Slash to cause great damage to your party–often twice in one turn if he has enough BP. Afterwards, he may go into negative BP, depending on how much BP he started with and the number of times he used Mass Slash.
Meanwhile the Companion has similar stats, but only(!) 50,000 HP. It will use Dispel to get rid of your buffs–including Rampart, if you wanted to protect yourself from Mass Slash. For annoyance, it will use Blind on your party and Curaga to heal its master. Its nastiest trick is Adventurer’s Friend, which ups the Adventurer’s BP by 3.
To make things even more annoying, the Companion will use Protect Ally to take single-target hits for its master. Worse, slay the Companion and on his next available turn, the Adventurer will use Call Comrade to call another Companion in. The mayhem just never ends…
For a sure-fire way of hurting the Adventurer, you can rely on group-hitting attacks like the Vampire‘s Firestorm. With good timing, you can also pile single-hits like the Pirate‘s Amped Strike on the Adventurer the turn you fell his Companion. If it’s during a turn where the Adventurer has negative BP, that’s an even better time to strike.
As soon as you get some good damage in (around 200,000), the Adventurer will Brave with increased frequency. This can be really tough on your party, especially if the Companion keeps feeding BP to his master. The Adventurer will also start casting Meteor twice in one turn, raining non-elemental magic on your party.
However, this is also the best time to attack the Adventurer, as on occasions he can go down to -3 BP after two rounds of Mass Slash. So if you can survive his onslaught of attacks, while being able to mount your own, the path to victory will be there.
For a chance of success, your healer should be a Salve-maker, equipped with the Hermes Shoes, Holy One (Spiritmaster) and Speed 30% Boost (Thief). If you have the Fox Tail or Falcon Knife from rebuilding Norende, put them on everyone for the increased Agility–dual wield them for double Agility.
What matters most though is that your healer can outspeed the Adventurer with high success rate; for this endeavor you’ll need a bit more than 99 Speed. On your first few turns, have your healer concoct a Giant’s Draft (Beast Liver + Dragon Fang) for each party member to double his or her maximum HP.
With double HP on everyone, you ought to have an easier time keeping up with the Adventurer’s crazy damage. With luck and the right preparation, your healer should be quick enough and powerful enough to patch up your team time after time after time. This leaves you in a prime position to spend your BP on powerful moves to drop the duo.
No Comments