
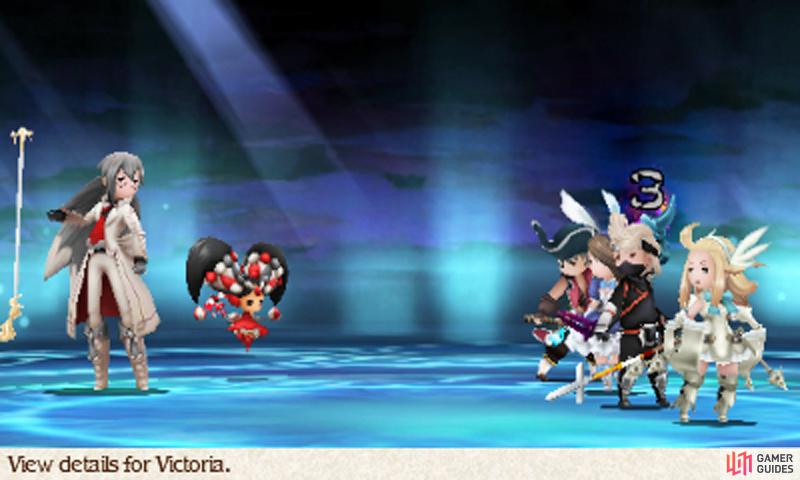
As the gang stroll up the long stairway leading up to Eternian Central Command, they’ll be met by a familiar pair–Victor and Victoria. Intent on stopping Agnes and company from proceeding, Victoria unleashes the full power of her magic, to disastrous effects.
However, just like in the previous encounter, Victoria is unable to continue and Victor is forced to grab her and flee. Inside Central Command, chase the duo through the room to the right. Victor will educate the party about Victoria’s past in a bid to buy time for Victoria to recover–and when she does, it’s battle time!
Boss: Victor and Victoria
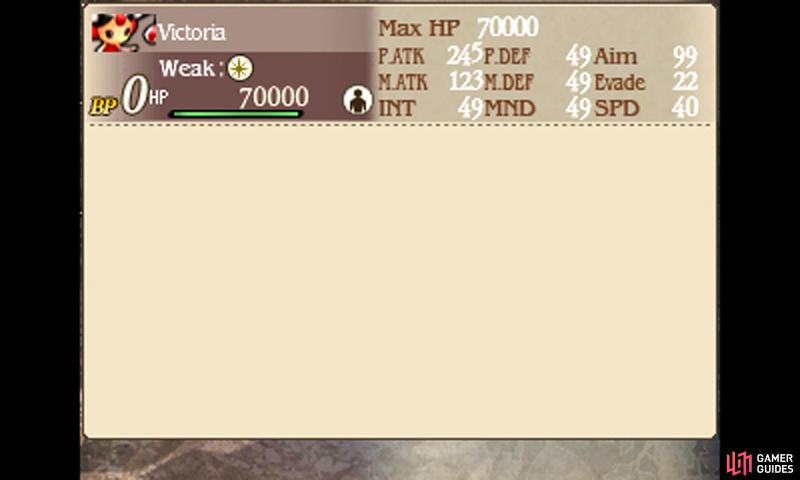
| Level | HP | Weak to |
|---|---|---|
| 45 | 80,000 (Victor) 70,000 (Victoria) | Dark (Victor) Light (Victoria) |
Hope you haven’t been having nightmares about the last encounter, because this time you have to fight for real. Victor uses Fairy’s Aid to boost his or Victoria’s elemental attacks, Curada to heal HP and Holy to heavily damage a single target.
Victoria is far more annoying, using Poison to attack your party and Exterminate to deal heavy dark damage to those poisoned. Equip everyone with a Star Pendant to avoid Victoria’s deadly tricks. Additionally, Victoria uses Corpse to cause Doom to a single target and Dark to cause big damage on a single target.
With immunity against Poison, this battle isn’t too tough if you keep your wits. Holy and Dark hit hard–likely taking off three quarters of your HP, so don’t hesitate to Default to reduce the damage. If their magic proves annoying, cast Reflect (White Mage) on your party–this works nicely as Victor is weak against Victoria’s spells and vice versa.
However, while Reflect is up, you can’t heal with White Magic else it targets the foe–stick with potions instead. Focus on snuffing out Victoria first, as Corpse can be a pain to work around (and it’s not negated by Reflect).
Now that the path is clear of threats, return to the initial room and head for the central area, indicated by the next orange exclamation mark. Just before the locked door, a disembodied voice speaks to the party, before flooring them in a single instant. Ouch! So much for progress…
Caged Heroes
When you regain control, Edea will be all alone in her room inside Central Command. Approach the door in the bottom-left corner and Edea’s father will come to meet her. Sadly, father and daughter fail to see eye to eye and Edea is forced to remain in her room indefinitely. Edea however refuses to let her father have his way…

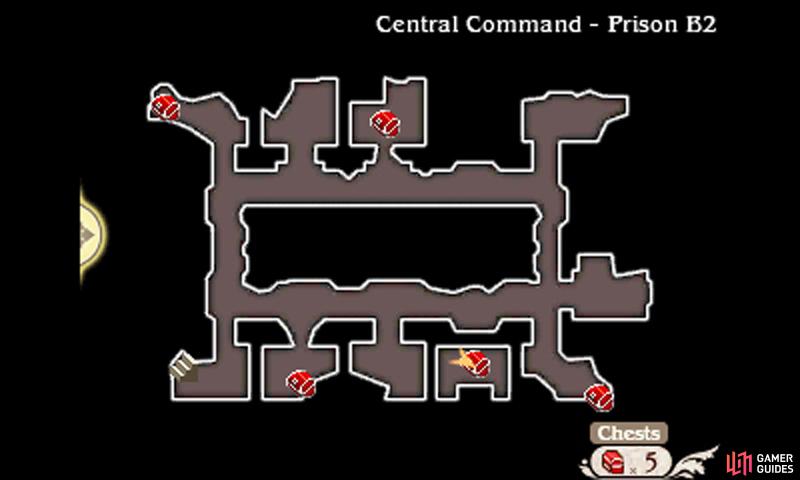
Moments later, Edea infiltrates the prison, ready to free her captured companions. In basement level 2, the main corridor loops around so you can’t get lost. From the top-right corner, where you start, you’ll find Ringabel if you go left, Agnes if you go down, and Tiz if you follow the corridor from Agnes’s cell.
Once you’ve gathered up your party, you’re free to exit the prison via the stairs in the bottom-left corner. Before leaving, take the time to pilfer the chests in the top-left corner (X-Potion), near the top (3000 pg), bottom-right corner (Light Curtain) and near the bottom-left (5000 pg). Consider it compensation for your poor treatment!
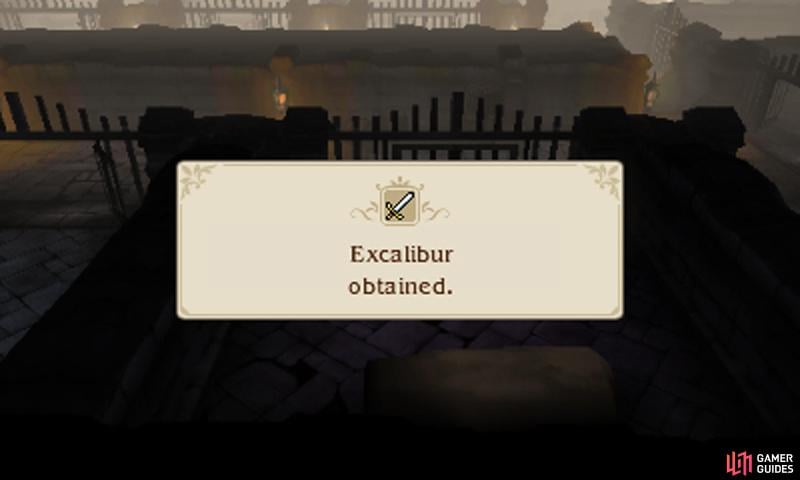
Excalibur is a powerful sword that does Light-element damage. Perfect for foes weak to Light, but watch out for foes strong against it.
Prison Escape

Upstairs, in basement level 1, make your way up the claustrophobic corridor to find a chest containing a Light Charm in the top-left corner. From here, follow the path right, past all the junctions to find a chest with an X-Potion. Reverse back and enter the earliest junction; at the end of the road, there’s a chest with a Dragon Fang.
Finally, take the middle junction between the top-left corner and X-Potion chest and follow it as it twists and turns, to find chests containing a Zeus’s Wrath (near the top-right) and Bacchus’s Wine (bottom-right corner). Having grabbed all the loot, it’s time to say “bye” to this place; head for the orange exclamation mark in the top-right corner.
At your destination, the group will be separated from the exit by an impassable metal gate. As everyone bangs heads, an unexpected visitor arrives to offer a word of warning, before opening the way ahead. After taking the stairs beyond, you’ll be back in the initial area of Central Command, right where you first started!
No Comments