
Once you’ve spoken with Sage Yulyana in Vestment Cave in this world, a brand new sub-scenario will appear back in Yulyana Woods. Inside the sage’s residence, approach the blue exclamation mark within to find a note from the sage, willing you to the Council of Six’s chambers at the top floor of Eternian Central Command.
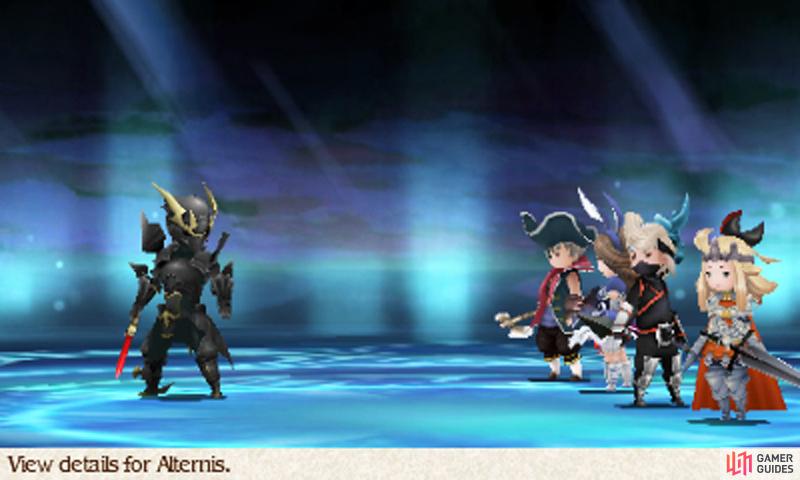
Ascend Central Command and, sure enough, the sage awaits at the council chamber. Upon seeing our heroes again, the sage supplies them with a test of their abilities. The first to be tested is Ringabel, who must head for Edea’s bedroom two floors down. There, dark knight Alternis Dim charges mindlessly at Ringabel and the others.
Boss: Alternis Dim
| Level | HP | Weak to |
|---|---|---|
| 58 | 100,000 | Nothing |
The Dark Knight fights the same as he did in the Holy Pillar (both occasions); he uses Black Bane for group damage and Dark Bane for single damage. For protection against his Dark Arts, put on Abate Dark (Dark Knight) or the Dark Charm onto your characters and Dark Shield on your healer.
As before, use the Spiritmaster‘s Adaptation to trivialize Dim’s dark moves. You can also counter his all-physical moves with Nothing Ventured, Utsusemi or (paired with Kairai) Know Thine Enemy, although the latter won’t work against Black Bane.
It’s later when the Dark Knight becomes tricky; as he drops below half HP, we will occasionally use Minus Strike for a guaranteed K.O. Being a physical move, you can block Minus Strike with Utsusemi or Rampart; Kairai can be used to focus his attacks on an ally protected by these abilities.
Otherwise, you can just suck up the K.O. and resurrect your fallen comrade with a Salve-maker compounding a Phoenix Down and Potion or a White Mage with Arise. You also have the option of having a Time Mage cast Reraise or a Salve-maker compound a Font of Life for an automatic revival.
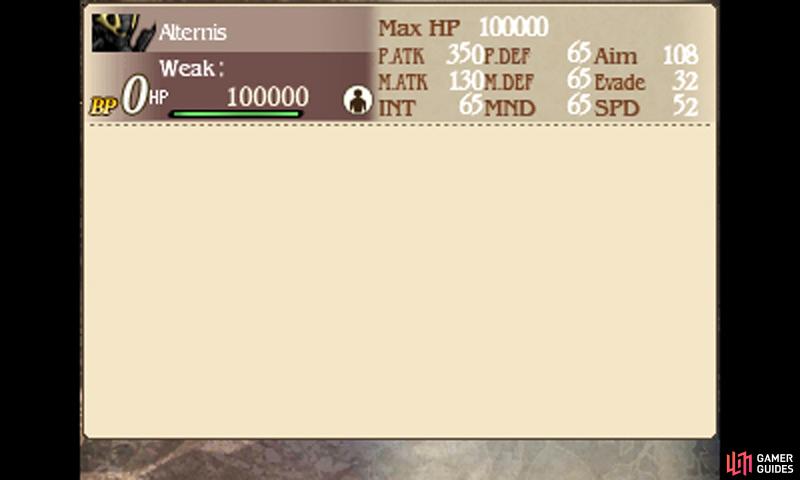
With Ringabel’s test over, it’s time for Edea to see how far she’s come. Exit Central Command and head for the top of the Central Healing Tower in Eternia City, where you first met Mahzer, Edea’s mother. Mahzer is joined by her husband, Upon seeing Edea, Braev erupts into an uncontrollable rage.
Boss: Braev Lee

| Level | HP | Weak to |
|---|---|---|
| 58 | 120,000 | Dark |
The Templar hasn’t got anything new to show since the previous bout, besides his slightly improved stats. Like his Chapter 5 counterpart, he will play fair and won’t recover all of his HP after receiving a K.O. like his counterpart in Chapter 4.
Braev will frequently Default to build up his BP to 2 or 3 points, before expending BP for a variety of moves. Initially he’ll use Radiant Blast (pierce Default) followed by Heart Strike (guaranteed critical). Later, he’ll Brave twice, for a combination of Giant Strike (hurts higher HP foes), Heart Strike and Radiant Blast.
When Braev Defaults, that’s a good opportunity if any to pound him if you have Default-piercing moves such as Qigong Wave (Monk), Targeting (Ranger), Spray (Vampire) or your own Radiant Blast. Once Braev starts Braving twice, he’ll easily go into negative BP, leaving you with ample opportunity to get some free hits in.
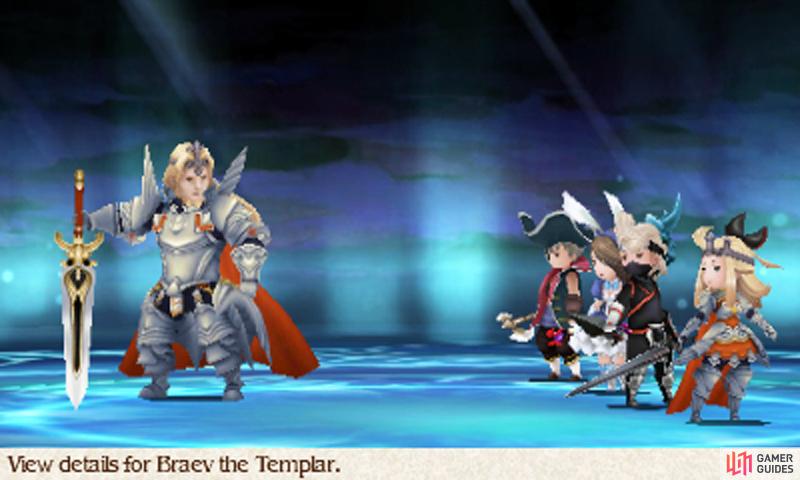
Having put Edea’s resolve to test, it’s time for another hero to take the spotlight. Now Agnes must travel to the hidden village at the end of the Twilight Ruins in Florem, where a crystal maiden hides in fear. Her happy reunion is once again cut short–this time by the three Venus sisters together.
Boss: Einheria, Mephilia and Artemia
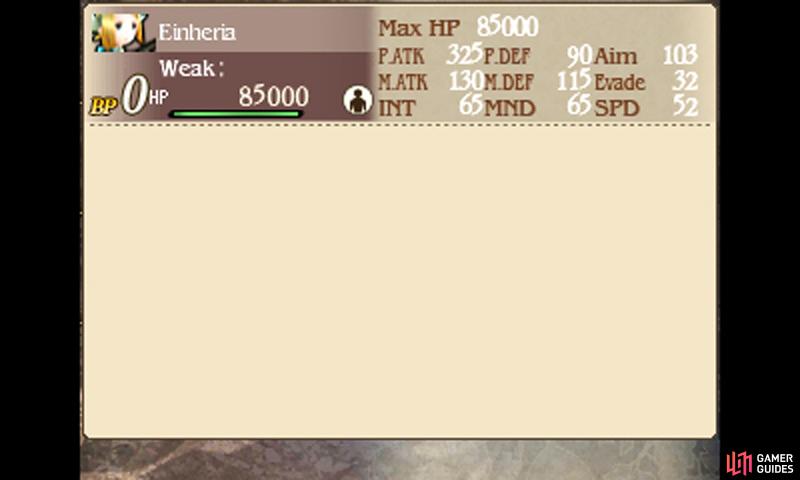
| Level | HP | Weak to |
|---|---|---|
| 58 | 85,000 (Einheria), 60,000 (Other two) | Fire (Artemia), Nothing (Other two) |
Yikes! While the previous two battles were simple enough, being repeats of earlier battles, this one really ups the ante. If you struggled against Alternis or Braev, it might be a sign you’re underleveled–should this be the case, grab some experience from the world map monsters. We survived the sisters’ onslaught at Level 60, but you can aim higher.
All three sisters are heavy hitters in their own right. Big sister Einheria will use Crescent Moon to impale your party and Jump for big damage to one character. Middle sister Mephilia will rely on her Girtablulu summon for heavy earth damage to your party–unlike in her solo battle, she won’t use it as often, but it will still hurt.
Little sister Artemia uses Targeting to damage one and Multi-Burst to unload a volley of random shots on your party; in contrast to her solo performance, she won’t bother Defaulting, so you needn’t worry about her shrugging off your damage. Against Einheria and Artemia, the Templar’s Rampart and Ninja’s Utsusemi are essential for blocking damage.
For Mephilia, the Swordmaster’s Abate Earth or Earth Charms would really help to soften her blows. Ideally you want to play defensively, Defaulting (combined with Default Guard from a Templar) to mitigate damage, while at the same time save up BP to put up Rampart. While you’re momentarily protected by Rampart, you can quickly patch up your party and start dropping your attacks.
Focus on Mephilia first, since her summon isn’t blocked by Rampart. Next, take out Artemia, focusing on her fire weakness to quickly snuff her out. Finally, Einheria will likely offer the most resistance, putting up Spirit Barrier as her HP falls to convert her HP damage into MP damage–use the White Magic Dispel to nullify her protection.
Succeed in driving away the Venus sisters and it will be the hour of Tiz. Travel to the end of Norende Ravine in Caldisla, where you can see the Great Chasm. At despair’s edge, Tiz finds somebody he thought he’d never see again–and as usual, some pesky intruders come to interrupt his joyous reunion…
Boss: Deadly Army of Kobolds
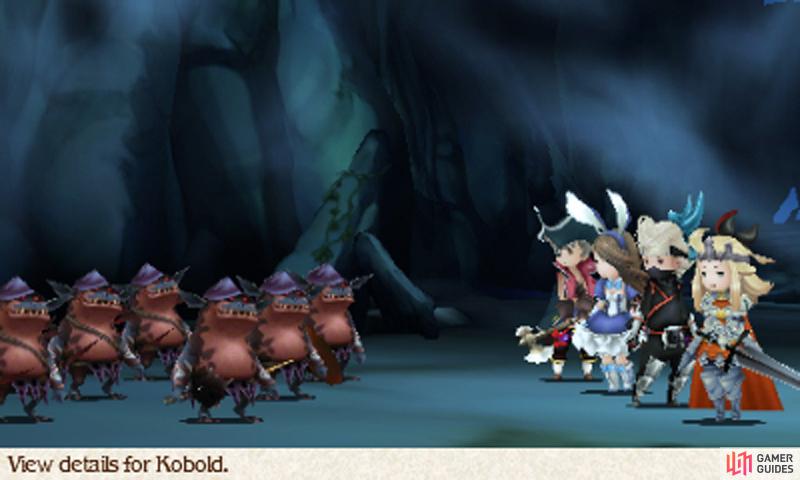
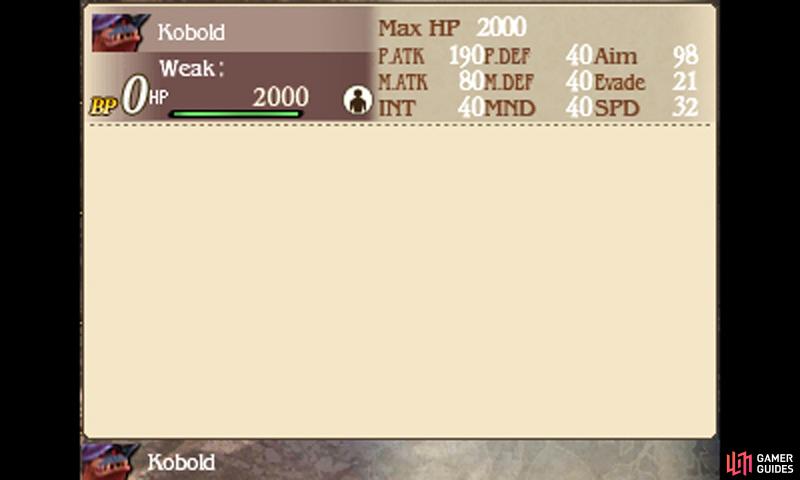
| Level | HP | Weak to |
|---|---|---|
| 36 | 2000 (all) | Lightning (Kobold Slasher) |
We hope you’re ready, because this battle is nuts; you must drive away six mighty threatening Kobolds with your sorely outnumbered party of four. Before you begin, it would help to have Paralyze Immunity (Ranger) or Earthing Rods equipped, in case the Slashers stun your characters with Shield Bash and mercilessly batter them to death.
As soon as the battle begins, shout your most impressive battle cry (our favourite is “Chaaaaaaaarge!”) and then use your best attacks on everyone–Brave the max amount of times if you wish; you’ll need all the help you can get. With luck, you might just be able to defeat the frightening enemies. Maybe after your first use of Firestorm, even…
Okay, the joke’s over; after that thoroughly underwhelming battle, all four of our heroes will have completed their test. Yet one final test remains–and that would be our heroes’ decision after the brand new lives they were just given. Back at Grandship’s tavern, the gang discuss their options between themselves.
Thus our heroes arrive at an unanimous decision. When you’re ready, set a course for the sage’s residence once more and speak to the good sage at the back of the house. Proud of our heroes’ choice, the sage offers them his ultimate prize–a battle of a lifetime that they’ll never forget…
Boss: Conjurer Yulyana
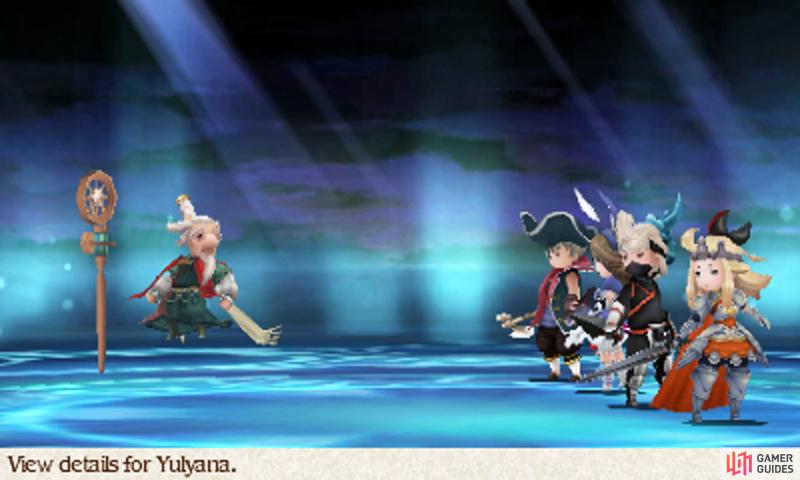
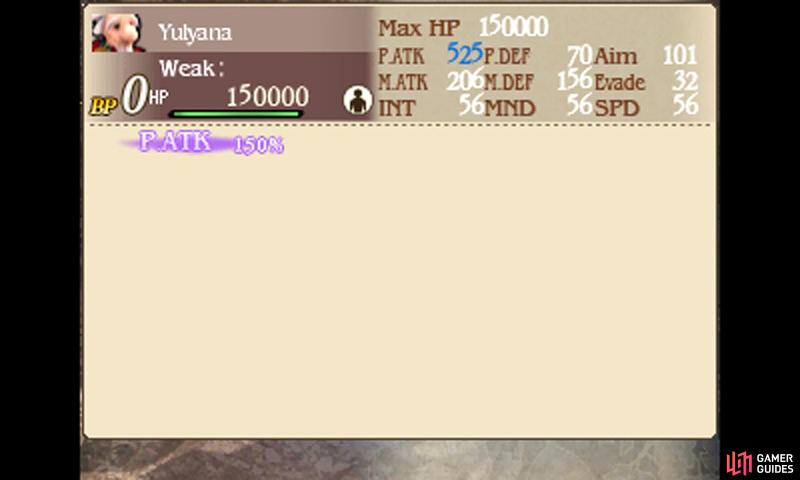
| Level | HP | Weak to |
|---|---|---|
| 60 | 150,000 | Nothing |
The Conjurer is comparable to Lord DeRosso in strength, so steel yourself for a tough battle. He will invoke Promethean Fire to maximize his Physical Attack or Deux Ex to maximize his Magic Attack. He’s a fan of Amped Strike, which does massive damage to one–likely causing a K.O., and Meteor for major non-elemental damage to your party.
Like against the Vampire, put up Rampart to nullify Amped Strike; you can also use the Ninja’s Kairai to direct his attacks onto somebody protected with Utsusemi or Rampart. With Amped Strike missing its mark, you can hammer Yulyana with your strongest moves–perhaps even your own Amped Strike (paired with the Swordmaster’s Free Lunch for zero MP use).
As Yulyana’s HP falls below half, he will use Meteor, which is tougher to protect against; don’t get frustrated when one character takes most of the hits and falls to the floor. If anyone falls, bring them back up ASAP with a Salve-maker or Arise; otherwise Meteor will only get stronger with less characters to target.
If everyone’s protected by Rampart or Utsusemi, you should Default to protect against Meteor. Also, Dispel Yulyana’s invocation bonuses and use a Pirate or Vampire to drop his stats–especially his Magic Attack, to weaken Meteor. Keep up the good fight and it won’t be long before Yulyana calls quits.
No Comments