
With the winds blowing in the Harena region once again, peace can finally return to the realm. Before that occurs though, return to Ancheim when it’s night time (just wait on the world map until night falls). If you obtained the Merchant asterisk, there will now be a blue exclamation mark inside the city, near the magic store.
If you forgot where the magic store is, it’s found to the left of the giant clock in the center of the city (or check the bottom screen).
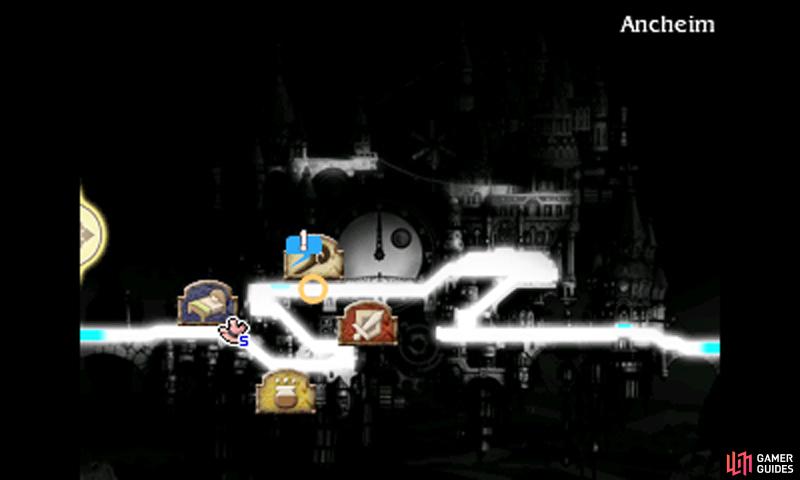
Approach the blue mark to discover a new entrance immediately to the left of the magic store. Step foot inside and you’ll be in the foyer of the Grand Mill Works; head for the top-left corner where the next blue exclamation mark is and inspect the door to enter the dungeon.
To: Floor 2 Treasure Room

The Grand Mill Works only contains two floors, but you’ll be weaving between the two floors a lot, so be careful you don’t get confused! From the second floor entrance, there’s a crossroad after the first corner; go down first to find a chest with a Remedy inside. Next, go up at the crossroad and take the stairs leading upstairs.
Follow the path upstairs, turning at the next junction to avoid a dead end, towards a chest containing a Phoenix Down and a set of stairs leading down. Downstairs again, you’ll emerge in an isolated room with three chests, one locked and the others hiding a Thumbing Claws and Earthing Rod.
To: Floor 3 Lever Number 1

Return to the second floor crossroad and head right this time, up the stairs. Upstairs on the third floor, you’ll be greeted by another crossroad. Up ahead, the Adventurer awaits, as well as an elevator currently barred off. From this new crossroad, continue right to find a lever–pull this to deactivate the first part of the gate blocking off the elevator.
To: Floor 3 Lever Number 2
Next, head downwards from the third floor crossroad to find stairs leading down–from here, follow the winding path, which will take you between the two floors. Along the way you’ll find chests containing an X-Potion (2nd floor; bottom-right), Hi-Potion (3rd floor; bottom-right) and Ether (2nd floor; top-right).
At the very end, you should emerge in the top-left corner of the third floor where another lever lurks–drag it down to deactivate the second gate, opening the way to the third floor elevator. Now head backwards and return to the elevator, letting it take you upstairs.
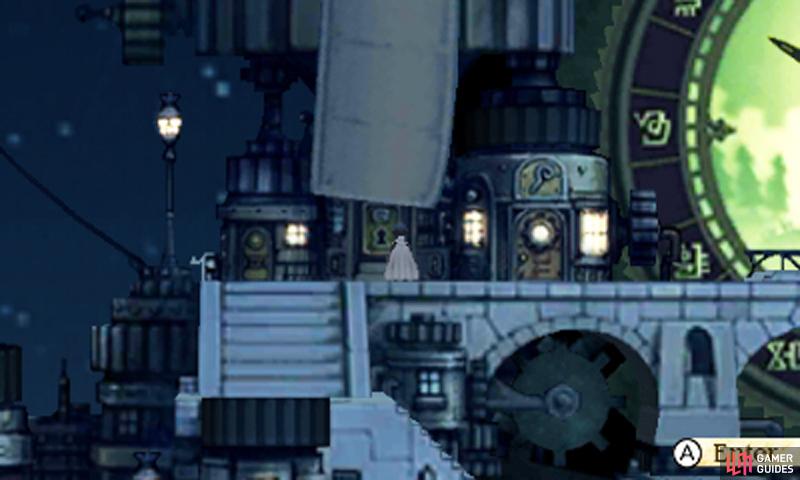
Atop Ancheim
Once you step outside the elevator again, you’ll be atop Ancheim. Carefully make your way right, while enjoying the night time scenery, until you’re above the royal palace; inspect the door at the end to enter.
You’ll arrive near the top of the royal palace; on the right side, there will be a blue exclamation mark–go there to eavesdrop on the king and his dastardly scheme and then prepare for a boss battle!
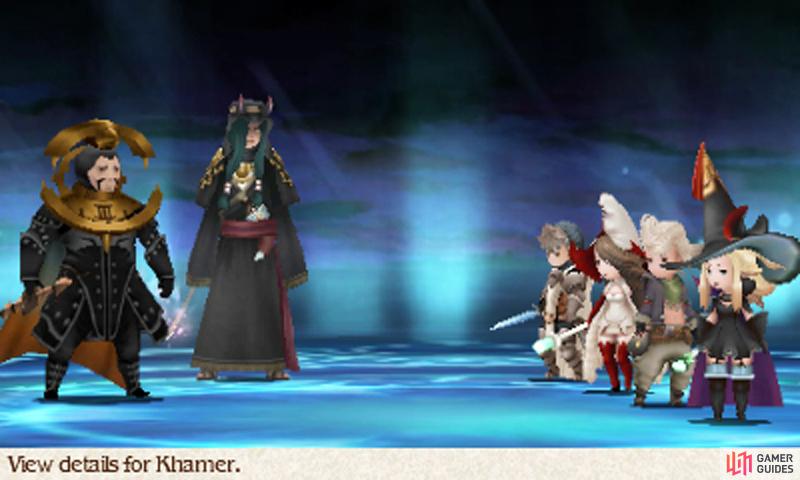
Boss: Khamer VIII and Khint
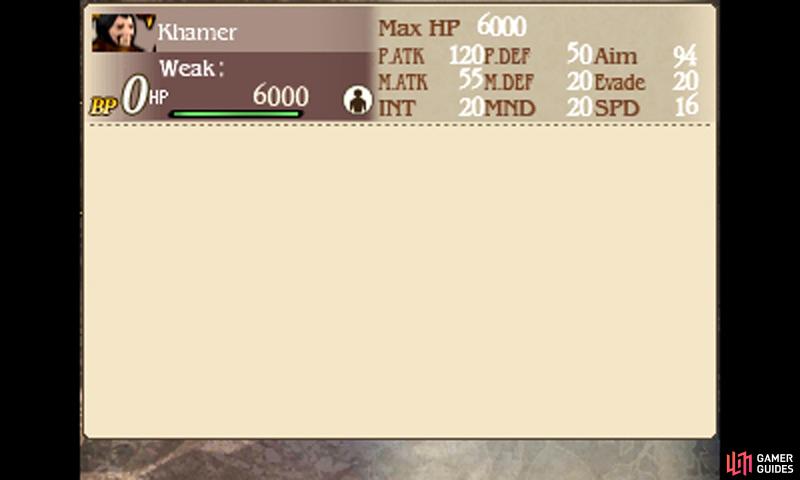
| Level | HP | Weak to |
|---|---|---|
| 20 | 6000 (Both) | Nothing |
Okay, you know the drill by now; Khint will be supporting his benefactor with his sword magic. Except this time Khint won’t run away, so now you can finally pile the attacks on him.
Khamer VIII is adept at using Time Magic, such as Stop, which makes a party member immobile for a few turns, Veilga, to raise his party’s evasion, and Quara, which deals moderate earth damage to your party.
We recommend focusing your attacks on Khamer because Stop and Quara are annoying. Once Khamer nears half HP, he will start to Default, before attacking twice the next turn.
Against either of these fiends, magic is good because of their low magic defense. Your best bet is probably to play it safe by Defaulting until you’ve max BP and then wait for a suitable opportunity to shower Khamer or Khint with attacks.
When Khamer starts to Default, you may want to take your chances and attack him on the turn he attacks twice (but not with everybody). Later in the battle, Khint will start to Brave and attack twice, before going immobile the next turn. As usual, throw all your attacks on him during his downtime.
After this act of regicide, Ancheim will be without a ruler, so only time will tell if you truly brought peace back to Ancheim…
No Comments