
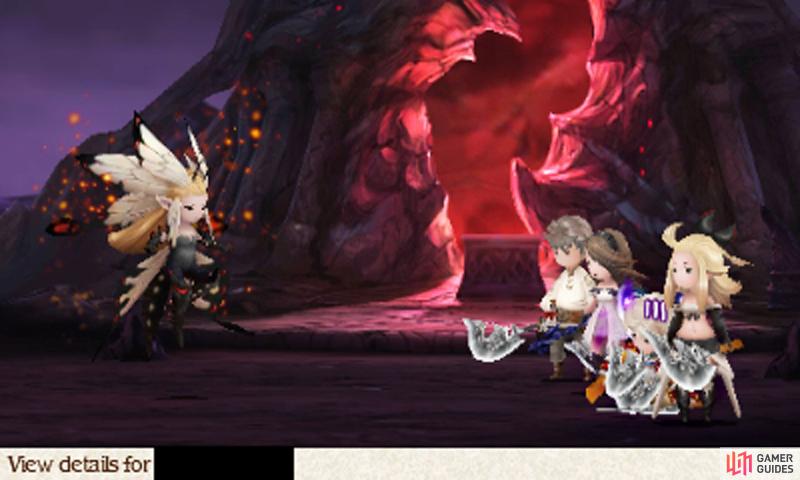
At the end of the Dark Aurora, our heroes finally catch up to the monstrous Evil One. However if they were expecting an easy fight, they’re in for a shock as the Evil One has been given a new and powerful form from its master, Ouroboros.
Boss: The Evil One (final)
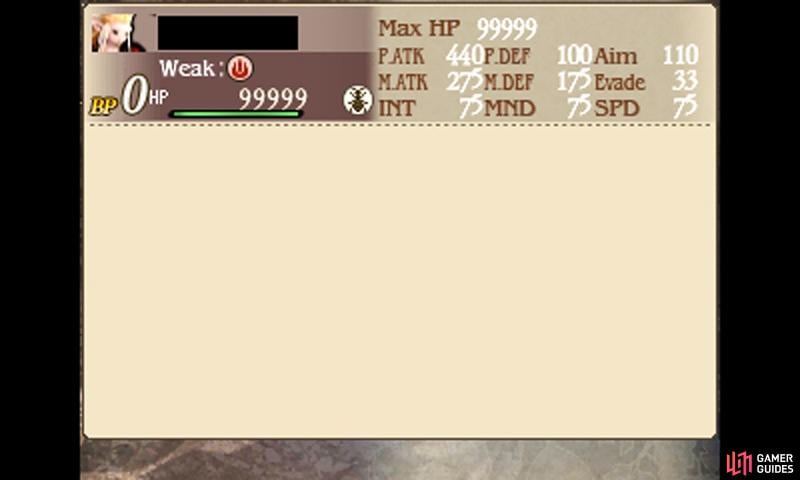
| Level | HP | Weak to |
|---|---|---|
| 75 | 99,999 | Fire, Bug |
In its “perfect” form, the Evil One has improved abilities all round, although it still has the same defenses, plus weakness to fire and bug-slaying. Now it’s a master of both physical and magical attacks, so you really need to bring your A game.
Like in its first form, it will use Slaughter to mercilessly pound your party and cause Poison; use Utsusemi or put up Rampart for protection or Default to weather the onslaught. If anybody is afflicted with poison, cure them immediately as the boss can use Plague to kill anyone who’s poisoned.
Its other powerful move is Zeta Flare, the supreme fire spell. Abate Fire is good for a while, but the boss will use Acedia to make your characters weak to fire (and the other elements), so you’re better off countering with the Spiritmaster’s Greater Spirit Ward or upping your magic defense with a Performer.
Occasionally, the Evil One may use Dark Abyss to instil Fear on your party. You can equip the Courage Ring to combat this, although it means forgoing a Hermes Shoe/Sandals. Casting Fairy Ward may be advisable, since it will prevent poison too or you could just suck it up and use Esunaga.
When the Evil One Defaults, get ready for the ride of your life. On the next turn it will use Acedia followed by Zeta Flare for disastrous effect. To improve your odds of surviving, boost your party’s magic defense with the Performer’s Key To Your Heart and drop the boss’s magic with the Pirate’s Skull Bash or the Vampire’s Absorb Stats.
If you can survive the boss’s attacks, you’ll need to think of a worthy comeback. The attacks you used on its previous forms should work just as well here–our favourites are the Vampire’s Firestorm and the Pirate’s Amped Strike.
Try to keep a healthy reserve of BP; don’t go negative too often in case you need to Default to block Slaughter or Zeta Flare or administer aid to a fallen comrade. You’ll also need to be cautious of your MP running out–not a problem if you brought a good supply of Turbo Ethers or have Magic Thirst on your Vampires.
Crush the arch-nemesis for the third time and it will vanish into the abyss from whence it came. Don’t relax just yet as the real final battle is just ahead. Kindly, the game will give you a moment’s peace before the next battle; head back to the Adventurer to save, heal your party and restock on items.
No Comments