
Airy’s advice is becoming disturbingly accurate.
Hopefully your patience isn’t beginning to wear thin; if it is, we don’t blame you. To progress the story, you have to awaken the four crystals for the third time–and hope things are put right. Fortunately, if you continue to stick around, things will start getting interesting soon–including an eye-opening new sub-scenario.
Firstly though, head to any of Luxendarcs’s four crystal temples; there, defeat the dark beast obstructing your path and let Agnes awaken the crystal beyond. Like the asterisk holders, the beasts have improved stats, but they have the same moves and patterns as before, so you can rely on the same strategies from earlier.
Memories and Revelations
After awakening the third crystal of this world, Tiz will confront Ringabel on Grandship’s deck about his ever-worsening condition. Ringabel then reveals a shocking revelation, as well as favor for Tiz. The next day, Tiz volunteers to visit Sage Yulyana and while Agnes and Edea are puzzled, the gang have no options, so to the sage we go!
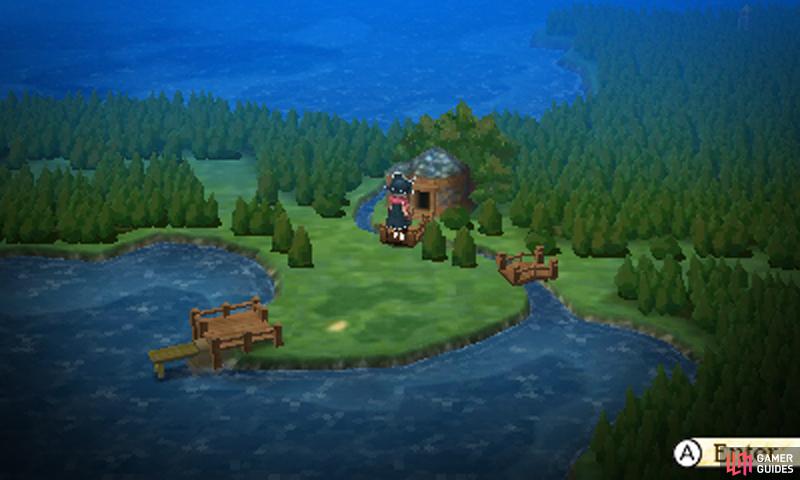
At the sage’s residence in Yulyana Woods, a familiar scene will unravel and, like in the previous chapter, the sage will ask Agnes to take her most trusted companion to the depths of Vestment Cave. Past the cave entrance, the party will split and only Tiz and Agnes will venture into the cave.
As before, we recommend disabling encounters during this period, but you’re free to brave the cave monsters if you desire. At the very end of the cave, where you found the rainbow thread, Yulyana will be waiting. For a change, Tiz and Agnes are the ones who confuse the sage, when they reveal their foreknowledge of his knowledge.
To World’s End
Before leaving this world behind, make sure to return to the sage’s residence!
After the long and meaningful chat, exit the cave and the party will regroup. Now you can make your way to the final crystal temple. Before that (or at least before heading for this world’s Holy Pillar), you can return to the sage’s residence for a new sub-scenario.
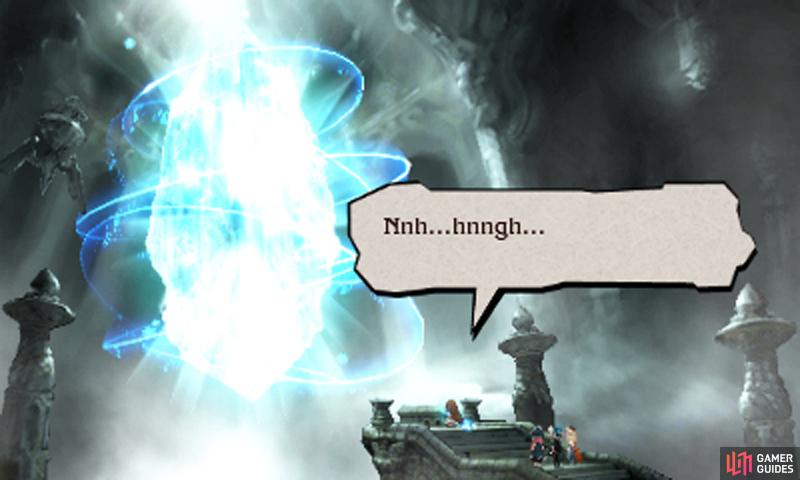
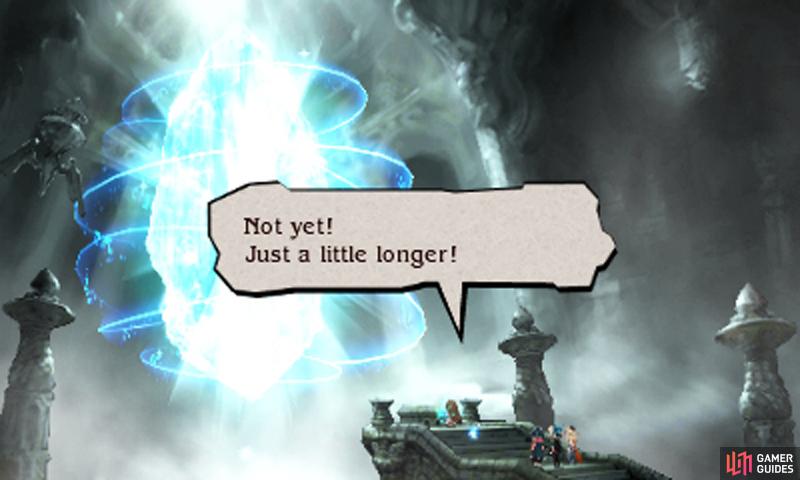
Either way, after crushing the fourth dark beast and awakening the fourth crystal, the Holy Pillar will show up in this world too. Once you’re sure you’ve left nothing of value behind, fly Grandship straight for the ominous pillar and enter. Within the pillar’s confine, Airy will gather the first light into her brooch and the party watches on intensely…
No Comments