
After everything goes white in the Holy Pillar at the end of Chapter 8, Tiz and company wake up on the bridge of Grandship. That’s new! The game will leave you in Grandship‘s markets, next to the Adventurer. Take this time to manage your party and–only if you’re confident–save your game.
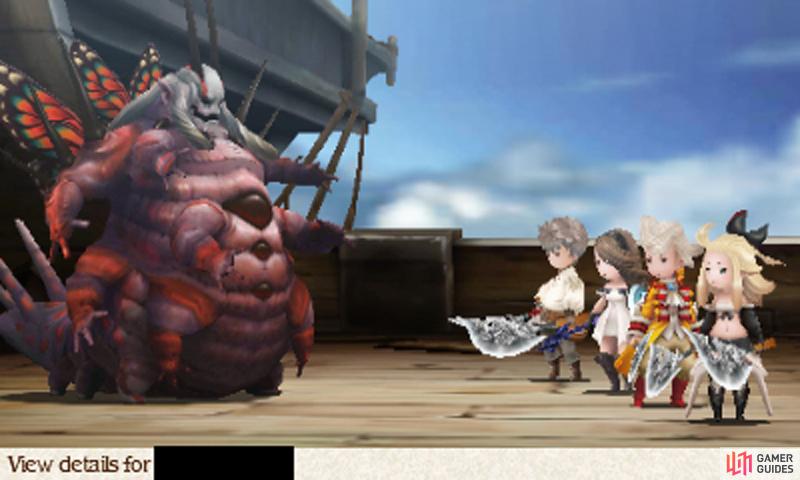
As soon as you head for the deck, you’ll find that something is not quite right… During the height of their despair, a foul monster appears before our party’s eyes–the Evil One. Sadly, it seems our heroes’ ordeals haven’t ended and the real fight has only just started…
Boss: The Evil One (larva)
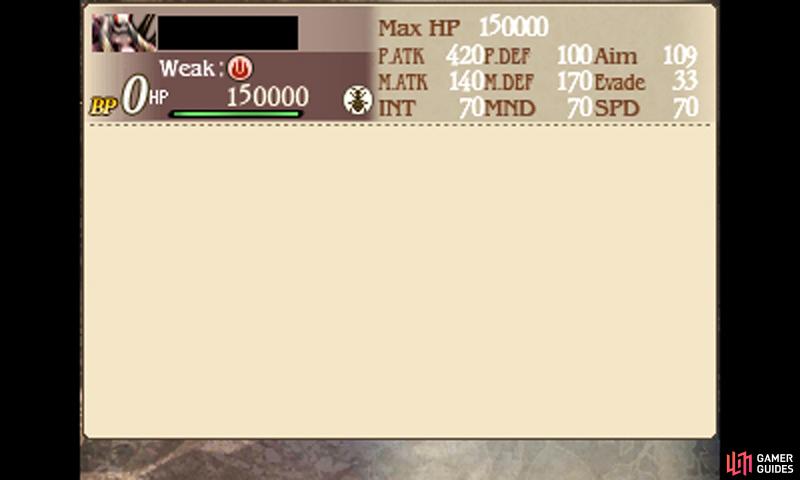
| Level | HP | Weak to |
|---|---|---|
| 70 | 150,000 | Fire, Bug |
You may have battled this boss in the Normal Ending route; its stats are slightly buffed up (now it’s stronger than the Chapter 8 crystal bosses), but it uses the same abilities. Before beginning the battle, have everyone equip Stop Immunity (Time Mage) and Charm Immunity (Performer) or Lamia’s Tiara (negate Charm); if you did the Normal Ending first, your healer should equip the Ribbon.
The Evil One uses Slaughter to deal massive damage to your party and cause Poison–block it with Utsusemi or, ideally, Rampart; otherwise Default to soften the pain. The boss will become immobile the turn after Slaughter, which is your chance to turn things around! If anyone gets poisoned, use Esunaga pronto as the boss will use Poison Punisher to inflict heavy damage to poisoned characters.
To annoy you, the boss’s Tight Bind causes Stop on your party–without Stop Immunity, you’ll waste valuable turns and expose yourself to Slaughter. Finally, the fiend may put up Spike Guard–an imposing barrier similar to Chaugmar’s. You can still attack the boss while Spike Guard is up, but any physical hits you do will result in a counter attack.
Also watch out that the boss can still use Slaughter with its barrier up, so you’d be better off Defaulting to mitigate damage, while saving up BP. Later, it will use Release to remove its barrier, at which point you can continue with your usual line of attack.
For offense, the Vampire‘s Firestorm is great for targeting the boss’s fire weakness, while the Pirate’s Amped Strike (combined with the Swordmaster’s Free Lunch for multiple usage) never fails to impress. Just try not to go into negative BP in case you need to brace for Slaughter.
Bring the beast down to critical HP (about 10%) and the battle will end prematurely.
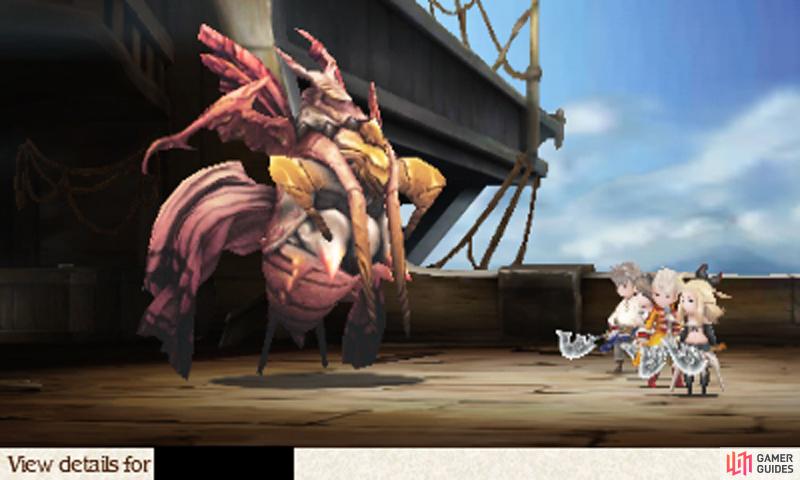
Somehow, Tiz and friends manage to stand their ground in the face of adversity. However their hopes are threatened when the Evil One reveals it was holding back before, showcasing its true form…
Boss: The Evil One (pupa)
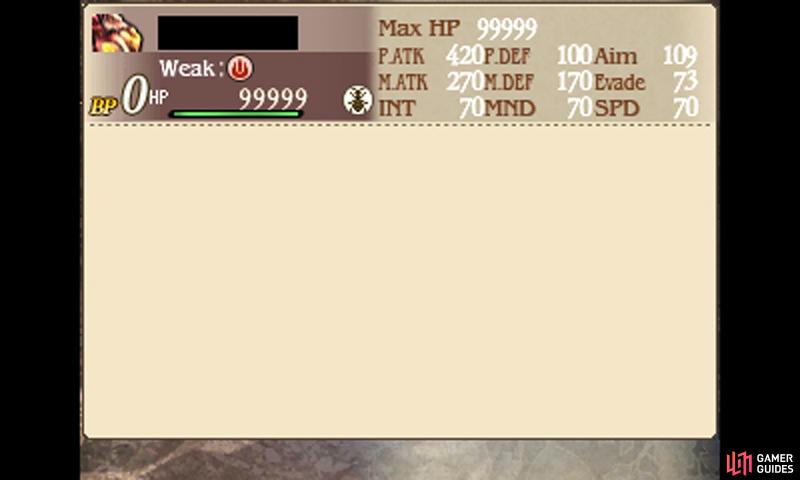
| Level | HP | Weak to |
|---|---|---|
| 70 | 99,999 | Fire, Bug |
The Evil One’s second form has similar stats to its initial form, but its magic attack has received a significant upgrade. Now it will fight solely with magic and only the most powerful, ranging from Thundaga to Dark, plus its own unique fire spell Flare. Initially you can ward off the boss’s attacks with the Spiritmaster’s Adaptation or Greater Spirit Ward.
However you’ll need to change tactics quick when the boss employs Acedia to make your party weak to all the elements. If you leave your characters weakened, they’re sitting ducks for the boss’s magic, so use Greater Spirit Ward ASAP to reverse the elemental weaknesses. For this reason, you should conserve BP for your character who has the Spiritmaster’s Job Command.
When the boss isn’t pelting you with magic or dropping your elemental resistance, it will use Luxuria to Charm your party. Failure to protect against Charm can seriously jeopardize your chances, especially if your Spiritmaster is affected, rendering them unable to reverse Acedia with Greater Spirit Ward.
So long as you have Charm Immunity and keep a careful eye on your elemental resistance, this battle shouldn’t be a struggle. Because of the boss’s unchanged defenses, you can use the same attacks as in the battle prior. Though since you’ve come to this battle straight from another, you may need to replenish your party’s MP (you get tons of Turbo Ethers from the Chapter 8 optional bosses).
Send the arch-nemesis reeling and it’ll leave the scene in panic. We don’t know whether to feel glad or depressed and neither do our heroes, it seems…
No Comments