
We can’t stress enough how much time you’ll save by equipping Dungeon Master. At this stage, it doesn’t take long for any character to learn.

You’ve come a long way, having aided the Shieldbearers in the civil war, but the road to the Temple of Fire begins here properly. Expect a long passage and don’t hesitate to rest back at Hartschild before continuing.
Floor 1; East

In the first area, floor 1 east, there’s a large rock blocking the passageway to the left, so just follow the only available path. After much walking on hot coal, there will be a junction by the left; follow the path down to grab 1000 pg from a chest, then head back and follow the path left and up.
Near the top-left corner there will be another junction; head left here for the stairs to the next area. Before advancing, continue right from the junction to find a blue locked chest and chests containing a Bomb Fragment (center) and Bomb Arm (top-right corner).
Floor 2; East

Downstairs, in floor 2 east, make your way down the fiery tunnel until you reach the junction; continue down from here. At the next junction, forget going down as a dead end awaits and instead turn right to find a chest containing 2000 pg. Back at the first junction of this floor, turn left and stop before the junction ahead.
At this point, follow the tunnel left to find a chest with a Safety Ring inside, then go back and follow the path down to find the stairs to the next area. At the stairs, the party will momentarily rest (but not recover HP or MP, sadly) and ask about Egil’s future plans.
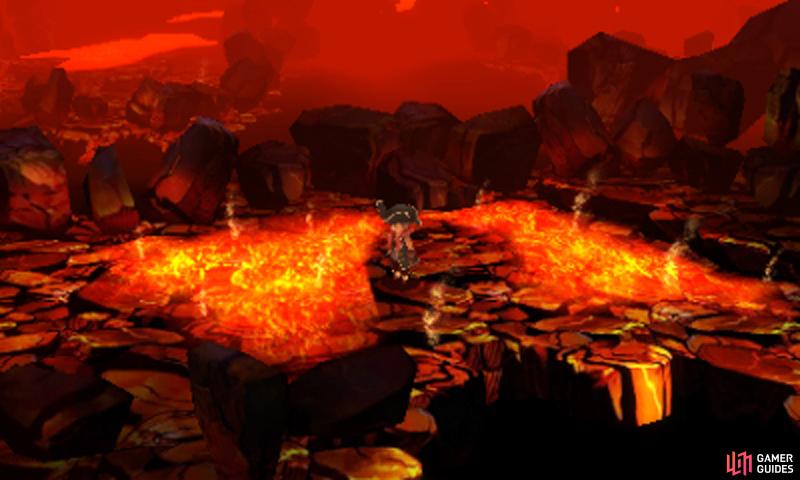
Floor 3

Further downstairs, the pathway before you may crumble into the lava as you step near, preventing you from crossing over–when this occurs, simply find your way around. From the entrance, follow the path anti-clockwise, passing by three junction, to find a chest with an X-Potion at the end.
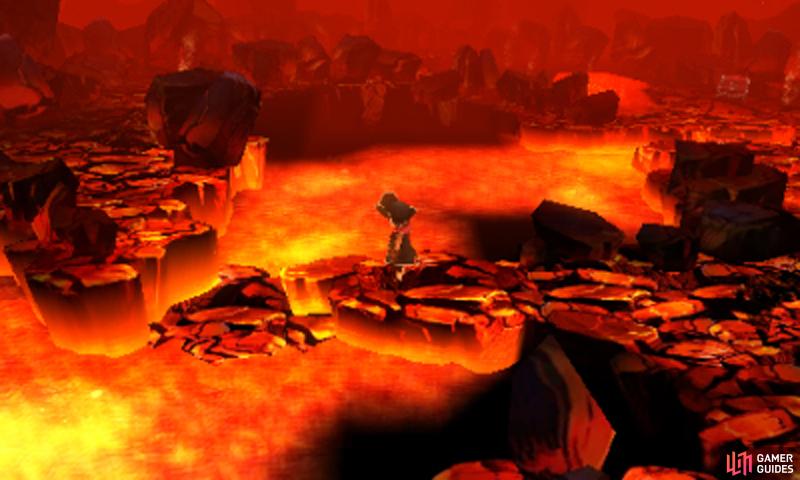
Don’t worry; though the path may crumble before you, there’ll always be a way around.
From the chest, return to the latest junction you passed and, from there, head left a few paces. The party will stop to rest again and ask about Egil’s commitment to the journey. After catching your breath, follow the path clock-wise this time, past a crossroads, and stop at the junction by the top-left corner.
From here, head all the way right to find chests containing a Flame Charm (by the center) and Turbo Ether (top-right corner). When you’re done looting, return to the top-left corner and take the stairs nearby, leading down.
Floor 2; West

Next, you’ll be in floor 2 west; we did say this was going to be long! From the entrance, follow the path down at the first junction to find a chest with a Diamond Staff at the end. Back at the entrance of this floor, make your way left and follow the only available path until you reach the southern part of the floor.
From here, head right and turn at the first junction to grab yourself a Flare Hatchet from a chest. At the south again, head left and turn at the next junction; then follow the long, winding path to pick up a Gale Bow from a chest. Finally, return to the last junction and continue left to find the stairs to the next area; you’ve done good to make it thus far!
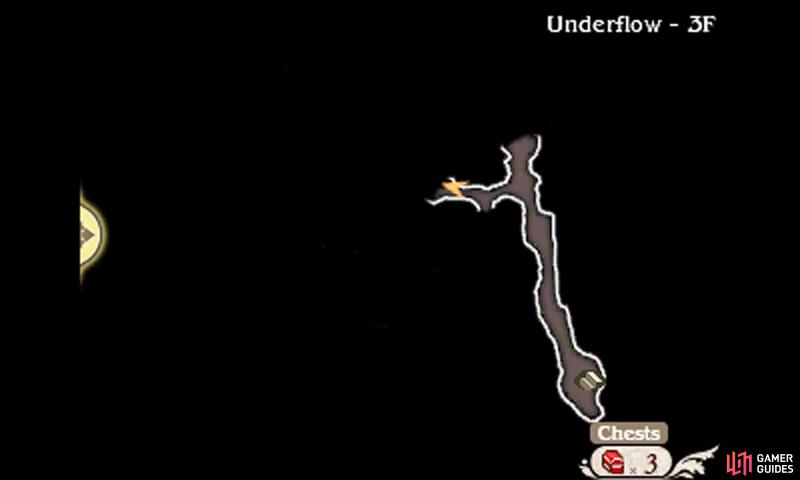
Floor 1; West

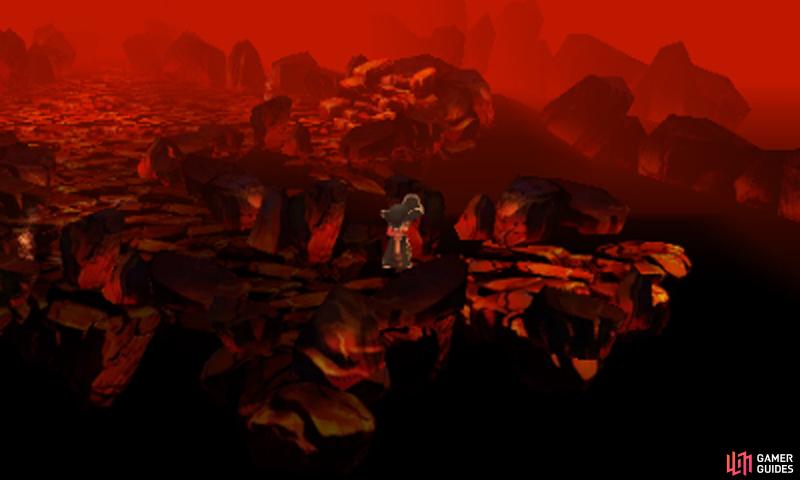
Down the stairs and you will emerge in floor 1 west, which is the final part of the Underflow. Cautiously make your way left towards the orange exclamation mark and an event will occur. The earthquakes raging in the area have grown more violent and suddenly the ground below starts to give way.
As the gang try to escape to safety, Egil falls behind and is left hanging on a cliff. At this point, Tiz is forced to relive his worst nightmare, but does he have the power to change Egil’s fate? When everything is over, you’ll be on the other side of the current floor. Now all the big rocks blocking your passage are gone, so you can return to the right side if you so wish.
Since the game is kind enough to provide you with a shortcut back, don’t hesitate to use it if necessary.
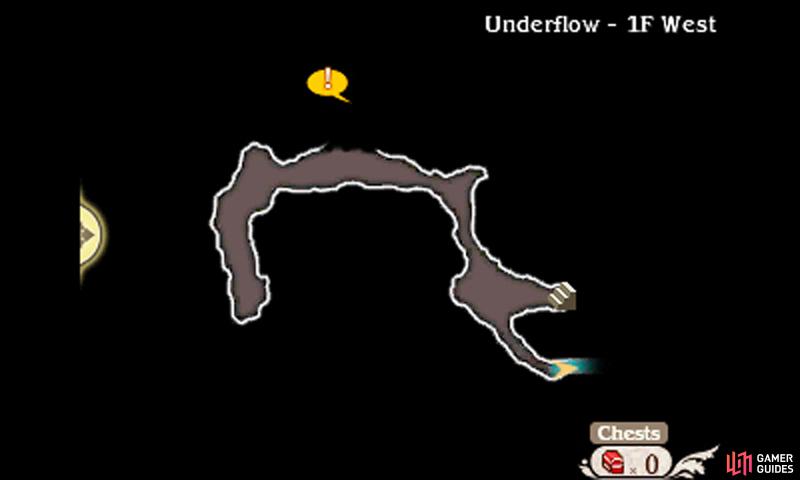
In the bottom-right corner there’s an exit that will take you back to the first area of the Underflow–handy if you want to return to town to heal (hint: do it!). As soon as you’re ready to proceed, head for the north, where the next orange exclamation mark lies; here, lies the entrance to the Temple of Fire!
No Comments