
Don’t relax just because you’ve taken a detour, as this dungeon is tough as the rest.
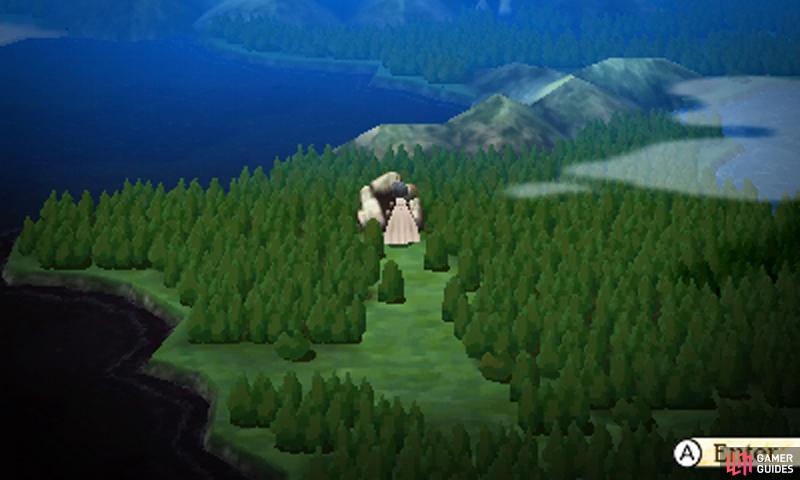
To reach Vestment Cave, exit the sage’s residence and travel clock-wise around the lake. The cave itself stretches deep and features a few twists and turns, but you shouldn’t get lost, especially if you consult the map on the bottom screen.
Floor 1

To begin with; follow the cavern clock-wise. You’ll find treasure chests in the bottom-left corner (Hi-Potion) and top-left corner Phoenix Down). In the top-right corner, there’ll be stairs going down.
Basement Level 1

Downstairs, there’s a chest containing 500 pg if you continue down at the first path split. At the second split, go up to stumble upon a blue locked chest. Like before, you can’t open this chest right now (you’ve got a couple of more chapters yet), so forget about it for now.
At the third path split, continue left to find another split–here you can open the chest in the top-left corner to net yourself a Remedy or head down and travel downstairs, to an isolated part of basement level 2, where a chest with a Mage Shell awaits you. Head downwards from the third path split to find stairs leading to the rest of basement level 2.
Basement Level 2 and 3

In the main segment of basement level 2, you’ll find chests in the bottom-left corner (Echo Herbs), top-left corner (Ether), top-right corner (Teleport Stone) and center (1000 pg). Meanwhile, the stairs leading ahead are located by the center; follow the cavern clock-wise (like in the first floor) and you can’t go wrong.
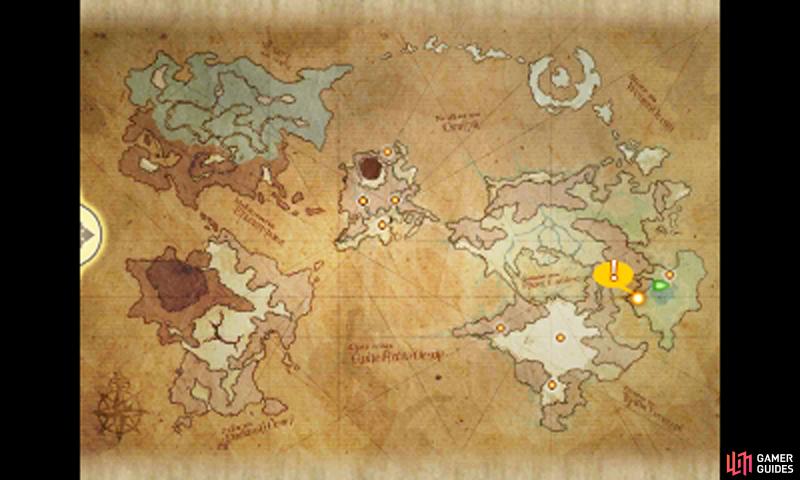
After descending the stairs, you’ll be in basement level 3, where the plucky Adventurer is waiting for you up ahead–and an orange exclamation mark much further ahead. After the absence of a boss in the Temple of Wind, you can finally have your long-awaited boss battle! (You did want it, right?)
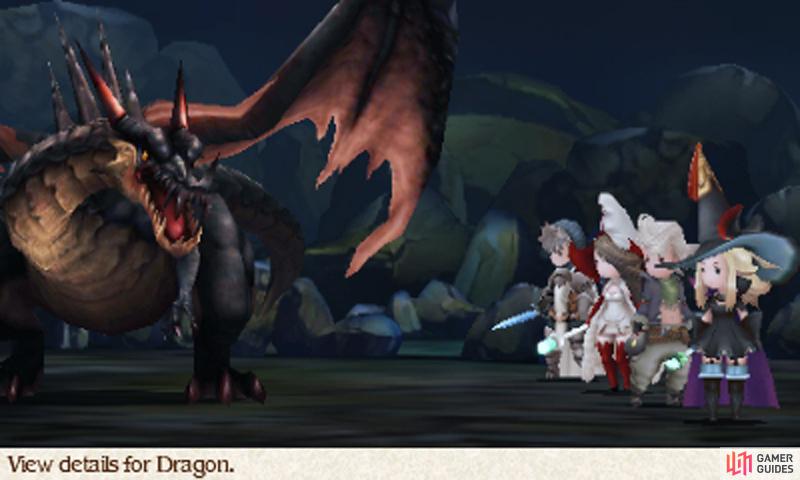
Boss: Dragon
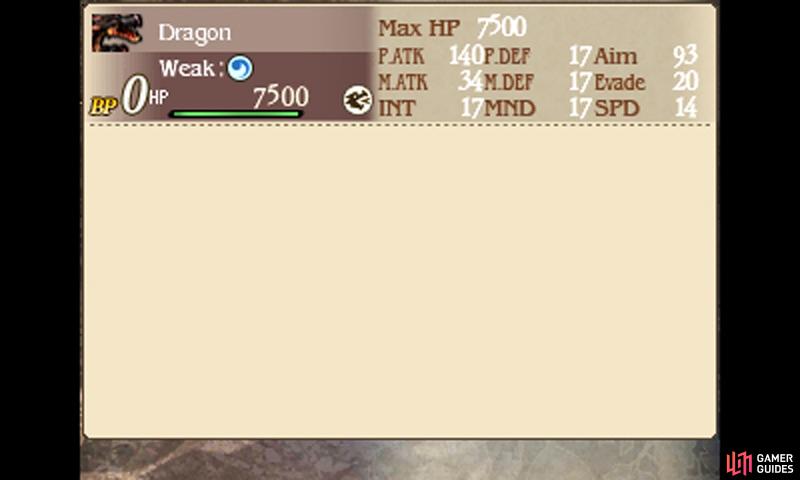
| Level | HP | Weak to |
|---|---|---|
| 17 | 7500 | Water, Dragon |
Ouch, this bad boy can sure pack a punch. For a chance of success, you’ll need high defense; trek back to Yulyana’s to buy better gear if necessary (you can also rest in the bedroom to recover HP and MP). The dragon uses Mow Down to do hefty damage to your whole party, so group-cast Cure to keep your health up.
Default to keep damage to a minimum and unleash the attacks when the dragon has negative BP from attacking twice (you’ll probably be healing at this time too). If it doesn’t look like the dragon’s going to Brave, cast Cure to keep everyone’s HP up or Protect to bolster someone’s defense.
Occasionally the dragon will Brave and use Mow Down followed by Bully, a single-attack move, which combined can K.O. a party member if you’re unlucky or not careful. If somebody bites the dust, Brave and use a Phoenix Down and Hi-Potion to bring them back into the game–ideally the turn they have negative BP.
As the dragon sustains damage, it will Brave with increased frequency, so it’s important your characters can sustain the pain. If you brought a Black Mage along, Blizzard can eat a good amount of the dragon’s HP.
After vanquishing the dragon, use a Teleport Stone to leave the cavern and return to Sage Yulyana. The next day you’ll receive the fixed Vestal Garb. With this, you can now perform the rite of awakening, so back to the temple we go!
No Comments