
The once-bountiful nation of Florem is again being woefully degraded by the Bloodrose Legion deployed by Eternia. It’s time for our heroes to bring the women back to their senses, by severing the root of the mind slavery. While in town, check out the armory to find a rare Elven Bow (may cause Confuse) going for 21,000 pg.
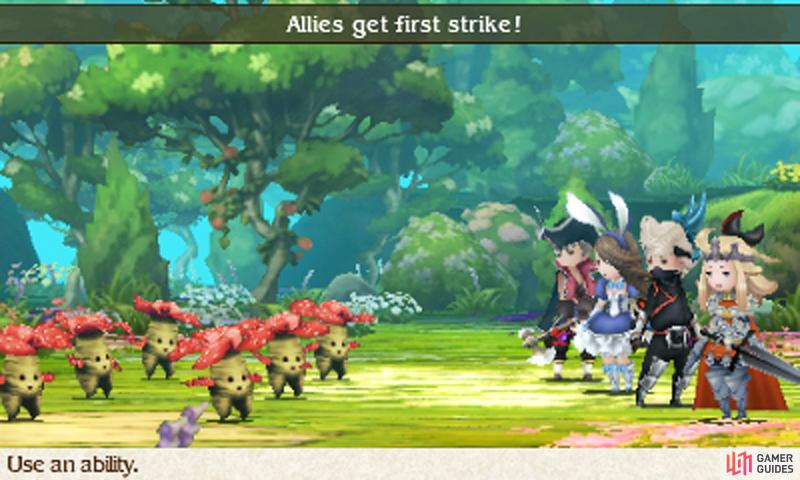
Like the others, you can battle these asterisk holders in any order, but we’ll just stick with the original order to make things easier to follow. First, take a trip to the Twisted Treetop, to the north-east of Florem. Atop the trees, the twisted, little feral girl is up for another hunt.
The enemies have all gotten stronger, so you should do your best to catch up.
Boss: Artemia Venus
| Level | HP | Weak to |
|---|---|---|
| 48 | 80,000 | Fire |
At the start of the hunt, focus on ridding the Legion bodyguards with your group-hitting abilities, such as Thundaga, Deux Ex or the Vampire’s Firestorm. By this stage, you can probably afford to go extremely negative with your BP on a single character, just to get the bodyguards out of the way.
Once you’ve singled out Artemia, you can focus on hammering her with powerful moves, especially fire-based ones. Like before, Artemia likes to build up BP by Defaulting, so space out your attacks or use attacks that pierce Default, like Qigong Wave (Monk) or Targeting (Ranger).
In a bid to snuff you out, Artemia will use Targeting to hurt one and Multi-Burst to rain down damage randomly between your characters. Then as her HP drops, she will Brave and unload two lots of Multi-Burst for some impressive damage.
Keep an eye on your HP and don’t hesitate to pull out the defensive stops, like the Ninja’s Utsusemi for full evasion or the Performer‘s Got Your Back to up your party’s defense. Surviving two Multi-Bursts will leave you in a position to give the immobilized Artemia a serious and painful wallop.
Next up, travel to Florem Gardens to the north-west of Florem and stroll through to the end to find the wicked Summoner still plucking fairy wings.
Boss: Mephilia Venus
| Level | HP | Weak to |
|---|---|---|
| 48 | 60,000 | Nothing |
The Summoner was quite tough before, but she should be straightforward to take down with your increased defenses. For starters, slap on Abate Earth (Swordmaster ability) or the Earth Charm onto your characters to mitigate damage from Girtablulu, which she summons every three turns.
The Spiritmaster‘s Adaptation is great for trivializing Girtablulu, as anybody with it cast on them will absorb the earth damage as HP. Similarly, Level 10 Dark Knights can use Absorb Magic on every third turn to absorb Girtablulu’s damage as MP.
As you laugh off Girtablulu, don’t forget that Mephilia will summon Legion soldiers every now and then. However, a few shots of Thundaga, Deux Ex or the Vampire’s Firestorm (or similar group-hitting attacks) will make short work of them.
With two of the three Venus sisters stopped, head for Witherwood, north of Florem, where the final Venus sister awaits. Despite her apprehension, Einheria absolutely has no plans to abandon Eternia and once again points her lance at Edea’s direction. Better put her out of her misery…
Boss: Einheria Venus
| Level | HP | Weak to |
|---|---|---|
| 48 | 80,000 | Nothing |
Einheria uses Crescent Moon to stab your party and Jump to leap into the air and cause big damage to one on the next turn. With your increased pool of abilities, you should have an easier time taking her down. For instance, Crescent Moon can be countered with a Swordmaster’s Nothing Ventured or evaded with a Ninja’s Utsusemi.
When Einheria reaches low HP, she’ll put up Spirit Barrier in desperation, causing your attacks to damage her MP and not HP. Instead of waiting for Spirit Barrier to wear off, just use the White Mage‘s Dispel to remove it. Alternatively continue attacking Einheria and she’ll soon run out of MP thanks to your improved damage output.
Last but not least, we can’t exactly leave the Legion’s leader hanging around can we? Whether it’s day or night, make for Florem city and barge into the underground lab via the secret entrance to the bottom-right. Approach the blue exclamation mark within and the gang will stumble upon vile DeRosa again and expose his underhanded exploitation scheme.
Boss: Fiore DeRosa
| Level | HP | Weak to |
|---|---|---|
| 48 | 80,000 | Nothing |
Old Man DeRosa can cause a few headaches with his Revenge ability, giving him a chance to up his BP by 1 each time you attack him, combined with his strong damage. Before you defang him, make sure your healer is equipped with the Raikiri katana (negate lightning), Iceflame Shield (negate fire) and Lamia’s Tiara (negate charm).
Your other characters should equip Abate Fire (Black Mage) and Abate Water (White Mage), Rebuff Lockets (negate Charm) or the corresponding equipments/abilities. Now that your defense is sorted, you needn’t fear unloading hits on DeRosa and triggering his flurry of attacks.
Like earlier, he will cast Cura, followed by Thundara and then do a normal attack. After his HP falls, he’ll forsake Cura for a second dose of Thundara. While resisting Thundara is simple, watch out that DeRosa’s normal attack does a decent amount of damage; a good trick is to cast Adaptation to recover HP from his Thundara.
When DeRosa has 0 BP, will occasionally use Captivating Cologne to charm your characters or Fear to cause Dread to your party. Dread is difficult to avoid, but you can simply use the White Mage’s Esunaga to remove it and resume normal operations.
End DeRosa and Edea will ponder about her father’s involvement in allowing DeRosa to run rampart–at which point, Ringabel reminds her (and you) to check the Red Reports filed in D’s Journal.
No Comments