
Who would have guessed that after awakening the fourth and final crystal, you’d have to awaken them all again? Oh well, at least this time you’ve more experience (and abilities) to make your task easier. Unlike the first time, you can awaken the four crystals in any order; although to keep things simple, we’ll stick with the original order.
This means we’ll first visit the Altar of Wind in the Harena region’s Temple of Wind. Unfortunately, the Wind Crystal has indeed reverted to its original state–and worse, a foul creature once again obstructs your path.
Boss: Orthros

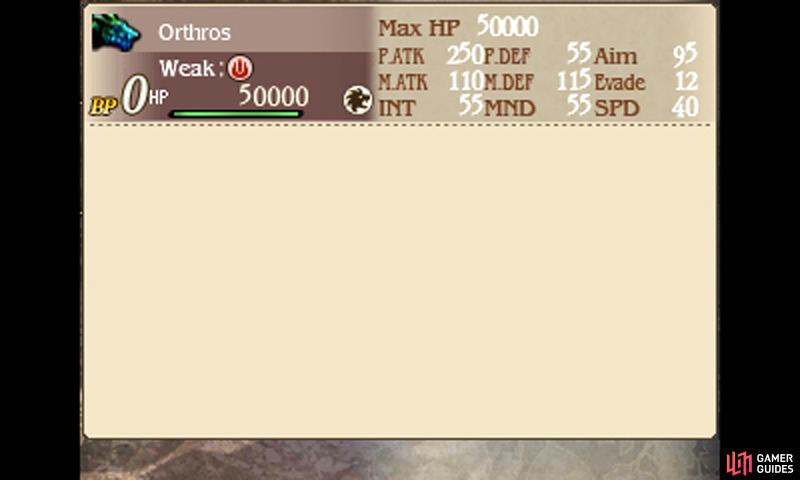
| Level | HP | Weak to | Immune to |
|---|---|---|---|
| 48 | 50,000 (Both Heads) | Fire (Blue Head), Water (Red Head), Beast (Both Heads) | Water (Blue Head), Fire (Red Head) |
The Bringer of Doom can be partially trivialized by equipping your healer with the Iceflame Shield (negates fire and water–how convenient!) and the relevant water and fire-resisting abilities/equipment onto your other characters. With your increased defense against Orthros’s fire and ice attacks, this battle is mostly smooth sailing.
Just watch out for Blazzard, which does strong non-elemental damage; fortunately Orthros will stop using it after you decapitate one of its heads or when one of its heads stops glowing. As before, use your fire and water attacks to target each head’s weakness, which also stops the head glowing and prevents it from using its group attacks.
When Orthros has lost one of its heads, it will start Braving twice to unleash three attacks in a turn, like last time. Don’t hesitate to fall back on the Spiritmaster‘s Adaptation, which allows a select ally to absorb elemental damage for a few turns. Rampart and Utsusemi are also good for blocking all of Orthros’s moves–especially that pesky Blazzard.
Smite the wicked hound and Agnes will prepare to perform the Rite of Awakening once more. This time, Airy will ask if you want to listen to her explanation of the rite or not. Choose to listen and Agnes will comment about being worried about the rite working or not. How about you; are you worried?
In any case, repeatedly press the X button like you’ve done in the past to awaken the crystal. Now that you’ve awakened all four crystals the first time, there is one more thing you can do… When Airy tells Agnes to stop praying, you can actually continue to press the X button, even though the button prompt has gone.
While you could do this earlier, you would be stopped by Airy eventually. However, now it’s possible to continue without Airy’s interruption… For now though, don’t bother as you’re not far enough into the game to understand the consequences.
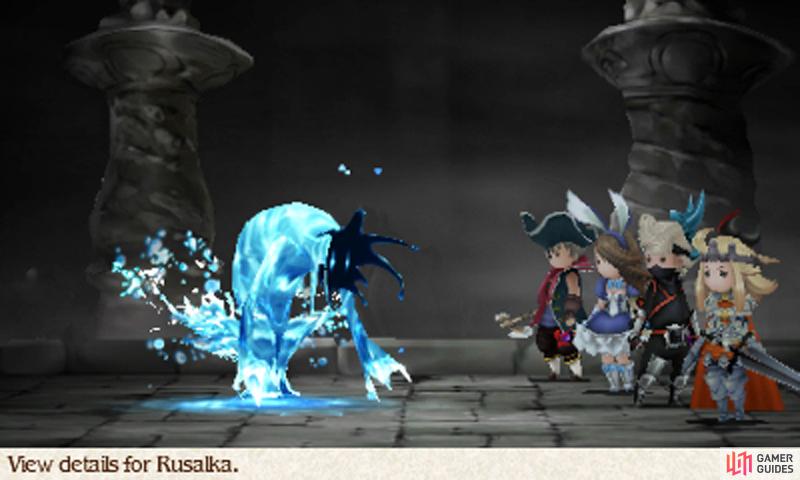
Succeed in awakening the Wind Crystal and it’s off to the next temple. In the fair nation of Florem, darkness has again covered the Water Crystal, corrupting the world’s seas. Head for the Altar of Water within the Temple of Water to vanquish the source of the darkness.
Boss: Rusalka
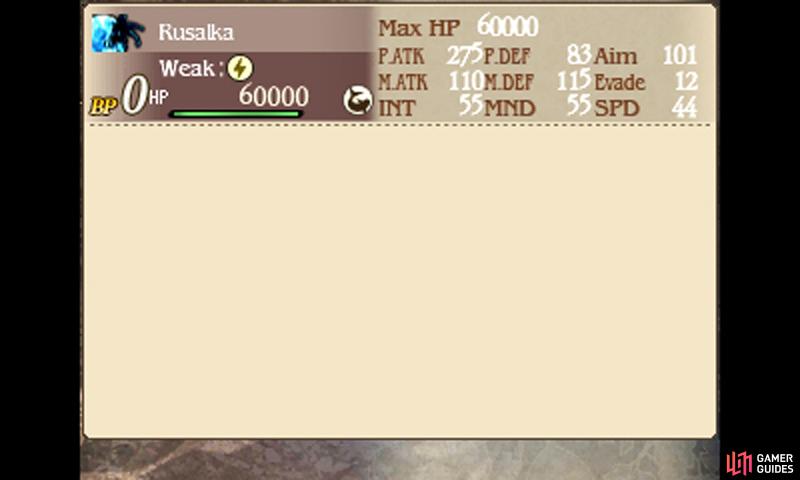
| Level | HP | Weak to |
|---|---|---|
| 48 | 60,000 | Lightning, Aquatic |
The Purveyor of Doom was troublesome the first time, but a joke this time with proper preparation. Like in your battle against Orthros, equip your healer with the Iceflame Shield and your other characters with water-resisting abilities/equipment. This time, try to add Charm Immunity or Rebuff Lockets too.
Before, Rusalka caused headaches by using Seep to evade your moves, before springing up with Dark Flow, causing heavy damage to your party, as well as spawning three fakes. Now, though, Dark Flow causes zero damage to your healer with the Iceflame Shield and you can use the Spiritmaster’s Adaptation to recover HP from it.
The fakes are slightly more annoying now, as they can use Bewitching Voice to cause Charm like the real one, but no problem if you have immunity. Just pile on your powerful group-hitting abilities–Thundaga, Deux Ex or Firestorm to name a few–and this should be an easy battle.
After wiping out Rusalka, it’s time to awaken the Water Crystal–it should be second nature by now. At the end of rite number six, the gang notice that Agnes’s vestal garb has become worn out and could do with repair. Looks like we’d better pay Sage Yulyana a visit then.
No Comments