Main Quest: Divine Beast Vah Rudania
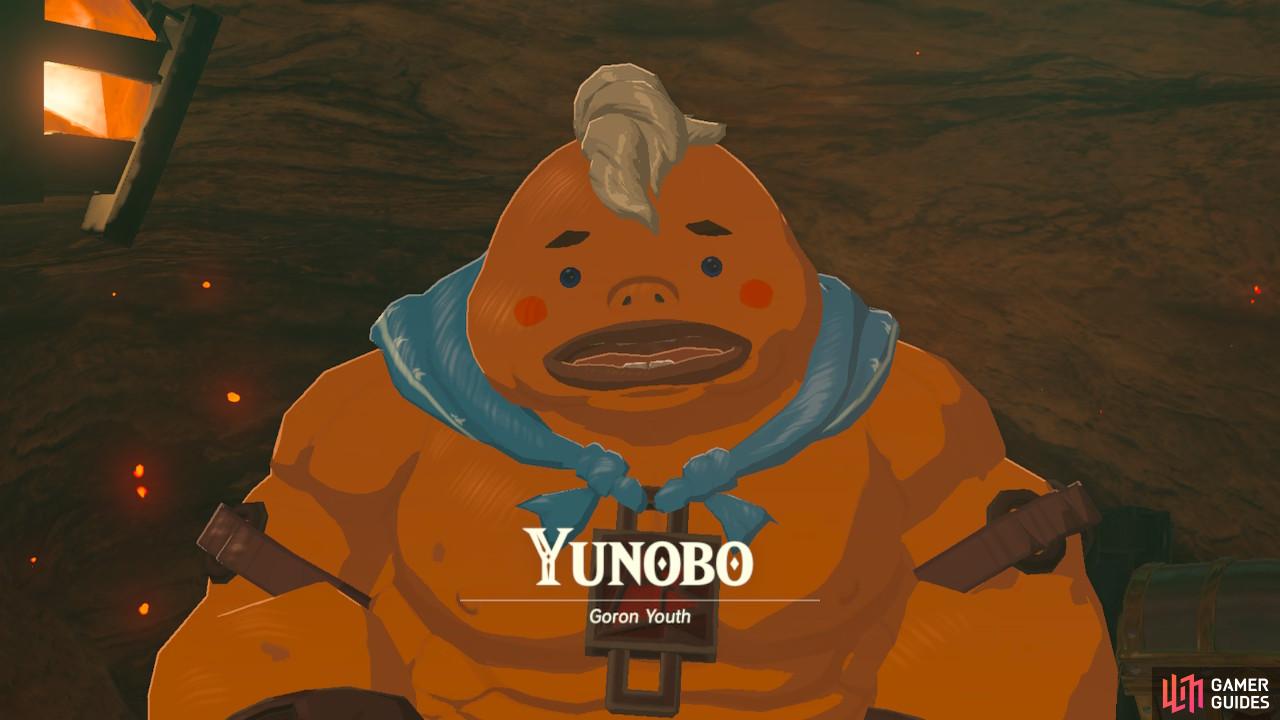
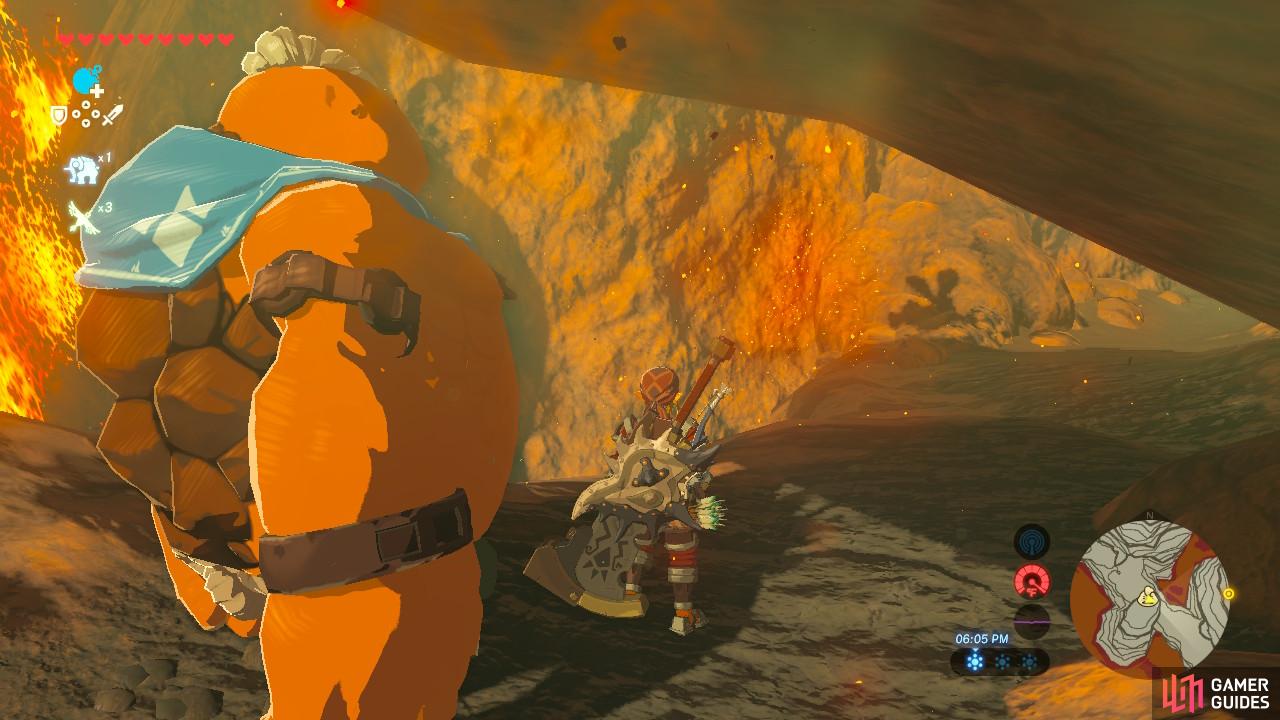
Your first task is to find Daruk’s descendant, Yunobo. He was supposed to fetch painkillers for Bludo but he hasn’t returned. Go past the shrine along the path, ignoring or defeating the Rock Octoroks in your way.
Abandoned North Shrine
Drak the Goron is here and if you speak with him, he will show you where Yunobo went. Prepare for a Paragliding stint as you make your way out to the center of the lava lake to find Yunobo.
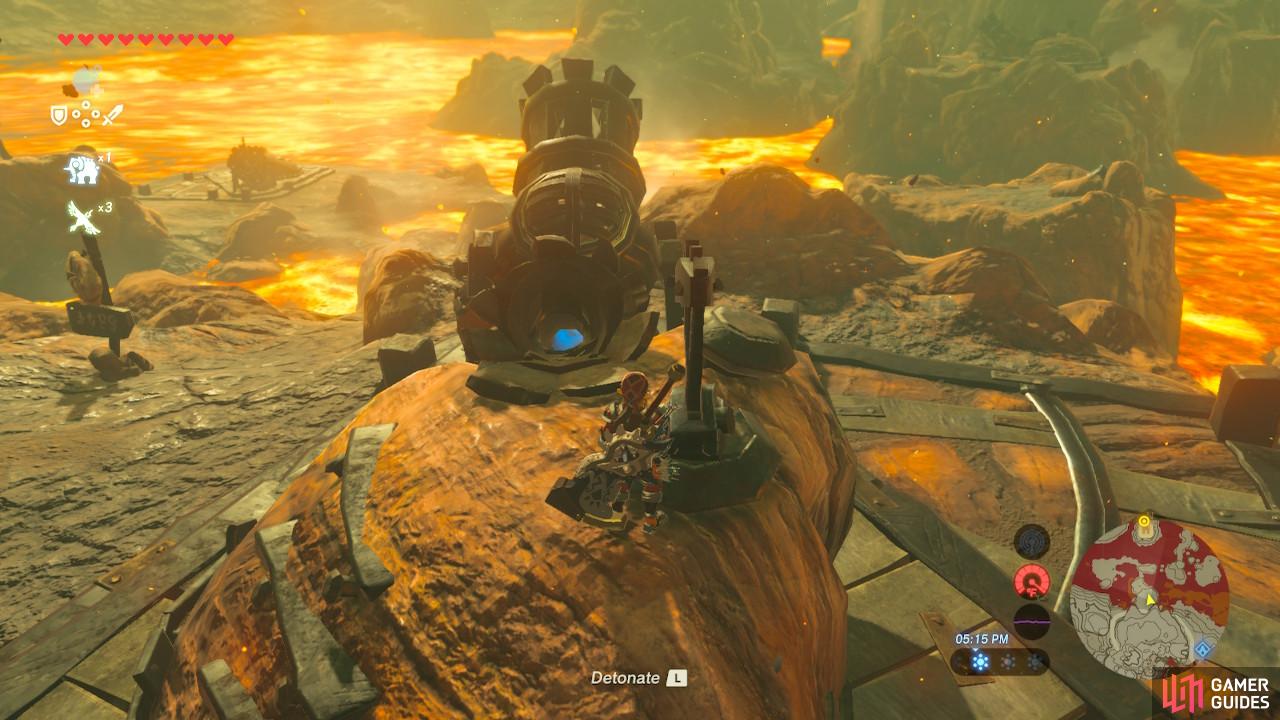
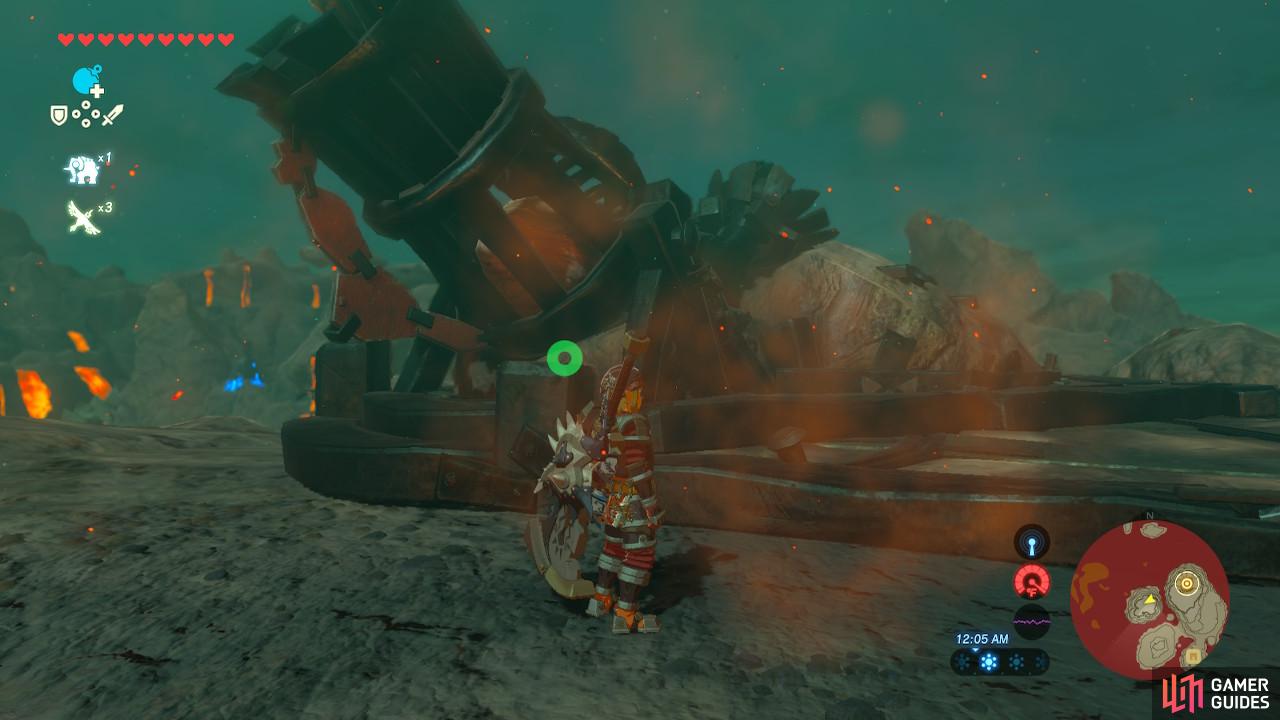
If you approach the cannon to Drak’s right, he will tell you not to bother them. Well, we will need them to make the trek easier so let’s take the time to learn how to use them! Behind the cannon is a pipe where you can drop a round Bomb. Press the left shoulder button to detonate and the cannon will fire. The lever in the back can be hit with a powerful weapon like a Stone Smasher to move the cannon to its second possible position. For a more diverse range, detonate the cannon while it is in the middle of moving.
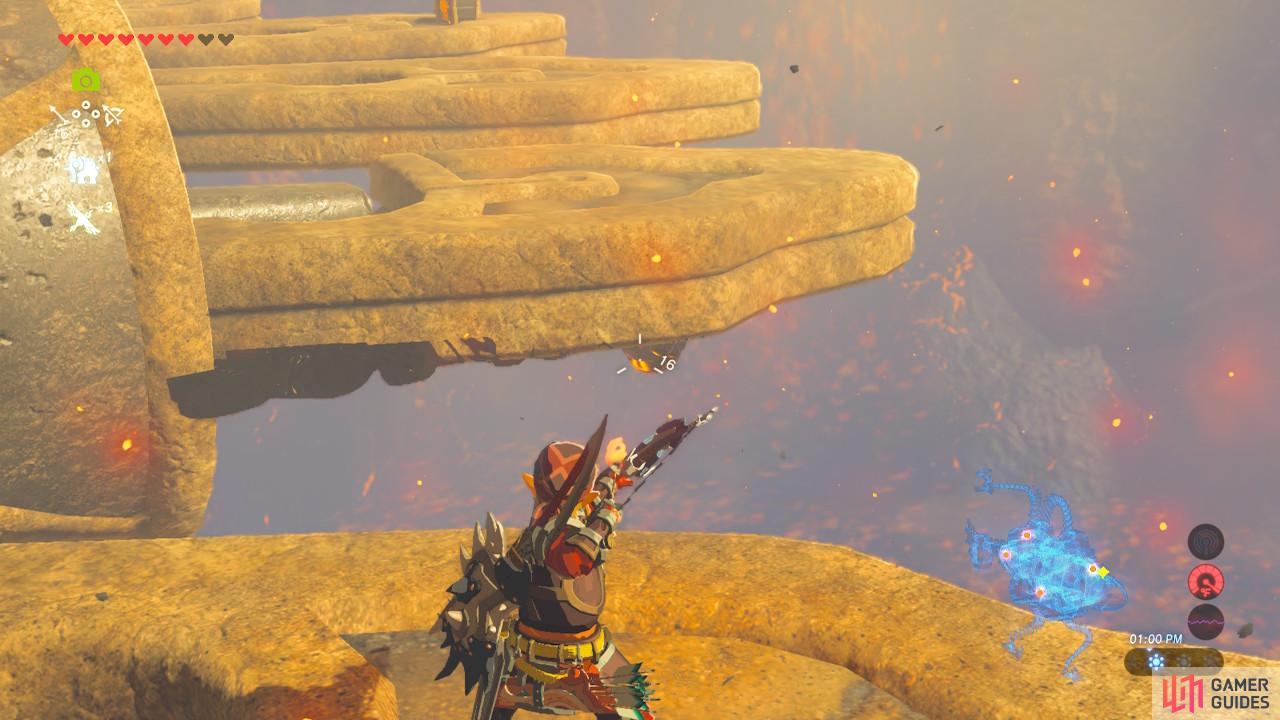
Let’s rescue Yunobo. You will see updrafts scattered between the rock pillars. Ride them to cross the gaps safely. There are camps filled with Lizalfos along the way, and many of them are more than happy to shoot arrows at you as you fly. You can use the cannons scattered around this area to take out the Lizalfos camps from a distance, making the passage safer. When it’s time to get to the rock pillar where Yunobo is, go right and use Revali’s Gale for safe passage, ignoring the Lizalfos on the left.
A regular Remote Bomb won’t do anything to this
Fly out a little ways to this lone cannon to unblock the entrance
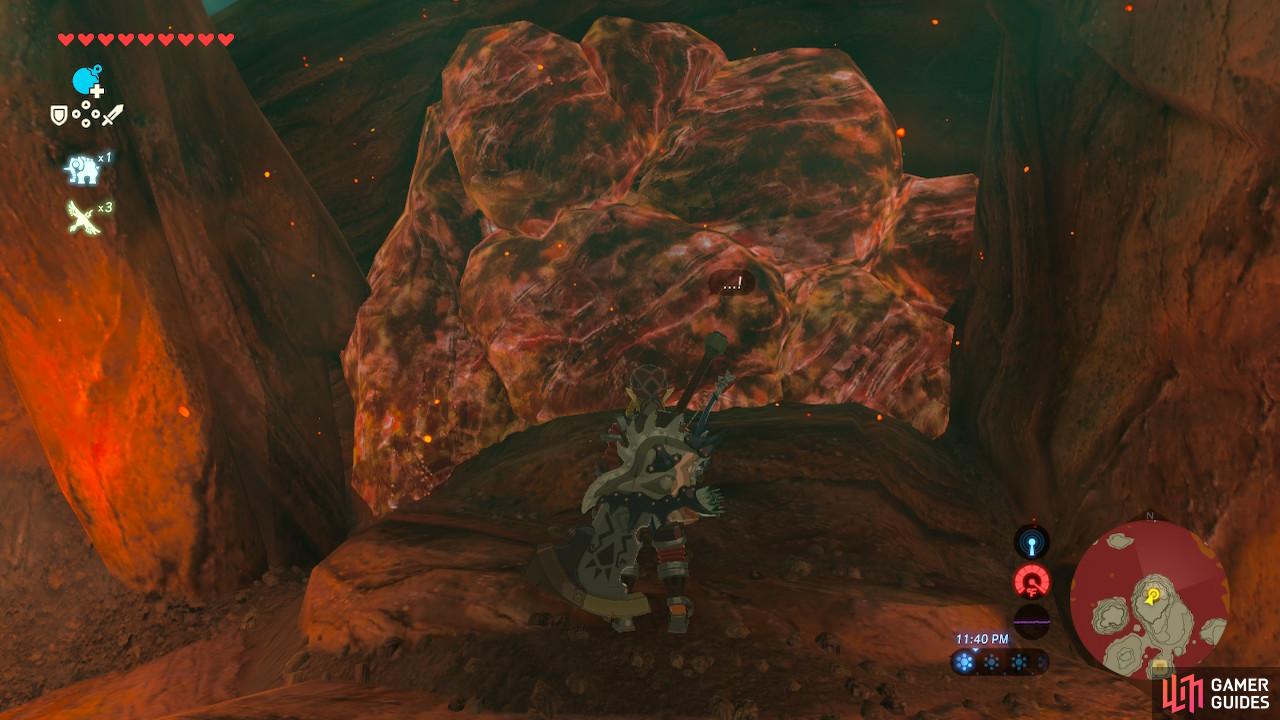
You will hear Yunobo crying on the inside that he is trapped. Paraglide to the left to an isolated cannon and detonate it as it is in the middle of moving from its first position to its second. Aim carefully for the blocked entrance and you will free Yunobo.
Yunobo will thank you for rescuing him and head on back to Goron City. Fast travel to the Shrine or, if you didn’t activate it, return manually the way you came. Once you talk to Bludo, he will gift you with…three Fireproof Elixirs? That’s…not that useful…
Unfortunately, it looks like Bludo’s painkillers aren’t doing him any good. He will tell you to go meet up with Yunobo at the Bridge of Eldin and tell him that today’s raid on Vah Rudania is canceled. Enjoy the cutscene where Link will remember Champion Daruk. Again, this is not a part of Captured Memories.
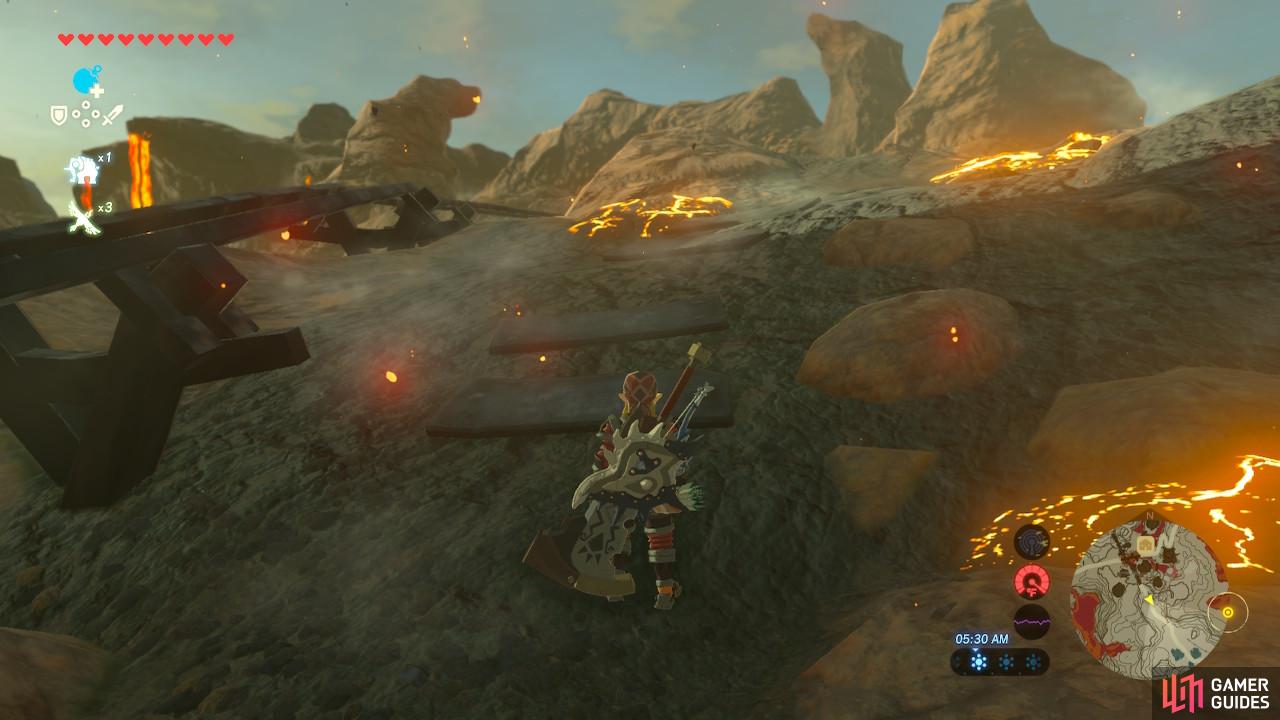
Follow this footpath towards Eldin Bridge
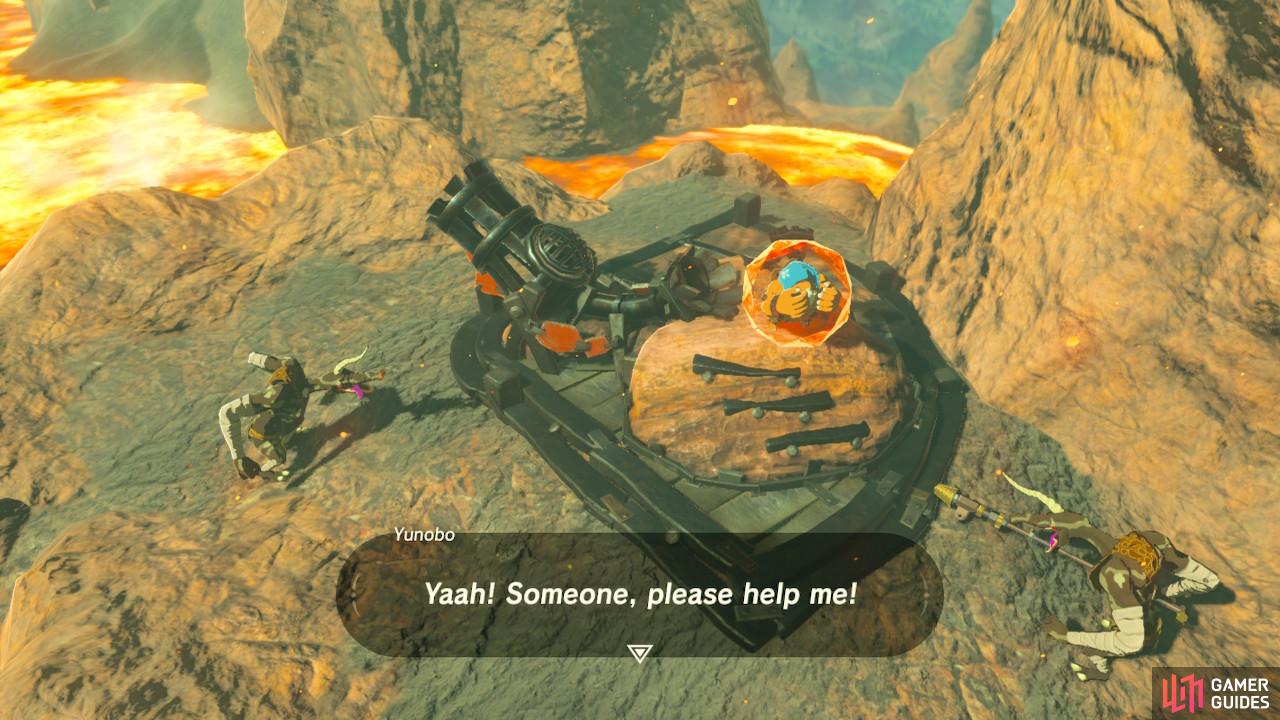
Yunobo will be trapped by the cannon. Black Moblins do not flinch as easily as other Moblins
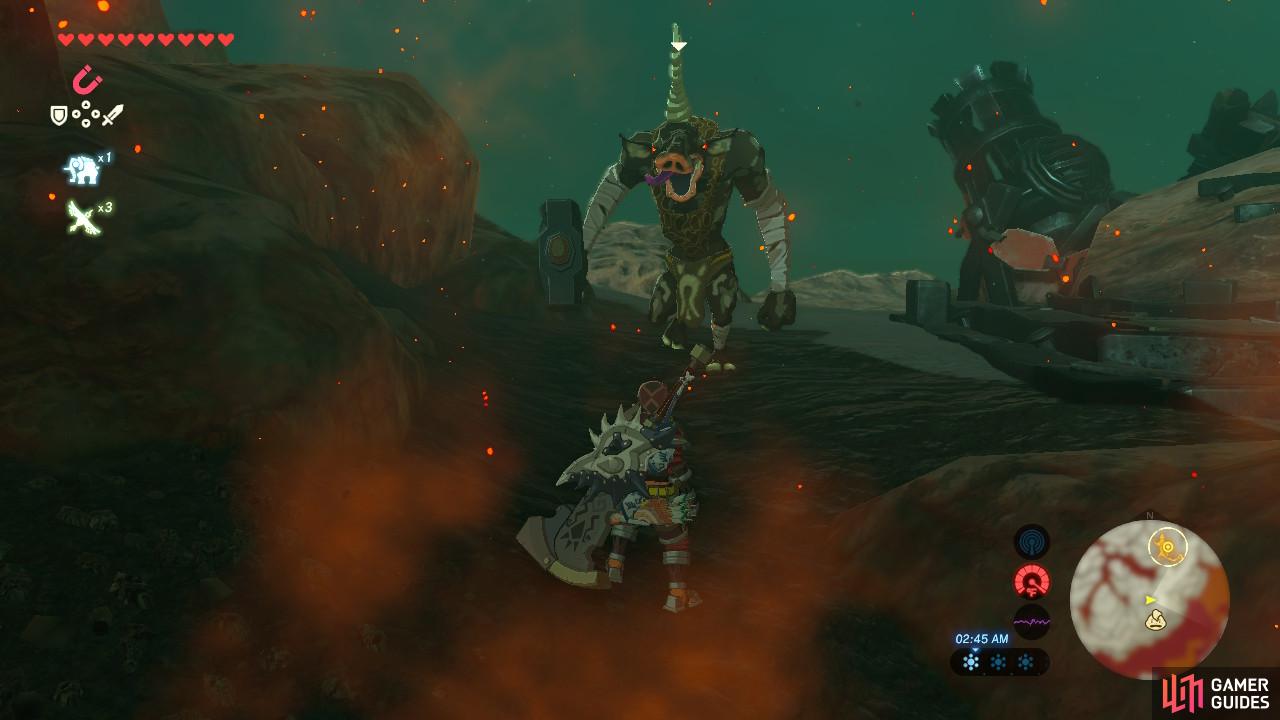
Follow the southern exit away from Goron City. You might have to climb up to find it. There are a lot of Rock Octoroks, Lizalfos, and Fire Keese along the way. Once you reach Eldin Bridge, you will see that the actual bridge is not operational to prevent Vah Rudania from reaching Goron City, and Yunobo is under assault again from two Black Moblins.
Defeat the Black Moblins and rescue Yunobo again. Black Moblins are a step up from Blue Moblins but they still move slowly so utilize Flurry Rush to hit them where it hurts. After telling Yunobo that Bludo cannot come and help, Yunobo will ask for your aid. You’ll need to do something to be able to even board Vah Rudania at all, so why not help him out? Yunobo will board the cannon and ask you to fire him across the canyon to lower Eldin Bridge and begin an assault on Vah Rudania.
Bridge of Eldin
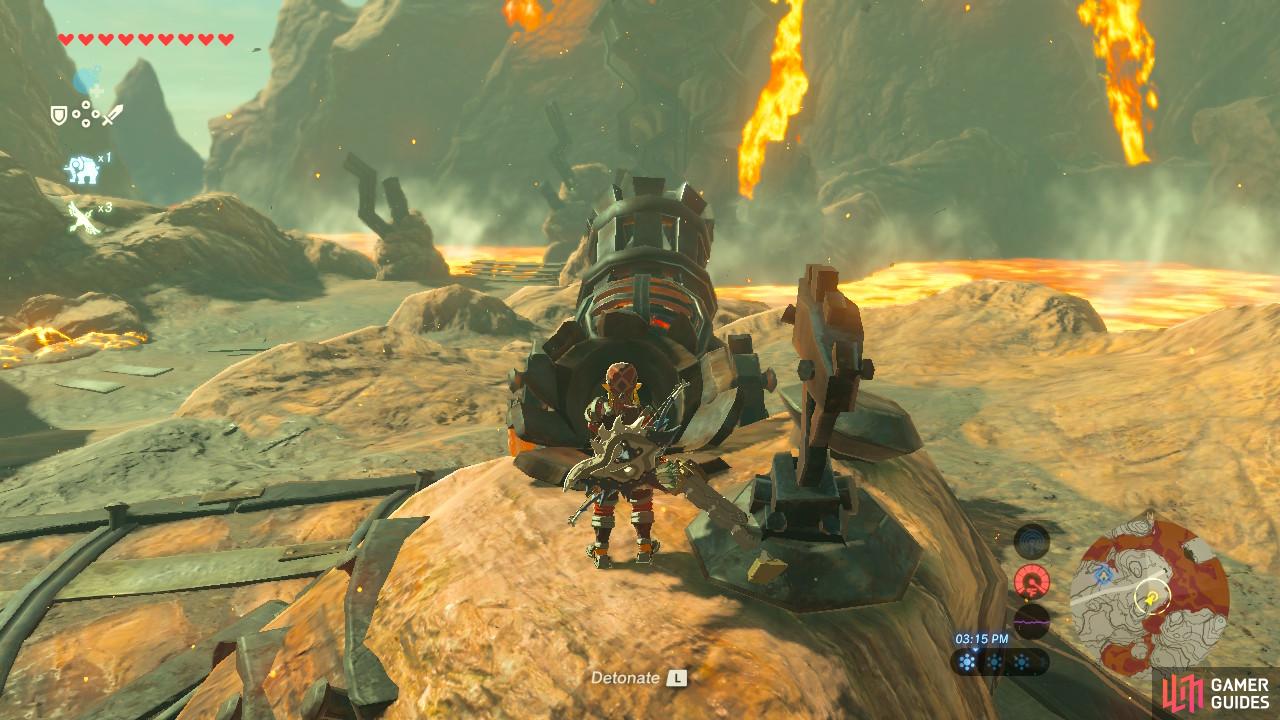
Make sure the cannon is in the leftmost position
Now we can cross to Death Mountain
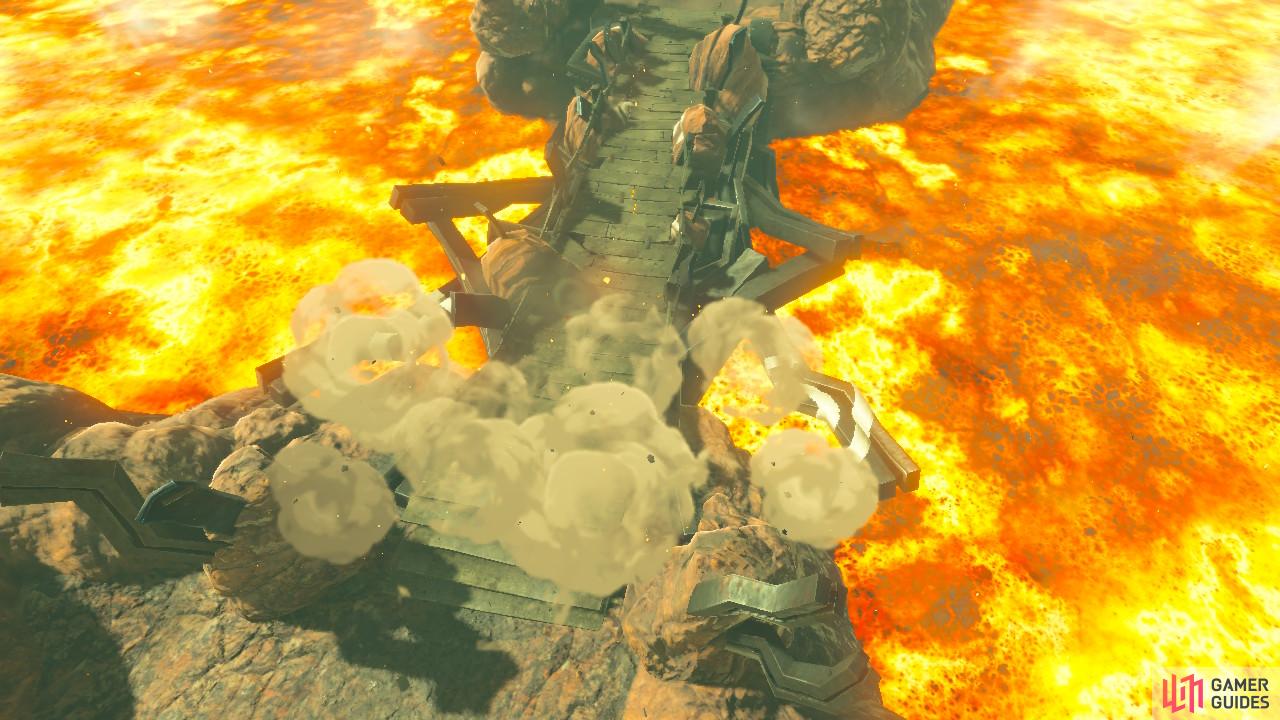
Once Yunobo is in the cannon, hit the switch to turn the cannon left and fire. The bridge will come down, allowing you to cross.
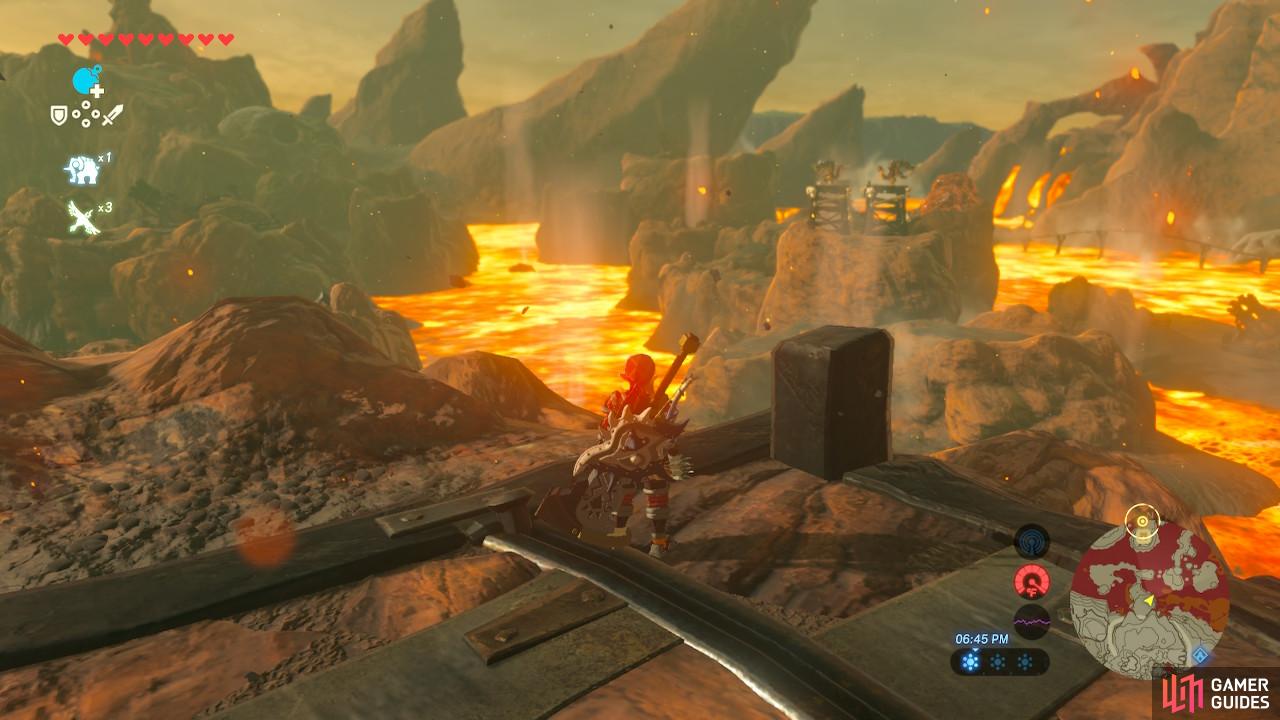
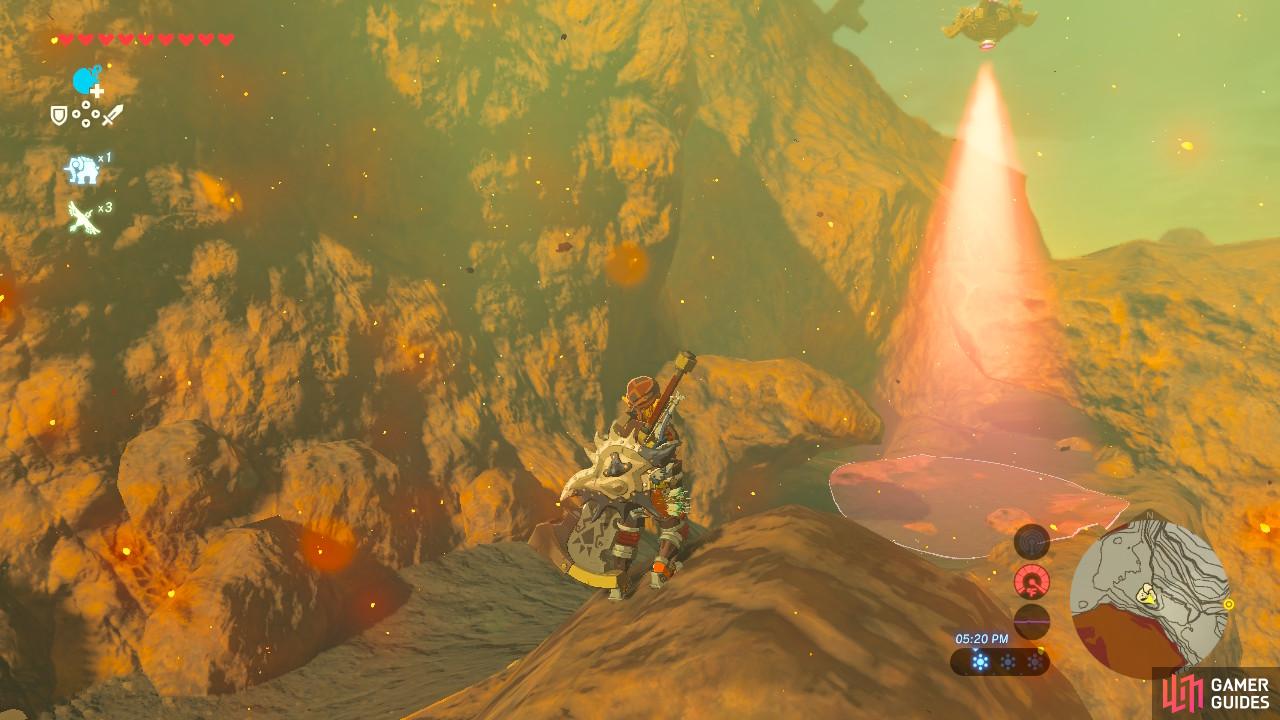
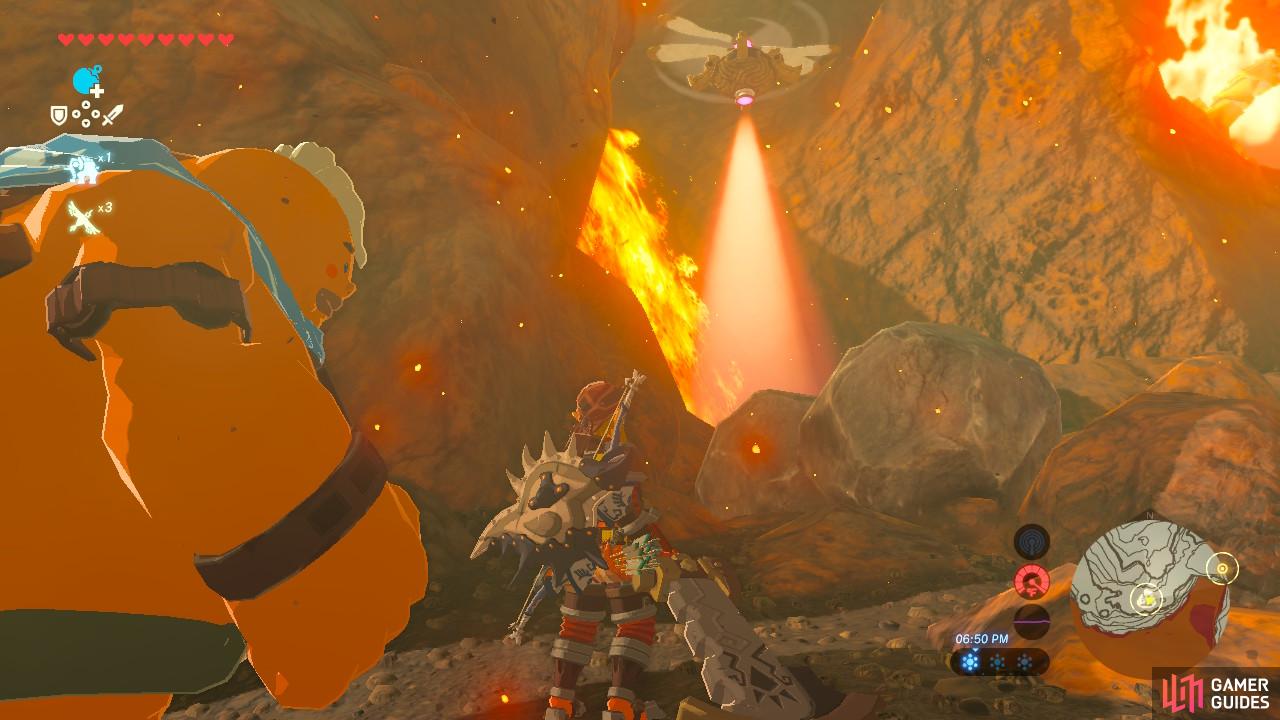
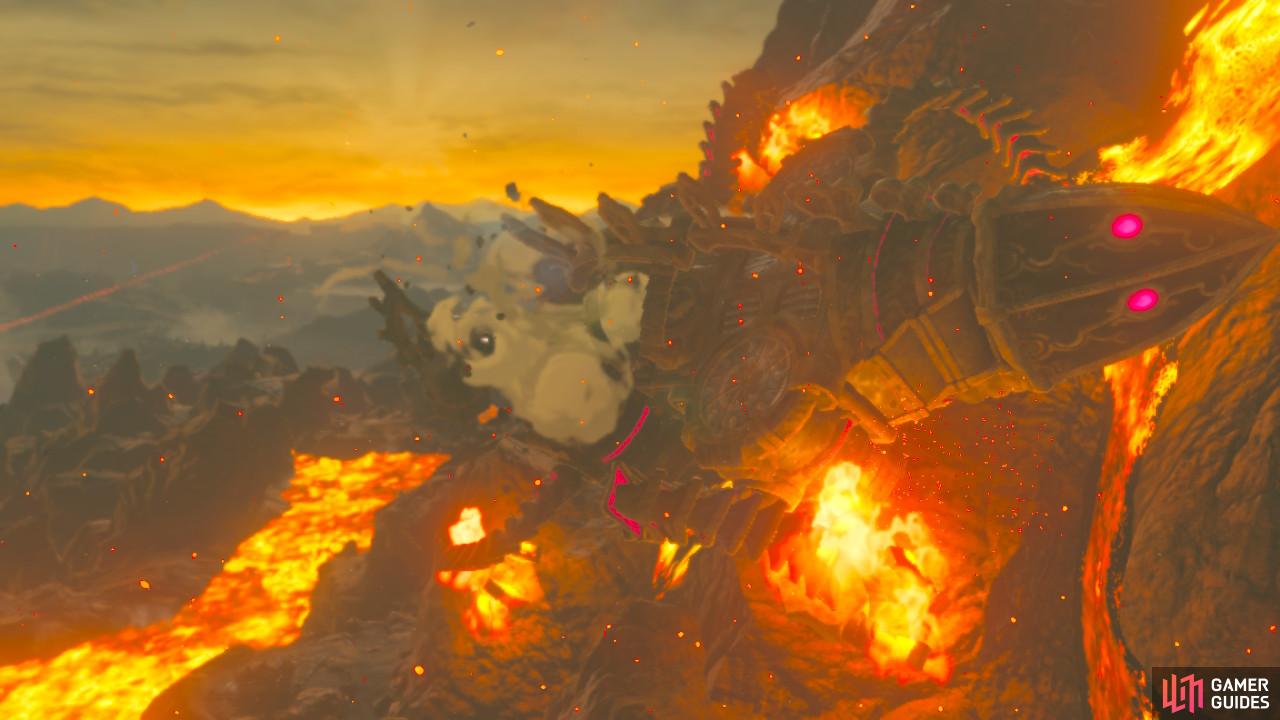
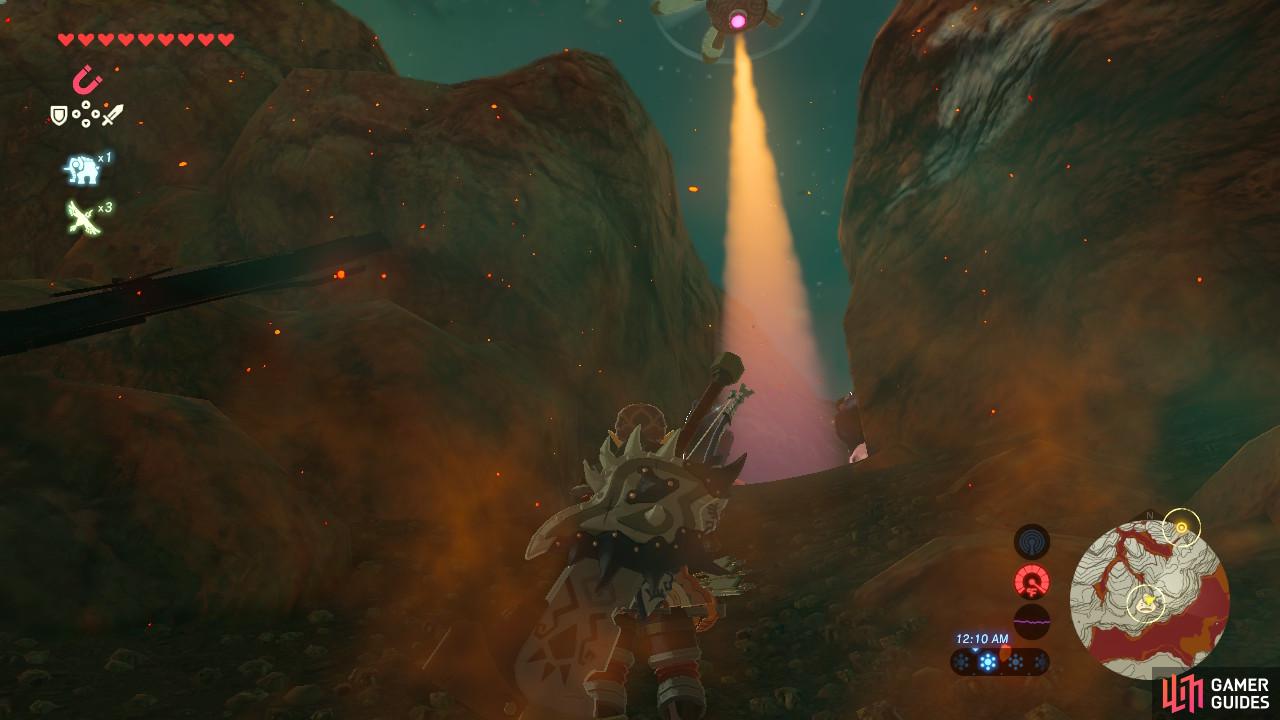
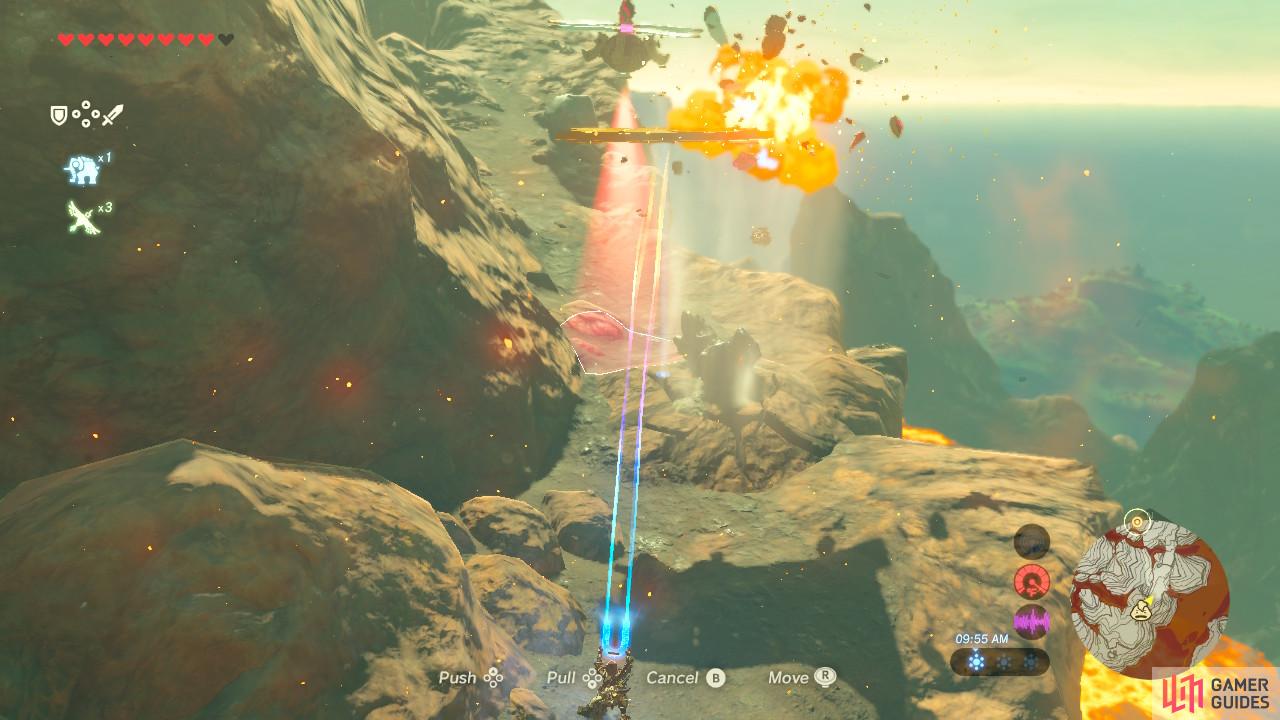
Past the Bridge of Eldin, the Divine Beast Vah Rudania has noticed you and has begun its counterattack. It will release several sentries from inside its body that will begin to patrol several points along the path. If you or Yunobo trigger one of the sentries, Death Mountain will erupt rocks at you. If this happens, you can survive by trying your best to dodge the rocks.
Yunobo isn’t the brightest bulb in the box (if you haven’t noticed yet) and as a result he is a bit clumsy around the sentries. Usually, Bludo just muscles through the rocks, but as a Hylian we aren’t quite that durable. However, we are more nimble, which means we might be able to circumvent the sentries. In order to help Yunobo out, you will develop a signal for him. Whistle and he will stop moving. Whistle again and he will continue to follow you.
Accessing Divine Beast Vah Rudania
This sentry simply moves back and forth
Hide under this overpass
The first sentry up ahead moves back and forth between a strip of the path. However, you will notice an overhang that it cannot see. When it is furthest out, run towards that overhang and chill out underneath the rocks. Then, when the sentry is furthest away from you again, run on forward along the path.
This sentry is blocking your way forward by just parking there
Push either of these rocks. We pushed the right one.
The second sentry is completely stationary. Have Yunobo wait in front of the pile of rocks and climb up the cliff to your left. There will be a rock you can push down. It will destroy the sentry, allowing you safe passage.
Make sure the cannon is in the left position
Yunobo will hit Vah Rudania where it hurts
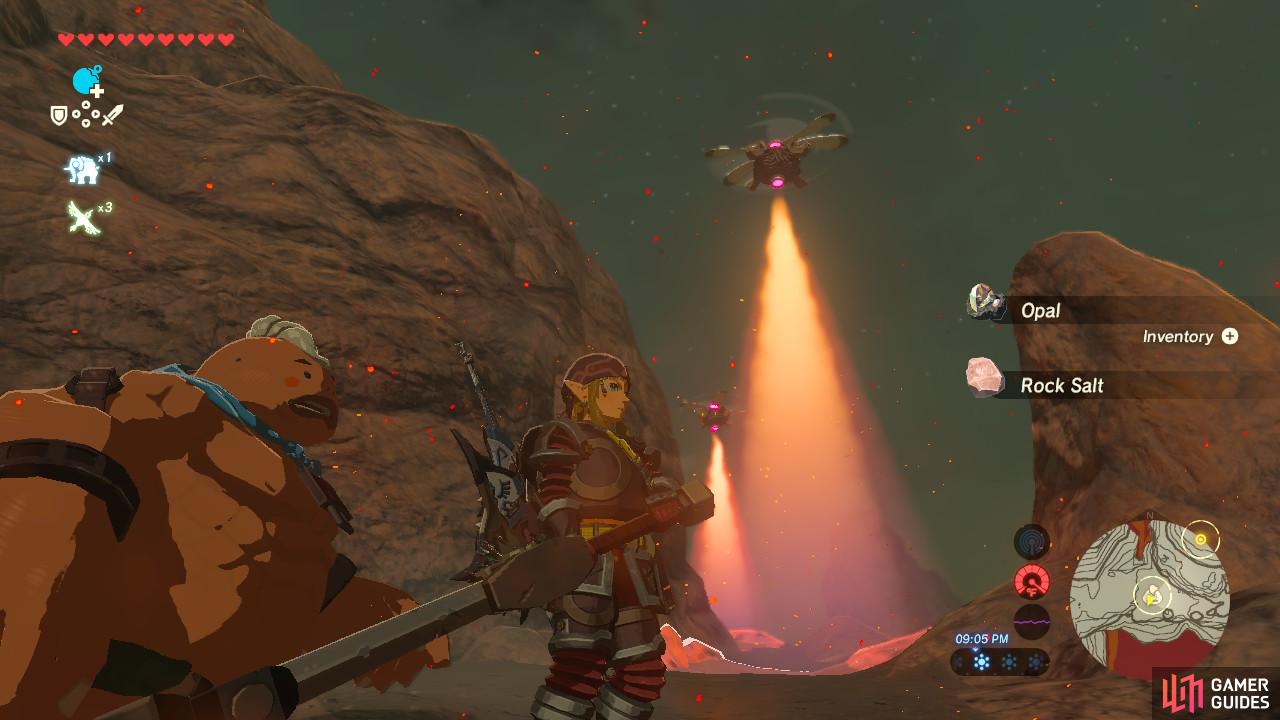
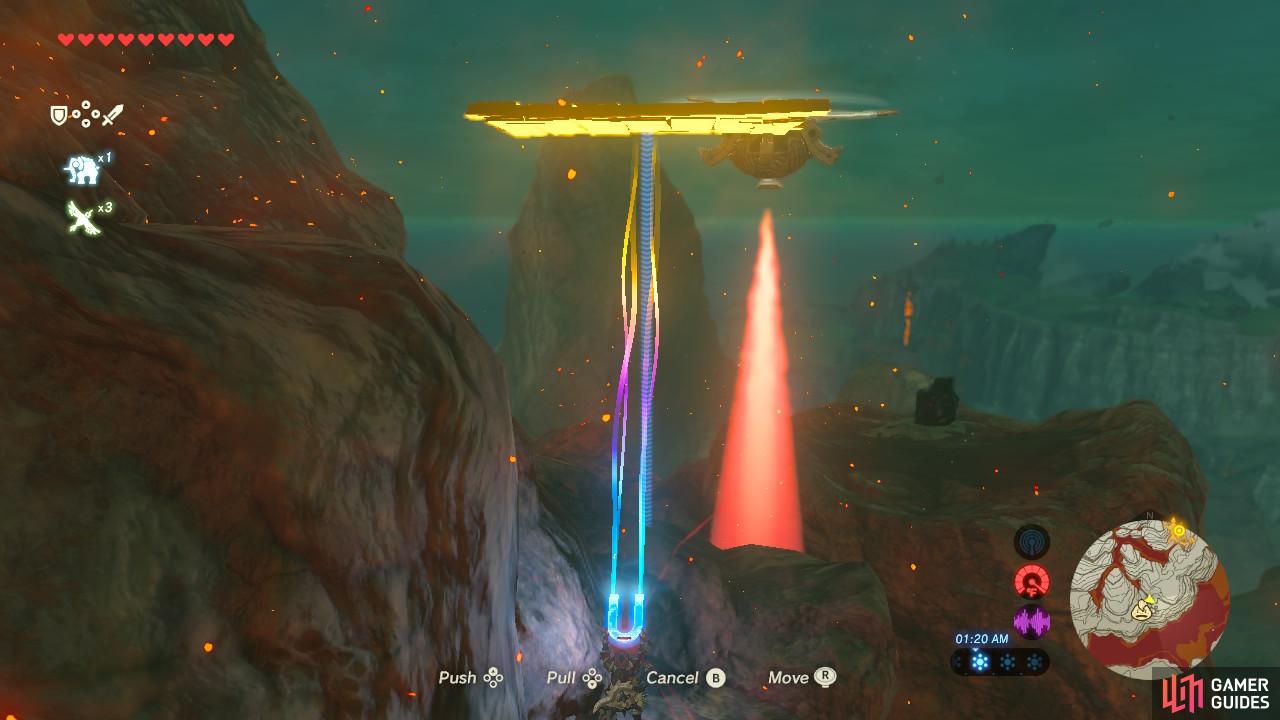
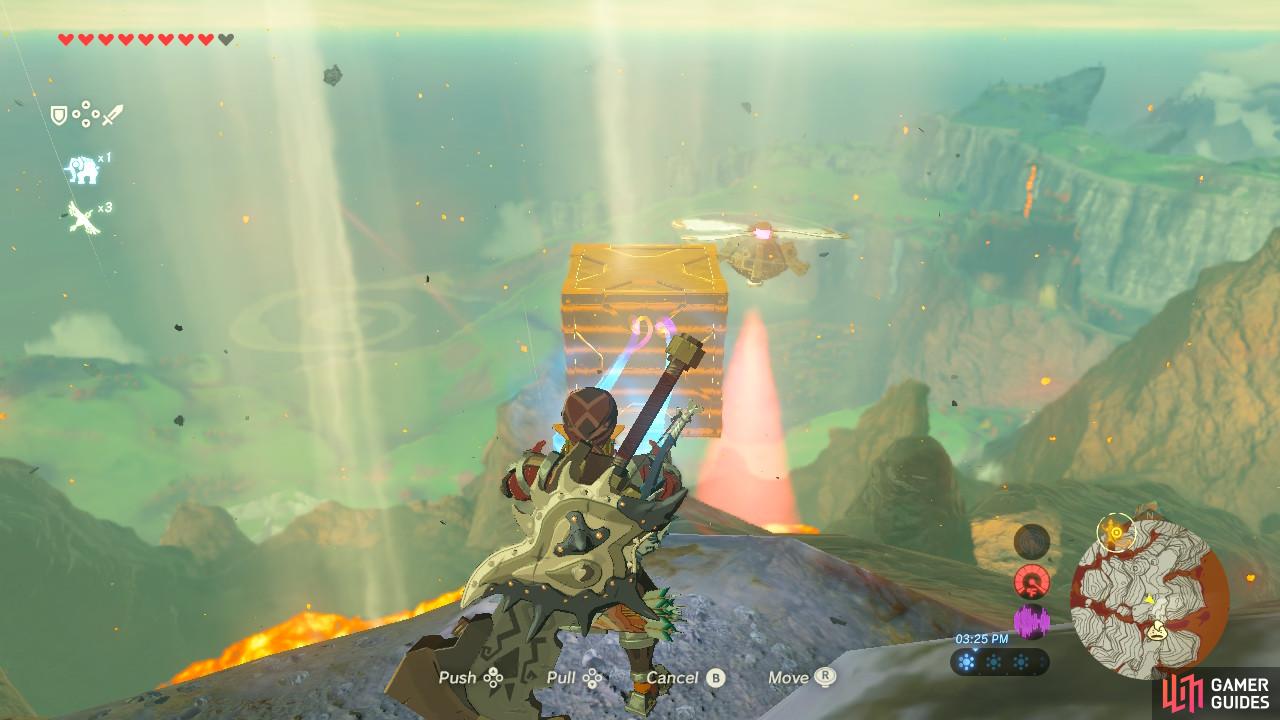
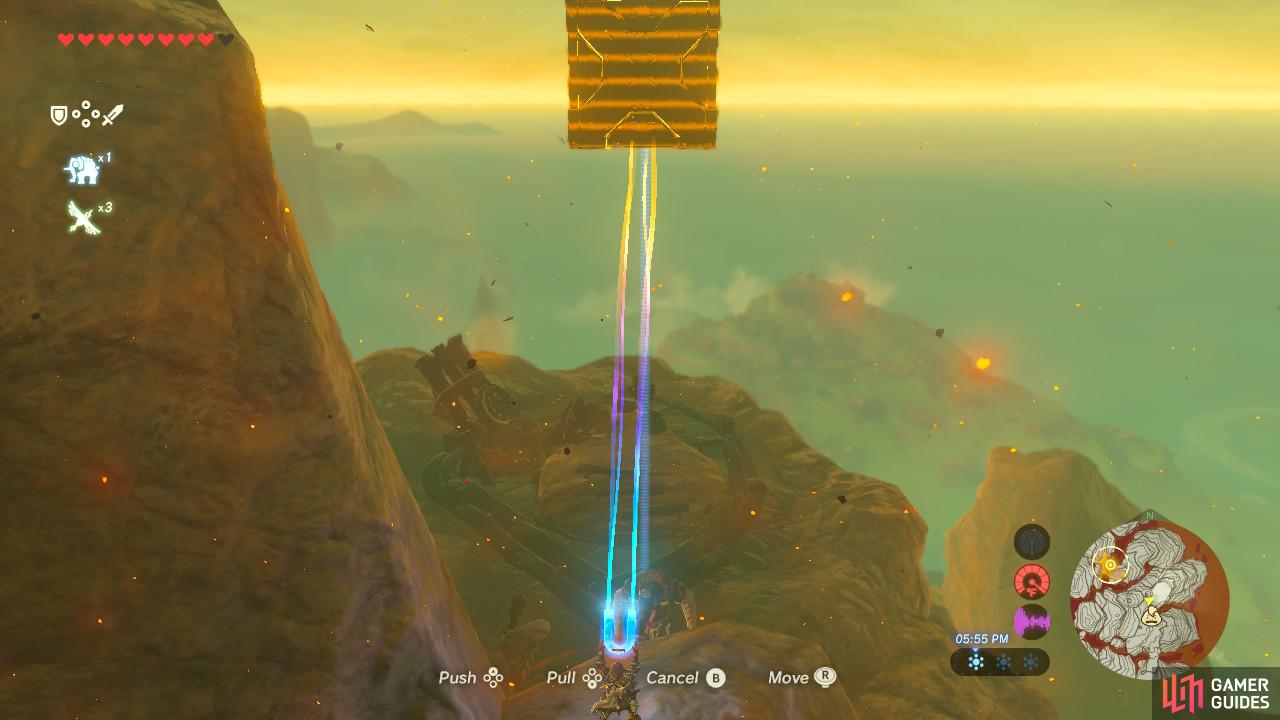
Right around the bend is a cannon. There are three cannons scattered along this path, and you will need to make sure you use all of them or else Vah Rudania will not become accessible to you at the end. If you ever reach a cannon and you do not see Vah Rudania right in front of it on the side of the mountain, you missed one and must backtrack.
As you approach the cannon, Yunobo will automatically board it. Move it left and fire. A short cutscene will play where Yunobo causes an explosion and Vah Rudania moves further up the mountain to escape you.
These two sentries can be destroyed so that you don’t have to stealth through them
As you can see by the health bar, the sentries are very fragile
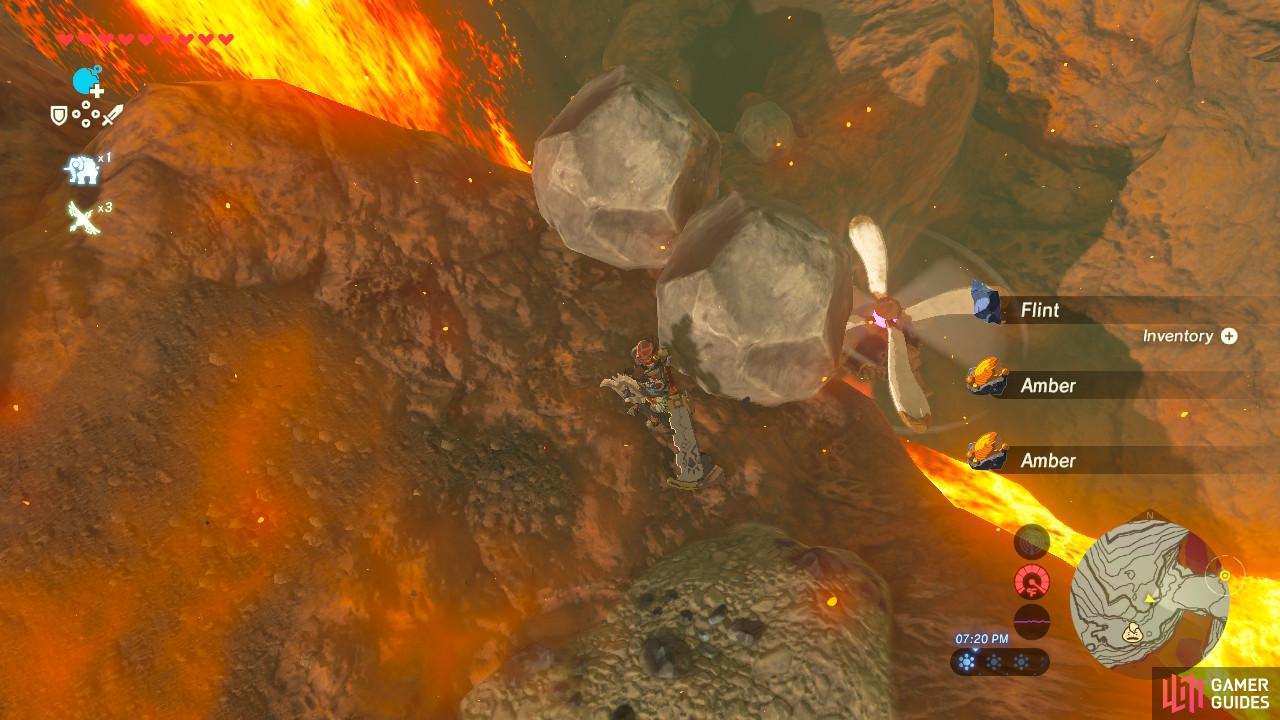
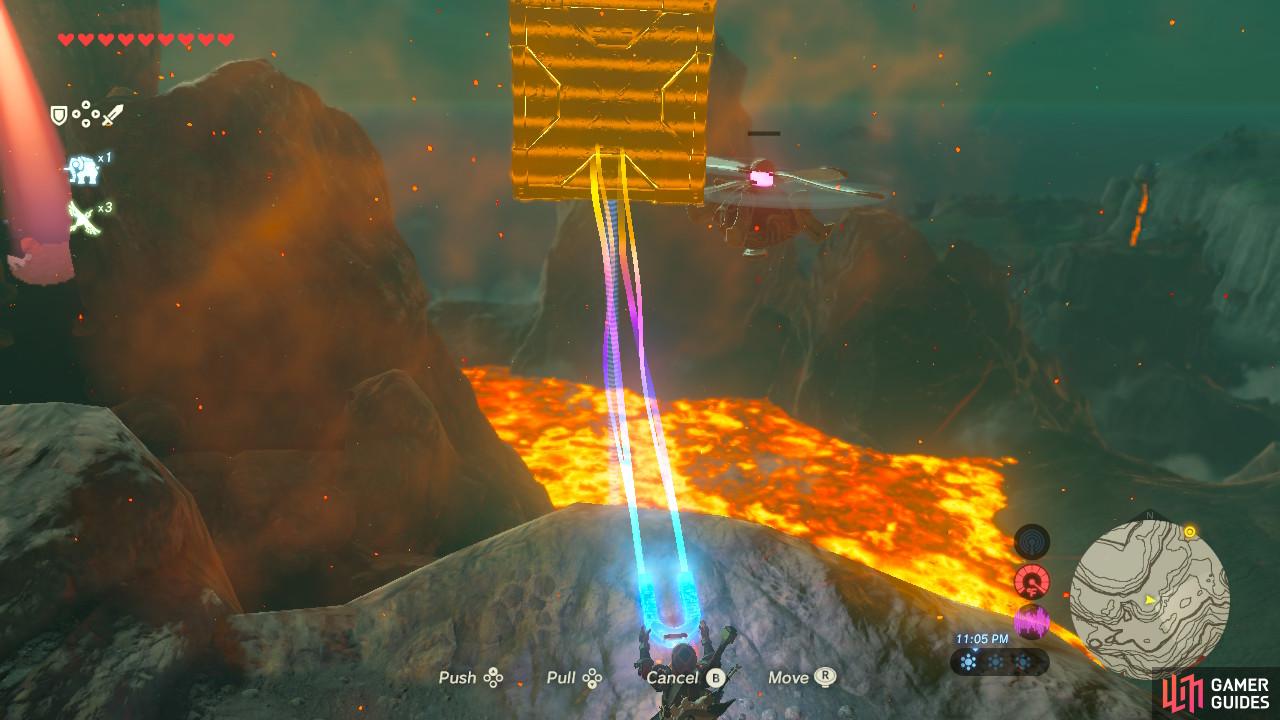
Up ahead are two sentries. Stop Yunobo and again, climb up the cliffs to the left. This time there are metal boxes sitting on top of the cliff. Pick them up using Magnesis and give the sentries a poke. They will not set off the alarm if they see the inanimate boxes and you don’t even need to try dropping it on them. Just a light whack and they will fall. The sentry that is to your left might need you to move left so that your Magnesis can reach it.
Another sentry is parked right in your way
This time, use the metal plank. Make sure Yunobo is stopped so he doesn’t try to follow you into the sentry’s path
Continue along the path until you reach a stationary sentry guarding a narrow valley between two tall cliffs. Again, stop Yunobo. Take the metal plank you see on the ground and use it to destroy the sentry. You might need to first put the plank on top of the left cliff, and then climb up, so that you can actually reach.
You will need to defeat this Black Moblin to pass through
Again, point the cannon left
Go around the bend and continue up the mountain. You will come to a second cannon, and Vah Rudania will be waiting there. A Black Moblin is hanging around the cannon. Defeat it so that Yunobo can get into the cannon. Again, you will need to hit the switch to move the cannon left so that you can hit Vah Rudania. After Yunobo gives it a good whacking, Vah Rudania will flee further up Death Mountain.
Again make sure you stop Yunobo if planning on backtracking to grab the metal planks
Push Magnesis as far as it can go to reach them
The next two sentries are right up ahead. One of them is stationary, and the other revolves around it. There are multiple solutions to the puzzle. The first is to time precisely when you and Yunobo run through the sentries’ blockade. Hug the left cliff wall so you do not set off the stationary sentry, and move when the rotating sentry is rotating away from you.
The second solution (and the one that we chose to employ) is to return back to where the metal planks were, pick one up, and haul it back up the path. From the ground you can reach the sentries. Give them a good whacking to have safe passage.
This is the last sentry puzzle
Ride the updraft up to this cliff
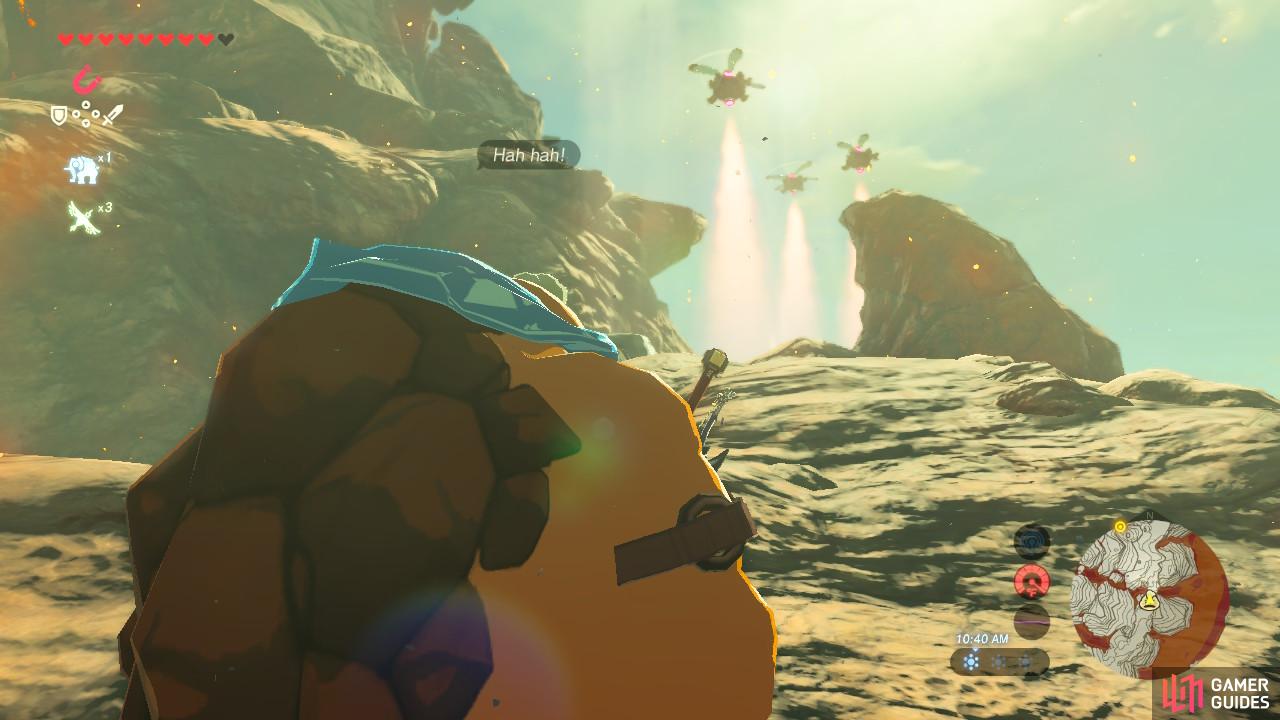
The next three sentries are all moving in a pattern together. This time they are too high up to hit with your metal plank, but you can still destroy them. Stop Yunobo and run past the first sentry, aiming for the updraft you see between it and the second sentry. Ride the updraft up to the cliff. There will be more metal boxes for…you guessed it! Smash up the sentries, but don’t move yet.
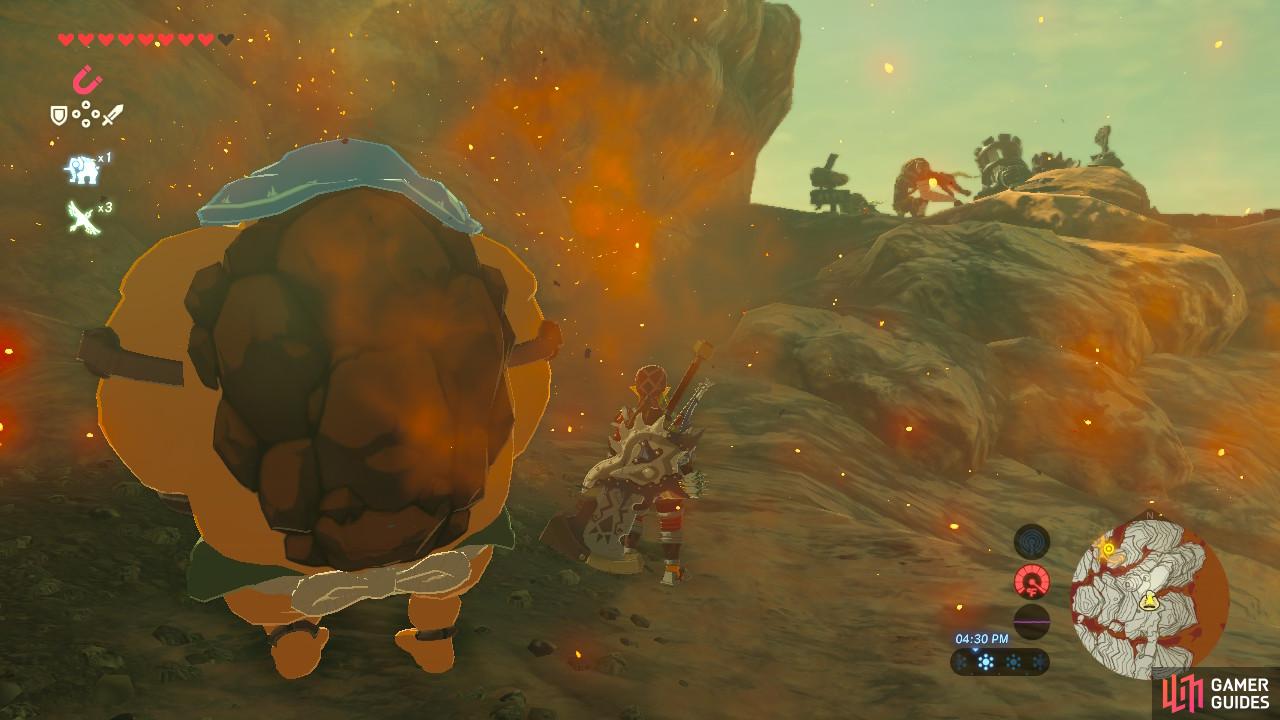
Two Black Moblins are hanging out now
Cheese this fight by dropping boxes on them
The final cannon up ahead this time has two Black Moblins. You can see them if you move forward alongside the cliff top a bit, and if you want to you can choose to engage them with your melee weapons. But there is an easier way. Pick up a metal box, position it over their heads, and drop it. It will kill them in one hit! The second Black Moblin might notice your presence but will be unable to do anything other than throw pebbles.
Turn the cannon to the left once more
Deal the final blow to open up Vah Rudania
Once the Black Moblins are gone, load up Yunobo in the cannon, hit the switch, and detonate the cannon for a final hit at Vah Rudania. At long last, Divine Beast Vah Rudania will enter the crater of Death Mountain and settle there. Link will Paraglide in to follow and Vah Rudania will become a fast travel point as you work on completing it. We’re not sure how Link isn’t dead from the heat and radiation either.
Daruk will speak with you and point you to the Guardian Stone. Once you are ready to tackle this Divine Beast, enter and let’s begin.
Inside Divine Beast Vah Rudania
Run along the left or right side of the tail carefully
There will be a small ramp in the middle of the tail you can use since you cannot climb here
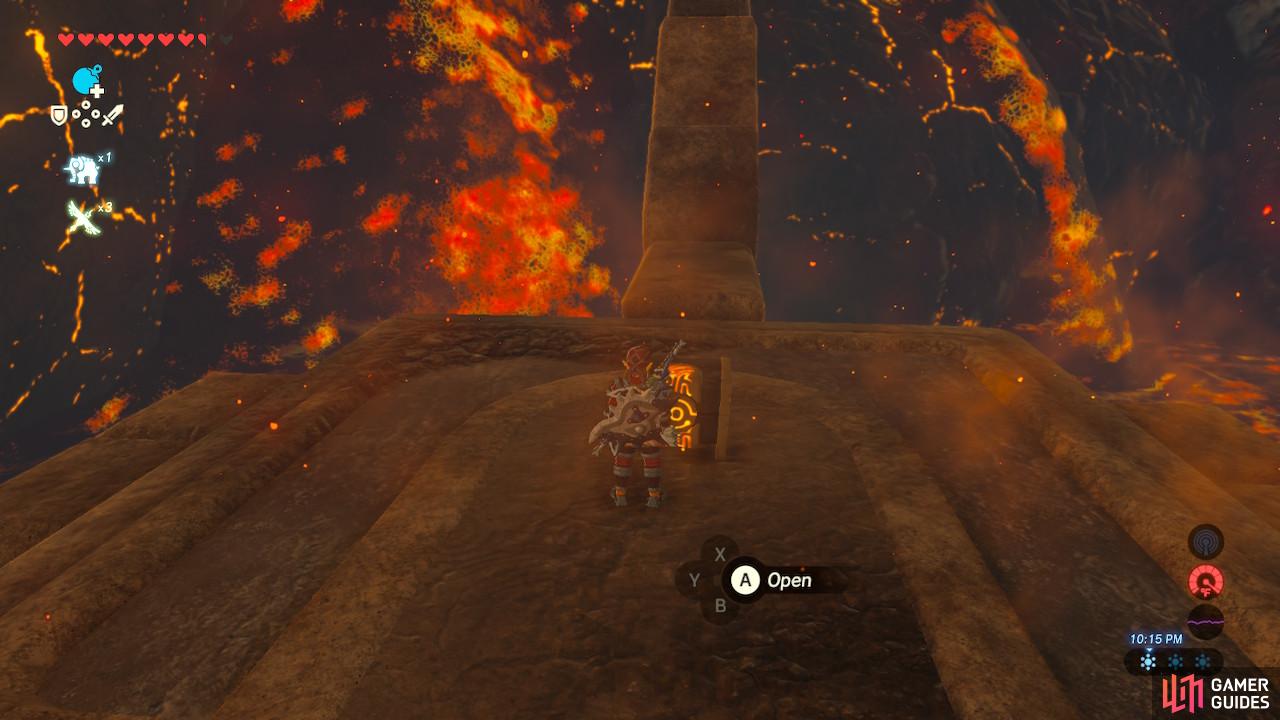
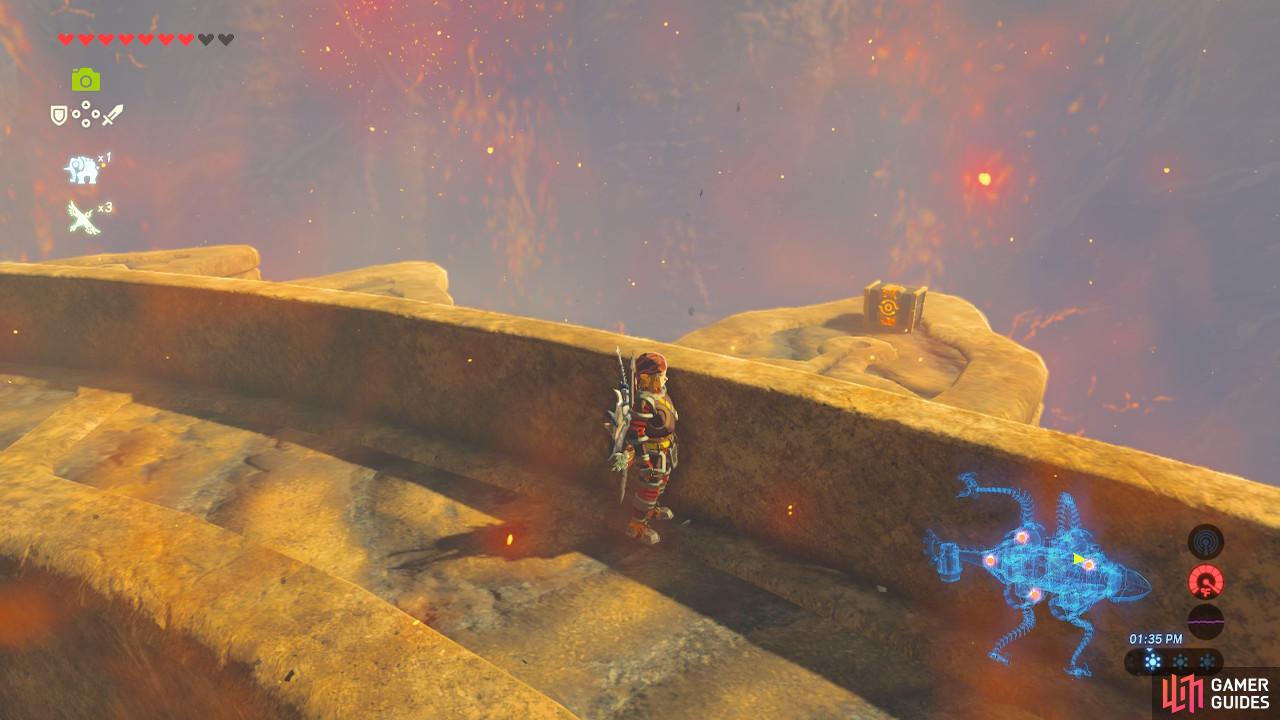
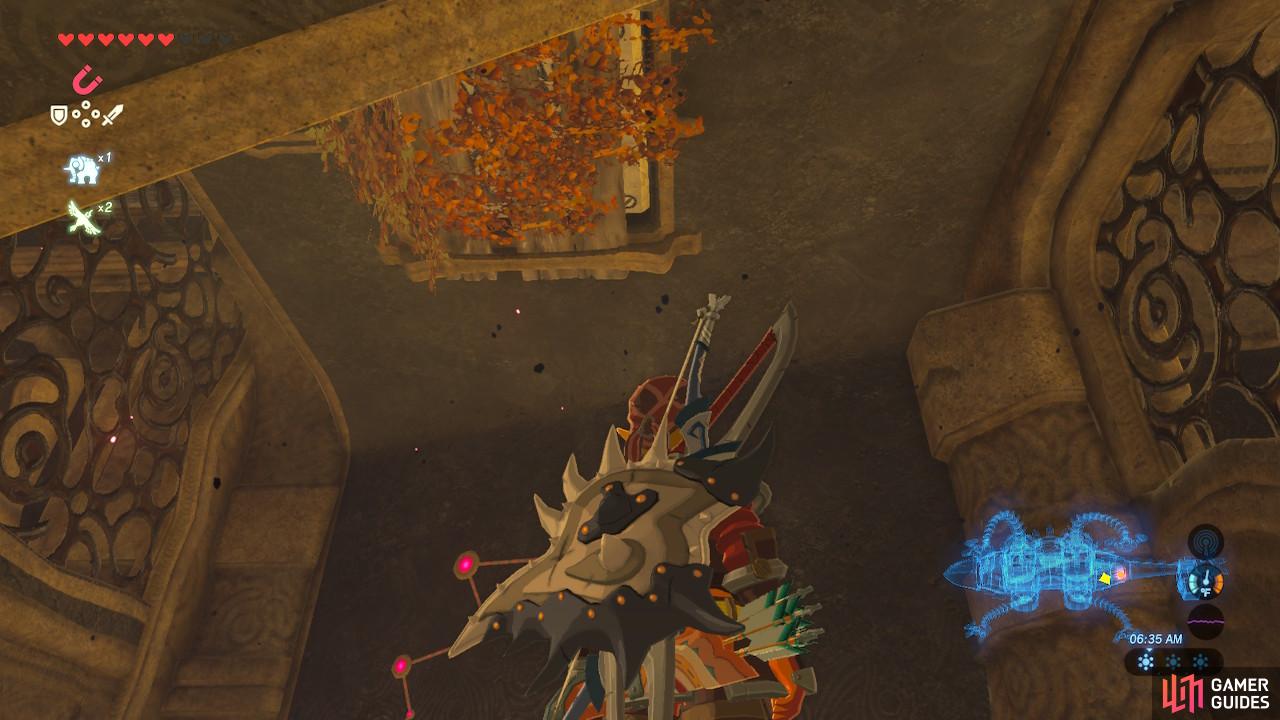
Before we enter, turn around and you will see a treasure chest a Vah Rudania’s tail. Run along the tail and pop open the chest for an Ancient Screw. Now you can return to the entrance and enter the Divine Beast proper.
The door will close behind you and the inside will become pitch black. The only light will come from torches, Ganon’s eyeballs, and unopened chests. Creepy, but don’t worry, it won’t last long.
This is a slow but powerful weapon worth keeping
If you don’t have room, you will have to make room for this one
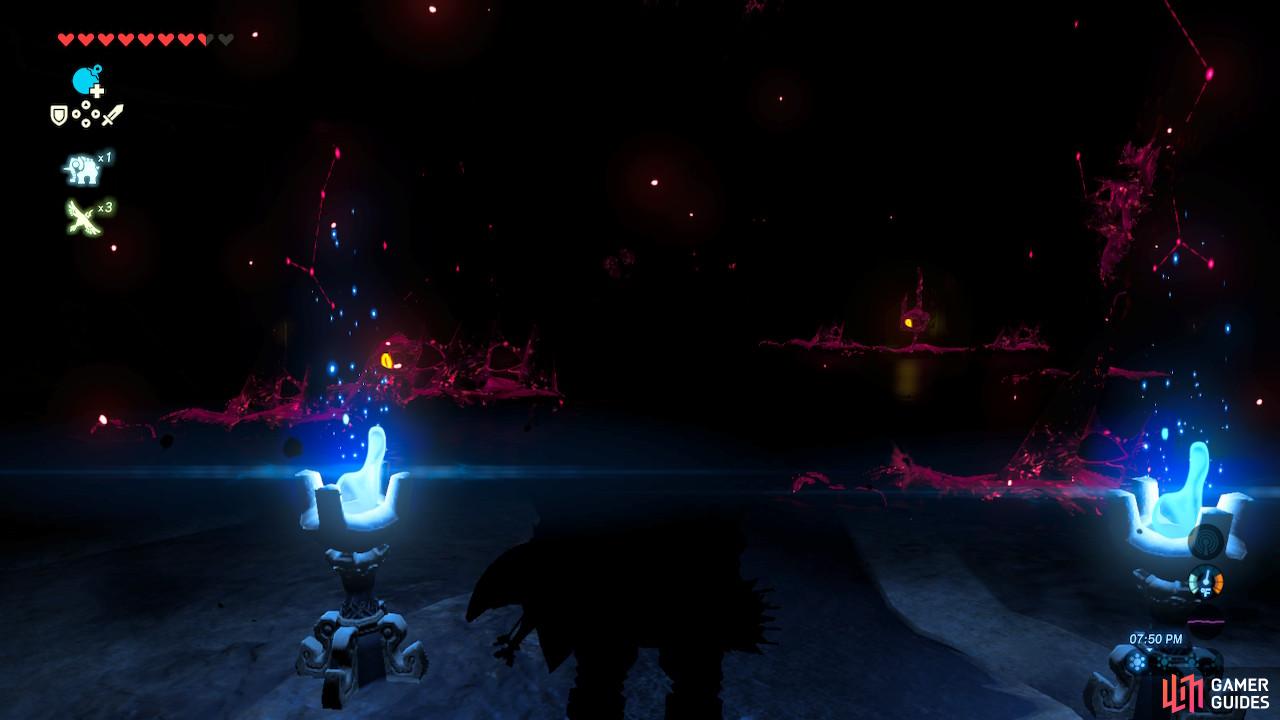
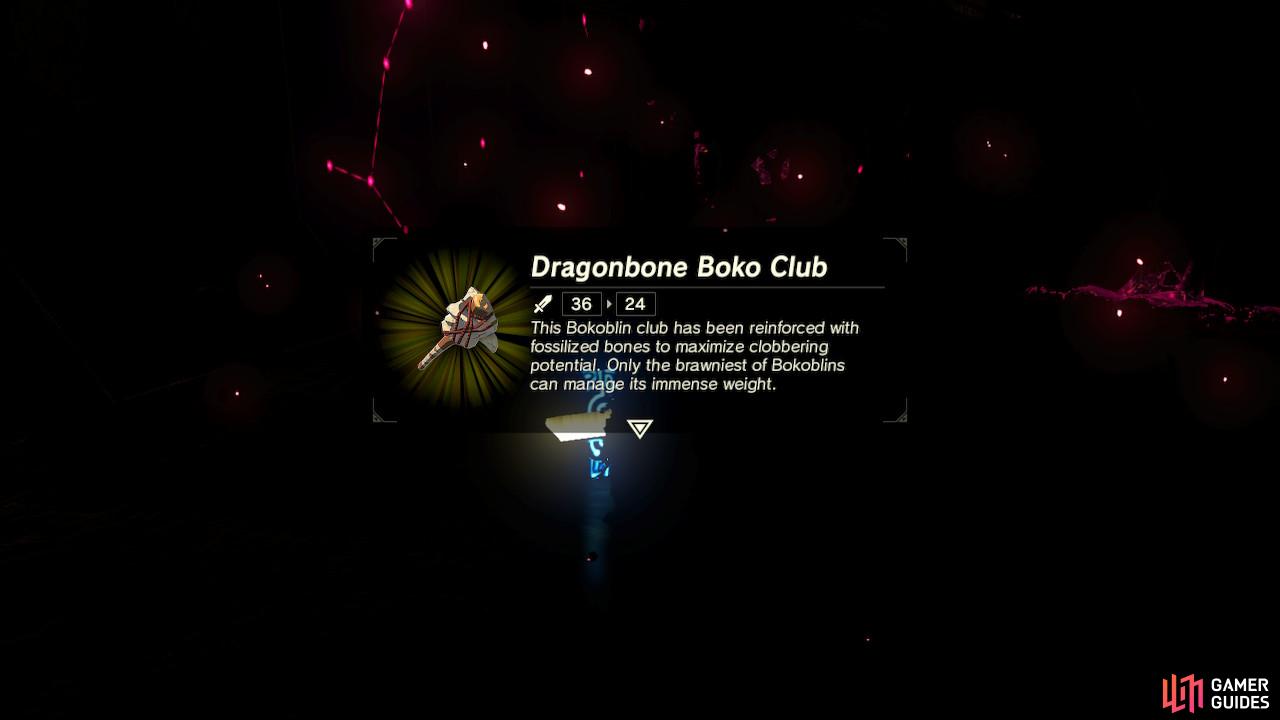
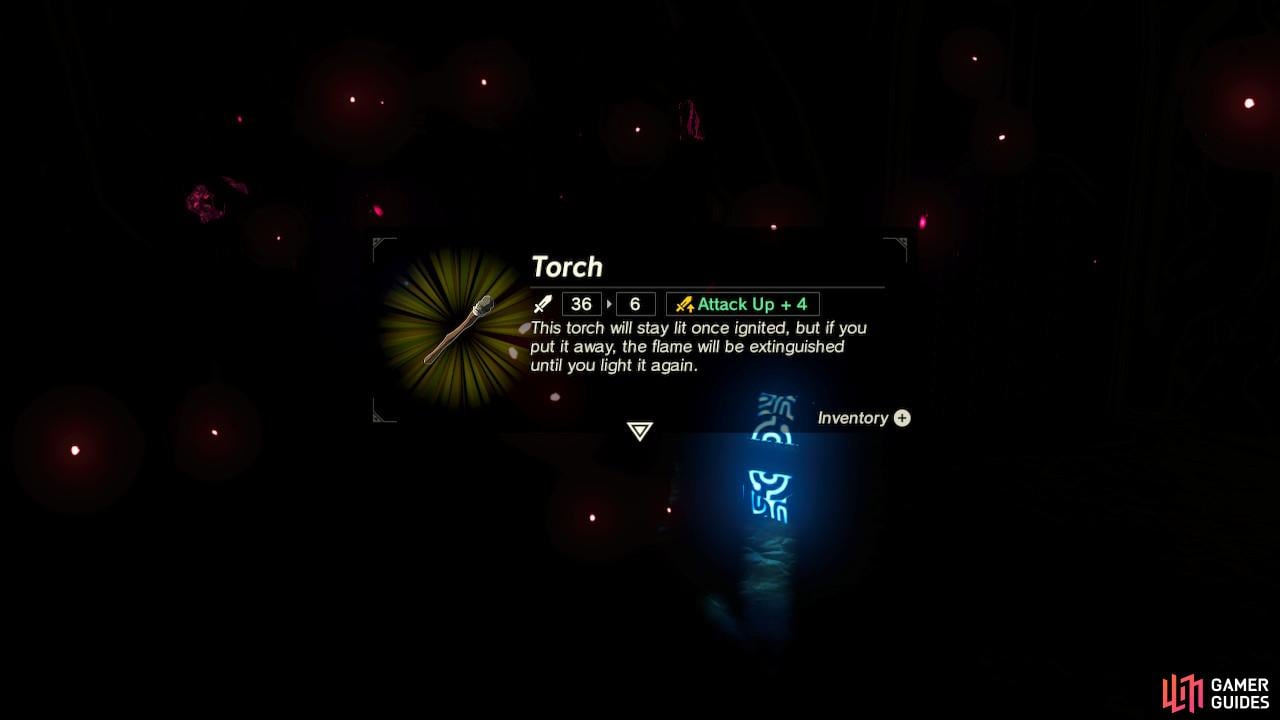
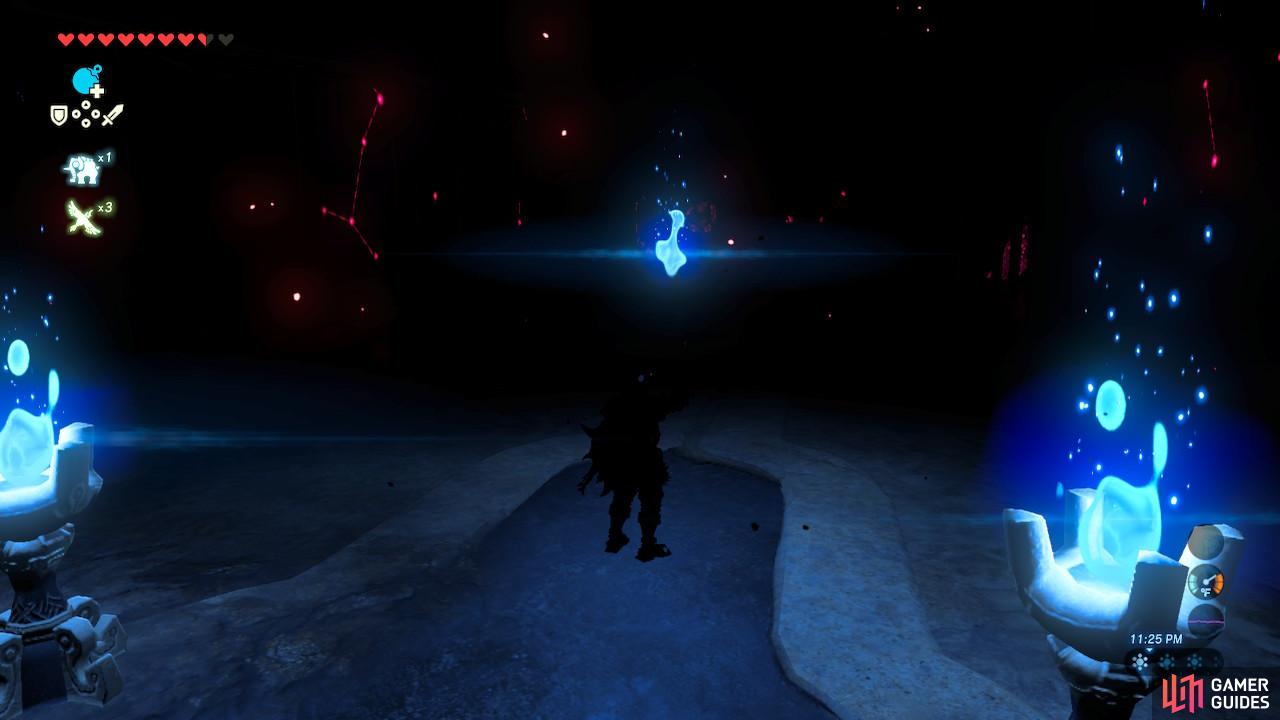
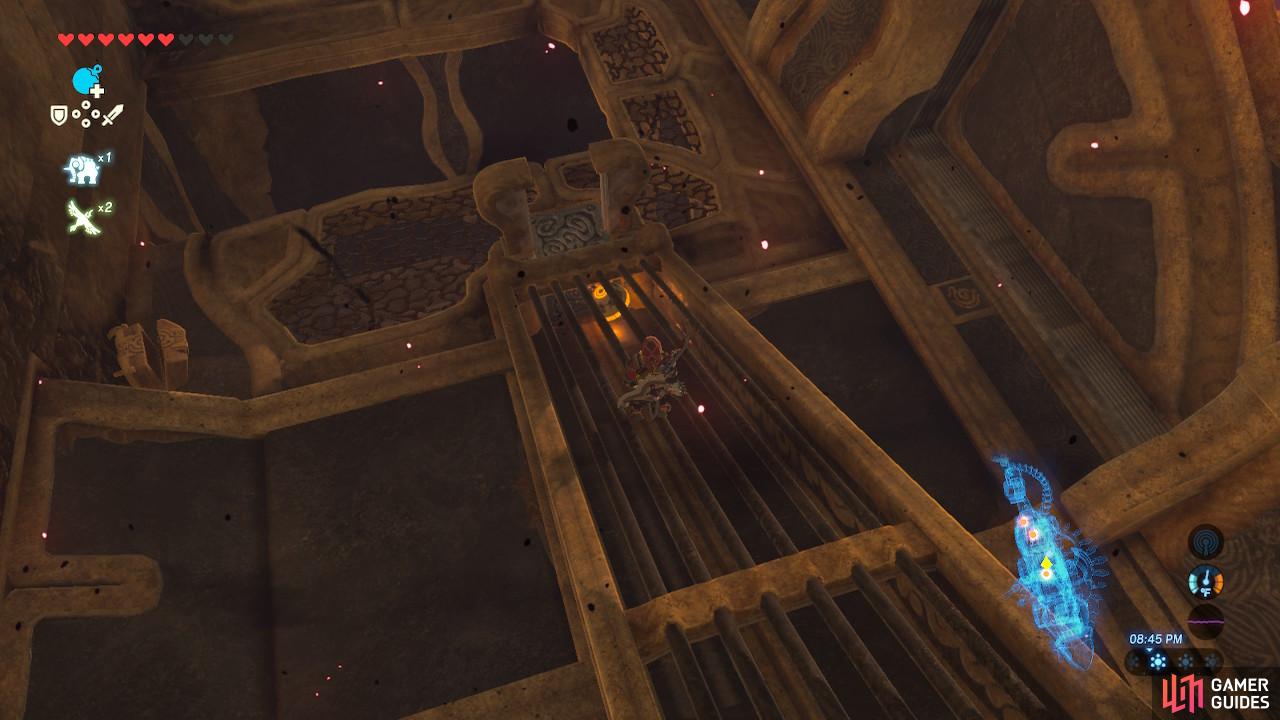
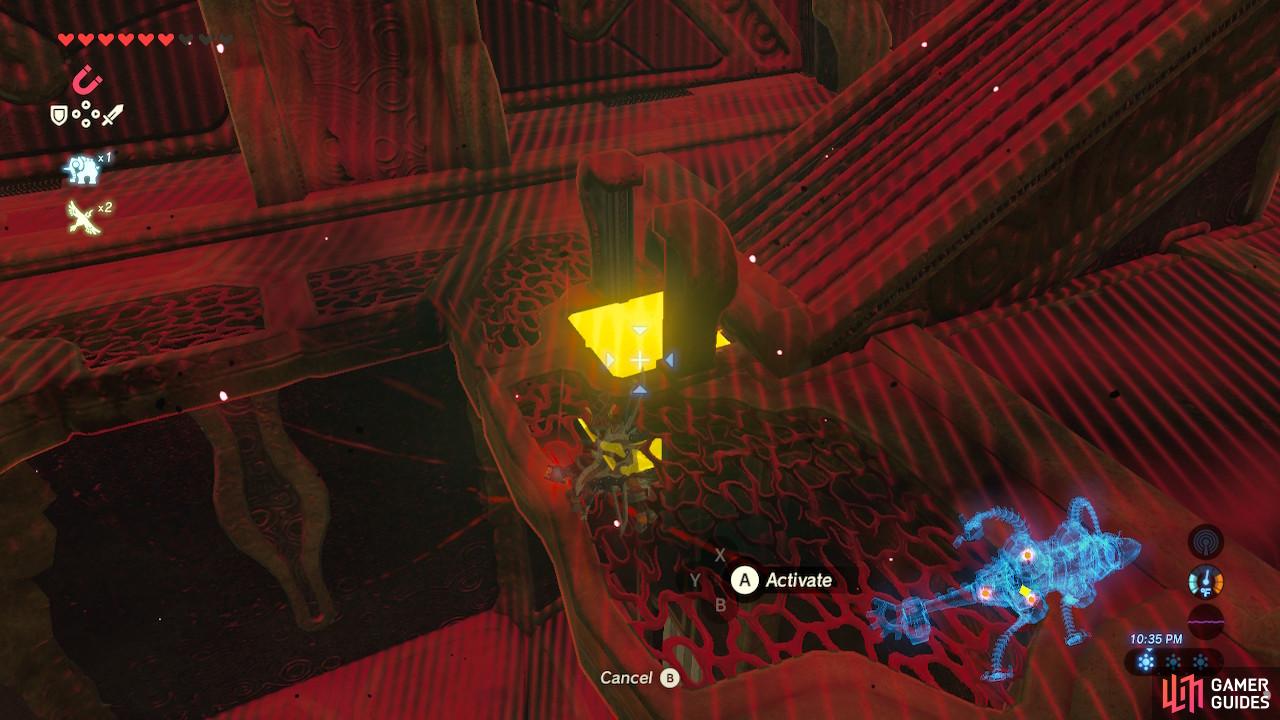
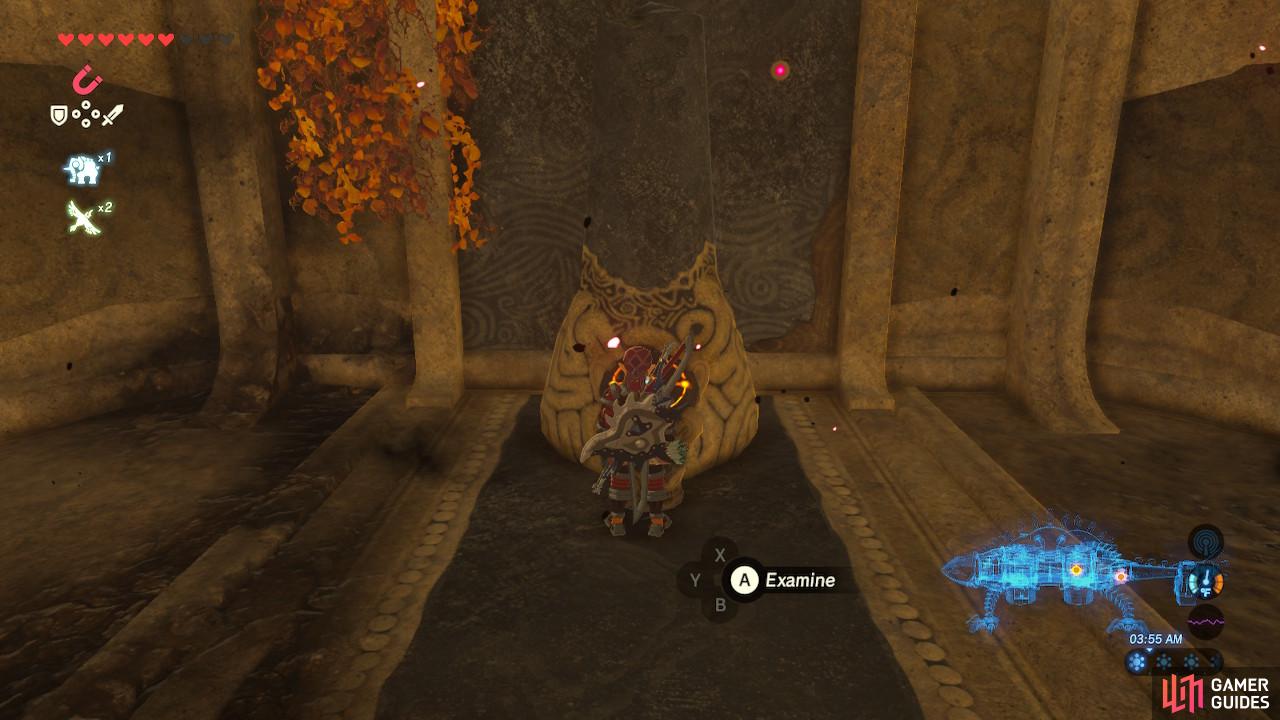
First things first, you will want to destroy every single eyeball in this room. Not only are they creepy as all getup, they are hiding treasure chests that you will want to open and blocking all sorts of gates and doors we will need access to later. The first eye to the left will drop a treasure chest containing a Dragonbone Boko Club. The second eye on the right will drop a treasure chest containing a Torch. You need to pick up this torch for the dungeon’s puzzles.
Don’t touch the torches yourself or you will take damage
Go to the furthest right corner of the room
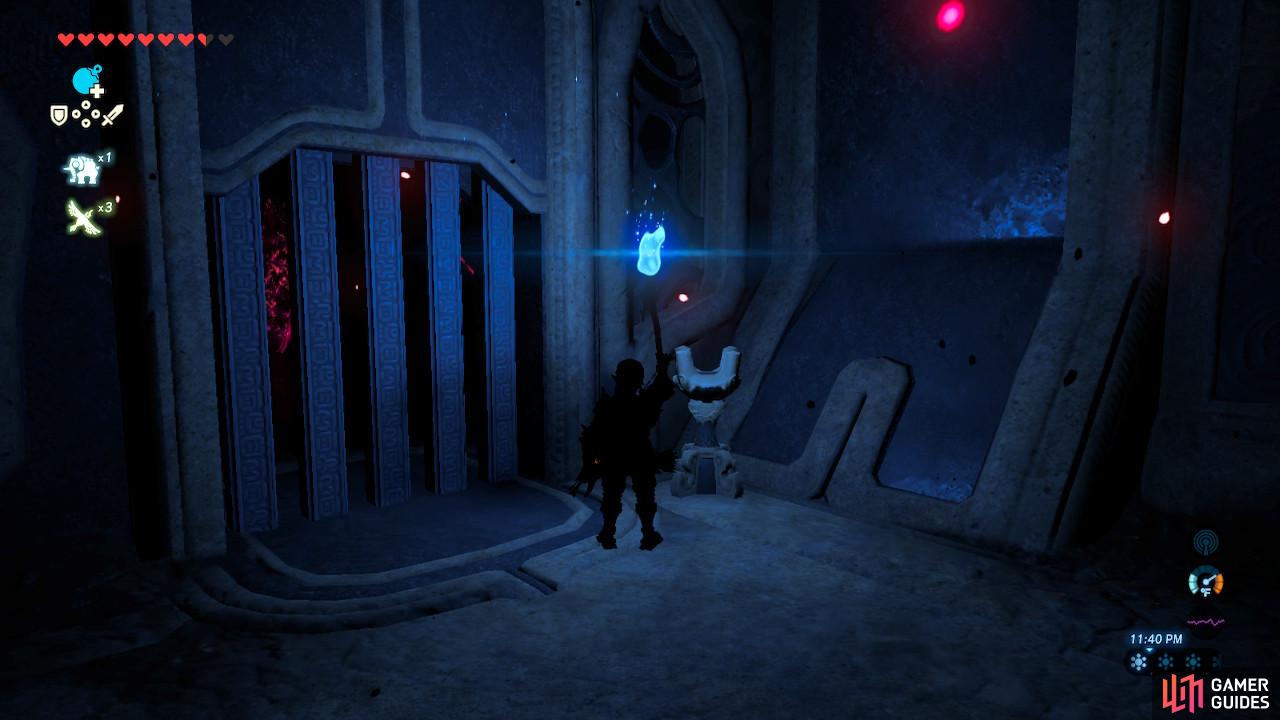
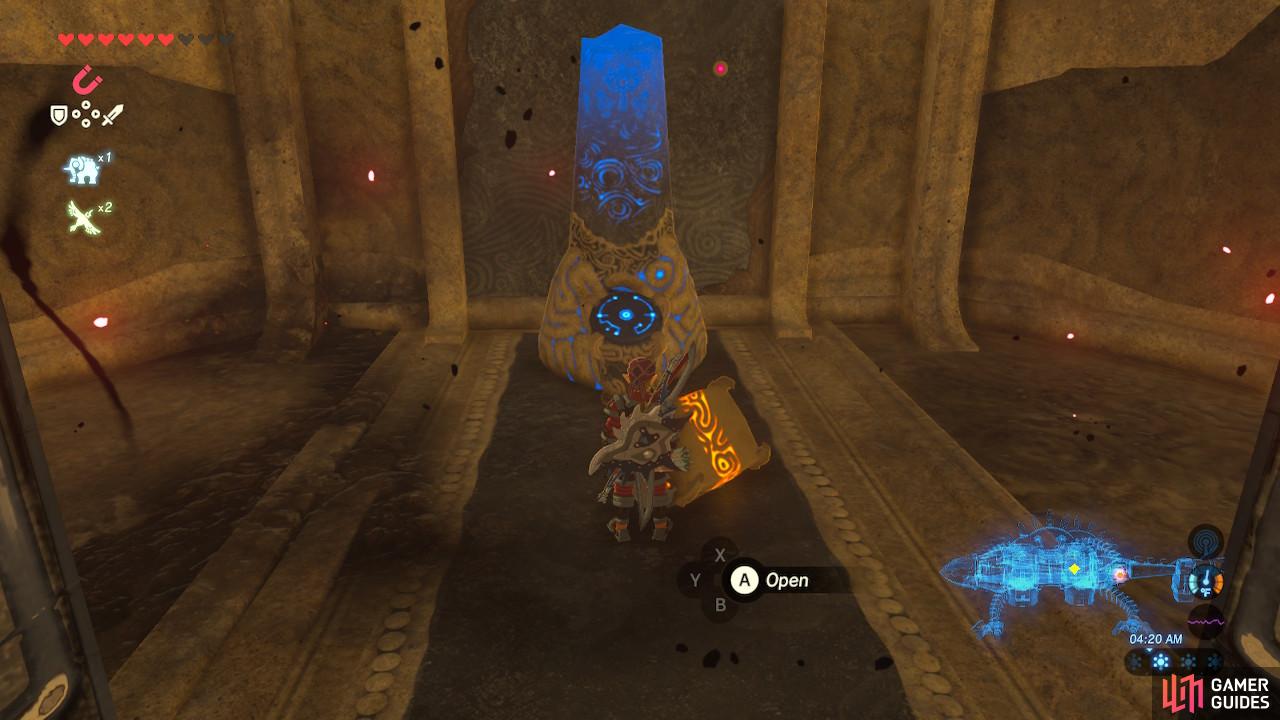
Light your torch by waving it at the blue torches in the entrance, then run over to the right corner at the very end of this room. You will see an unlit torch. Light it up and the gate will open, allowing you to proceed.
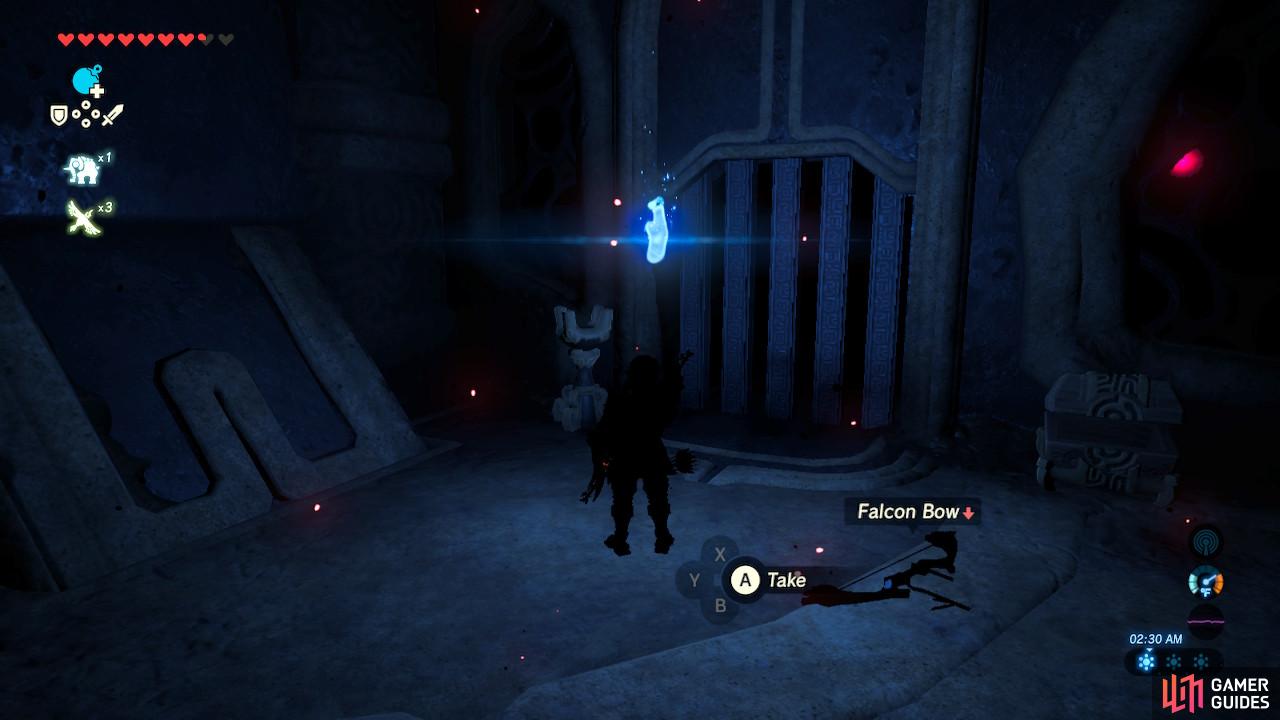
A Guardian Scout blocks your way, but has pitiful health. Defeat it and then destroy all the eyes you see. The eye with the mouth will drop a treasure chest containing a Knight’s Bow, and the eye on the far left side of the room will drop two chests. They each contain 5 Ice Arrows.
The torch is again in the furthest corner of the room
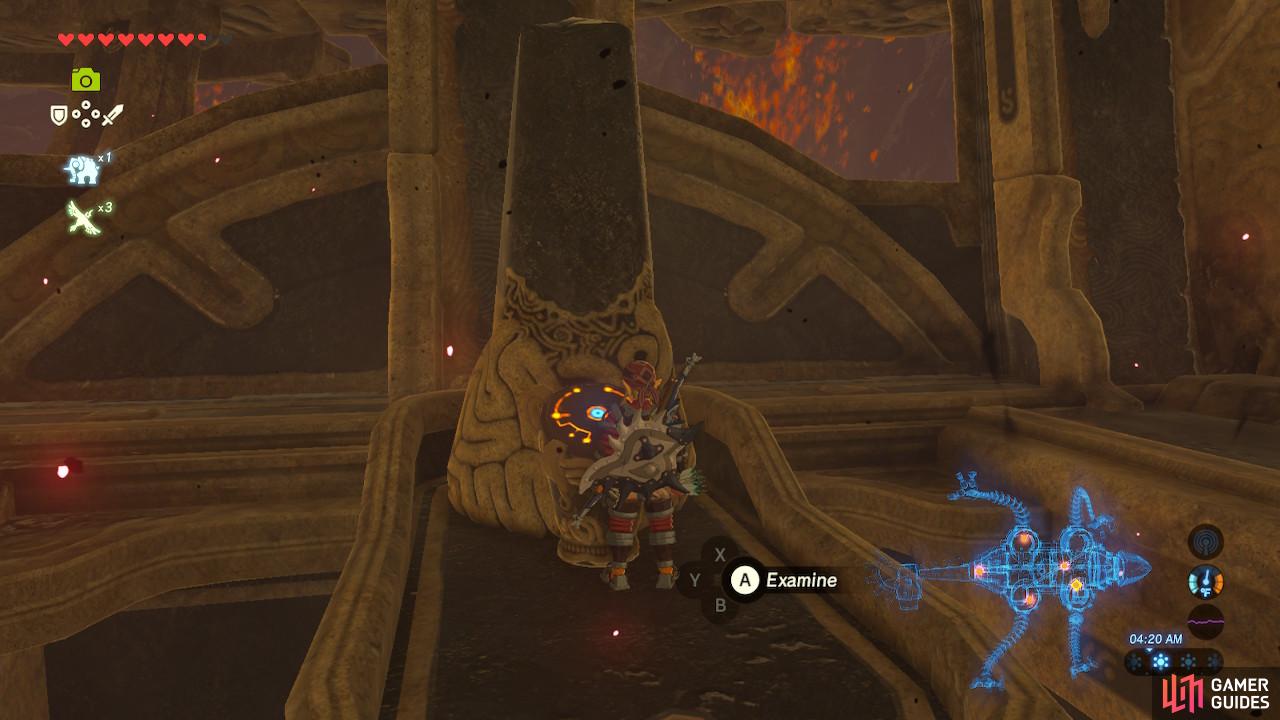
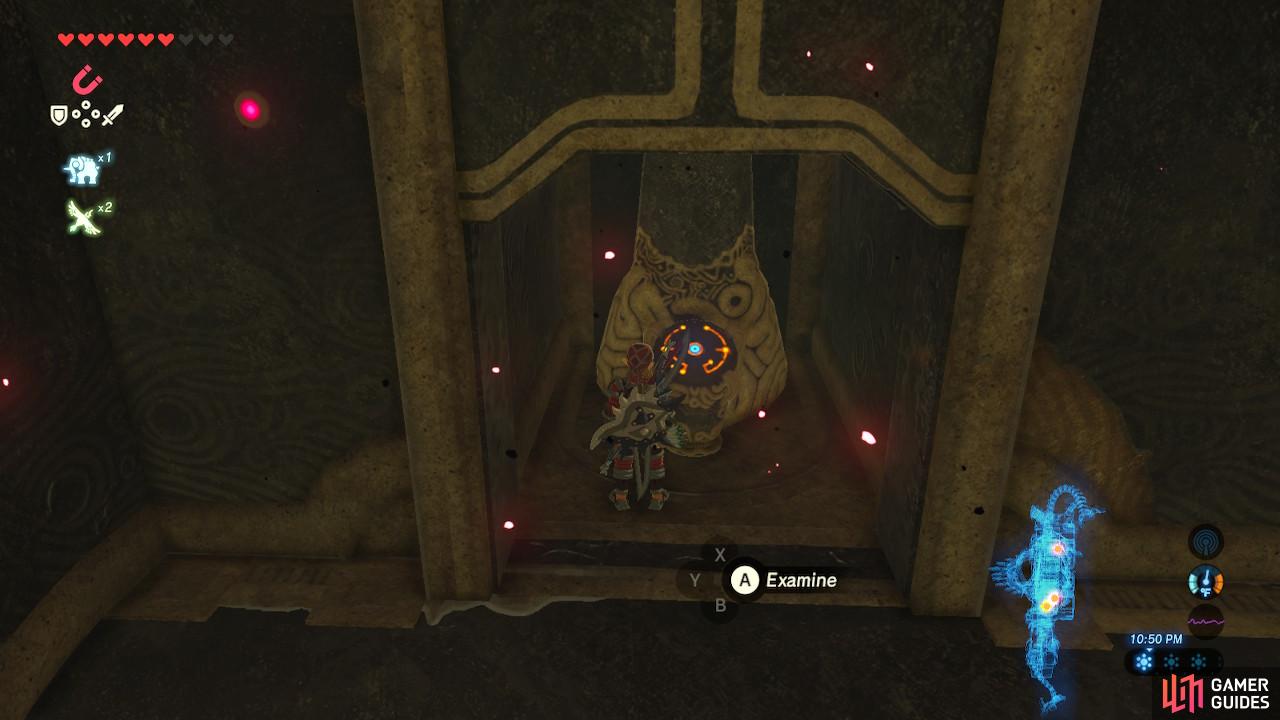
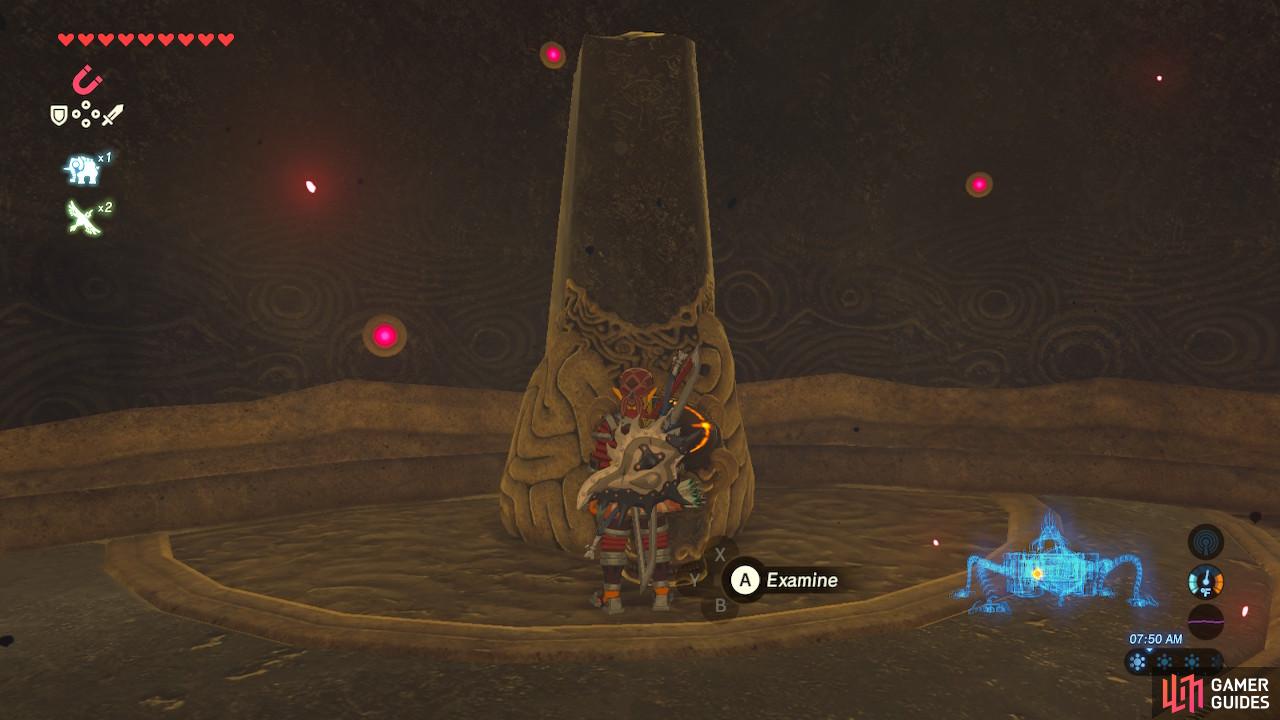
You can find the Guardian Stone by its orange glow
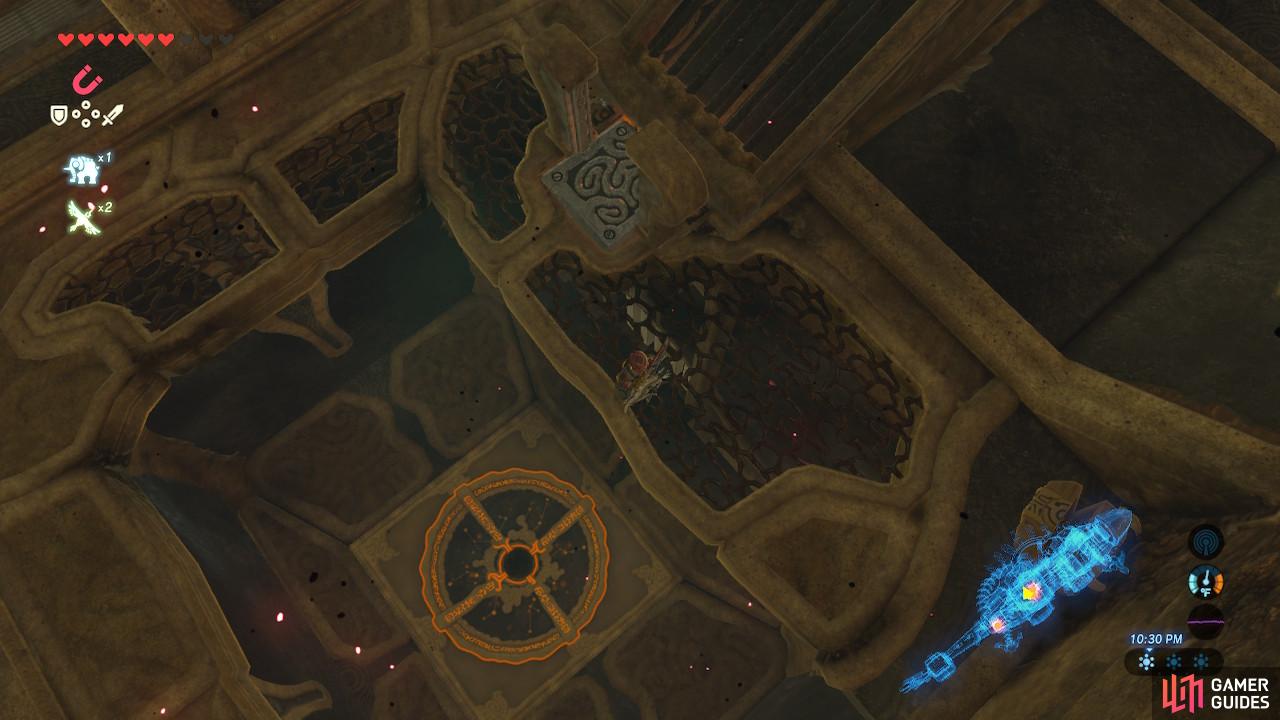
Return to the first room to light up your torch again, and then return to where you obtained the Knight’s Bow and light the unlit torch to open the next gate.
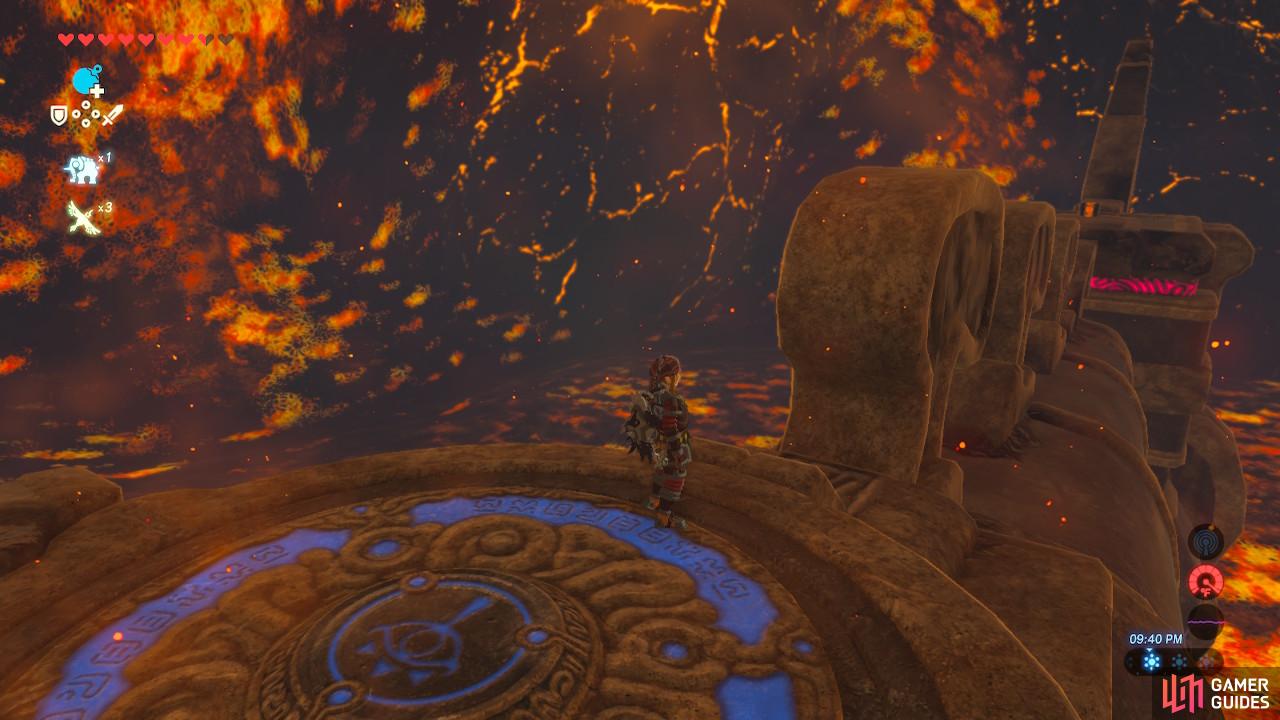
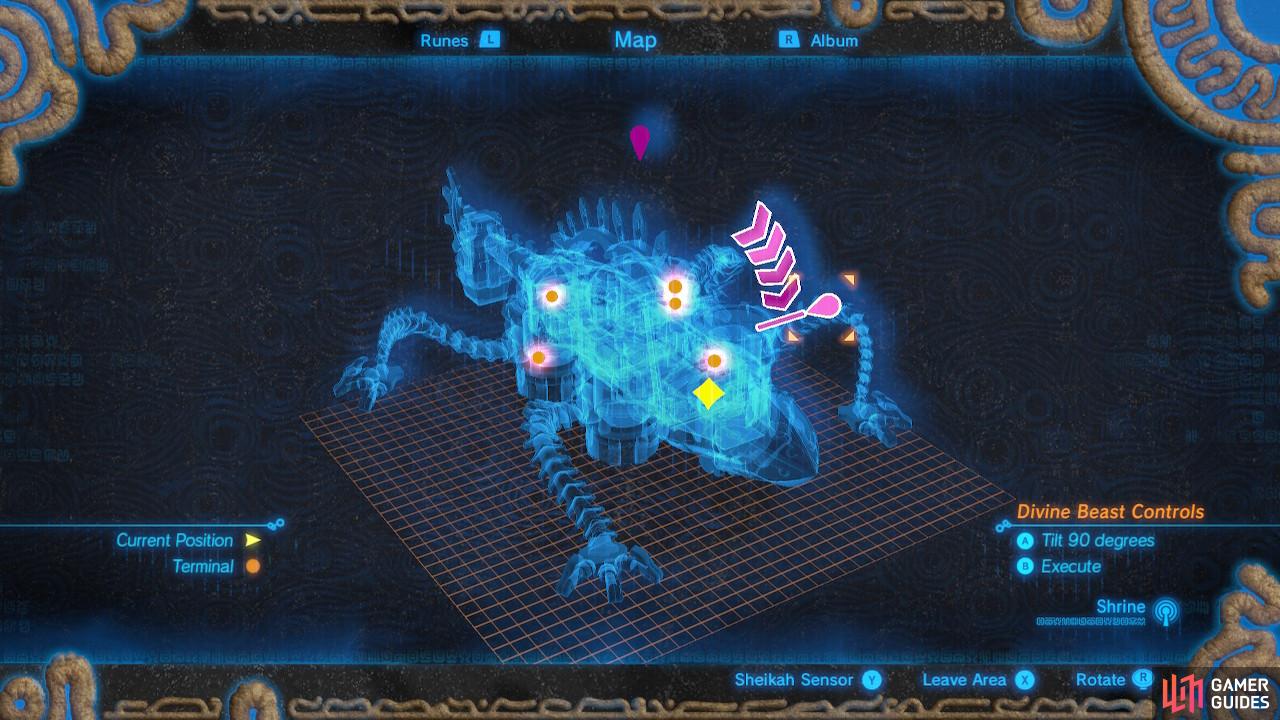
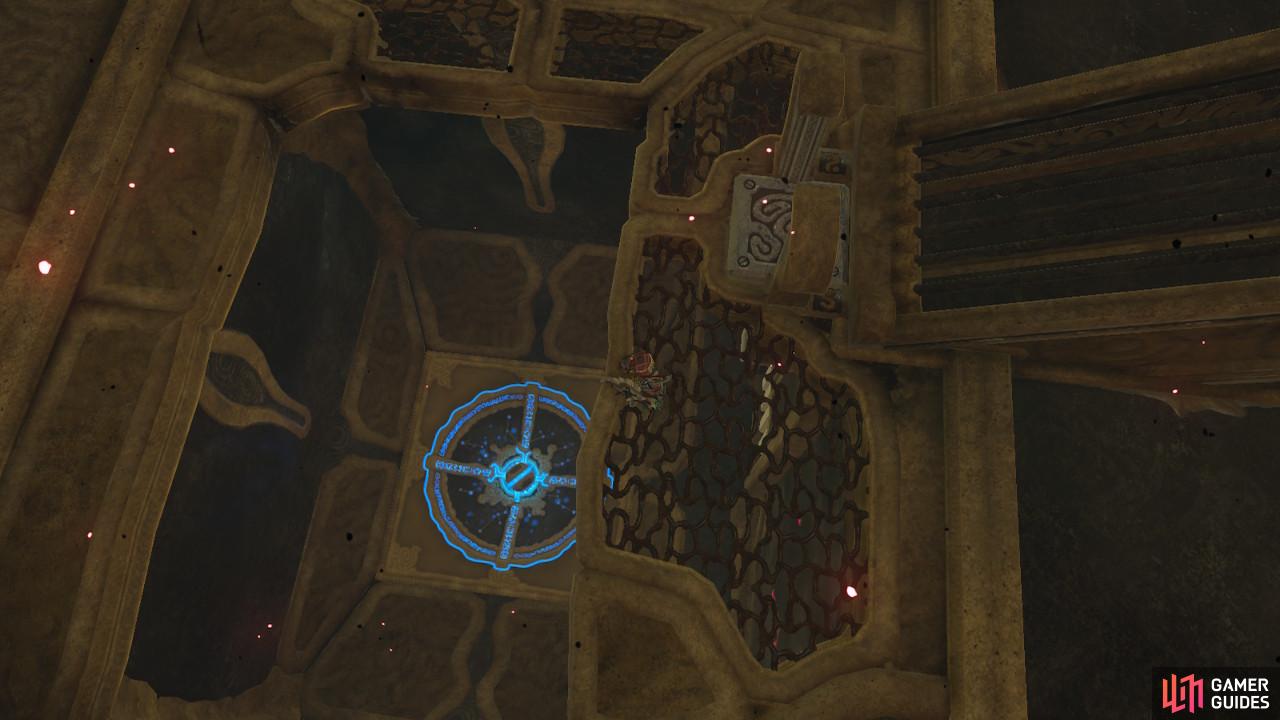
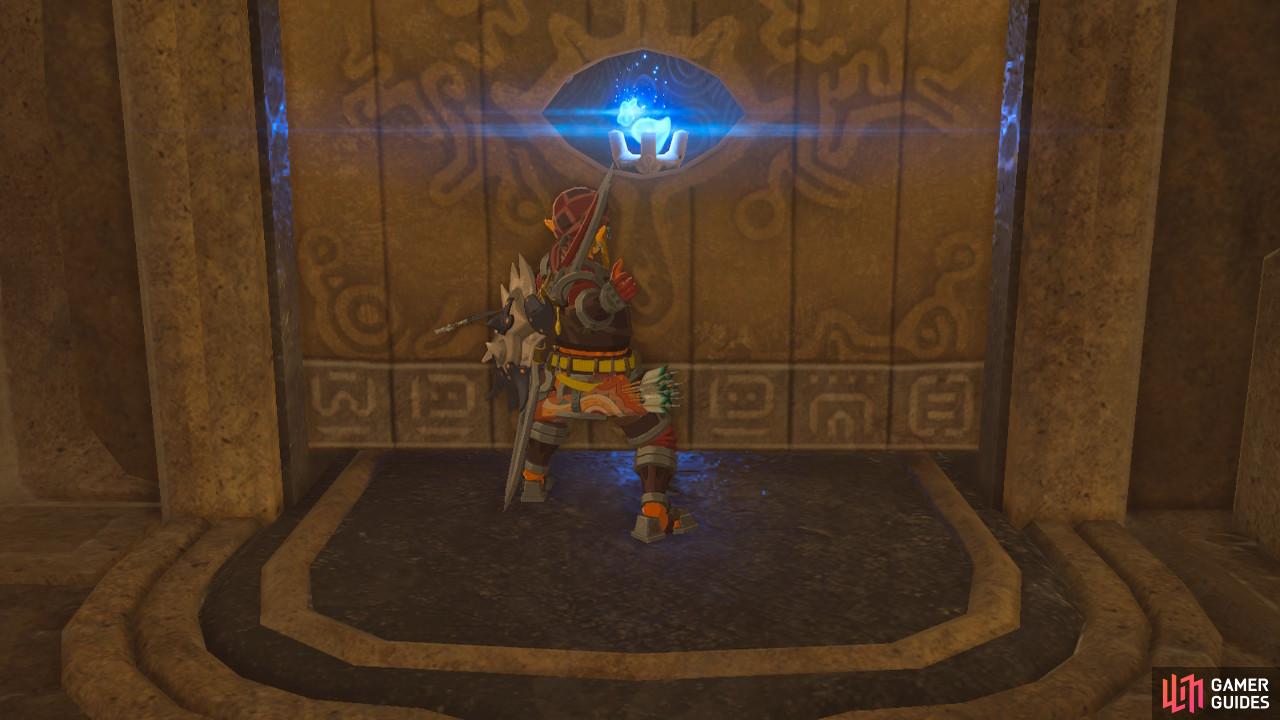
The Guardian Stone is right in front of you glowing orange. Activate it for a map of Vah Rudania, the location of the five terminals, and tilt controls for the Divine Beast. Vah Rudania can be manipulated into two positions. One is neutral (the one it is in right now) and the other is tilted 90 degrees.
With the Guardian Stone activated, Vah Rudania will open up the windows on its back, flooding the interior with light so that we can now see.
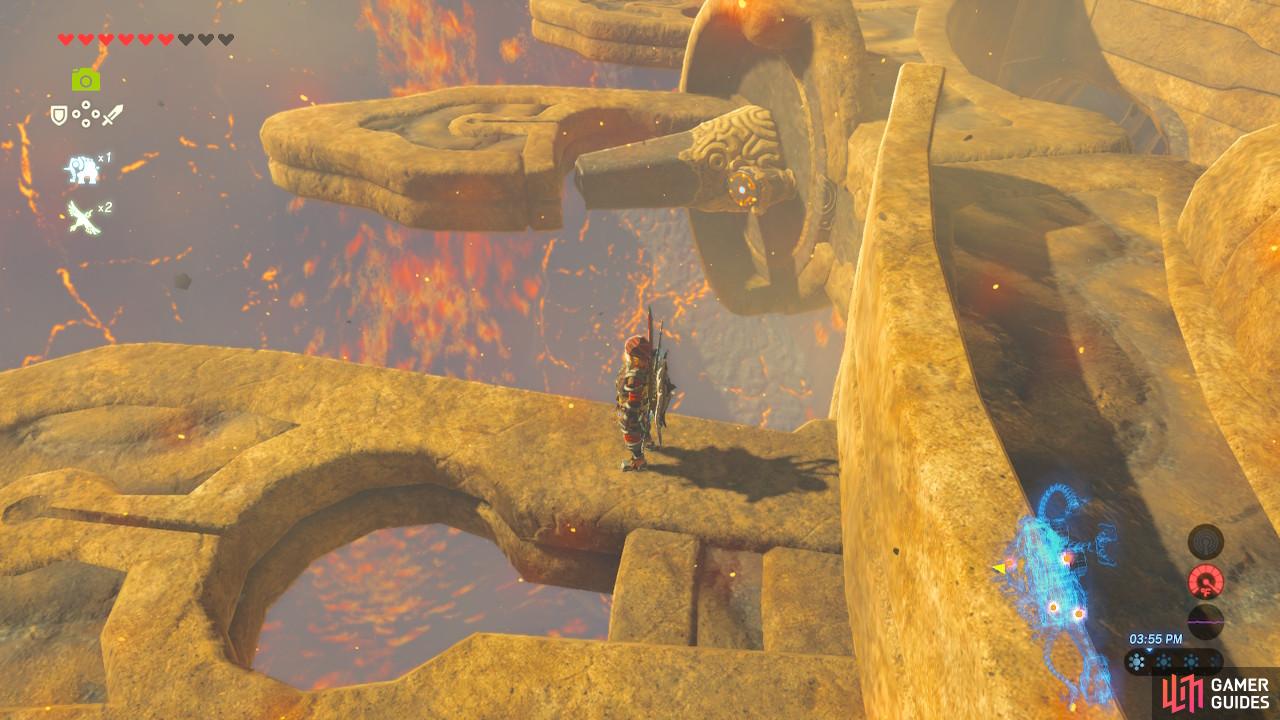
We will be covering the terminals from the front of Vah Rudania down to the back.
Terminal 1
Return to the room you were previously in. Up to the right is the first terminal, but it is tilted on the side of the wall so you cannot get to it.
Pick the lower pink arrow
Paraglide carefully and aim your landing precisely
Tip Vah Rudania over onto its side. As the Divine Beast moves, jump and Paraglide to the terminal. If you miss, as we did a few times in a row, you will land below the terminal and you will be stuck. Tilt Vah Rudania back to neutral, run back towards the center of the room, and then tilt Vah Rudania back over and try again.
Terminal 2

Go up this narrow ramp-stair thingy
Be sure to shoot the eye along the way so it doesn’t bother you
With Vah Rudania tilted over 90 degrees, you will see a large staircase above you. Run over to the bottom of the staircase, and run up it to get to the outside of Vah Rudania. Note that you will burn if you don’t have maxed out fire resistance, and you will want to unequip all your wooden equipment.
This ledge will be your safety net as you tip Vah Rudania
Beware the Ganon goop up ahead
Rotate Vah Rudania back to neutral and you will come to a rest on a ledge that has a climbable wall up. Climb up it and pass by the unlit torch. We will need to solve that puzzle for the next terminal, but not right now.
Shoot when the eye drifts between the black spikes or you will waste your arrow
Take care of this eyeball underneath the platform
Shoot the eyeball you see up ahead, as it is taking up a space you will need to walk through. Then turn Vah Rudania back on its side so that now you can run along the spikes on its spine as if they were flat platforms. Shoot the eye hanging out underneath one of them and let’s take a brief detour to grab a treasure chest.
You can climb over the wall to get to the chest

The Ancient Core is valuable and worth the detour
The treasure chest in question is at the far out end of one of the spikes. You can press [X] to scale the wall and run over it to open it for an Ancient Core. But how do you get back? Flip Vah Rudania back to neutral and stand right on top of its spine.
As Vah Rudania flips back over, move right onto what is currently a wall as it will become a pathway

This terminal is up by Vah Rudania’s head
Run along the path back the way you came and you will see that the terminal is nestled right behind Vah Rudania’s head. Activate it.
Terminal 3
Now we will be revisiting that unlit torch we saw earlier on Vah Rudania’s back. First, we need to go grab some fire that we can use to light it. Return to the main room where we had to light torches to open the gates. To access those torches you will need to make sure that Vah Rudania is in neutral position.

Run up this rounded, grate-like ledge
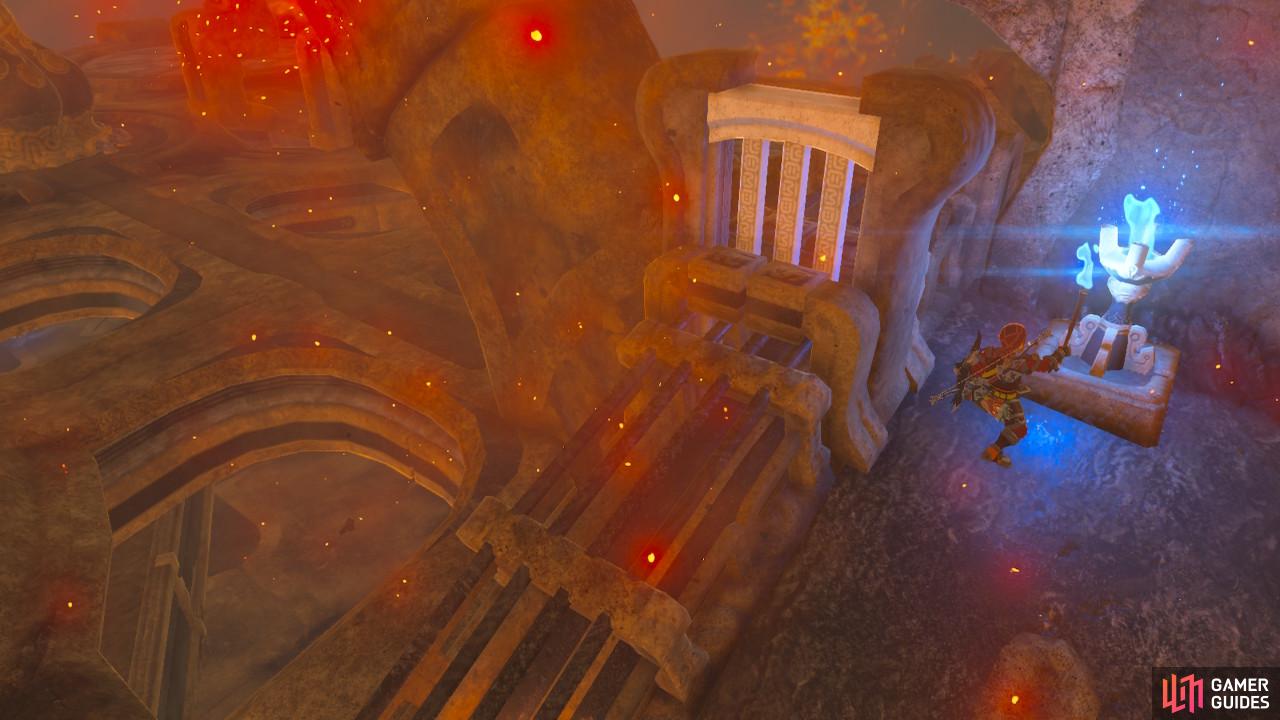
After lighting the torch the gate to your left will rise up
Tilt Vah Rudania back to 90 degrees to go up the same staircase we have been using and return to the exterior. This time to access the torch, we cannot use the climbable wall, as that will put our torch away and waste our efforts. Look to the left and you will see a little ledge that wraps around Vah Rudania’s body. As you tilt Vah Rudania back to neutral position, run along that ledge and you will end up right next to the torch!
Follow the ball down the ramp
The ball needs to end up in this hollow below
Light the torch and you will see a gate open that will let a ball inside a tube roll down around Vah Rudania’s body. Follow it down to the ledge with the climbable wall and you will then see that the ball has been stopped. Rotate Vah Rudania back on its side so that the ball can continue rolling, and follow it back down the staircase.
The metal box at the foot of the ramp can be manipulated
The ball will then fall here to open up the gate
The ball is stopped again, this time by a metal box that is actually right at the base of the staircase. Use Magnesis to pull it up (but not out of the ground since you still need to be able to get to the staircase) and the ball will roll into an orange hollow below you.
You will see a gate open revealing the third terminal. Drop down and go to activate it.
Terminal 4
Before we begin to work on this terminal, let’s grab two more treasure chests. Return to the staircase by tilting Vah Rudania to neutral so you can return to the main room, and then tilt Vah Rudania back on its side so the staircase is accessible again.
This chest is underneath the ramp
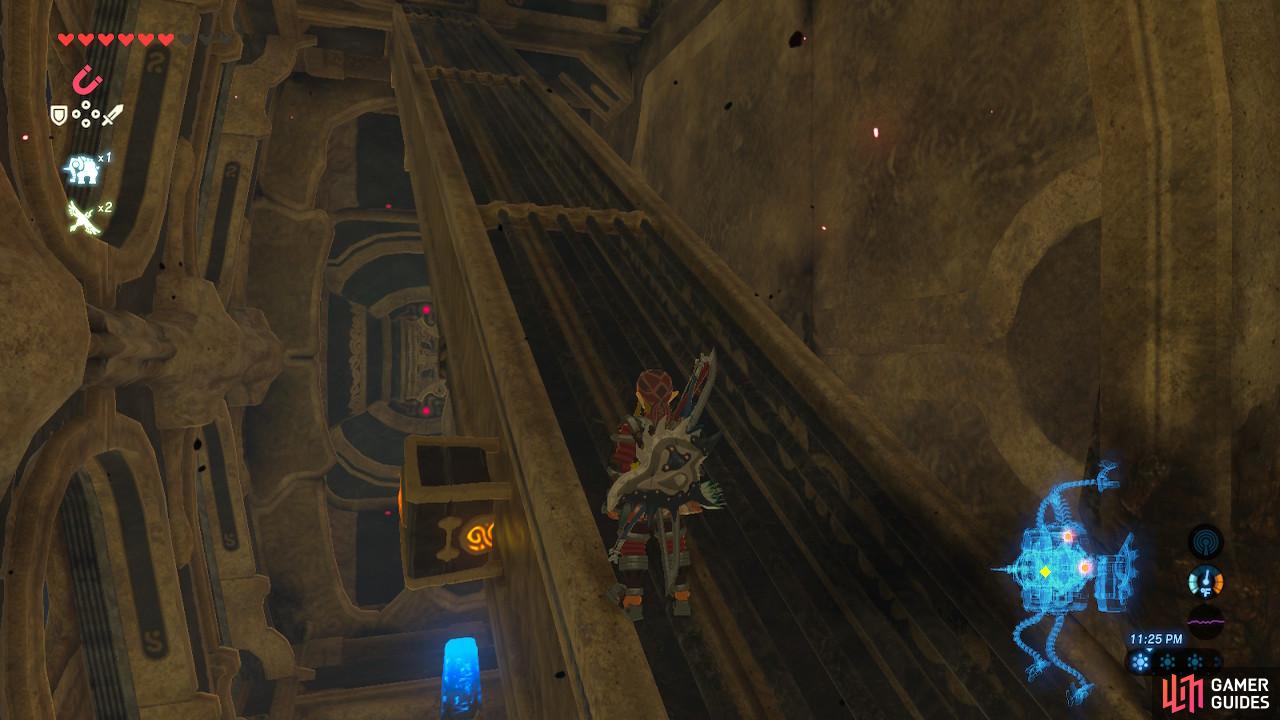
You will need some fancy footwork and precise timing to make it to the side of the ramp as Vah Rudania tilts
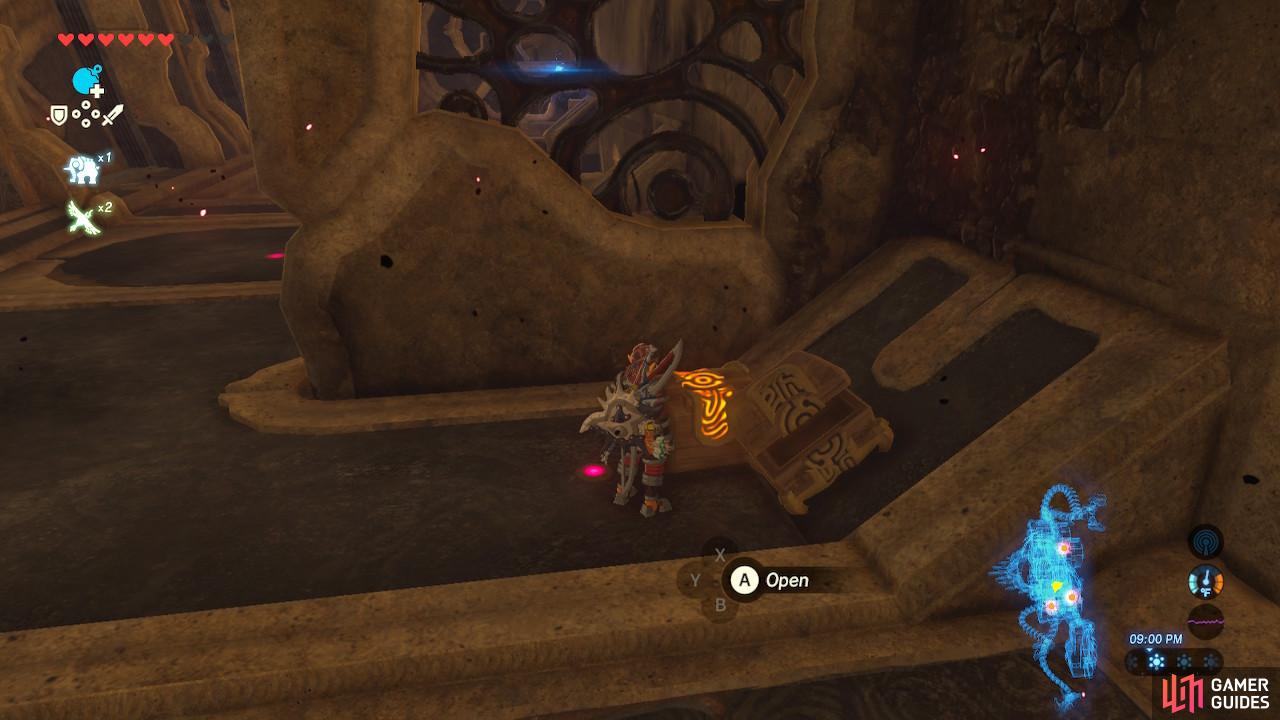
A treasure chest is behind the staircase, having fallen as we tilted and untilted Vah Rudania repeatedly. Open it for 5 Ice Arrows. The second chest is glued to the side of the staircase. As you are standing on the staircase, tilt Vah Rudania back to neutral. As Vah Rudania tilts, run carefully to the side of the staircase. Open the treasure chest for another Knight’s Bow.
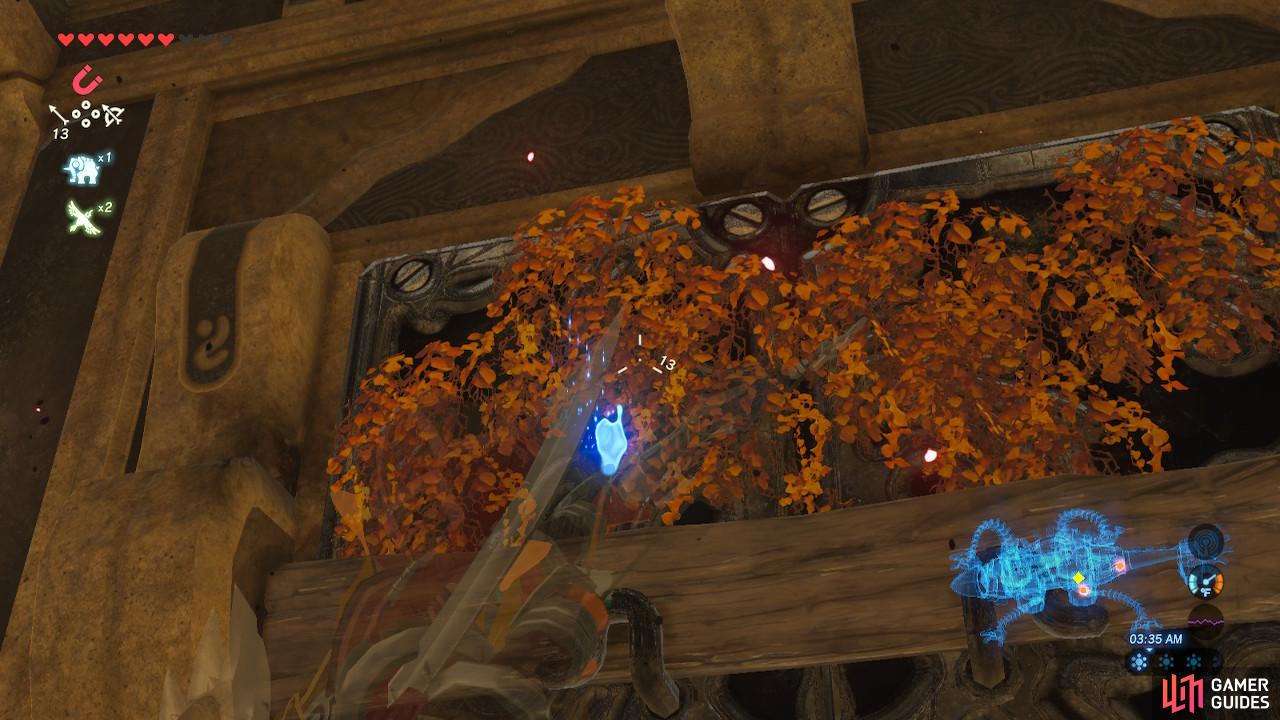
Shoot a burning arrow at the vines
You will need to push as the doors only open one way
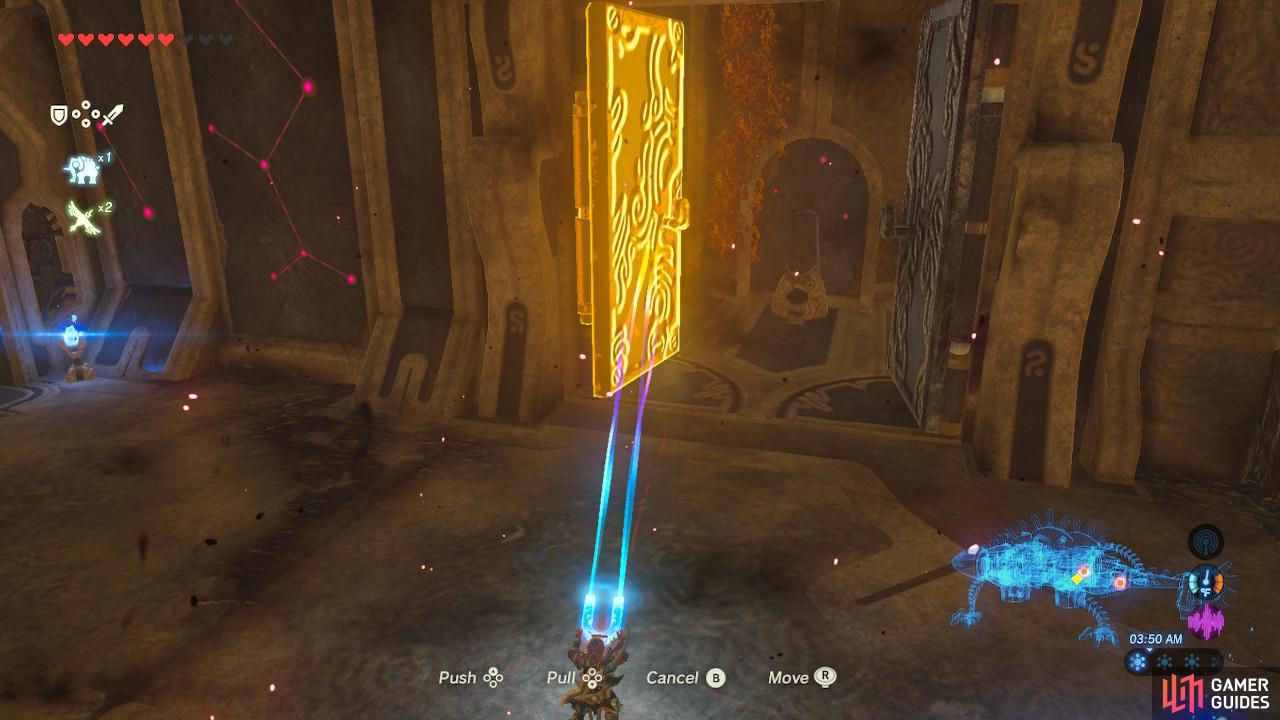
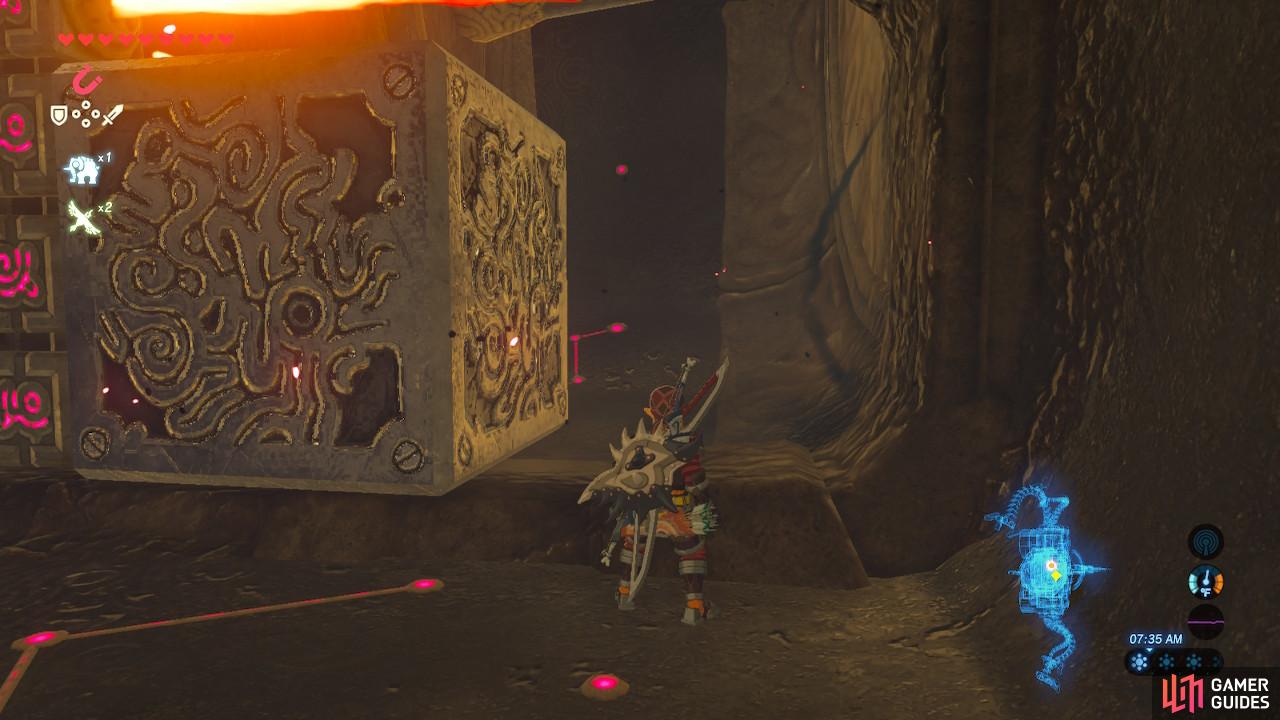
Now you can drop back down into the main room. Directly to the right of Vah Rudania’s main entrance are two large metal doors. However, they are currently kept closed by vines and a wooden plank. If you have Fire Arrows, shoot one at the vines to set the whole thing on fire. If you do not have Fire Arrows, or do not want to waste them, simply draw your bow and then walk close to the torches at the entrance to light your arrow on fire. Use Magnesis to pull open the doors and the terminal is right there in front of you.
Activate this terminal and we have only one left
Don’t forget to grab this hidden chest
After activating the fourth terminal, be sure to again shoot a burning arrow at the vines behind the terminal. A treasure chest will drop from the ceiling containing an Ancient Gear.
Terminal 5
Look through the peephole to see the unlit torch
Aim carefully with a blazing arrow to open the doors
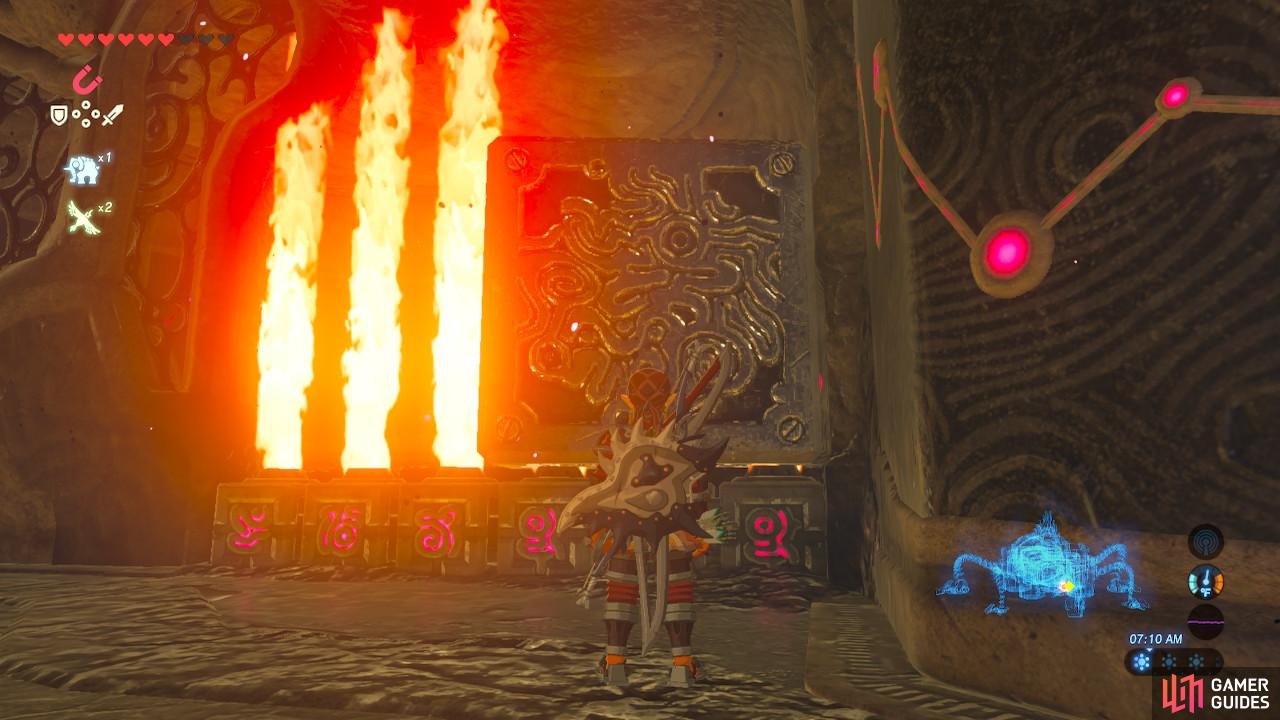
We are almost to the end! The last terminal is behind a door that is to the left of the main entrance. However you cannot open the door. If you look through the hole, you will see an unlit torch.
You will need to shoot a burning arrow at the torch from outside the door. Do so as precisely as possible, and then the door will open. However, now a wall of flames blocks us from accessing the terminal.
Shoot those vines with a burning arrow
Place the metal block right here as shown
Go left of the flames and look up, and you will see a bunch of vines. Shoot another burning arrow at the vines and a large metal block will drop down from the ceiling.
Using Magnesis, place the metal block on top of the rightmost flame pillars. This is because we cannot climb up the metal block, so we will need to walk past it along the wall. If the metal block is not in the right position, we will be unable to get through.
Now you can safely walk through
Activate this final terminal so that you can access the main control unit
Once the metal block is in position, tilt Vah Rudania 90 degrees so that you can walk past the flames. Then tilt Vah Rudania back to neutral and activate the terminal. With the terminal activated, the flames will extinguish themselves and the main control unit will be marked on your map.
Main Control Unit
Paraglide to here from the top of Vah Rudania’s back

Try to activate this main control unit
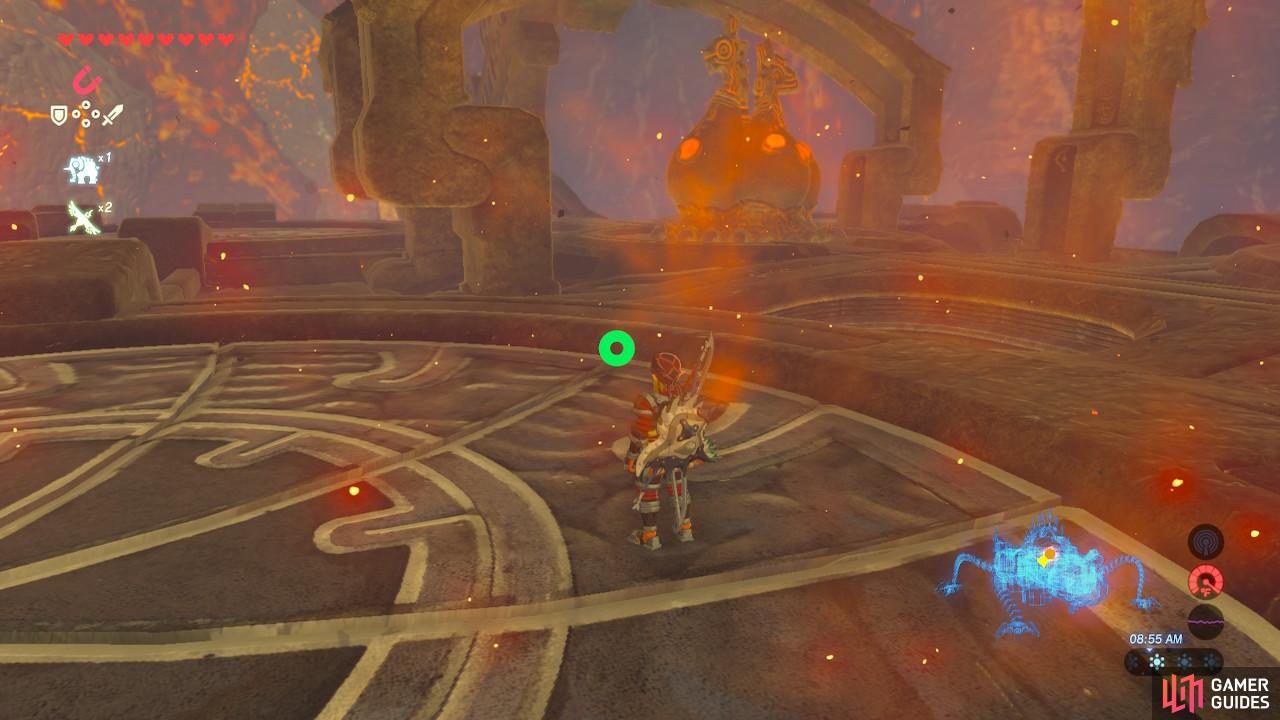
The main control unit is, predictably enough, on Vah Rudania’s backside. Go back up the staircase we have been using and once you are outside, tilt Vah Rudania back to neutral and use the ledge shortcut we employed to light the torch. Run along Vah Rudania’s spine and then Paraglide down to the large, flat platforms where you will see the bright orange main control unit.
As you attempt to activate it, however…
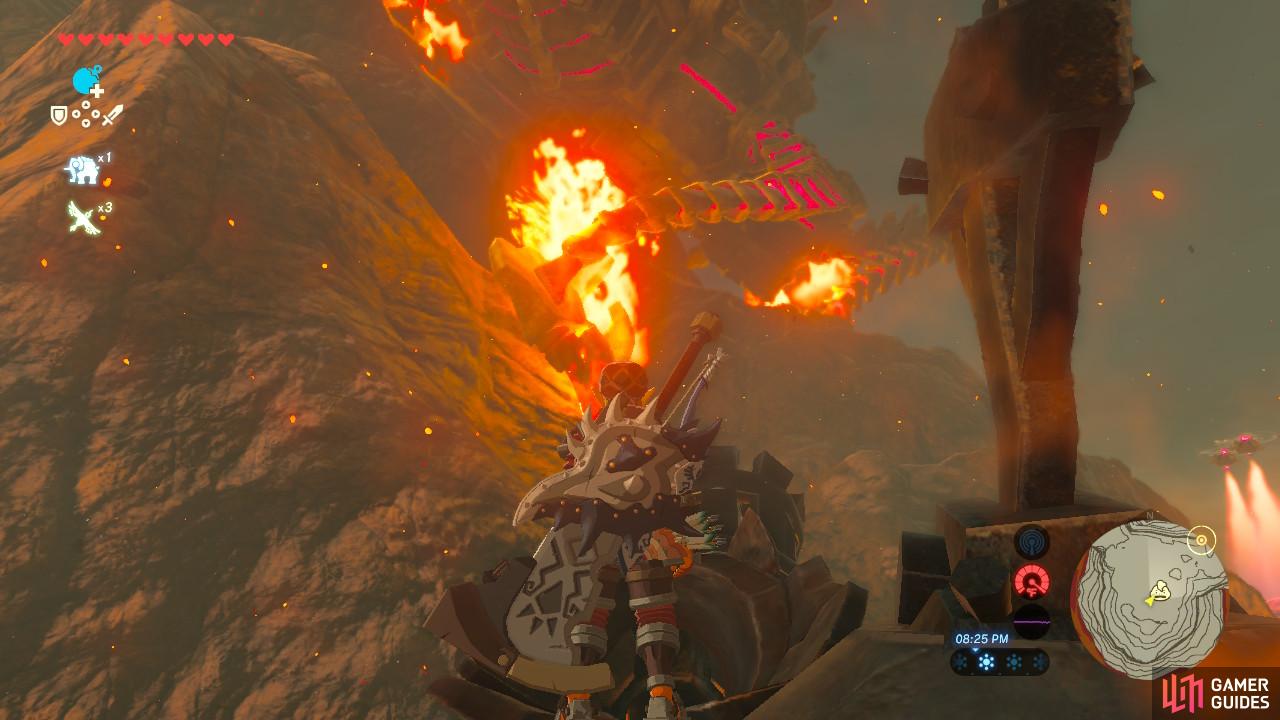
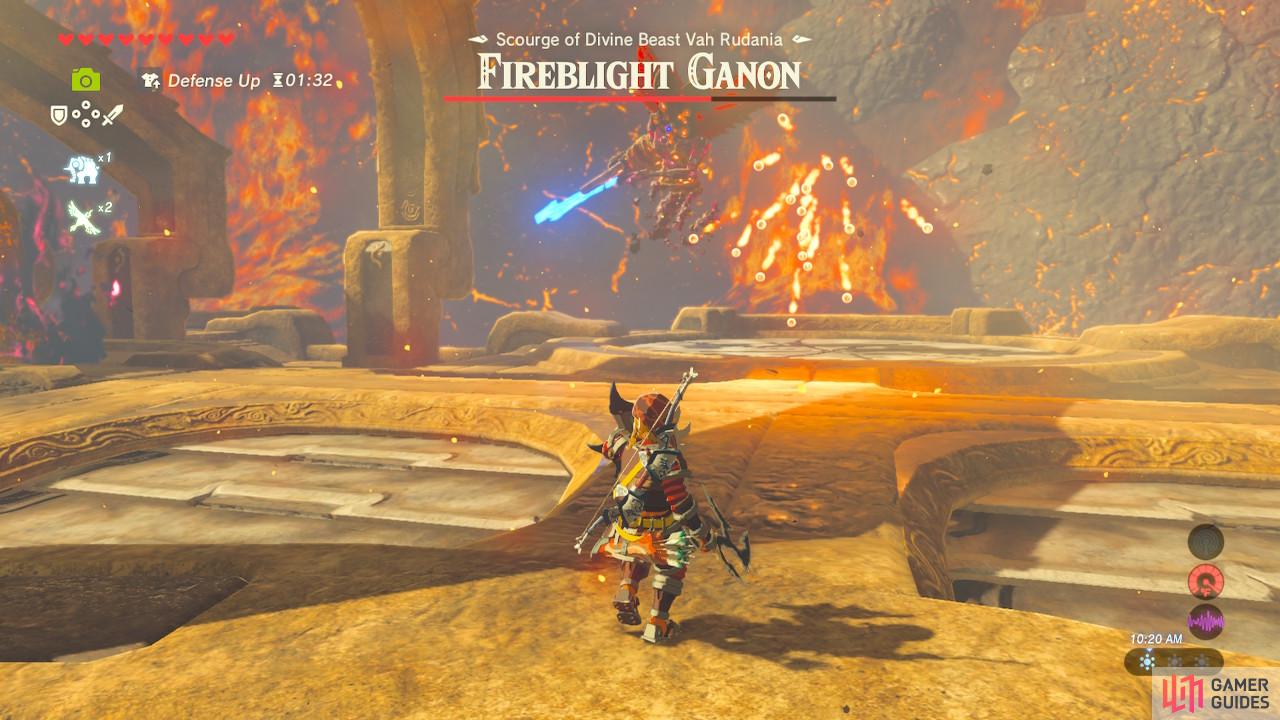
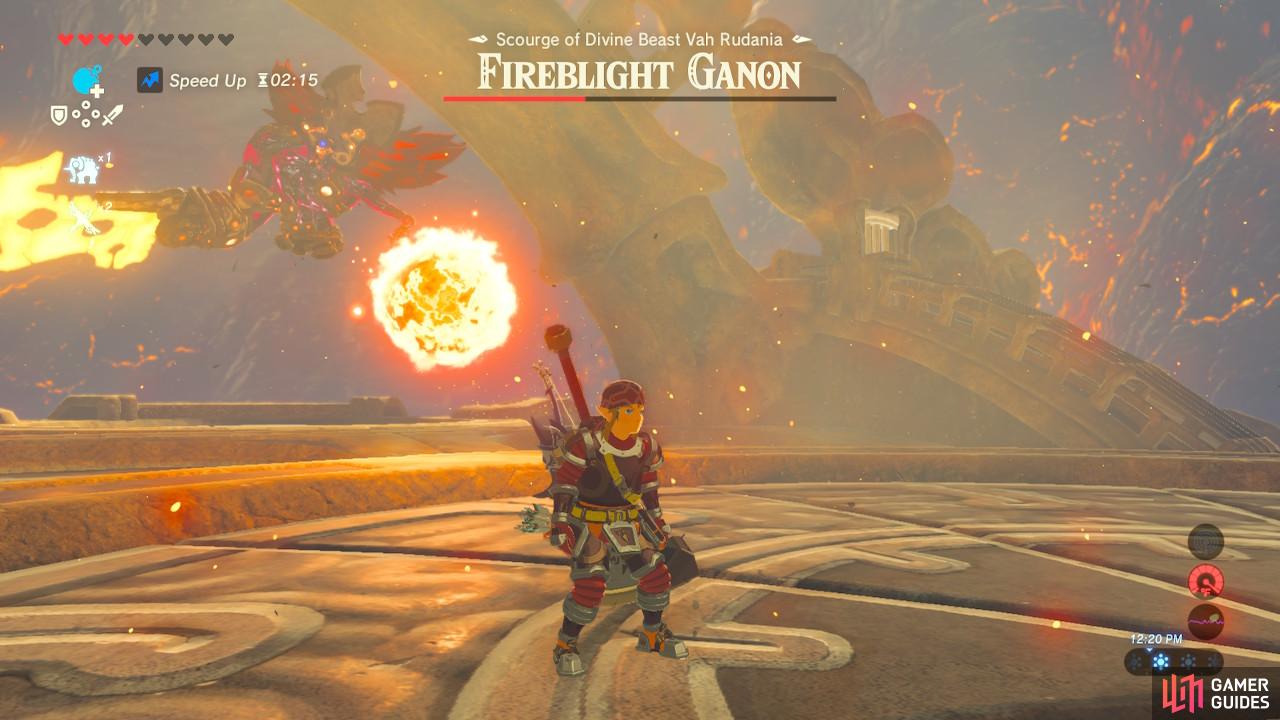
Fireblight Ganon
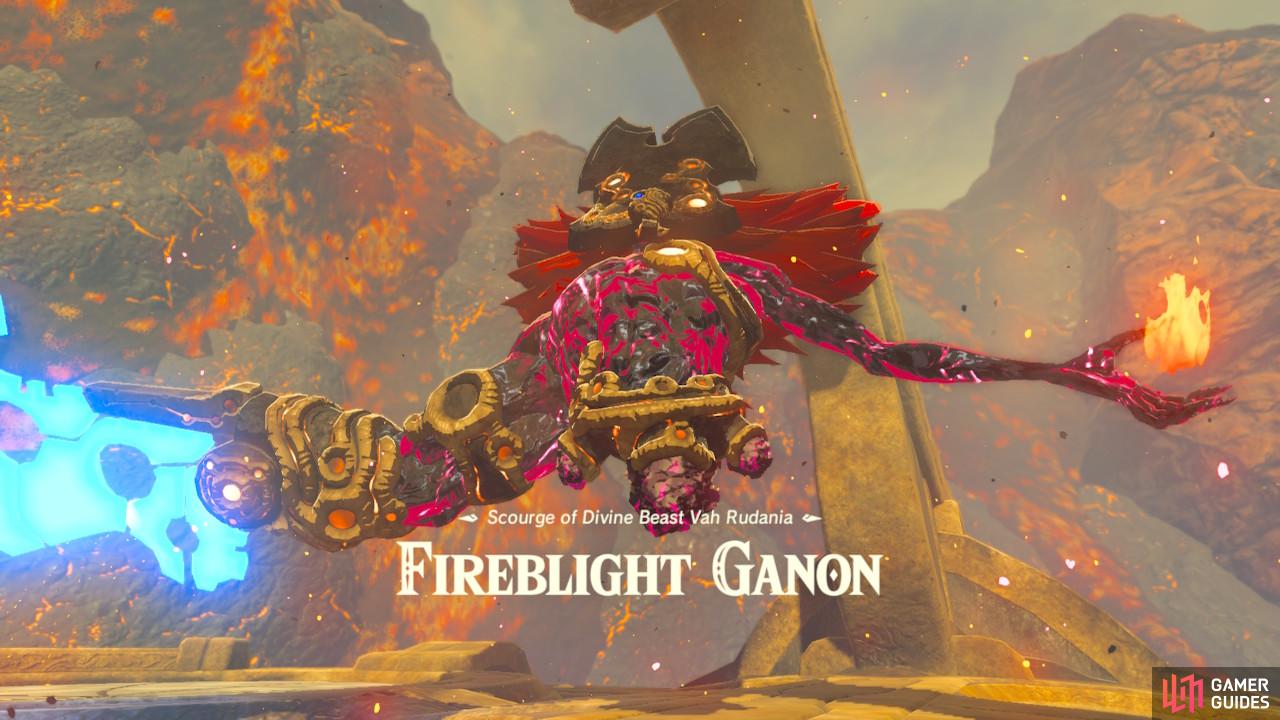
Fireblight Ganon is what corrupted Vah Rudania and spelled the end of Daruk 100 years ago. This time it will be different however, and we will wrest back control of this Divine Beast.
Fireblight Ganon’s broadsword attacks can be dodged to initiate Flurry Rush
This attack is slow moving and relatively easy to dodge
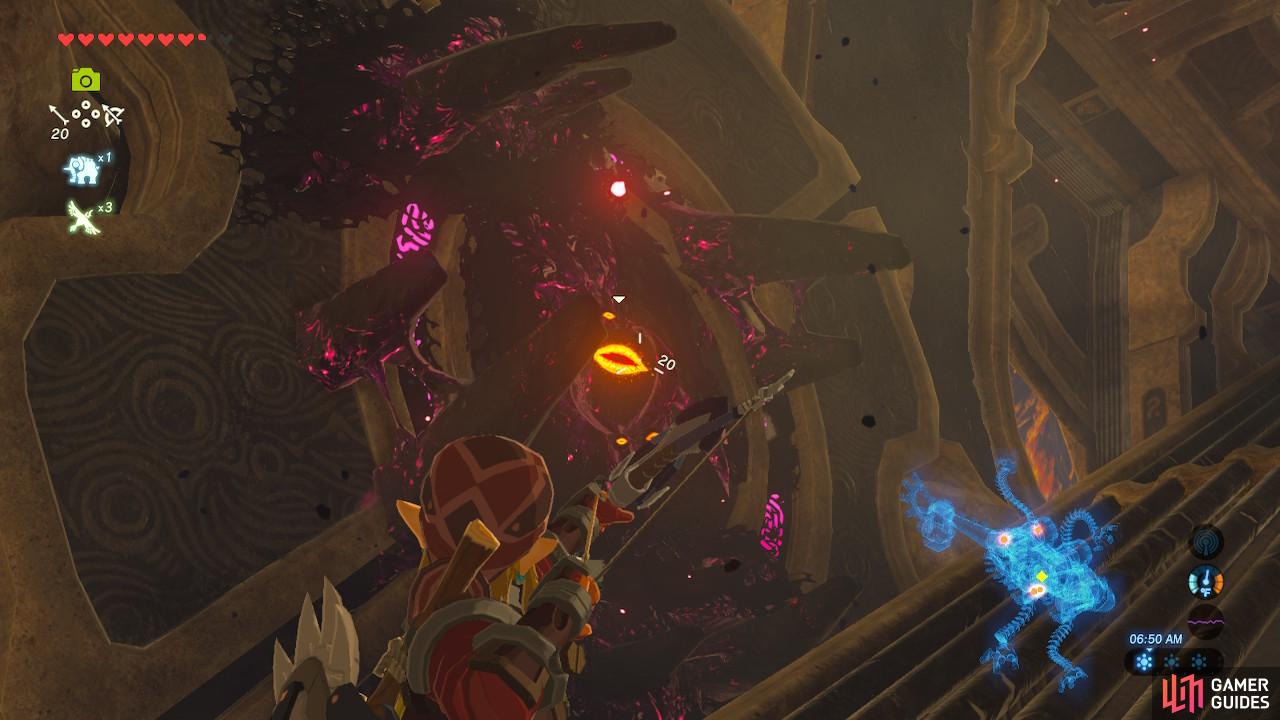
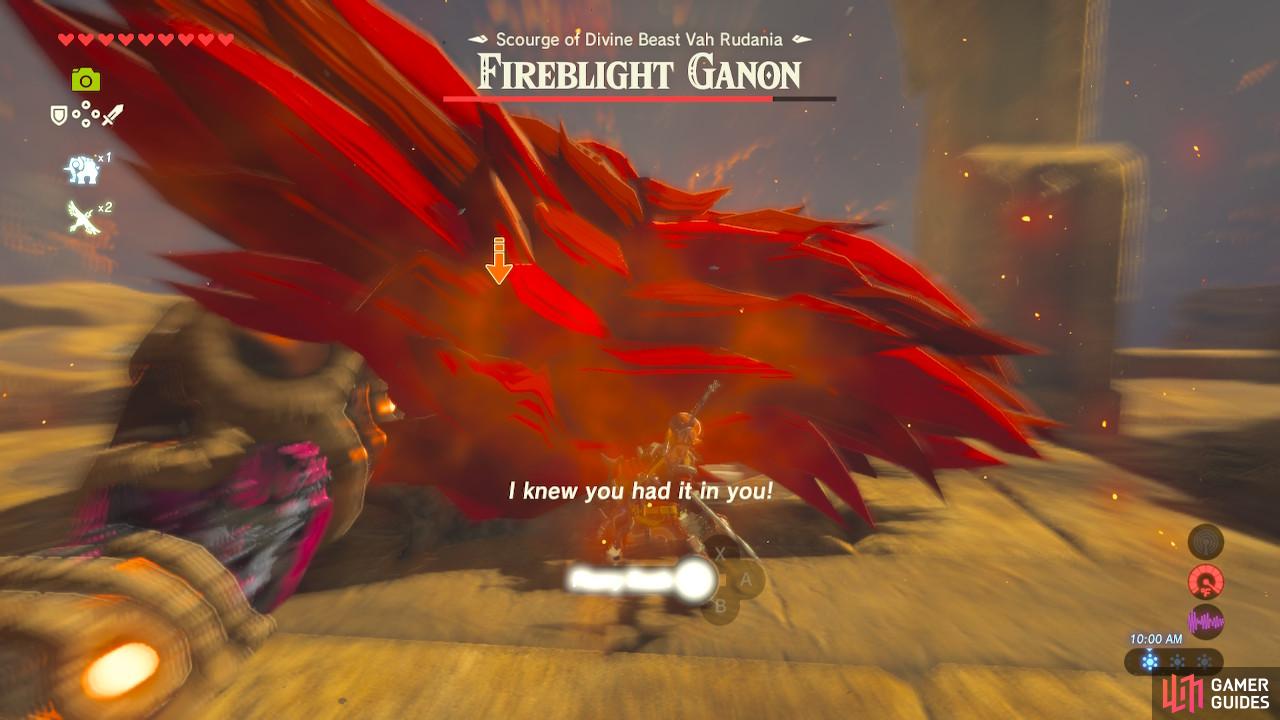
In the first phase of this fight, Fireblight Ganon will use its large broadsword and the fire element in its other hand to attack you. Fireblight Ganon has three main attacks with its sword. First, it will raise it in the air and slam it on the ground. Second, it will sweep the sword across the space in front of it. Due to the size of the sword, this attack is hard to dodge to activate Flurry Rush. Finally, Fireblight Ganon will wind up and do a spin attack three times. This covers a lot of area but is telegraphed.
Fireblight Ganon will use the fire in its other hand to create a lot of smaller, fiery pellets that it will then shoot at you. Keep your shield up and move to either side of the attack to dodge them.
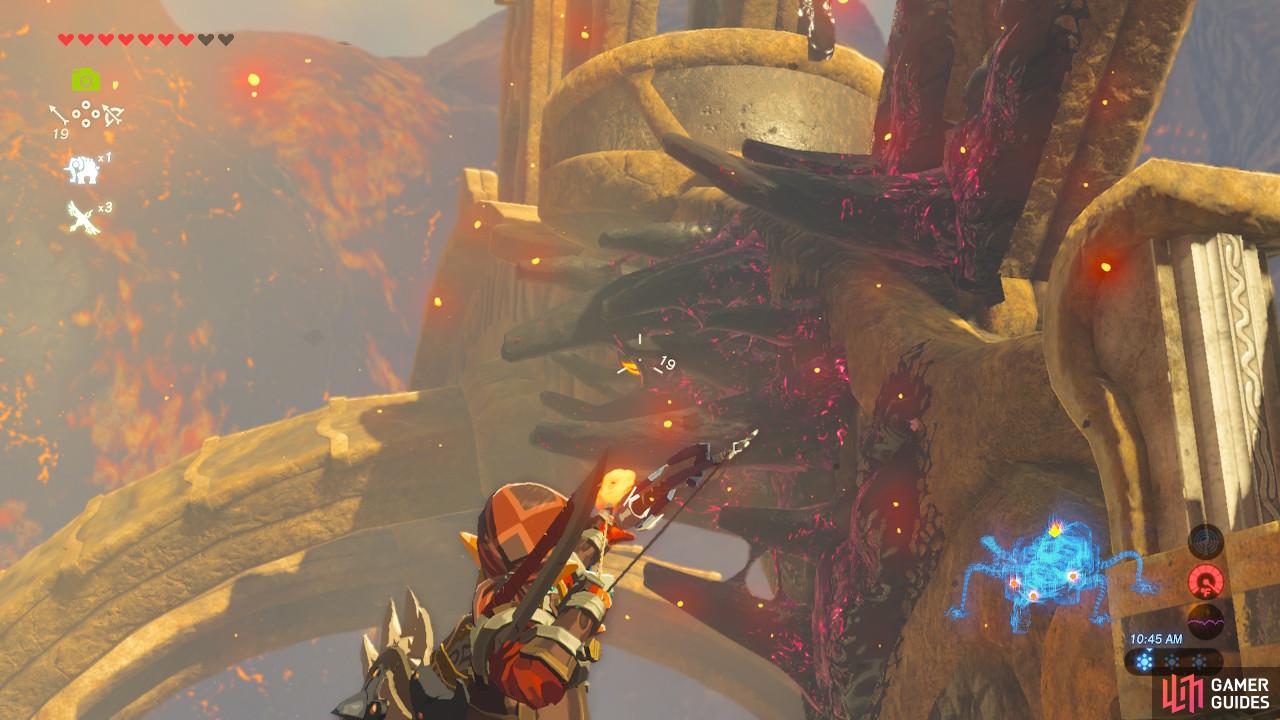
During this phase, Fireblight Ganon will be close to the ground quite frequently. If you can activate Flurry Rush you will have a wide window of opportunity to inflict damage. Again, Fireblight Ganon’s weakest point is its eye, and Ice Arrows are particularly effective.
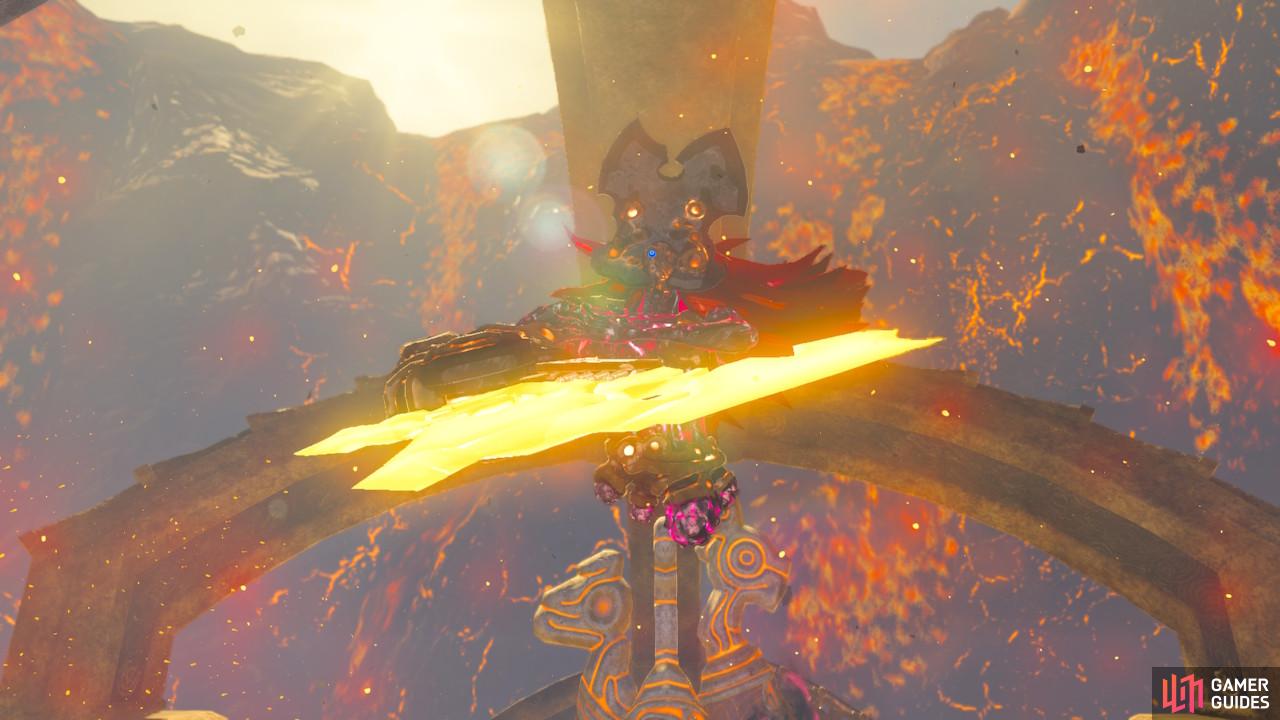
Now the sword is on fire
This shield is impervious to all attack
Once Fireblight Ganon reaches half health, it will go higher into the air and start phase two. Fireblight Ganon will first light its sword on fire, making its sword attacks deal more damage, and then it will cloak itself in a fiery shield. No melee or ranged attacks can hit it at all, so we will need to find a way to destroy the shield.
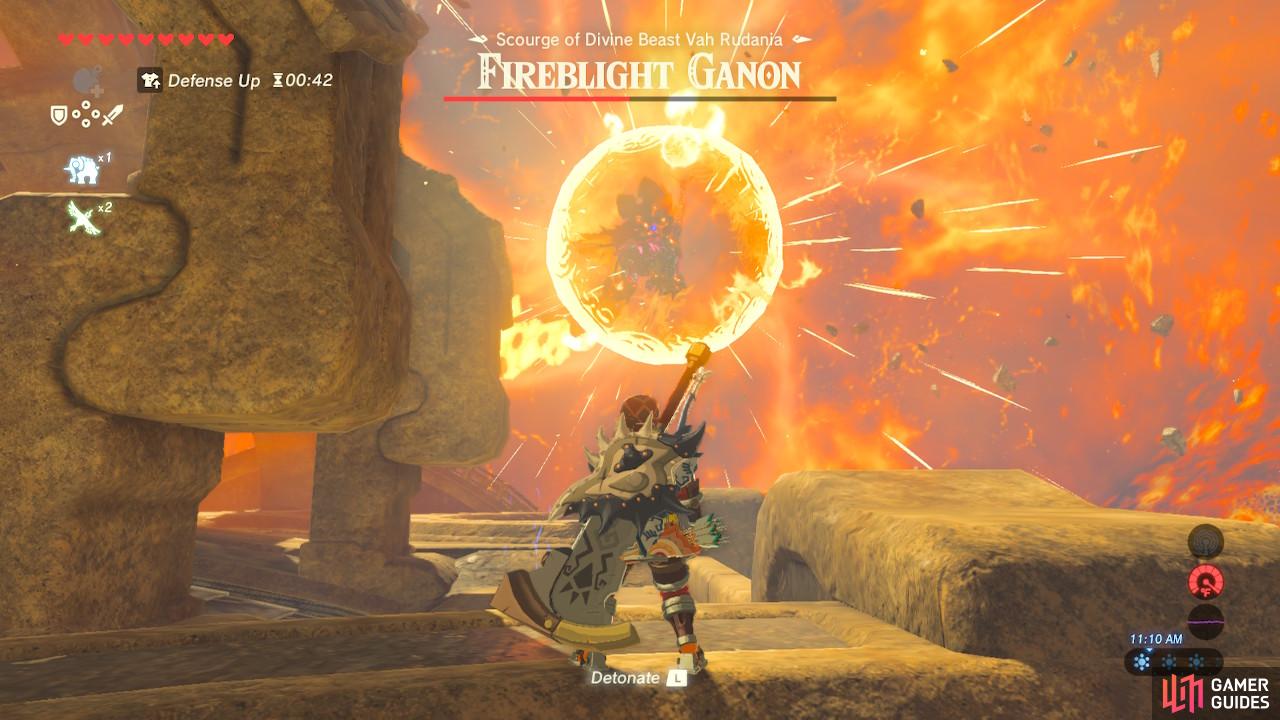
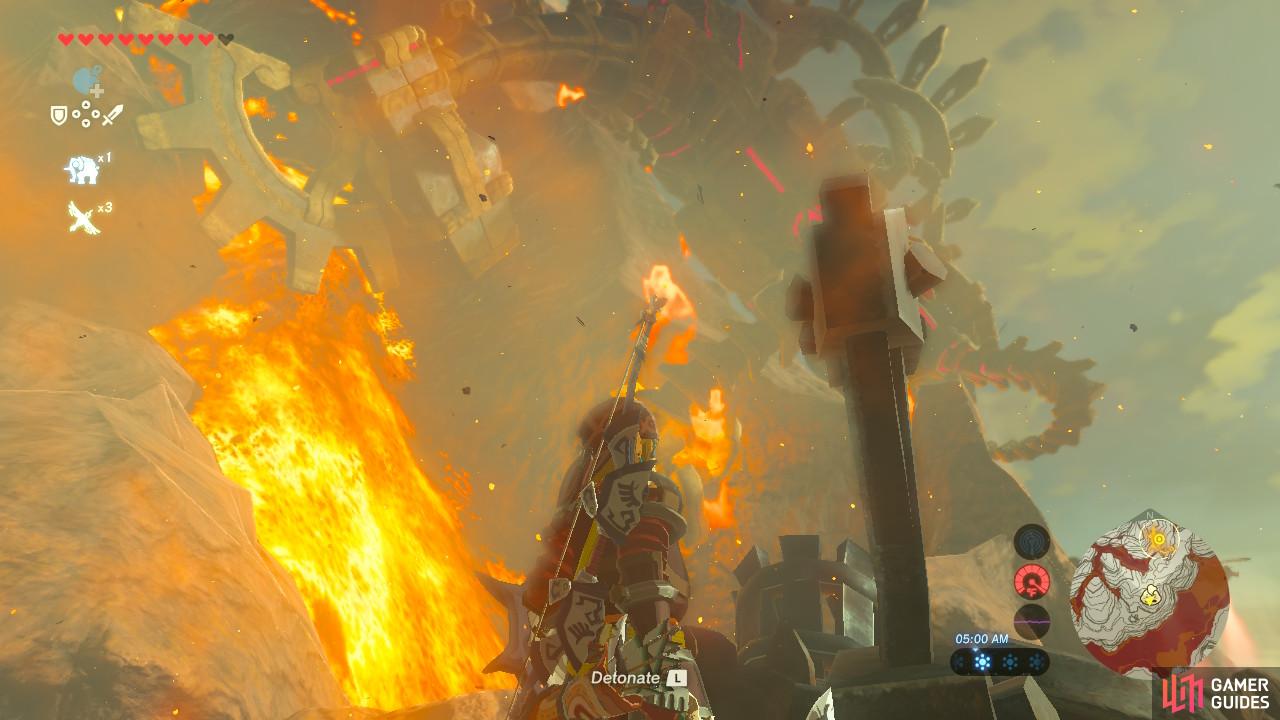
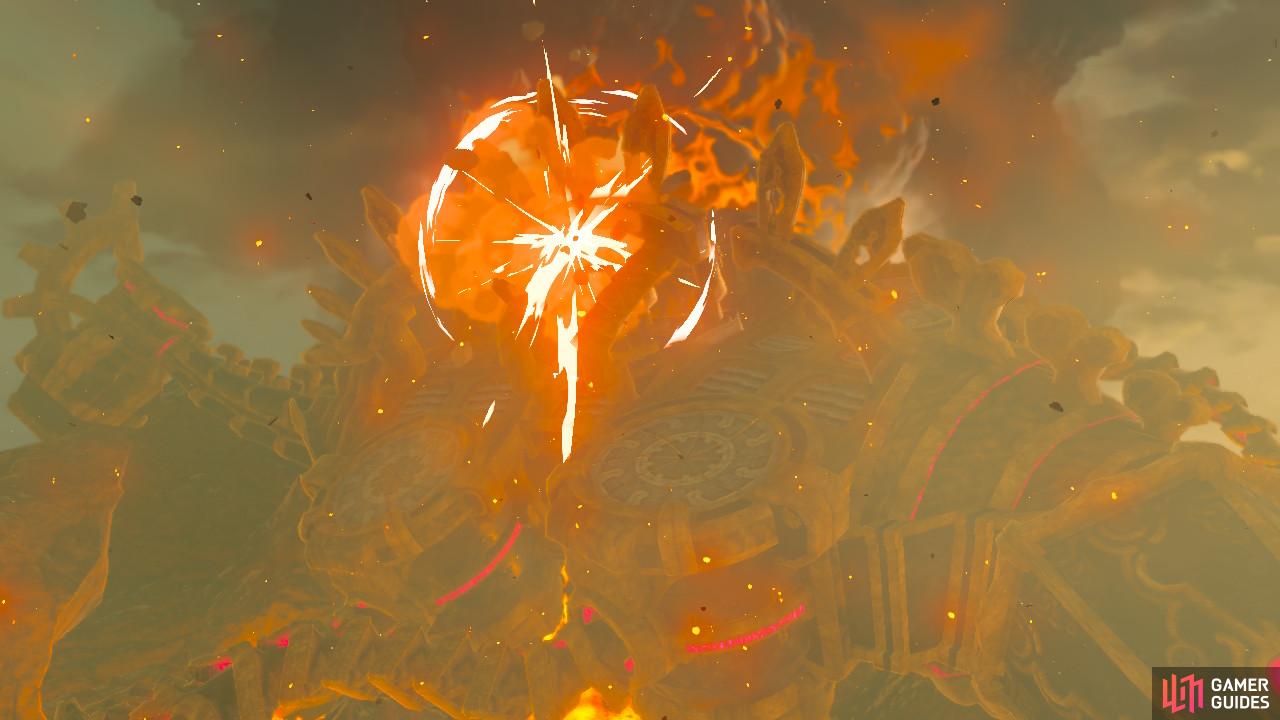
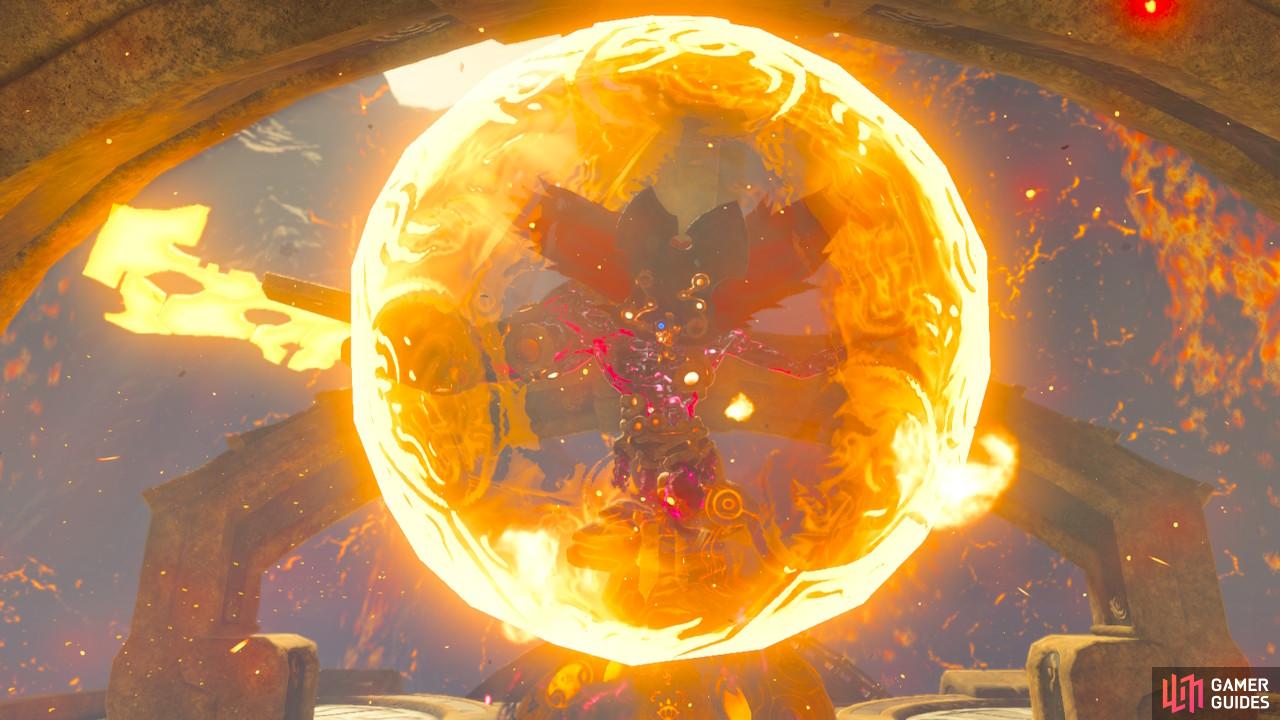
Fireblight Ganon will drift a distance away and begin to suck up the air around it in preparation for a massive attack. Throw a Bomb at it and it will get sucked in close to Fireblight Ganon. Detonate and Fireblight Ganon’s shield will be destroyed and it will be temporarily stunned and open to damage.
During the second phase, Fireblight Ganon’s sword attacks remain the same. However this time they are imbued with fire so the damage they deal will be higher. Definitely stay away. Its fire element attack will change to a slow-moving fireball that follows you. After a brief period of time, it will explode in a wide radius that deals a lot of damage. It will also create updrafts you can use to shoot Fireblight Ganon from the sky.
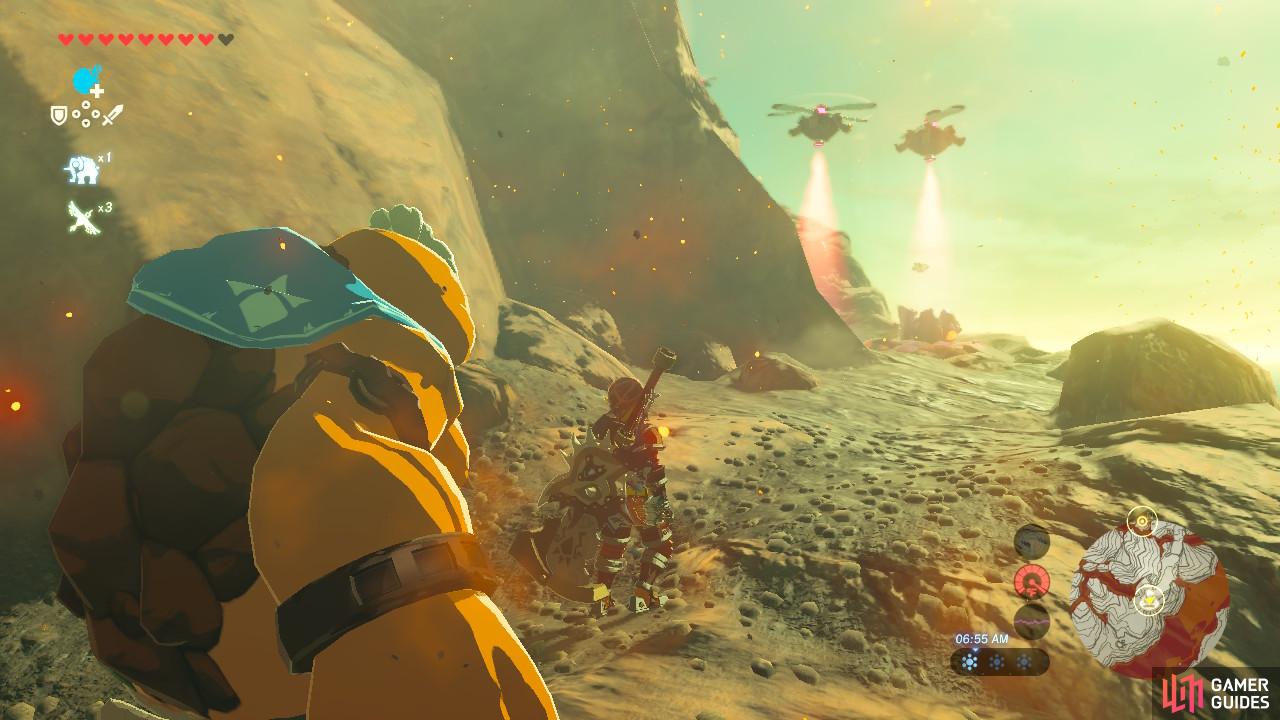
Like all the other Blight Ganon bosses, Fireblight Ganon will attempt to strike you down with a standard Guardian laser once at critical health. Keep shooting its eye with arrows or parry with your shield to end it once and for all.
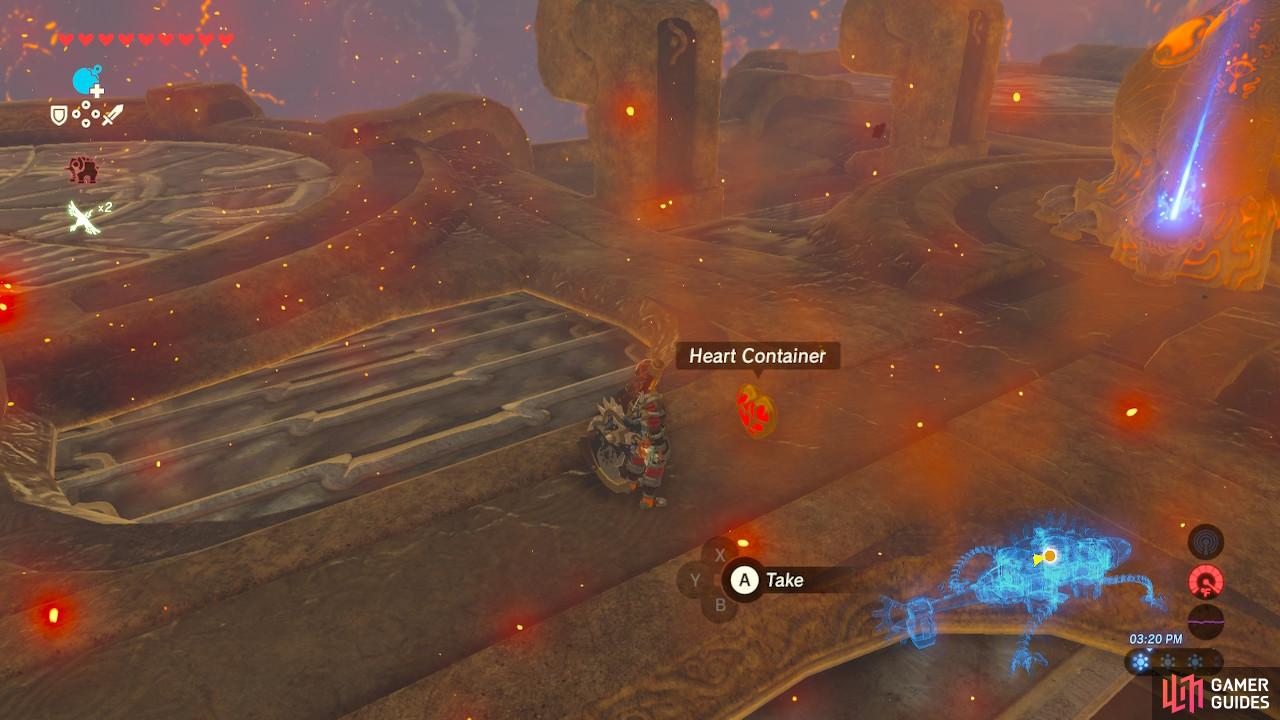
Pick up the heart container

Activate the main control unit to finish off this Divine Beast
Once you have destroyed Fireblight Ganon, pick up the heart container and activate the main control unit. You won’t be able to return to Vah Rudania anymore once this is done.
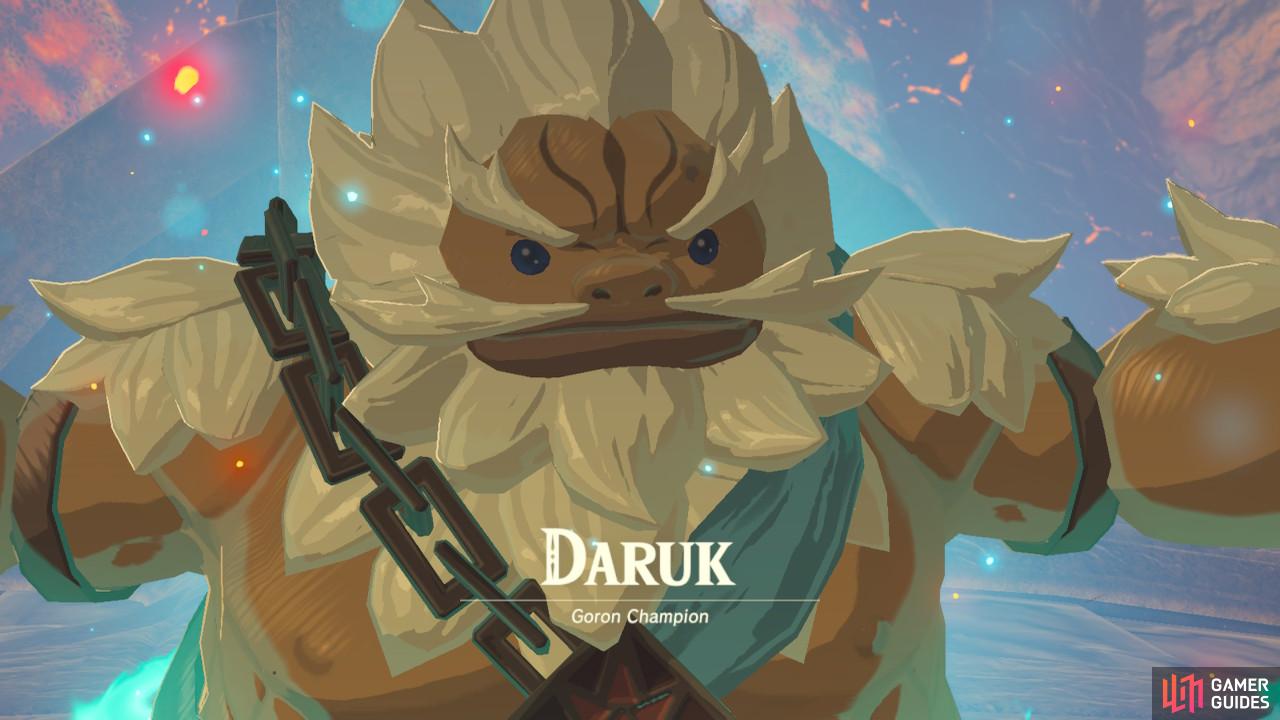
Even after all these years, Daruk still views you as his little brother
This will greatly amplify your defenses and aid you as you continue in your journey
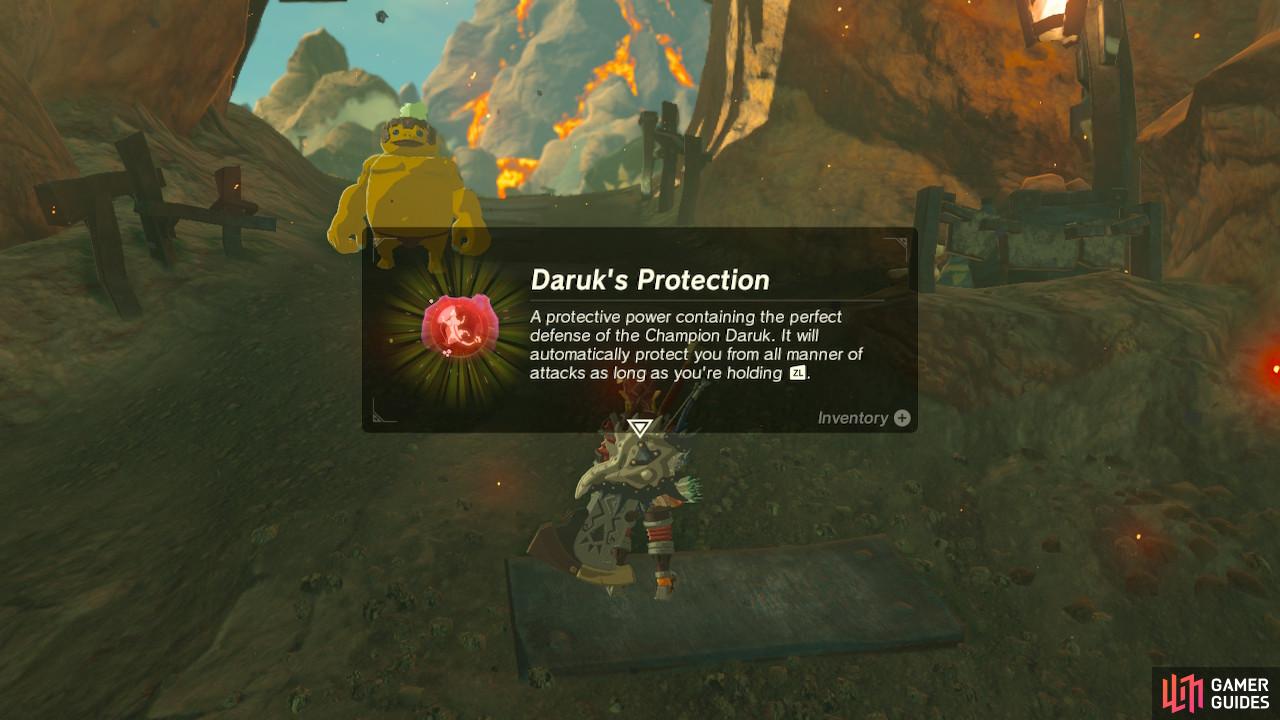
Daruk will appear and gift you his special ability, Daruk’s Protection. You saw Yunobo using this earlier. Hold [ZL] and you will put up a shield that will take just about any attack, and can even automatically reflect Guardian lasers. After you have used it three times it will need to recharge. This is an excellent augmentation to your defenses alongside Mipha’s Grace.
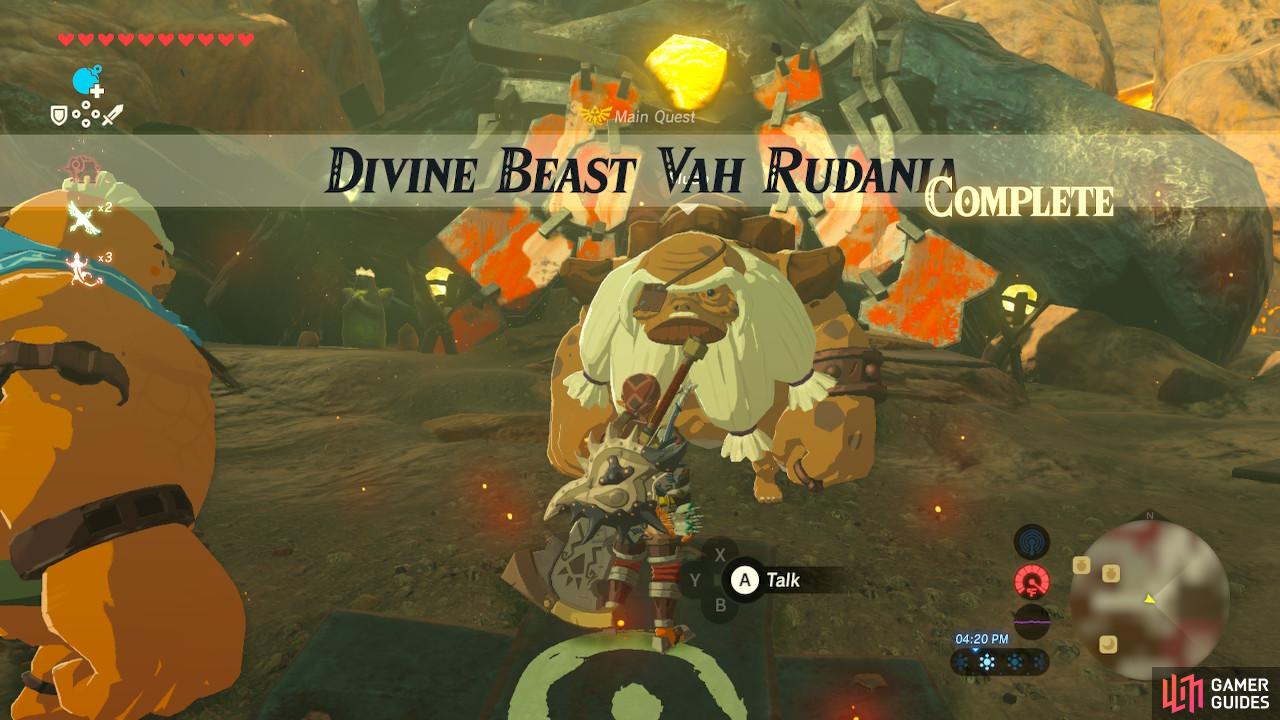
You will then be teleported back to Goron City while Daruk pilotes Vah Rudania to the peak of Death Mountain to shoot a laser into Hyrule Castle. Once you have returned to Goron City, Yunobo will tell you to go see Bludo. Go meet him and he will congratulate you and offer you the treasure chest in his house.
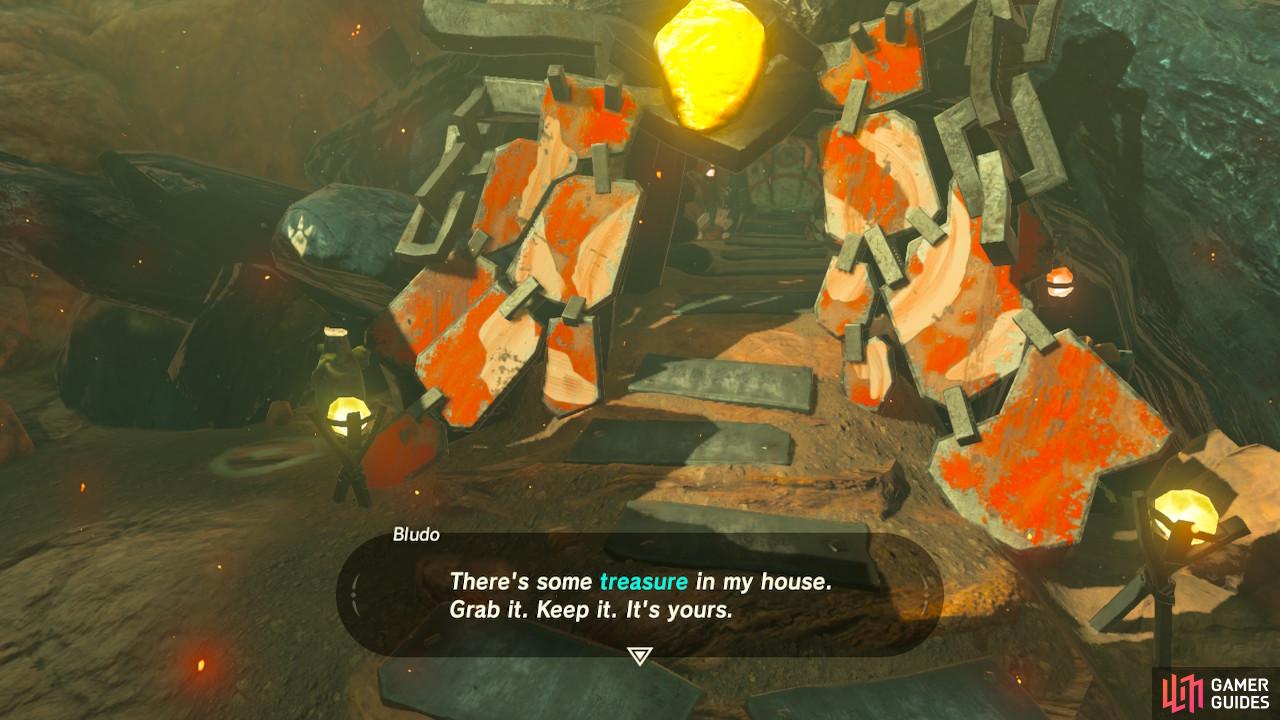
Bludo’s house is straight behind him
While powerful, this weapon is fairly slow
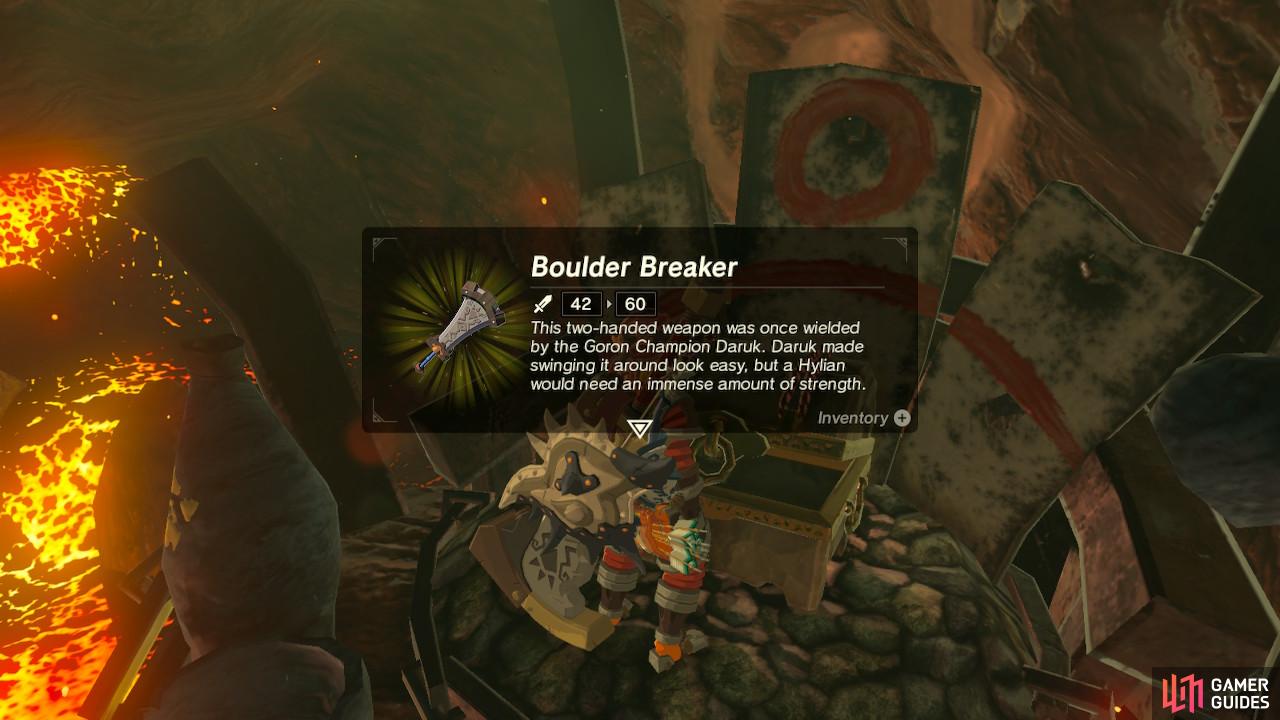
His house is right behind him. Enter and open the chest for a Boulder Breaker, Daruk’s weapon when he was alive. At this point, the main quest is complete and Vah Rudania is back under our control!
No Comments