
A guide on how to complete the Divine Beast Vah Rudania Dungeon, including where to find all terminals.
Inside Divine Beast Vah Rudania
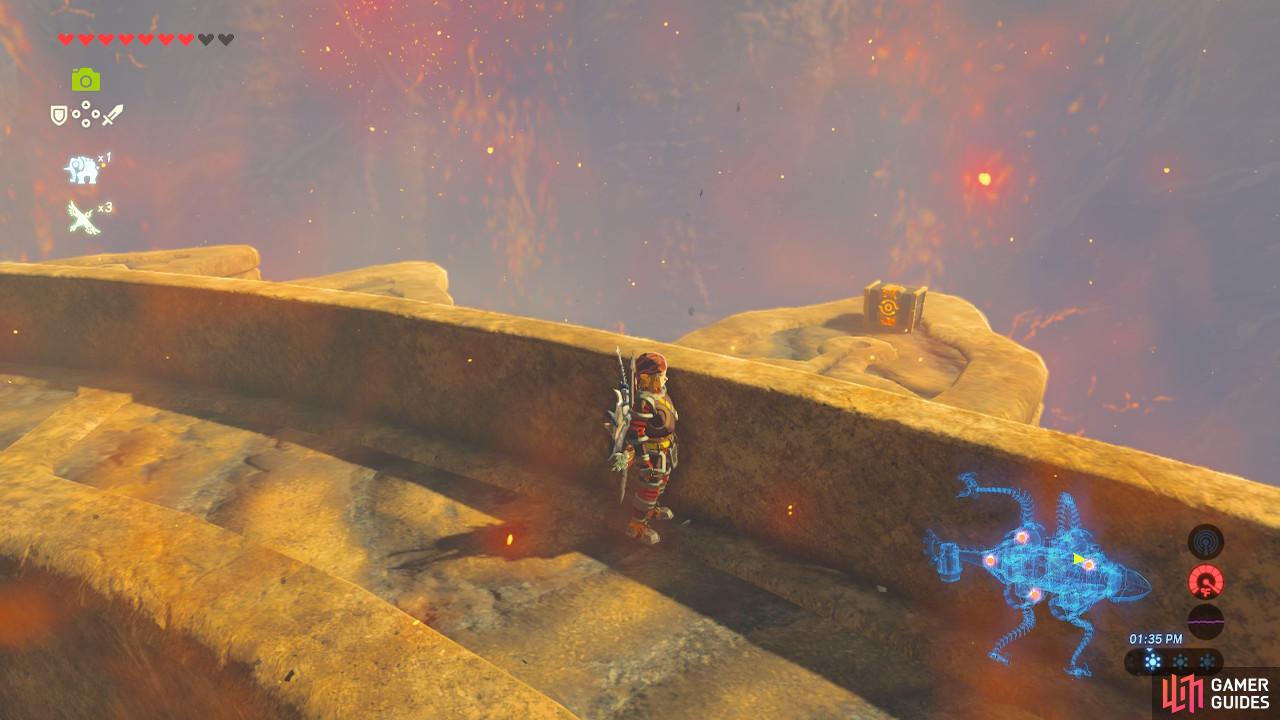
Before we enter, turn around and you will see a treasure chest on Vah Rudania’s tail. Run along the tail and pop open the chest for an Ancient Screw. Now you can return to the entrance and enter into the Divine Beast.
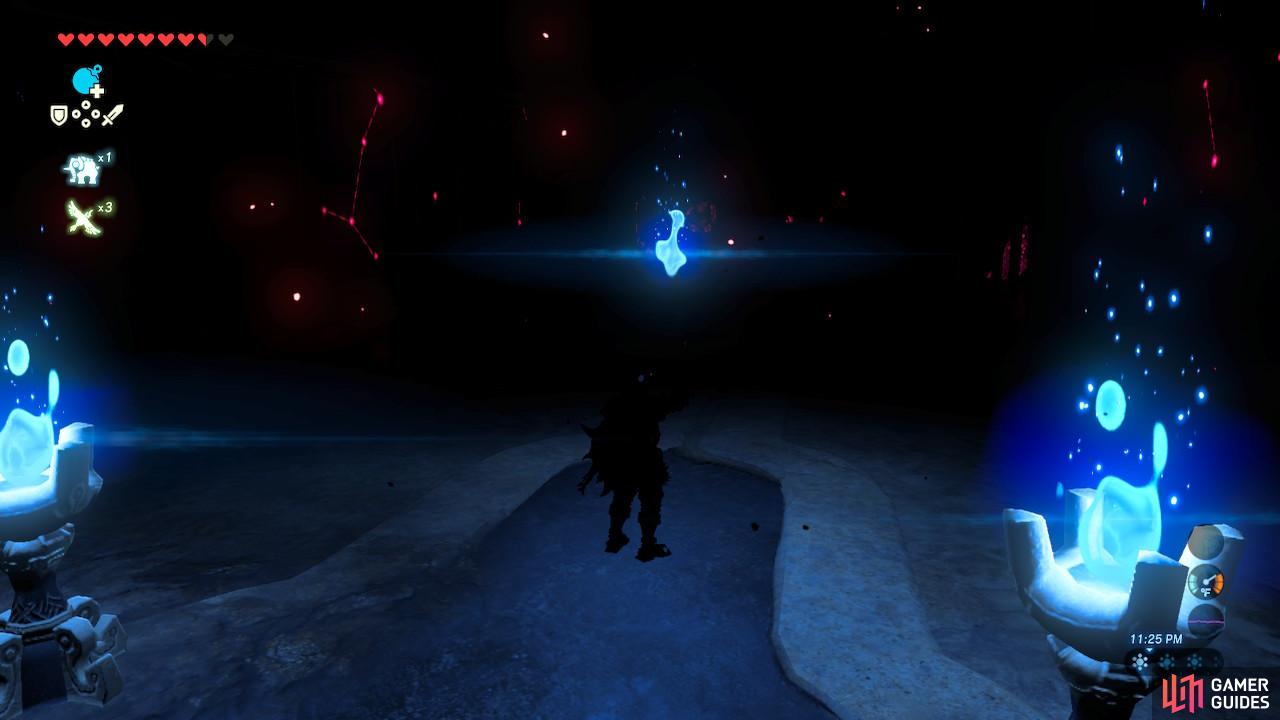
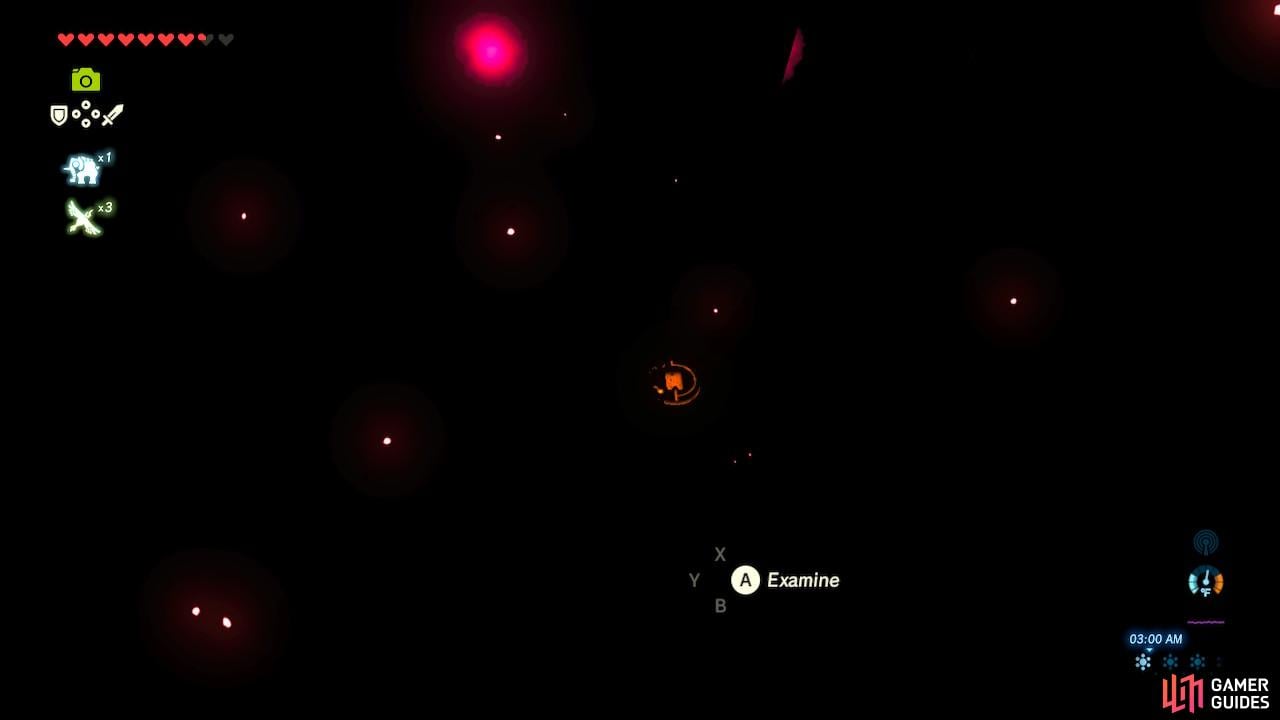
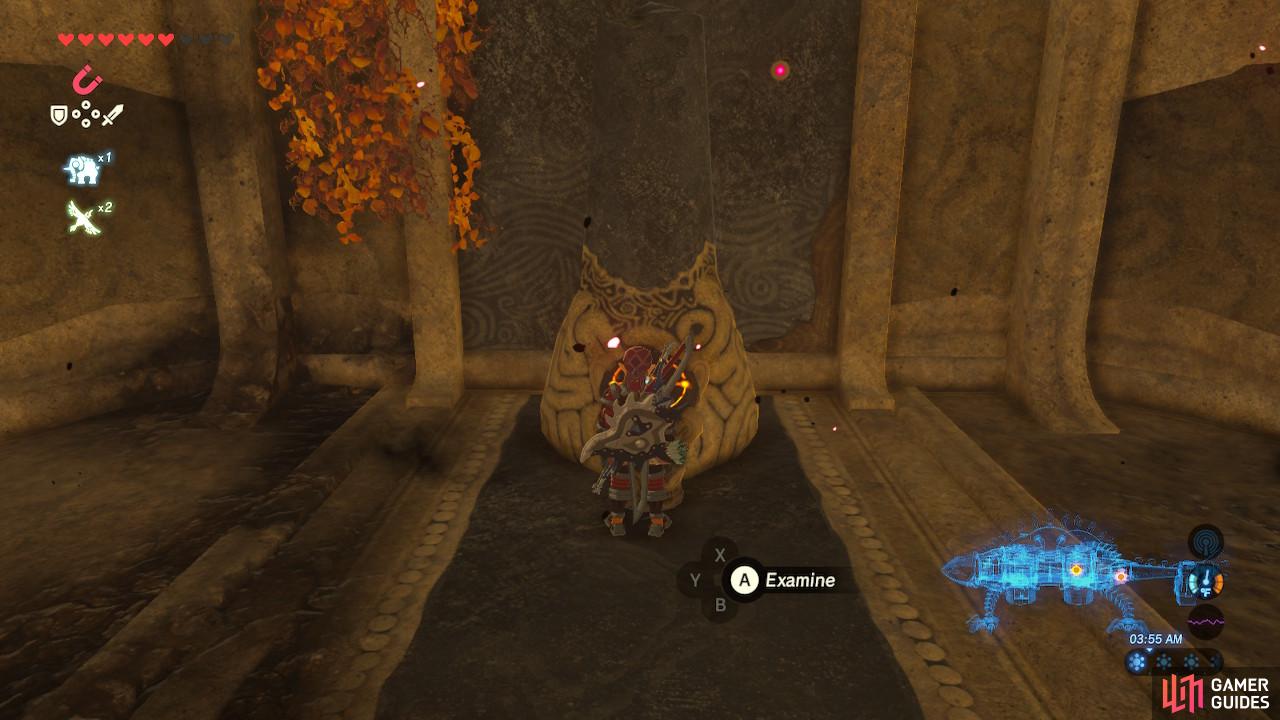
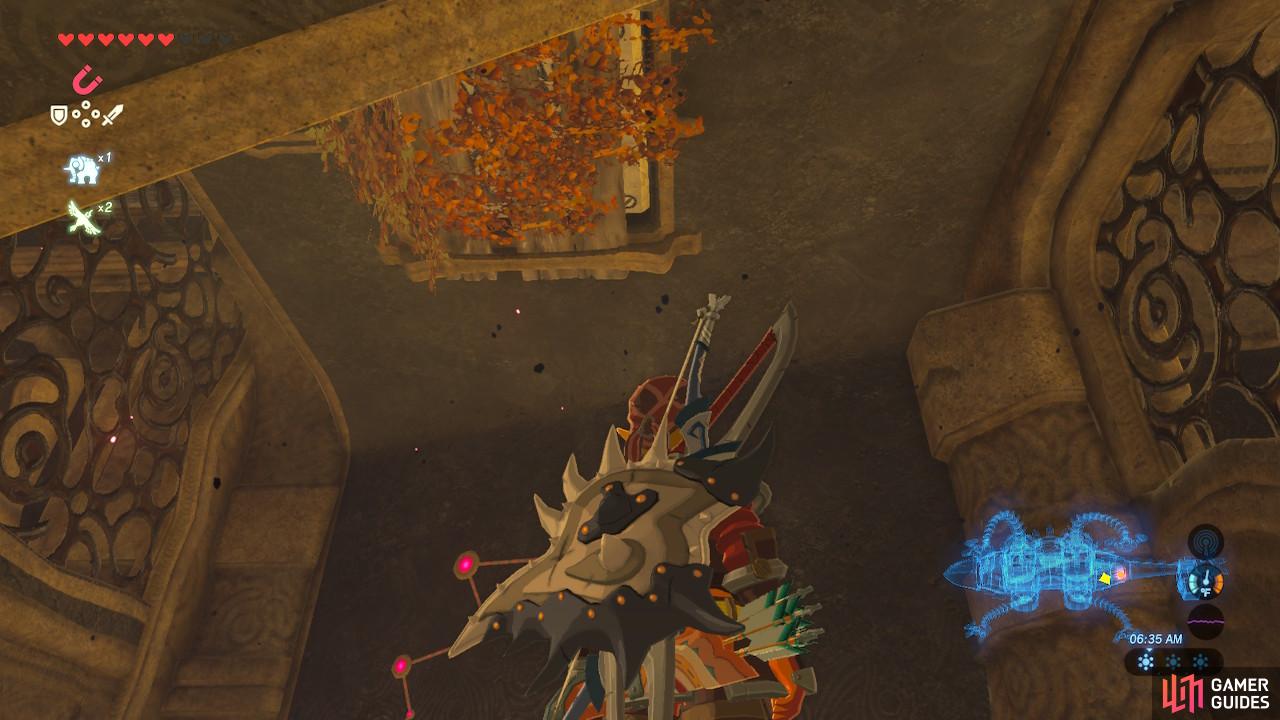
The door will close behind you and the inside will become pitch black. The only light will come from torches, Ganon’s eyeballs, and unopened chests. Creepy, but don’t worry, it won’t last long.
This is a slow but powerful weapon worth keeping
If you don’t have room, you will have to make room for this one
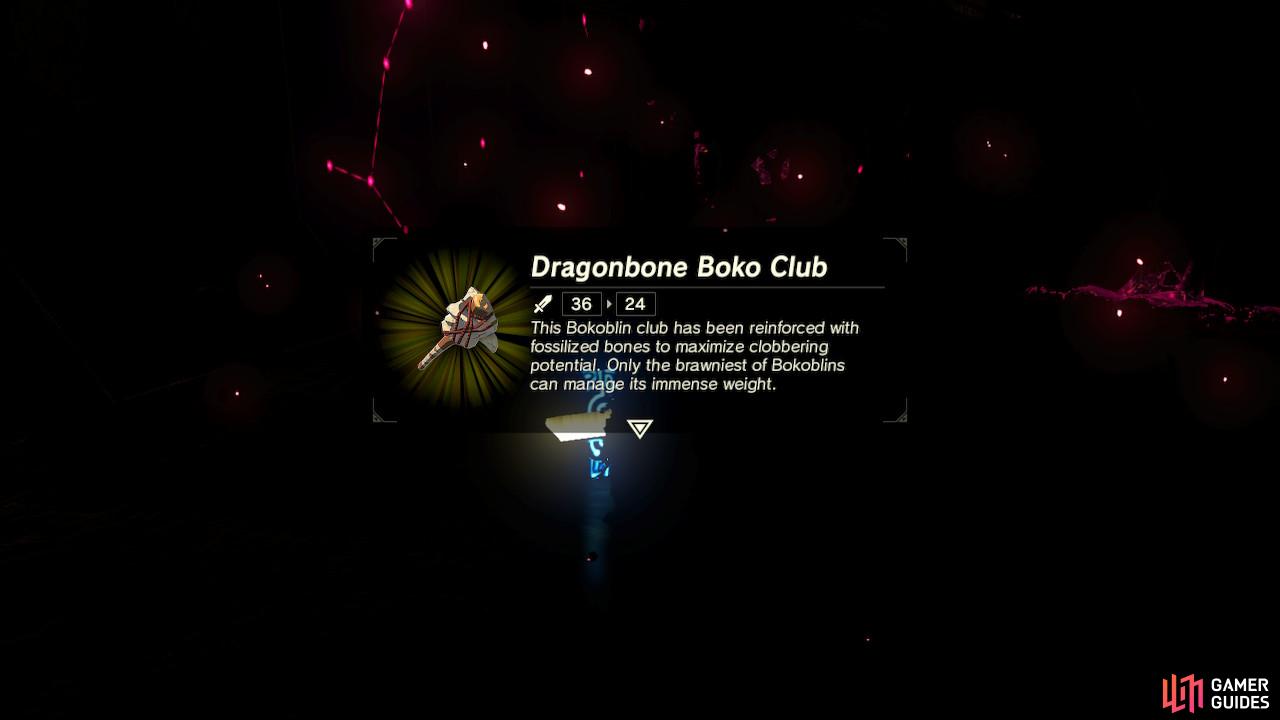
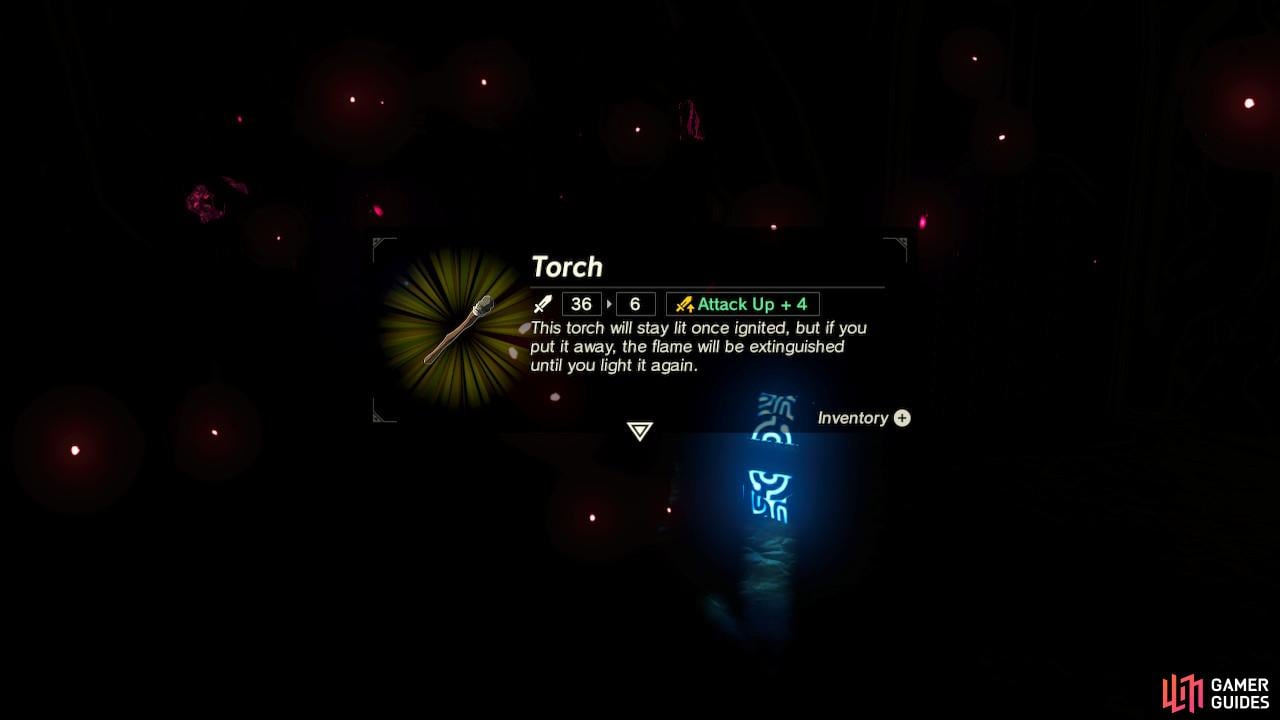
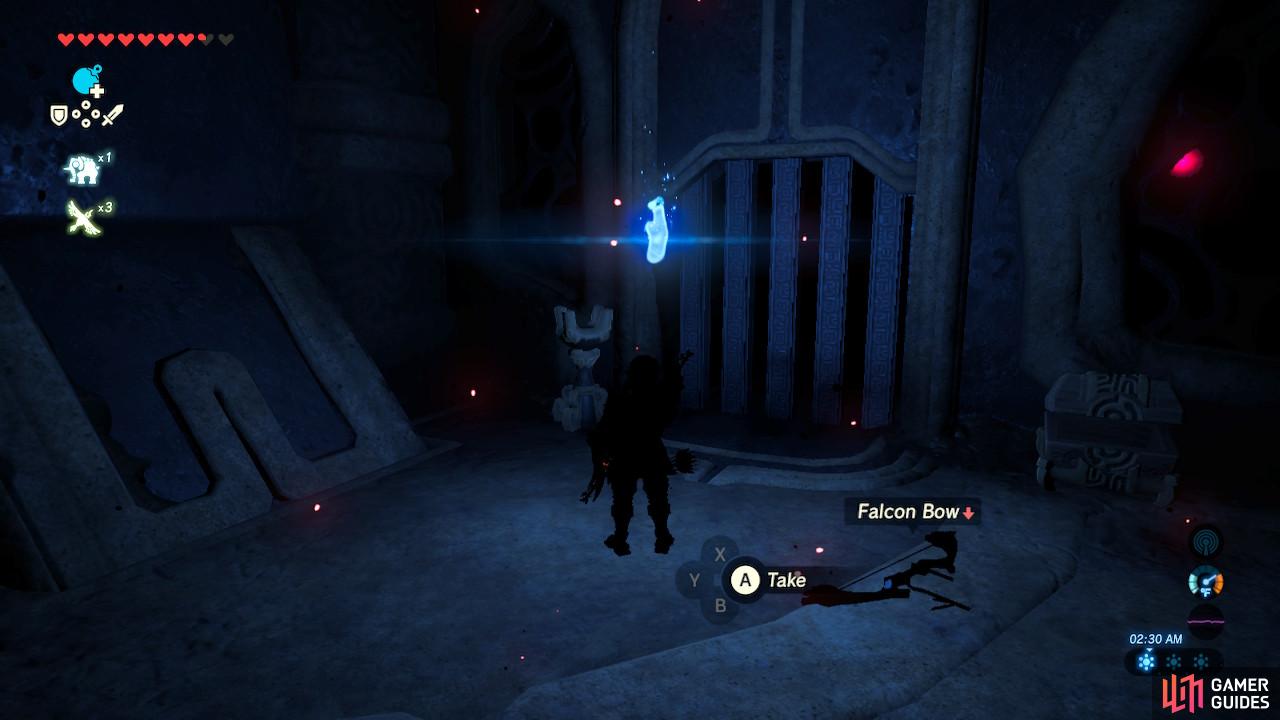
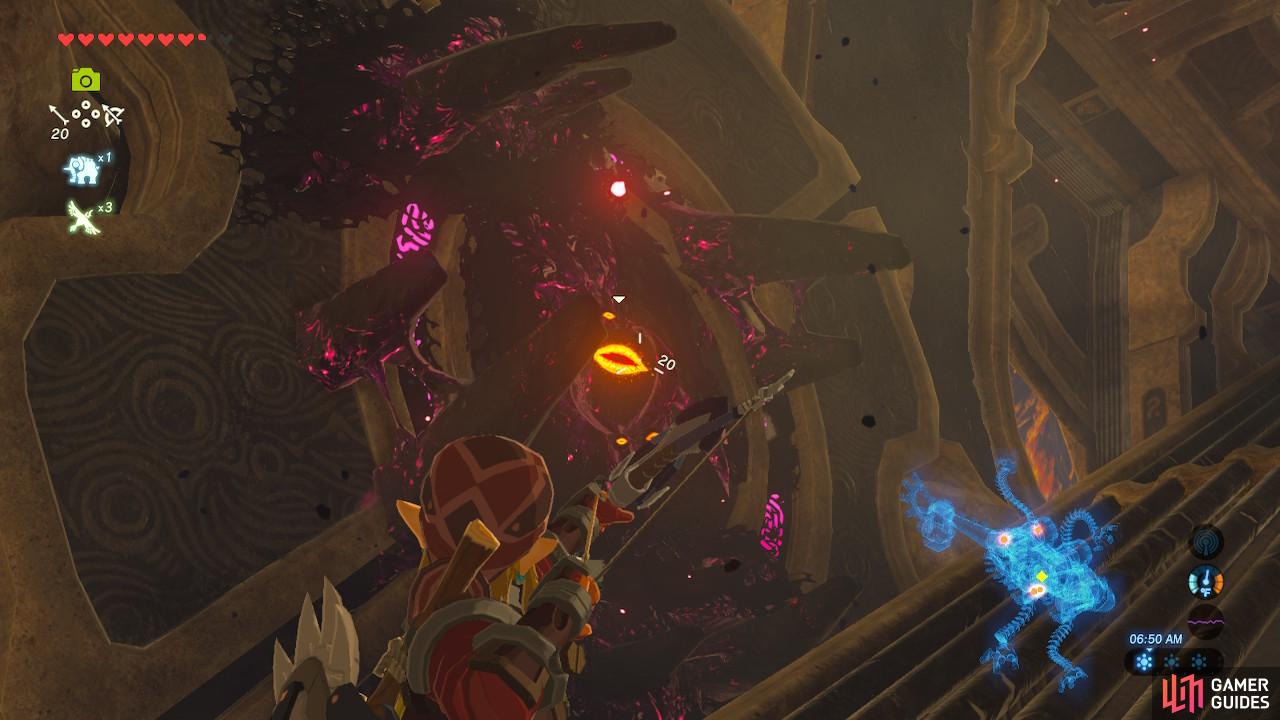
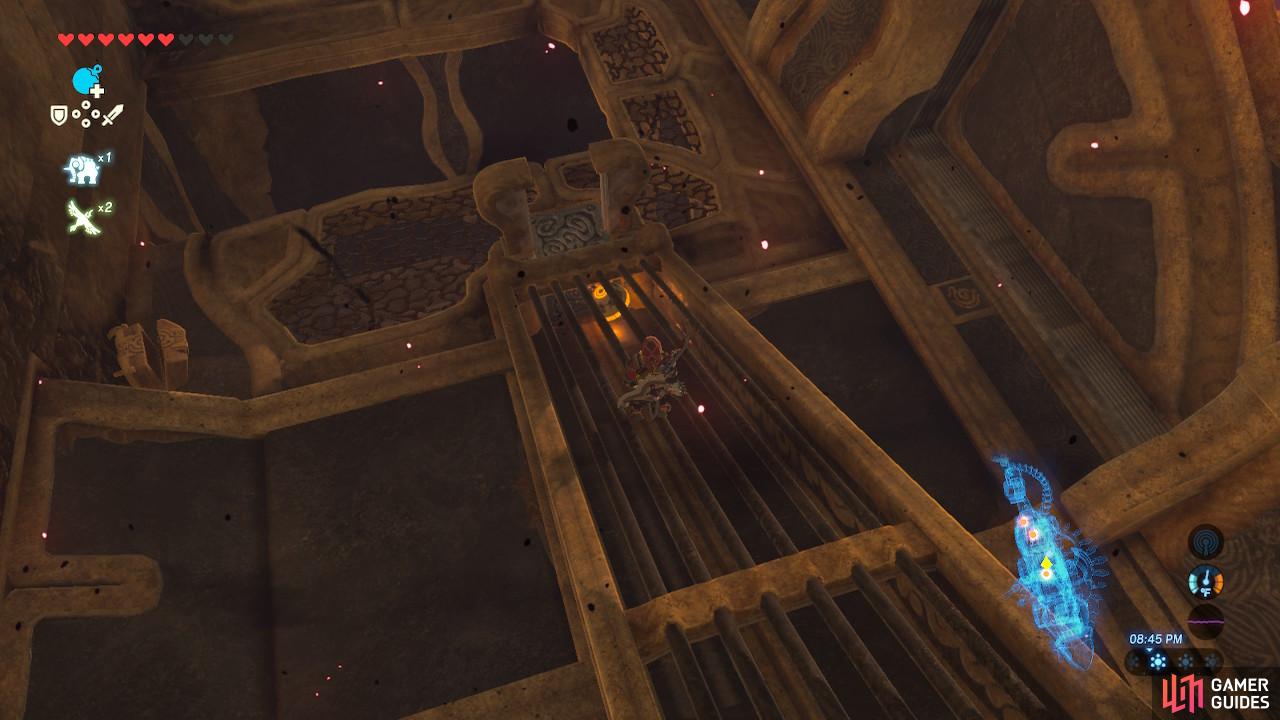
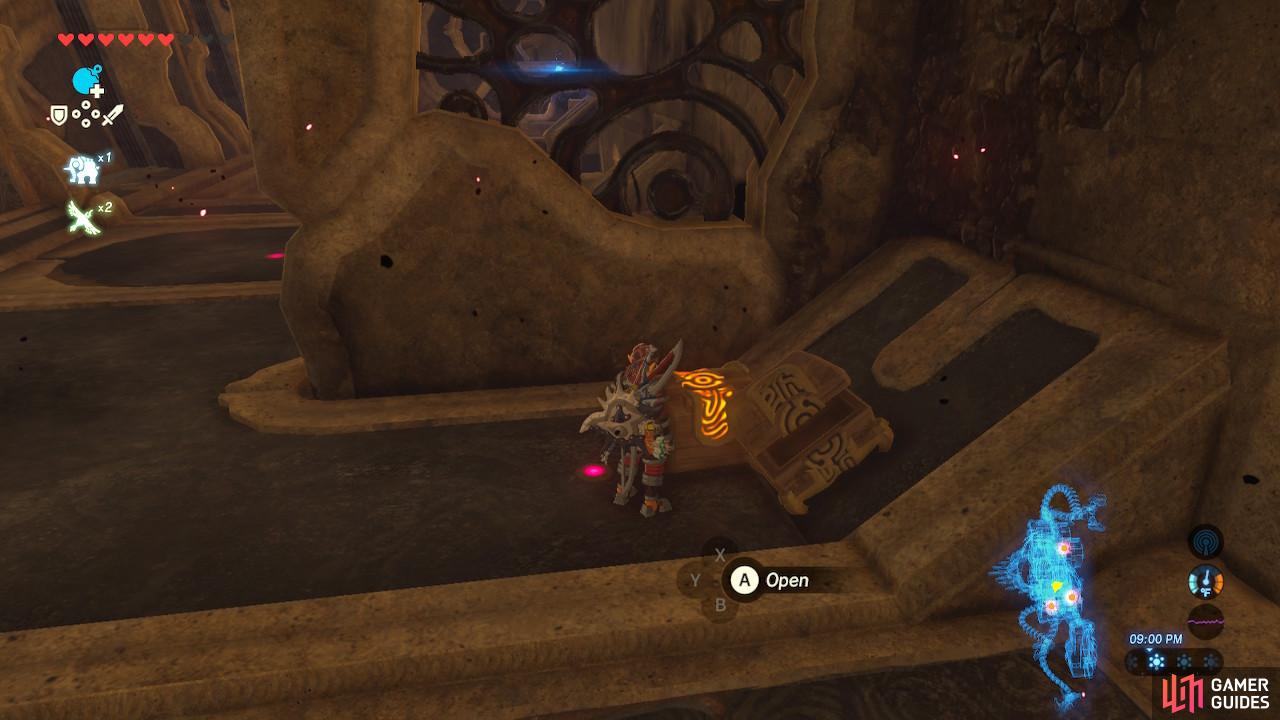
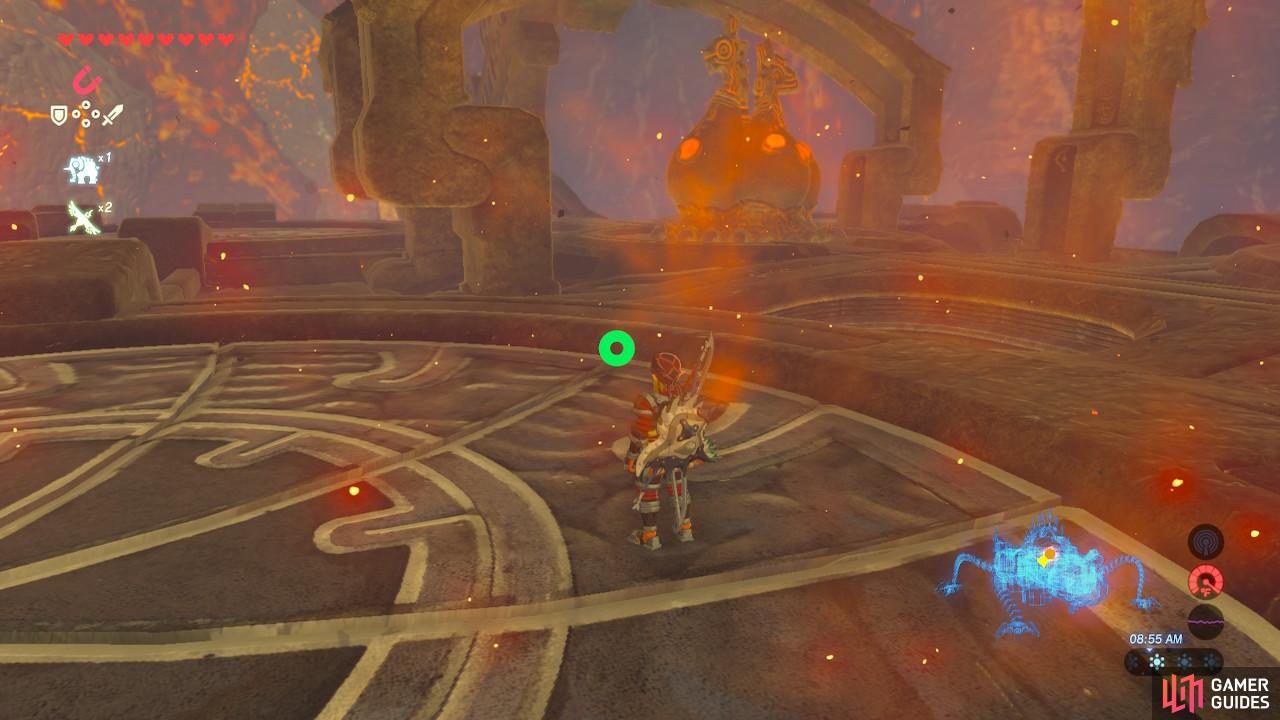
First things first, you will want to destroy every single eyeball in this room. Not only are they creepy as all getup, they are hiding treasure chests that you will want to open and blocking all sorts of gates and doors we will need access to later. The first eye to the left will drop a treasure chest containing a Dragonbone Boko Club. The second eye on the right will drop a treasure chest containing a Torch. You need to pick up this torch for the dungeon’s puzzles.
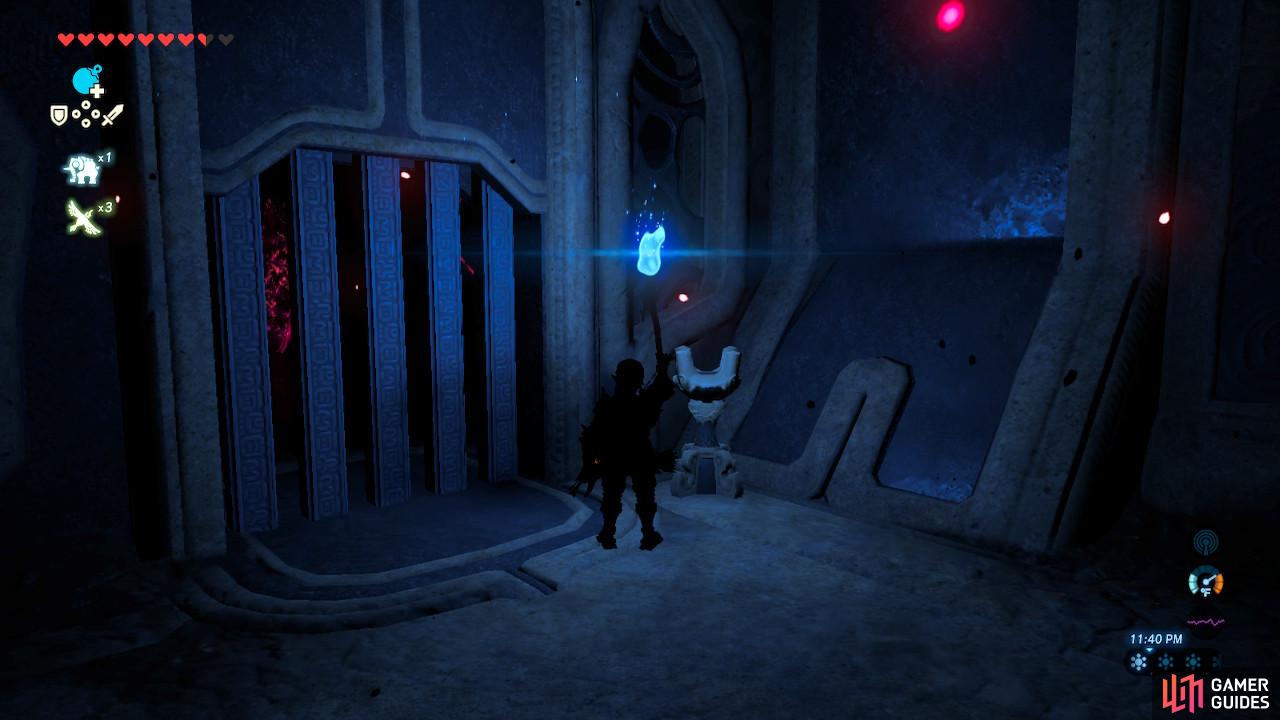
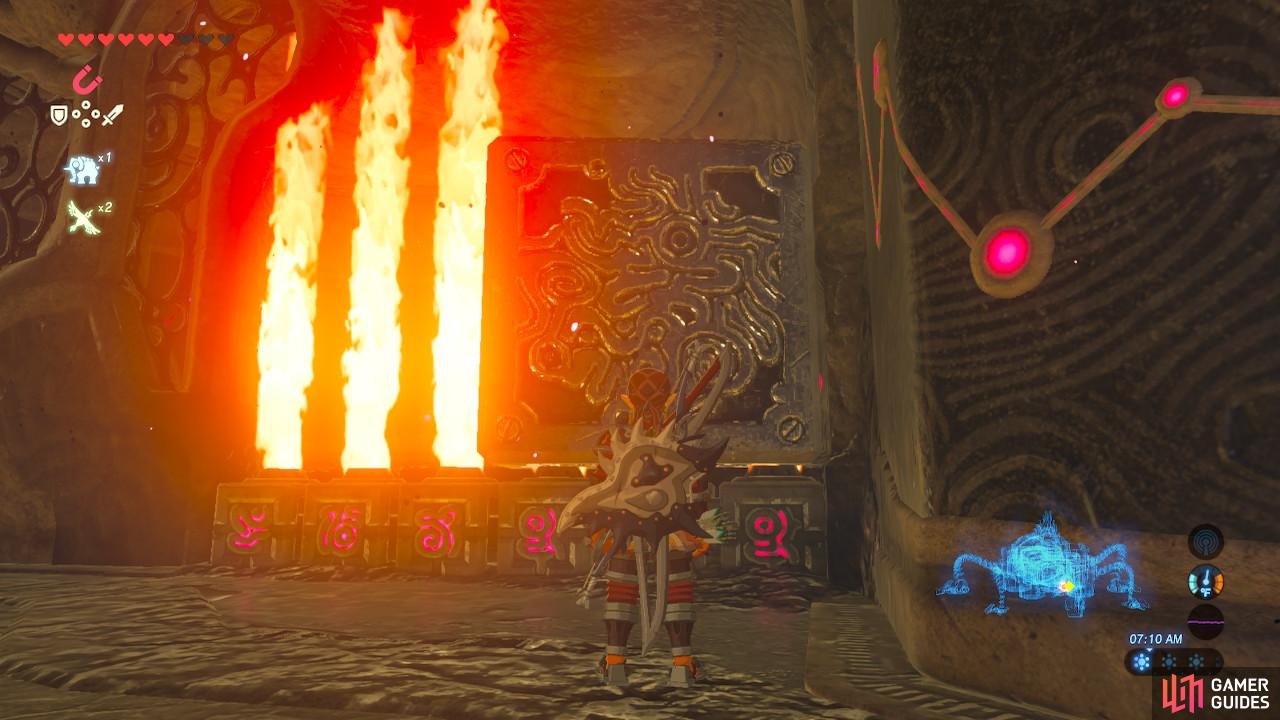
Light your torch by waving it at the blue torches in the entrance, then run over to the right corner at the very end of this room. You will see an unlit torch. Light it up and the gate will open, allowing you to proceed.
Don’t touch the torches yourself or you will take damage
Go to the furthest right corner of the room
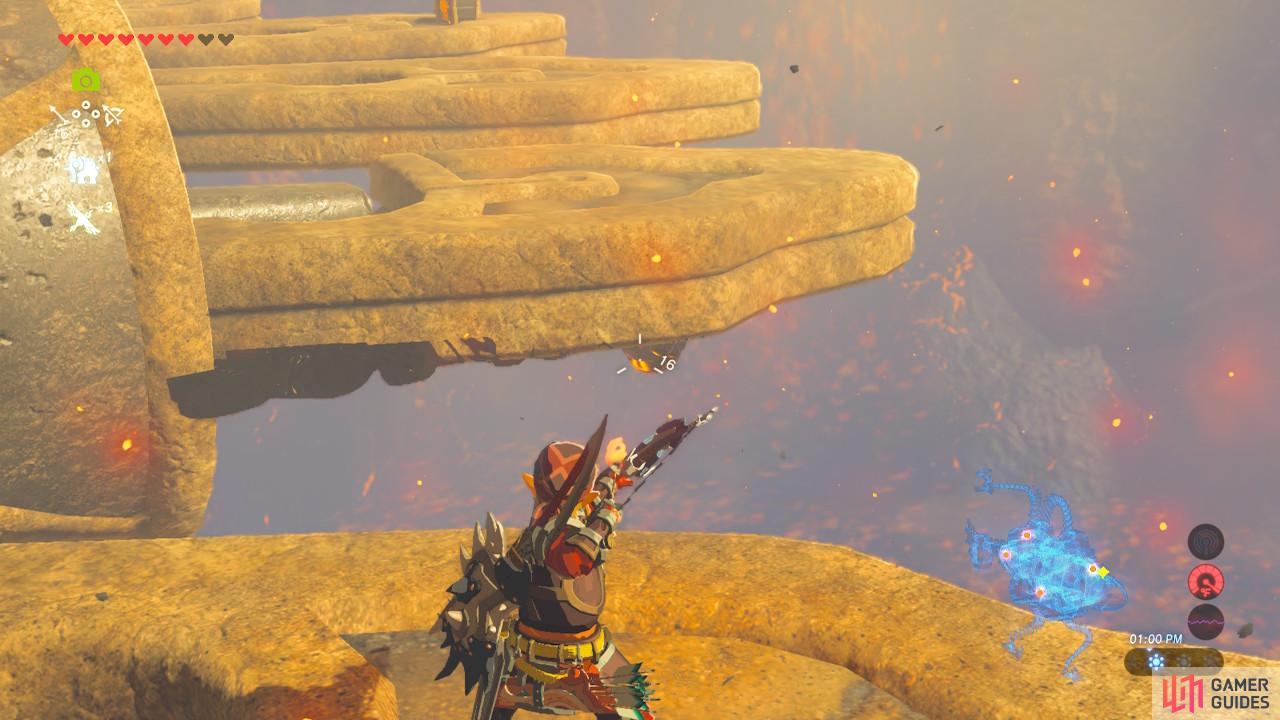
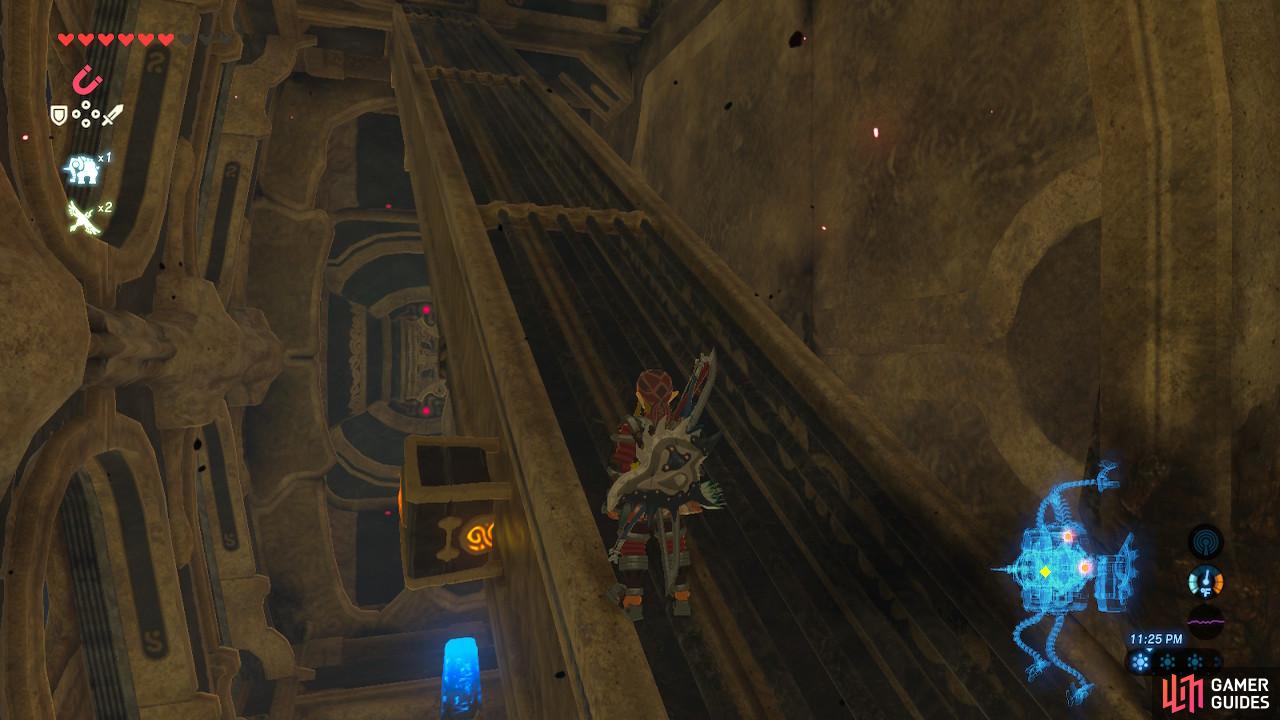
A Guardian Scout blocks your way, but has pitiful health. Defeat it and then destroy all the eyes you see. The eye with the mouth will drop a treasure chest containing a Knight’s Bow, and the eye on the far left side of the room will drop two chests. They each contain 5 Ice Arrows.
The torch is again in the furthest corner of the room
You can find the Guardian Stone by its orange glow
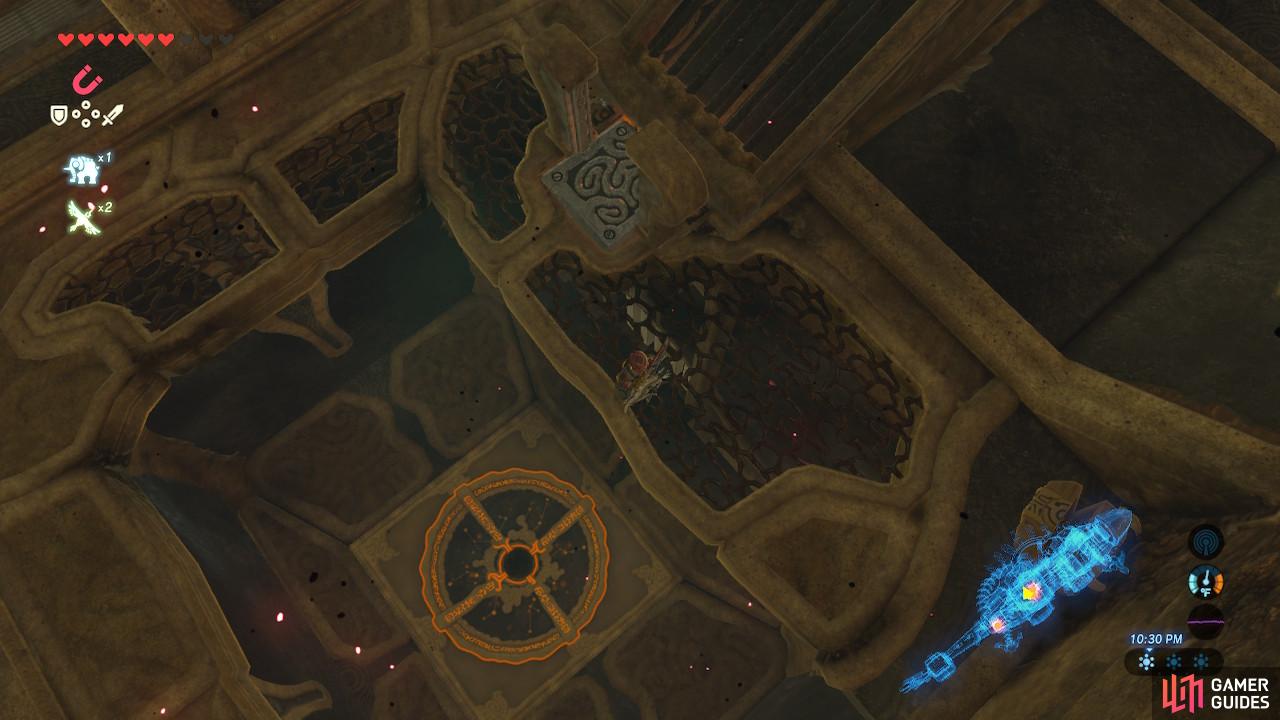
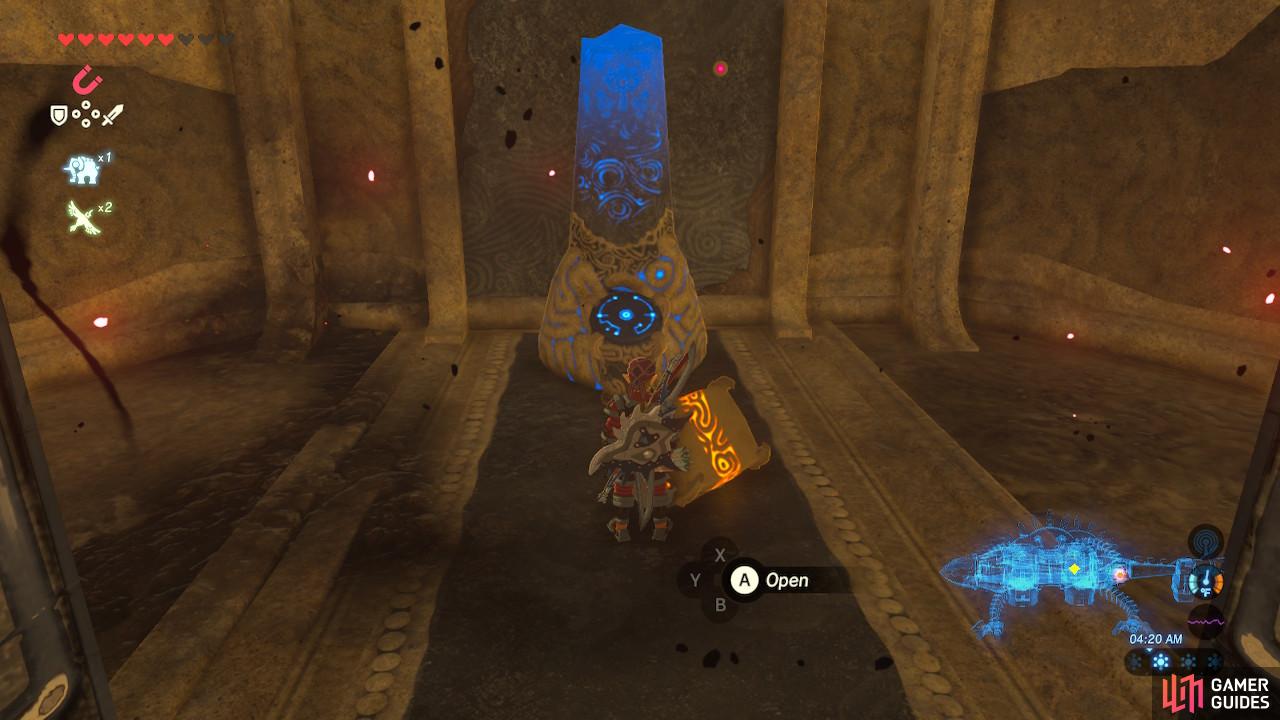
Return to the first room to light up your torch again, and then return to where you obtained the Knight’s Bow and light the unlit torch to open the next gate.
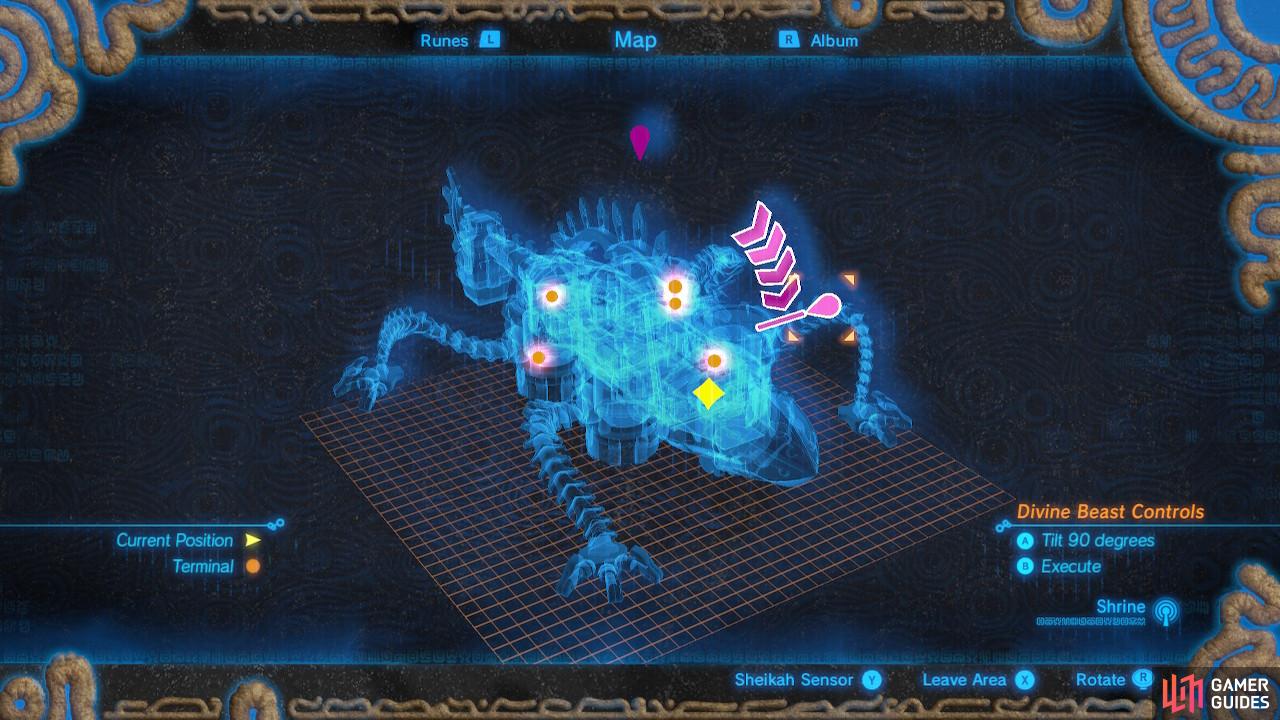
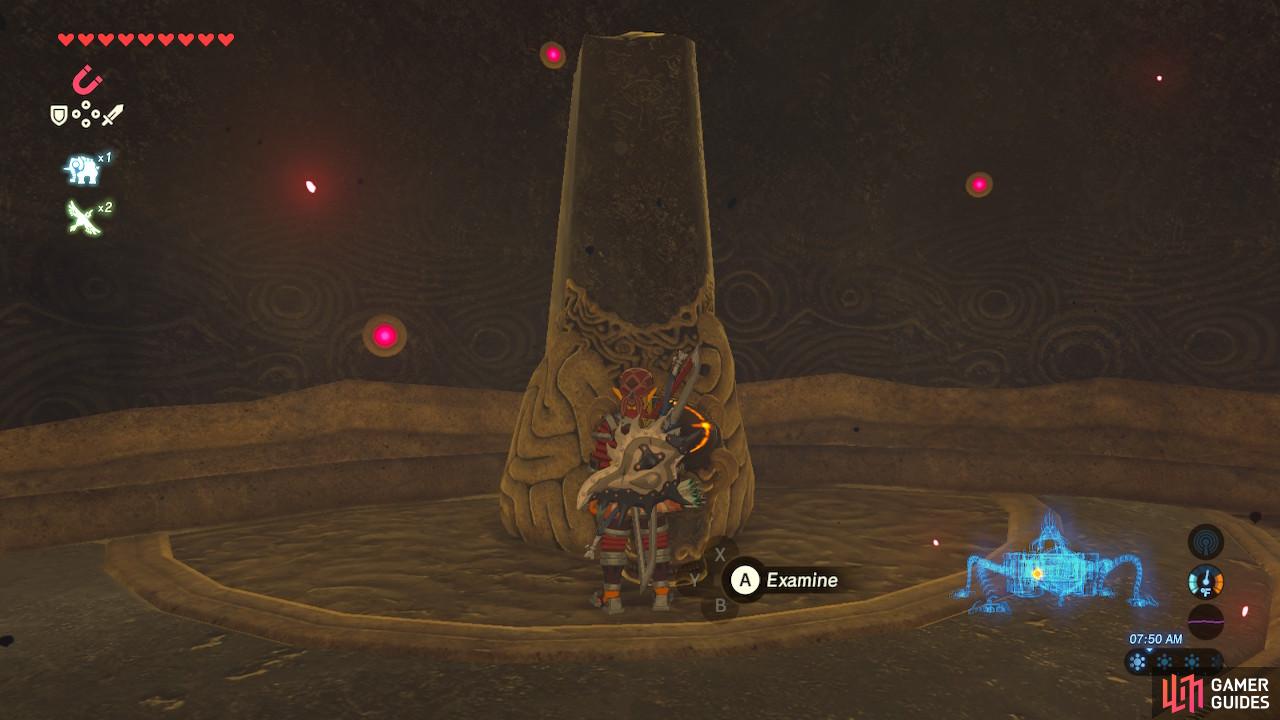
The Guardian Stone is right in front of you glowing orange. Activate it for a map of Vah Rudania, the location of the five terminals, and tilt controls for the Divine Beast. Vah Rudania can be manipulated into two positions. One is neutral (the one it is in right now) and the other is tilted 90 degrees.
With the Guardian Stone activated, Vah Rudania will open up the windows on its back, flooding the interior with light so that we can now see.
We will be covering the terminals from the front of Vah Rudania down to the back.
Terminal 1
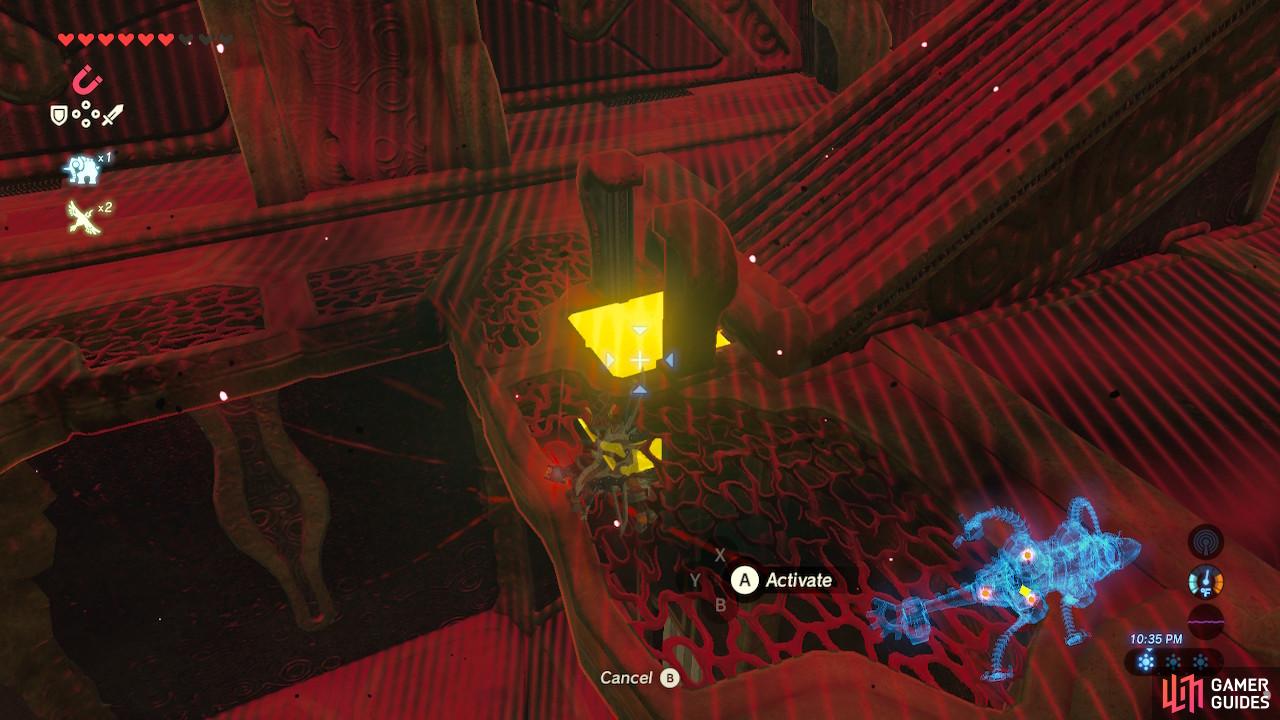
Return to the room you were previously in. Up to the right is the first terminal, but it is tilted on the side of the wall so you cannot get to it.
Pick the lower pink arrow
Paraglide carefully and aim your landing precisely
Tip Vah Rudania over onto its side. As the Divine Beast moves, jump and Paraglide to the terminal. If you miss, as we did a few times in a row, you will land below the terminal and you will be stuck. Tilt Vah Rudania back to neutral, run back towards the center of the room, and then tilt Vah Rudania back over and try again.
Terminal 2

Go up this narrow ramp-stair thingy
Be sure to shoot the eye along the way so it doesn’t bother you
With Vah Rudania tilted over 90 degrees, you will see a large staircase above you. Run over to the bottom of the staircase, and run up it to get to the outside of Vah Rudania. Note that you will burn if you don’t have maxed out fire resistance, and you will want to unequip all your wooden equipment.
This ledge will be your safety net as you tip Vah Rudania
Beware the Ganon goop up ahead
Rotate Vah Rudania back to neutral and you will come to a rest on a ledge that has a climbable wall up. Climb up it and pass by the unlit torch. We will need to solve that puzzle for the next terminal, but not right now.
Shoot when the eye drifts between the black spikes or you will waste your arrow
Take care of this eyeball underneath the platform
Shoot the eyeball you see up ahead, as it is taking up a space you will need to walk through. Then turn Vah Rudania back on its side so that now you can run along the spikes on its spine as if they were flat platforms. Shoot the eye hanging out underneath one of them and let’s take a brief detour to grab a treasure chest.
You can climb over the wall to get to the chest

The Ancient Core is valuable and worth the detour
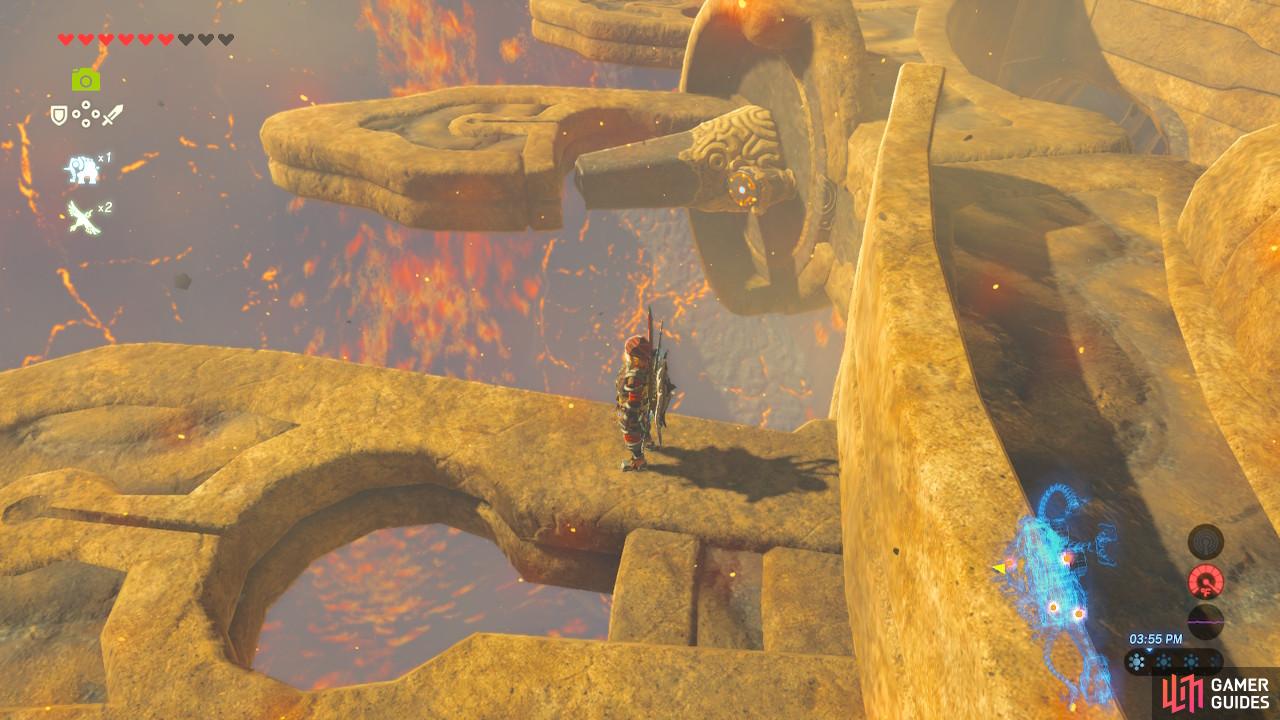
The treasure chest in question is at the far out end of one of the spikes. You can press [X] to scale the wall and run over it to open it for an Ancient Core. But how do you get back? Flip Vah Rudania back to neutral and stand right on top of its spine.
As Vah Rudania flips back over, move right onto what is currently a wall as it will become a pathway

This terminal is up by Vah Rudania’s head
Run along the path back the way you came and you will see that the terminal is nestled right behind Vah Rudania’s head. Activate it.
Terminal 3
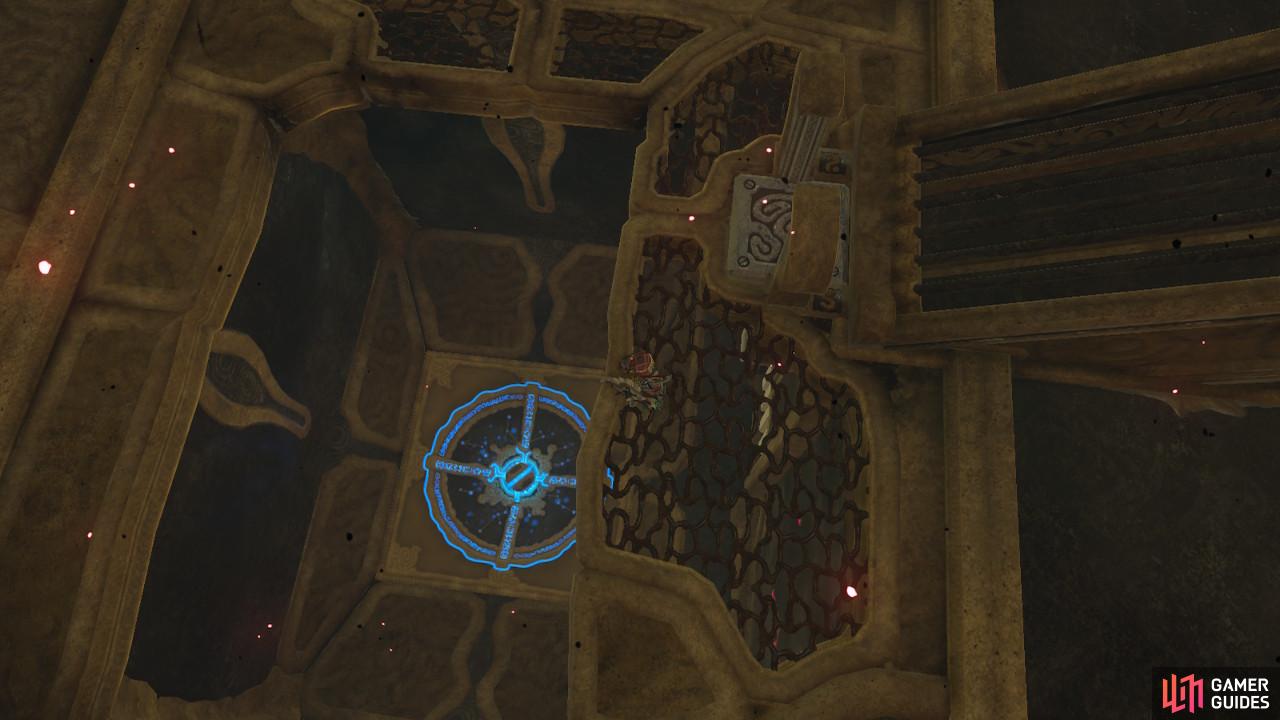
Now we will be revisiting that unlit torch we saw earlier on Vah Rudania’s back. First, we need to go grab some fire that we can use to light it. Return to the main room where we had to light torches to open the gates. To access those torches you will need to make sure that Vah Rudania is in neutral position.

Run up this rounded, grate-like ledge
After lighting the torch the gate to your left will rise up
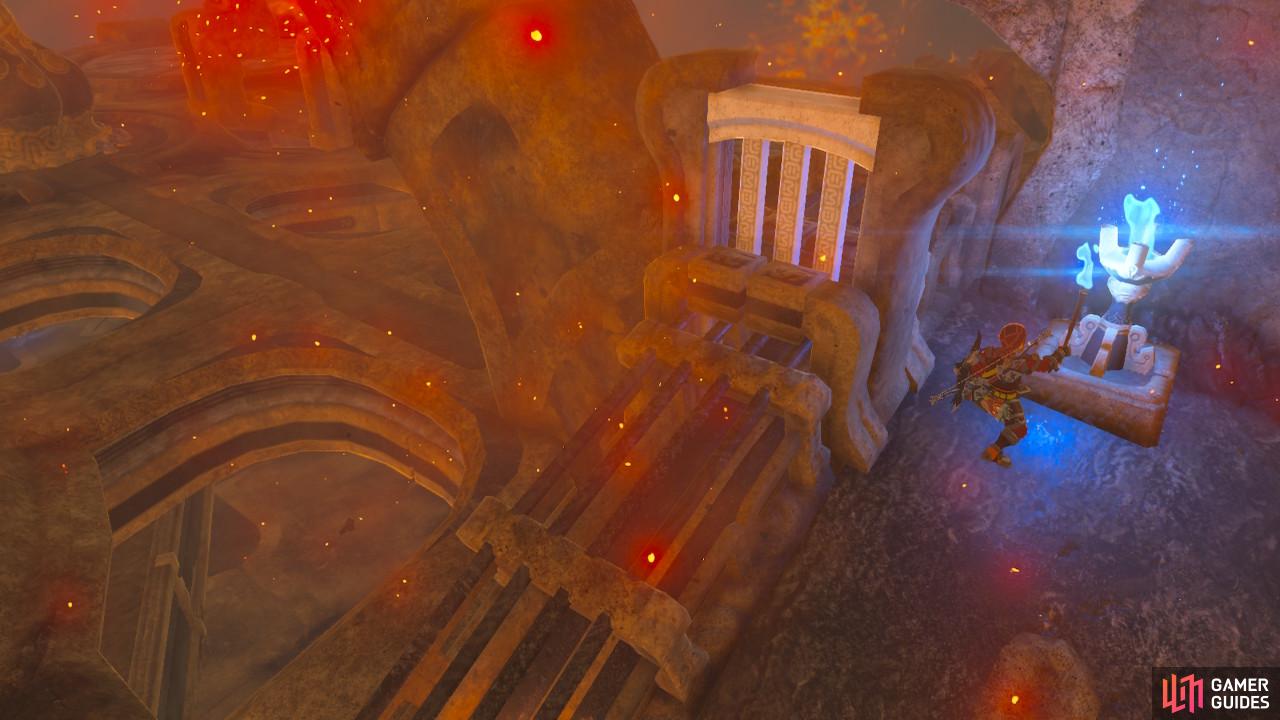
Tilt Vah Rudania back to 90 degrees to go up the same staircase we have been using and return to the exterior. This time to access the torch, we cannot use the climbable wall, as that will put our torch away and waste our efforts. Look to the left and you will see a little ledge that wraps around Vah Rudania’s body. As you tilt Vah Rudania back to neutral position, run along that ledge and you will end up right next to the torch!
Follow the ball down the ramp
The ball needs to end up in this hollow below
Light the torch and you will see a gate open that will let a ball inside a tube roll down around Vah Rudania’s body. Follow it down to the ledge with the climbable wall and you will then see that the ball has been stopped. Rotate Vah Rudania back on its side so that the ball can continue rolling, and follow it back down the staircase.
The metal box at the foot of the ramp can be manipulated
The ball will then fall here to open up the gate
The ball is stopped again, this time by a metal box that is actually right at the base of the staircase. Use Magnesis to pull it up (but not out of the ground since you still need to be able to get to the staircase) and the ball will roll into an orange hollow below you.
You will see a gate open revealing the third terminal. Drop down and go to activate it.
Terminal 4
Before we begin to work on this terminal, let’s grab two more treasure chests. Return to the staircase by tilting Vah Rudania to neutral so you can return to the main room, and then tilt Vah Rudania back on its side so the staircase is accessible again.
This chest is underneath the ramp
You will need some fancy footwork and precise timing to make it to the side of the ramp as Vah Rudania tilts
A treasure chest is behind the staircase, having fallen as we tilted and untilted Vah Rudania repeatedly. Open it for 5 Ice Arrows. The second chest is glued to the side of the staircase. As you are standing on the staircase, tilt Vah Rudania back to neutral. As Vah Rudania tilts, run carefully to the side of the staircase. Open the treasure chest for another Knight’s Bow.
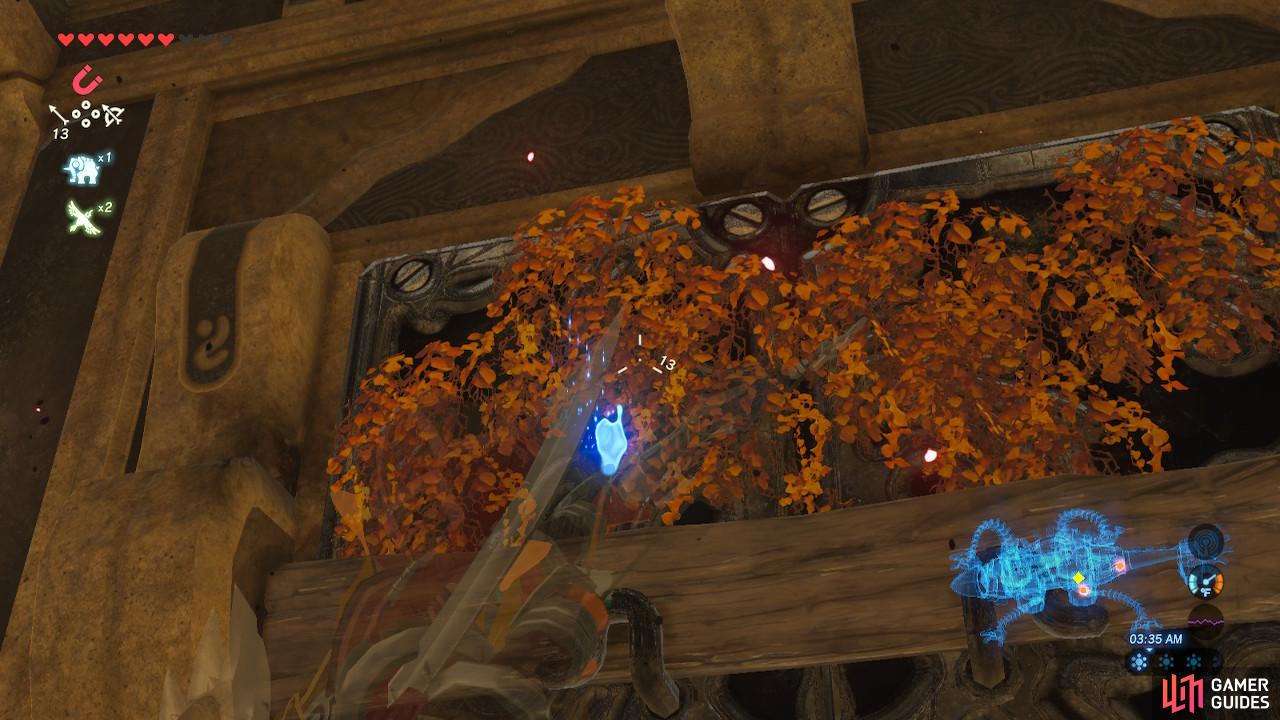
Shoot a burning arrow at the vines
You will need to push as the doors only open one way
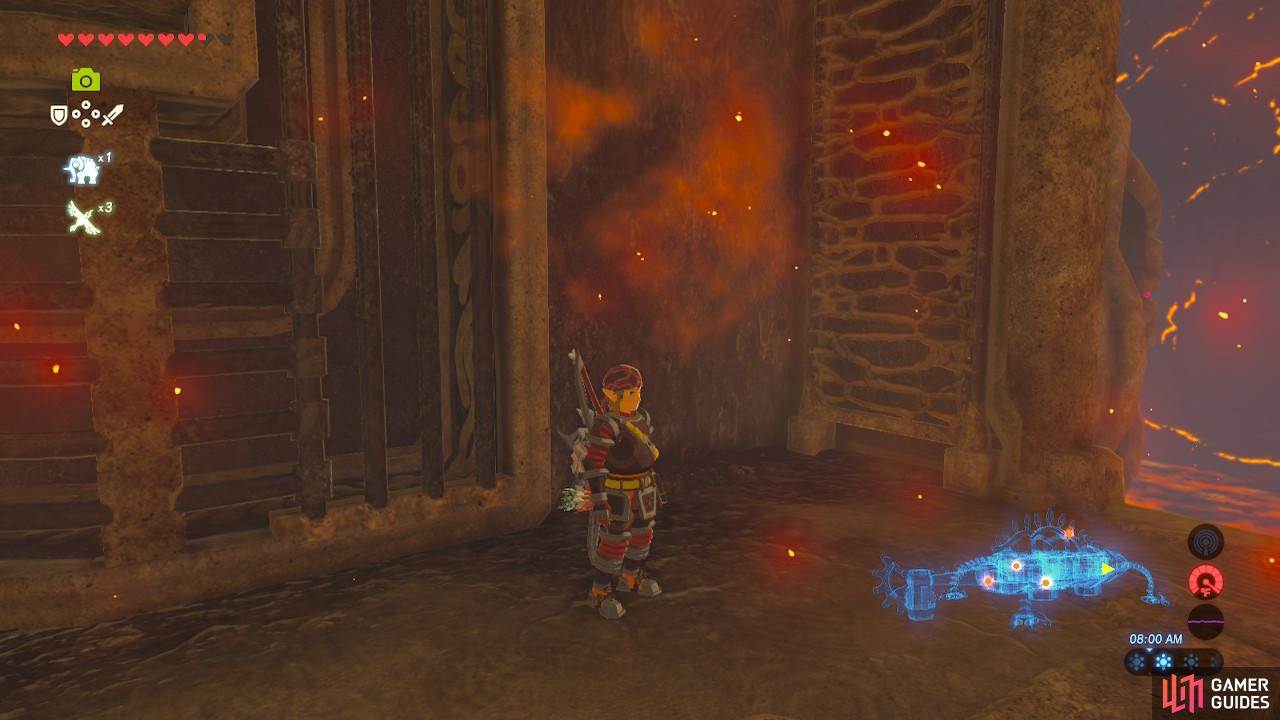
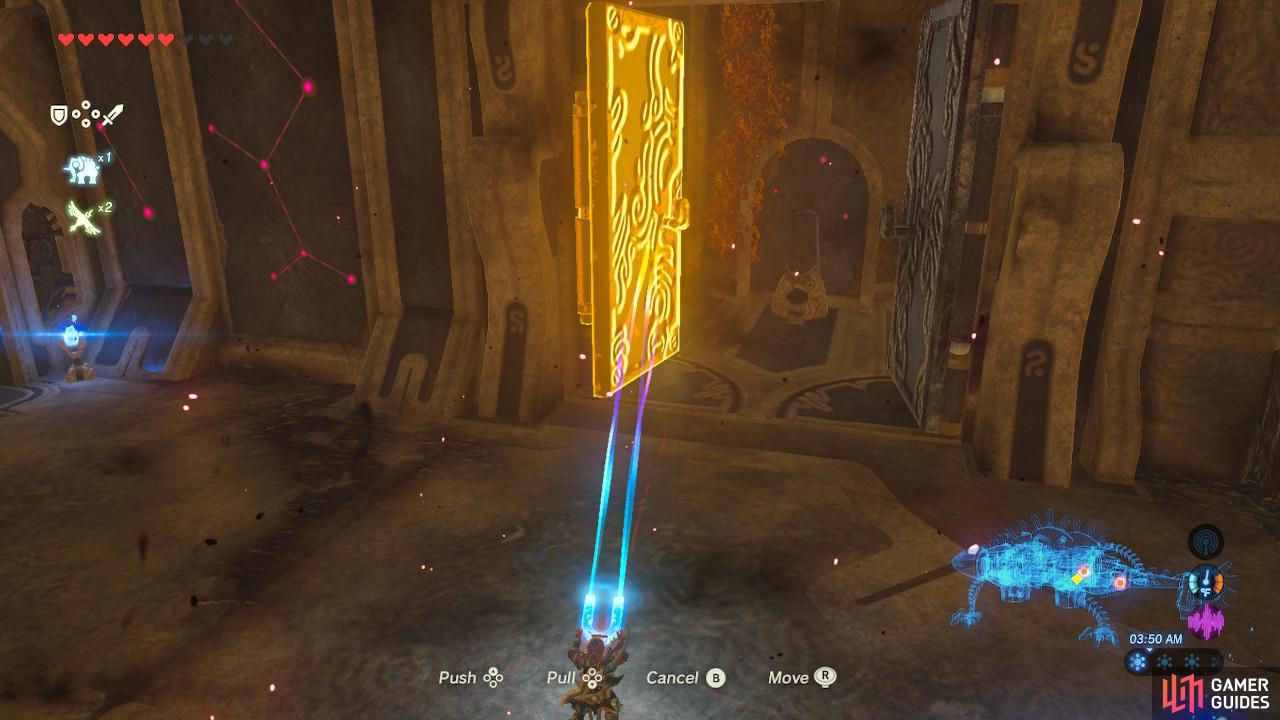
Now you can drop back down into the main room. Directly to the right of Vah Rudania’s main entrance are two large metal doors. However, they are currently kept closed by vines and a wooden plank. If you have Fire Arrows, shoot one at the vines to set the whole thing on fire. If you do not have Fire Arrows, or do not want to waste them, simply draw your bow and then walk close to the torches at the entrance to light your arrow on fire. Use Magnesis to pull open the doors and the terminal is right there in front of you.
After activating the fourth terminal, be sure to again shoot a burning arrow at the vines behind the terminal. A treasure chest will drop from the ceiling containing an Ancient Gear.
Activate this terminal and we have only one left
Don’t forget to grab this hidden chest
Terminal 5
Look through the peephole to see the unlit torch
Aim carefully with a blazing arrow to open the doors
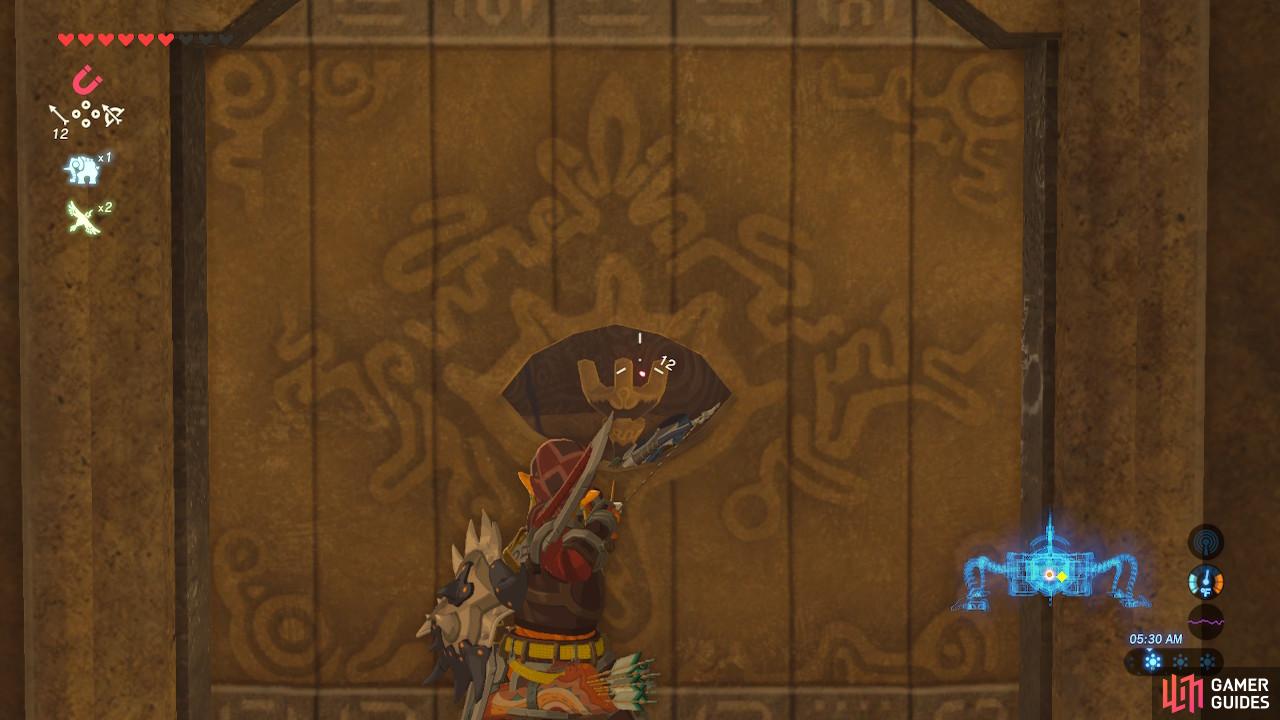
We are almost to the end! The last terminal is behind a door that is to the left of the main entrance. However you cannot open the door. If you look through the hole, you will see an unlit torch.
You will need to shoot a burning arrow at the torch from outside the door. Do so as precisely as possible, and then the door will open. However, now a wall of flames blocks us from accessing the terminal.
Shoot those vines with a burning arrow
Place the metal block right here as shown
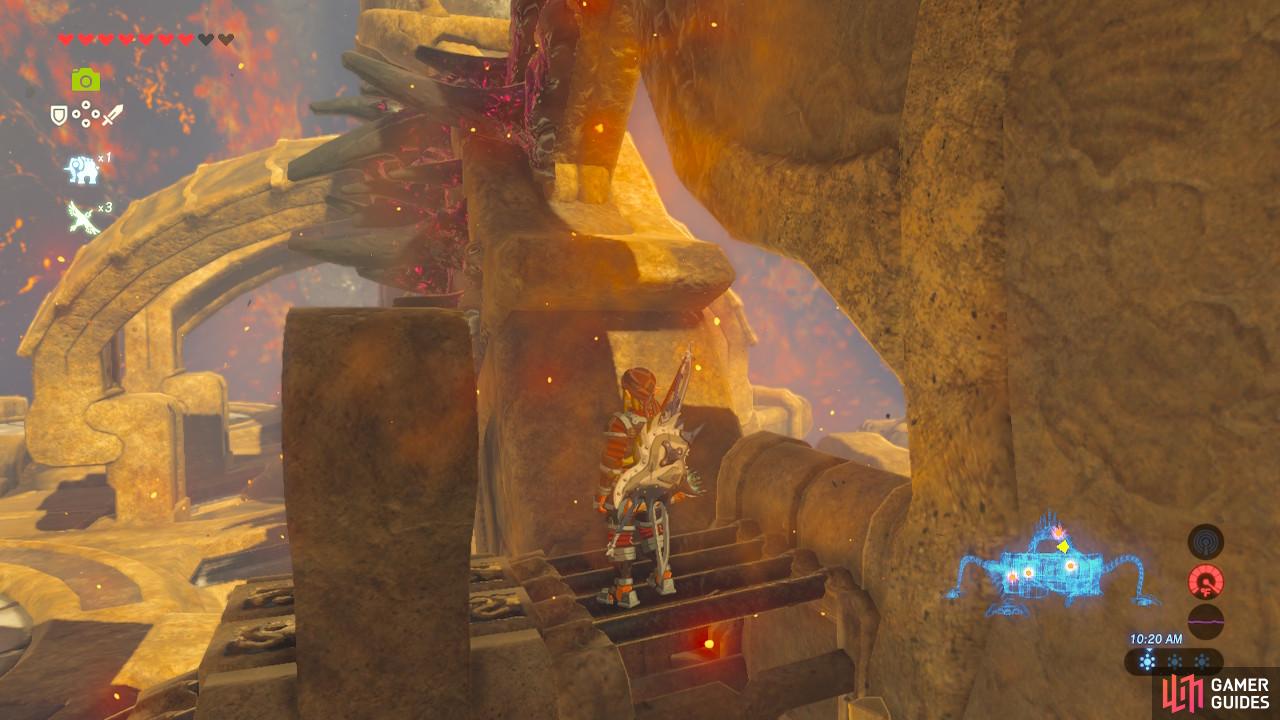
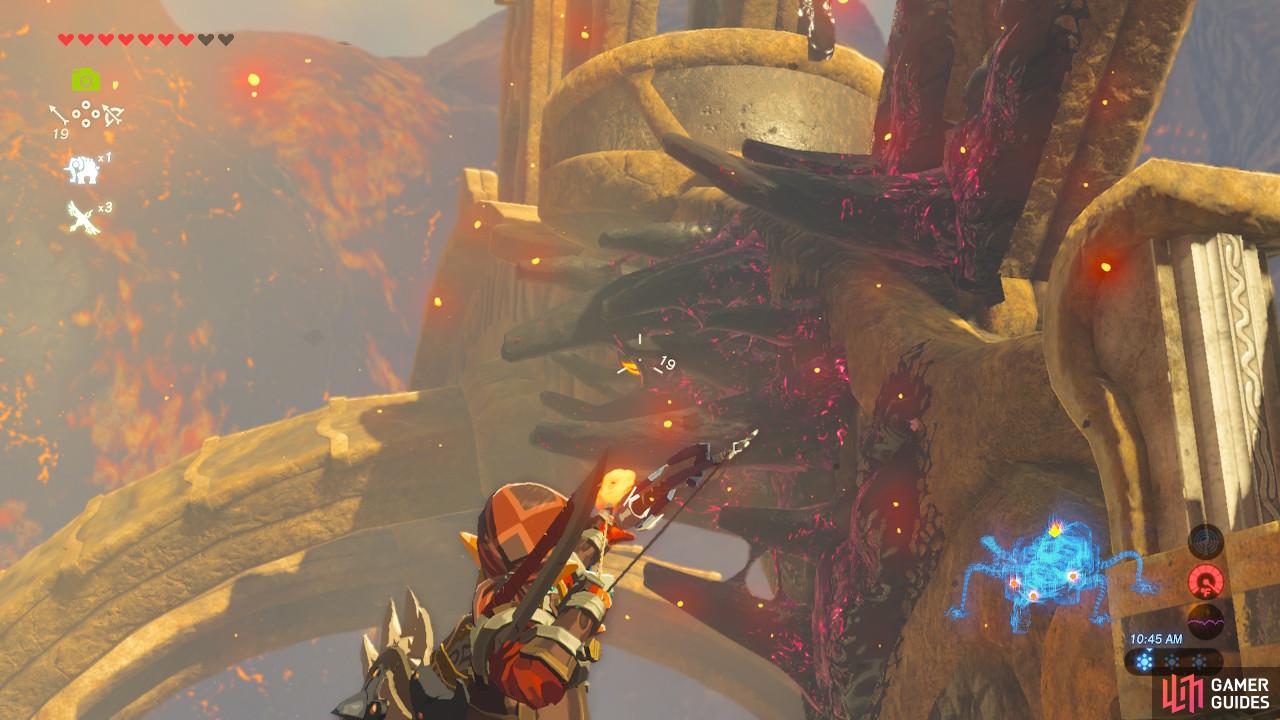
Go left of the flames and look up, and you will see a bunch of vines. Shoot another burning arrow at the vines and a large metal block will drop down from the ceiling.
Using Magnesis, place the metal block on top of the rightmost flame pillars. This is because we cannot climb up the metal block, so we will need to walk past it along the wall. If the metal block is not in the right position, we will be unable to get through.
Now you can safely walk through
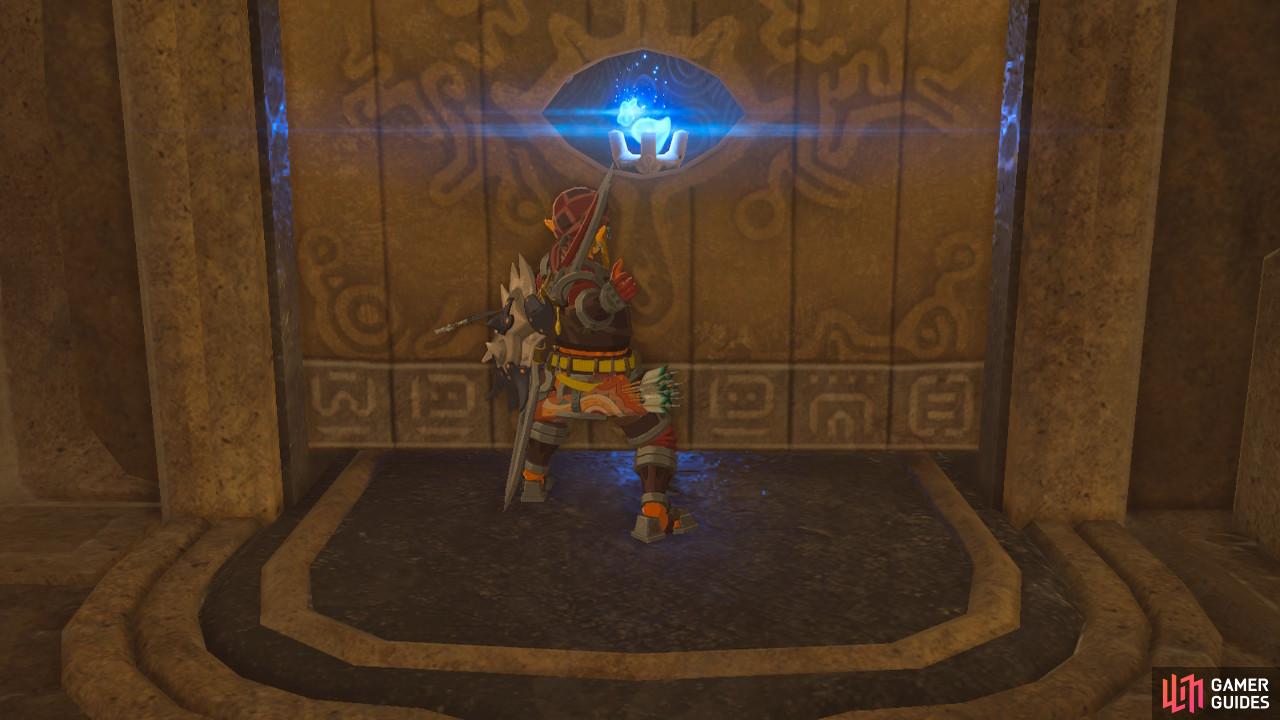
Activate this final terminal so that you can access the main control unit
Once the metal block is in position, tilt Vah Rudania 90 degrees so that you can walk past the flames. Then tilt Vah Rudania back to neutral and activate the terminal. With the terminal activated, the flames will extinguish themselves and the main control unit will be marked on your map.
Main Control Unit
Paraglide to here from the top of Vah Rudania’s back

Try to activate this main control unit
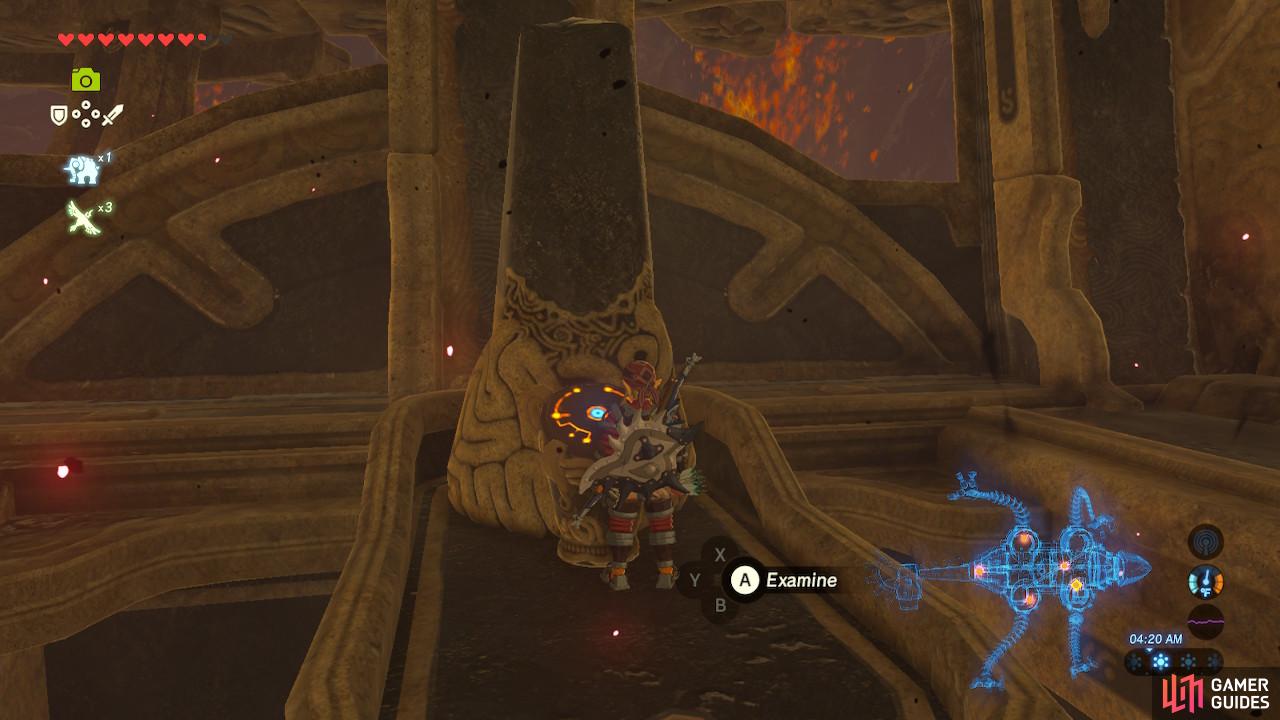
The main control unit is, predictably enough, on Vah Rudania’s backside. Go back up the staircase we have been using and once you are outside, tilt Vah Rudania back to neutral and use the ledge shortcut we employed to light the torch. Run along Vah Rudania’s spine and then Paraglide down to the large, flat platforms where you will see the bright orange main control unit. Once you’ve activated the Control Unit, you’ll have to face the Fireblight Ganon.
No Comments