
A guide on how to unlock and complete Keive Tala Shrine, which is the first trial in Ex Champion Urbosa’s Song, which is a part of The Champions’ Ballad DLC.
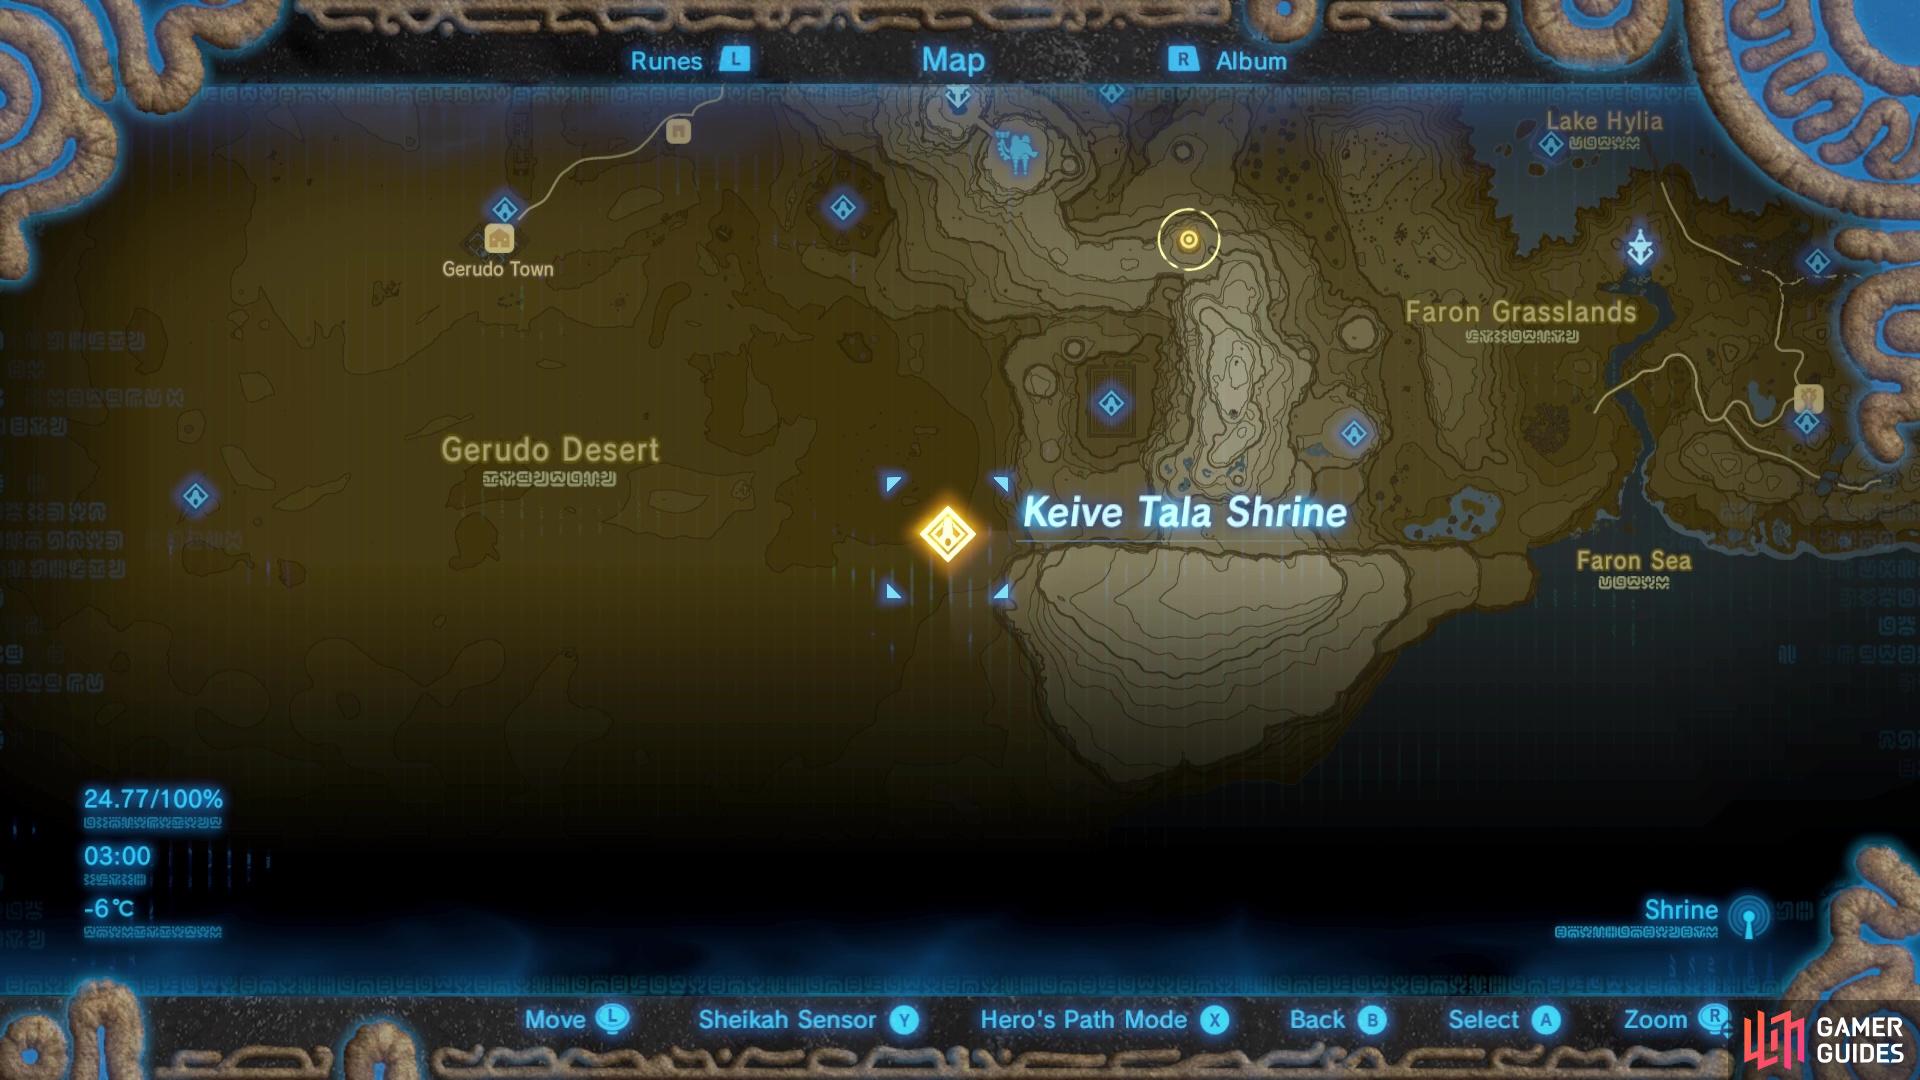
This shrine is found in the East Barrens once you’ve defeated the Molduking.
How to “fight the brute of the sand”
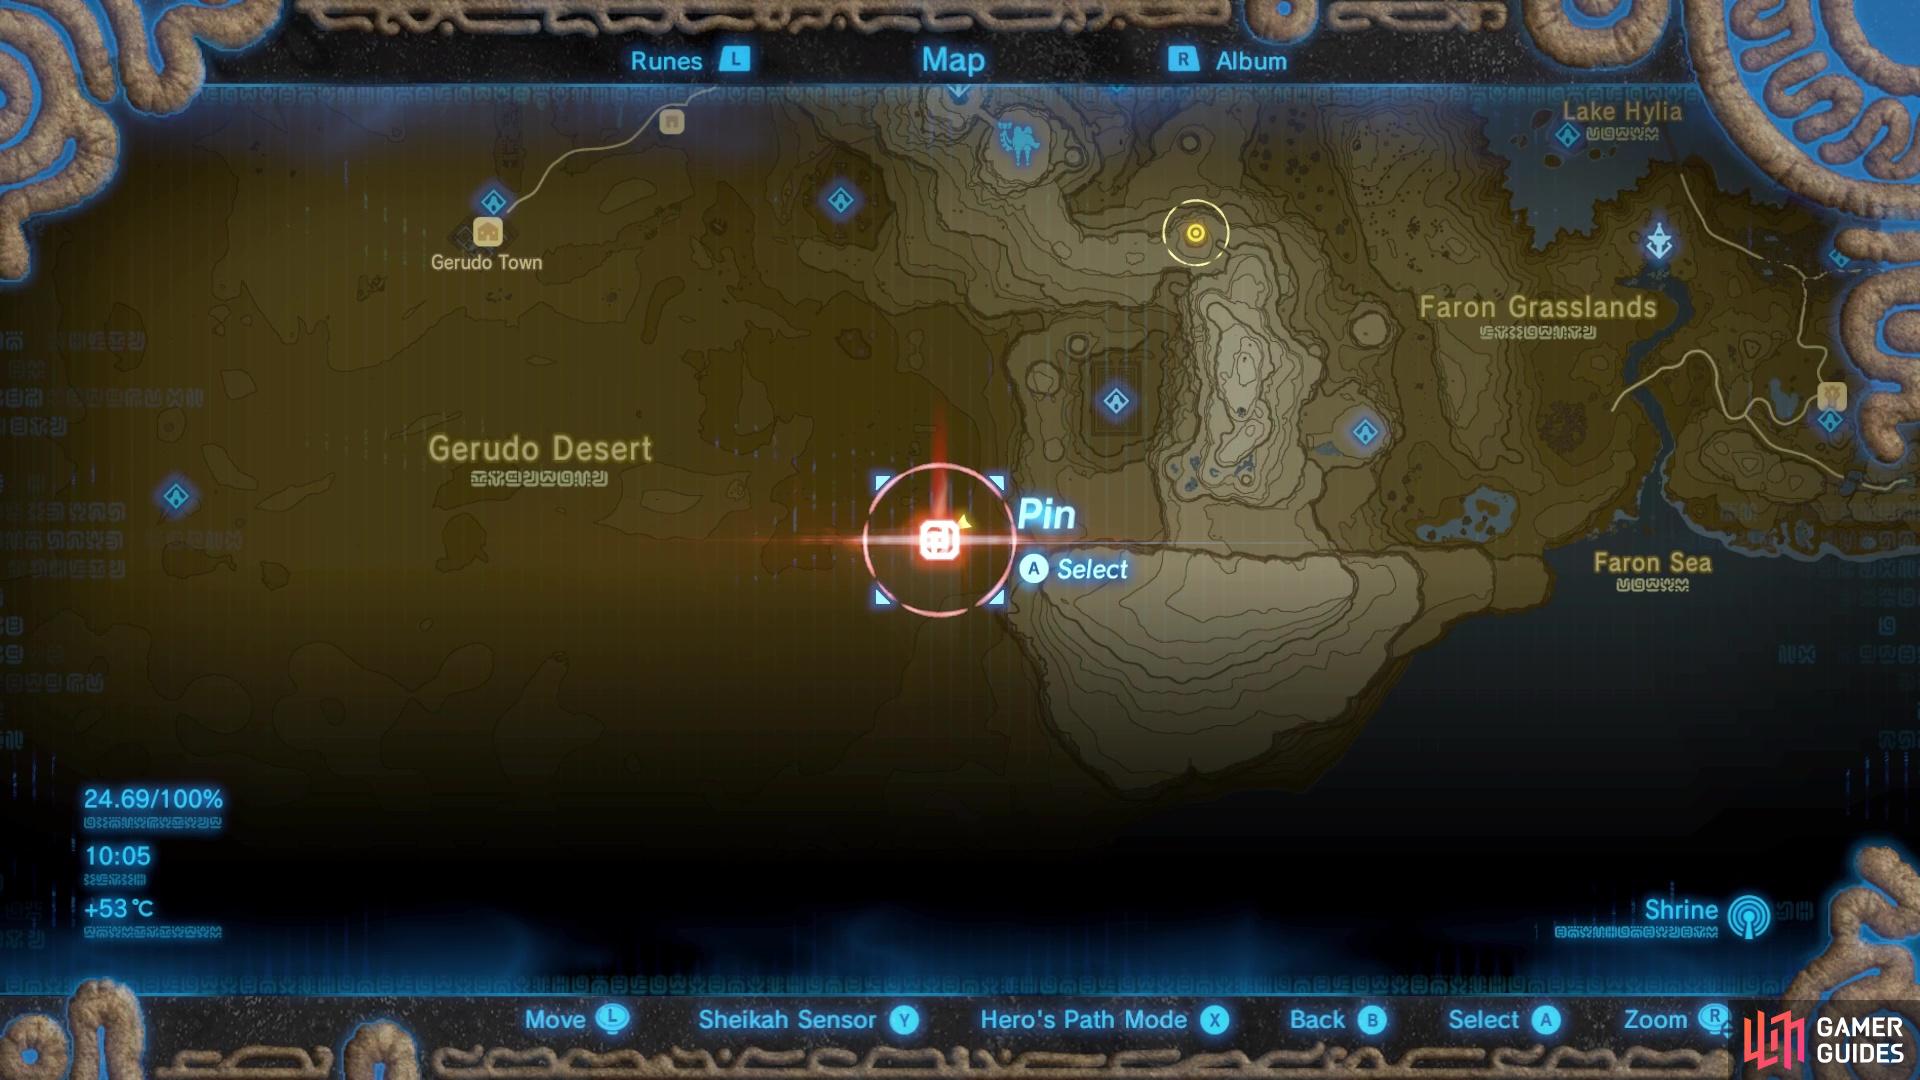
When you speak to Riju’s guards in Gerudo Town they’ll tell you about a strange type of Molduga near East Barrens. East Barrens is southeast of Gerudo Town so you’ll want to fast travel to the nearest shrine, Misae Suma, or grab yourself a Sand Seal.
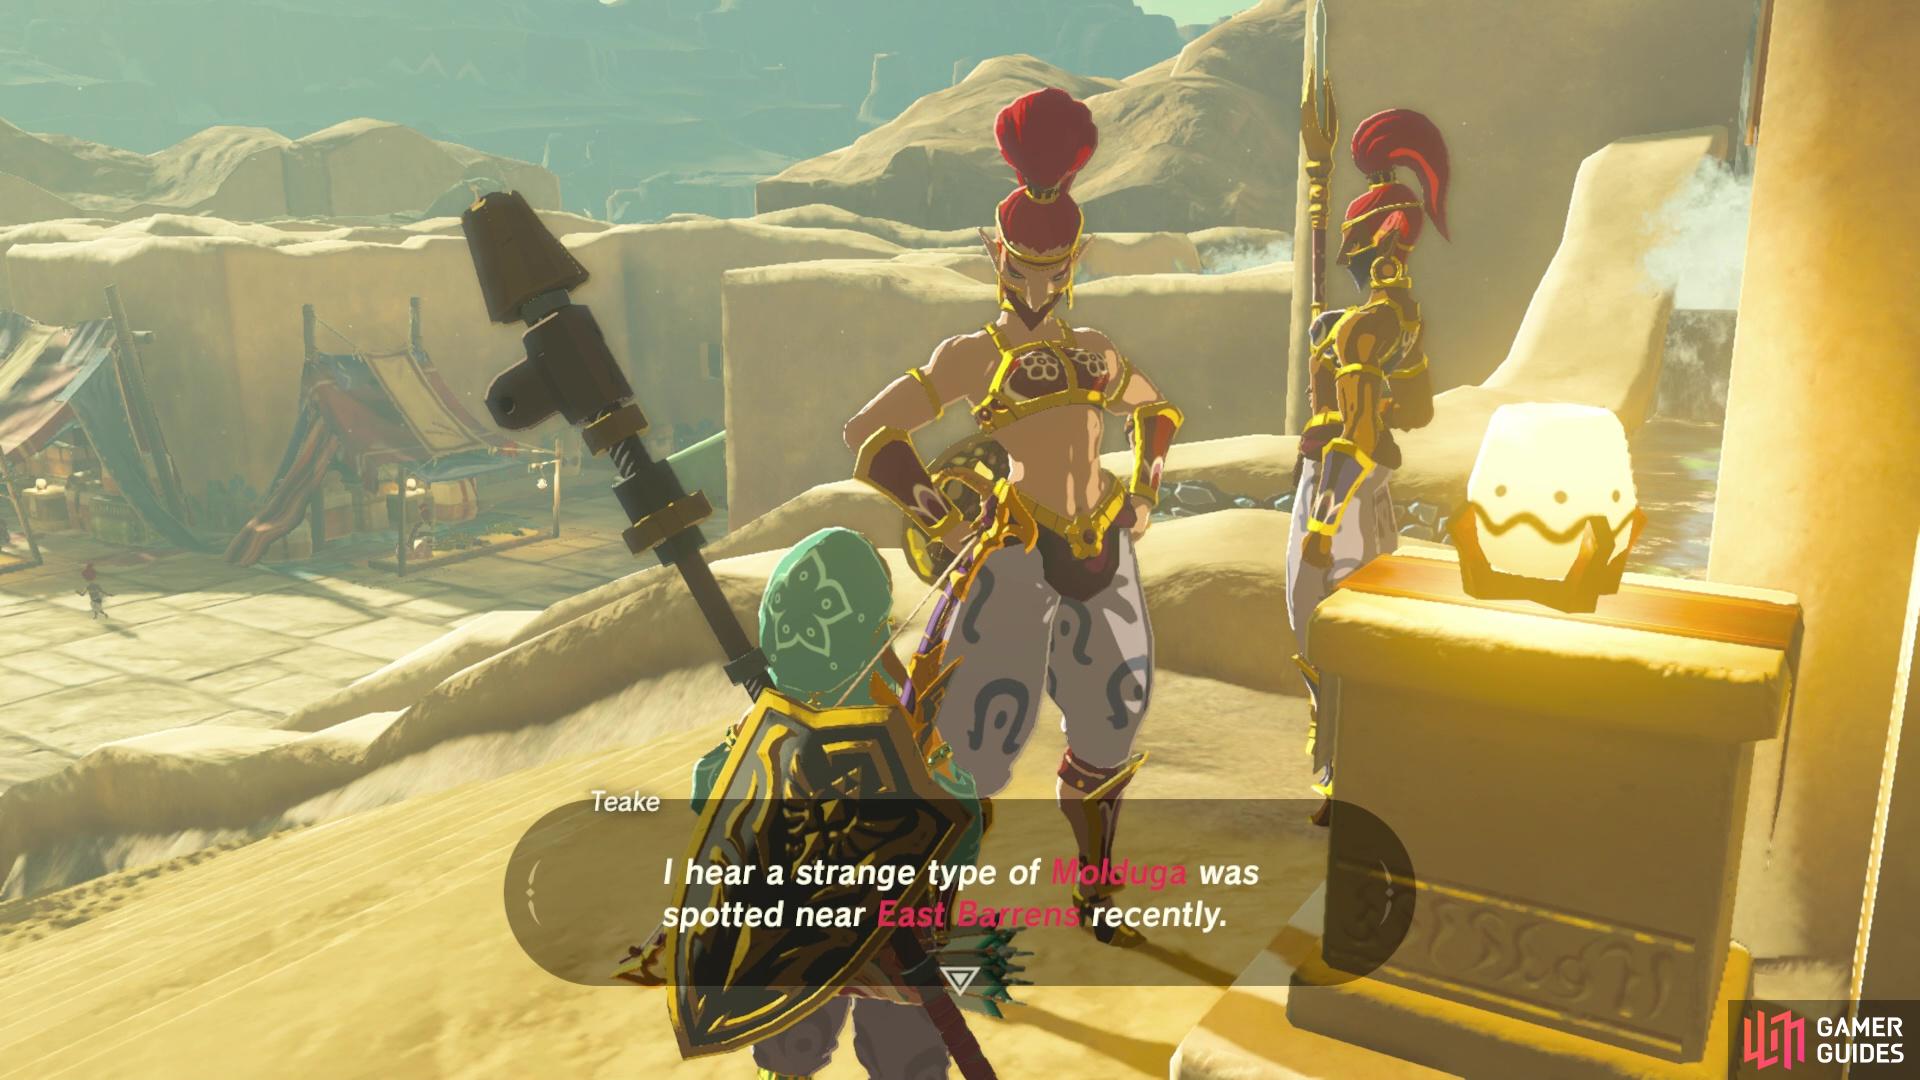
The guards will tell you about the Molduga in East Barrens
which is southeast of Gerudo Town.
You’ll find Traysi on a small raised bank in East Barrens. She’ll tell you a bit more about the Molduga, but the most important part of finding Traysi is that she’s on raised ground, which is essential for fighting the Molduga. She also, quite usefully, has a lit campfire nearby. The desert is super hot during the day, and even wearing the Gerudo Armor, you’ll still take heat damage. You may find it useful to wait at the campfire till night, then equip your Snowquill armor to protect against the cold nights.
How to Beat the Molduking
The Molduking is a stronger version of the Wasteland Molduga, but the way you defeat him is the same. Stay on high ground and chuck down a remote bomb to get the Molduking’s attention. When he comes over and launches himself up into the air, detonate the bomb as he’s swallowing it. This will stun him, and cause him to fall to the ground. During this brief period, you’ll need to hit him as much as you can before he wakes up. Making sure Urbosa’s Fury is charged and ready for this fight is also super helpful, since it’ll be a great source of extra damage to the Molduking.
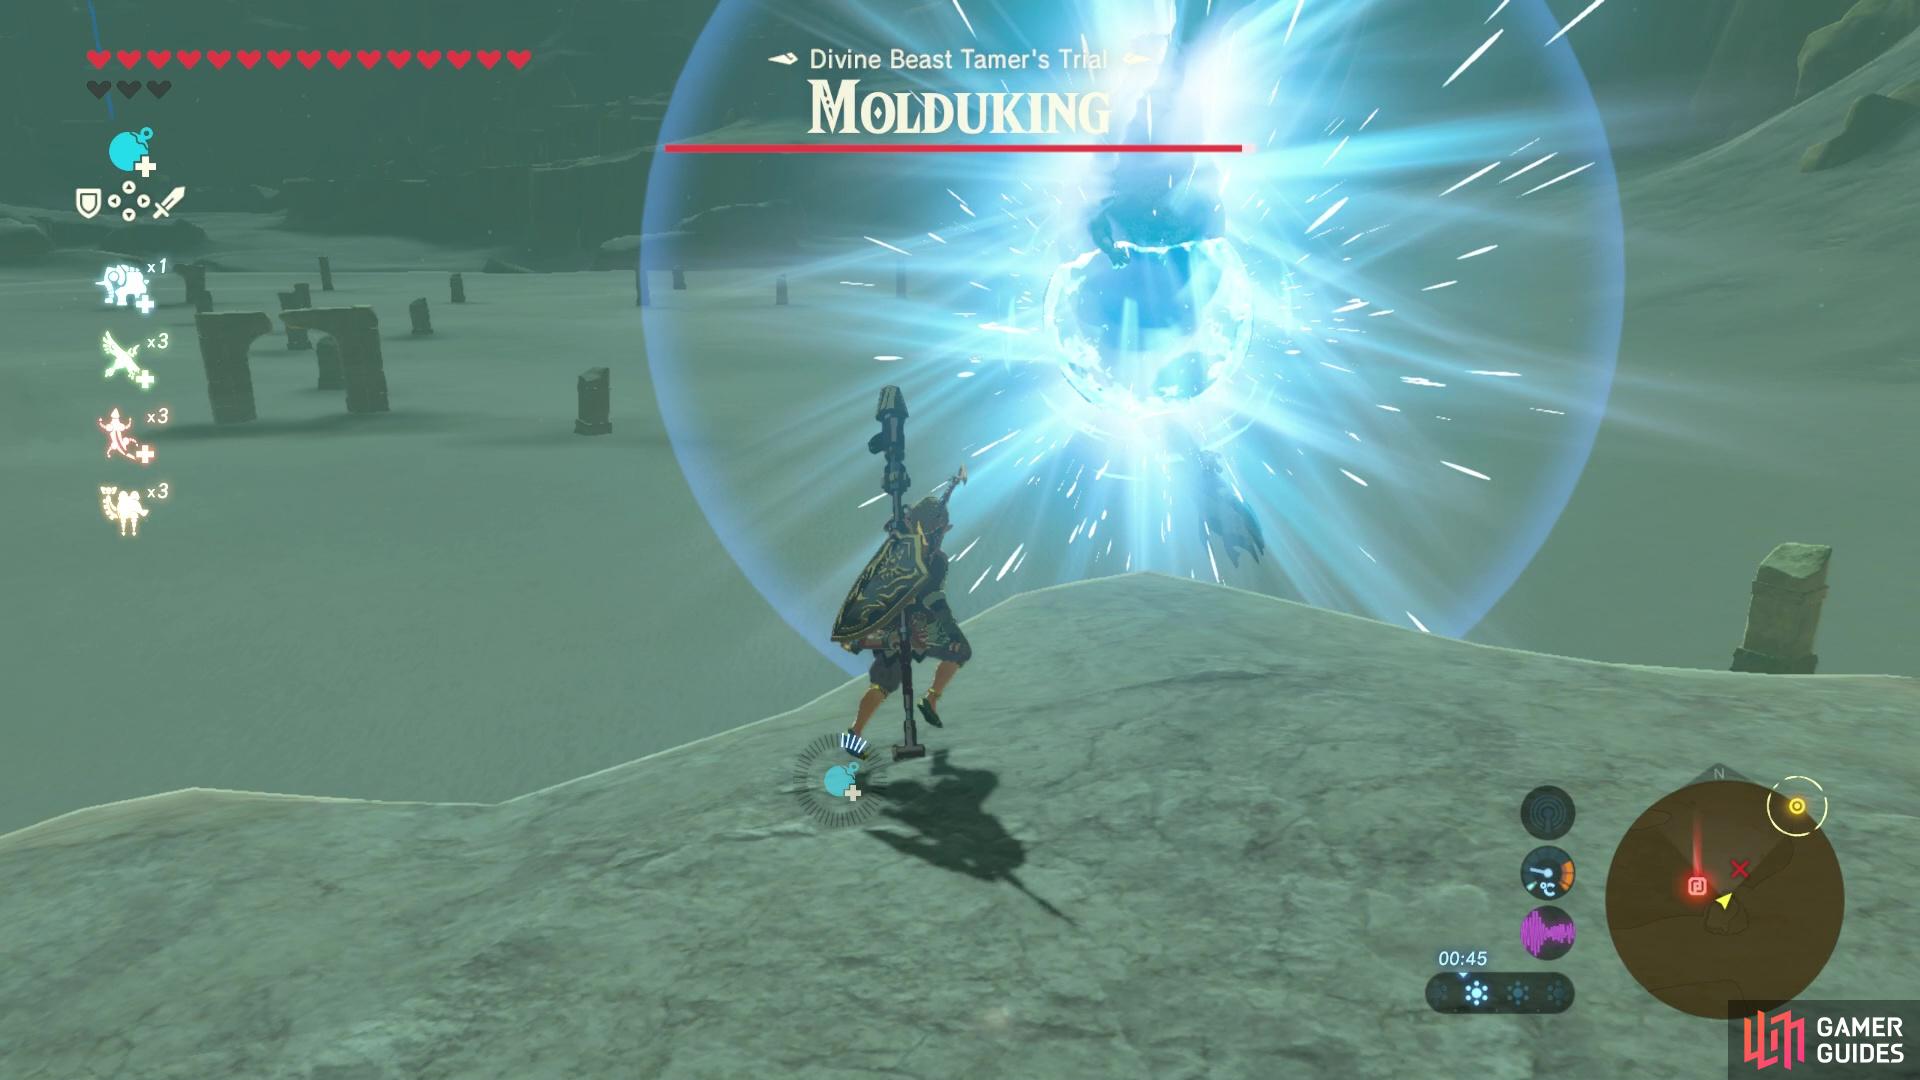
Use bombs to stun the Molduking
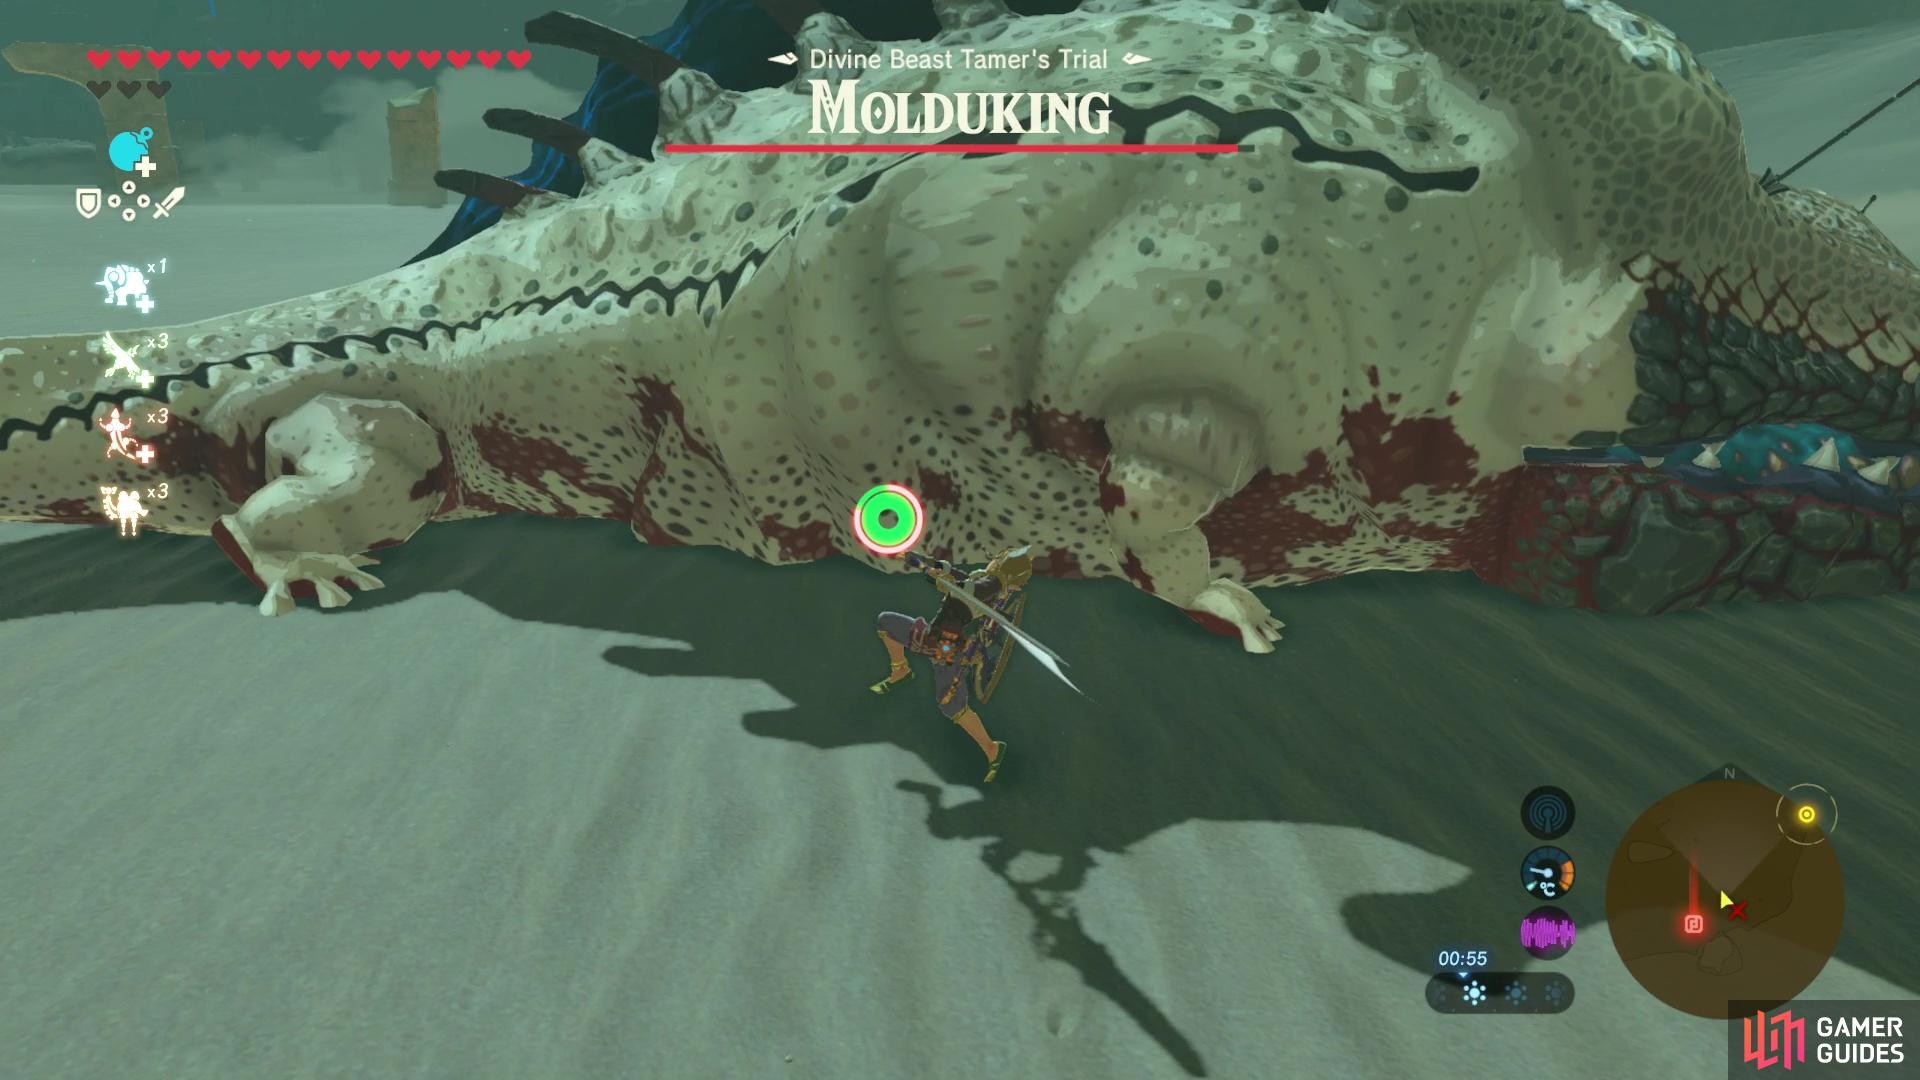
then you can run up and smack him whilst he’s down.
You’ll want to repeat this process a couple of times and he won’t be too much trouble, just avoid being hit by his tail or when he launches as this does a huge amount of damage.
When he’s defeated, the Keive Tala Shrine will spawn nearby and you’ll also get a bunch of treasure chest to loot.
How to Complete Keive Tala: Big or Small
The first thing you’ll spot in this shrine is an incomplete electrical circuit on the left wall. Use magnesis to move one of the metal cubes from the right and place it between the metal ball charged by electrical source and the second metal ball that’s attached to the rest of the circuit. Once the metal cube has been placed in the circuit correctly, it should conduct electricity between the two balls on chains.
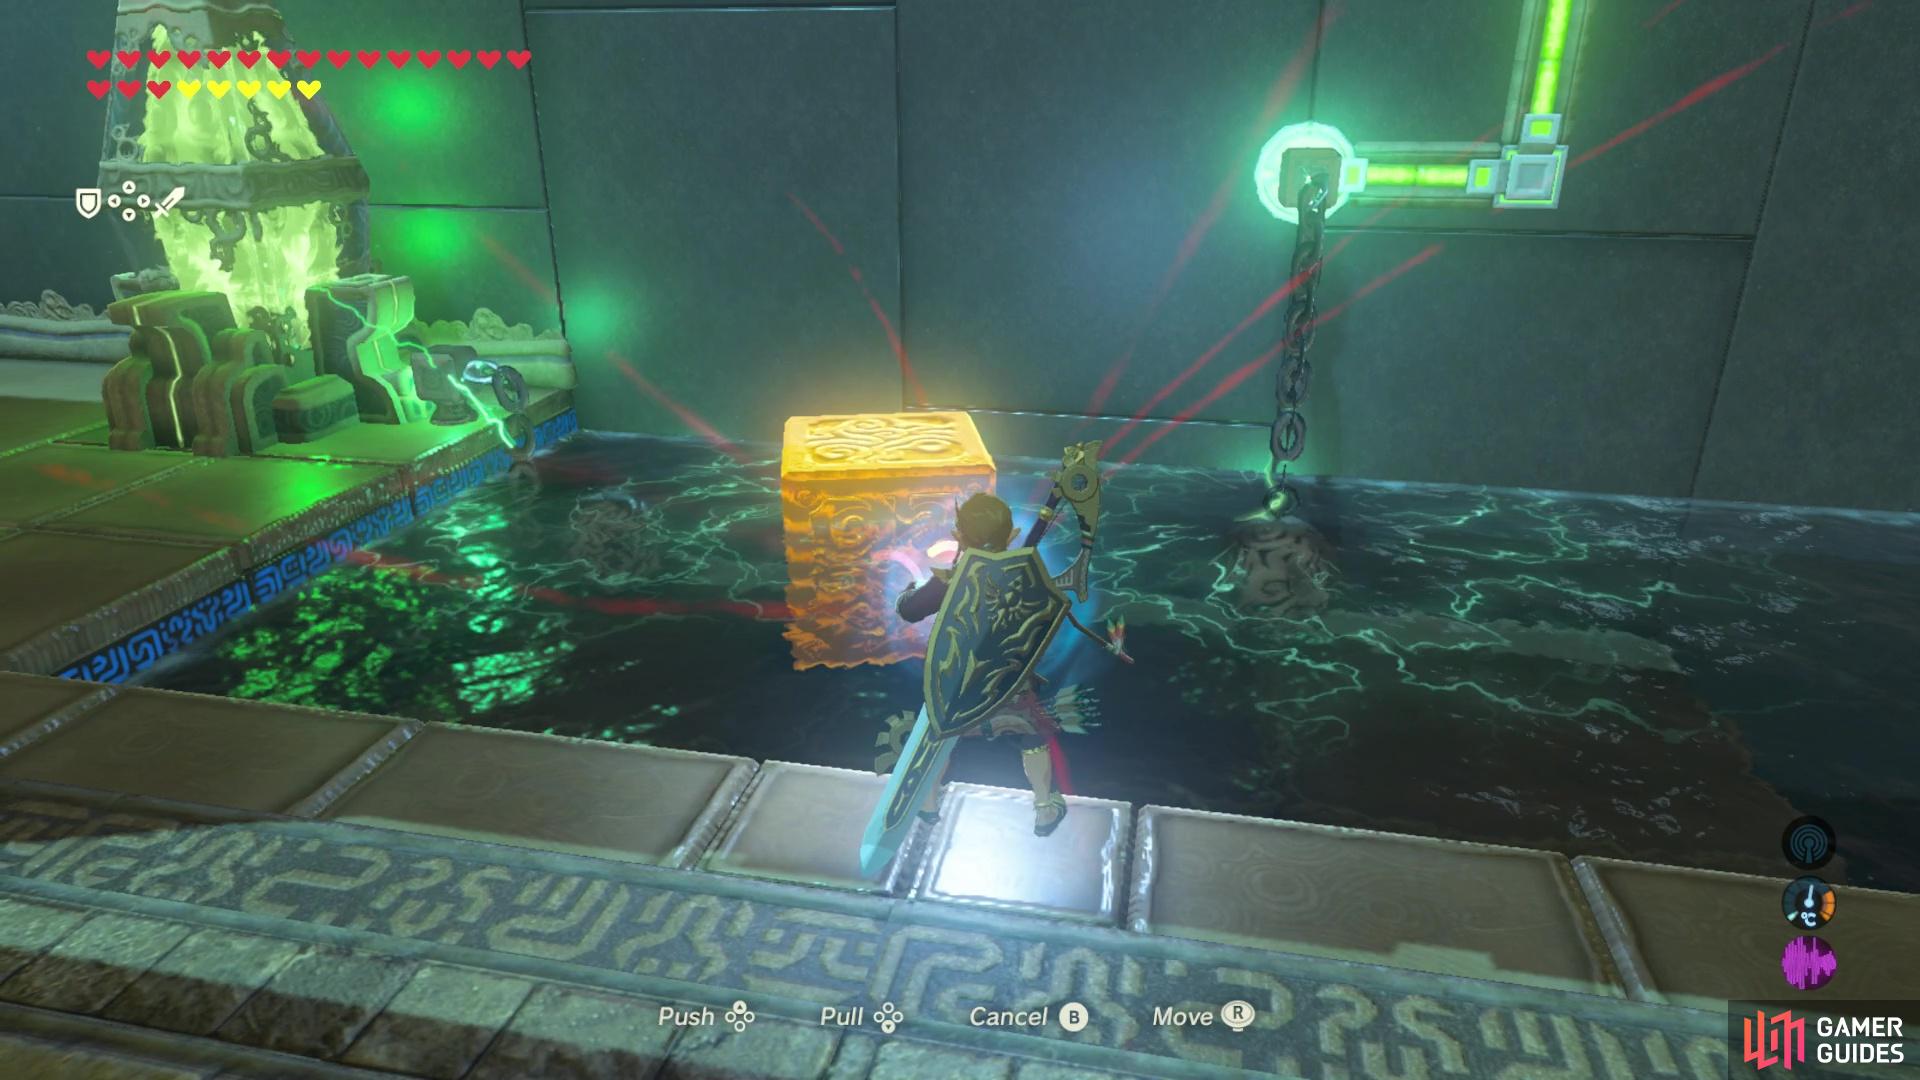
Use a small metal cube to conduct the electricity between the two metal balls.
Next, follow the electrical circuit until another break in the electricity. Here, you’ll want to place a small metal block next to the orange lightbulb. This will cause the platform to the right to rise up to another break in the circuit. Once the platform has reached the top of its path, remove the metal cube and place it on the platform to bridge the gap between the wires.

Use the metal block to power the platform.
After that, use magnesis on the large ball on the chain and bring it over to the other side of the bar to the right, so that the chain hangs over it. This will power a bit more of the wire.
Finally, place a cryonis block between the metal bar and the rest of the electrical wire. Then, place the large metal cube nearby on top of the ice block to connect the wires and open up the gate to the end of the shrine!
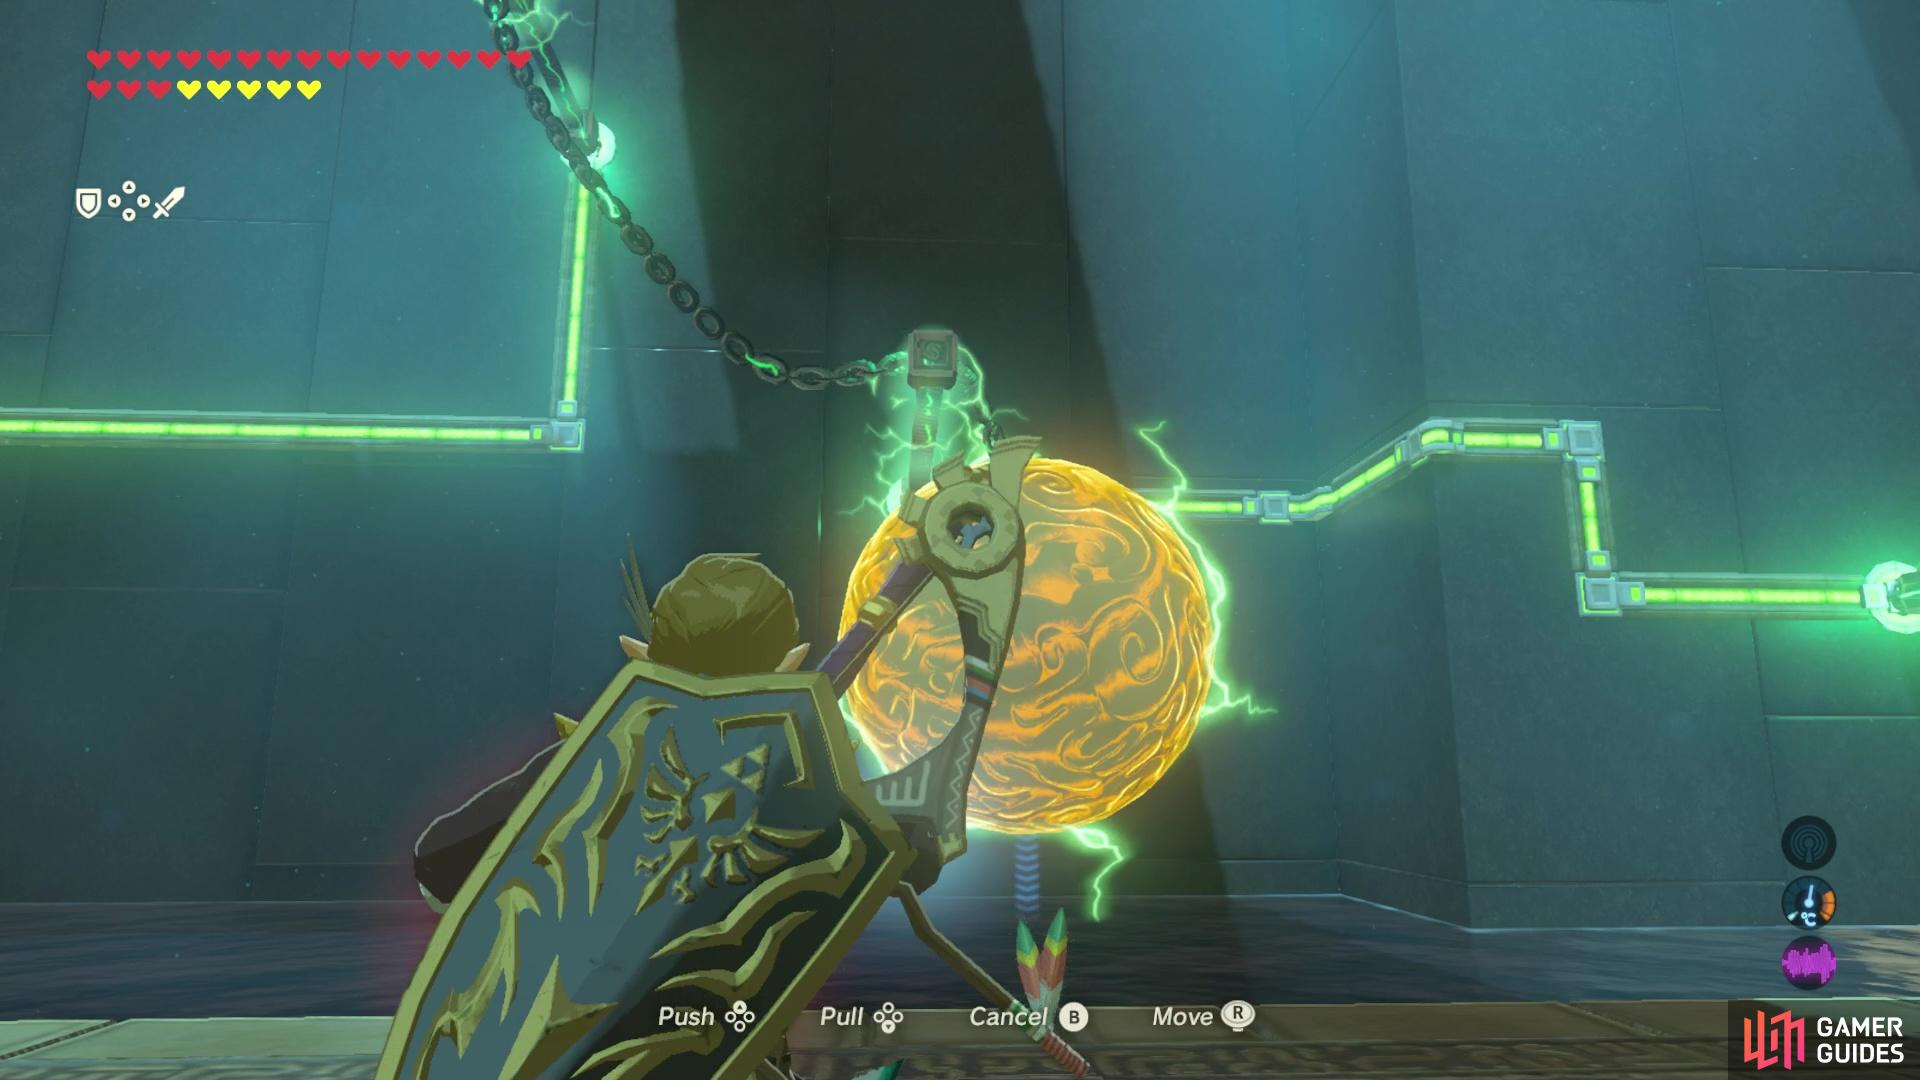
Place the metal ball over the bar to conduct electricity further
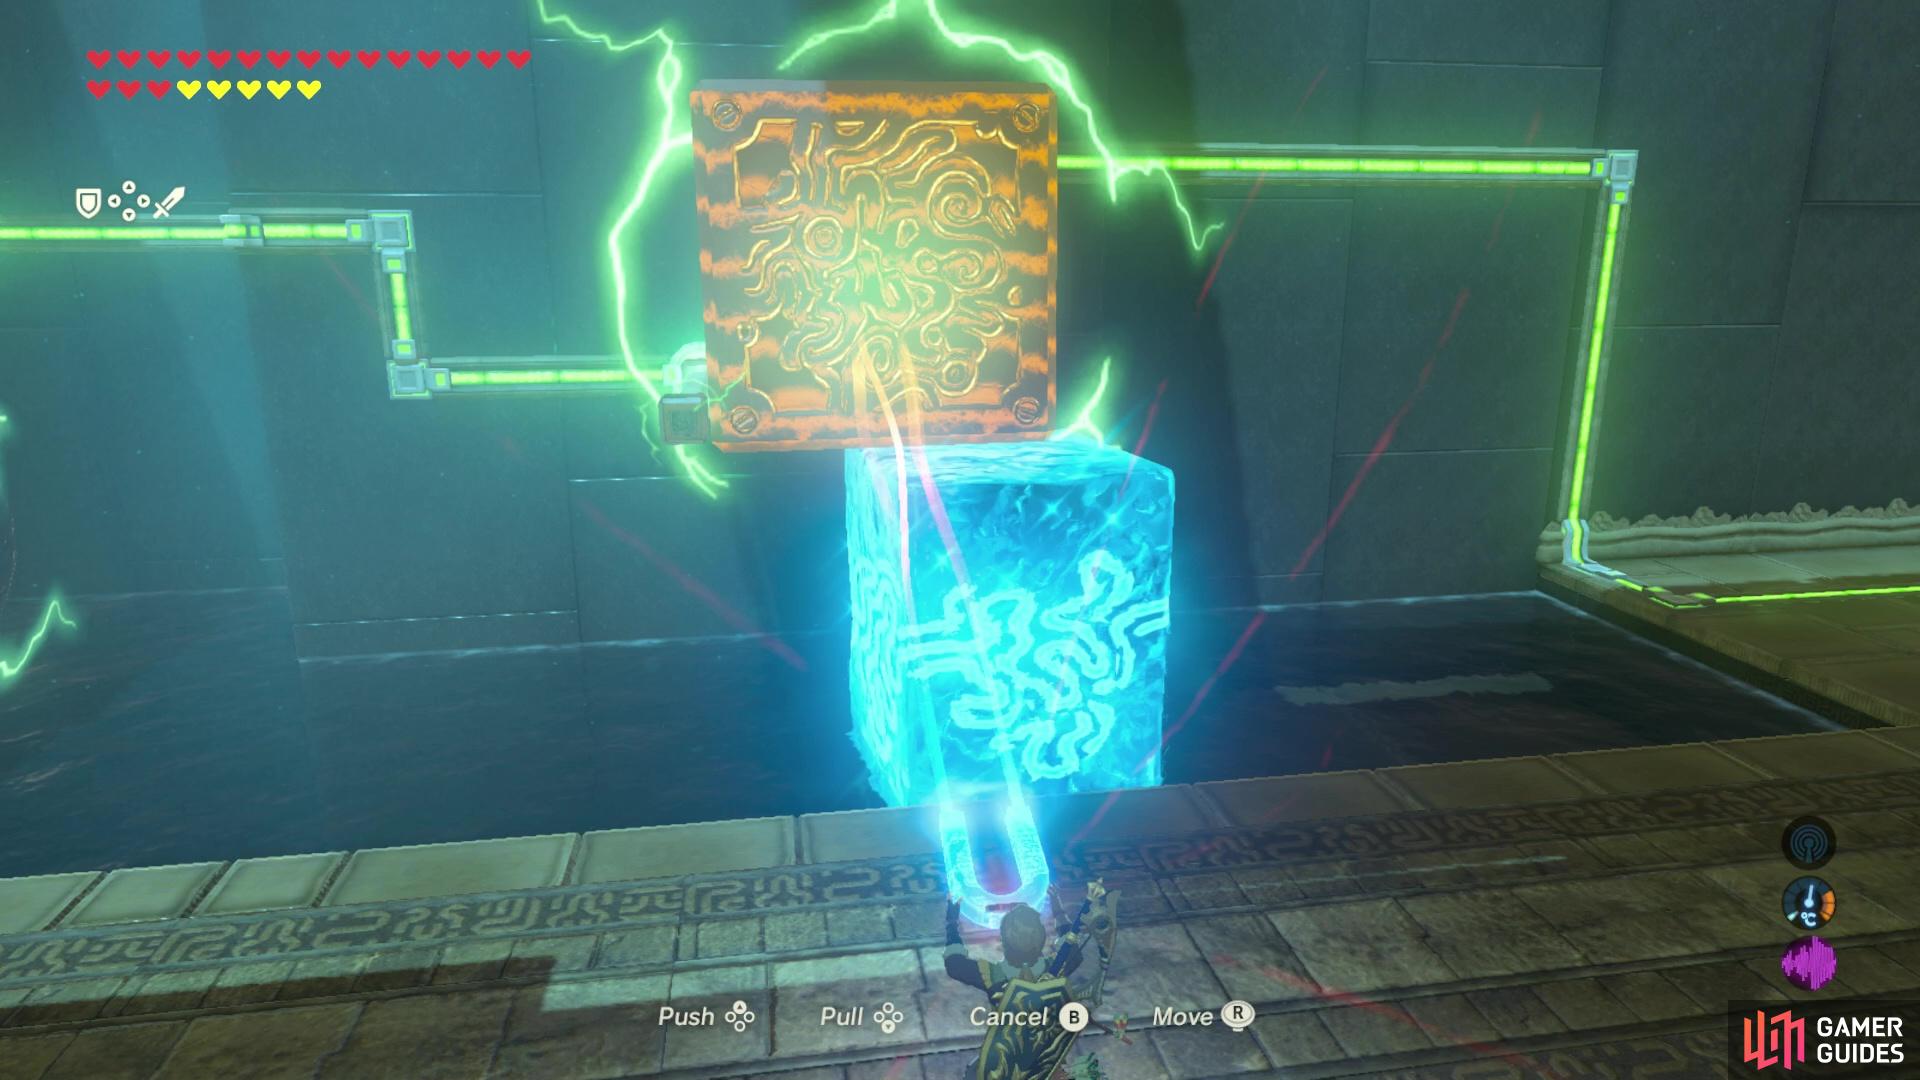
then place a metal block on top of a cryonis block to conduct electricity to the final bit of wiring.
If you want the treasure however, you should keep reading for the solution to the optional puzzle to the right of the gate to the end of the shrine.
How to Get the Keive Tala Treasure Chest
Use the motion control apparatus to control the laser. When the laser hits any of the crystals on the back, it’ll cause the platforms with wires on them to move. Your goal is to line up all the wires so the electricity can travel from left to right. When the laser hits the crystals again it’ll stop the platforms so your aim is get the timing right to stop the platforms so that they conduct electricity. Each platform moves a little quicker, so the last platform may be trickier to stop at the right spot so that it conducts electricity but once you get it, you’ll open a gate to a chest containing a Radiant Shield.
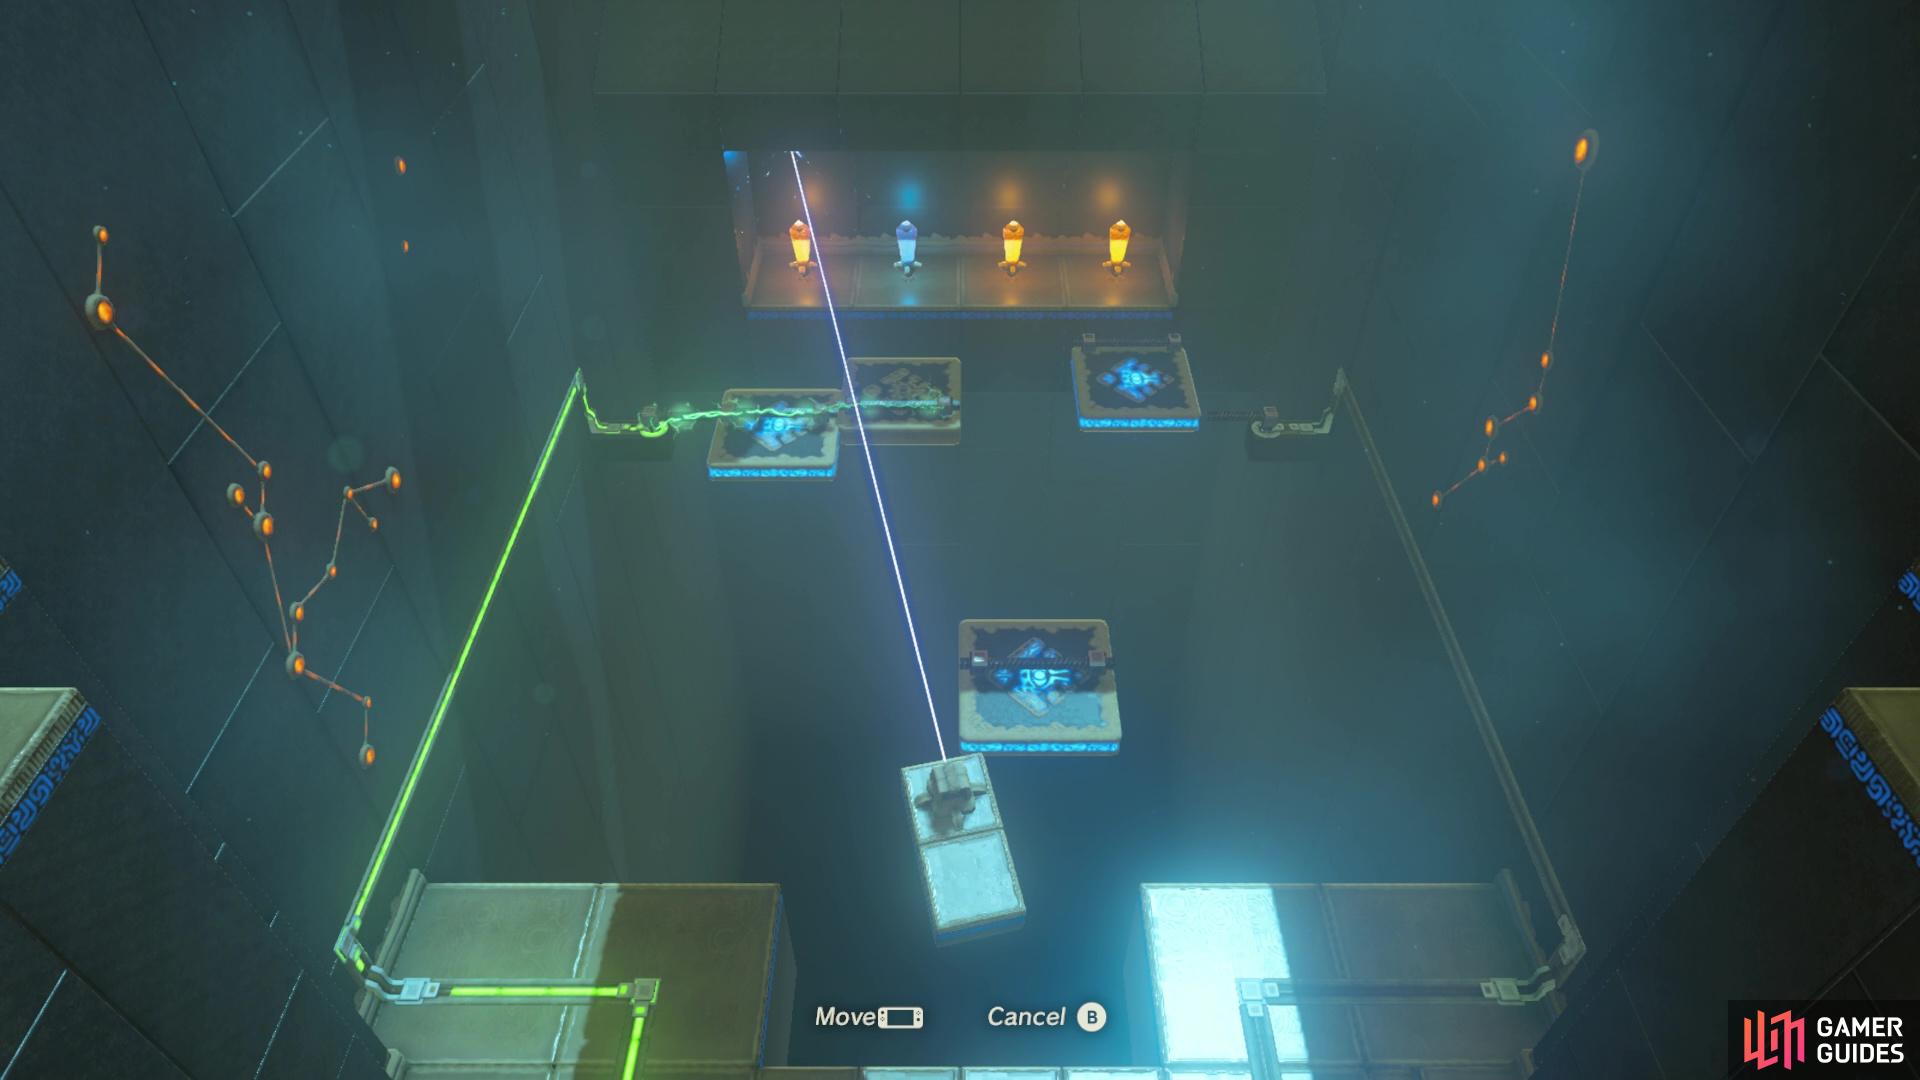
Use the laser to switch the crystals on and off
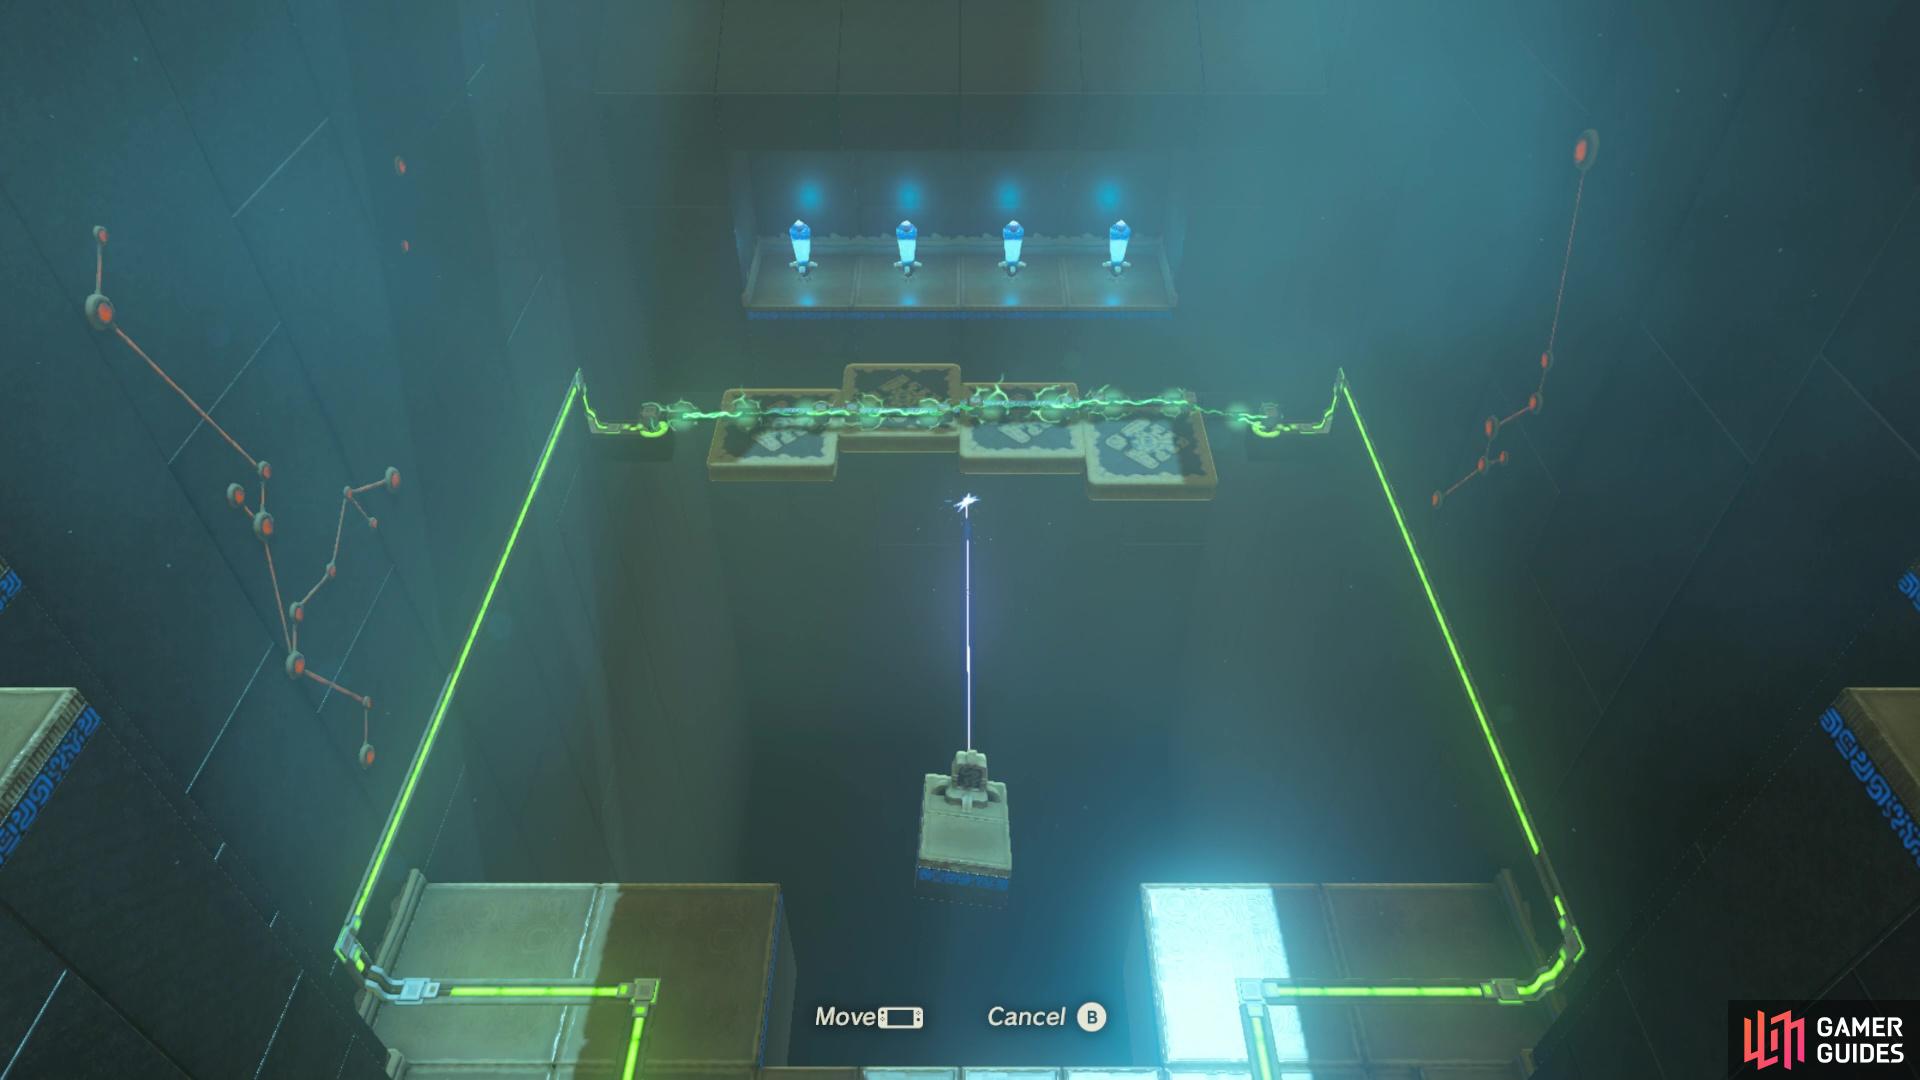
these crystals will move the platforms and you can use them to line up the electrical wires.
No Comments