

Uh oh, something’s coming…
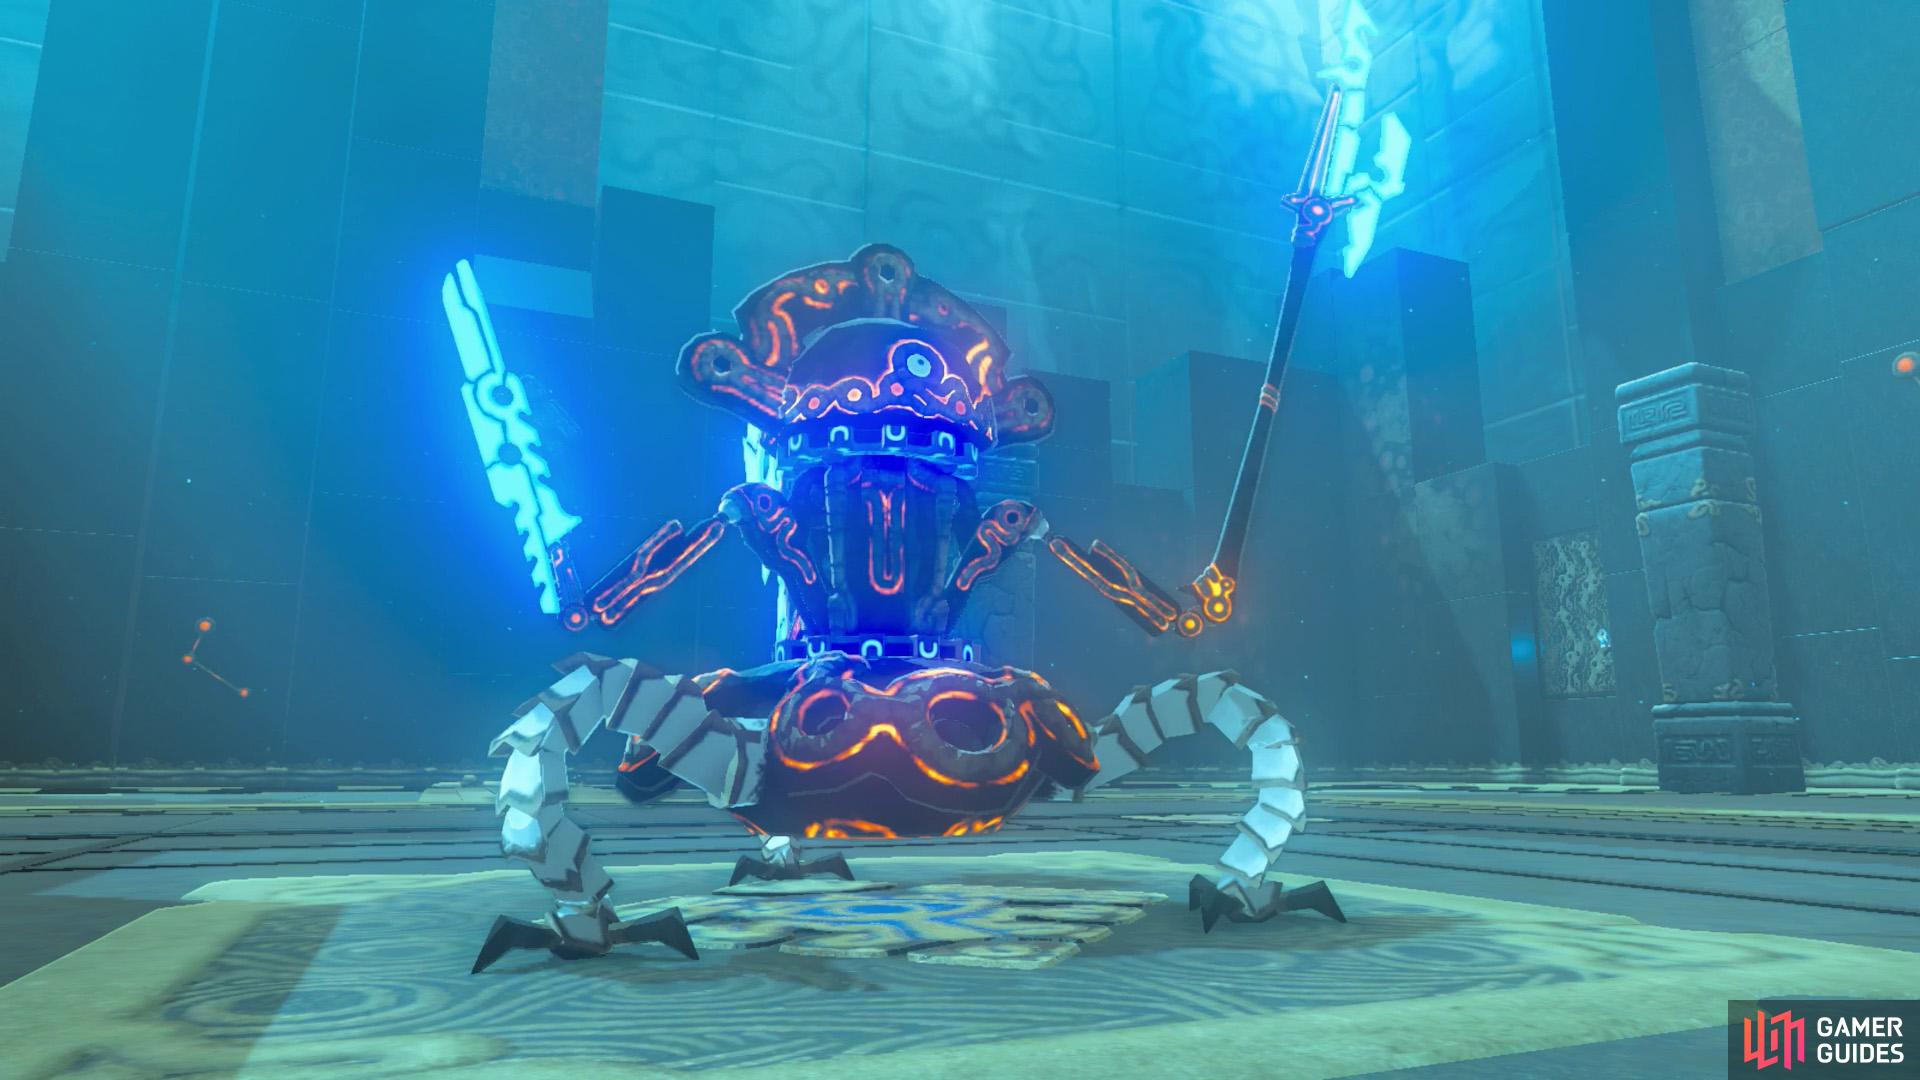
Hello there, “old friend”.
| Difficulty | Monsters |
|---|---|
| ★★★★★★★☆☆☆ | Guardian Scout IV x1 |
This is the last boss floor of the Middle Trials. It’s essentially a Major Test of Strength, where you must defeat a powerful Guardian Scout IV, but with no (or practically no) armor.
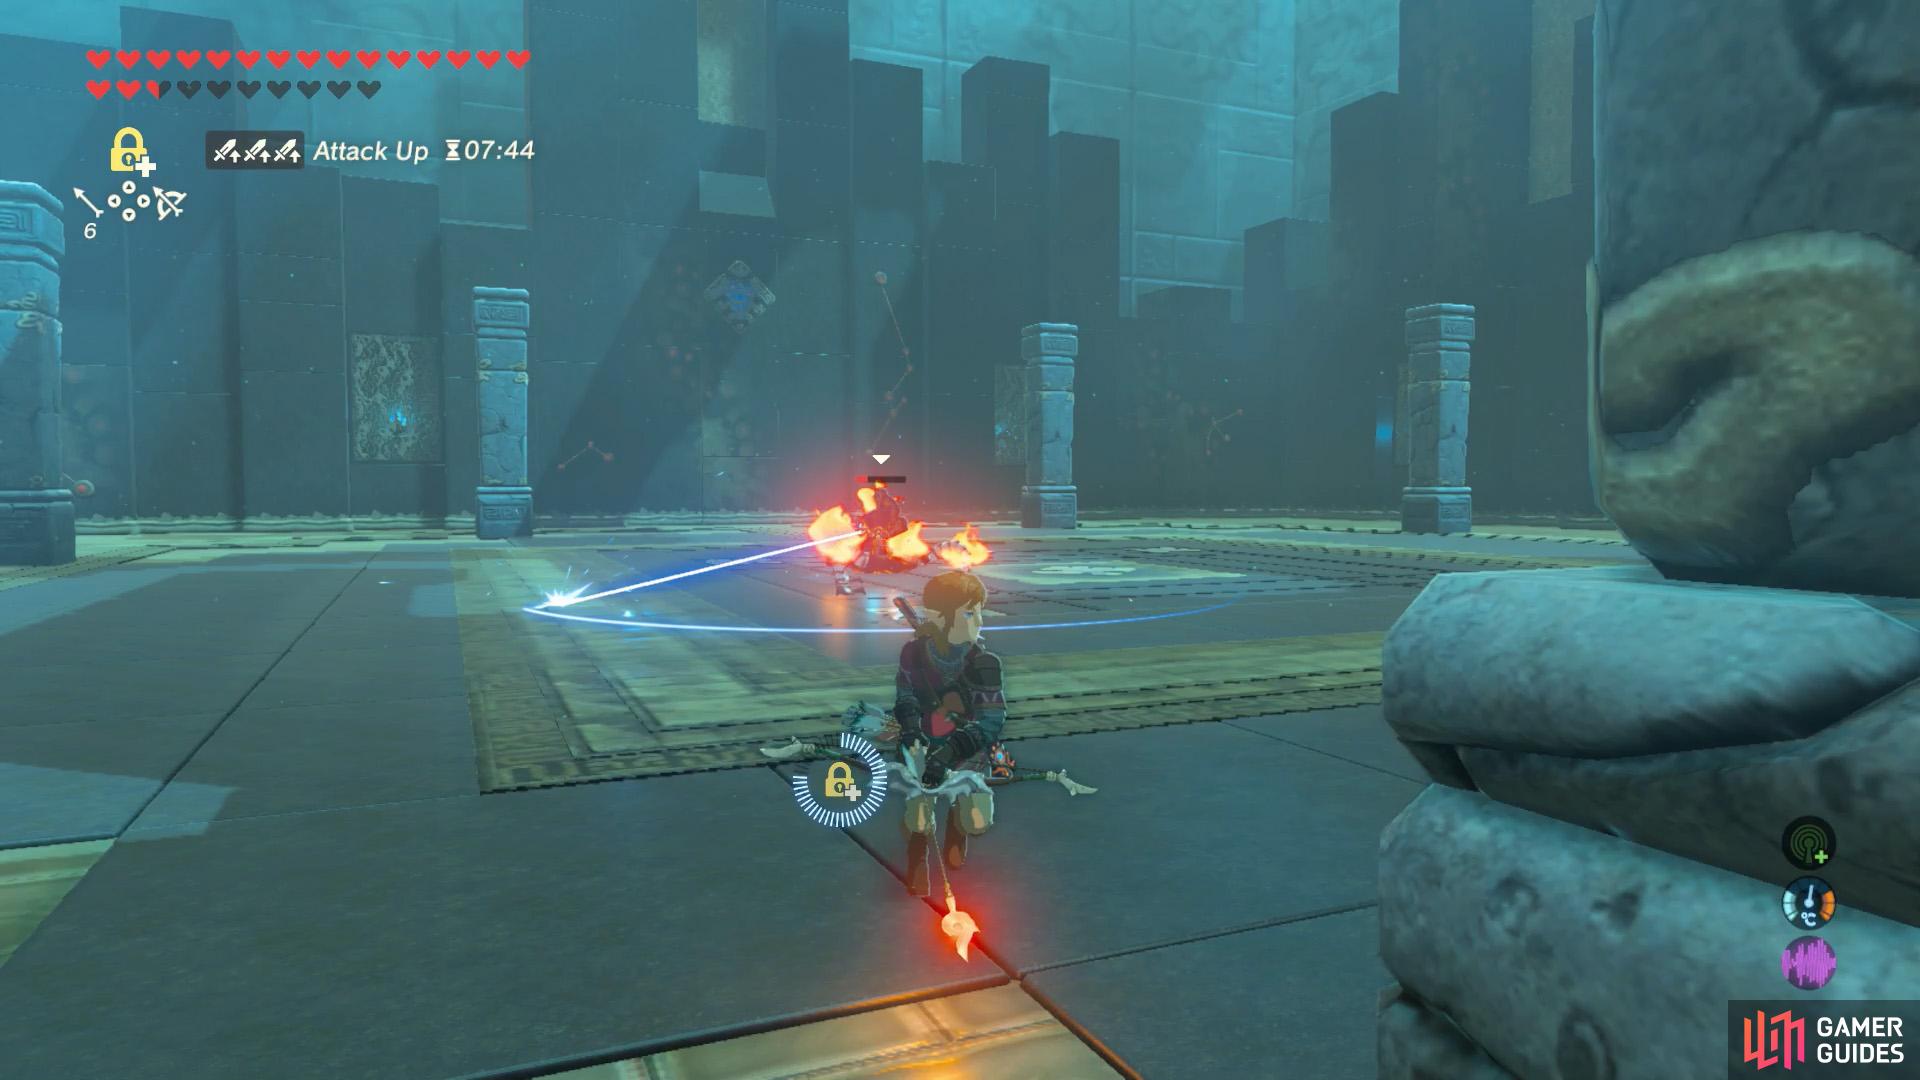
The floor itself has a number of collapsible pillars in a circle, which you can hide behind, such as when the scout performs its spinning attack.
Strategy
The difficulty of this floor largely depends on your experience with fighting Guardian Scout IVs. They have identical attack patterns to the Scout IIIs fought previously, but with deal more damage and have much more HP.
For an easier time, we highly recommend eating a meal with a 30 minute Level 3 Attack buff before entering the trial (refer to our tips). If you were relatively quick at clearing the previous floors, you should still have an Attack buff. Otherwise, if you’re lucky enough to obtain four attack-buffing ingredients before leaving Floor 11, you can cook a similar dish.
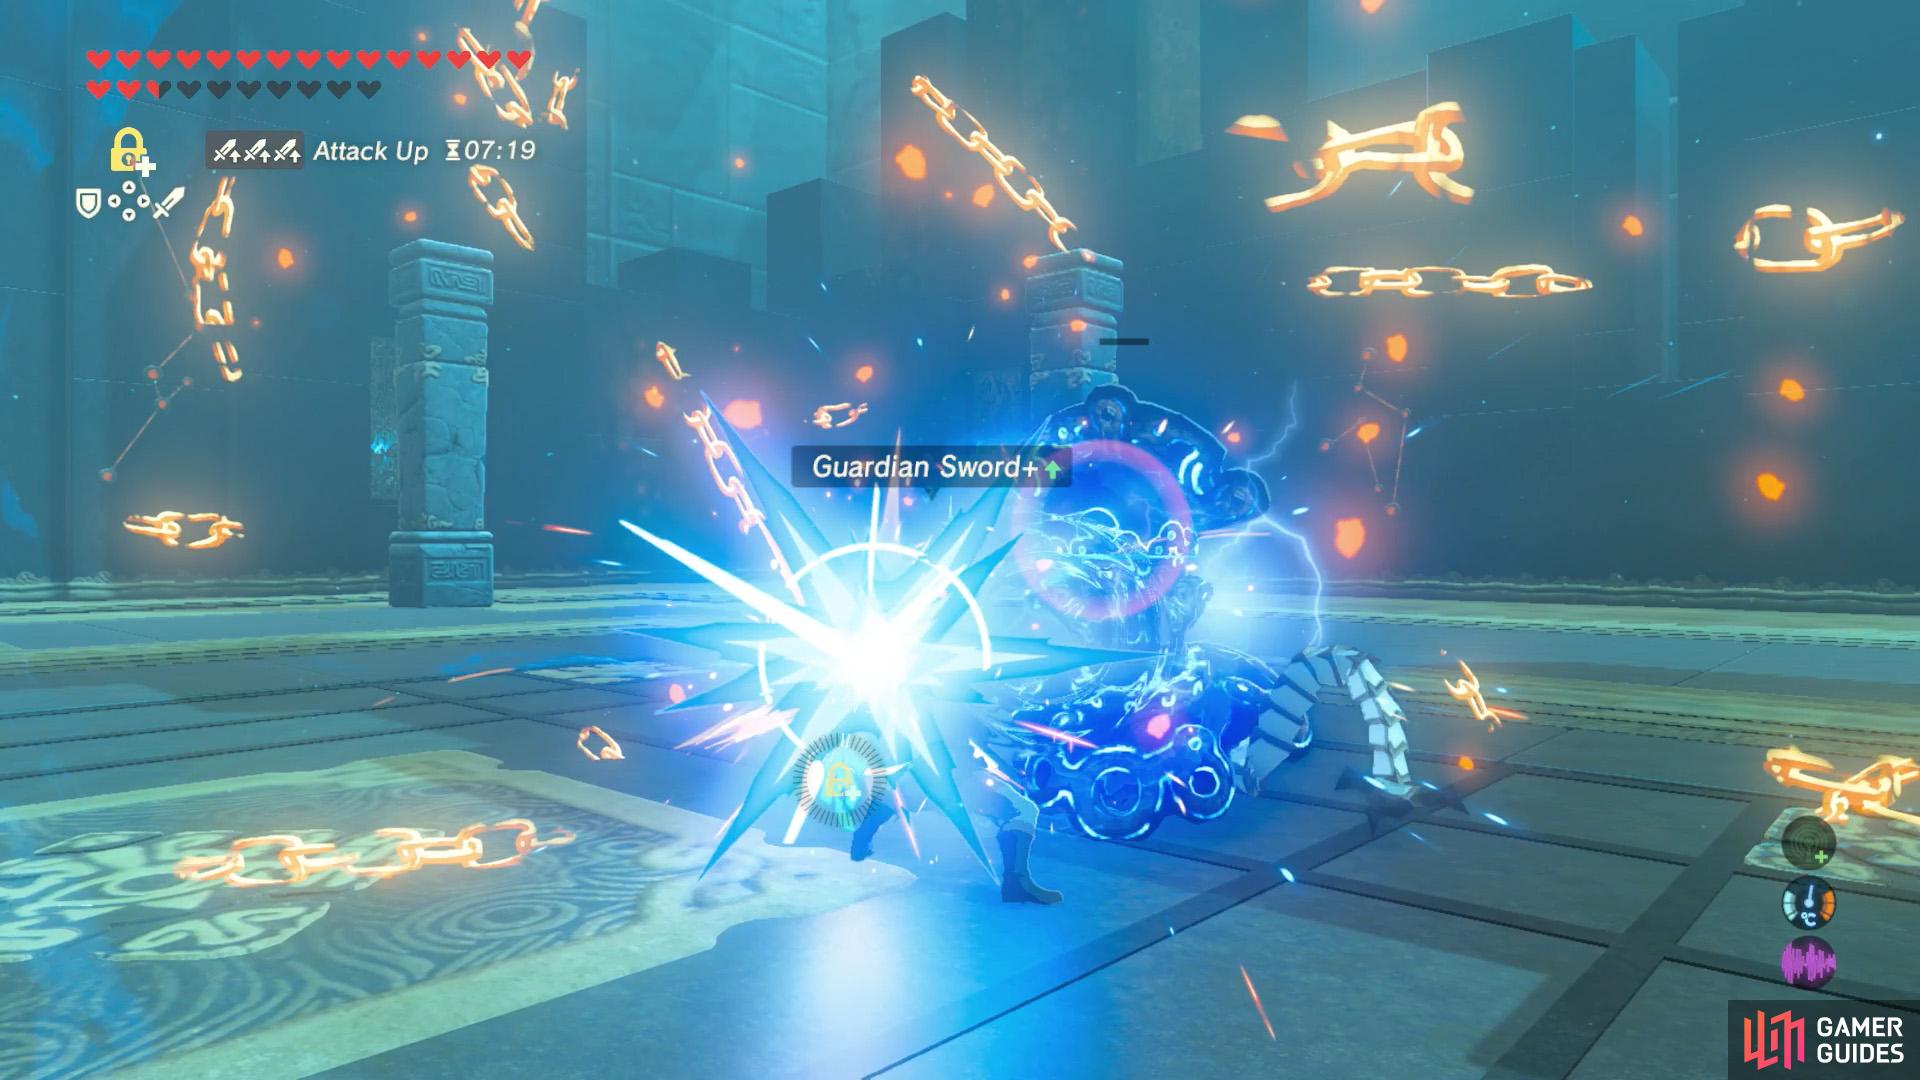
When it’s safe, apply Stasis on the scout.
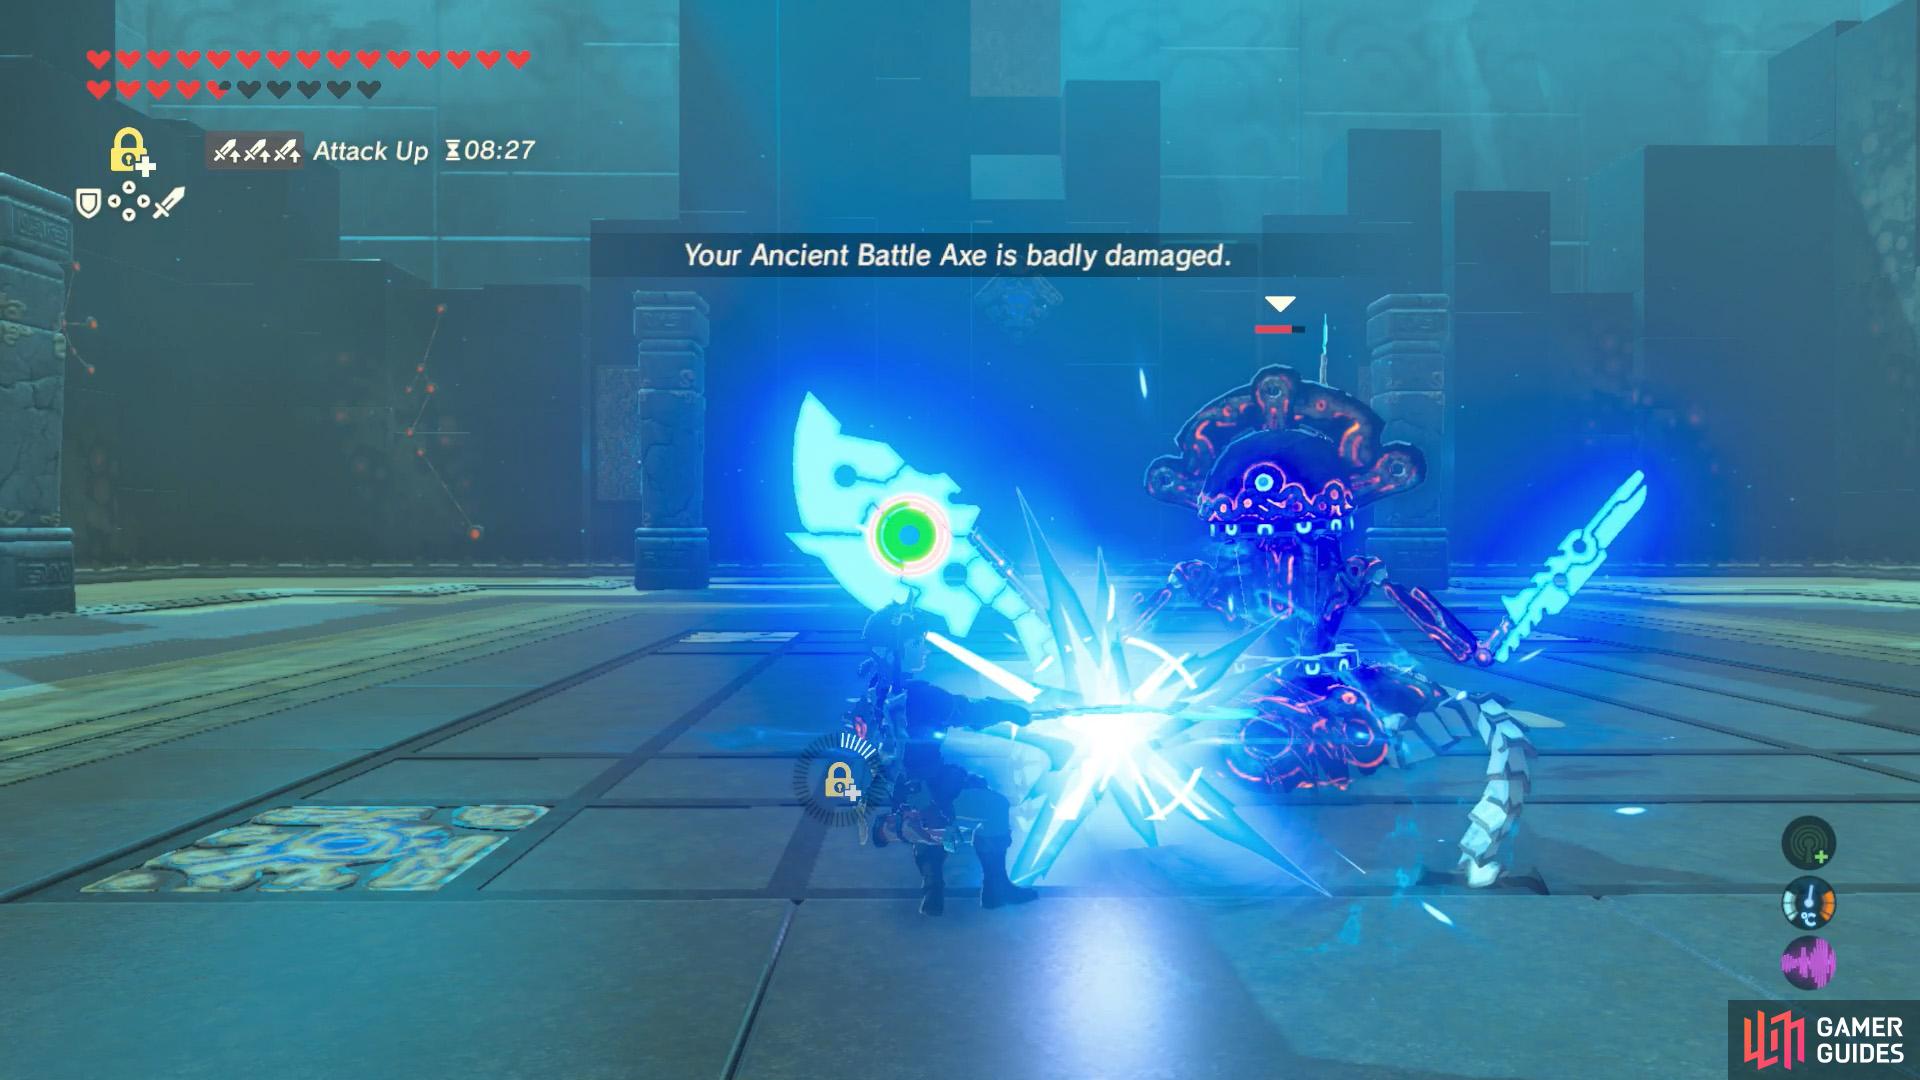
You can then charge a spinning attack with a Ancient Battle Axe, for instance.
For the fight itself, begin by approaching the scout with a Guardian Shield raised up. There’s a good chance it’ll shoot a few lasers at you to begin with. Next, the scout will use its three melee weapons systematically to attack: a sword, lance and axe. If you’re good at dodging, you can perform a Flurry Rush. Remember that the axe swipes twice.
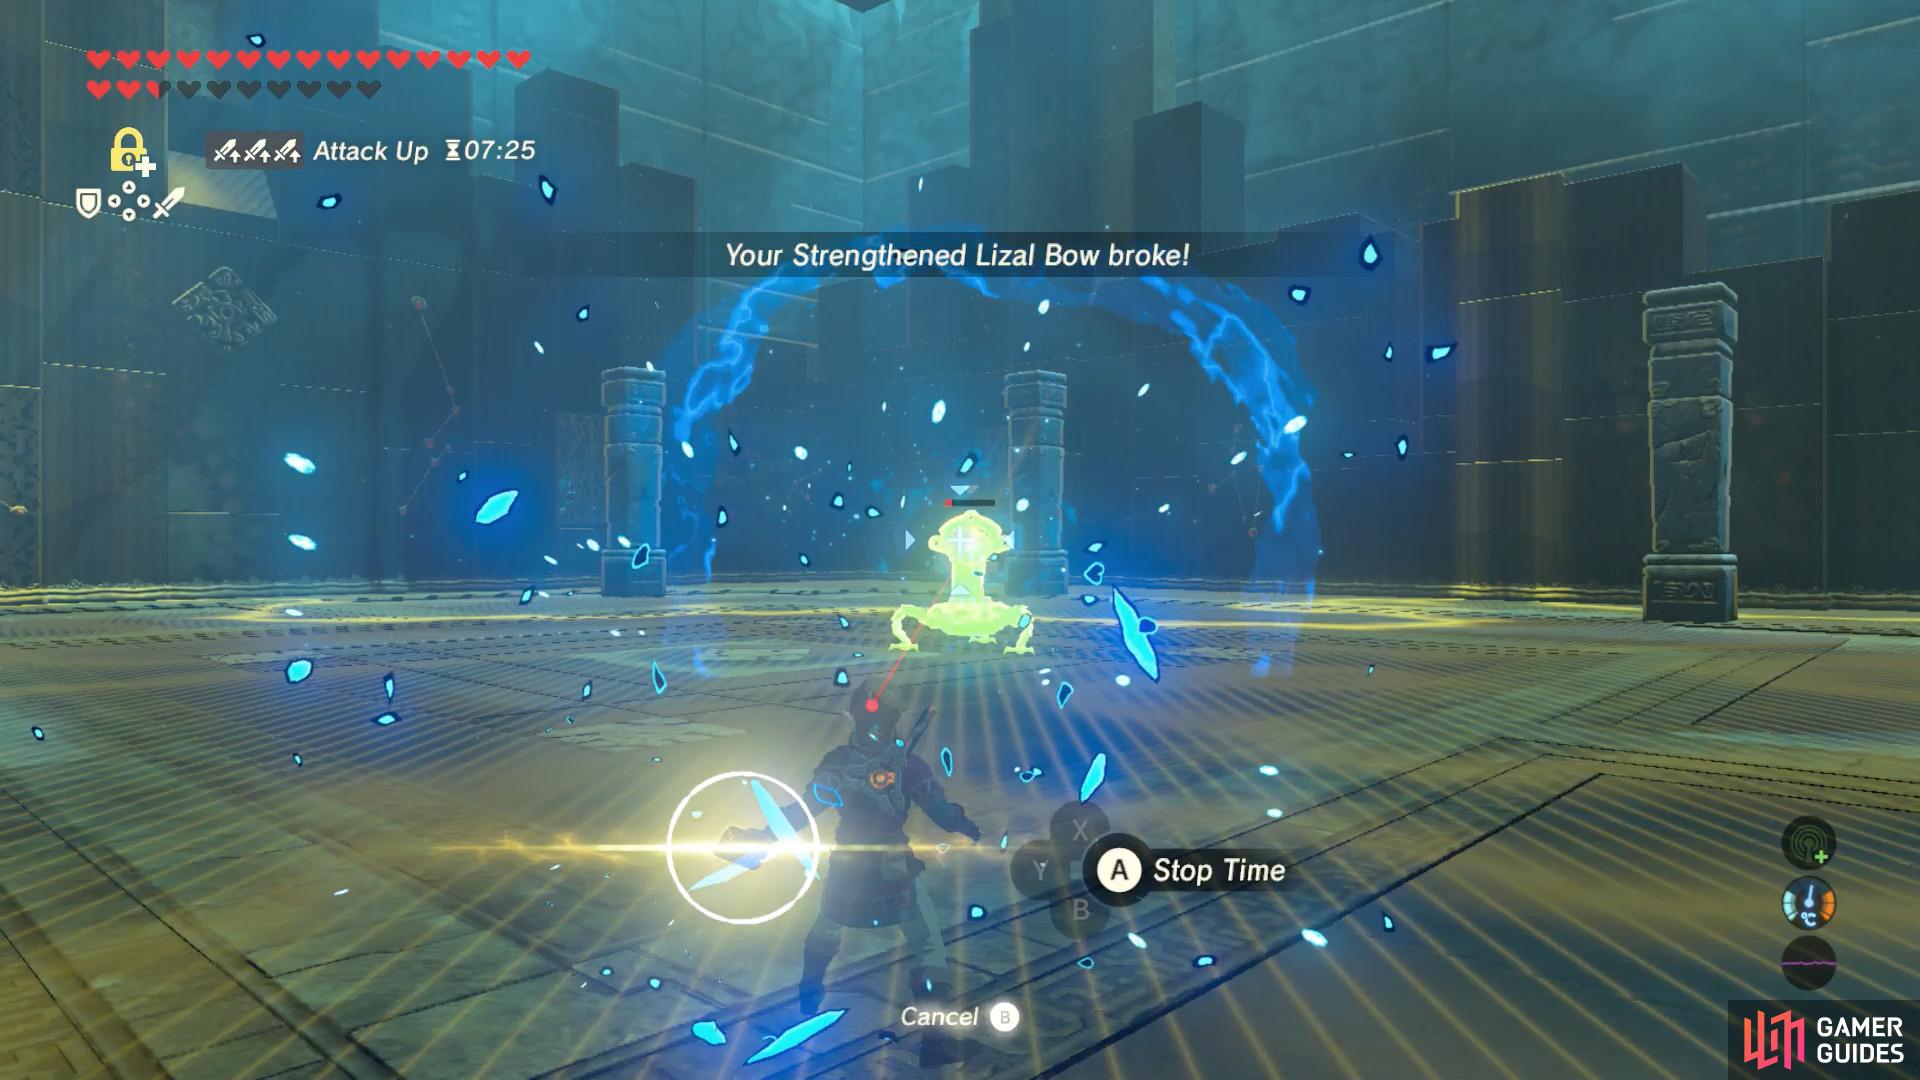
A safe way to attack the scout is by applying Stasis beforehand. Since the scout isn’t a living creature, Stasis will last a fairly long time. Giving you a huge window to unleash some pain. While it’s frozen, we recommend hitting the scout with the Guardian weapons dropped by the Scout IIs and Scout IIIs from earlier floors.

While Stasis is recharging, you can use Shock Arrows or the Thunderstorm Rod.
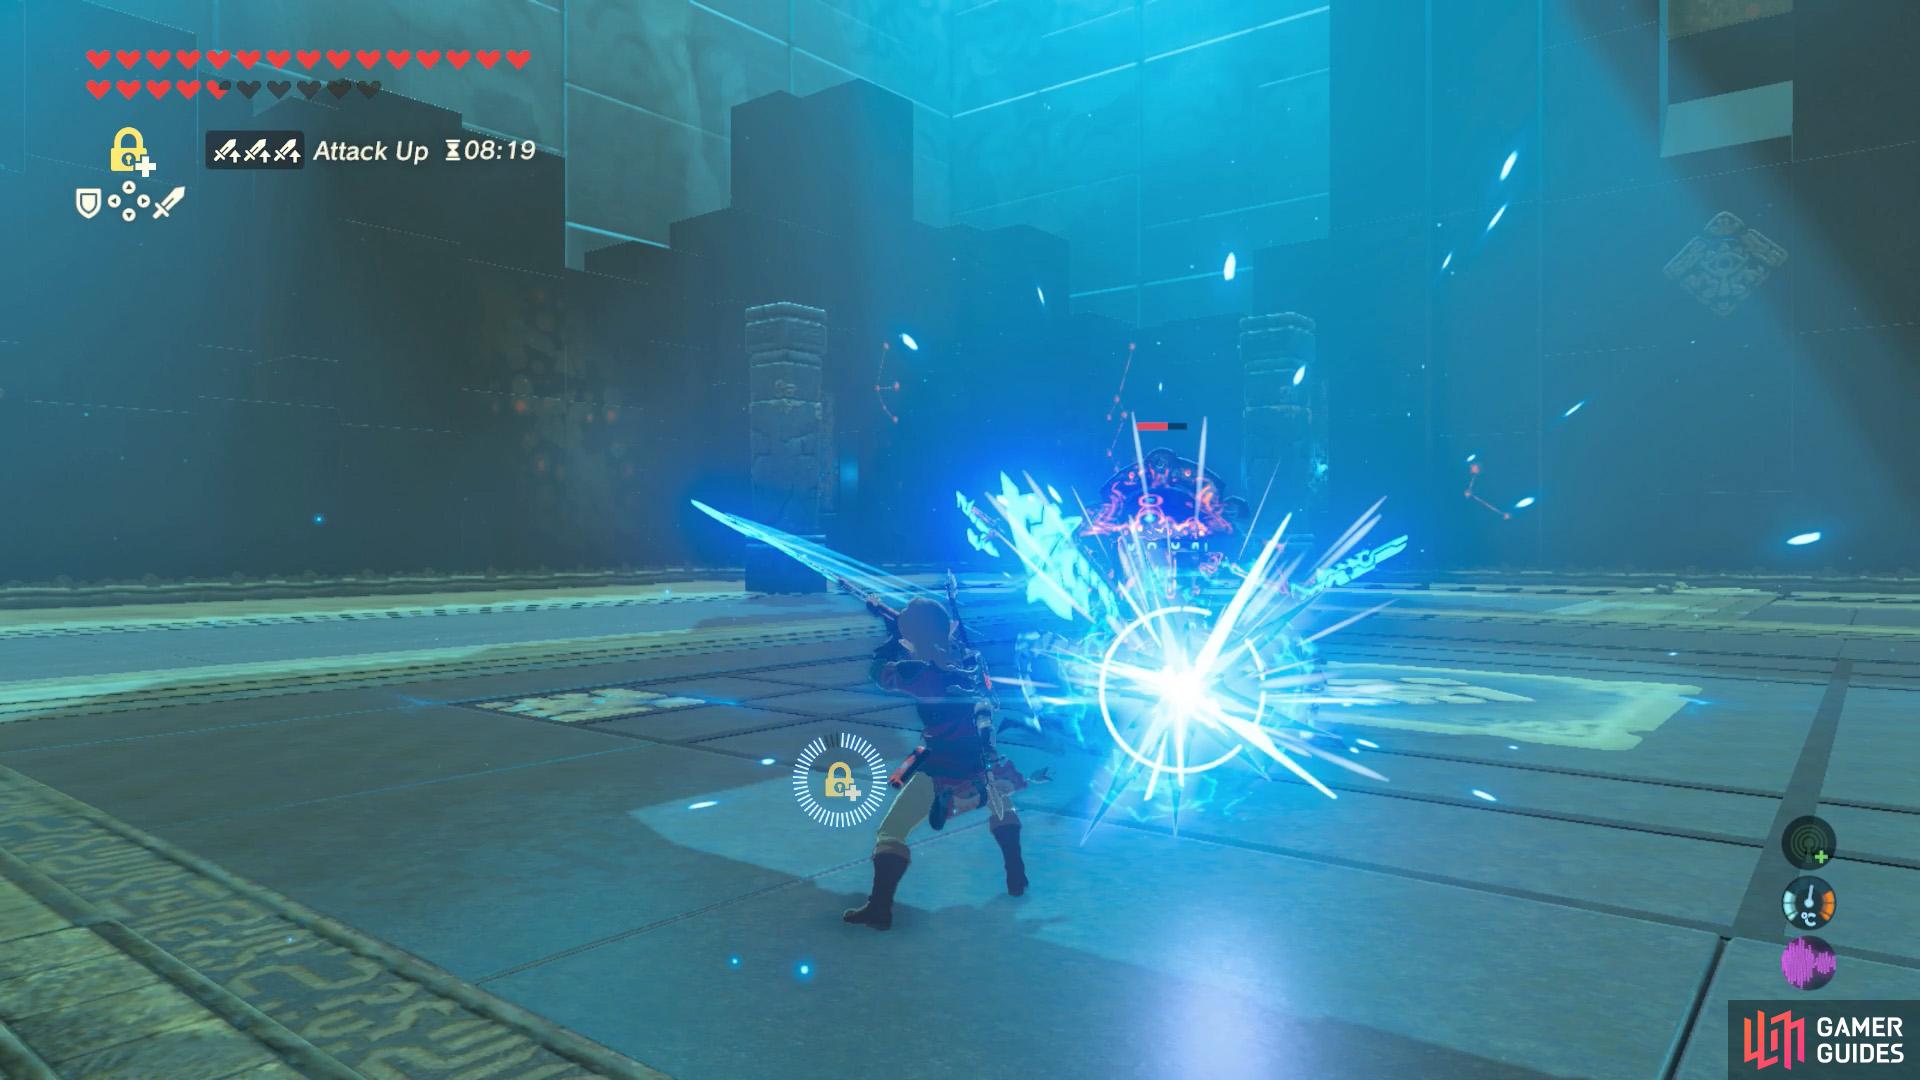
This will stun the scout for a short period, so you can get a few extra hits in.
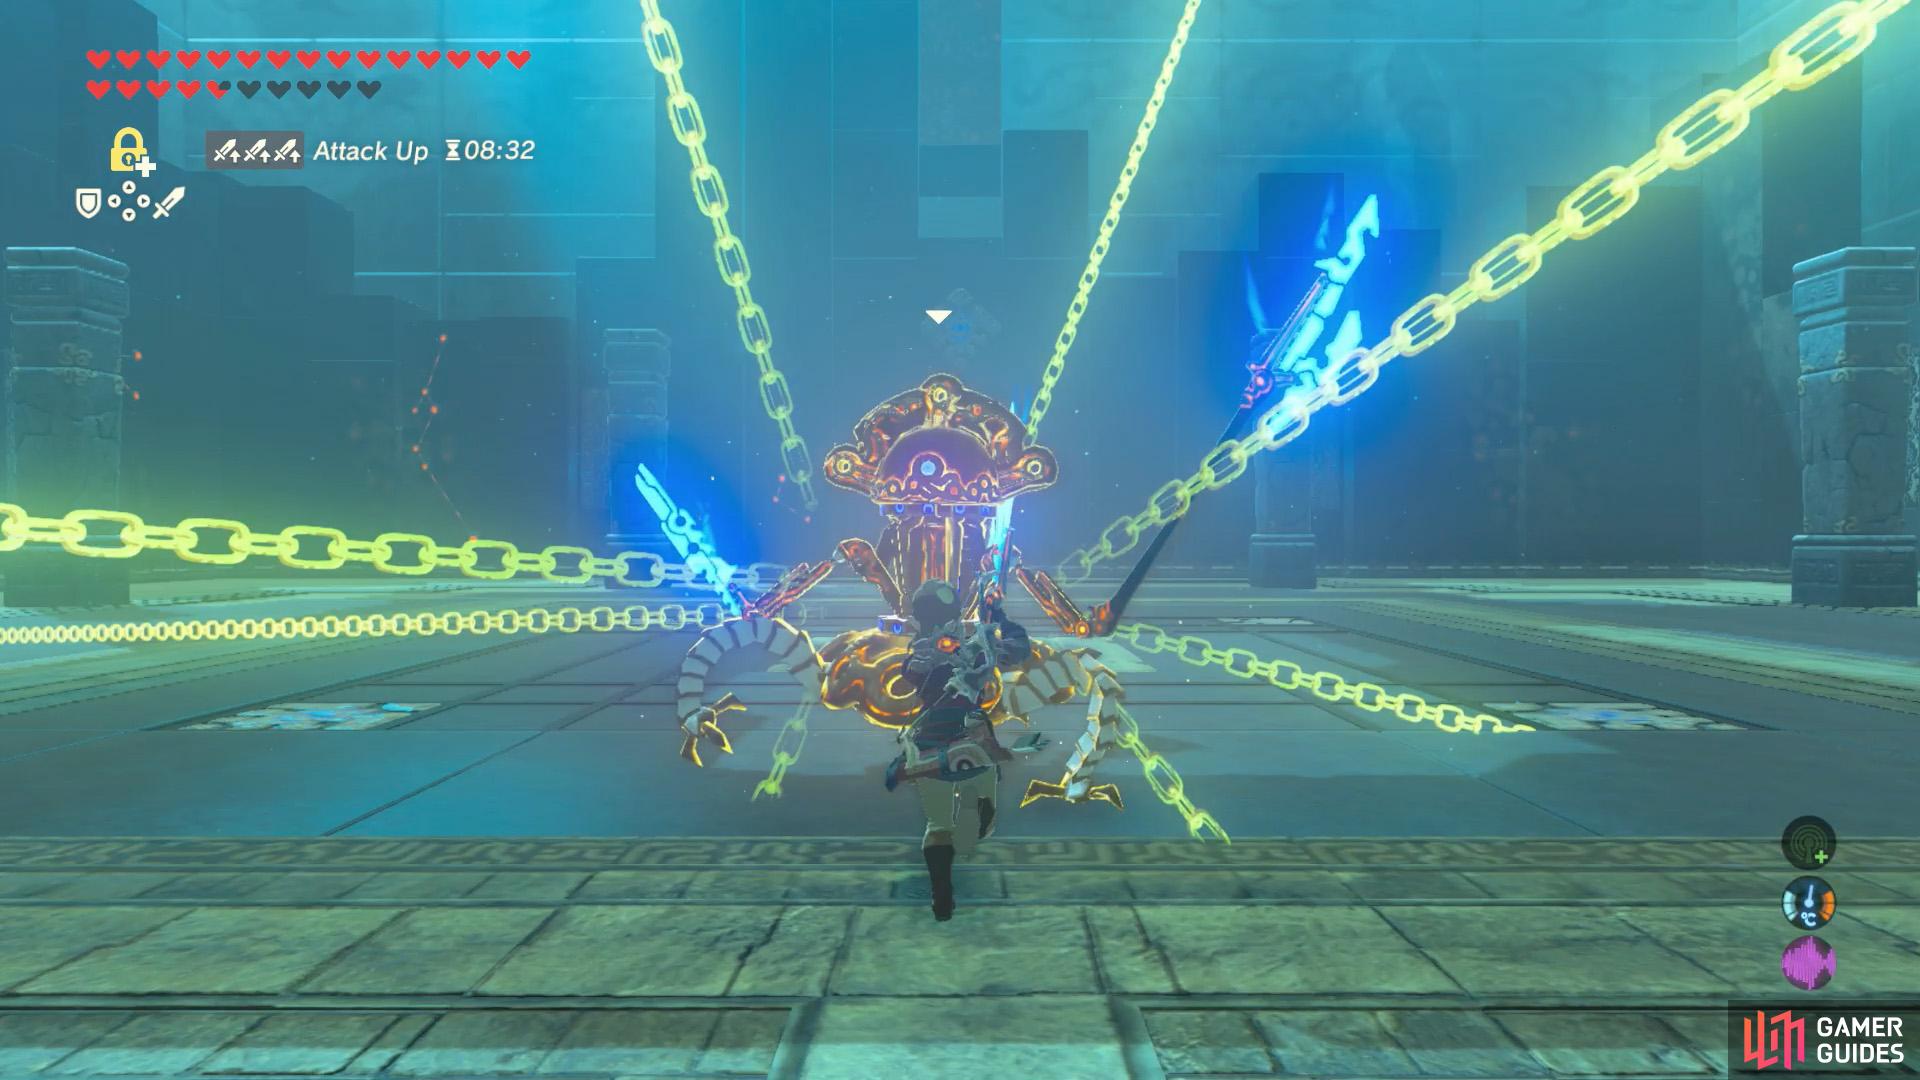
Every now and then, the scout will leap back, which is a sign it’s preparing a spinning attack. This involves the scout spinning rapidly in your direction with its weapons out. To deal with this, stand in front of a stone pillar (but not too close), so the scout will crash into it, destroying the pillar, but stunning it.
If the fight drags on and the stone pillars are all gone, you’ll just have to do your best to run. During this first phase, if you need to slow down the scout, you can use Shock Arrows or the Thunderstorm Rod to electrocute it. This is useful when you’re waiting for Stasis to recharge, but you’re not confident about finding an opening.
When the scout lowers its head, move away from the rotating laser.
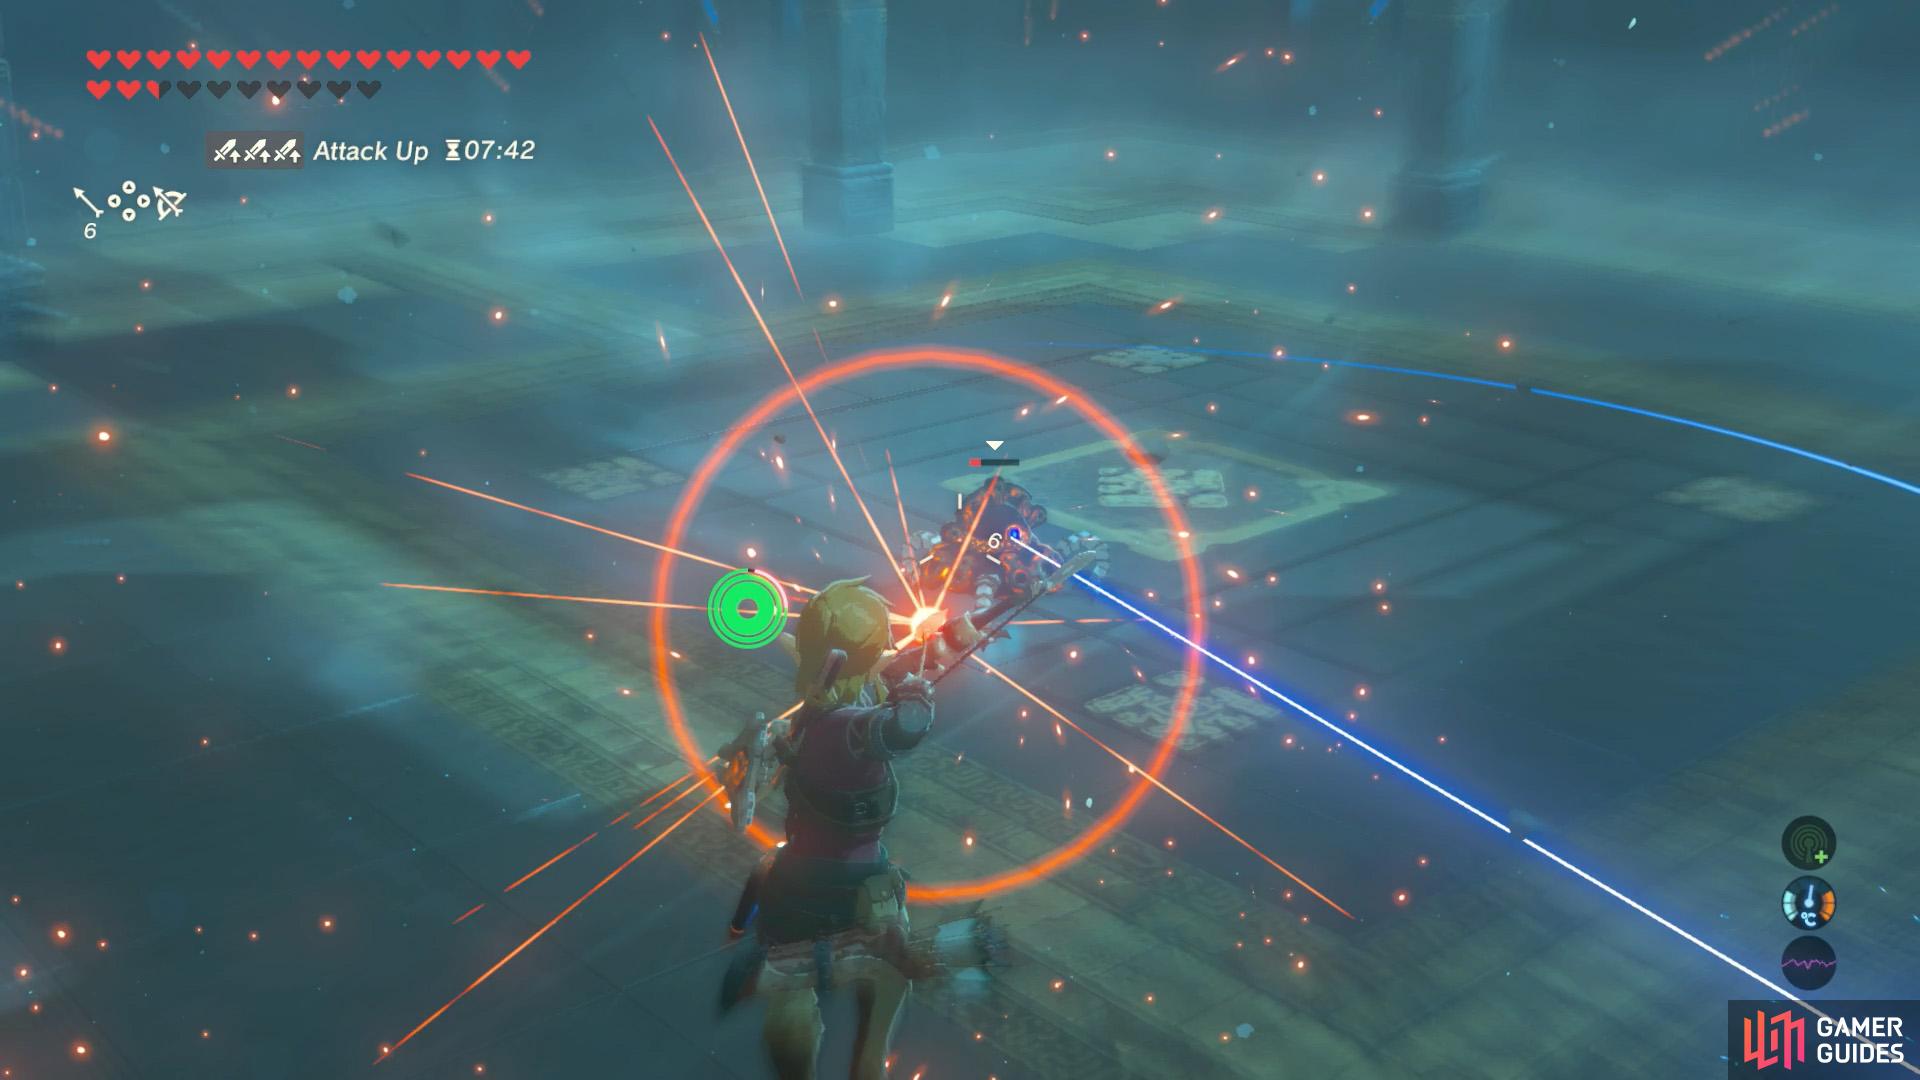
Shoot arrows from outside the range or after gliding from the updraft.
When the scout’s HP drops, it may stay in one place, while lowering its head and retracting its weapons. Next, it’ll shoot a rotating laser around it, which becomes wider and wider. The movement of the laser will also create an updraft that you can use to glide. However, we suggest sticking outside of laser’s range and shooting the scout with arrows.
Finally, when the scout’s HP falls drastically, it will stay in position, but raise it head high up. Next, it’ll begin charging energy, while a red laser is aimed at you. After charging enough energy, it’ll shoot four powerful lasers in quick succession. These can be avoided by running around. Or, if you’re confident, by parrying the initial laser.
Finally, the scout will begin charging a powerful laser attack.
Hit it when it’s charging up or use Stasis to create an opening.
When you reach the charging laser phase, it can seem scary at first. However, the odds are stacked in your favor, since the scout is a sitting duck for half the time. Meanwhile, the other half, you shouldn’t get hit so long as you keep moving. Don’t forget you can apply Stasis, to greatly extend the time you can whale on your nemesis.
No Comments