
This page offers a guide on how to make your way through the Divine Beast Vah Medoh dungeon, including where to find the terminals.
Inside Divine Beast Vah Medoh
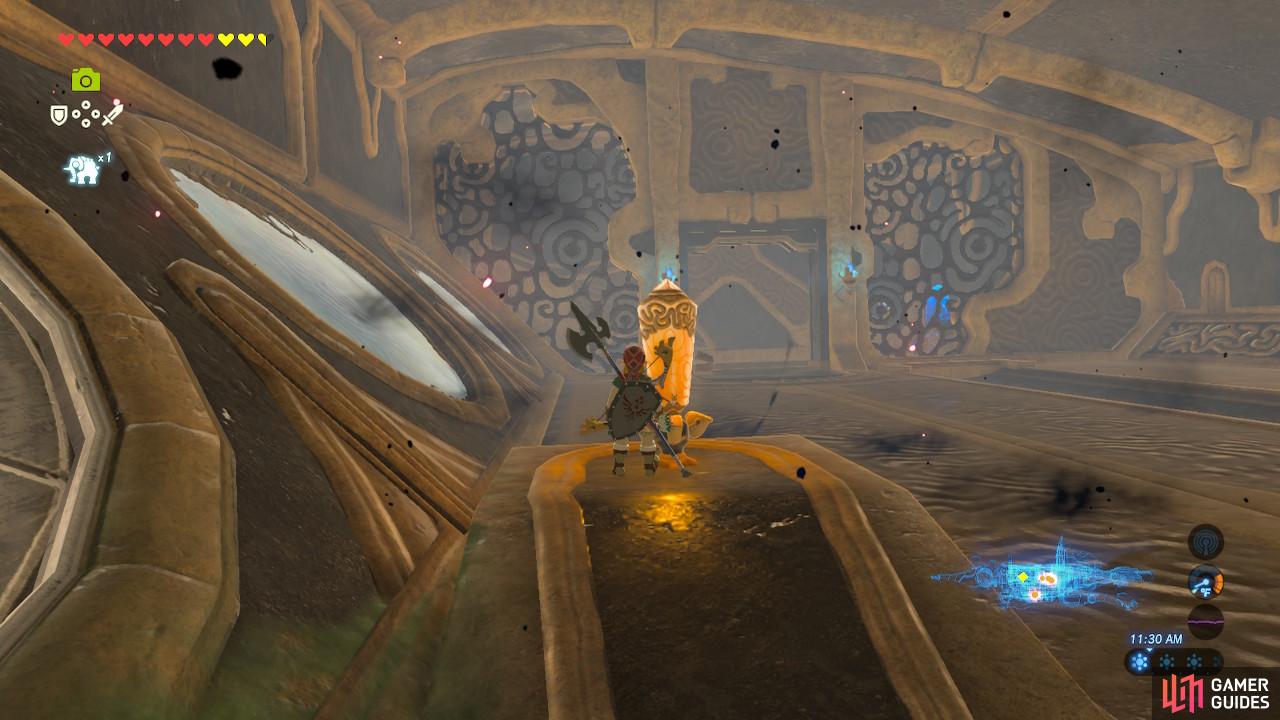
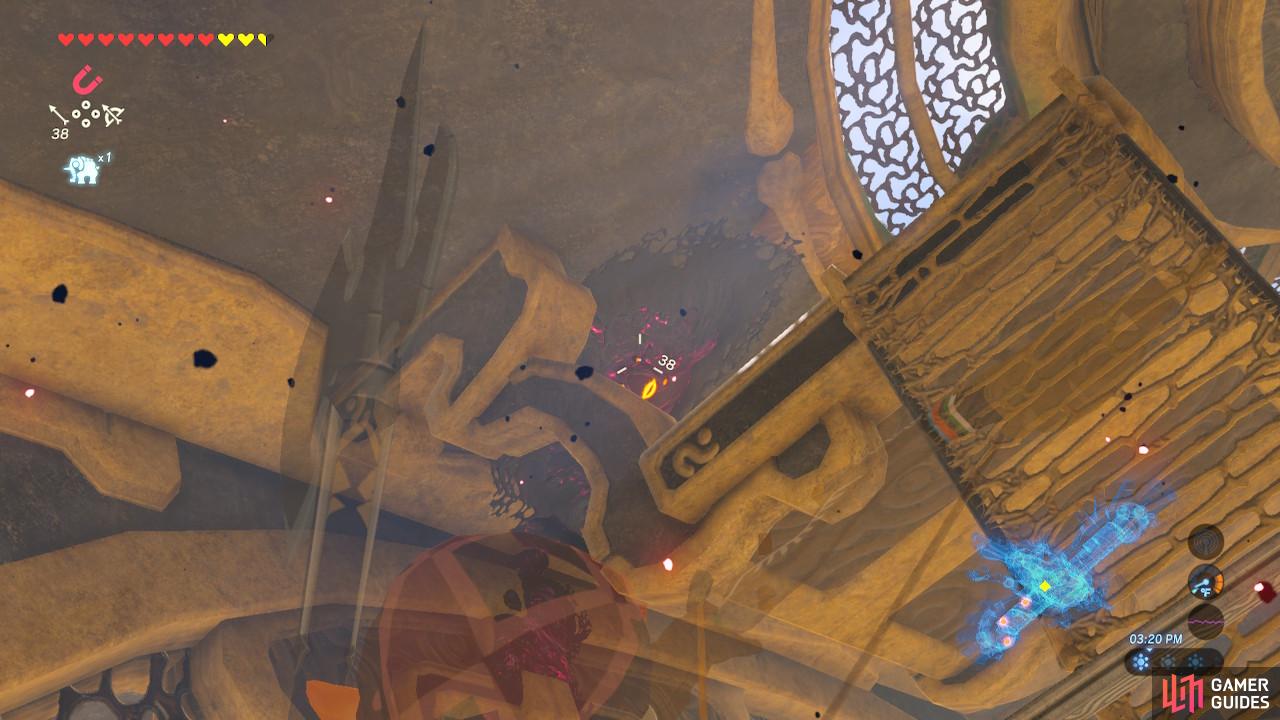
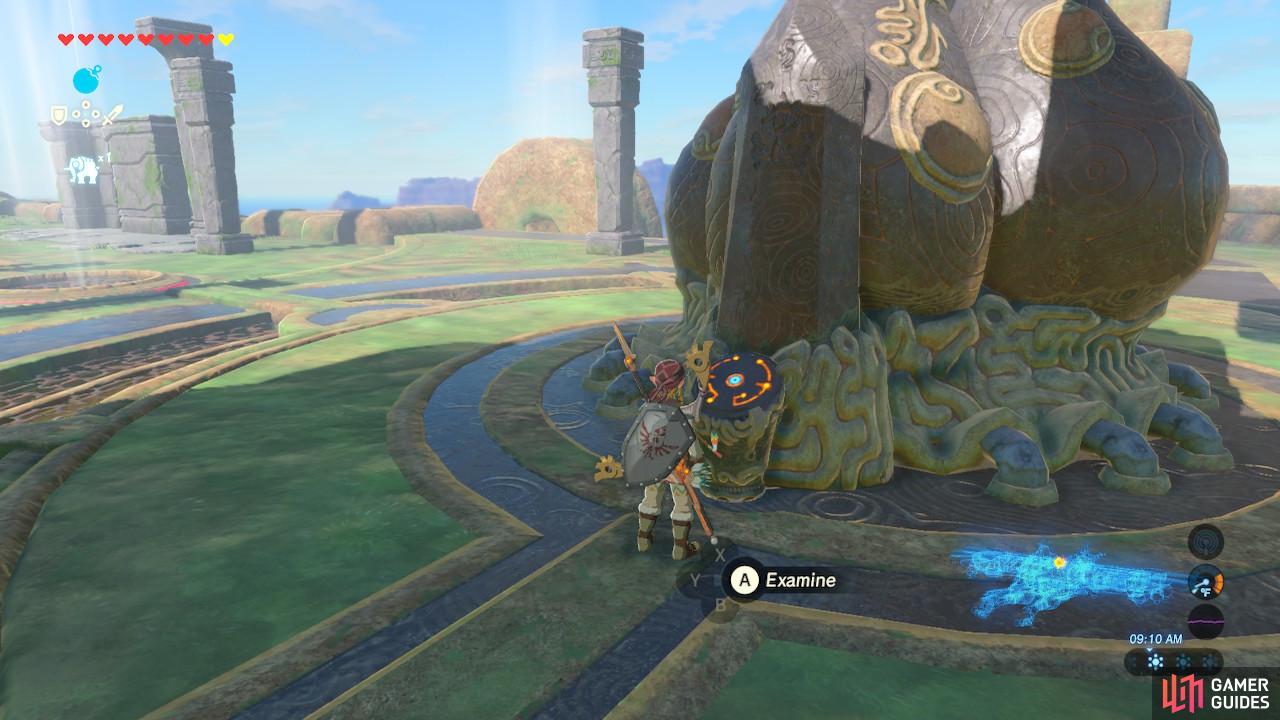
First, destroy the eyeball so that you can actually go inside. The updraft directly in front of you will take you up to the back of Vah Medoh, where you can see the main control unit. It’s off limit to us right now so let’s focus on getting to the Guardian Stone.
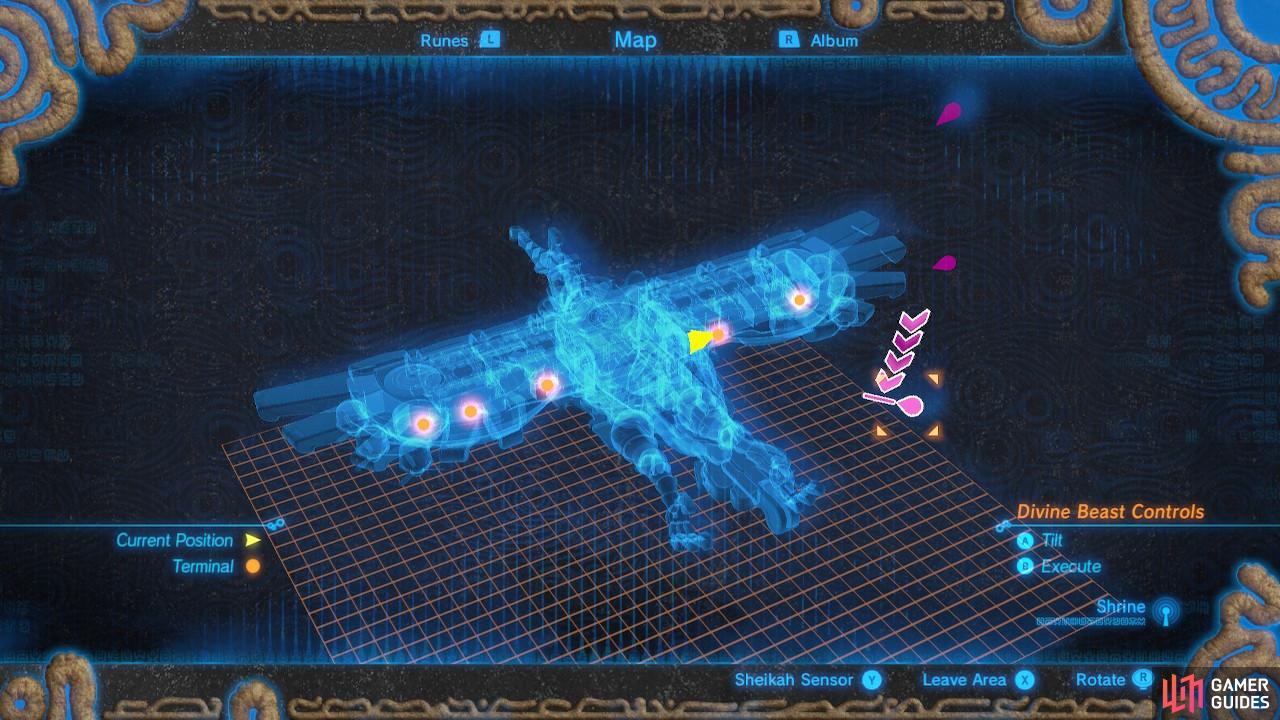
Cross the room by Paragliding off of the updraft. Or, you can walk across the platforms and pull the metal blocks around using Magnesis to get across. Either way works. Kill the Guardian Scout in the back. It is holding a spear, which it will drop for you to keep. Then go straight forward and activate the Guardian Stone. Revali will point out the five terminals that you need to activate.
The control you will have over Vah Medoh this time will be its tilt. There are three positions. The top and bottom positions indicate which way Vah Medoh will tilt, with the middle position being neutral.
We will be covering the terminals from left wing to right wing.
Terminal 1
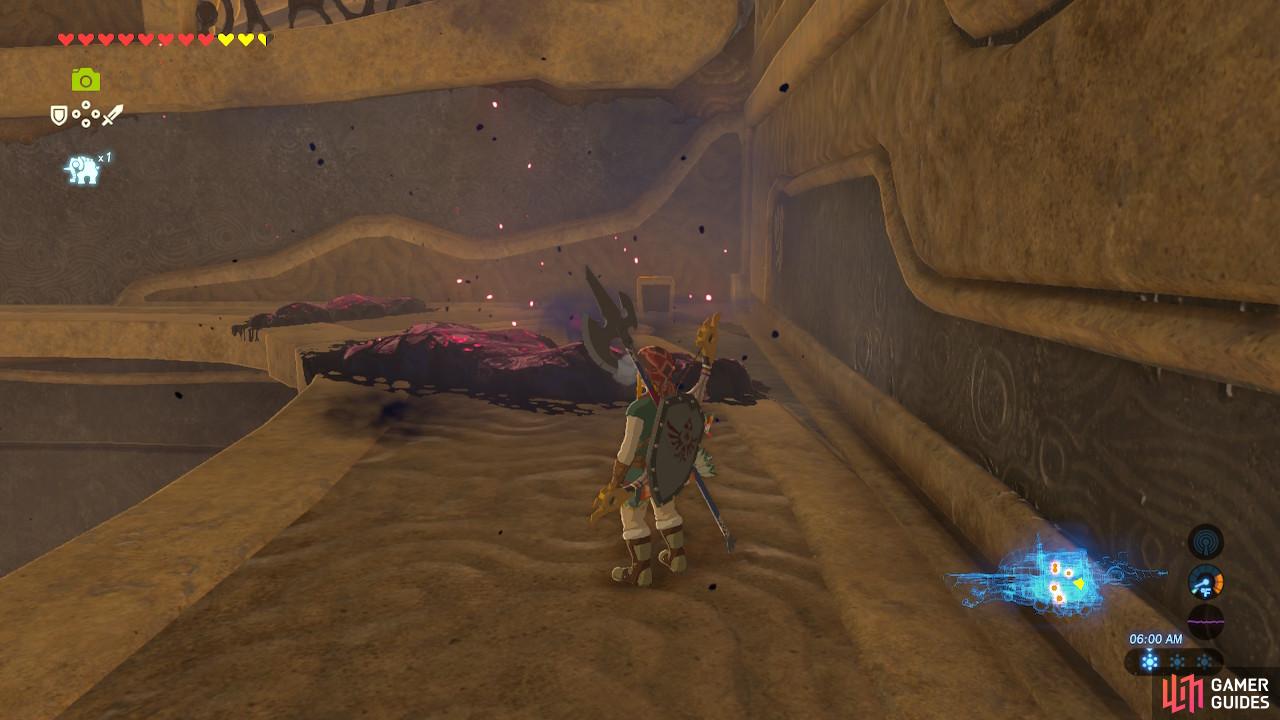
Hug the wall as tight as you can to avoid the malice
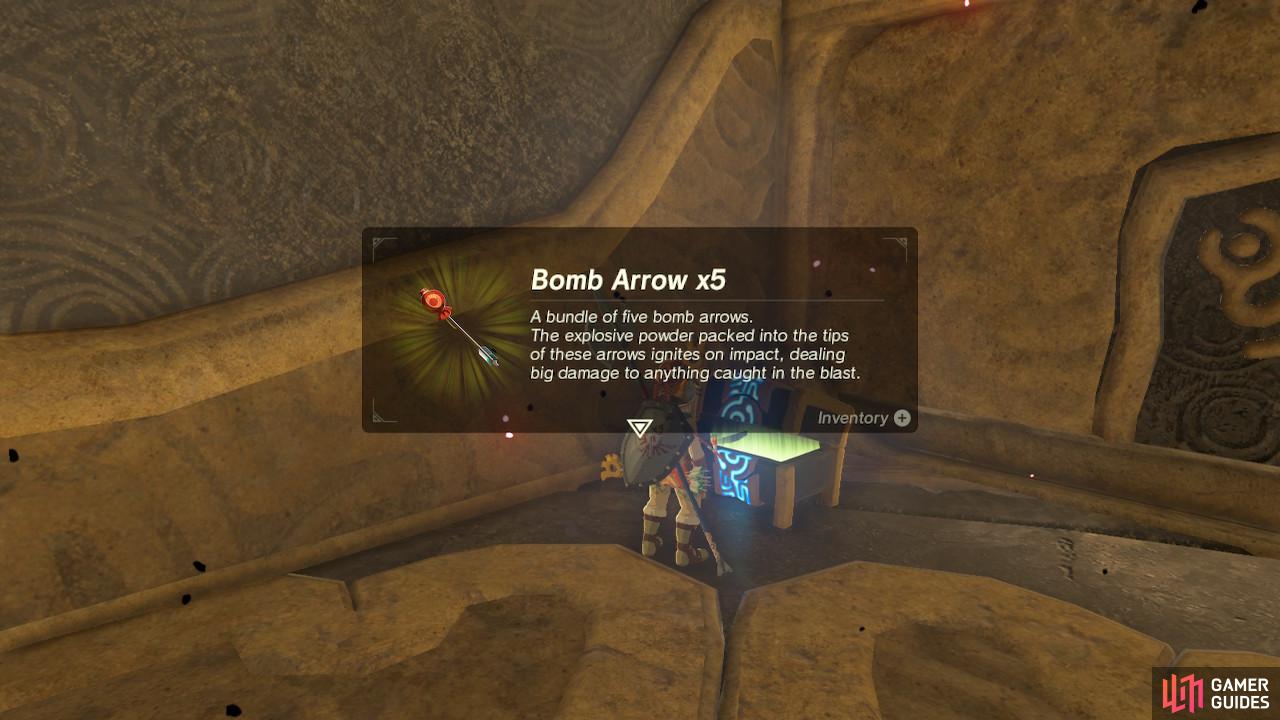
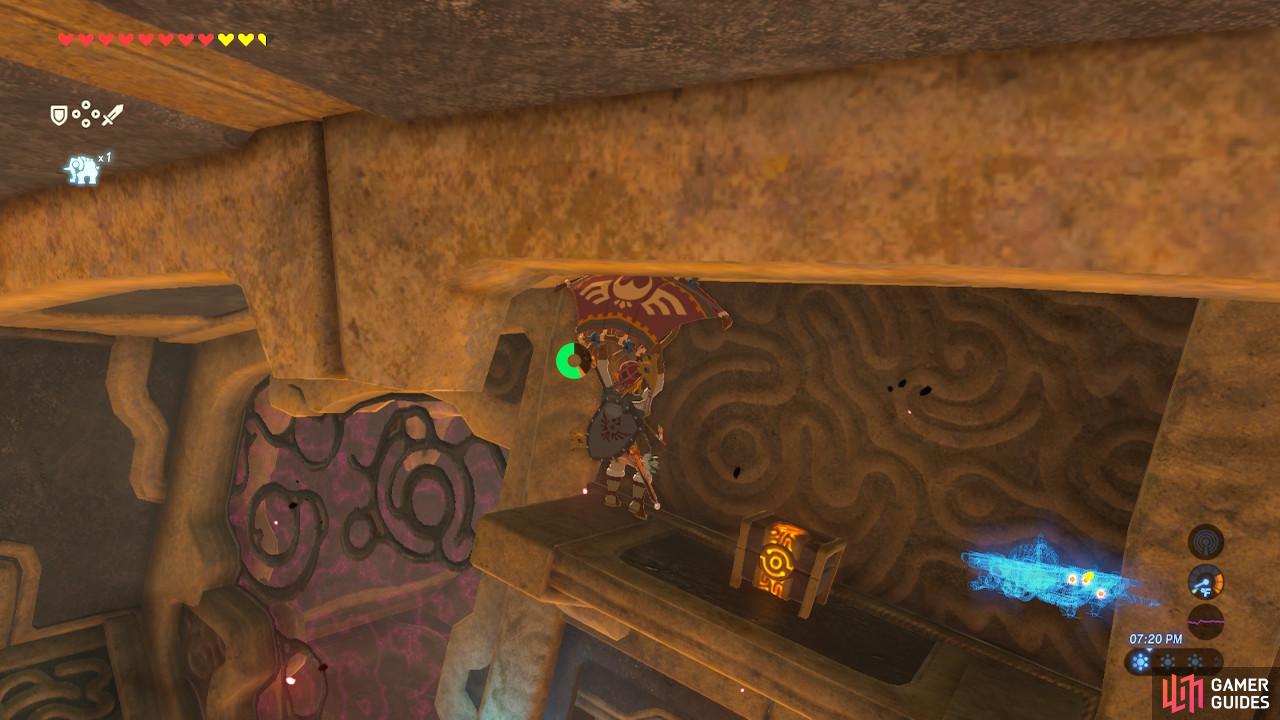
Save these Bomb Arrows for the end of the dungeon
Drop down the ledge near the Guardian Stone first and you will arrive at a middle ledge that is above the bottom floor. Hug the wall to avoid the Malice and open up the treasure chest for 5 Bomb Arrows.
Now, drop down to the bottom most floor and head out the left exit (the other exit is blocked right now). Kill the eye you see in the distance. Aim high so the arrow will arc and hit it.
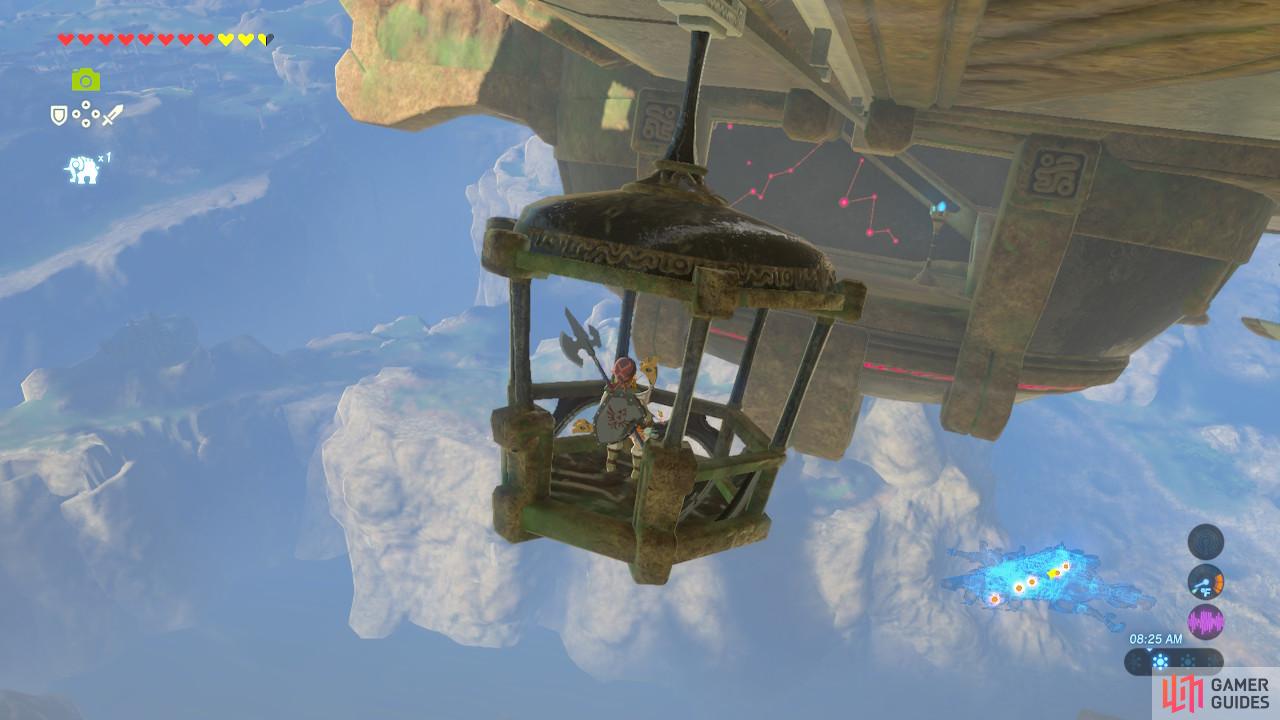
With the eye out of the way we can move safely across
To move the gondola tilt Vah Medoh to the bottom position shown here
If the gondola is not close to you, you will need to tilt Vah Medoh to the topmost position to get it to slide your way. Board the gondola and tilt Vah Medoh to the bottom position so that the gondola begins to drift towards the end of its wing. Get off the gondola and go up the stairs to activate the first terminal.
Terminal 2
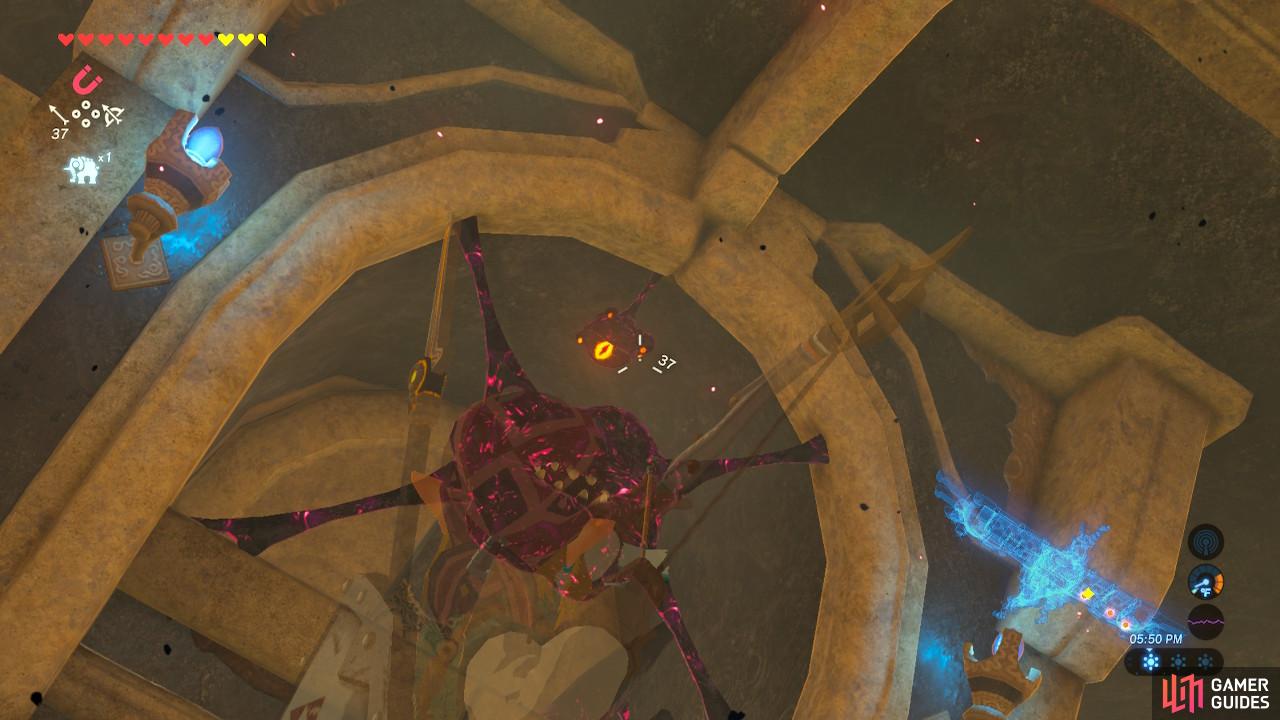
The gate nearby will open once the first terminal is activated, so go through it. Shoot the Ganon eyeball that is right above you and open the treasure chest it will drop for 10 Ice Arrows.

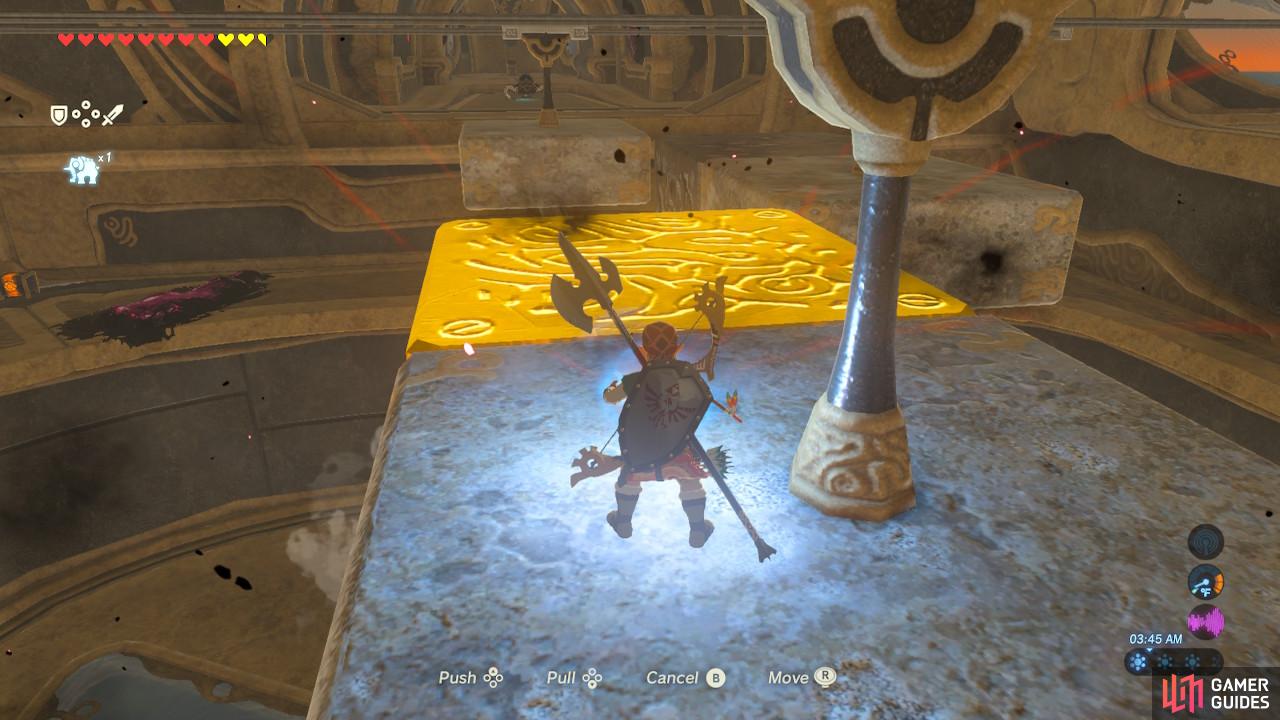
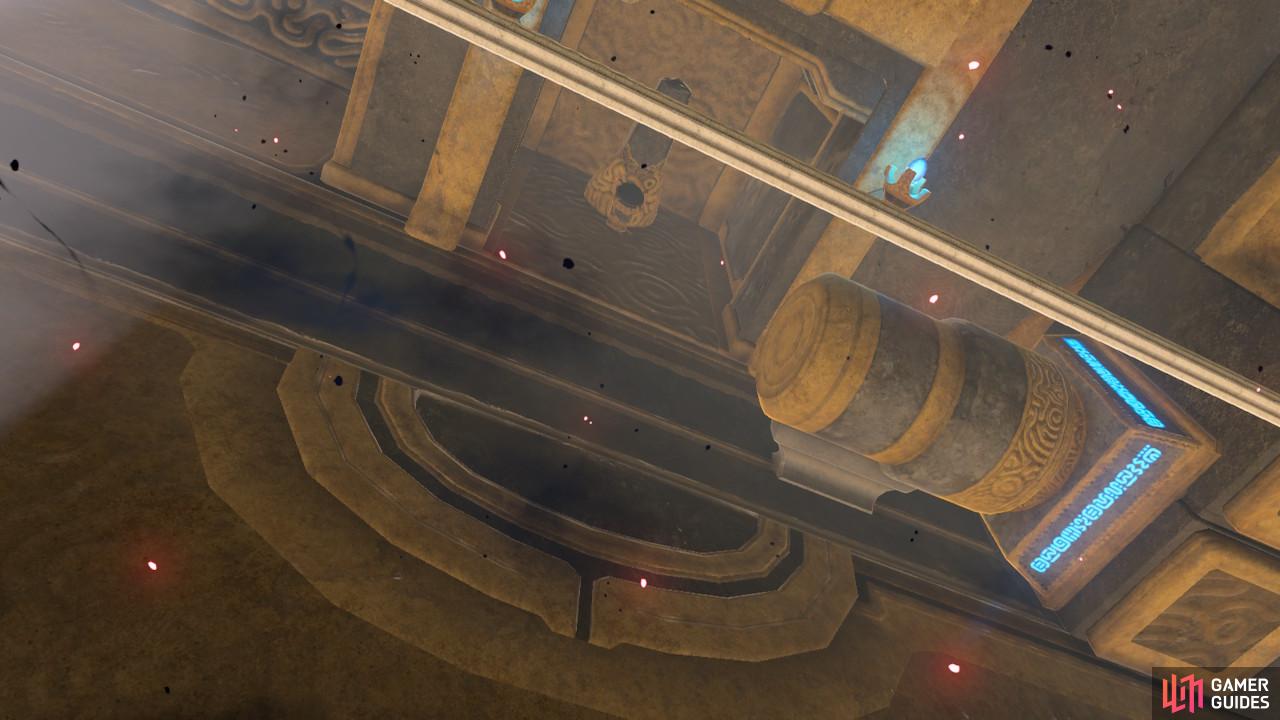
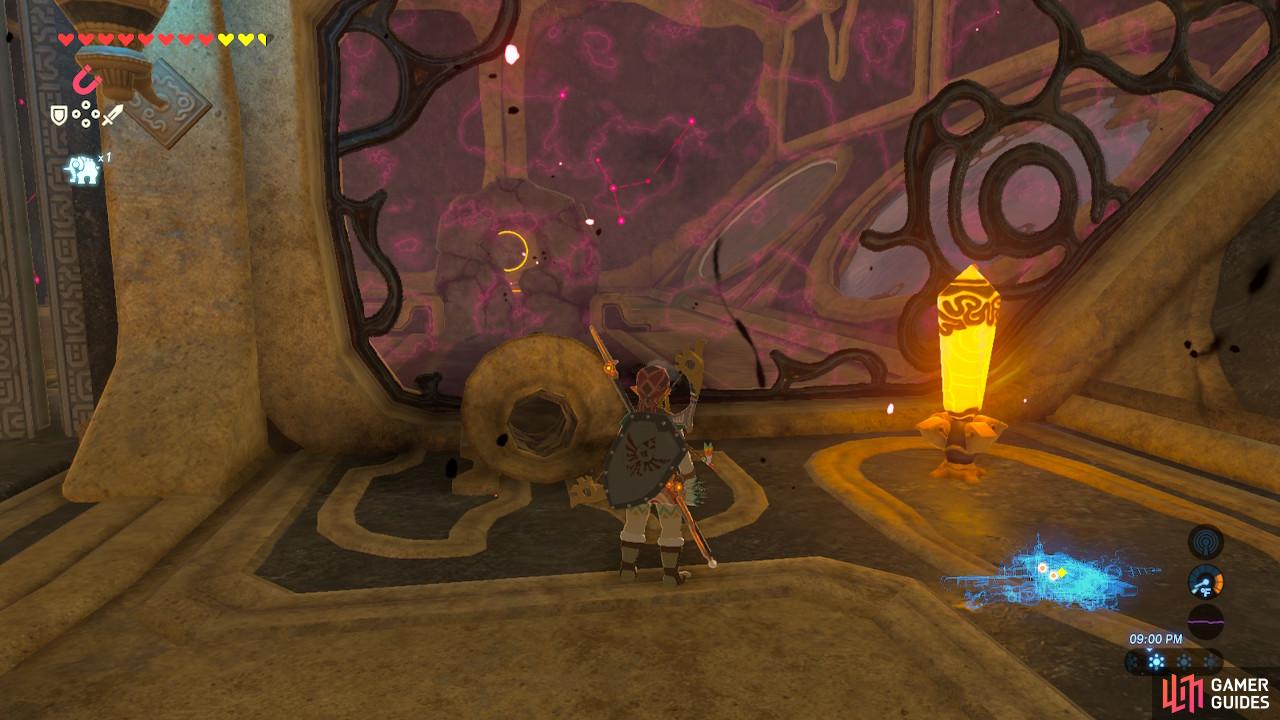
We need to move this battering ram over to the switch on the other side
Hit the switch and then grab the right fan with Magnesis
The hallway you are now in has a massive battering ram that you will need to use to push a switch. However, there are gates blocking the way that can only be lifted if the two windmills near the ceiling spin at the same time.
First, hit the orange switch to blow wind at the windmills, lifting the gates. Now you will need to tilt Vah Medoh to move the battering ram. However, if you do so, one of the windmills will also slide down the rail and close the gates. As a preventative measure, use Magnesis or Stasis on the windmill to hold it in place while you tilt Vah Medoh.
The terminal behind the switch is now revealed
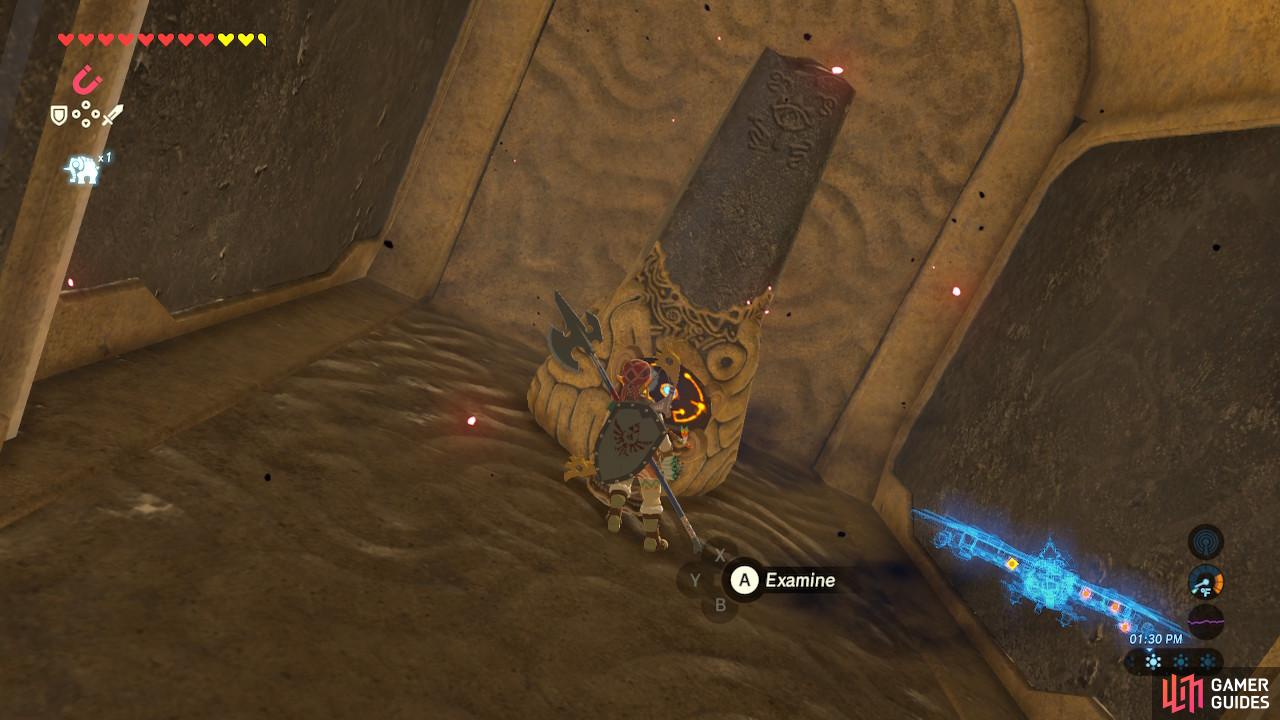
Activate it. Three to go
Once the battering ram hits the switch, the gate behind it will open up and allow you to activate the second terminal.
Terminal 3
Return to the main room by continuing forward up the left wing. The next three terminals are all along the right wing now. In the main room, shoot an eyeball in the ceiling towards the corner. Ride the updraft at the entrance onto the climbable wall and claim the treasure chest on top for an Ancient Core (you could have gotten this earlier).
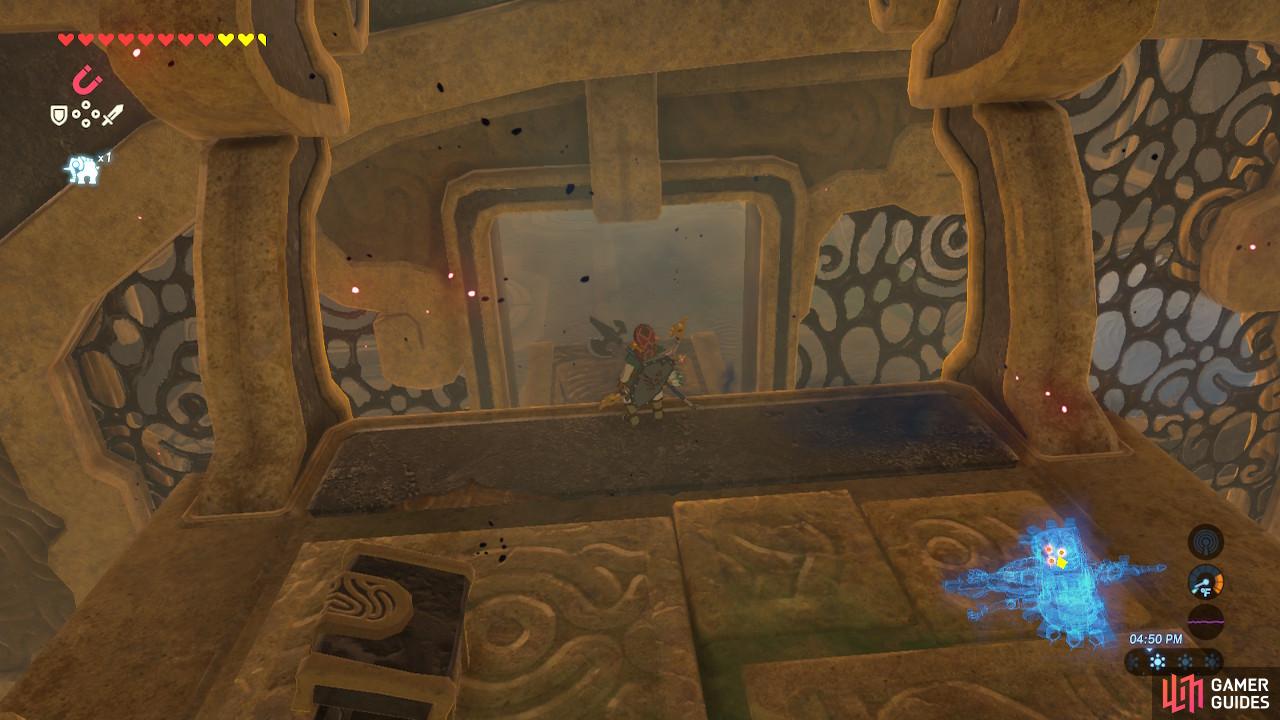
Paraglide through this entrance you see here
Shoot the eye to unblock the terminal
Paraglide through the entrance you now see on the left. Shoot the eye on the left wall so that the mouth stops spawning enemies at you.
If you look ahead in the room you will see the terminal is currently on a higher ledge with no obvious way to reach it. To get to it, we first need to claim the treasure chest on the other side of the room. Tilt Vah Medoh to neutral if it’s not there already so you can go back up the ramp to the entrance you came from.
Activate it, and there are two left
From this treasure chest ledge, we can then go directly to the terminal
Now, tilt Vah Medoh to the top position and Paraglide to the chest. Open it for a Knight’s Claymore. Then, tilt Vah Medoh back down so you can Paraglide to the terminal and activate it.
Terminal 4
This is located in the top right corner of the room
Put a Bomb down the pipe. Make sure it’s round
Almost to the end! That was fast. Head to the corner of the same room you are currently in where you can see an orange switch and a pipe where you can drop a Bomb. Put a round Bomb through the pipe and tilt Vah Medoh to the top position so that the Bomb rolls forward into a cracked boulder. Detonate to clear the path.
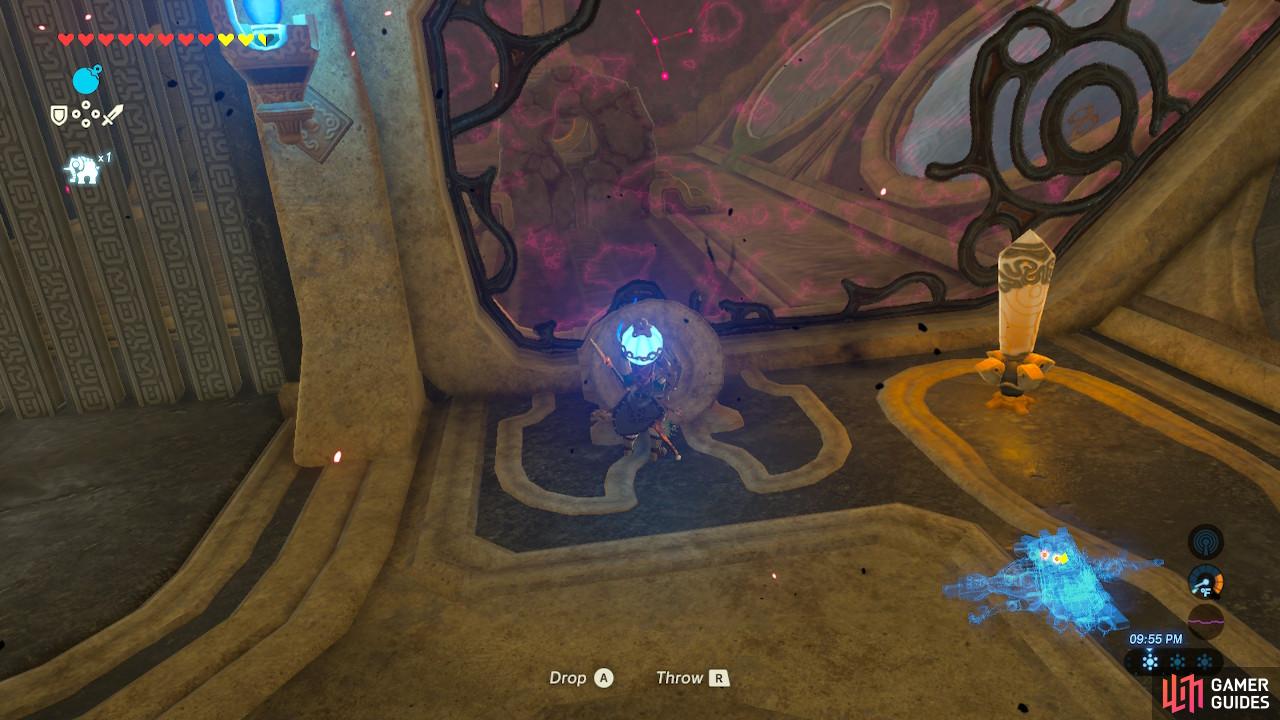
Drop a second round Bomb into the pipe and let it roll all the way to the end of the room. Now, hit the switch and a blast of wind will blow the Bomb left. Detonate to reveal a large metal ball, ready to roll.

Tilt Vah Medoh back downwards, causing the ball to roll towards you. Go to the left where it stopped rolling and grab it with Magnesis. Pick it up and move it to the right to the pathway your Bombs were rolling down. Drop it there and then tilt Vah Medoh back up so that the ball rolls down the path and onto a switch.
The gate will now open, allowing you to enter the room and activate the fourth terminal.
Terminal 5
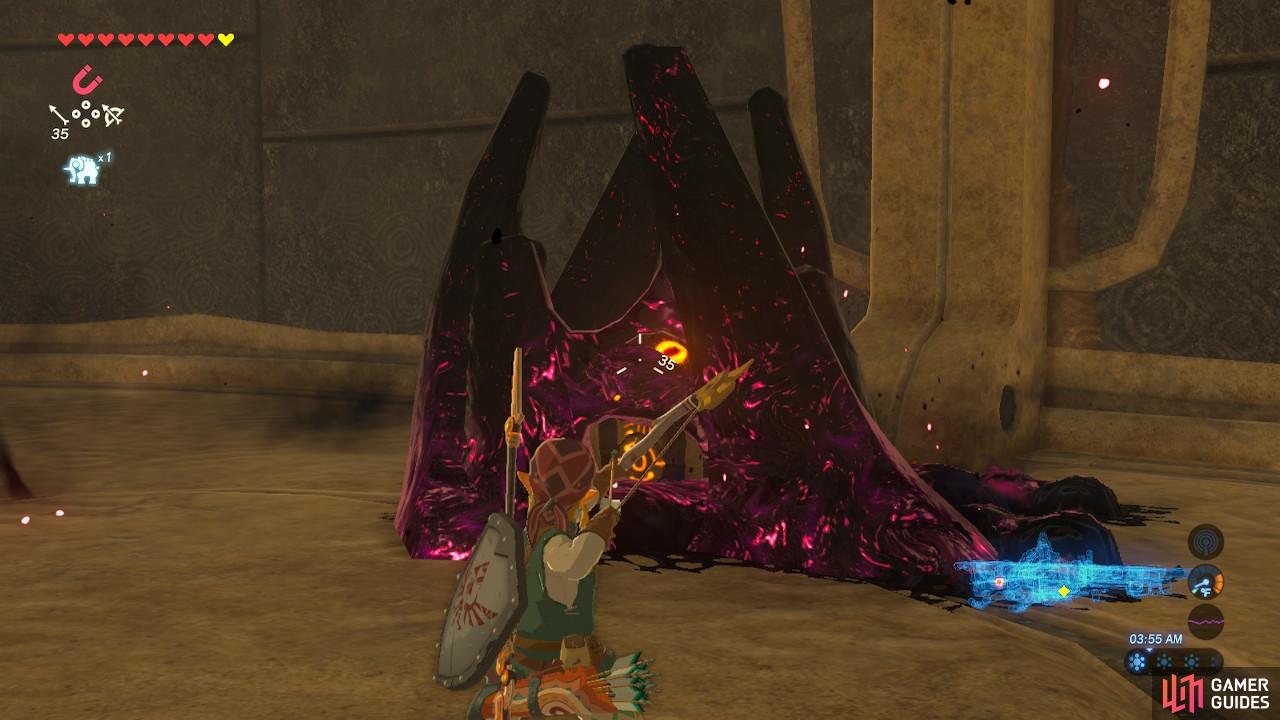
Yuck. Shoot the eye and get rid of this
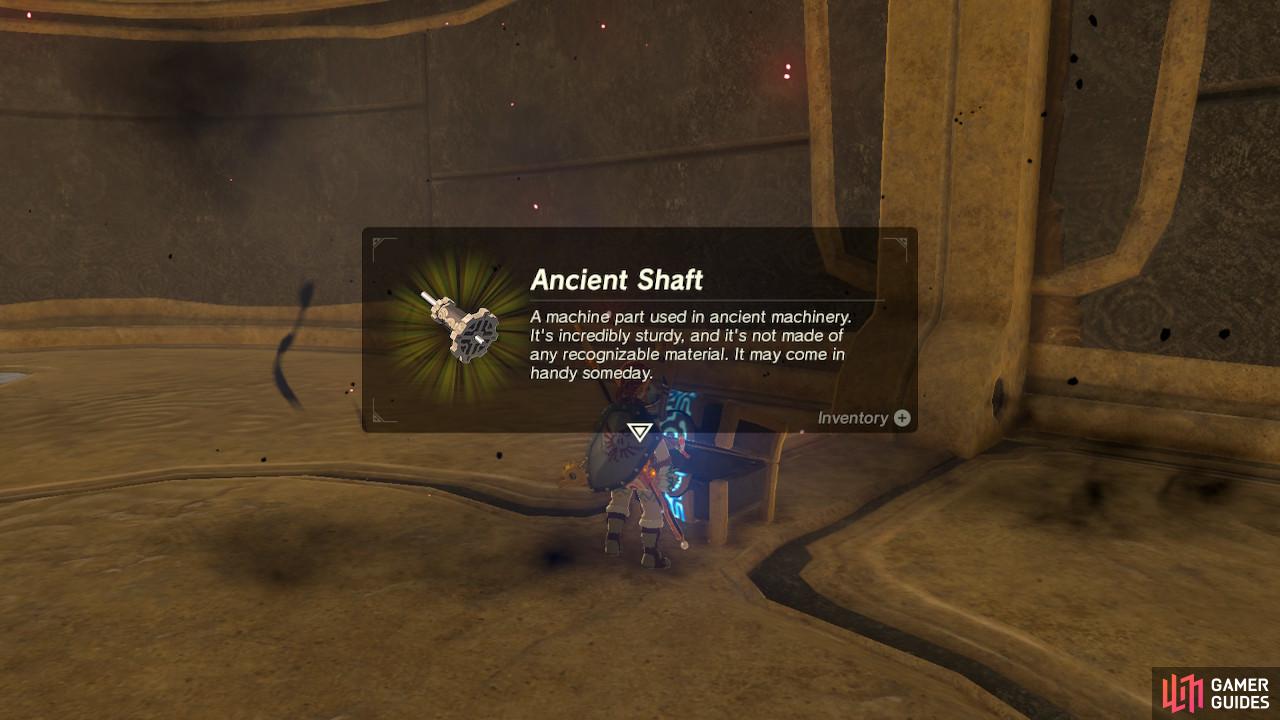
The Ancient Shaft is a little less valuable but still worth keeping
Return to the main room, placing Vah Medoh in a neutral position so you can get there. Drop down to the bottom floor again. If you haven’t already, shoot the eye in the back of the room to reveal a chest containing an Ancient Shaft. The shortest way to the last terminal is through the entrance currently blocked, but the eye is on the other side of the wall.
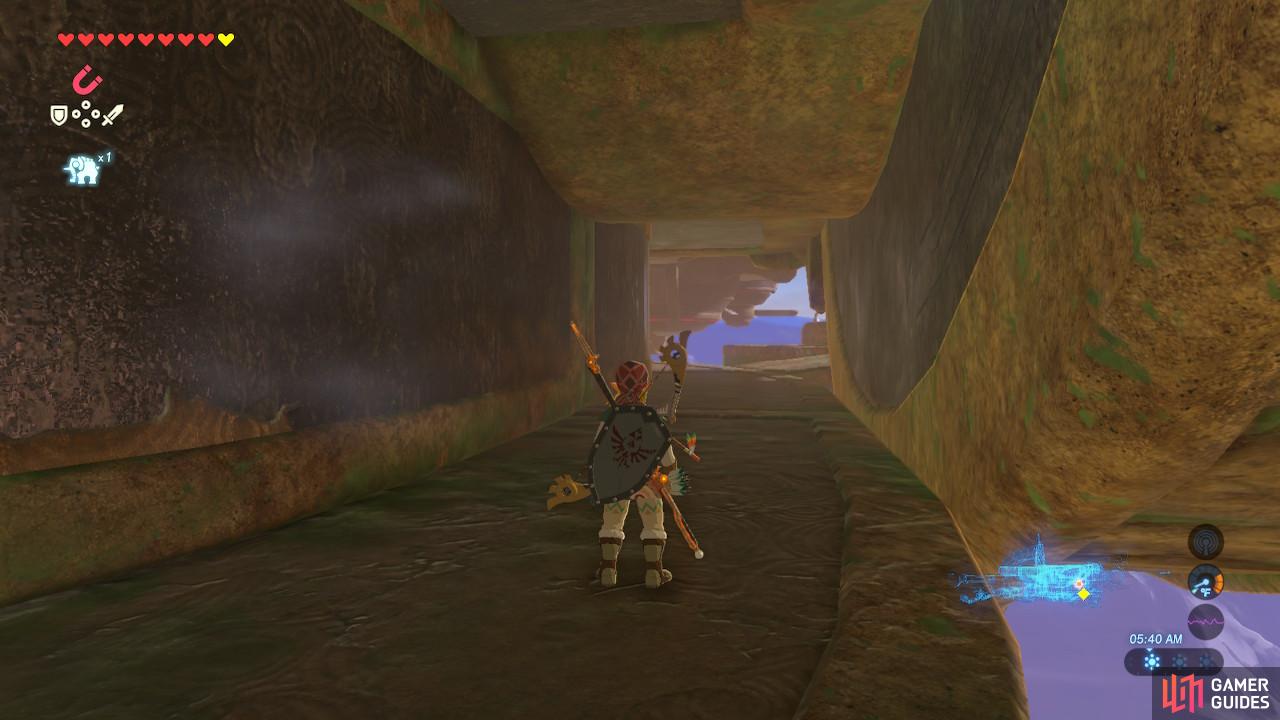
Make your way around the balcony to the other side of Vah Medoh

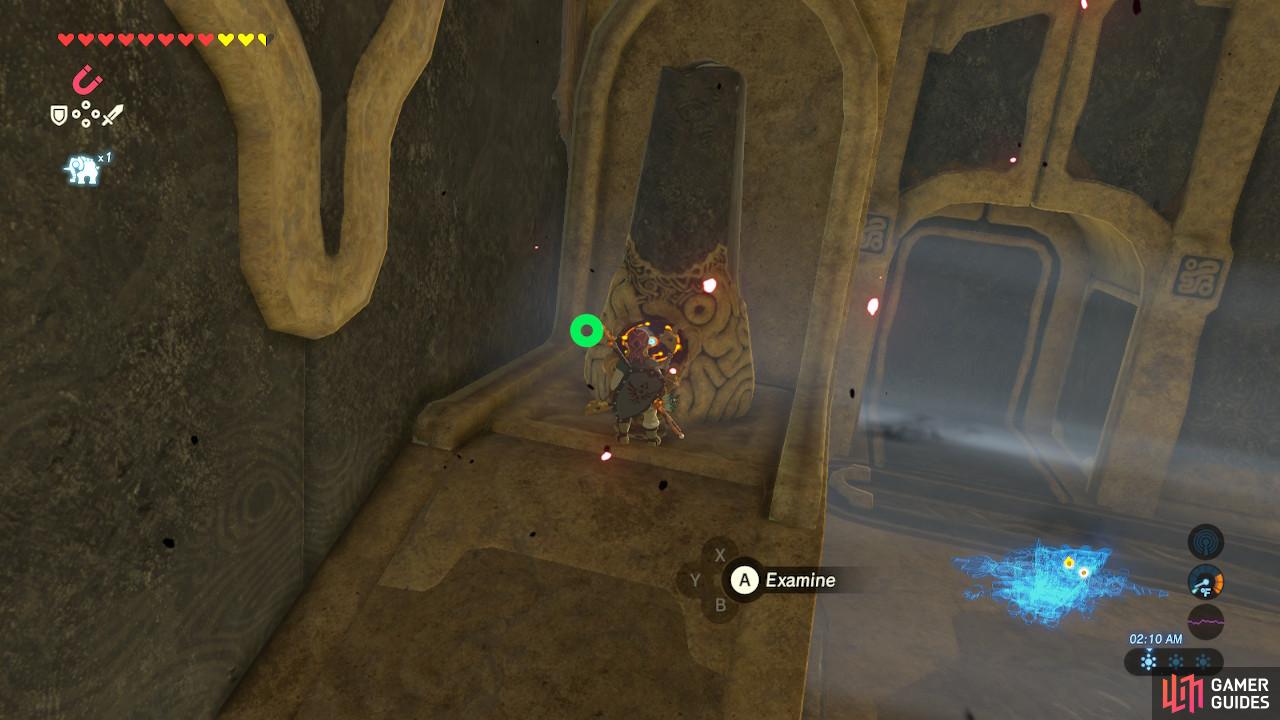
The entrance will be unblocked after shooting this thing
Go out the same exit we used before and make your way around Vah Medoh’s balcony. Destroy the eye high up on the wall that will unblock the blocked exit.
The last terminal is straight ahead, across a large gap. Tilt Vah Medoh up so that you can Paraglide safely to the terminal and activate it. Revali will then place a new mark on your map for the main control unit.
Main Control Unit
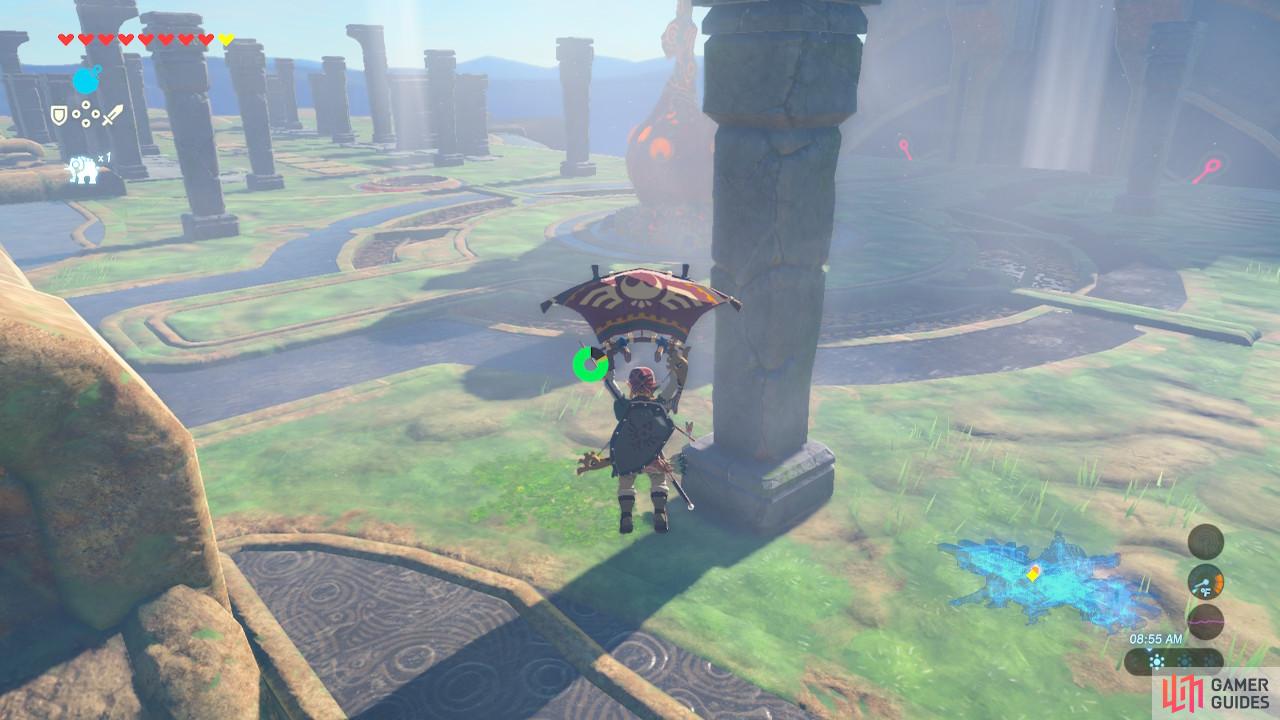
We took the lazy way by Paragliding from an updraft on Vah Medoh’s exterior
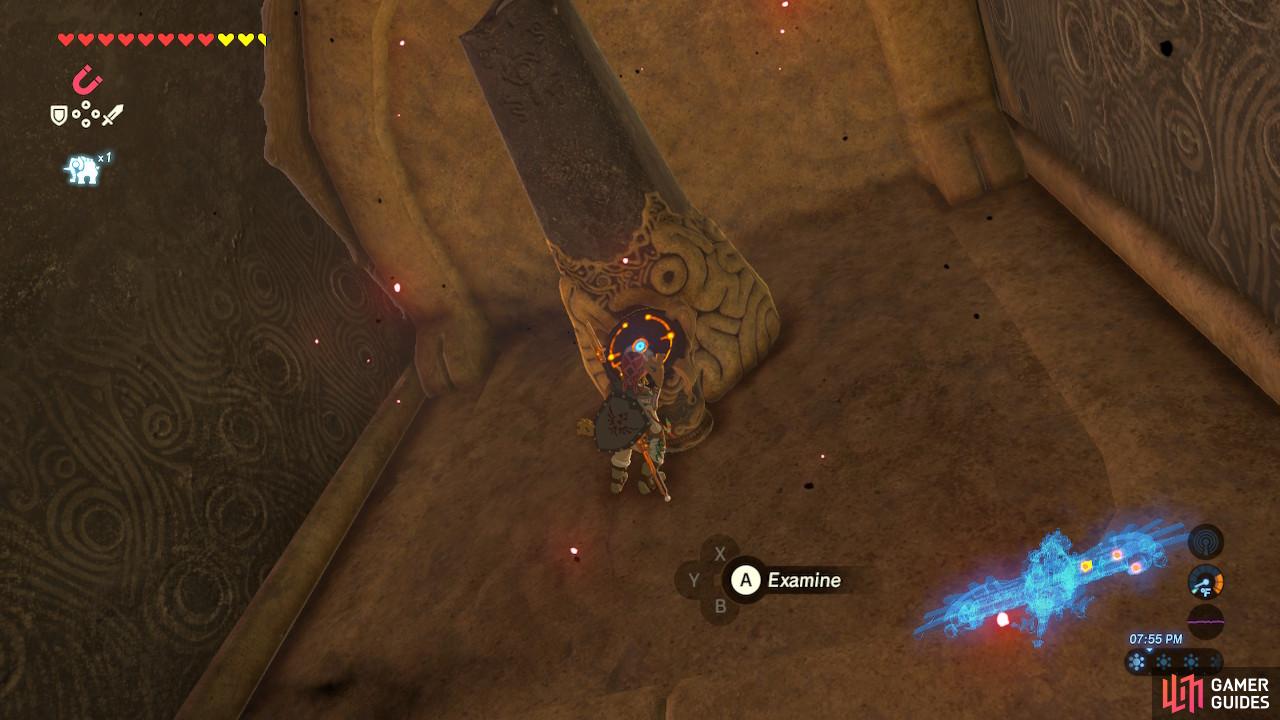
Attempt to activate the main control unit
Tilt Vah Medoh down so that you can Paraglide back. Now you can return to the main room and ride that updraft all the way up…or you can just Paraglide off of the updrafts being created from the outside portions of Vah Medoh’s wings, like we did. We’re lazy.
As you attempt to activate the main control unit, you will have to confront another one of Ganon’s blights.
No Comments