
A guide on where to locate and how to complete Joloo Nah Shrine, found just north of Koukot Plateau and Mount Nabooru in the Gerudo region. To access this shrine, you’ll need to complete the Test of Will shrine quest, which is found right where you’ll also find the shrine upon completing the quest.
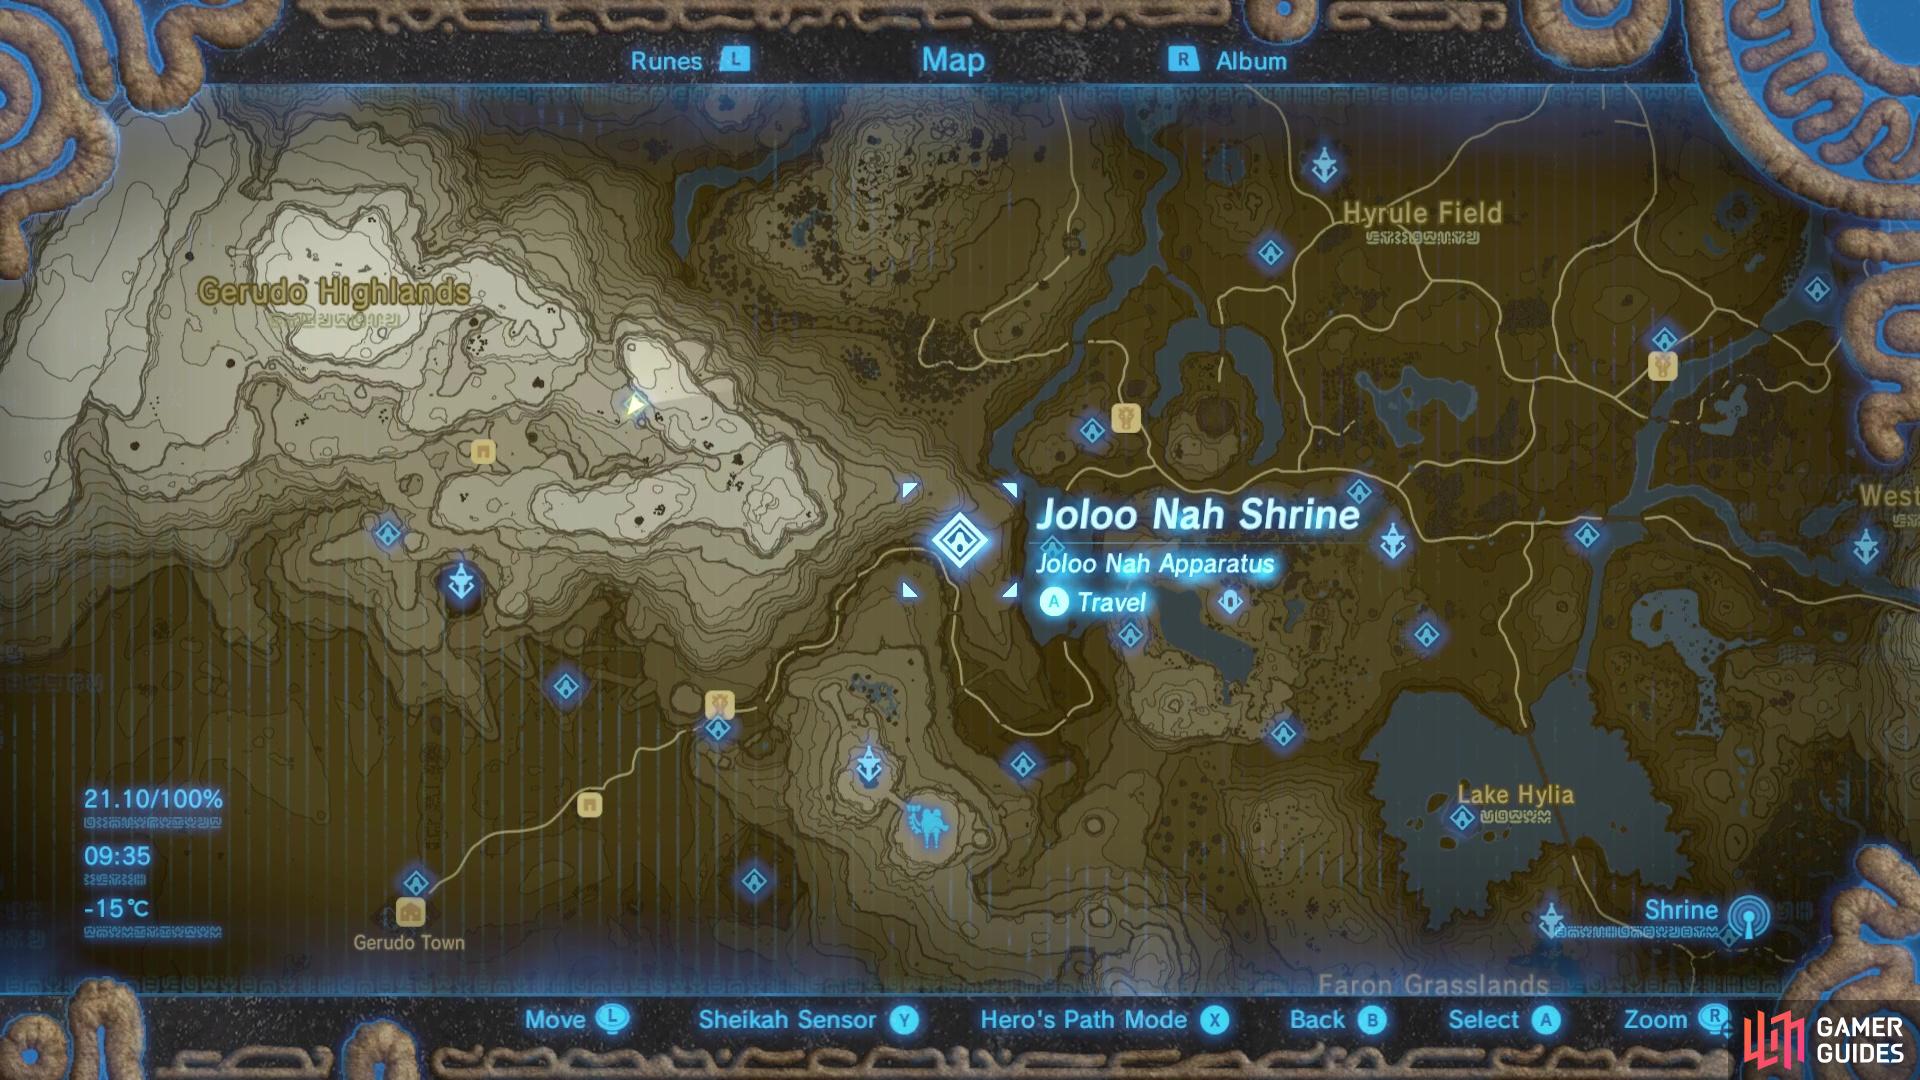
Joloo Nah Shrine is found north of Koukot Plateau
and it requires manipulating a series of motion control puzzles.
How to Complete Test of Will
This shrine quest is found just above the path near Koukot Plateau in the Gerudo Region. You’ll come across three Gorons doing a Test of Will. To access Joloo Nah Shrine, you’ll need complete this quest. For information on how to do so, head over to our guide on the Test of Will shrine quest.
The shrine will rise from the ground and become accessible upon completion of the quest.
To access this shrine, you’ll need to complete the Shrine Quest, Test of Will.
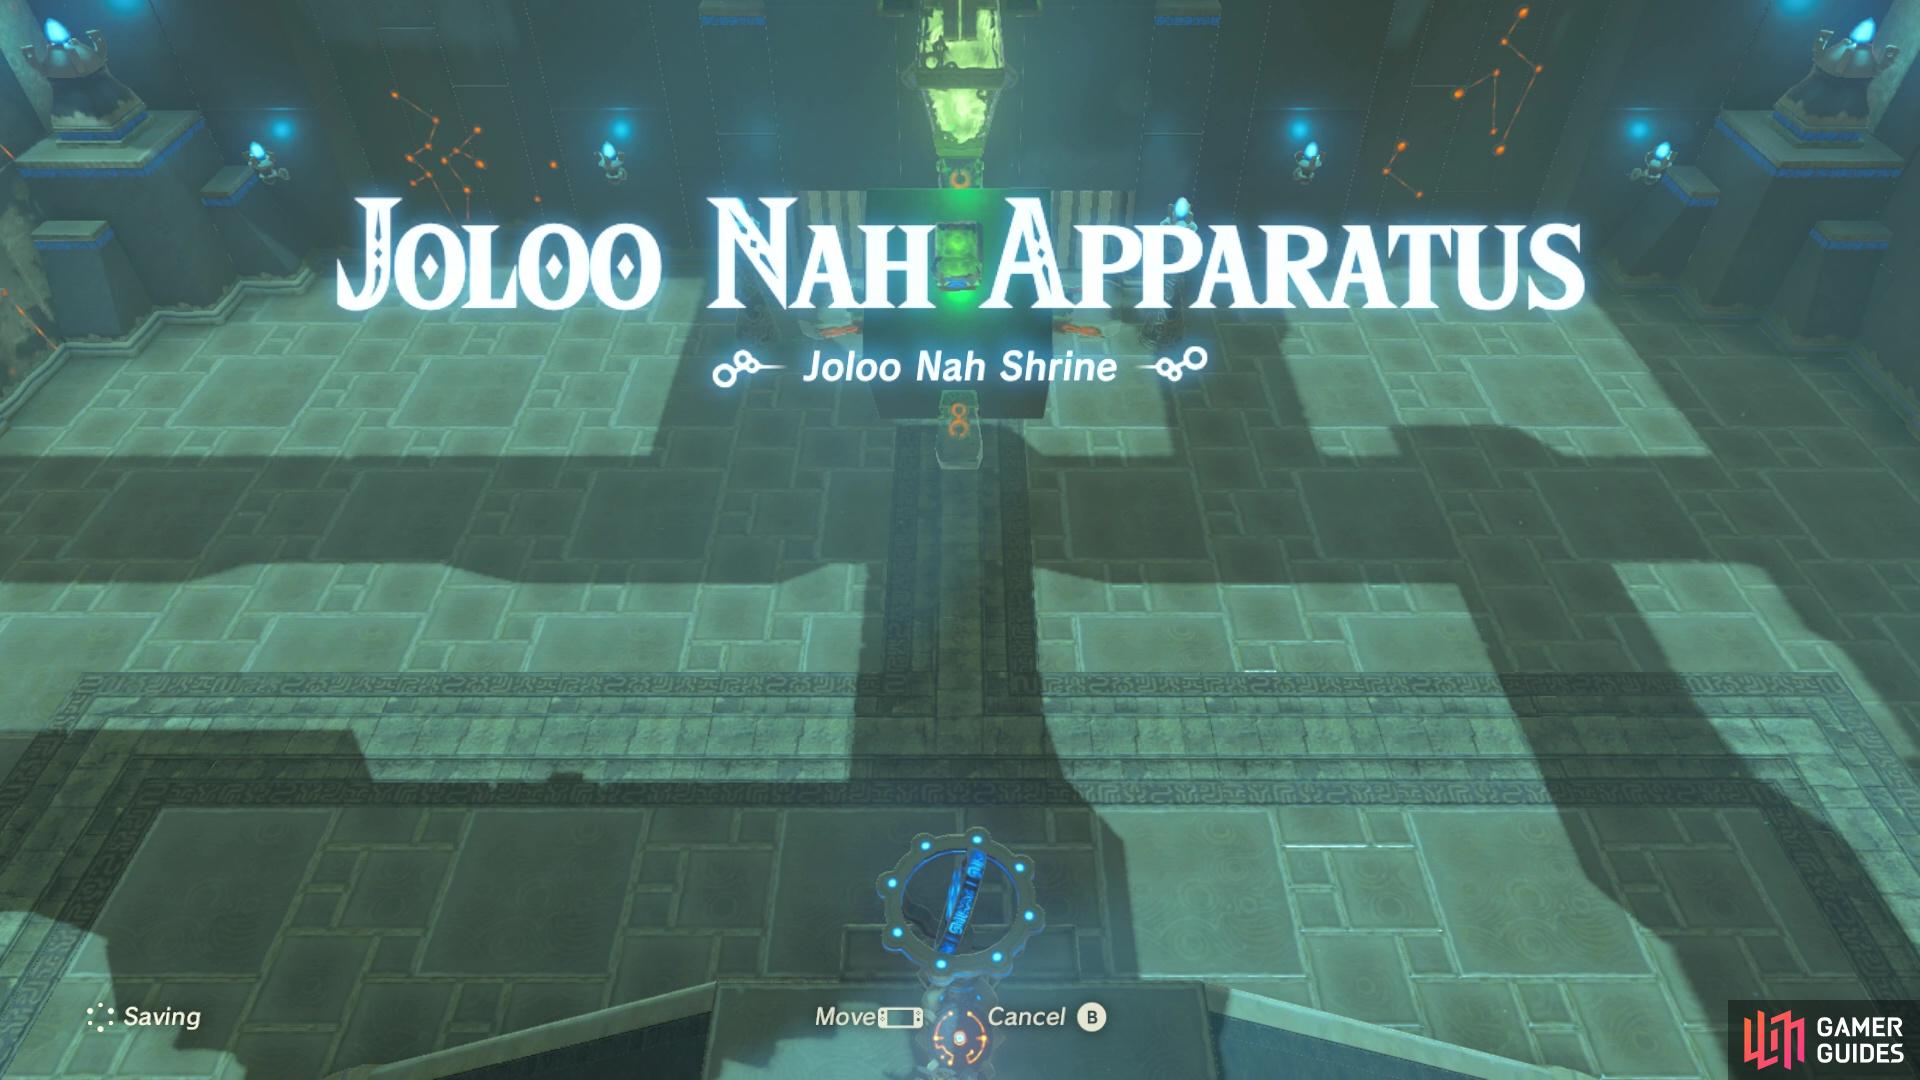
How to Complete Joloo Nah Shrine
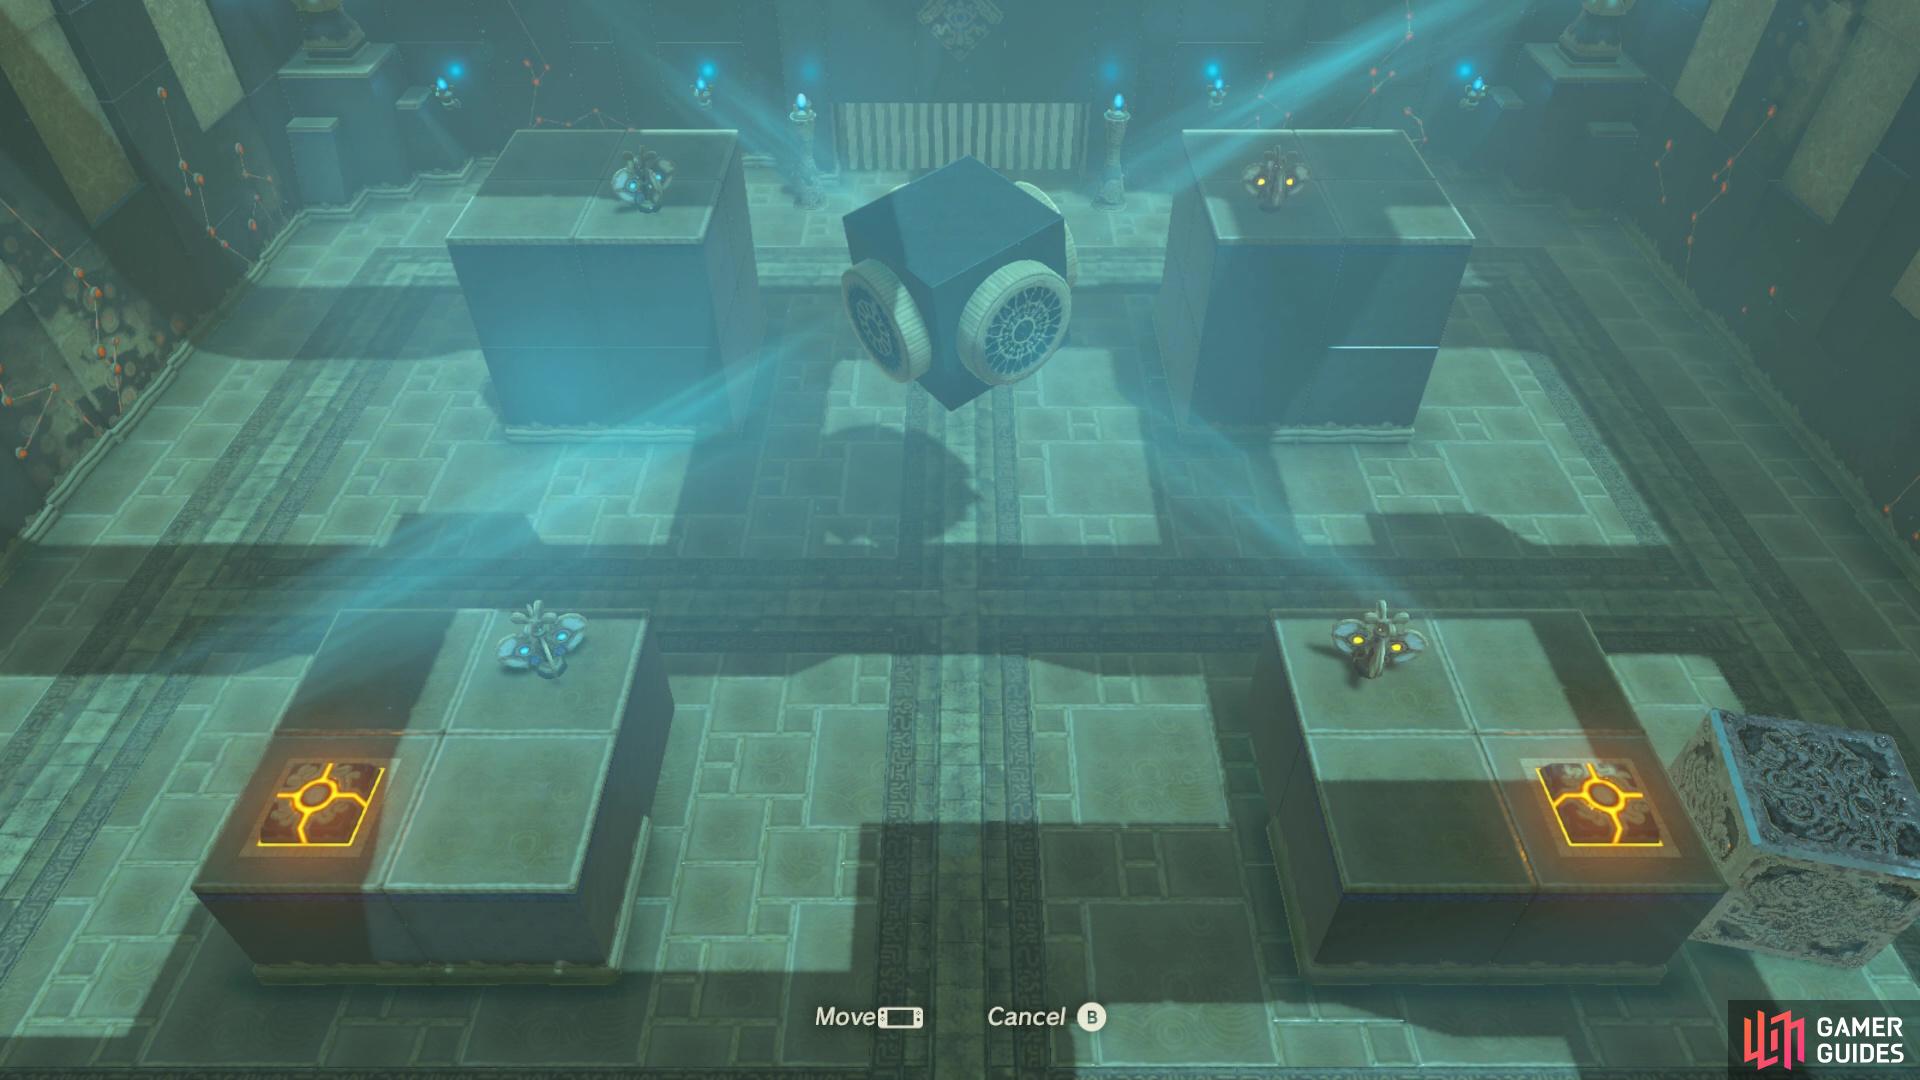
Once inside, you’ll need to complete a series of motion control apparatus puzzles to make your way through the shrine. During the first one you’ll need to rotate the cube to turn all of the electrical lamps green. Its quite difficult to give an exact step-by-step as motion controls are tricky but all you need to do is move non-green lamps towards the green electrical source on the ceiling. Once all lanterns are green the gate to the next area will open.
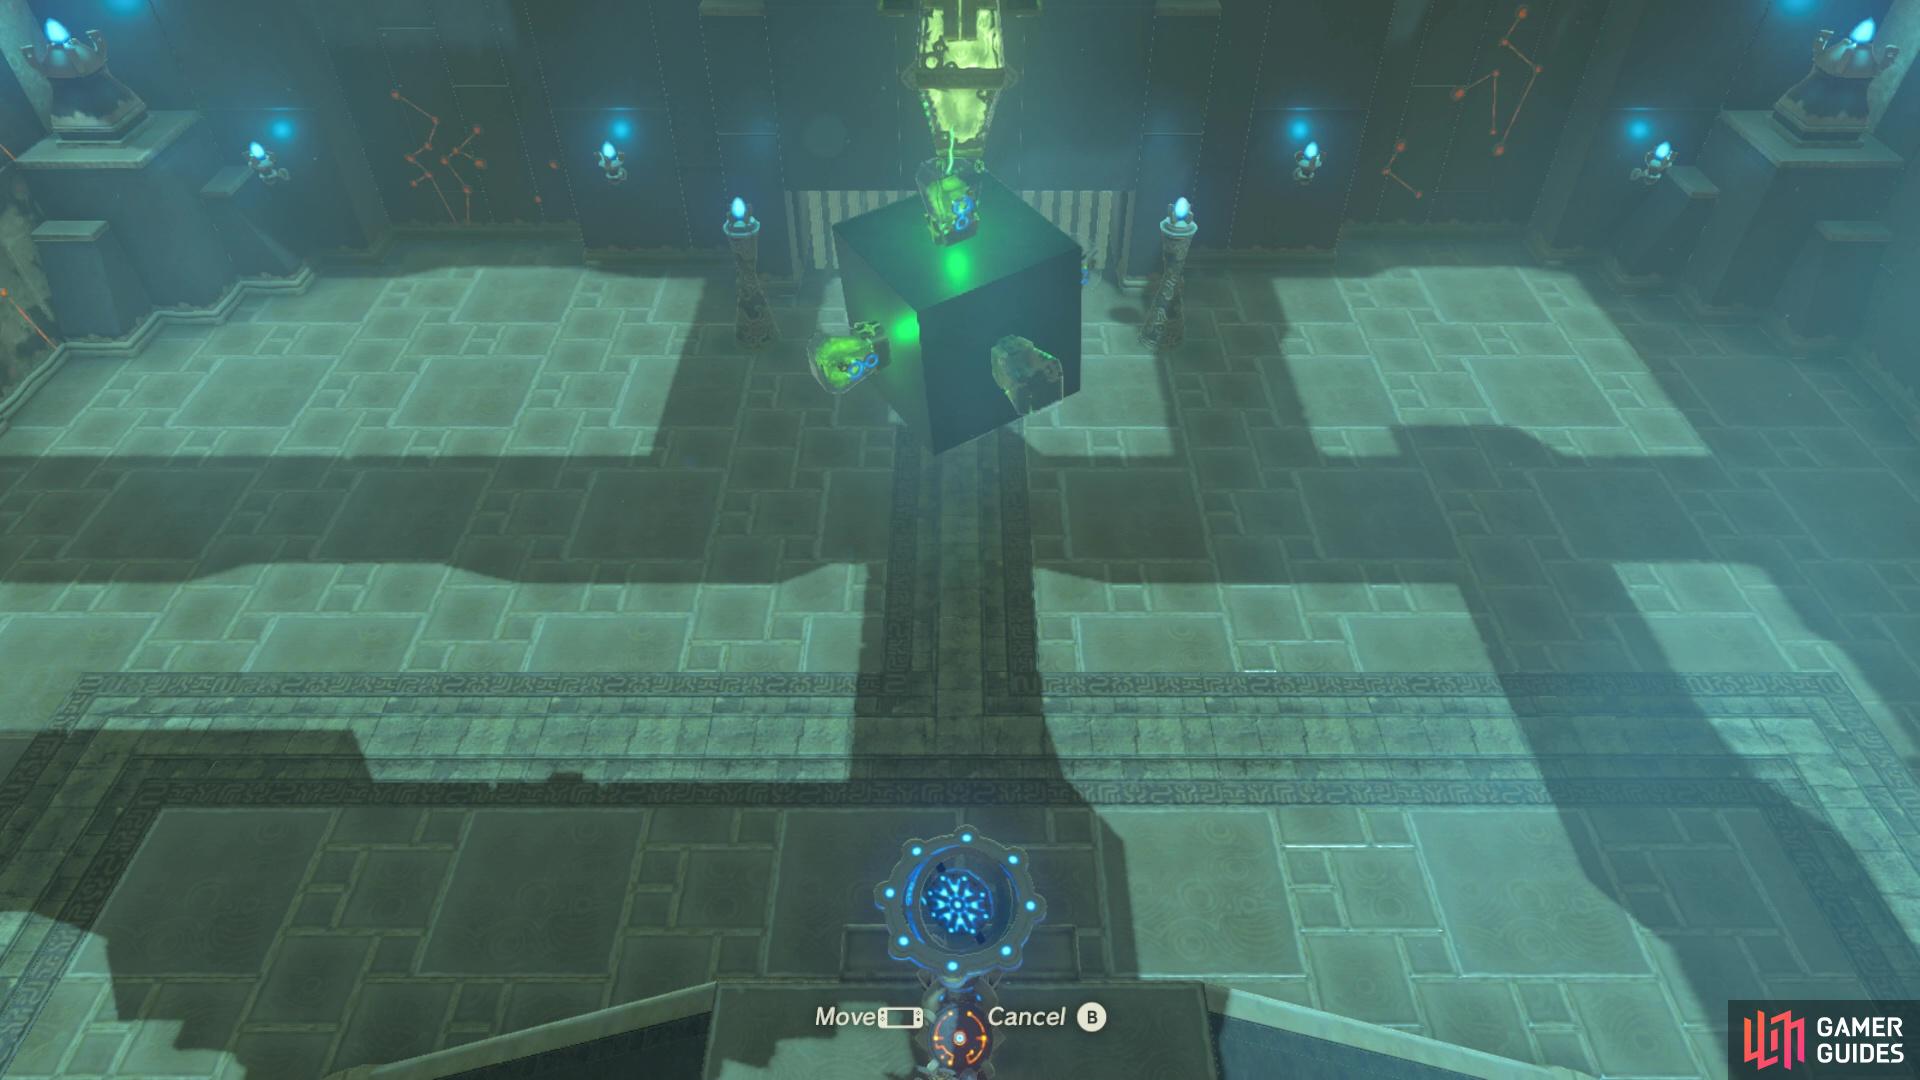
Spread the green electricity across all of the lanterns.
How to Get the Joloo Nah Shrine Treasure
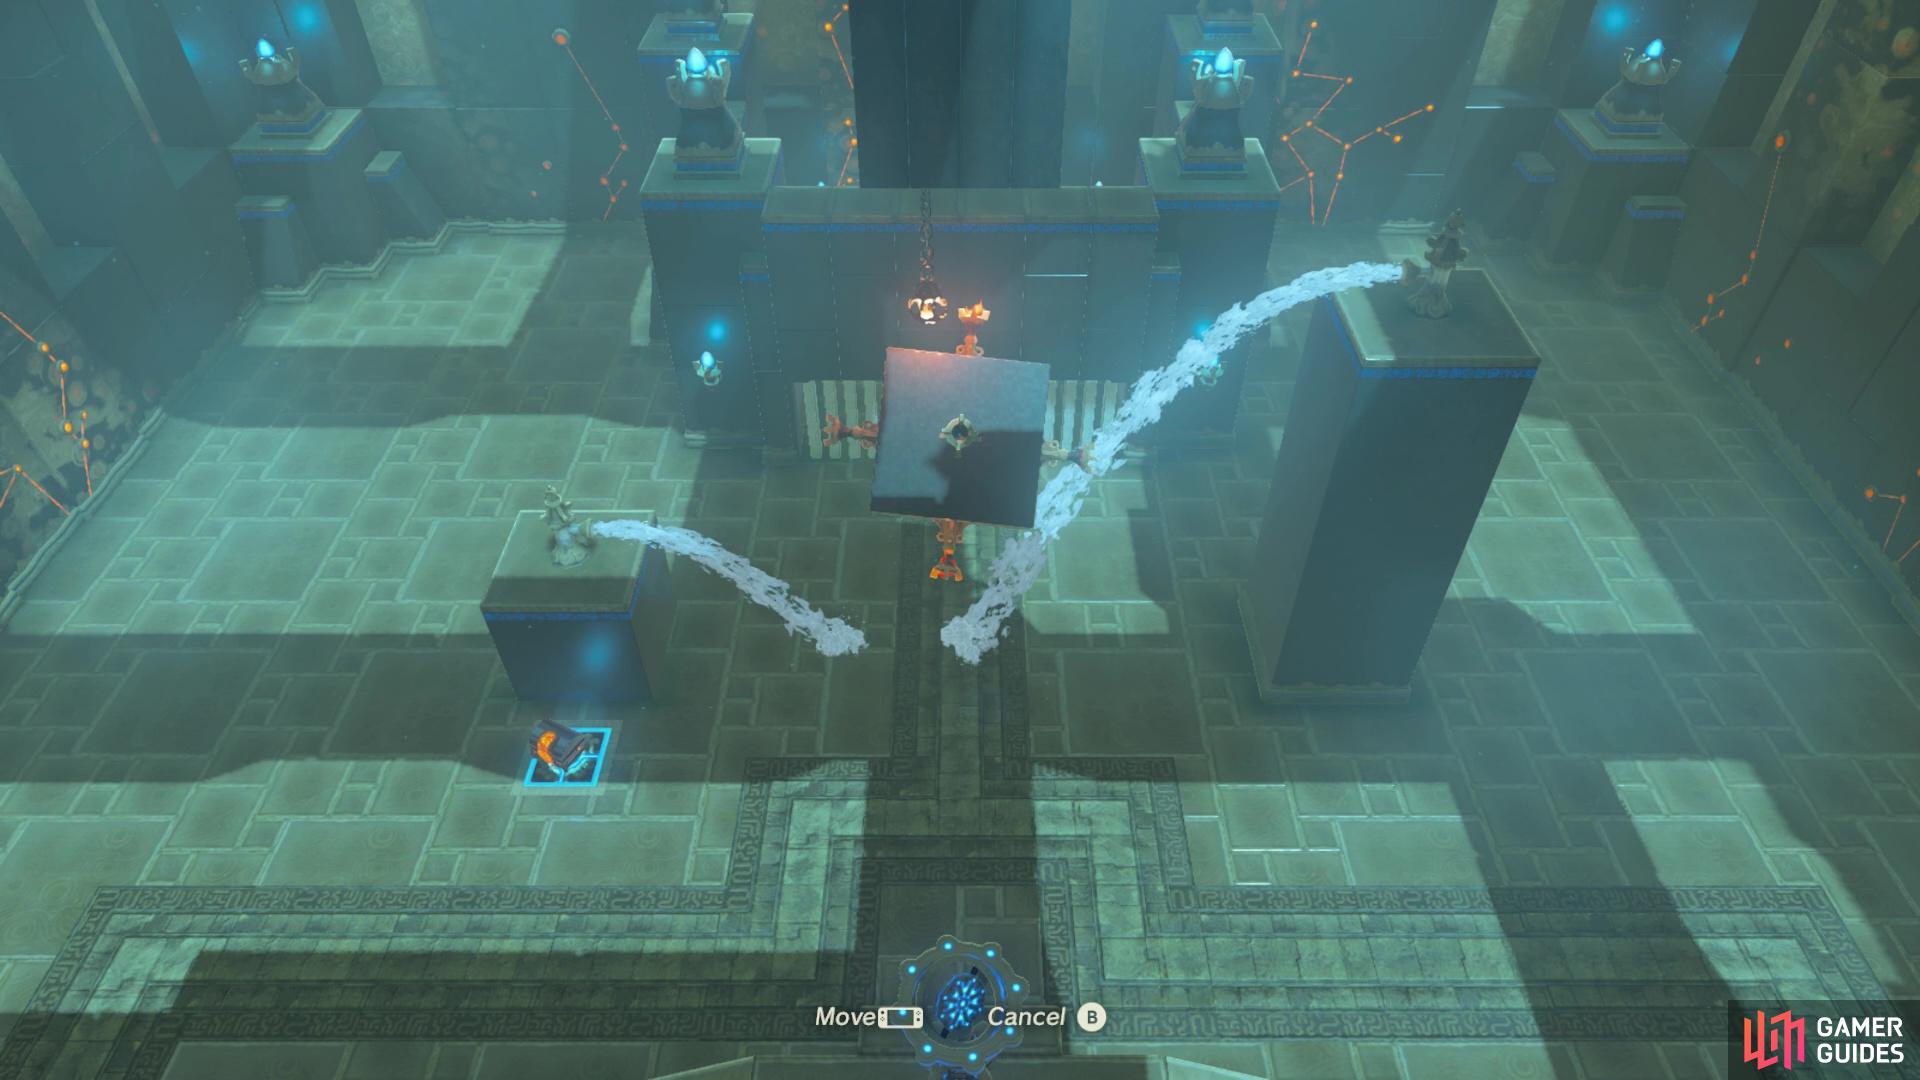
Before we complete the next puzzle, you’ll want to make a quick detour to grab the treasure in the bottom left hand corner of the room. First you’ll need to use the apparatus to angle the wind machine so that one gust is heading towards the platform with the treasure chest. You can then paraglide to the treasure chest and loot it for a Golden Claymore.
Use motion controls to angle the wind so you can grab the treasure

by paragliding on the wind stream.
Once you’ve grabbed that, you’ll want to go on and complete the actual puzzle. First off, use magnesis to move the metal cube onto the button on the platform to the right, so that the right fan is raised and the left fan is lowered. Then, use the apparatus to move the wind machine so that all the gusts of wind are lined up with the fans. All but the bottom left one should be spinning at this point. After you’ve done that, paraglide over to the left platform and step onto the button to raise the fan again and when all fans are spinning the gate will open to the final area. Unfortunately, stepping off the button will close the gate again.
Before stepping off, you’ll want to perform stasis on the button to hold the gate in place just long enough for you to get through to the next room.
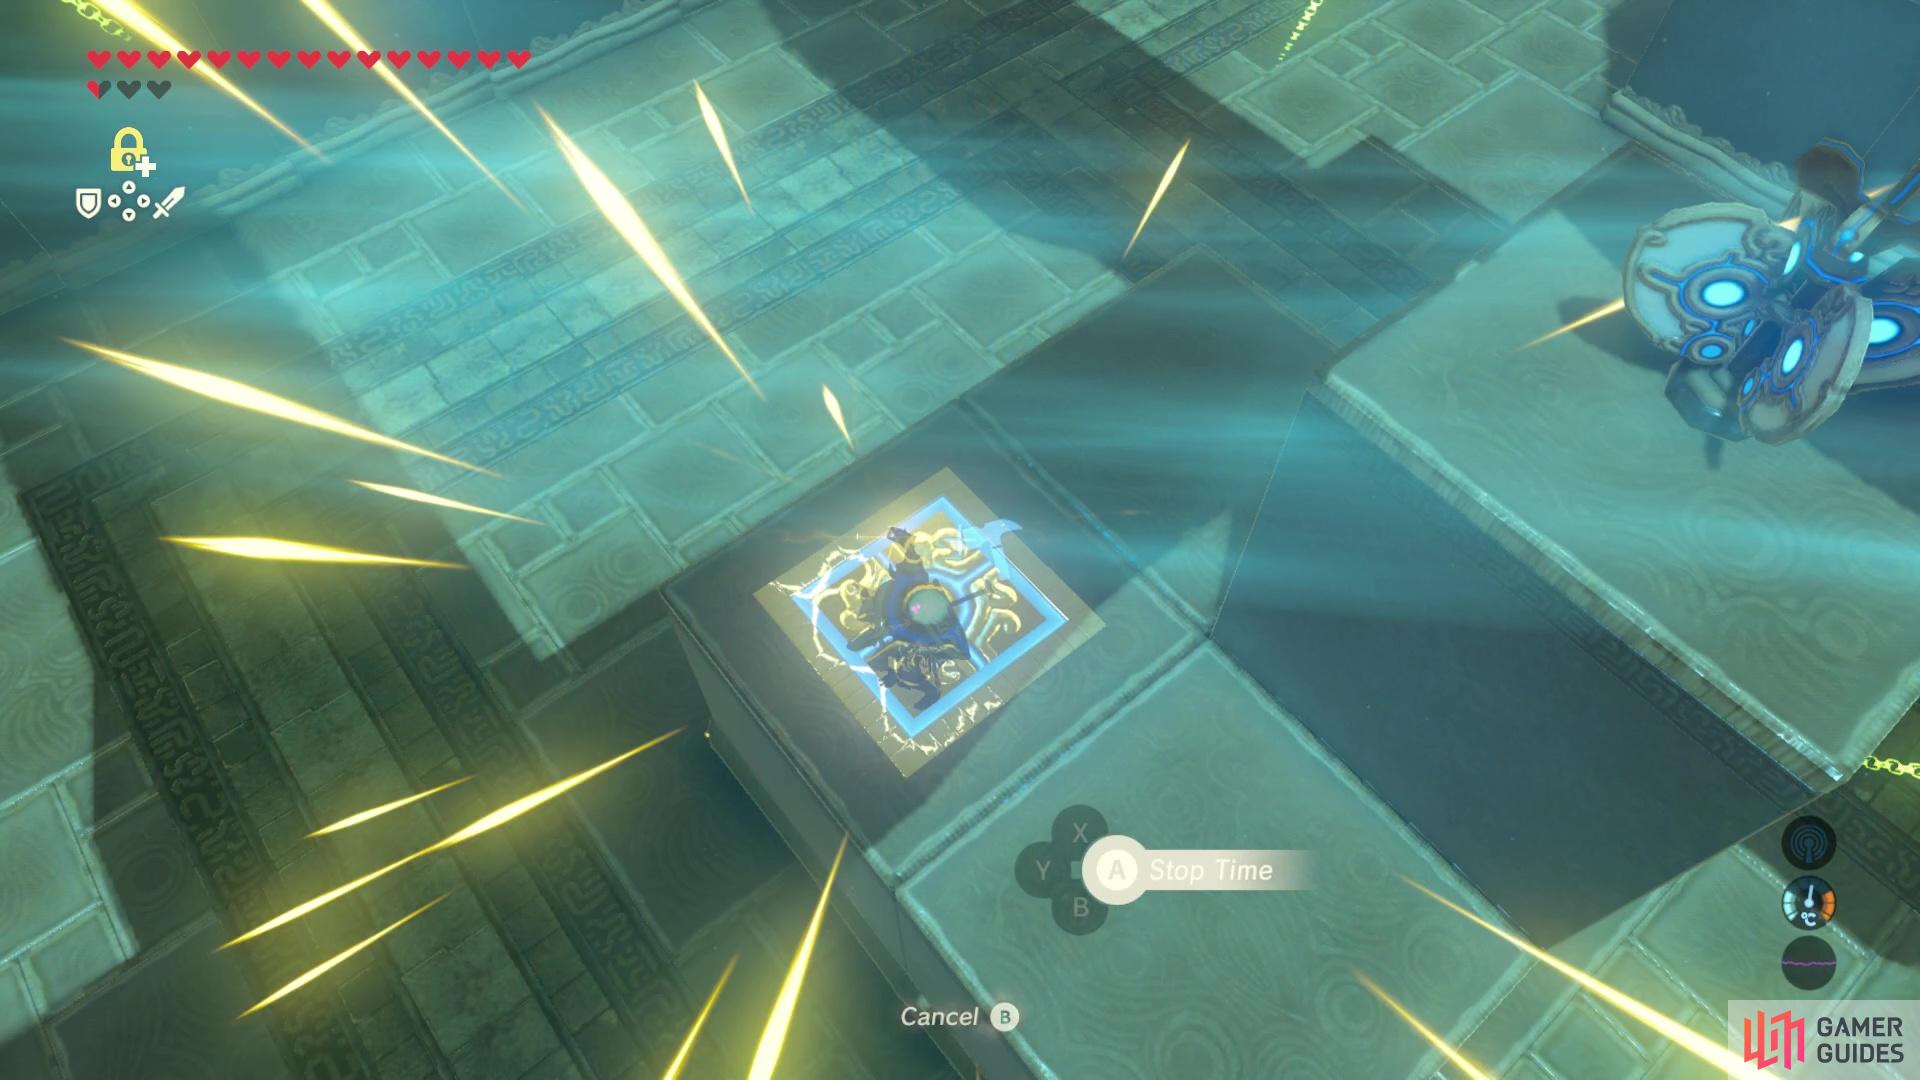
Use stasis to keep the gate open so you can pass through!
In the final room, you’ll need to light all of the lanterns on fire on the cube. You’ll actually need to grab the treasure in this room as the chest is required to help you in completing this apparatus puzzle. To obtain the chest, you’ll need to use magnesis to bring the hanging lantern up and burn the leaves to also set fire to the wooden platform, causing the chest to fall to the ground. You can loot it for a Gerudo Spear before using magnesis to place it on the button next to the right hand waterfall block. This will cause the block to lower, meaning the waterfall will no longer hit the lantern cube. This will make it much easier to light all lanterns without putting them out again with the waterfalls.
Next you’ll want to be very careful to use the motion control apparatus to only move the cube forwards and backwards to light the first four lanterns. Then, you’ll want to exit the apparatus and perform stasis on the right waterfall spout. This will mean you can quickly use motion controls to light the final lanterns before the water turns on again. Once all are alight, the gate to the end of the shrine will open and you can claim your Spirit Orb!
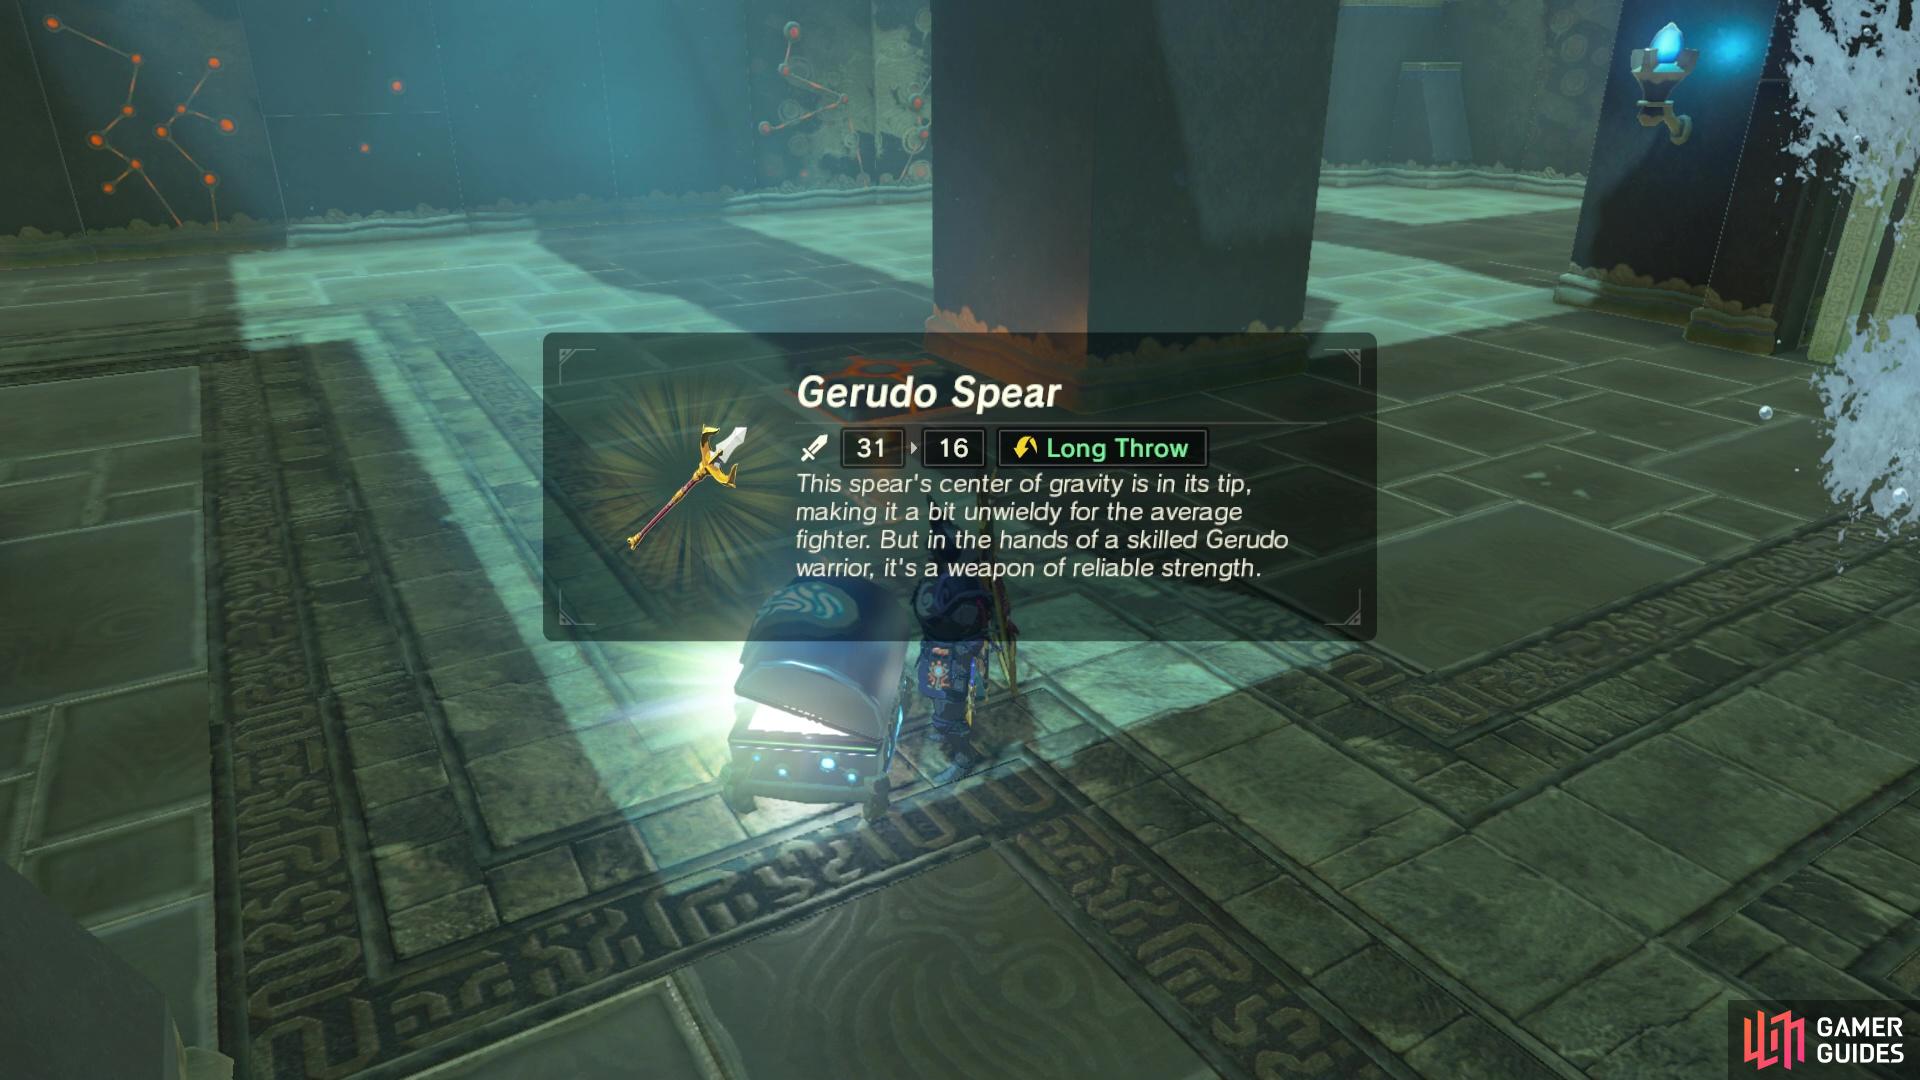
Inside the chest you’ll find a gerudo spear
but more importantly than that, you can use the chest to hold down the button and get rid of one of the waterfalls.
No Comments