
A guide on how to unlock and complete Takama Shiri Shrine, which is the second trial in Ex Champion Urbosa’s Song, which is a part of The Champions’ Ballad DLC.
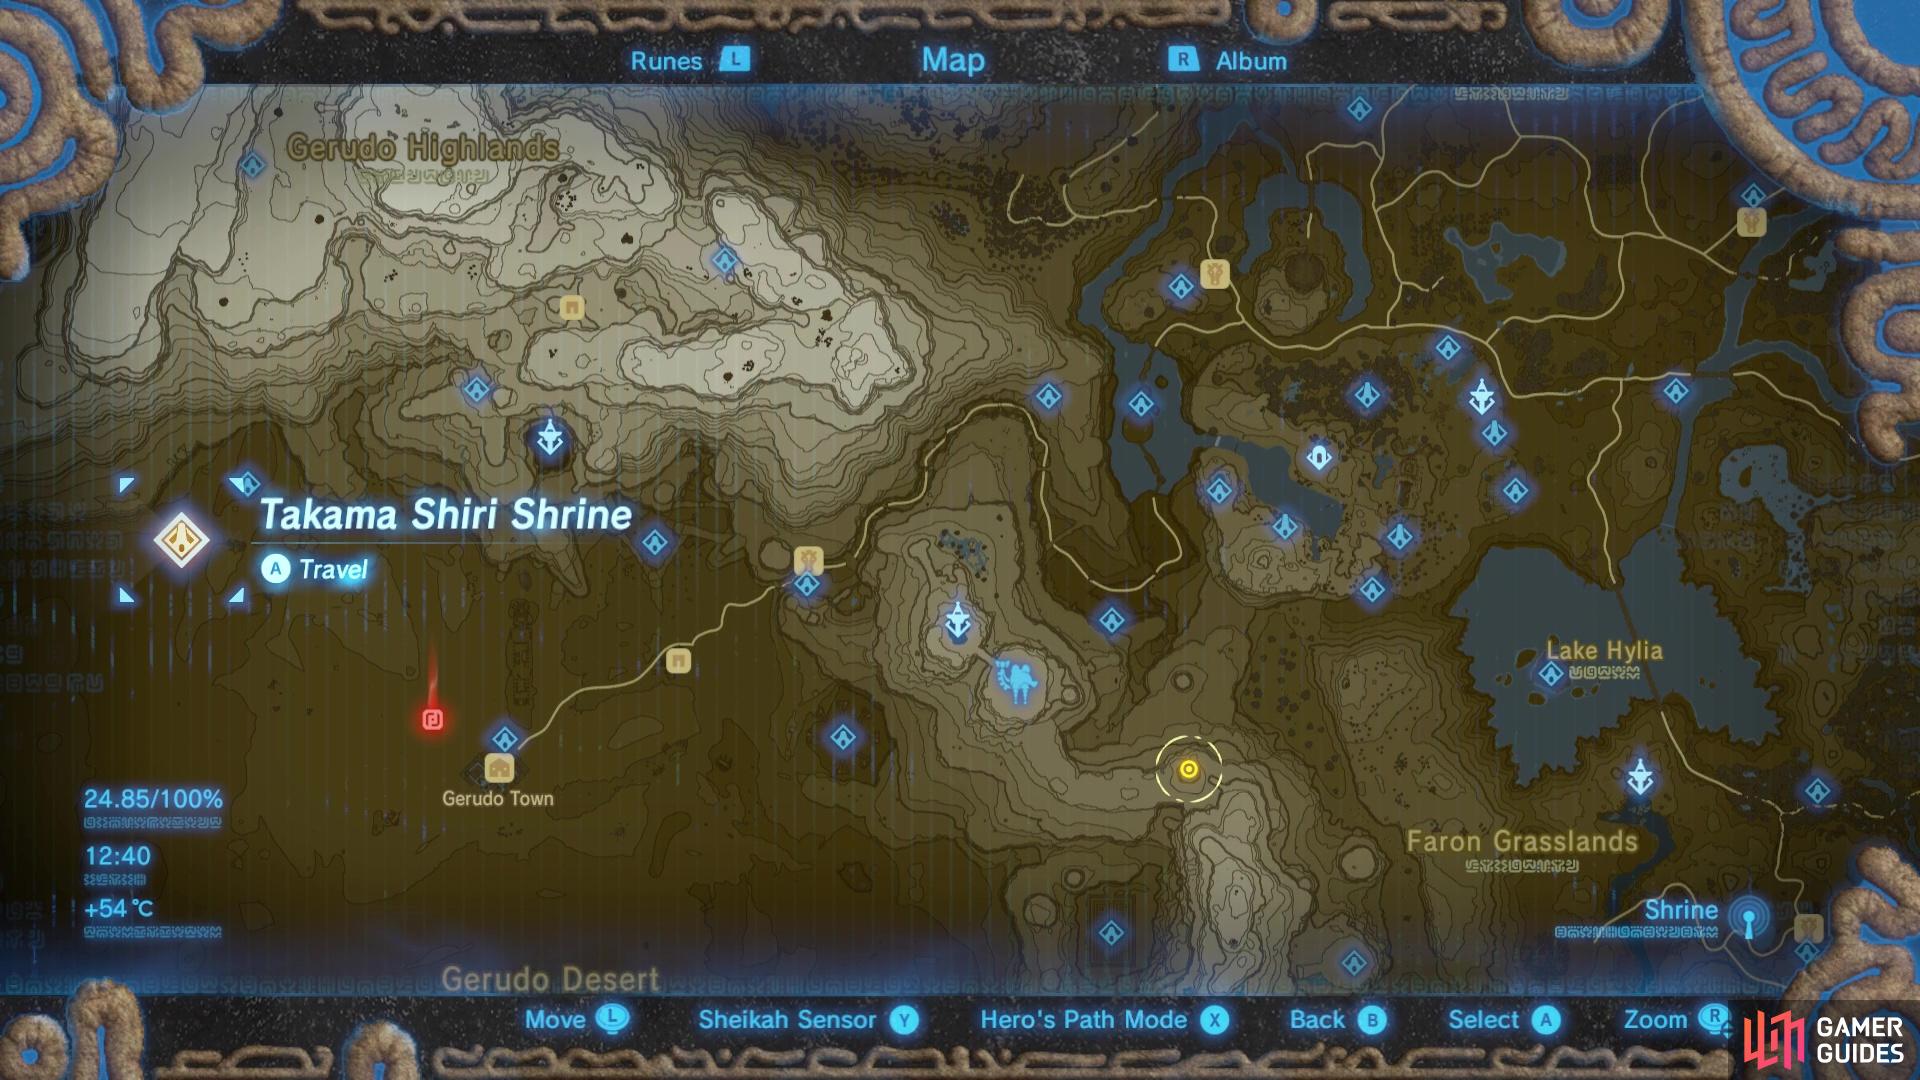
Once you’ve completed the trial, you’ll find Takama Shiri Shrine northwest of Gerudo Town. The red marker is indicative of where the first ring is found.
How to “chase rings upon the land”
To complete this ring trial, you’ll need to hire a Sand Seal from Gerudo Town. Then, head out to the northwest and look out for a blue ring. Once you’ve gone through the first with your Sand Seal, a second will appear up the hill. Continue along the sand bank and you’ll find another. From there you’ll need to then veer right to head towards a ring near some bones. The next ring is then found through the ribcage bones just up ahead.

The first ring is found just northwest of Gerudo Town
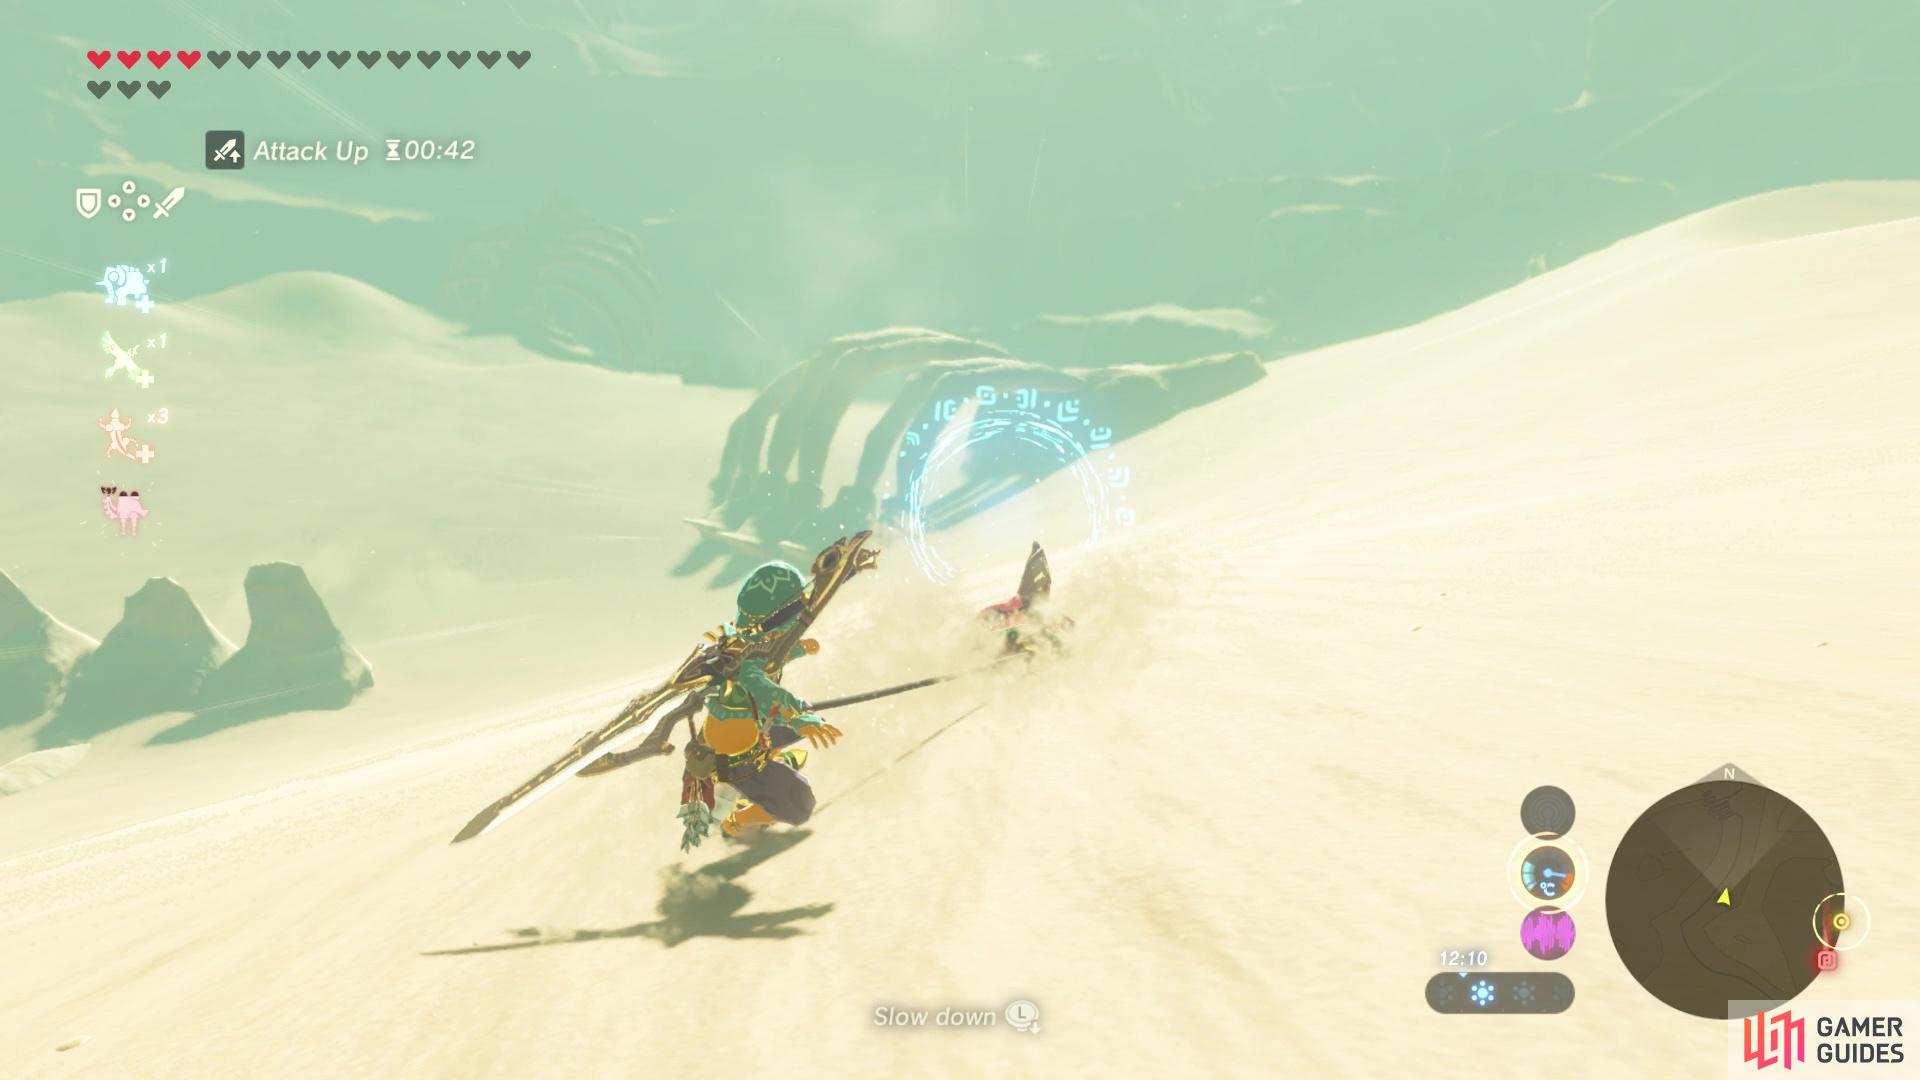
and once you’ve passed through the first, the rings will continue to spawn across the desert.
Turn slightly left to find the next ring, then the one after that is found just up a hill. The final ring is then found next to some ruins, but you’ll also need to watch out for some Lizalfos that might ambush you.
Finally, after you’ve passed through the last ring, Takama Shrine will spawn near the ruins.
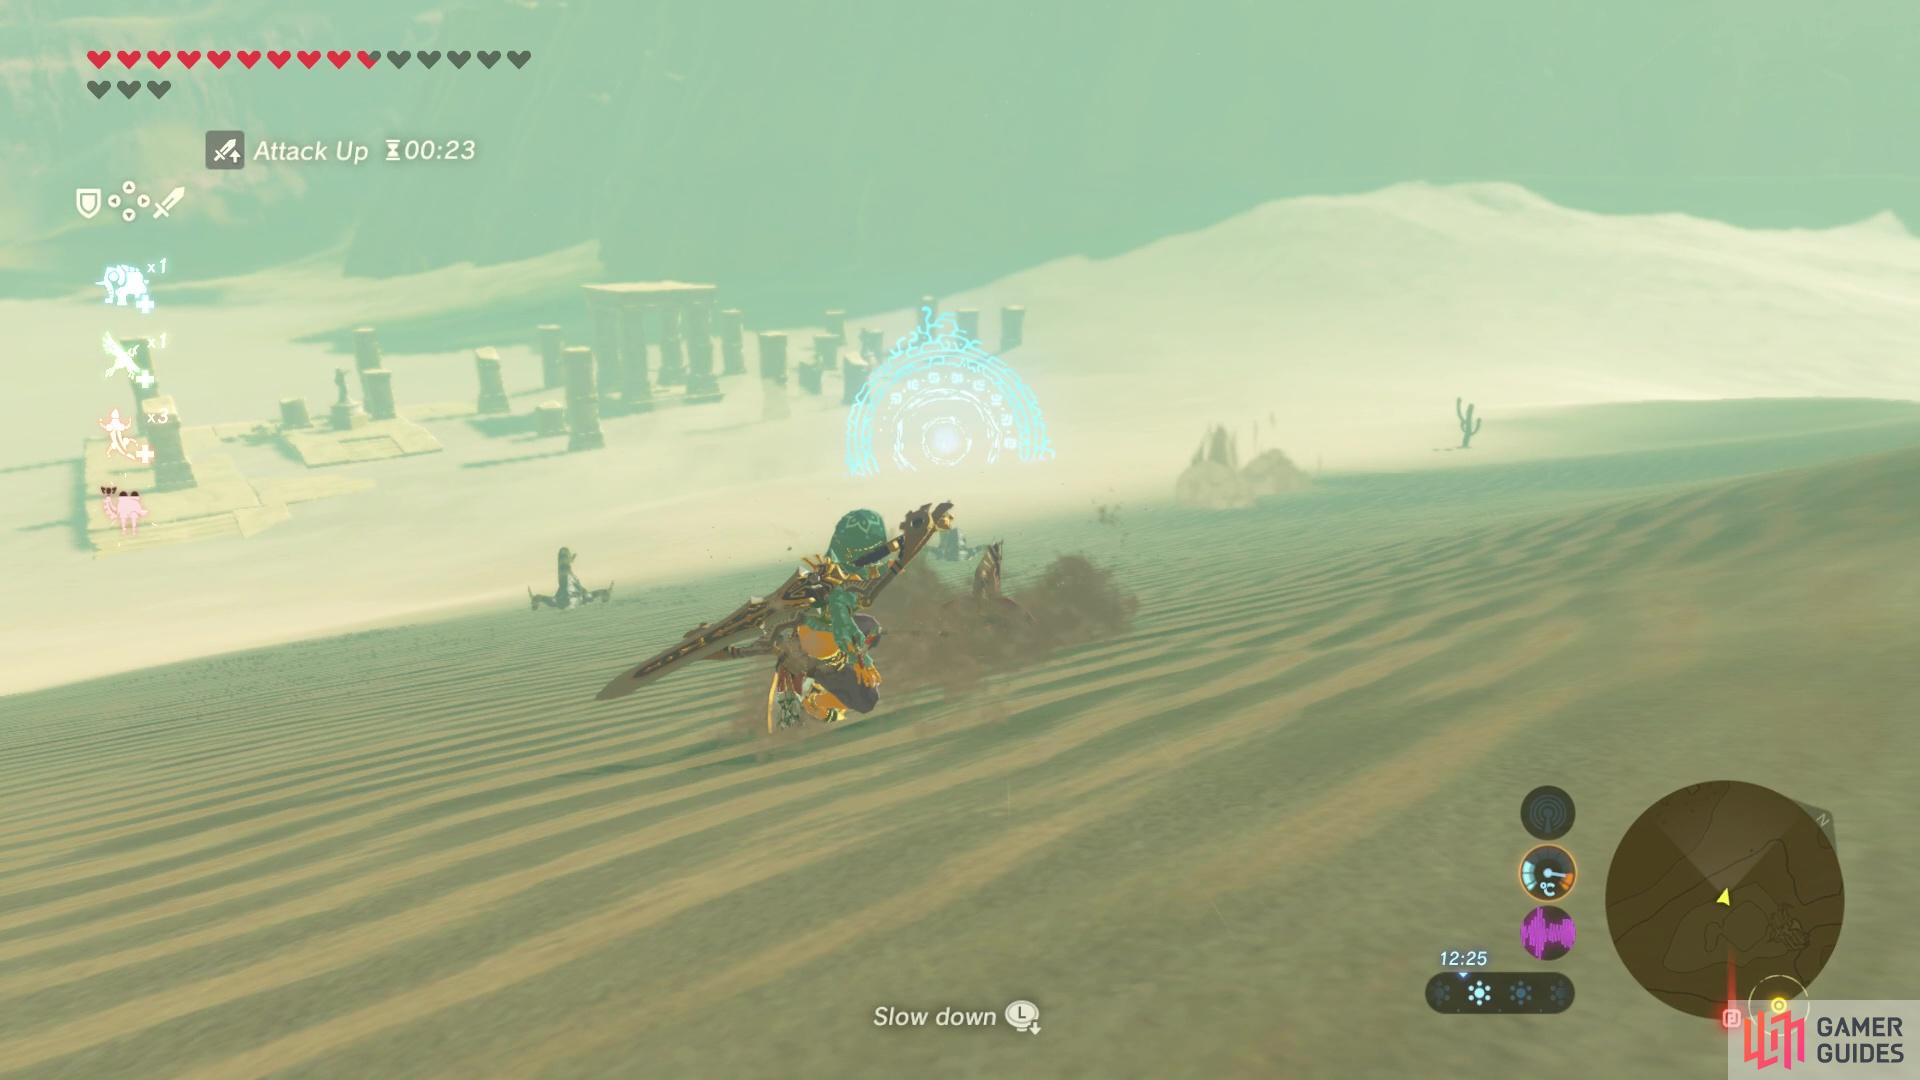
The final ring is found near some ruins.
How to Complete Takama Shiri Shrine
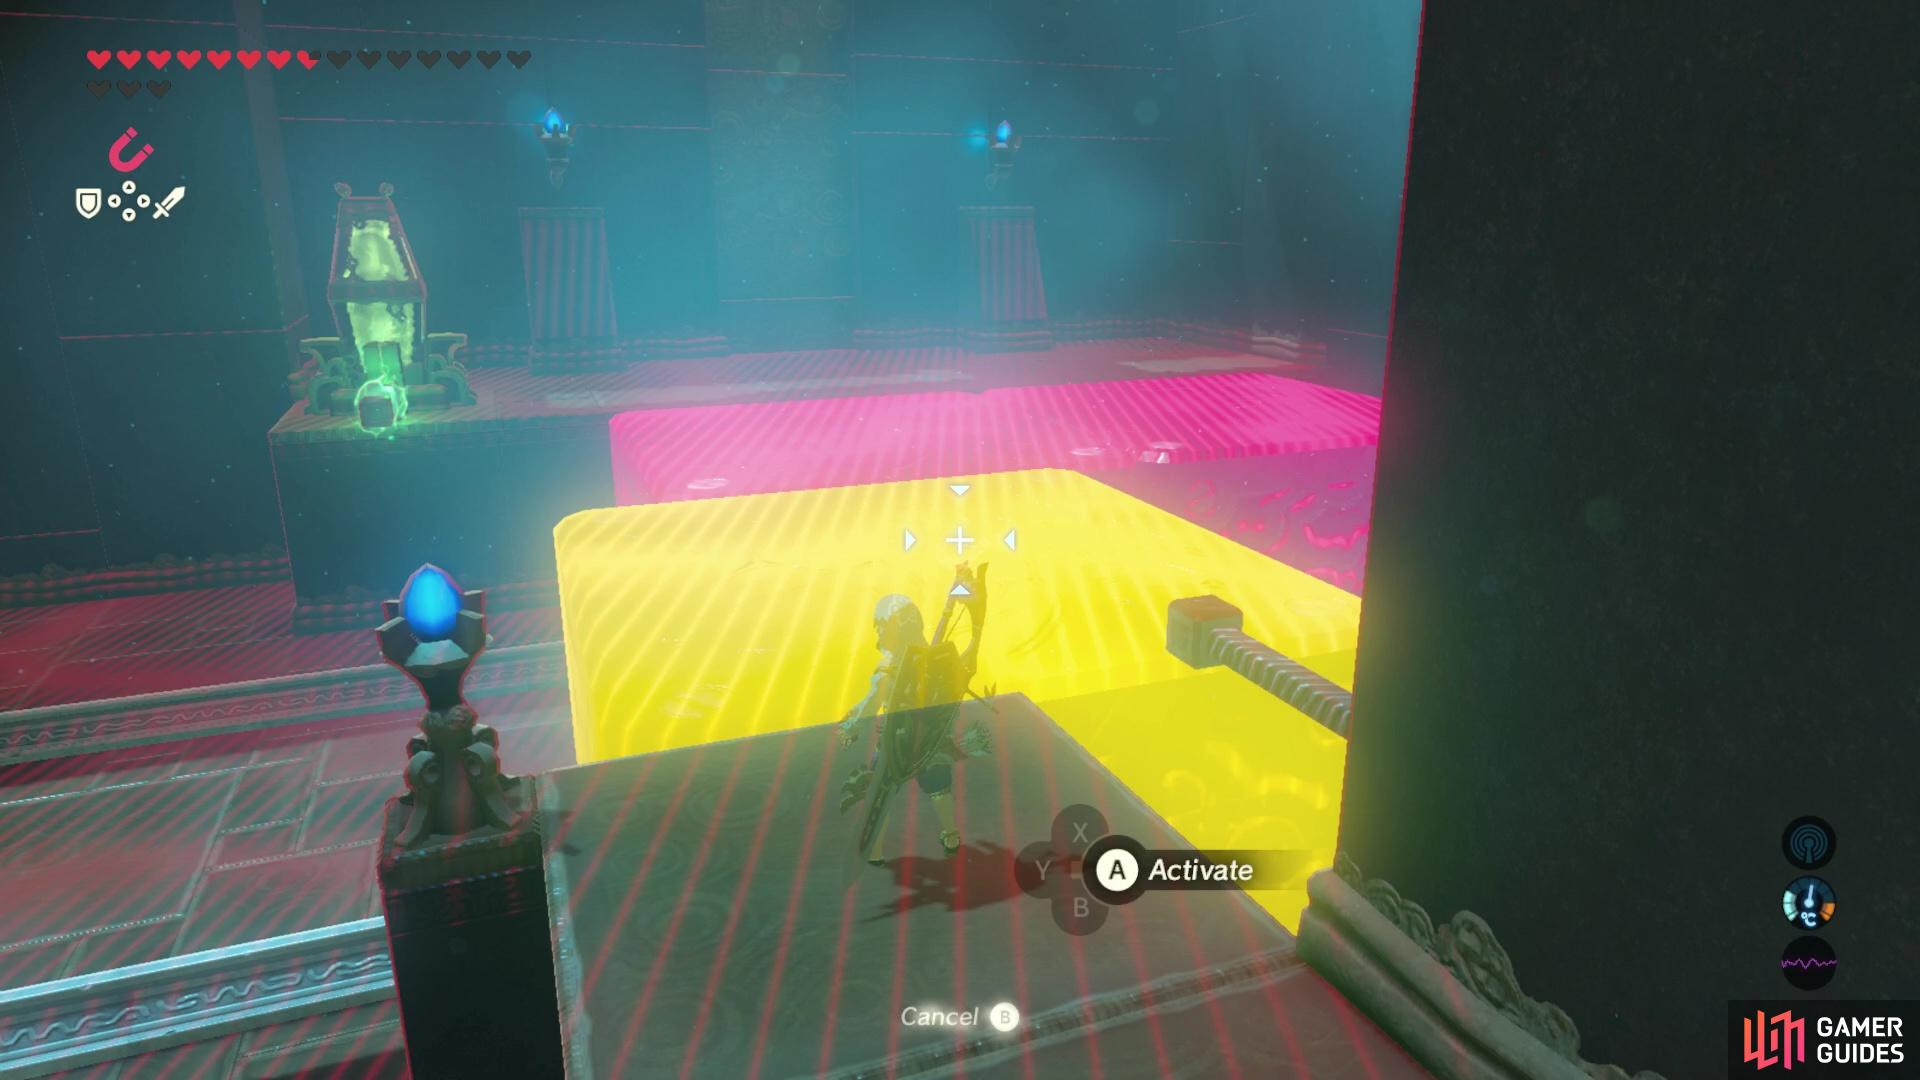
As you enter into the shrine, you’ll spot an electrical source to the right. Before you use the metal cubes to conduct the electricity to the other side of the room, move the blocks away and use them as a bridge to the platform near the gate. Then, from there you can use the metal cubes to complete the electrical circuit.
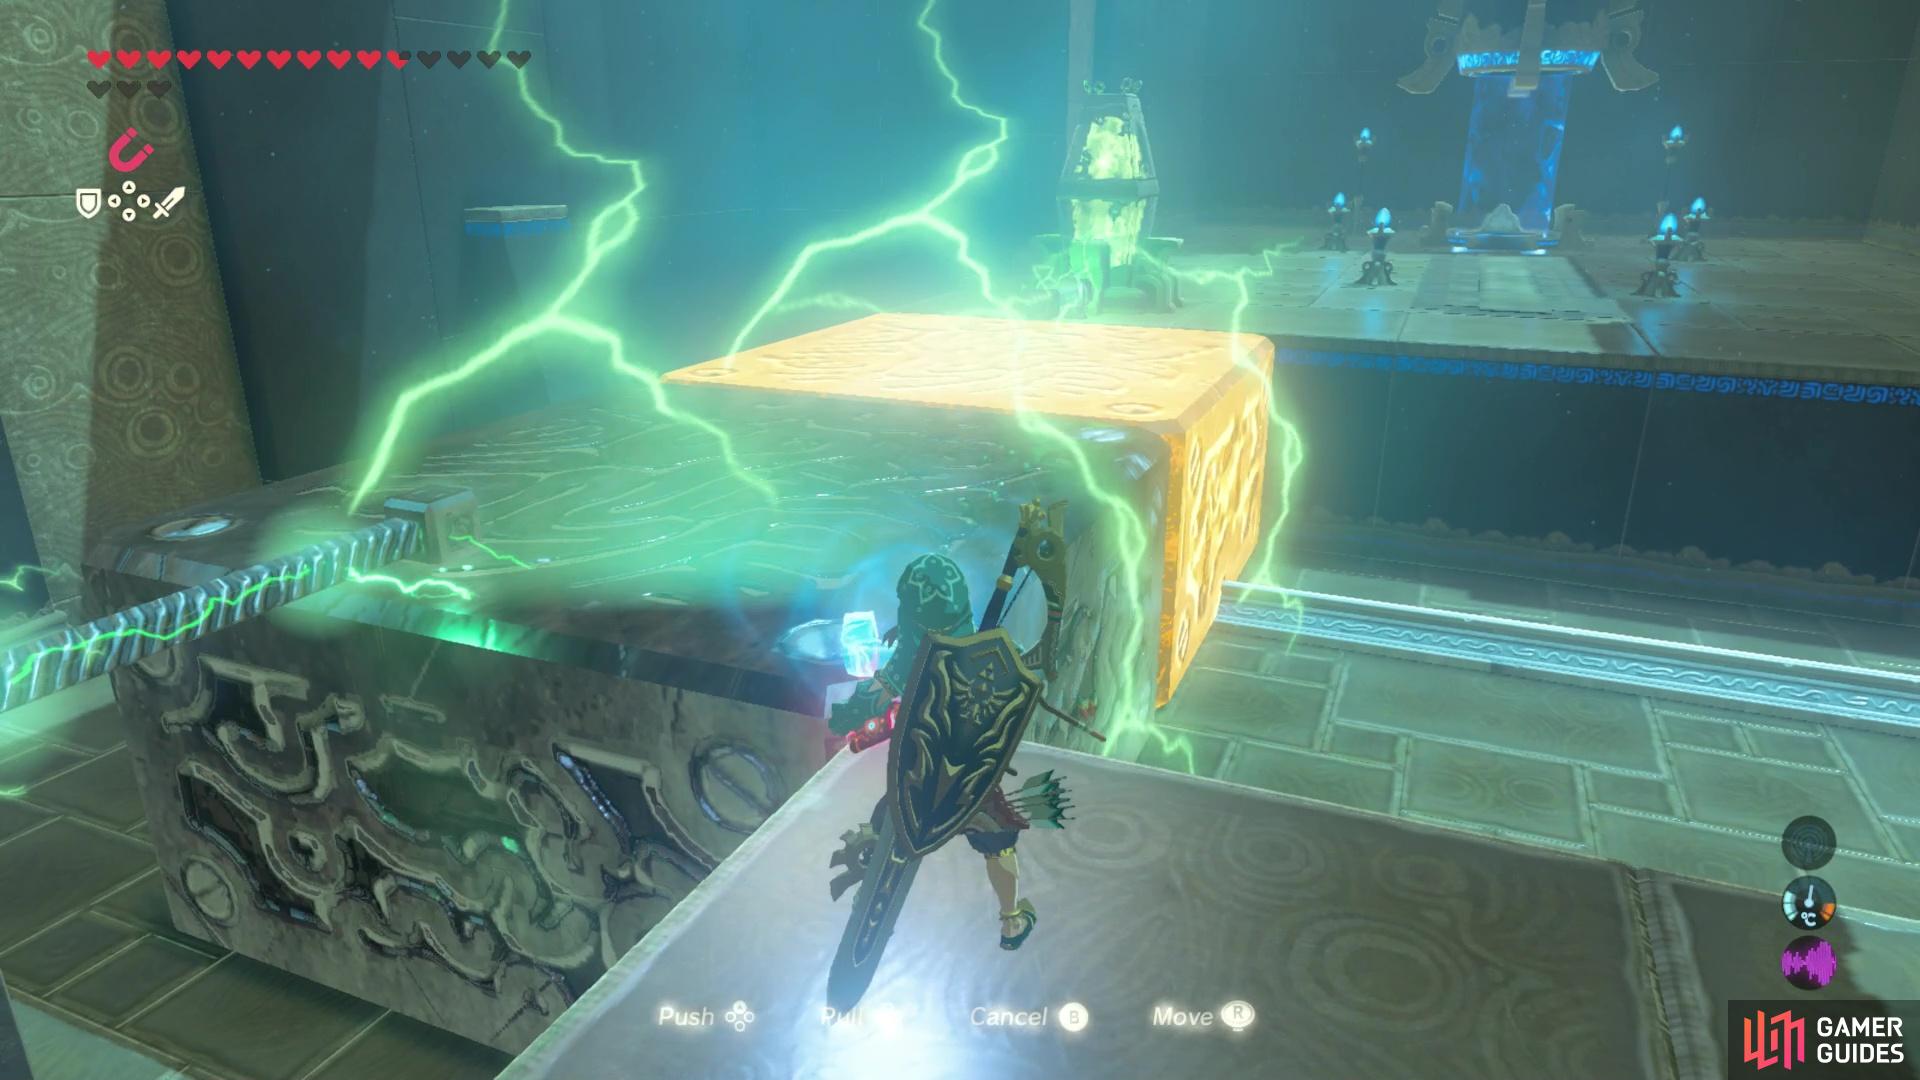
Use the blocks as a bridge first, then as a part of the electrical circuit.
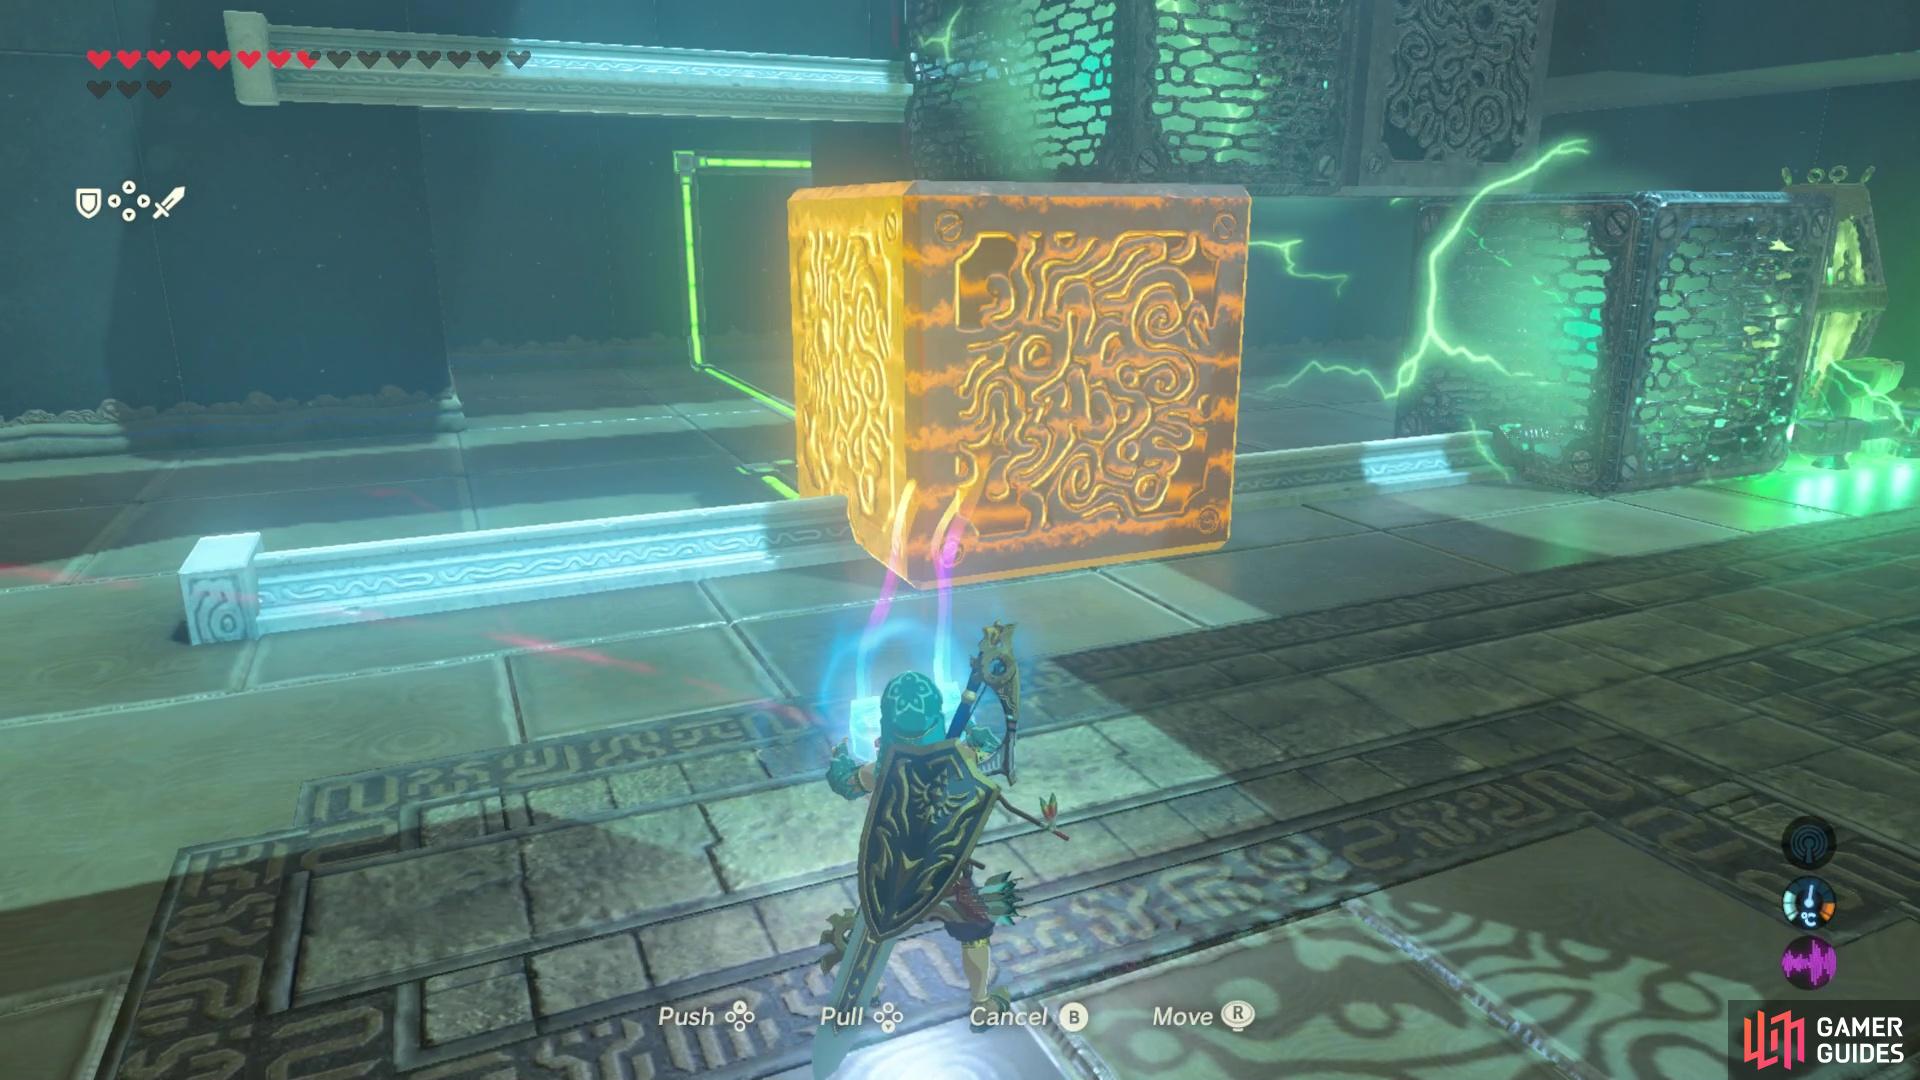
In the next room, you’ll want to hop down to the left and push the cube on the left side away from you and the other set of cubes. This will stop the electric from passing to the metal cubes and you can use the ladder to hop up and walk across these cubes and take the path to the right. When you’re at the end of this path, move one of the metal cubes on the right over to in front of you, so it lines up with the cube you pushed over. You can then cross over the cubes like a bridge. Then, move the cubes back over to conduct electricity and open the gate to the left.
Use the blocks to create another bridge

and once you’re across, you can then use them to conduct electricity.
In the following room, you’ll find a series of metal cubes and climbable blocks on rails. You can move them around with magnesis to conduct or not conduct electricity. The first thing you’ll want to do is move the blocks over from the right, whilst maintaining the electrical circuit to reach a wire in the middle of the room. When this wire is powered up, follow it around the corner and you’ll find a chest behind an opened gate containing a Royal Bow with Attack Up + 14.
Next, temporarily break the electrical circuit by moving the bottom right cube away from the electrical source. You can then climb up to the higher up platform. From there, you want to make a completed circuit from the rightside over to the left using the metal blocks. Once the circuit is complete and the wire on the left side of the room is powered, the gate to the end of the shrine will open and you can claim the second Naboris’ Emblem.
Use the blocks to power the electrical wiring that opens the gate to a treasure chest
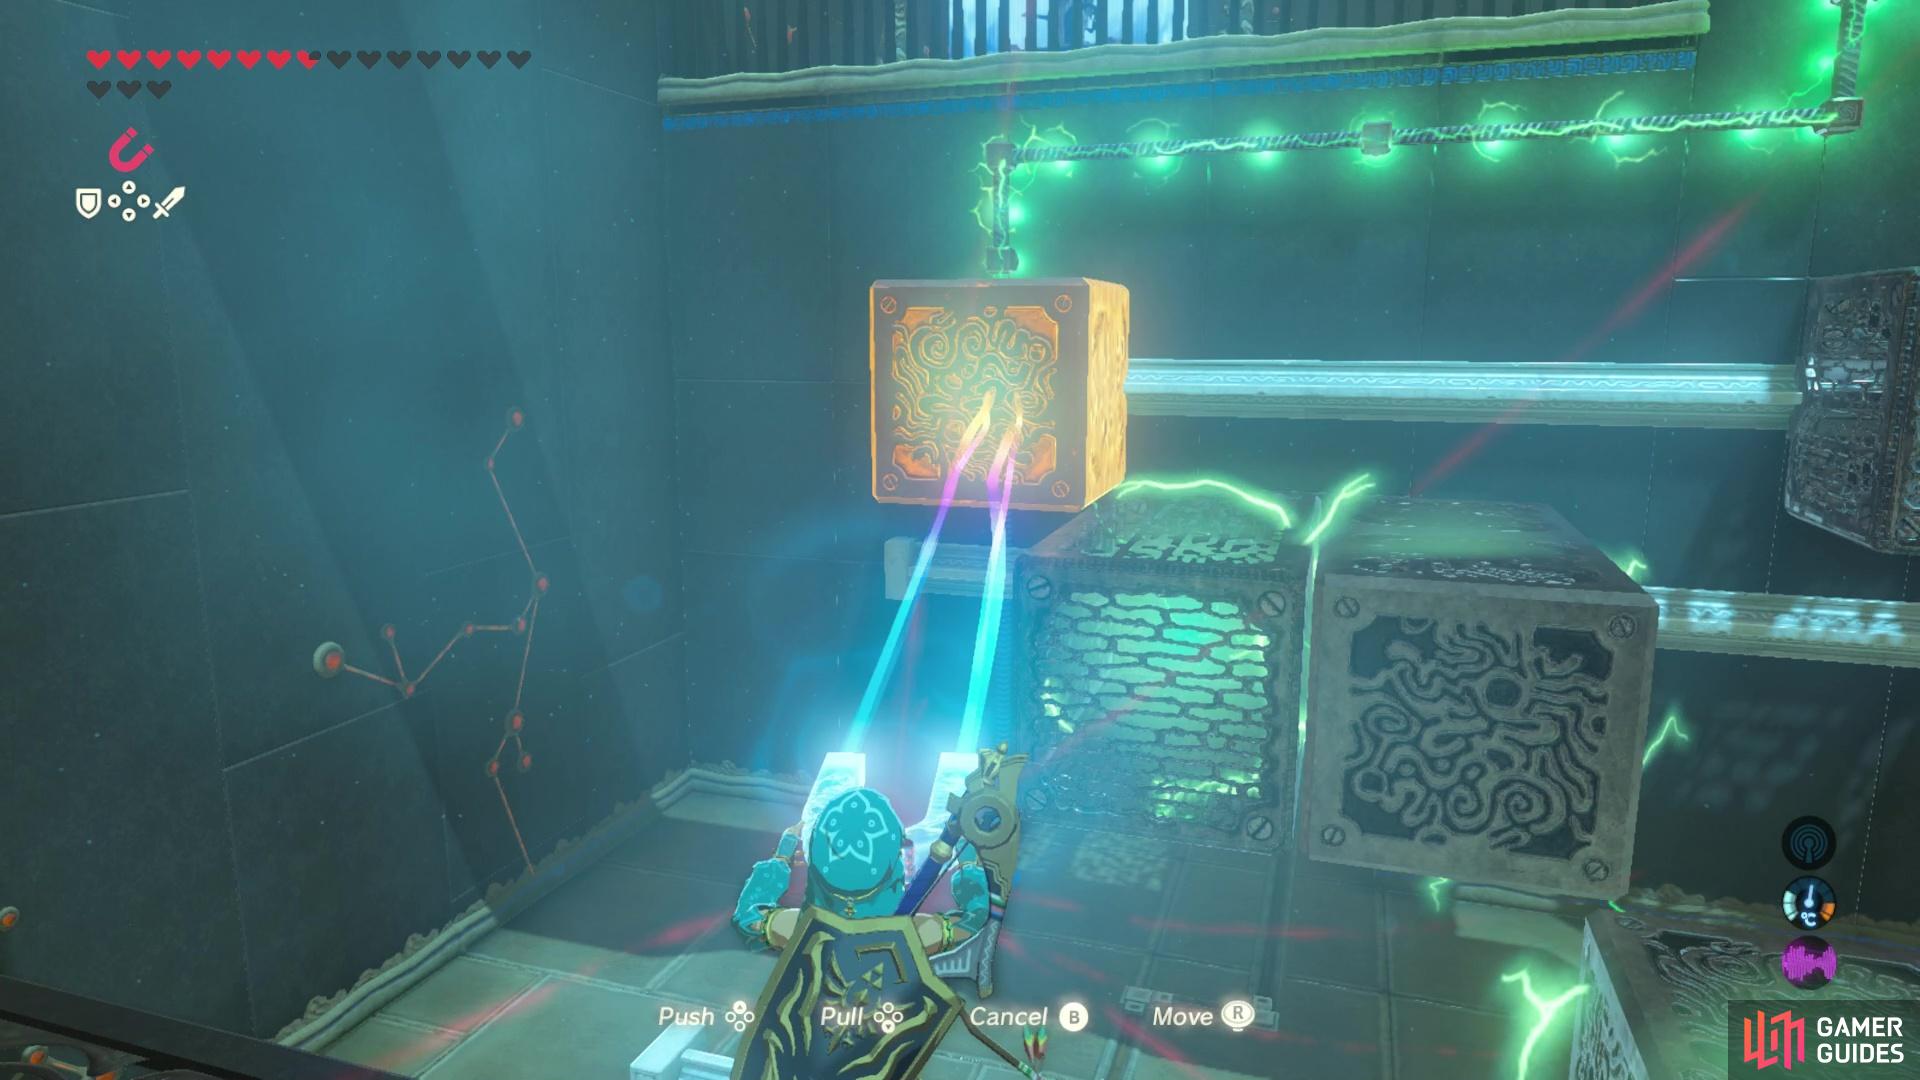
then you can finish up the shrine by completing the big circuit.
No Comments