
The Quest Seek Out Impa will be given to you once you’ve completed The Isolated Plateau.
Main Quest: Seek Out Impa
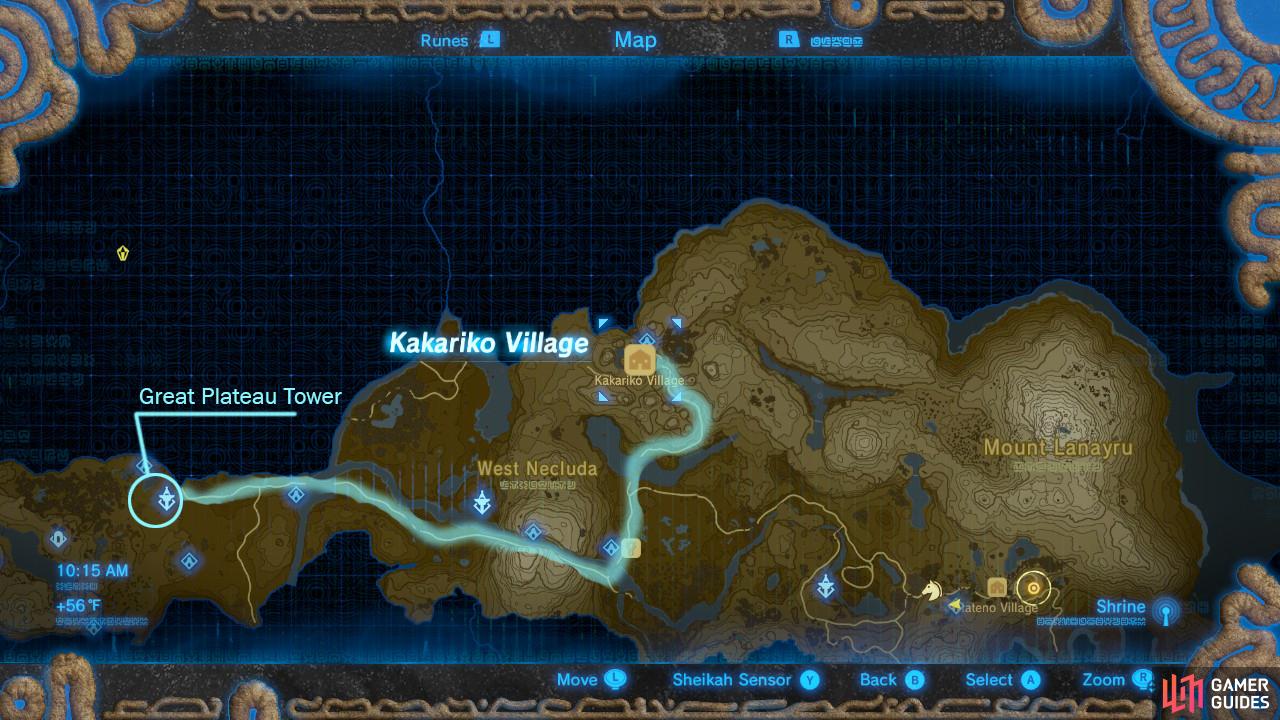
Look at your Sheikah Slate and you will see that Kakariko Village is out to the northeast. Jump off the Great Plateau and use your Paraglider to start going east if you would like to get there quickly and safely as the map above shows, and then follow the highlighted path for the safest route to Kakariko Village.
Outpost Ruins
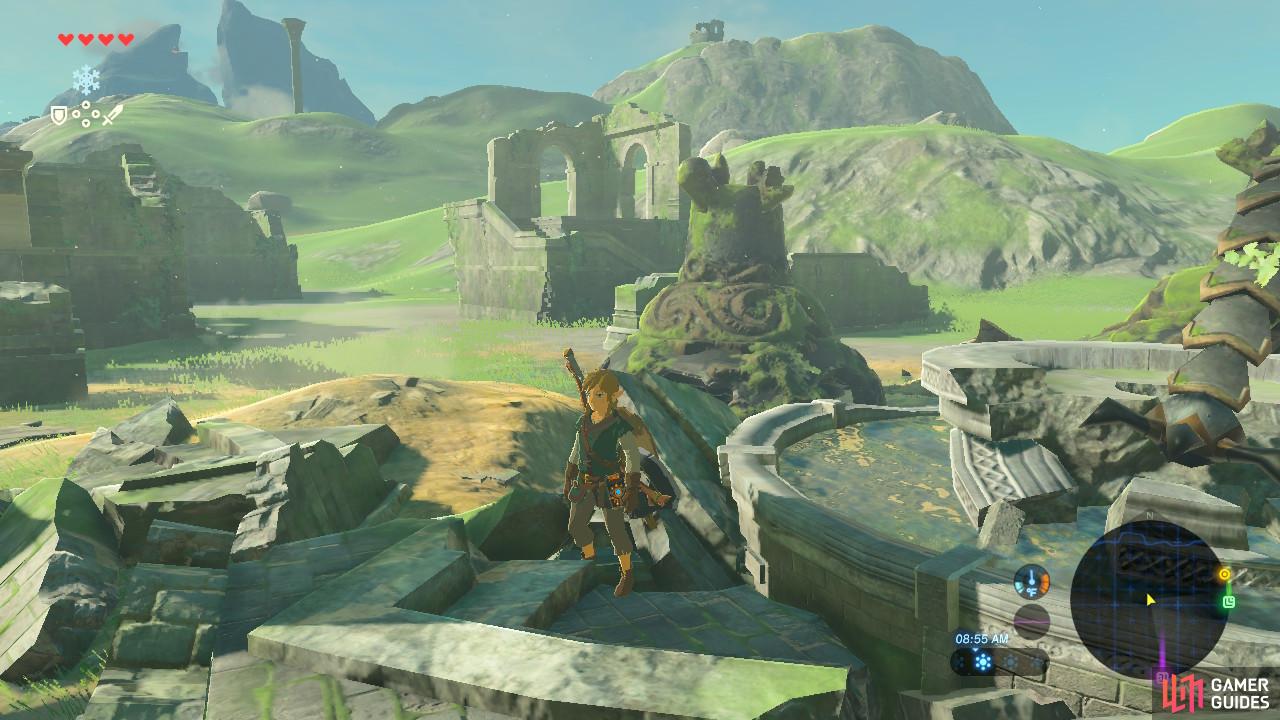
The Outpost Ruins are remnants of Calamity Ganon’s fury
The Guardians here can all be searched for precious Ancient parts.
If you jumped off the eastern side of the Great Plateau, you will likely land in a new location, the Outpost Ruins. There are a lot of dead, decaying Guardians here (no live ones, thankfully), and there are also a lot of Moblins, enemies that look like gigantic Bokoblins. Their weapon is slow but will probably kill you in one hit. The safest way to dispatch of them and steal their weapons is to just throw a ton of Bombs at them while running away. They don’t move very fast.
Be sure to pick through the Outpost Ruins for treasure! There are treasure chests like this one lying all over Hyrule, and they will always contain something useful.
Proxim Bridge
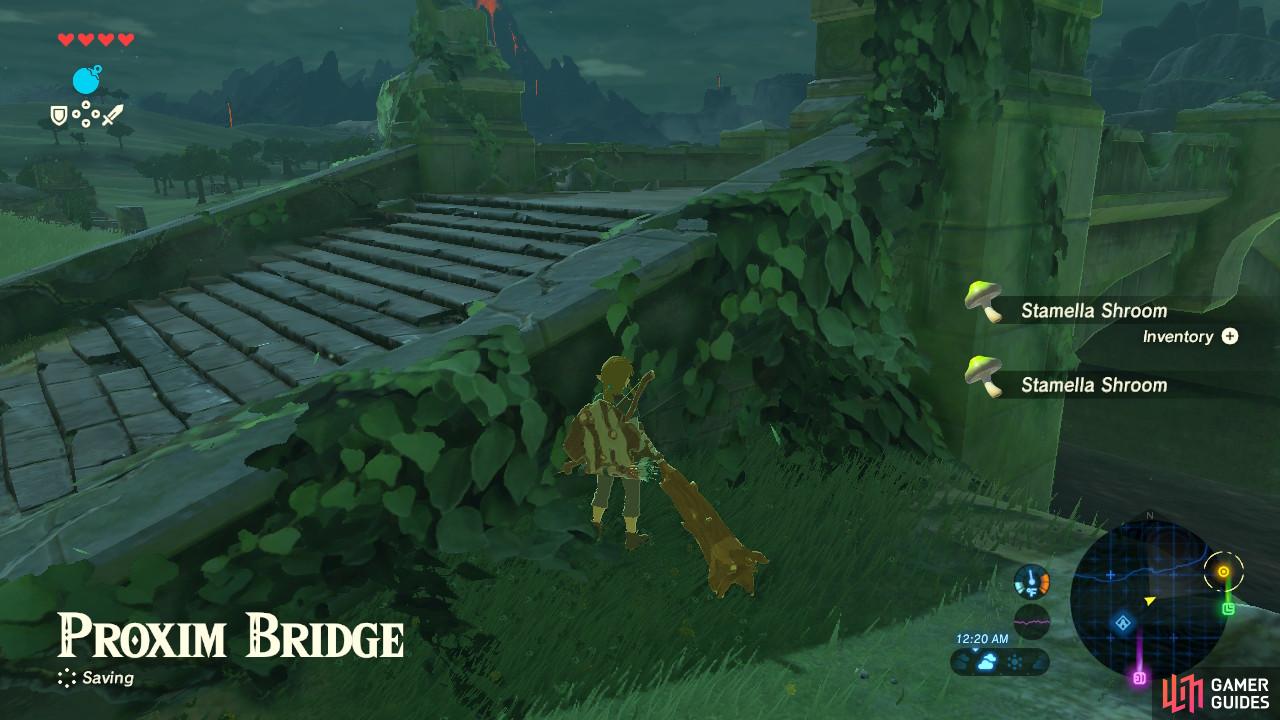
There are some Stamella Shrooms off to the side
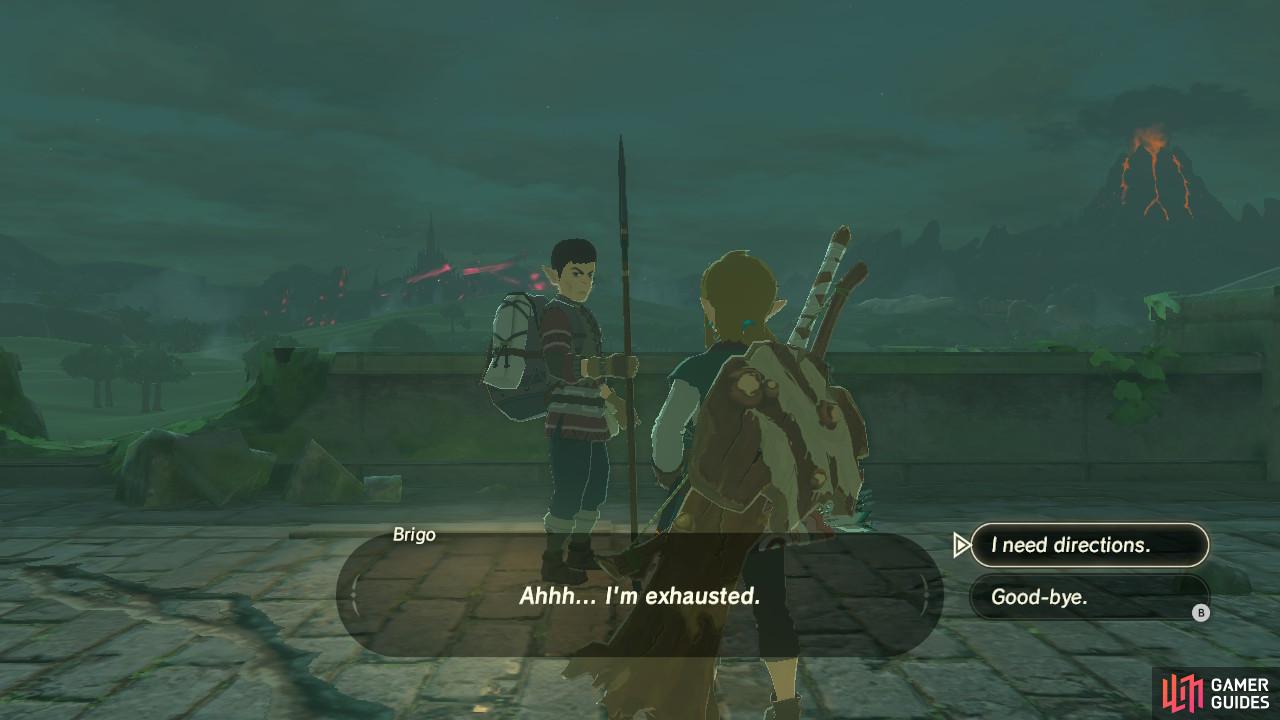
Brigo is one of many traveling NPCs you will meet on your journey.
Farther ahead you will reach Proxim Bridge. There is an NPC named Brigo chilling out if you want to talk to him. He has a lot of useful information for you should you choose to chat him up. He will also provide you more directions to get to Kakariko Village should you need them.
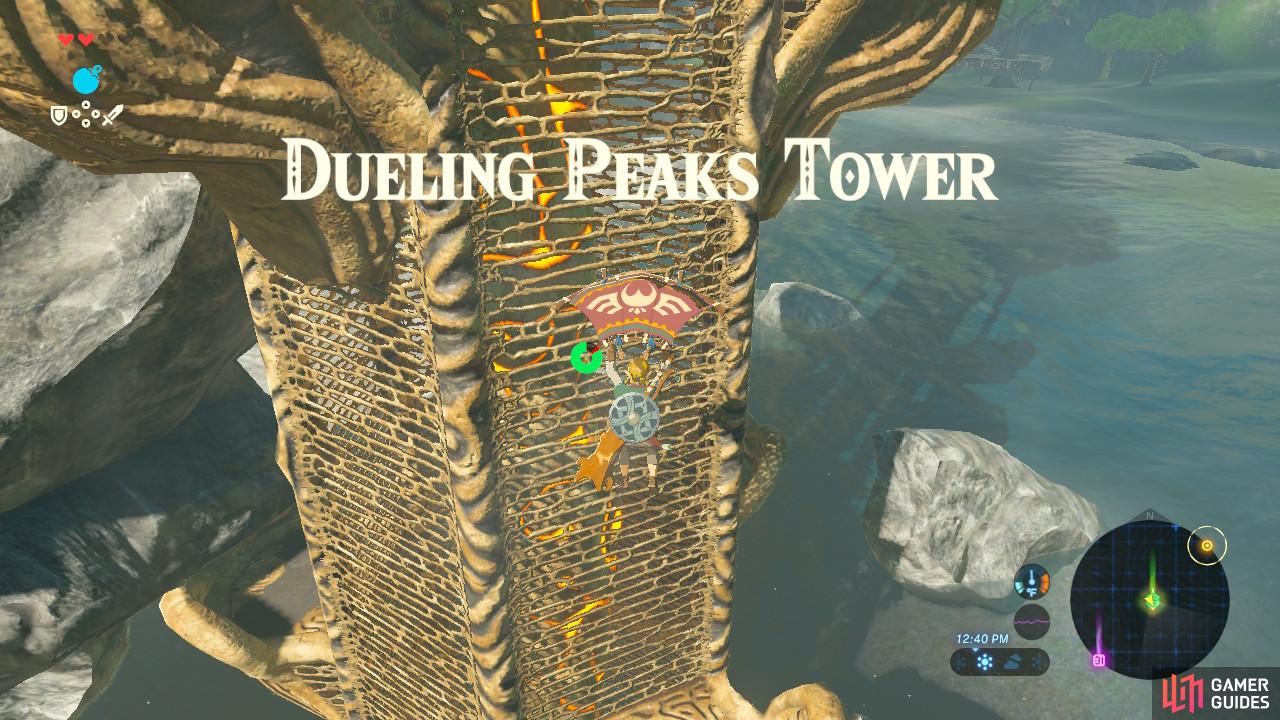
It’s a long climb so Paragliding can give you a head start
Scale as many Towers as you can to fill out your map!
Past Proxim Bridge you can see the Dueling Peaks Tower standing proudly to your left. You can approach by swimming across the river, using the rocks dispersed in the middle as break points (or eat stamina-replenishing food) and then either swim right up to the tower of Paraglide off the nearby hill. Just beware the Bokoblin Camp.
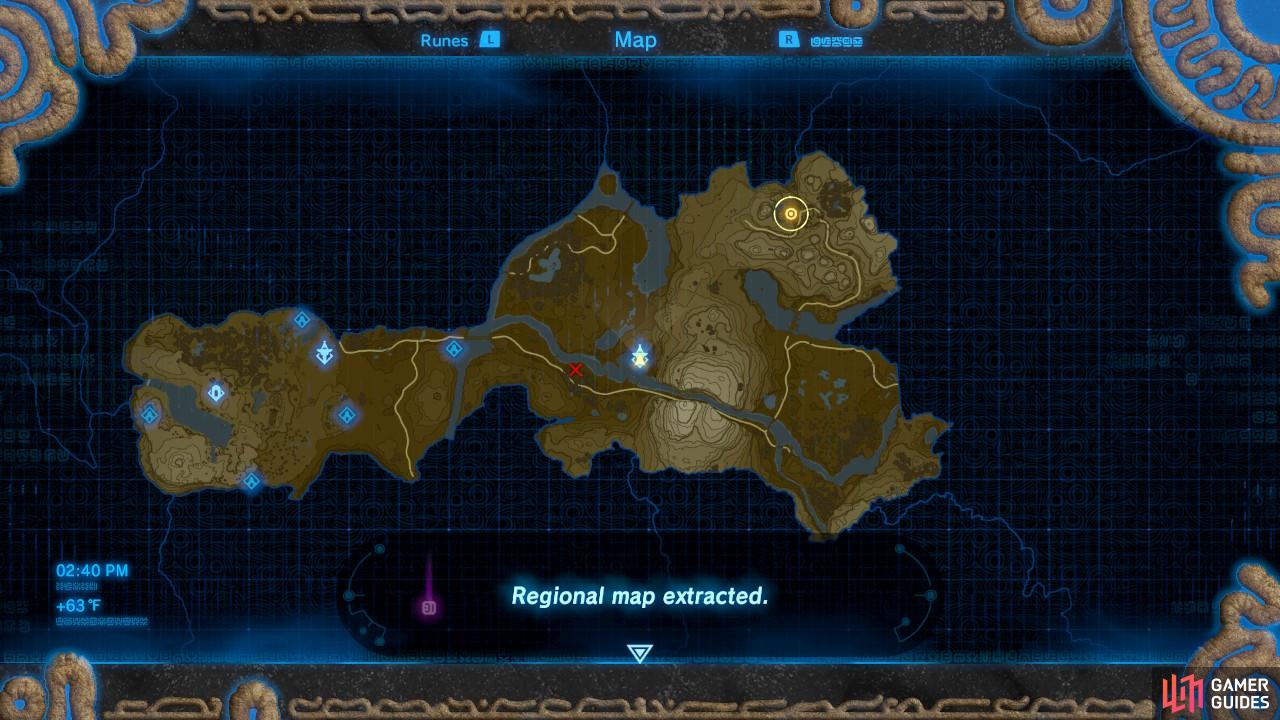
Once you activate the tower, you will have this region’s map filled in to make navigating your way easier. You will also be gifted a new Sheikah Slate feature: a shrine radar. You can toggle it on and off. If left on, the game will beep at you if you are nearby a shrine and will beep louder if you are headed in the right direction to find it.
Dueling Peaks
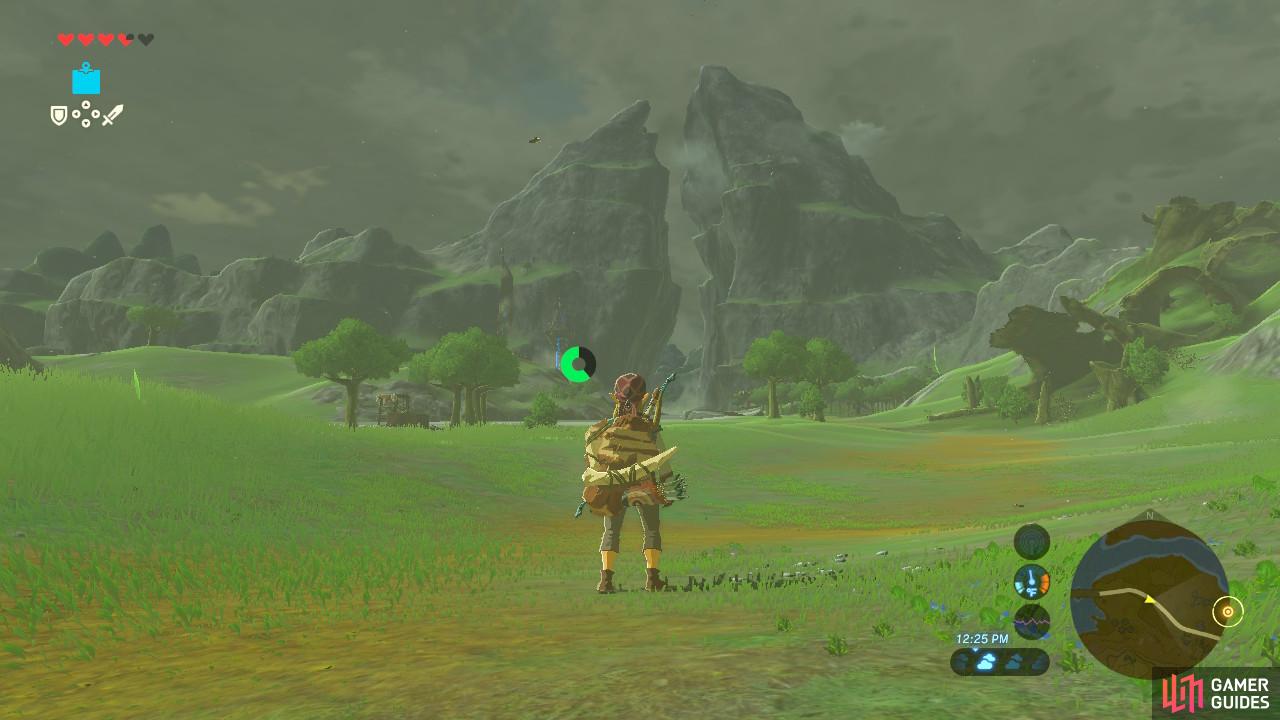
There are a lot of enemies that frequent this area

To the left within this valley is a Shrine. Be careful about swimming in the river as there are Octoroks and Lizalfos.
Our next major landmark on the way to Kakariko Village is Dueling Peaks. As the name would imply, it is two mountains extremely close to each other, creating a narrow valley to pass through. Keep following the river but beware of Octoroks. They will pop out from under the water and then throw a rock at you. You can only damage them when they pop out above the water, so just try your best to dodge their projectiles. There are also Lizalfos swimming underneath the water that will jump out if you get too close to them. They do carry nice weapons and drop valuable parts if you want to start a fight.
Once you have passed through the Dueling Peaks valley, the area will open up dramatically and you will finally run into an actual human settlement! Well, it’s more of an outpost, but feel free to stop by and take a break.
Dueling Peaks Stable
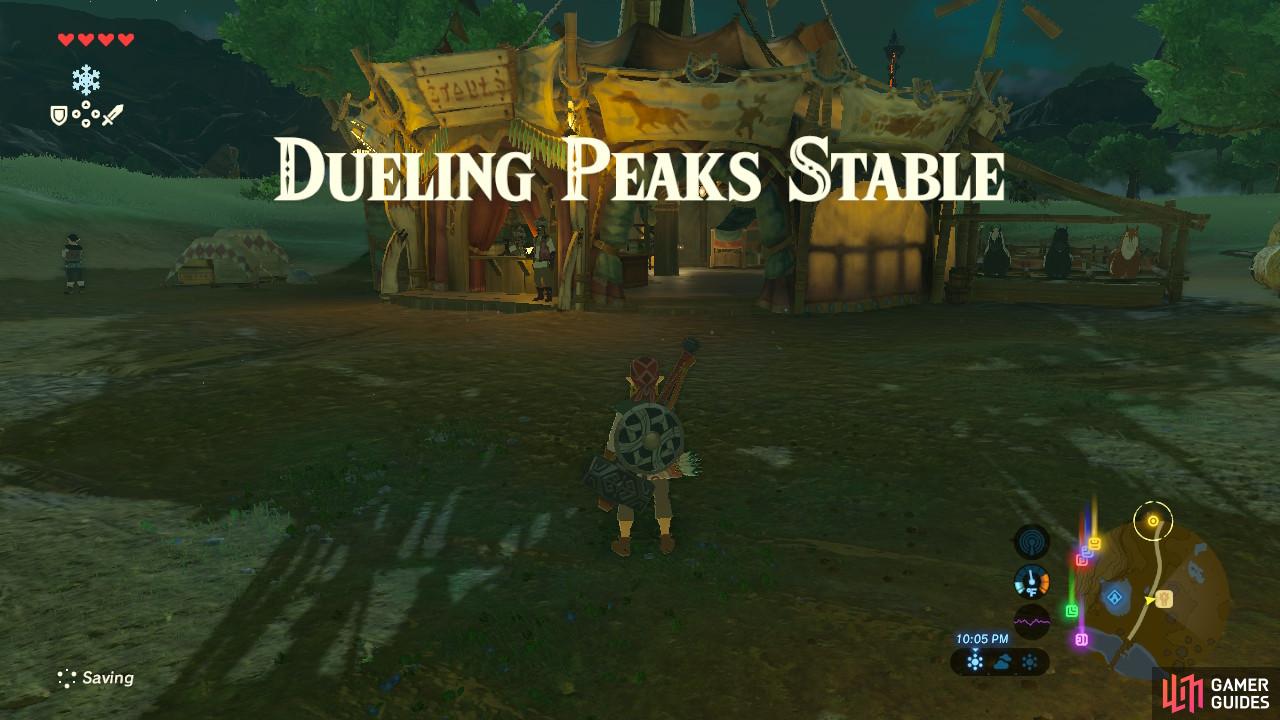
While small, these stable areas provide a great place to rest and replenish your supplies
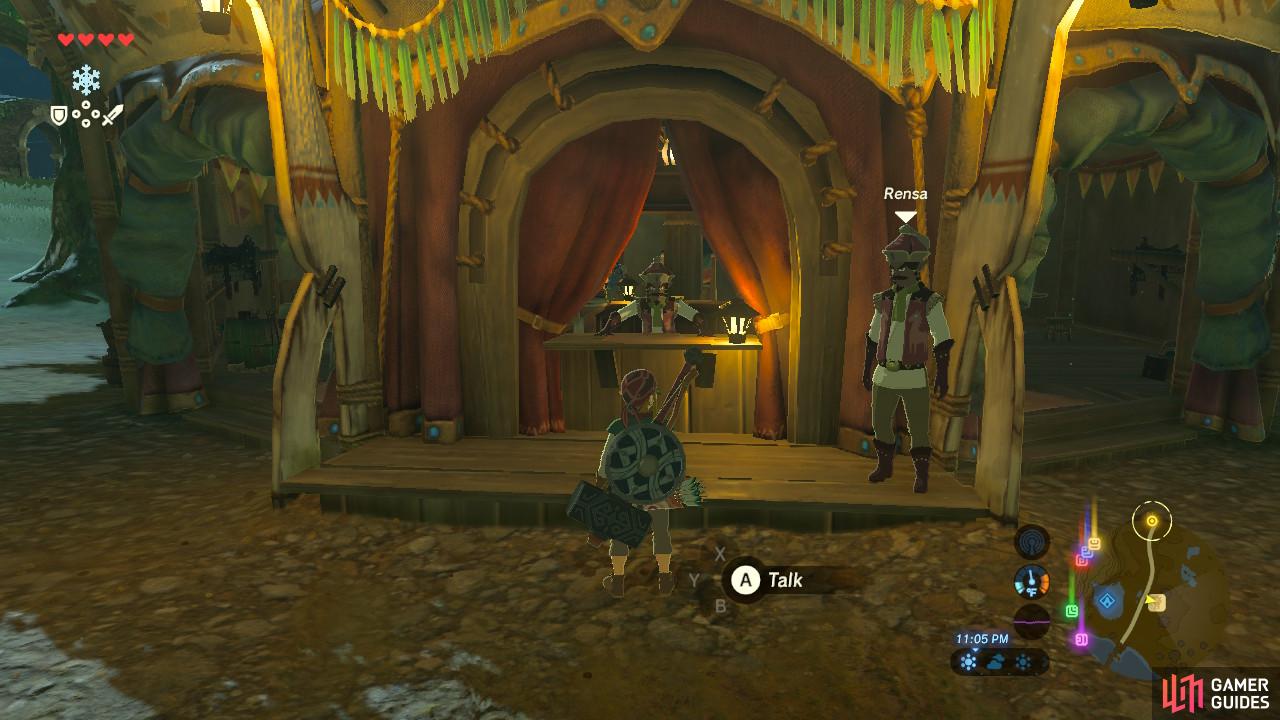
Talk to the NPCs at the desk if you need anything or want to learn about the area.
The Dueling Peaks Stable is one of countless stable areas scattered across Hyrule. Once you have discovered it, a stable icon will appear on your Sheikah Slate map so you don’t have to remember where they all are.
At the Dueling Peaks Stable, you can talk to the NPCs Rensa and Tasseren. They run the stable and will be more than happy to give you directions to Kakariko Village if you are lost. This stable also has an inn where you can sleep the night away. Finally, you can board horses here.
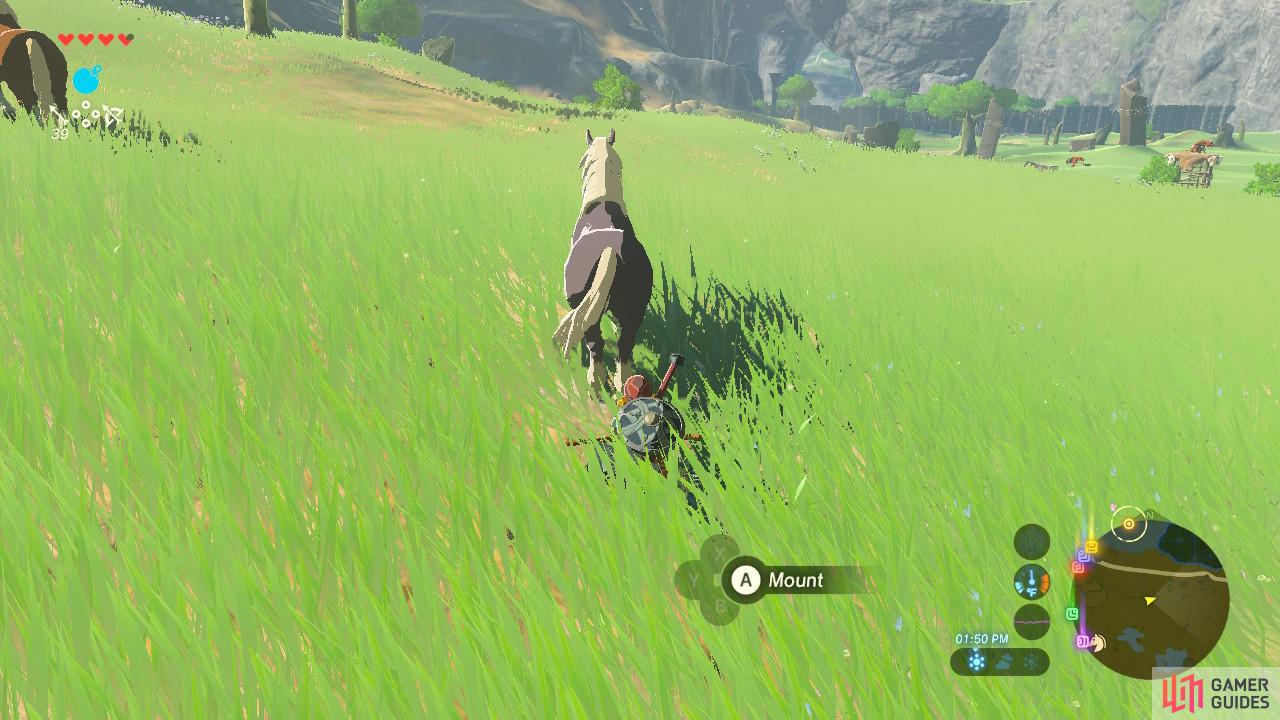
You have to be very quiet or they will either flee or kick you
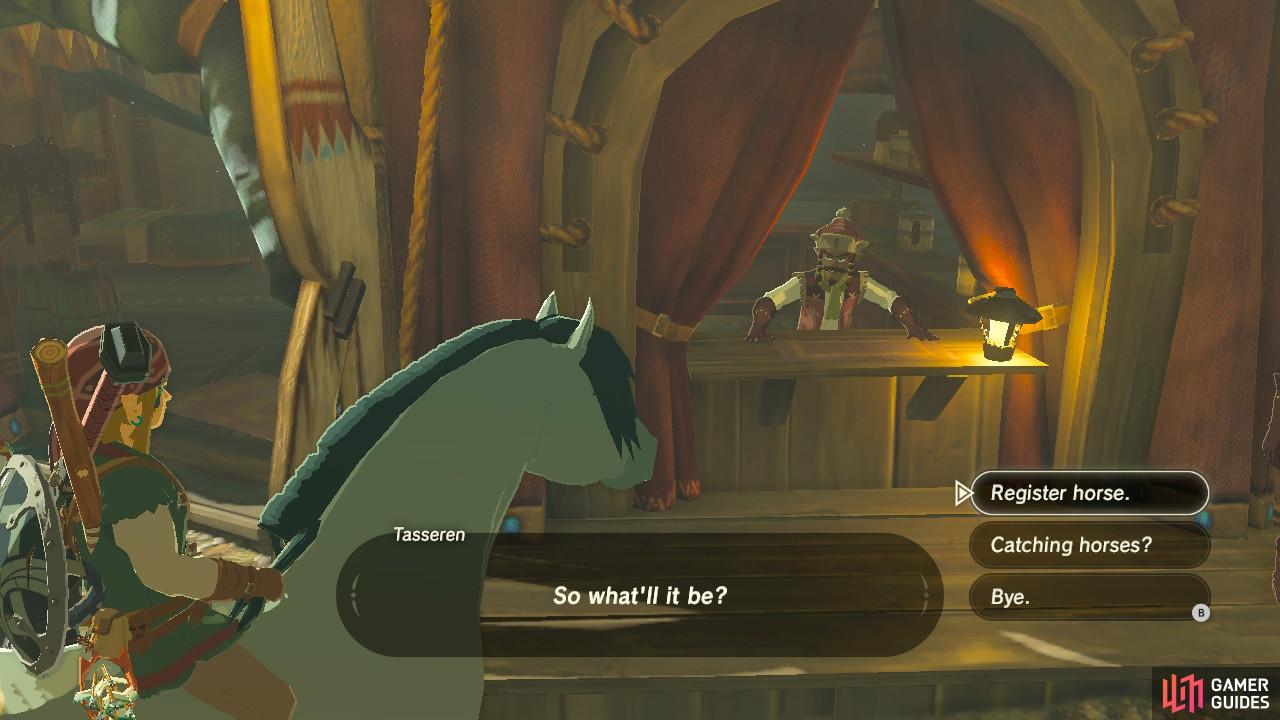
As you can see, we didn’t have enough stamina for the last horse so we settled for this one.
Horses? Yes, there are horses in this game! If you would like to get a horse of your own, there is actually a herd right outside the stable in the nearby meadow. To get a horse, sneak closer to them and when the game prompts you, press [A] to mount. Some horses will require you to hang on to them while they buck and if you run out of stamina, you will get thrown off. Other horses have a gentle temperament and just need to be soothed with the L shoulder button. It costs 20 rupees to register one horse to a stable.
The stable is right along the path that you will want to take north to get to Kakariko Village. Once you’ve had your fill of the stable, move on out.
Kakariko Bridge and Hestu
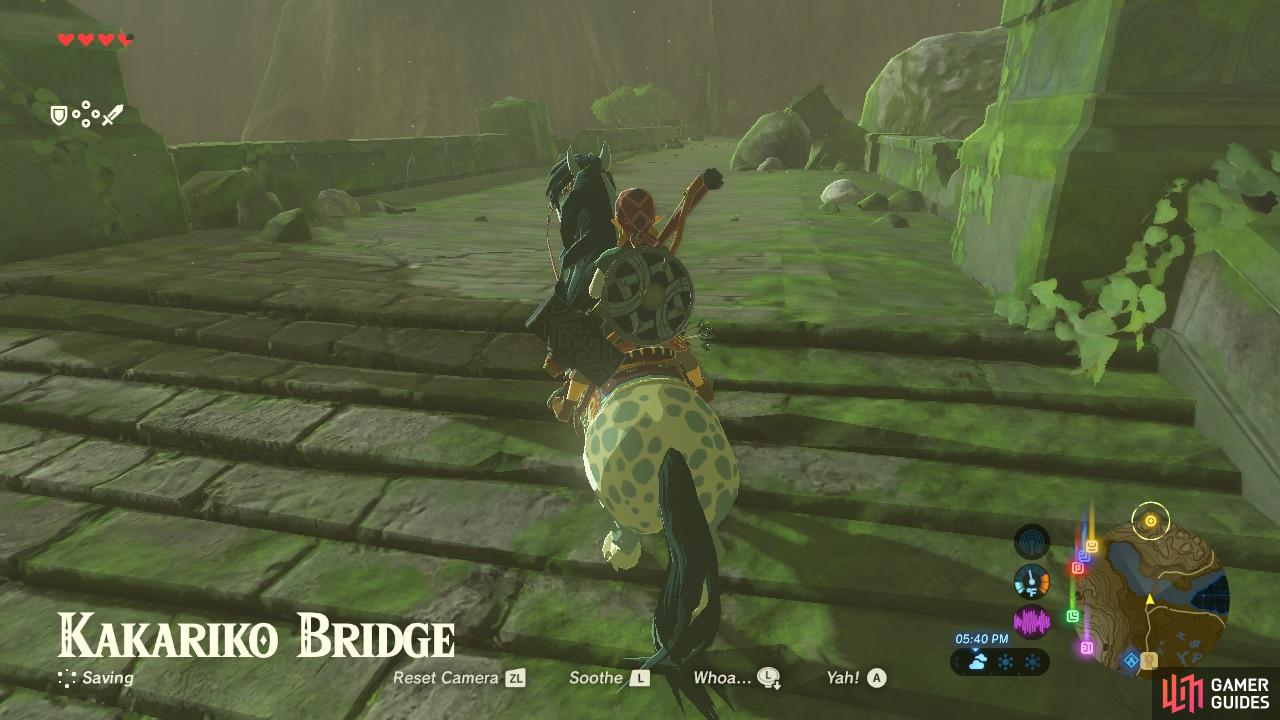
Traveling by horse is fun and fast
Who is that odd NPC up ahead?
Your next major landmark will be Kakariko Bridge. Cross it and continue to follow the winding path up and north. Don’t miss out on the plants and animals you can gather and hunt along the way, though. If you meet any NPCs along the way take the time to talk to them. Some are traveling merchants that will sell goods and buy whatever you don’t need.
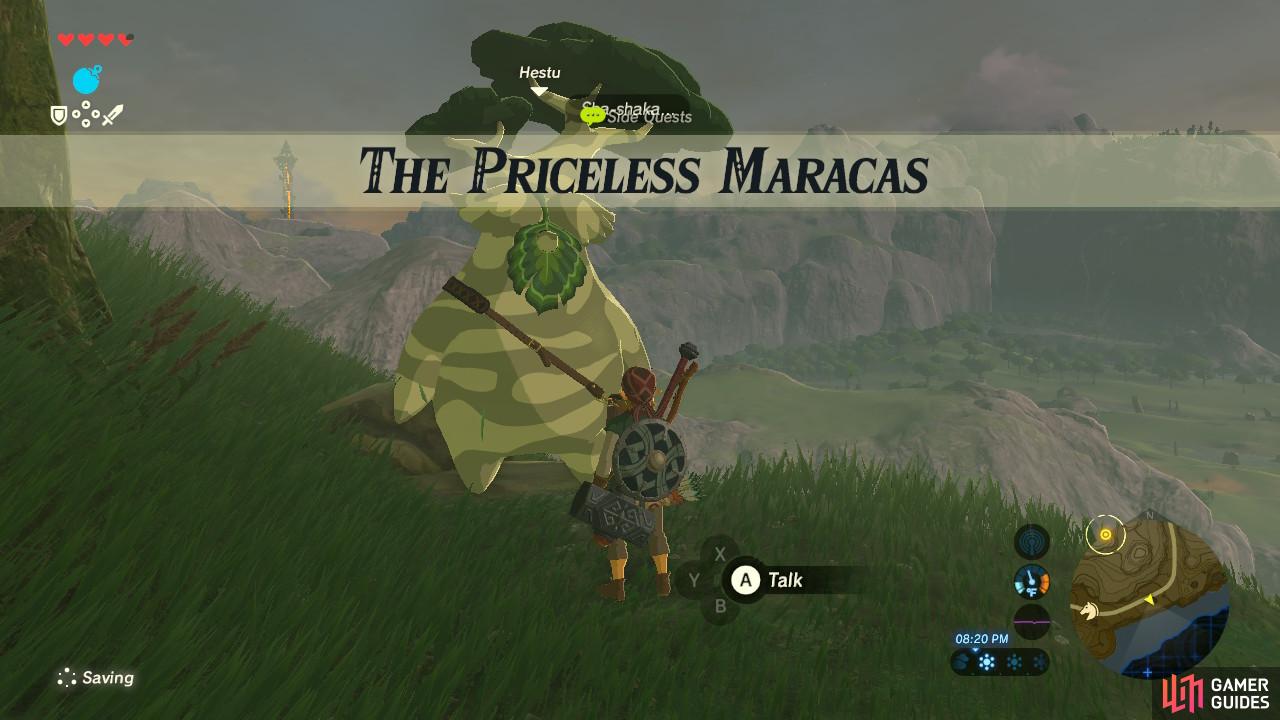
Hestu and the Priceless Maracas
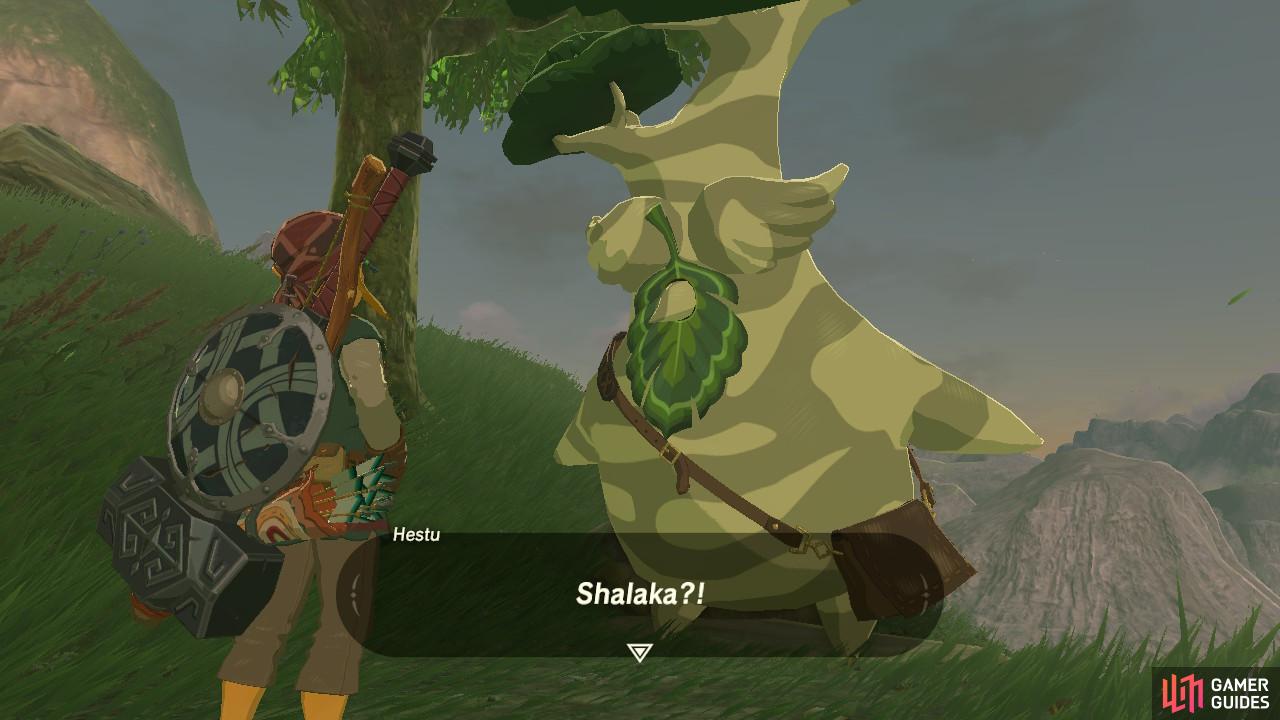
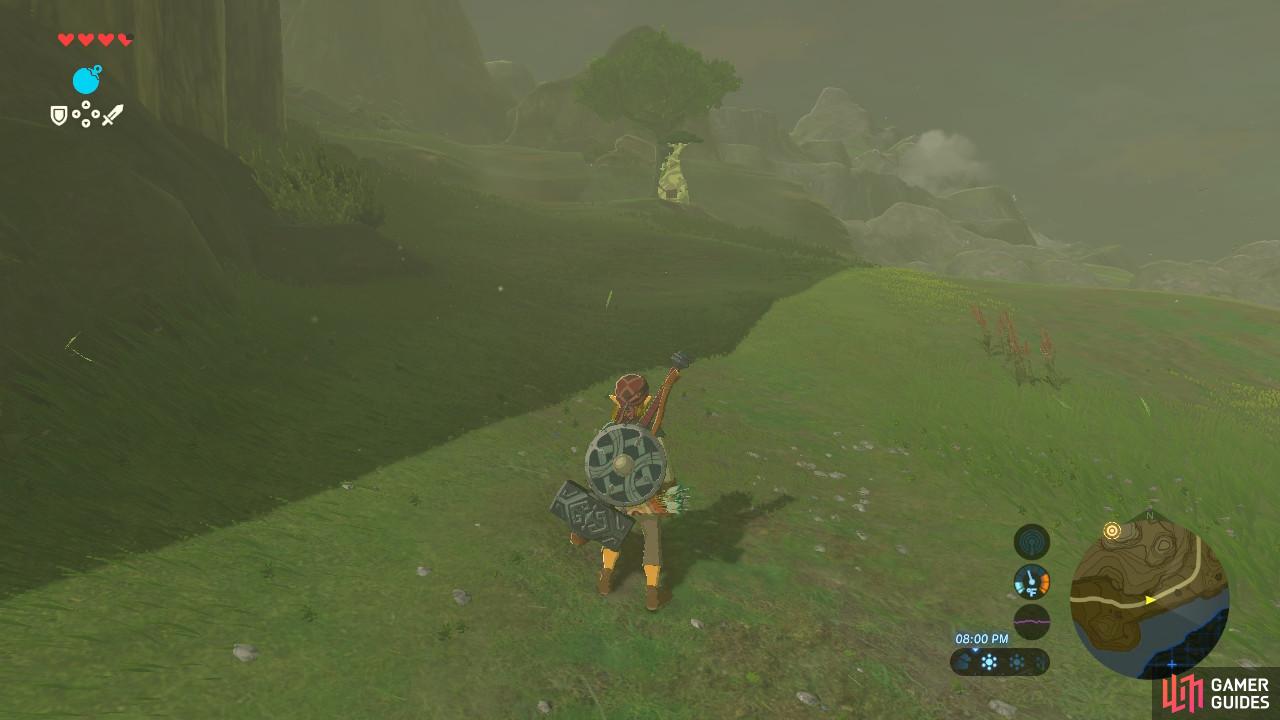
Yes, this sidequest is optional
But the immediate benefits you get from completing it now are invaluable.
Along the path you will eventually run into what looks like a giant Korok Seed. He looks pretty depressed, so talk to him and you will learn that his precious maracas have been stolen. This will start a very brief sidequest, The Priceless Maracas. It is definitely worth completing this sidequest before heading over to Kakariko Village! After completing it, you’ll be able to speak to Hestu about increasing inventory size in exchange for Korok Seeds!
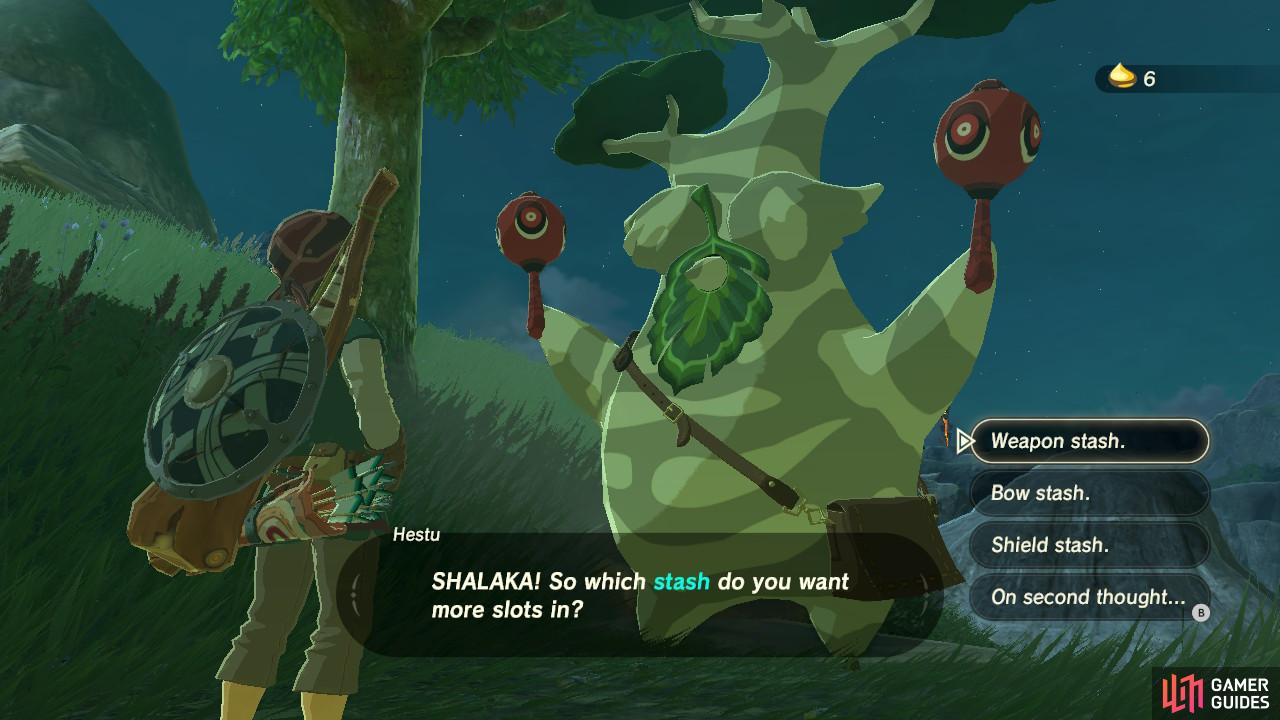
Choose carefully! We recommend expanding your weapons stash first
This is the solution to your weapons conundrum if you’ve been maxed out like us!
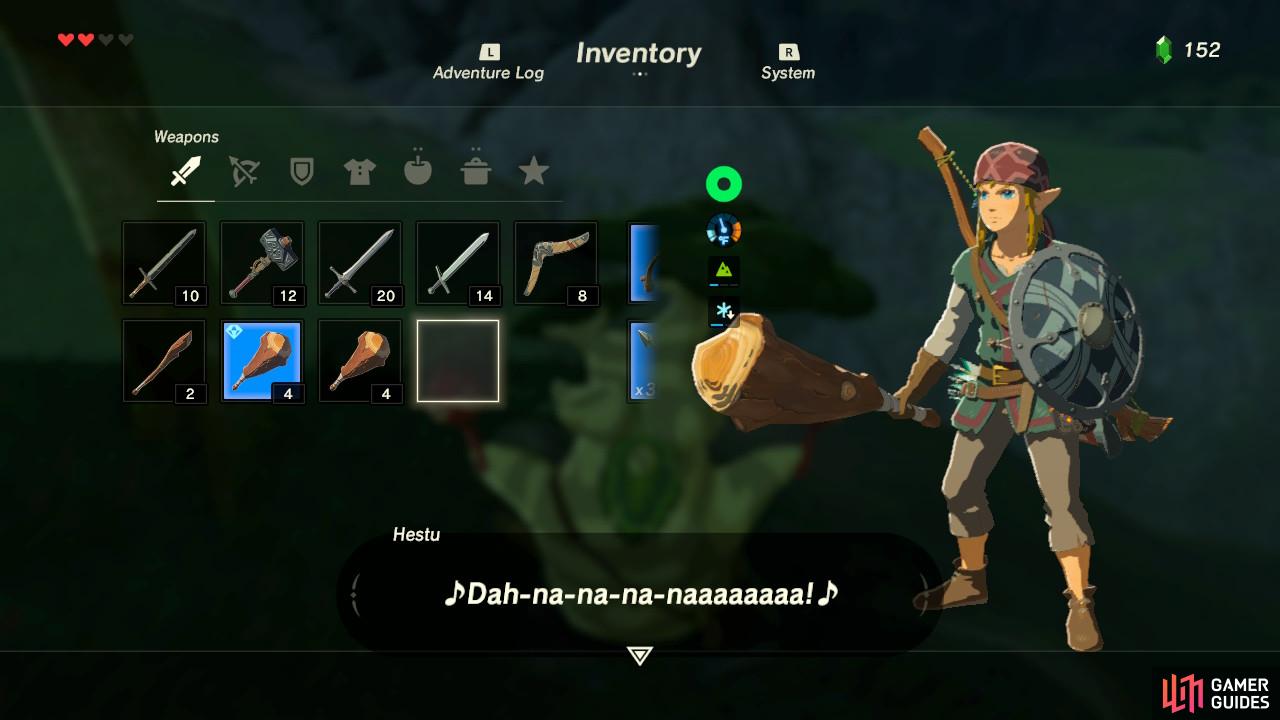
If you have at least one Korok Seed, Hestu will ask for it. Give it to him and you can choose whether to expand your Weapons, Shield, or Bow inventory by one space. Hestu will then need two Korok Seeds. If you have enough, hand them over and you will be given another expansion of your choice.
After this, Hestu will prepare to depart for Korok Forest and you will have completed this brief sidequest. Hestu will remain in Korok Forest for the rest of the game, ready to expand your inventory anytime. There are 900 total Korok Seeds in this game, but you will achieve maximum inventory size after giving Hestu 441 seeds. Time to start collecting!
Kakariko Village
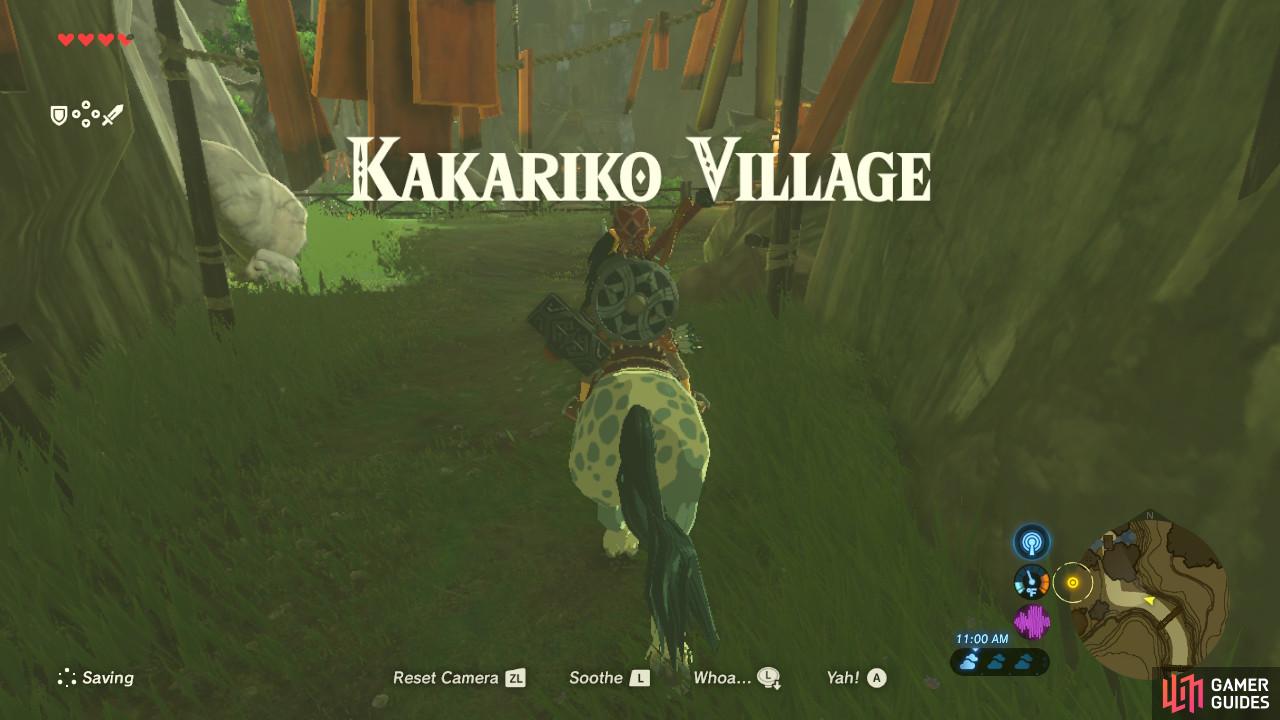
You have finally arrived!
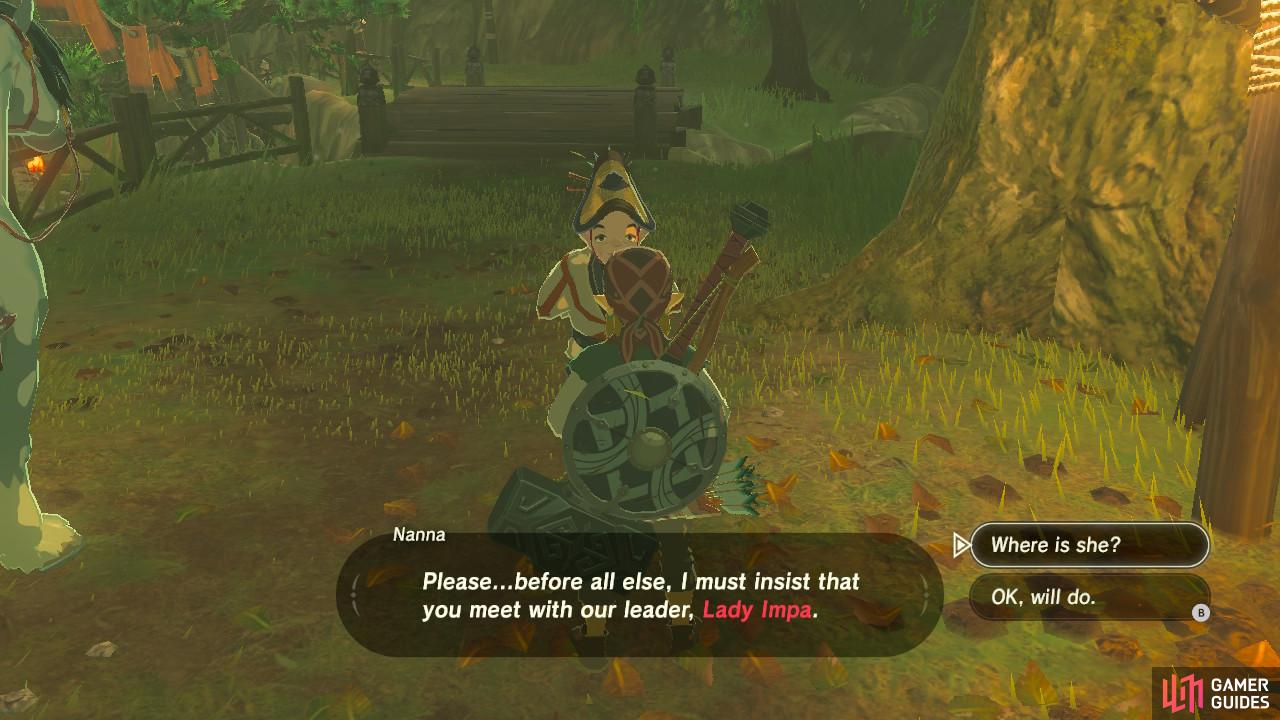
Nice of this lady to give us directions
The remainder of the winding path is pretty straightforward. Once you see Kakariko Village’s gates, you will have arrived!
An NPC sitting by the fire behind the gates will recognize you as the “hero” of Hyrule and show you where Impa’s house is if you talk to her. Head on over there by going down the hill and feel free to stop by any shops along the way, such as the clothes shop for some better armor or the arrow shop to fill your quiver.
No Comments