
This page offers a guide on how to find 20 Shock Arrows required to complete the Divine Beast Vah Ruta quest.
Main Quest: Divine Beast Vah Ruta
To kick off this quest, Muzu will tell you that twenty Shock Arrows are needed. Prince Sidon will go to the nearby East Reservoir Lake to await you while you collect them, and point out a shortcut you can use for easy access to the mountain with the Lynel.
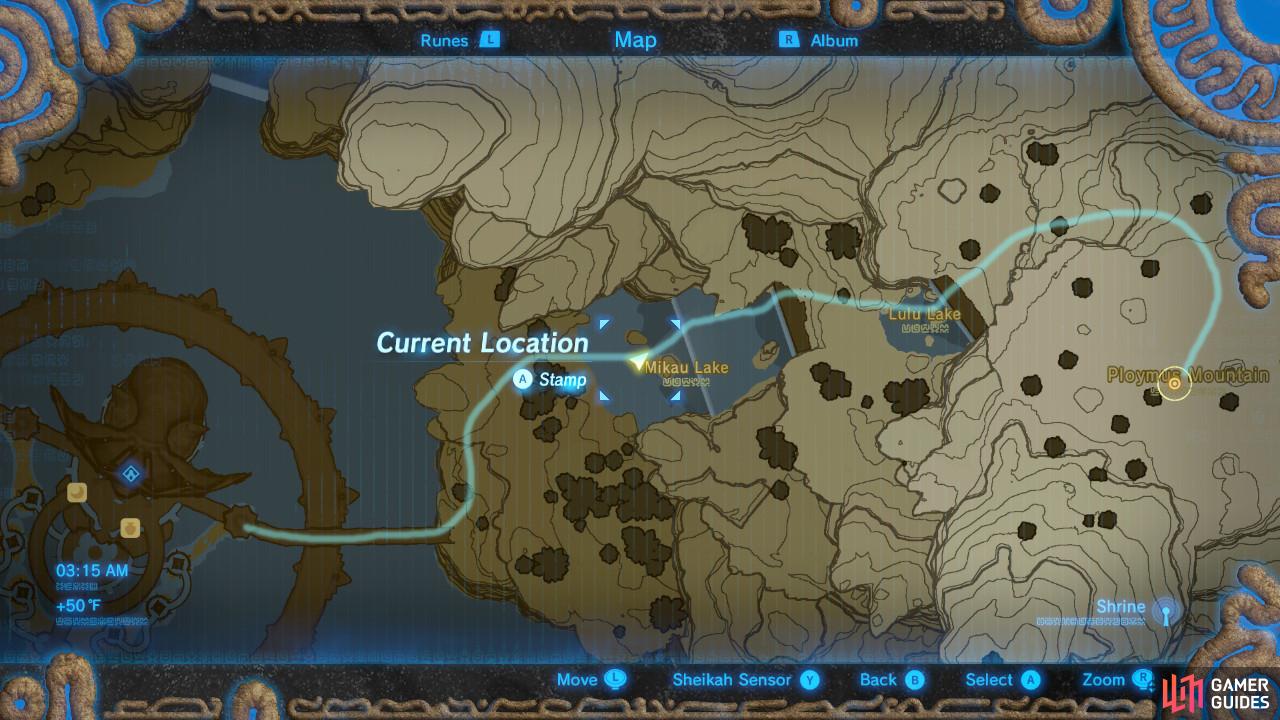
Exit the Zora’s Domain via the east bridge. Go left and you will run into a sign that you can read to see that the shortcut Prince Sidon mentioned is to your left. The image above shows you the general path you will want to follow to make use of the shortcut.
Mikau Lake
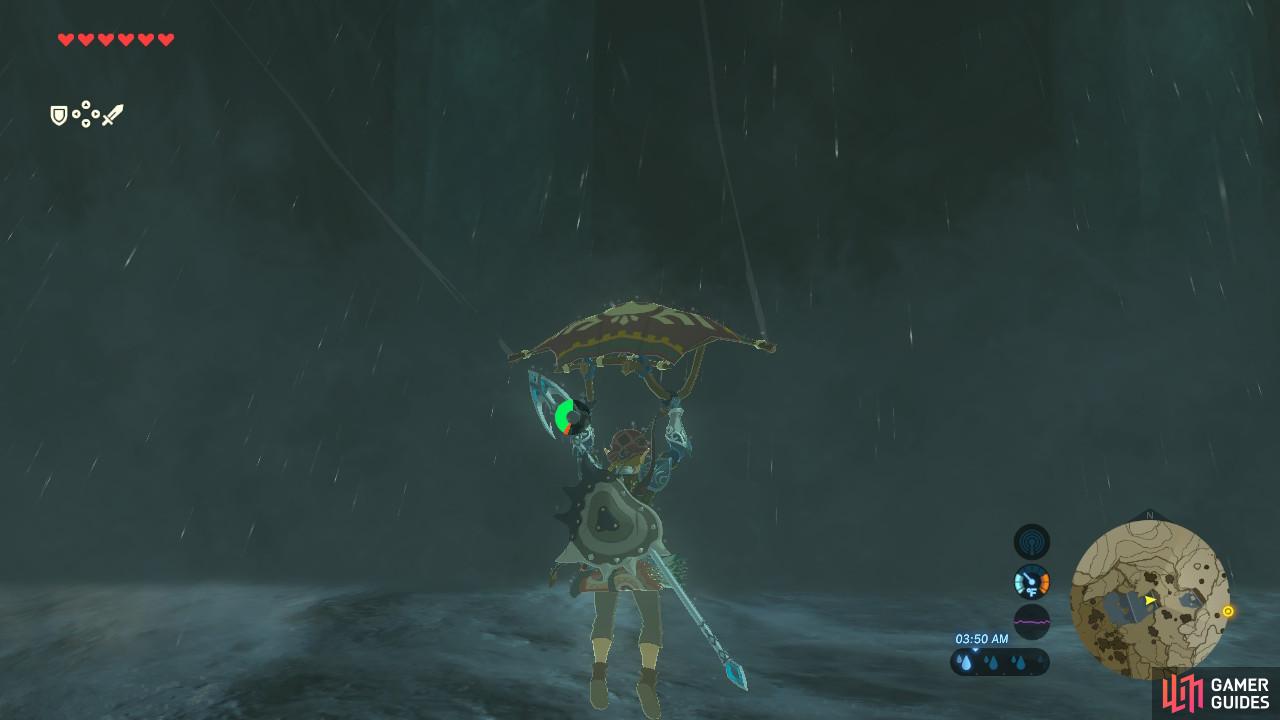
Link will automatically deploy his Paraglider after clearing the waterfall.
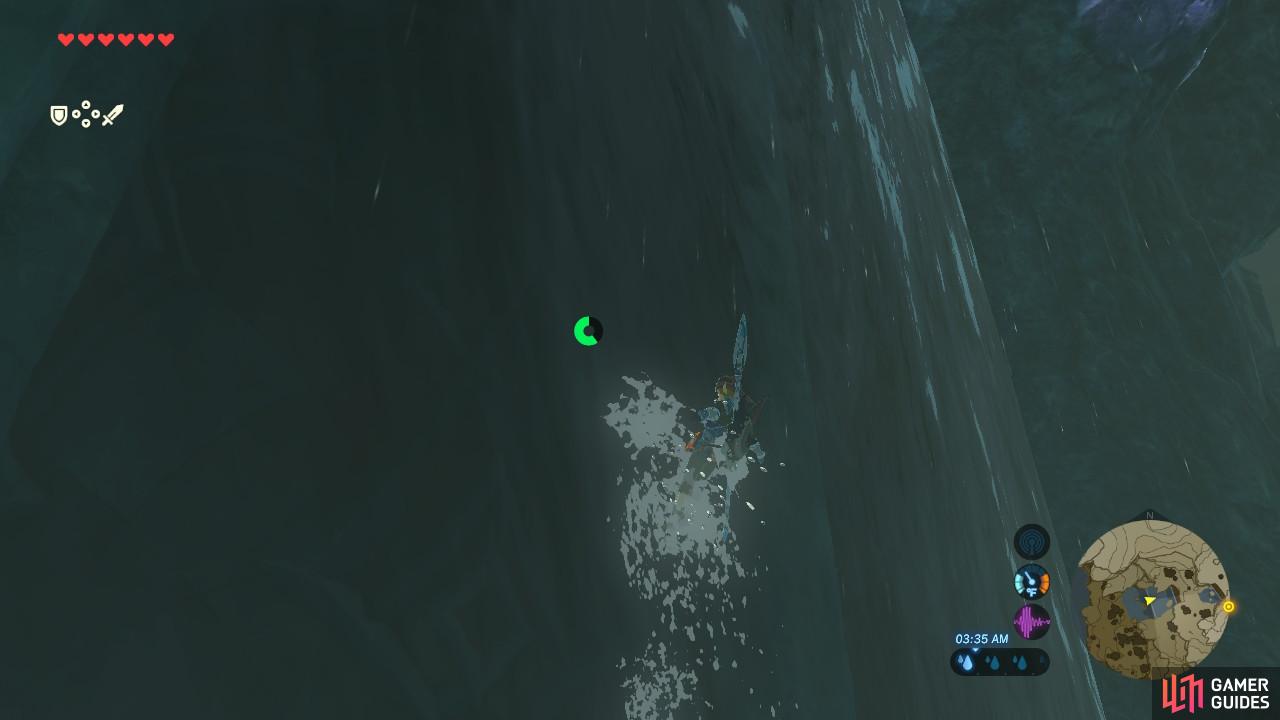
Climbing up the waterfall consumes stamina
Once you are here, swim forward and then press [A] when prompted. The Zora armor will let you ascend the vast waterfall. As you reach the top, Link will launch into the air and automatically activate the Paraglider.
Paraglide forward as far as you can, and then repeat the process for a second time to ascend the second waterfall. Stamina-replenishing food will help if you run low, but this process is doable with one wheel. You will finally land on solid ground, having reached the top of the waterfalls. Make your way a short bit forward over the rocks for the next leg of our shortcut.
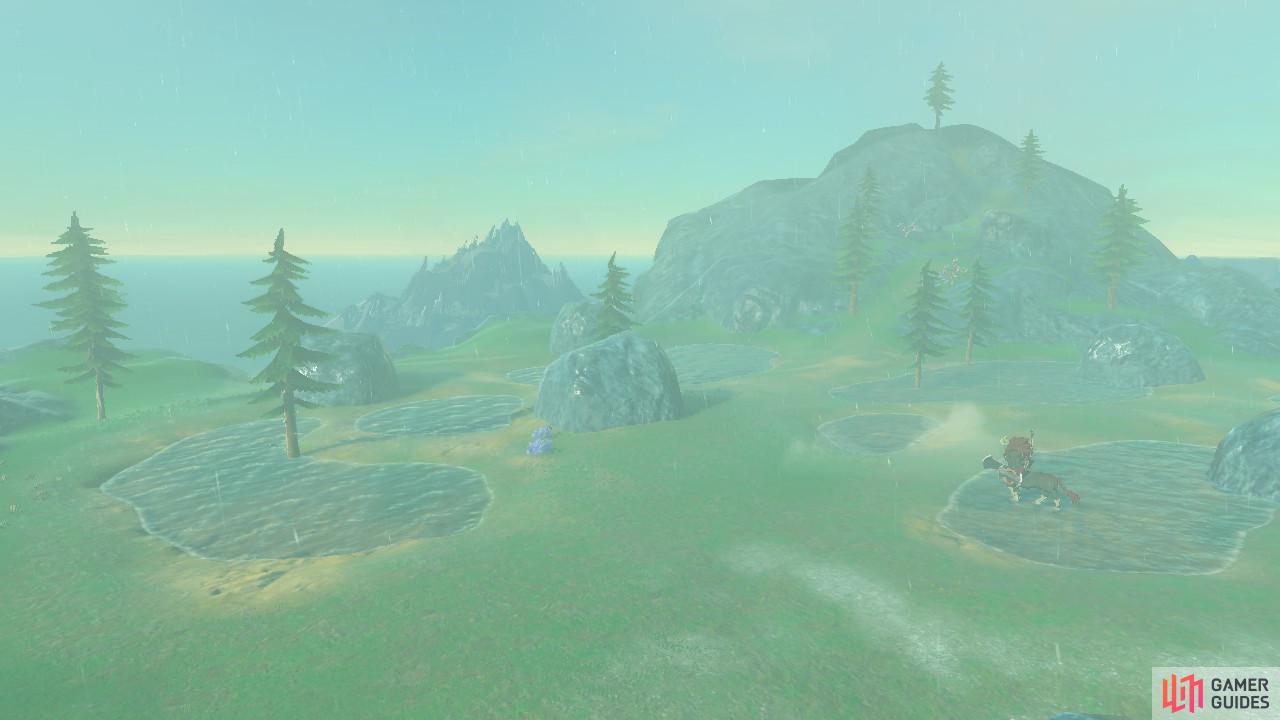
Lulu Lake
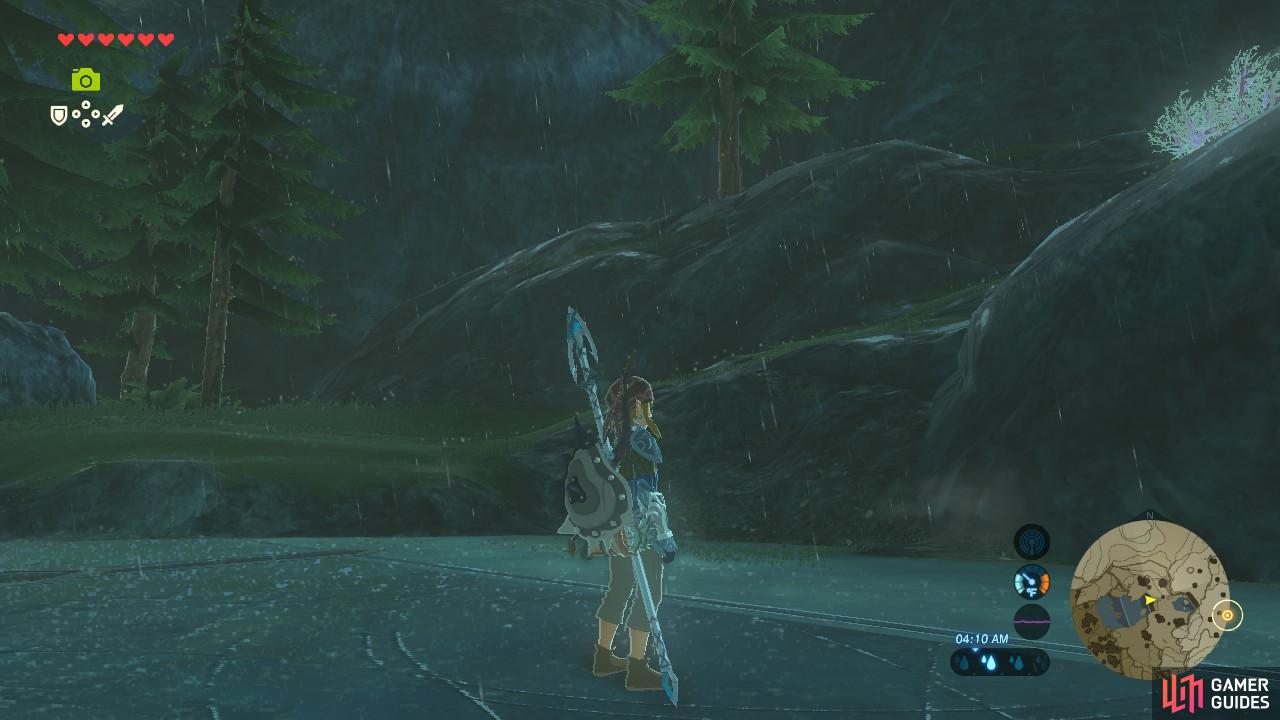
Once you reach the top of Mikau Lake, go forward over the rocks
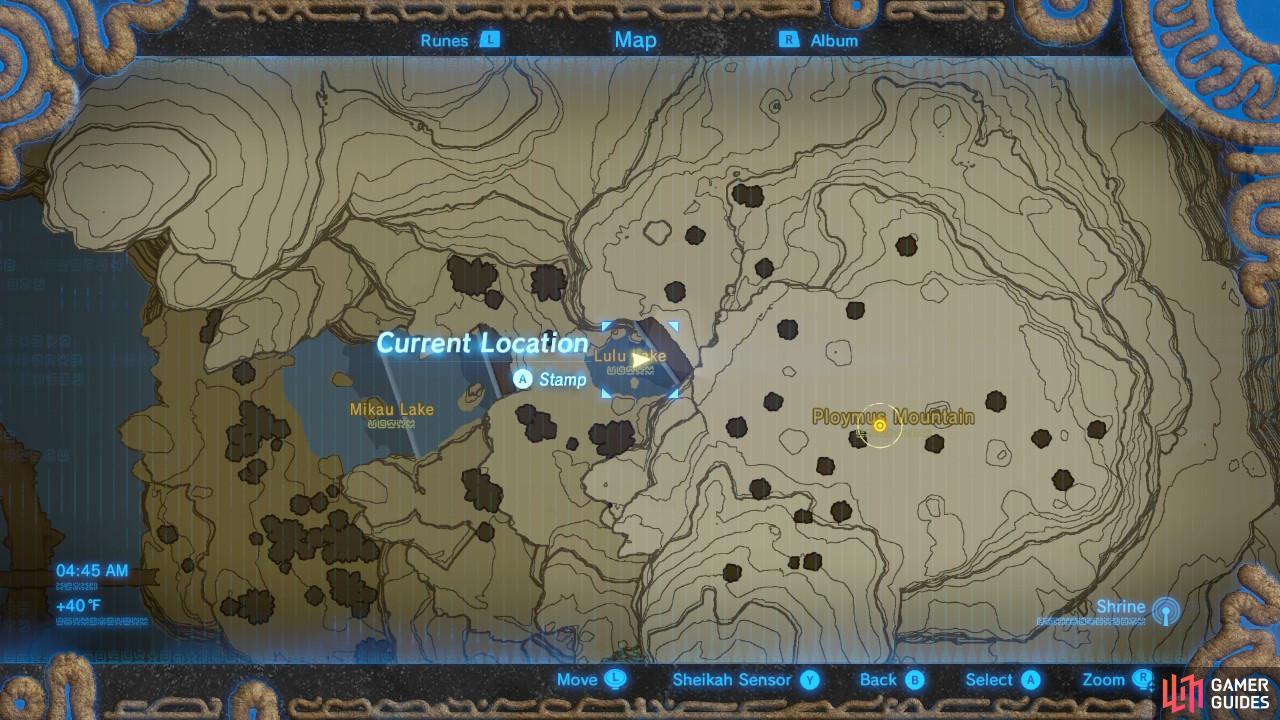
Lulu Lake is this smaller lake marked here.
This smaller lake has another waterfall in front of it. Clear it and you will finally arrive at the mountain.
Ploymus Mountain
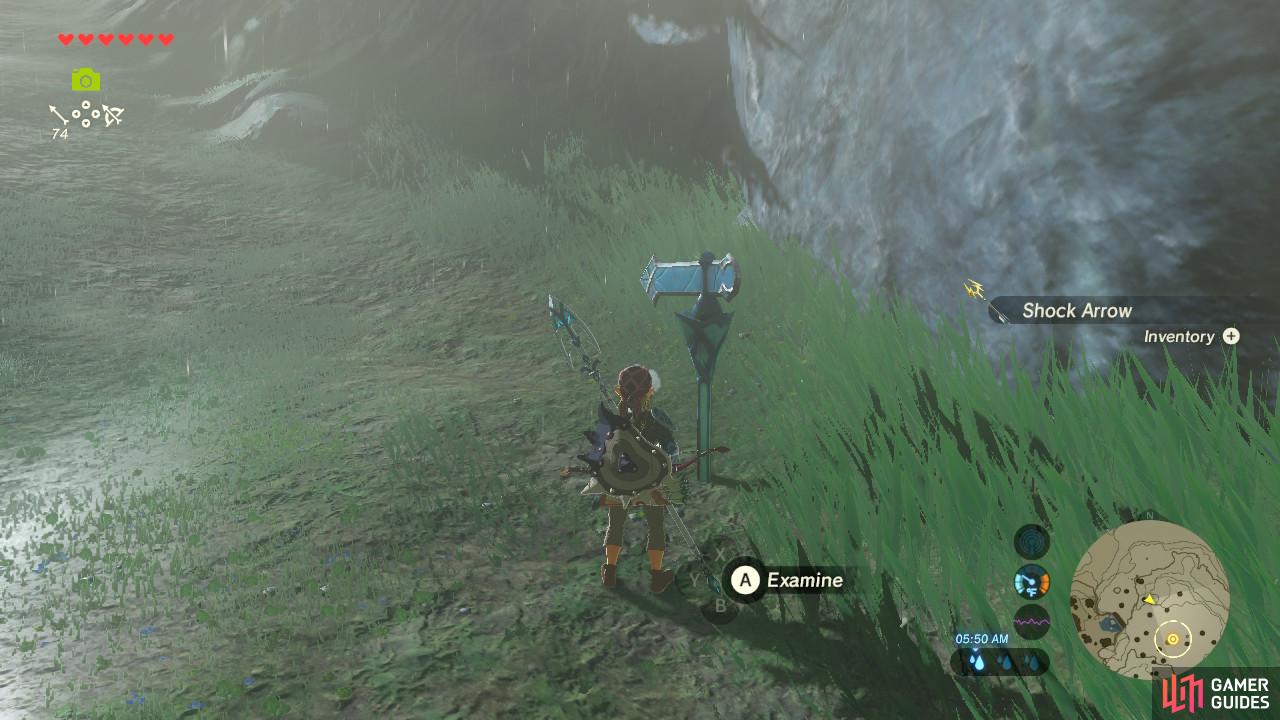
This signpost is a sign that you are nearing where the supposed Lynel is
The Lynel will appear during this cutscene.
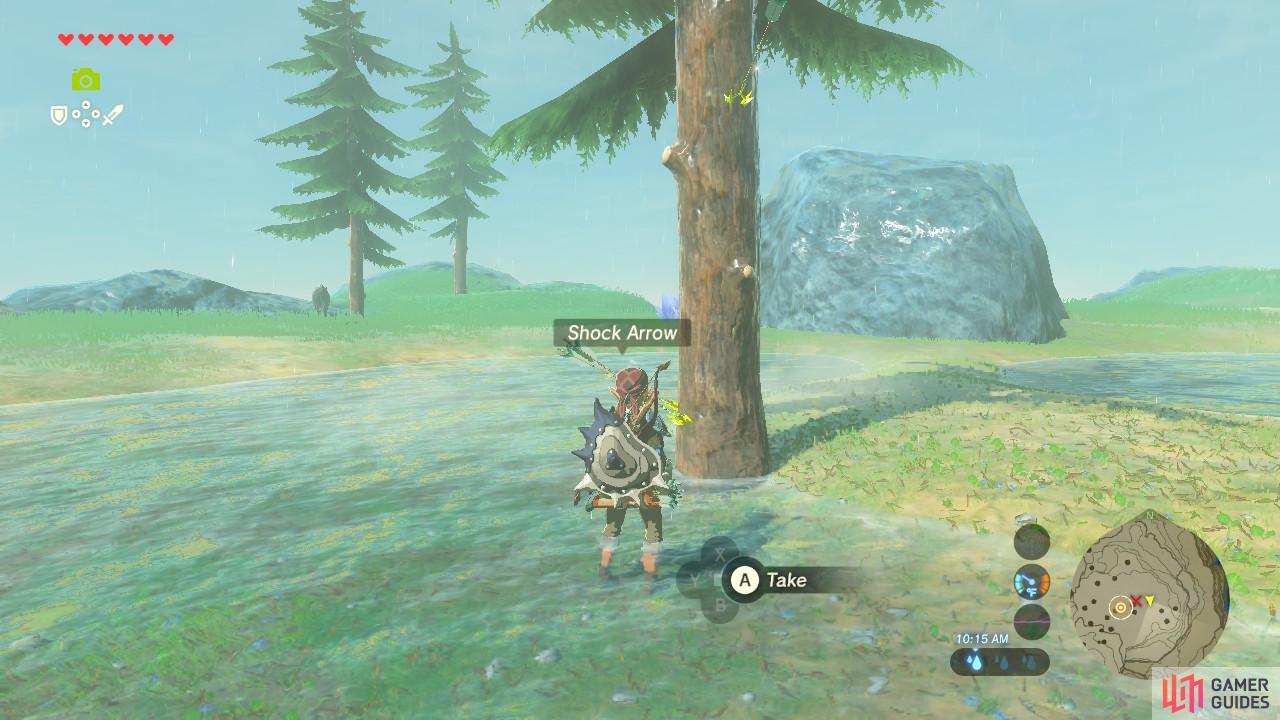
Work your way up the winding path. If you pass any trees with Shock Arrows sticking out of them, feel free to pluck them. You will need twenty to complete this section of the main quest, after all.
Once you have reached the top, you will trigger a cutscene that shows a Lynel appearing. After the cutscene, the Lynel will just be hanging around. It will not be aware of your presence unless you make a lot of noise or begin running towards it, or if it gets close to you. If you love taking photos for your Compendium, grab a few shots and then save your game.
The Lynel’s Lair
You don’t actually have to fight this Lynel at all! He is definitely a very powerful foe and may prove too much for beginners or low-levelled players. It’s worth giving the fight a go, but if you struggle with it, then you can obtain Shock Arrows from sneaking around the Lynel’s lair and stealing arrows embedded into the rocks, trees, ground etc.
You can find lots of Shock Arrows from the Lynel’s Lair.
Lynel Boss Fight (Optional)
Fighting the Lynel, as mentioned, is entirely optional. It is a difficult fight, but below you’ll find some advice on how to beat the Lynel.
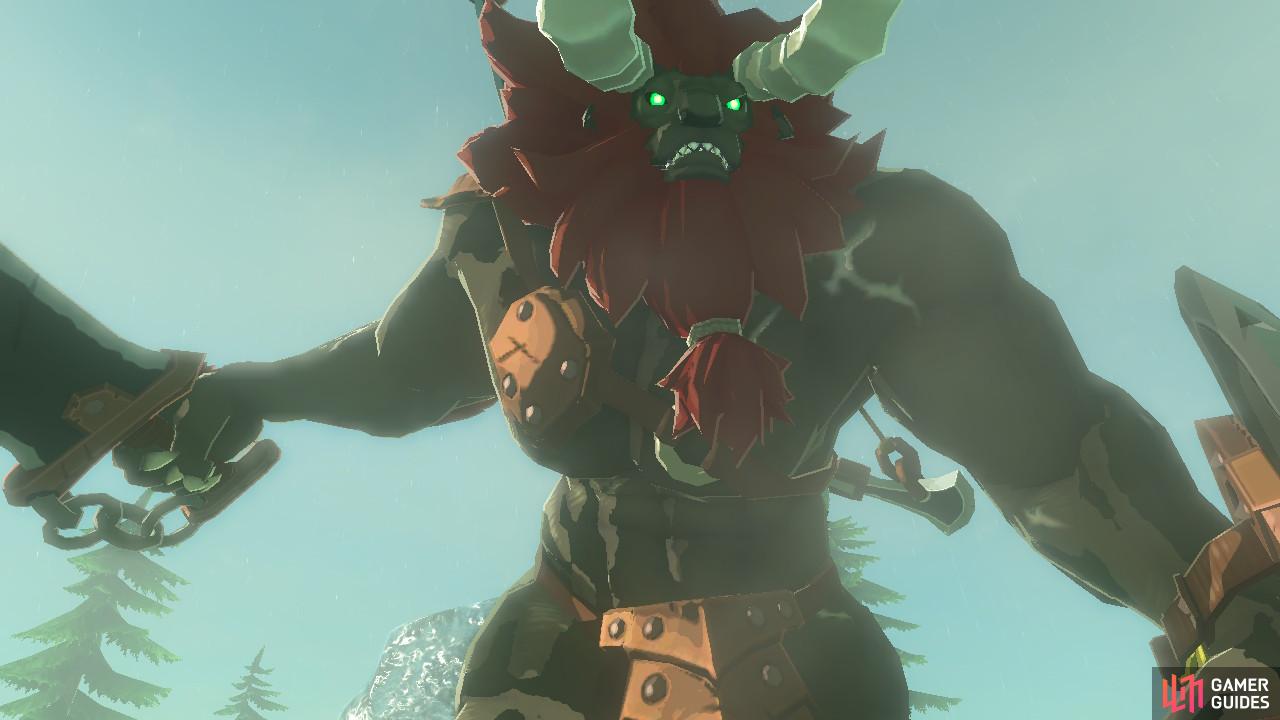
The Lynel.
The Lynel has a ton of health. You are likely underpowered for this fight, but clearly the game has no qualms throwing a bunch of stuff at you that is way too strong for your gear.
Its attacks are clearly scripted and it only uses a few of them, making it an excellent enemy to practice your combat skills on. If you die, hopefully you saved before engaging so that you can simply try again.
The Lynel is going to be a powerful foe!
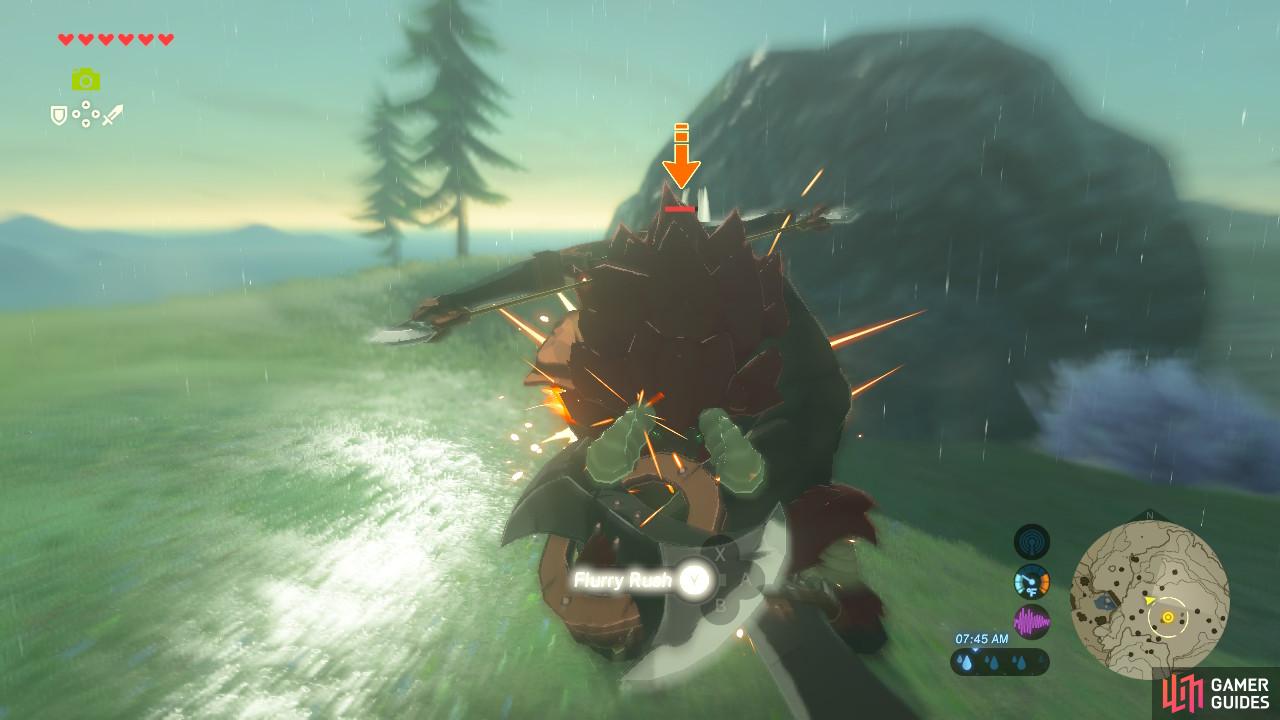
The Lynel will use its sword to slash at you or will use its sword and shield to double-slash at you. These can be easily dodged using a backflip to activate Flurry Rush and deal damage. The Lynel will also charge frequently. Side hop or run to get out of the way. Note that its charges can be dodged with perfect timing for Flurry Rush, it’s just more difficult.
As the fight wears on, the Lynel will start breathing fire at you. The projectiles are slow-moving so just keep running to the side. The Lynel will always shoot fireballs at you in sets of three, and the burning grass will create an updraft you can use to Paraglide into the air.
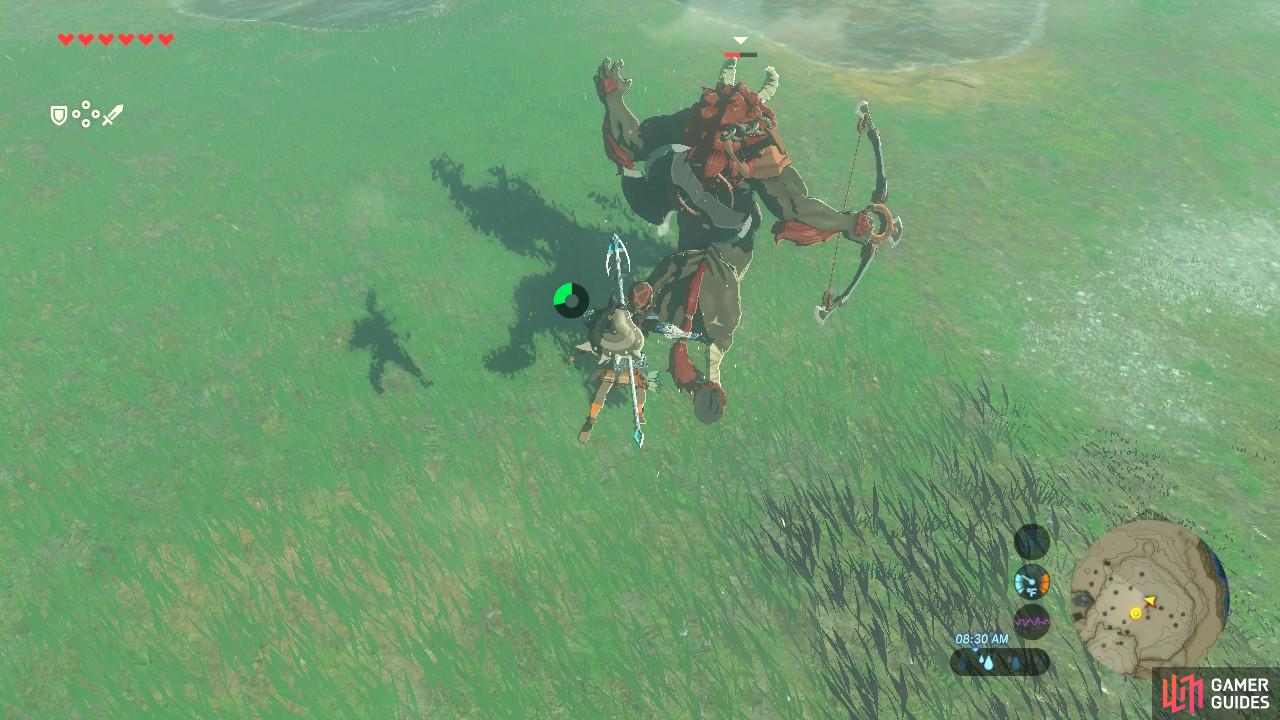
Burning grass creates updrafts that let you paraglide into the air.
Then you can either shoot it from the air, or you can even descend upon its rump and ride it, dealing damage all the while. Be careful, while up in the air the Lynel might shoot at you with its Shock Arrows.
The fight is long and can easily wear you out. Hang in there and finish the fight. The Lynel will drop 10 Shock Arrows, along with an assorted variety of gear that you definitely want to grab.
You might not have twenty Shock Arrows from just the Lynel, so run around the area and pick up some extras if you need. Once you’ve grabbed 20 shock arrows , the main quest will update and your destination will change to the East Reservoir Lake, where Prince Sidon awaits you.
East Reservoir Lake

Speak with Prince Sidon and tell him that you are ready. It is now time to gain access to Divine Beast Vah Ruta, and calm it down in the process to stop a potentially disastrous flood!
No Comments