
Kaam Ya’tak is a shrine is found in Central Hyrule, just southwest of Hyrule Garrison Ruins.
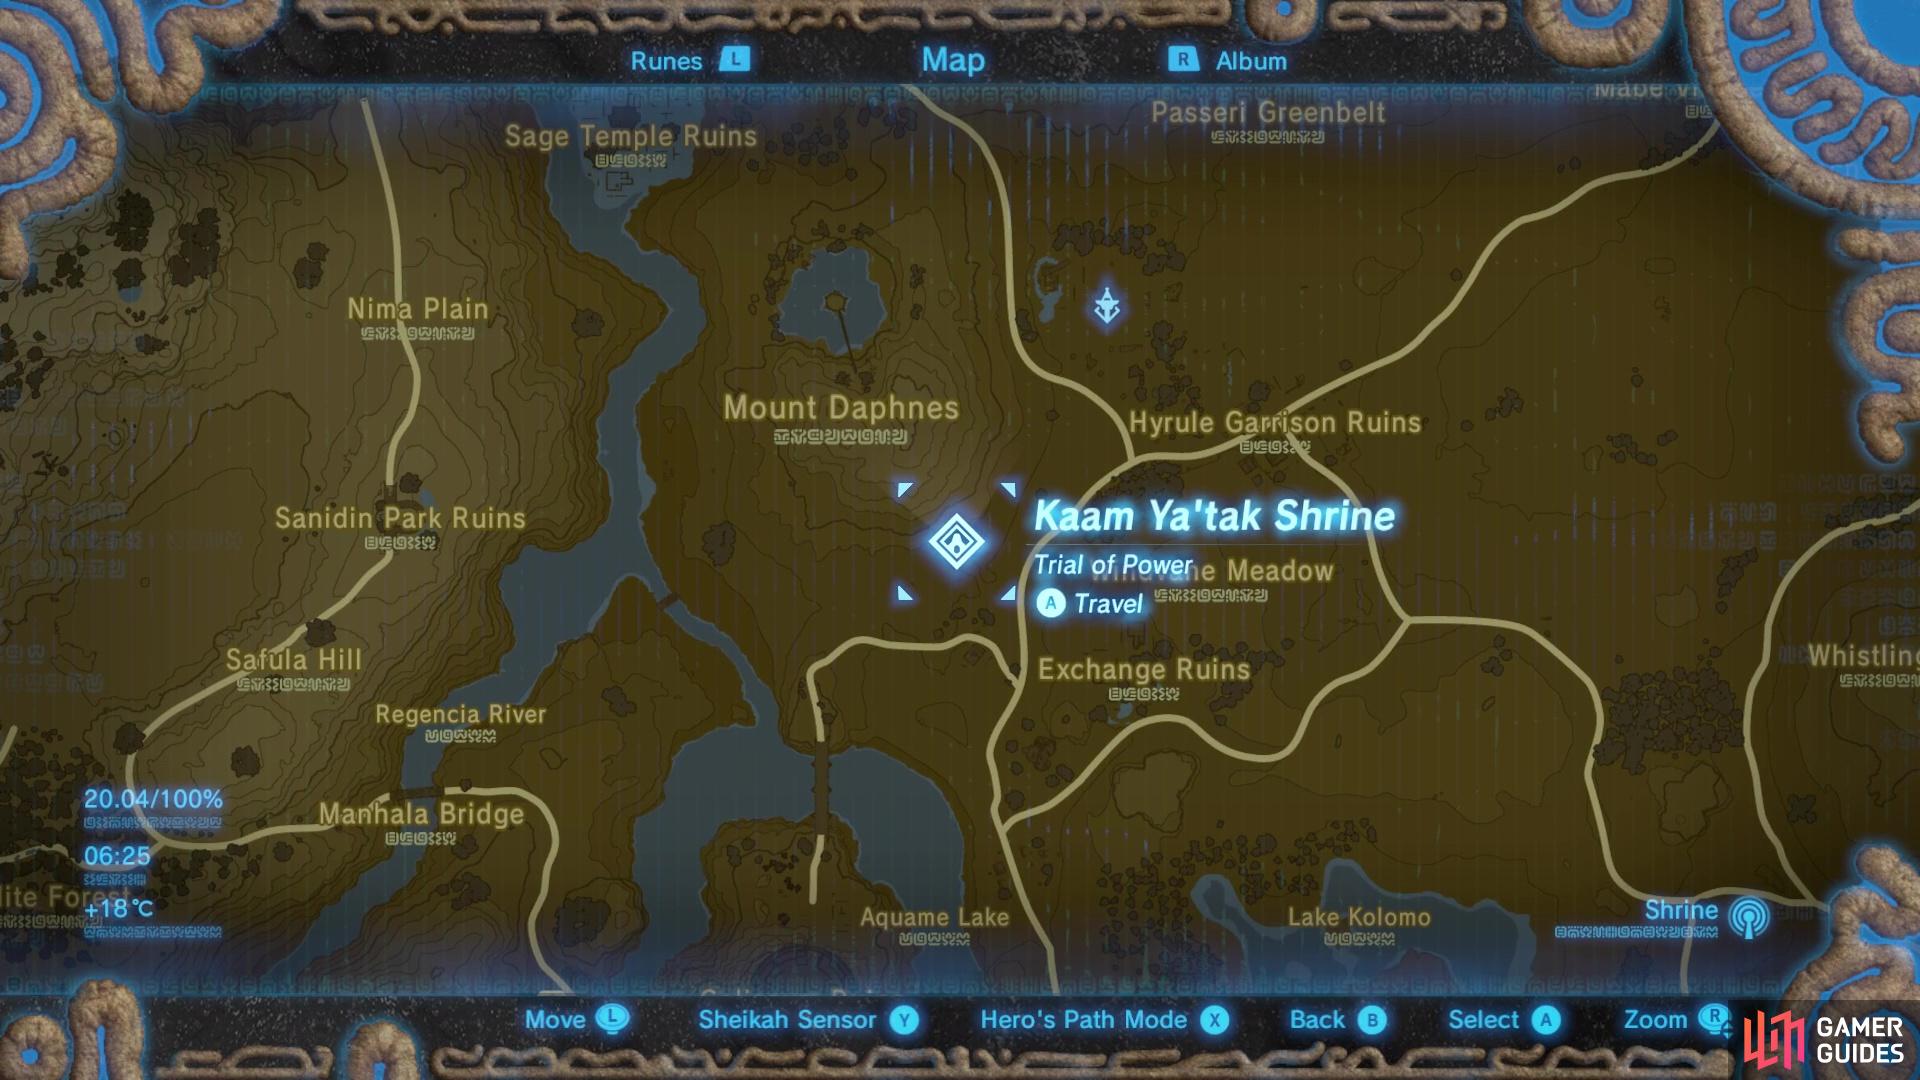
This shrine is found south of Hyrule Garrison Ruins in Central Hyrule

this is a Trial of Power where you’ll need to use Stasis (mostly) to solve puzzles.
How to Complete the Kaam Ya’Tak Shrine: Trial of Power
This trial requires using Stasis on various puzzles throughout the shrine. The first puzzle requires using stasis on the hanging boulder in front of the closed door. Once stasis is activated, hit the ball a few times so that when the stasis finishes, the built up power will cause the boulder to knock into the door and open it.
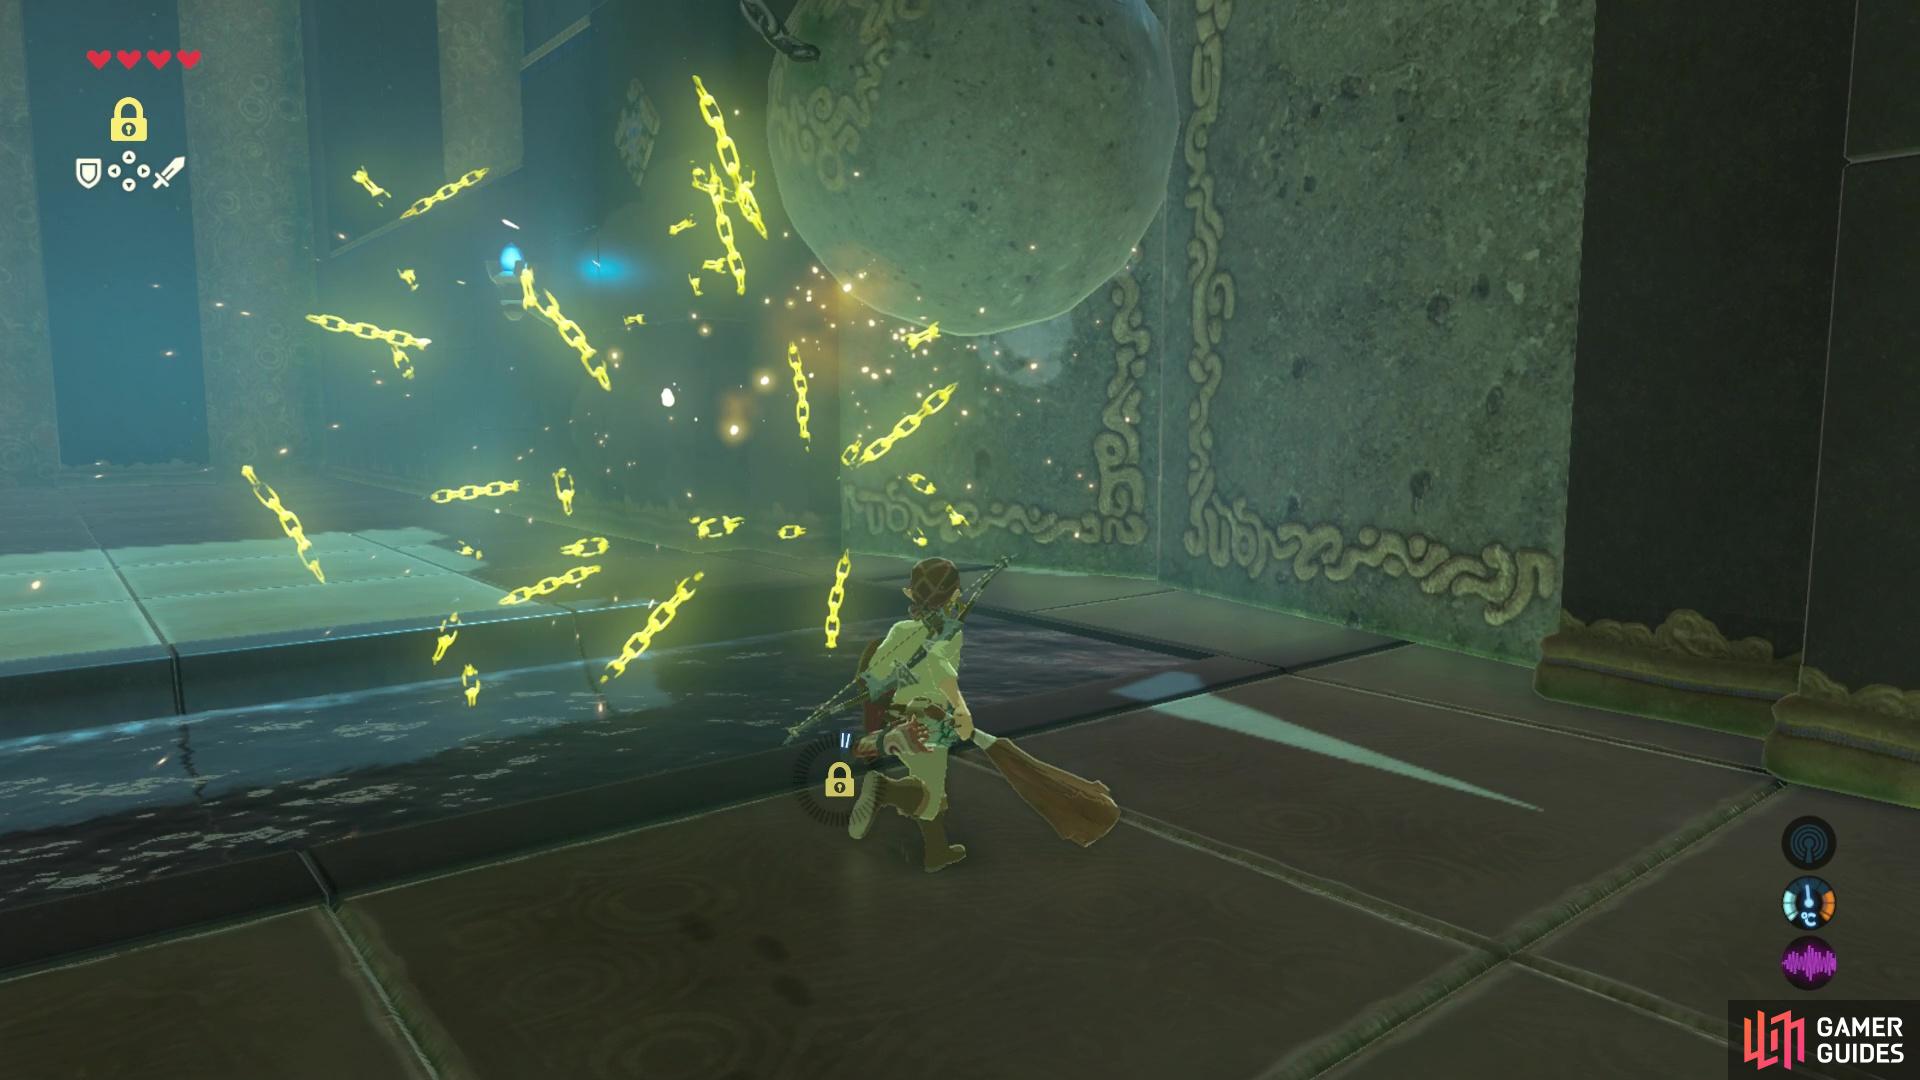
Behind the door you’ll find a series of rolling spiked balls. You’ll have to run past them to avoid getting hit, but you could also use stasis to stop one of the faster moving balls so that you have a temporary clear pathway. Once you’ve cleared the spiked ball puzzle, you’ll find a couple of Guardian Scouts around the corner that you’ll need to take out.
Use Stasis to force the boulder into the door
then use it again to stop the flow of spiked balls.
After taking out the Guardian Scouts, shoot down the fire lantern above the ivy leaves to set fire to them which then burns down the wooden platform with the second boulder on it. This will cause the boulder to roll down and smash into a second door. Before you head through the door grab the Edge of Duality sword from the chest near the burned leaves.
Head left through the door and you’ll find a second treasure chest containing a Knight’s Broadsword. Once you’ve grabbed that, head up the stairs and kill the Guardian Scouts around the corner before continuing down the path towards the next puzzle. You’ll need to perform stasis on the bridge so that it isn’t impacted by gravity when you walk over it to the other side.
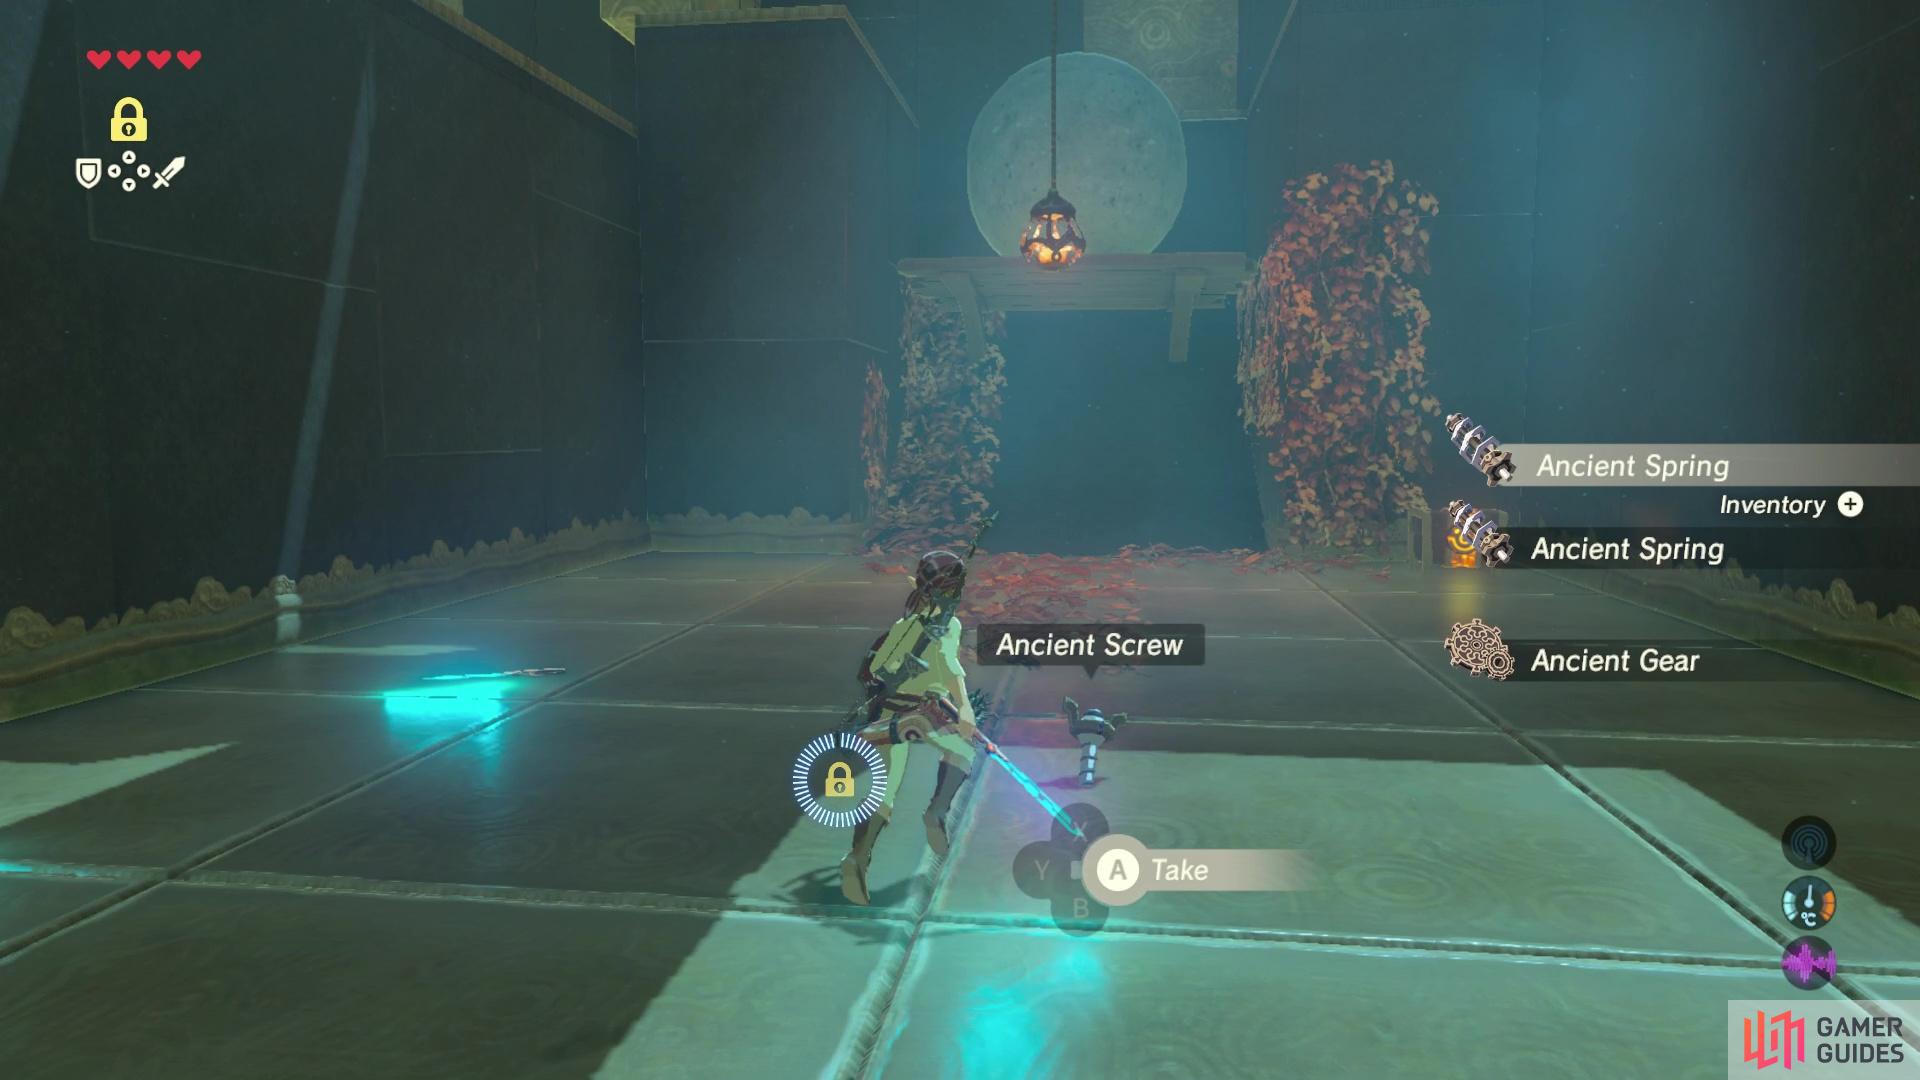
Up ahead, you’ll find an apparatus that controls a hammer that you’ll need to use on the next puzzle. This is a motion control puzzle meaning you’ll need to tilt your controller/console to hit the hammer into the small metal ball. You need to do this with enough momentum to then hit the boulder into the hole on the otherside of a small ramp. You may need to do this in a couple of tries because there are some wooden crates in the way of the boulder that’ll reduce its momentum. But once the ball has fallen into the hole it’ll roll down a ramp and into the third door. Once you reach the third door, before you head through it loot the treasure chest to the left of it for an Ancient Core.
(1 of 3) Burn the leaves so that the wooden platform also burns and the boulder rolls into the door.
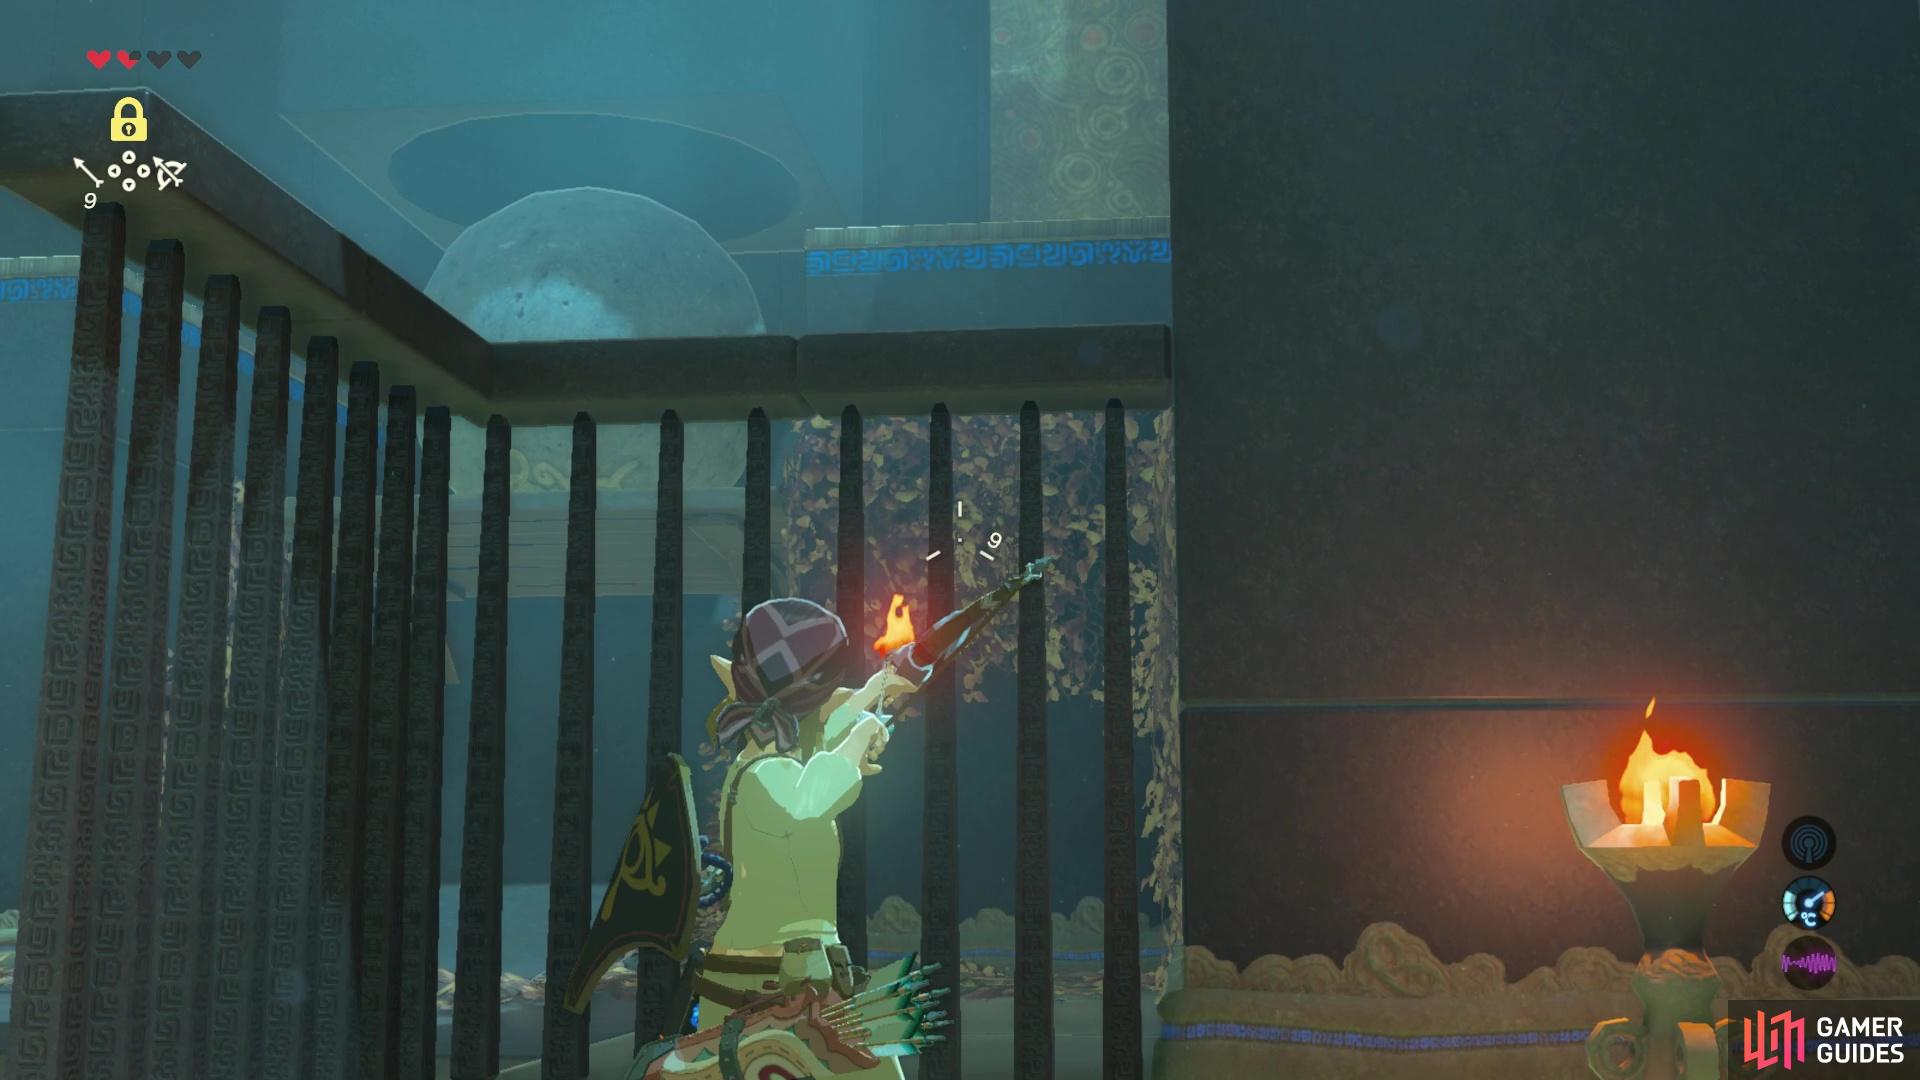
Take the path around and you’ll find yourself at the penultimate puzzle. For this one, you’ll need to time your stasis so that the boulder doesn’t fall into the void below. First, you’ll want to light an arrow on fire with the nearby sconce and shoot the leaves across the fence to set them ablaze to break the wooden platform below the boulder.
Then, you’ll need to trigger stasis on the bridge and then stand on the button at the right time to fling the boulder into the air with enough force to fly across the gap in the floor, over the bridge and into the door.
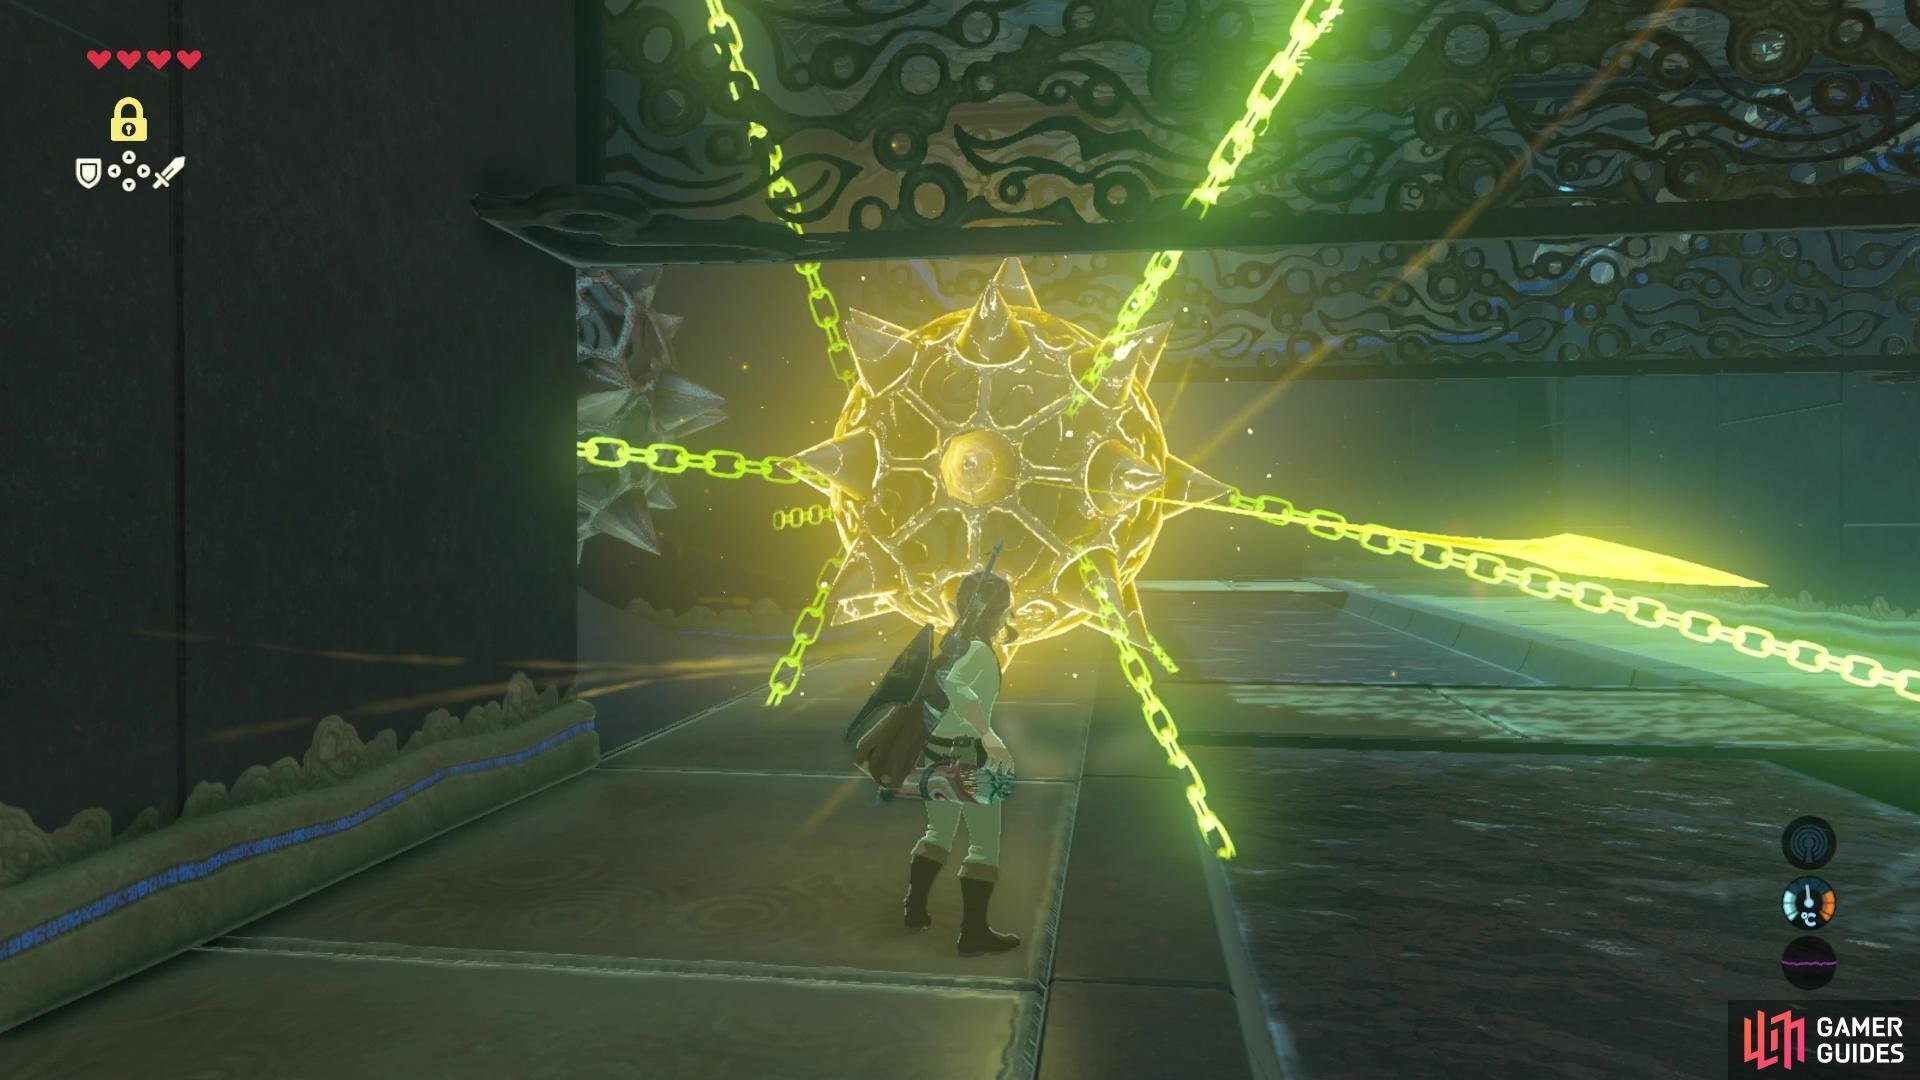
The final puzzle is behind the newly opened door. You’ll need to stand on the button on the floor to lower the fence, then trigger stasis on the battering ram. Whilst stasis is active, hit it as many times as you can to build up power so that when stasis ends, the battering ram flies into the final door.
At the end of the room, you’ll find an orange crystal that, when hit, causes a platform in the ground to shoot up. If you’re standing on the platform you’ll be flung up into the air and you can paraglide to the end of the shrine. Before you paraglide to the end, continue paragliding around and you’ll find another treasure chest, containing a Diamond. If you do grab this chest, you’ll need to head back and repeat the paragliding process to finish the shrine once and for all!
No Comments