
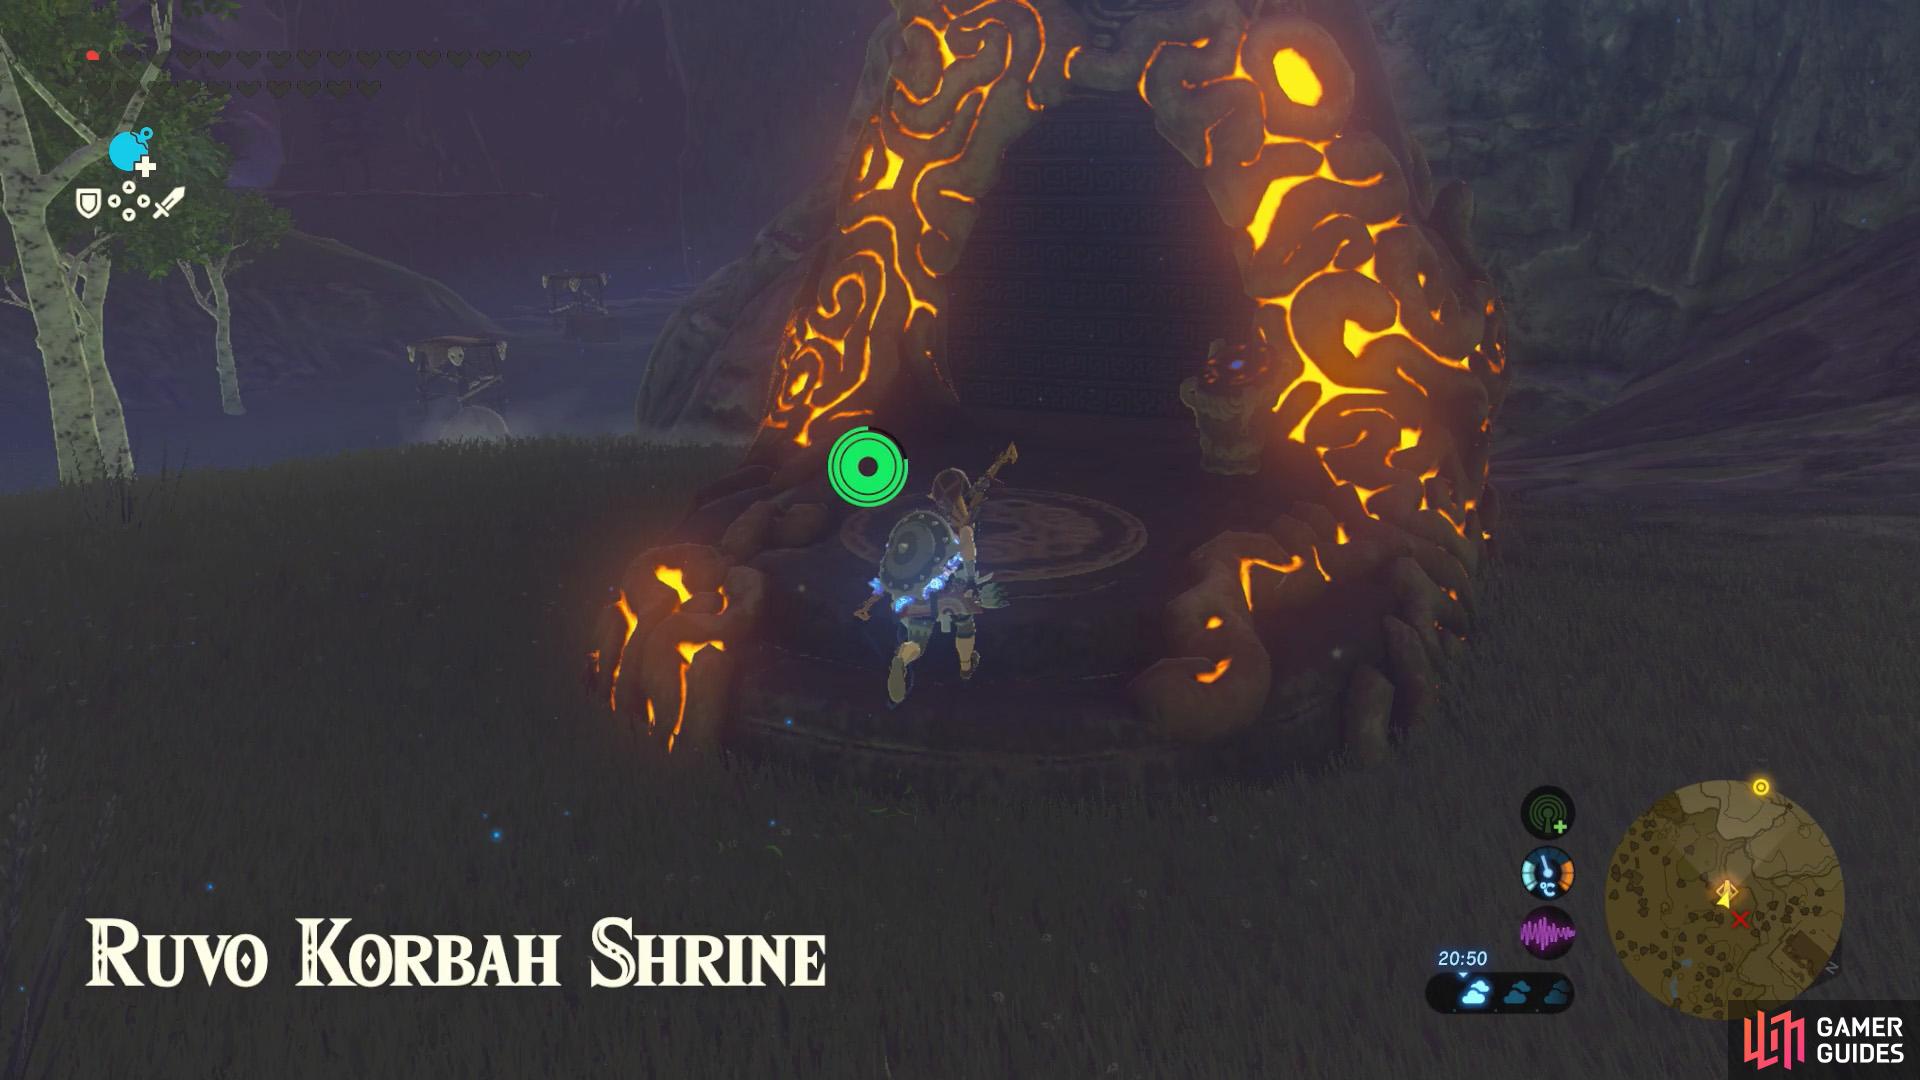
To reveal this shrine, you must eliminate all the foes south from the Temple of Time.
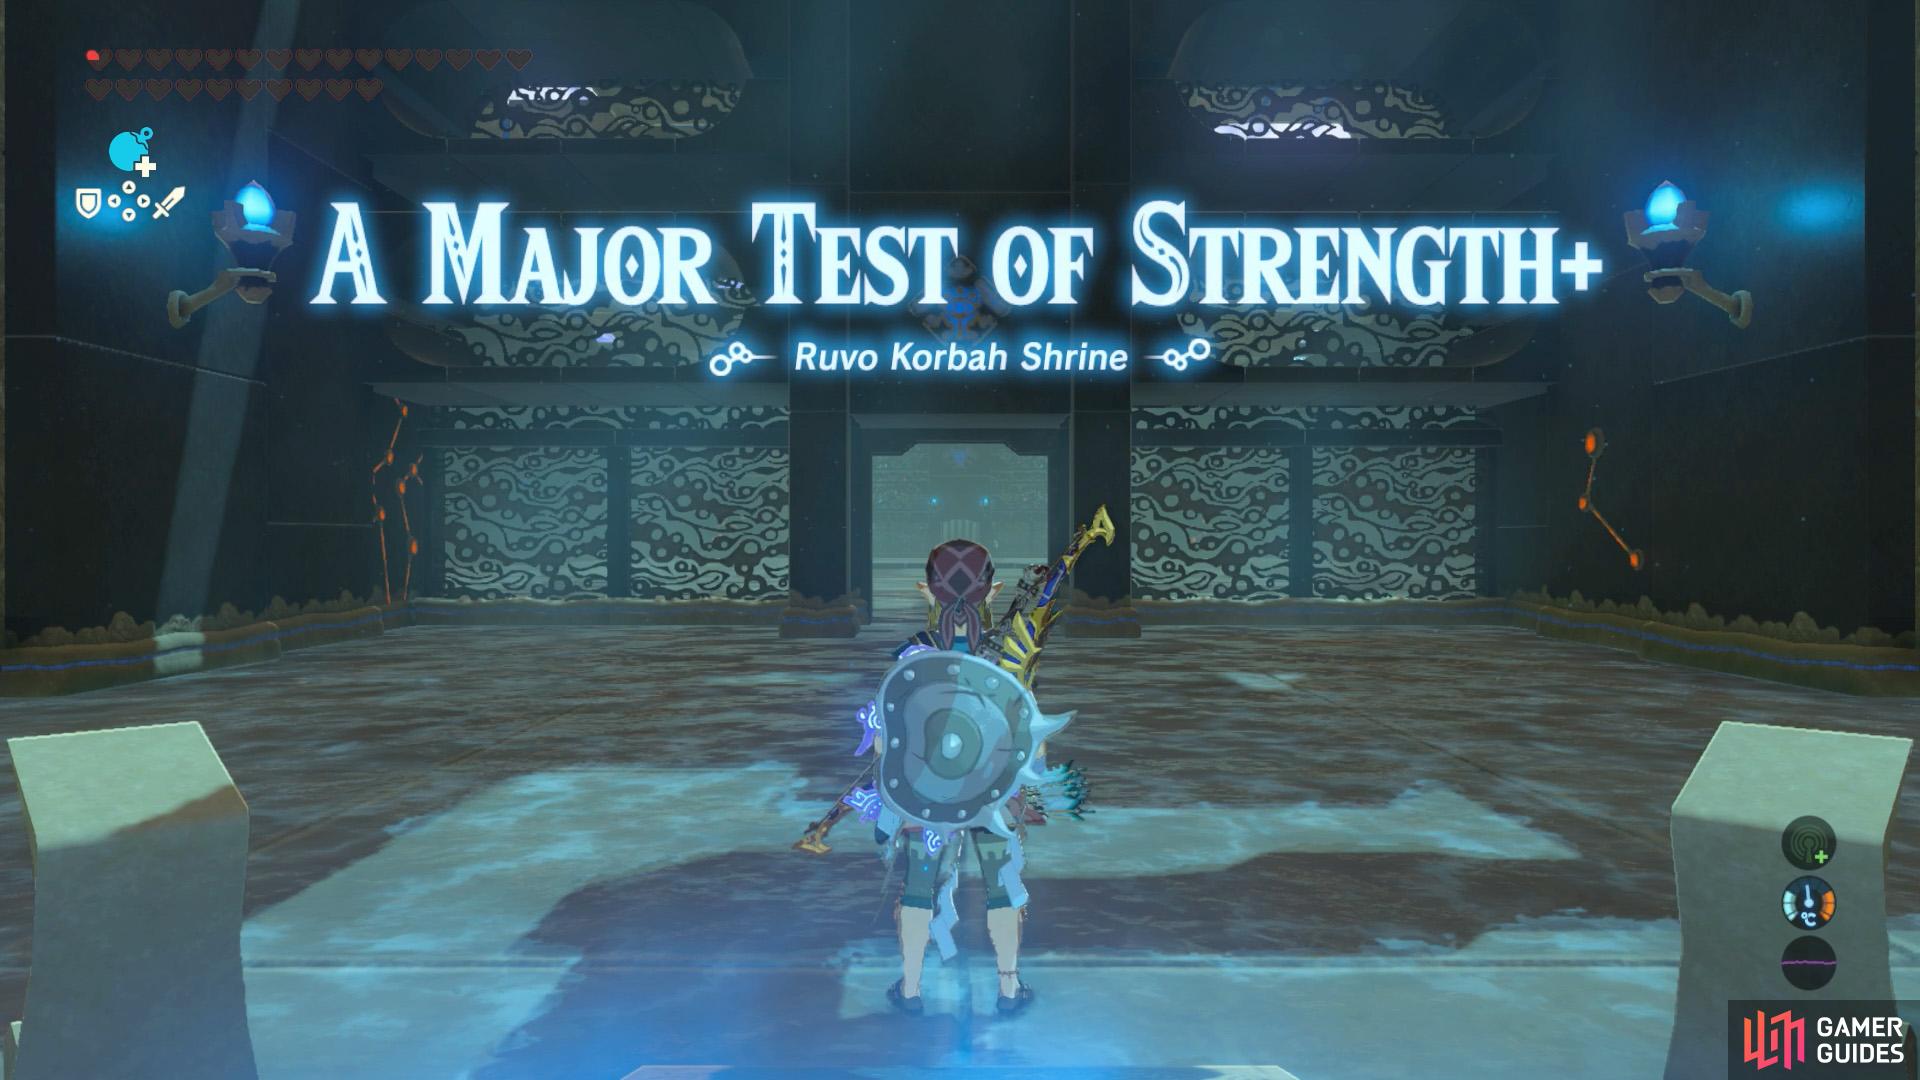
The plus sign at the end is important; this isn’t a normal Major Test of Strength.
When you enter, you’ll see a sight you’ve probably seen numerous times. There’s a large, square-shaped arena where you’ll have to fight a Guardian Scout IV. This one is carrying a shield, spear and blade.
You can try to attack it when it leaves an opening. Or you can wait until it jumps back and prepares to spin. At this point, stop it with a Cryonis Ice Pillar. Either way, a single hit from the One-Hit Obliterator will immediately destroy it.
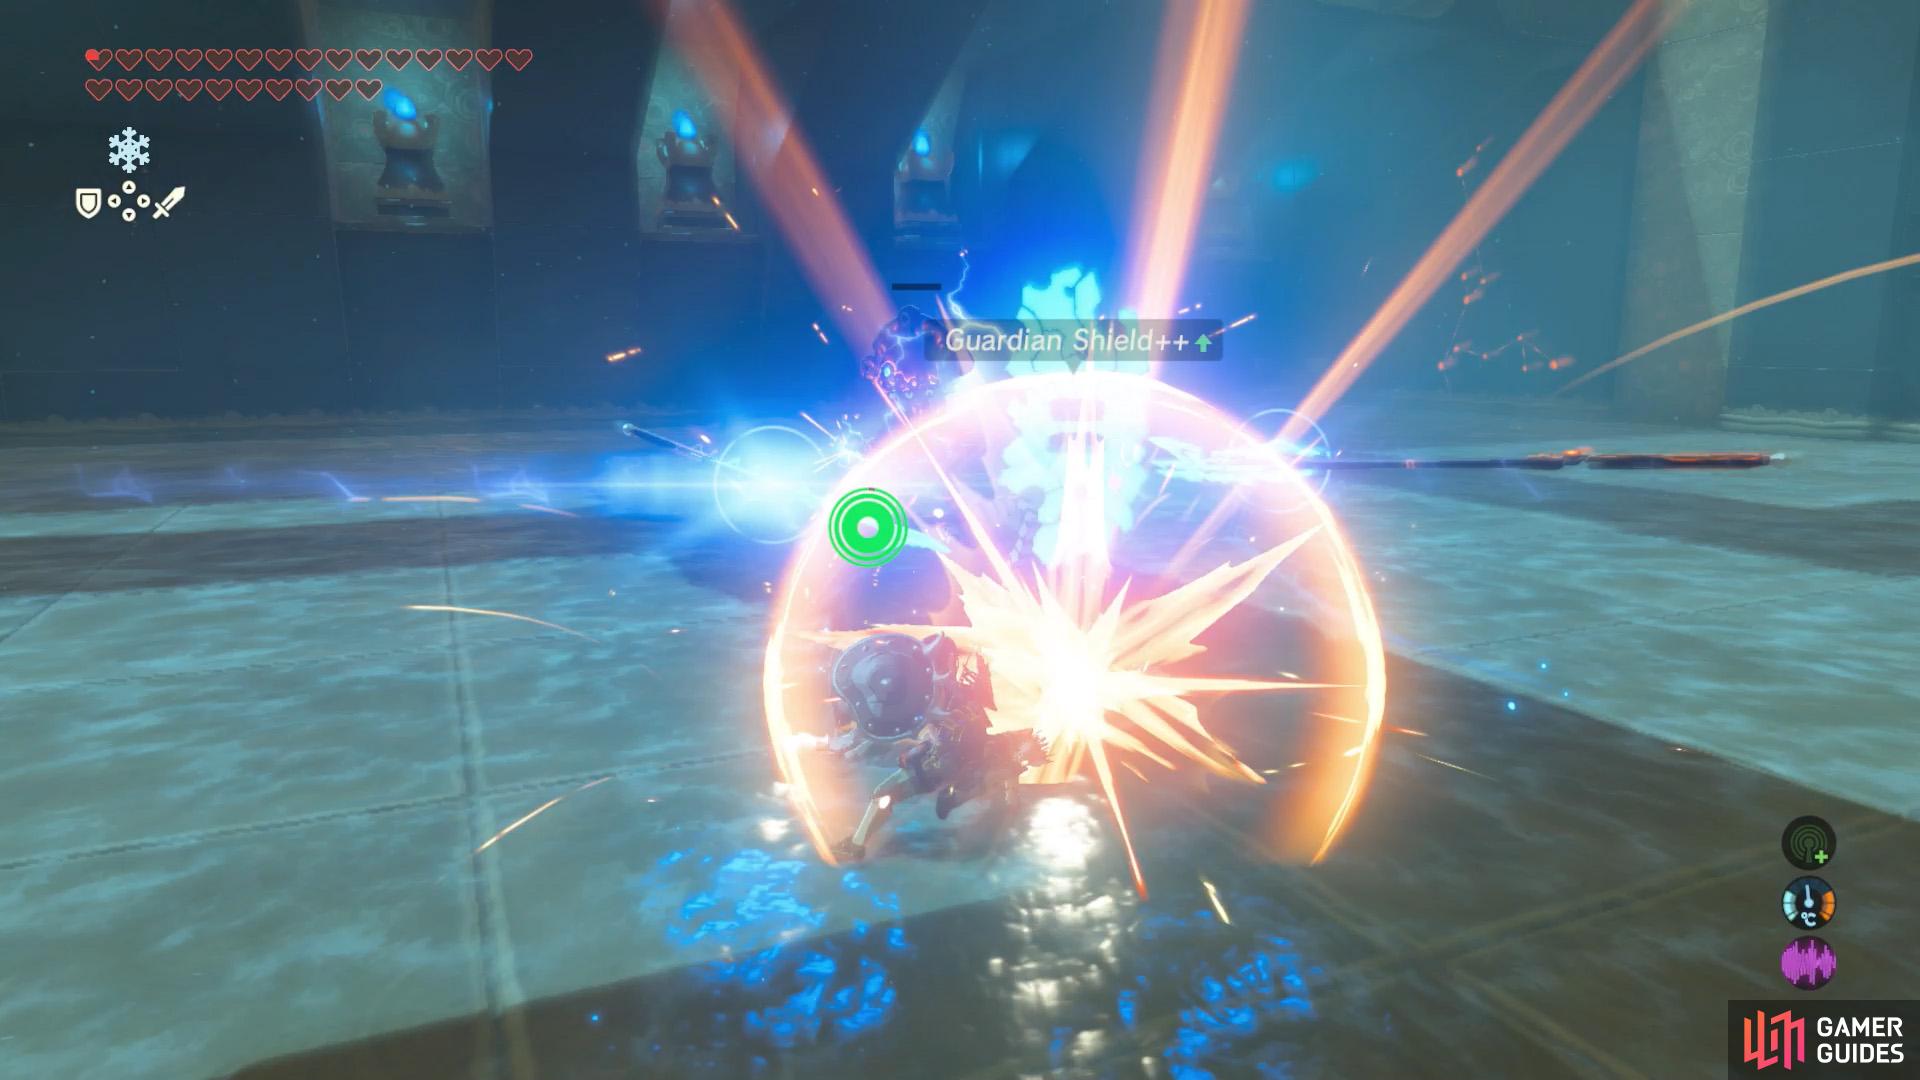
A single hit is all i takes to destroy the Scout IV.
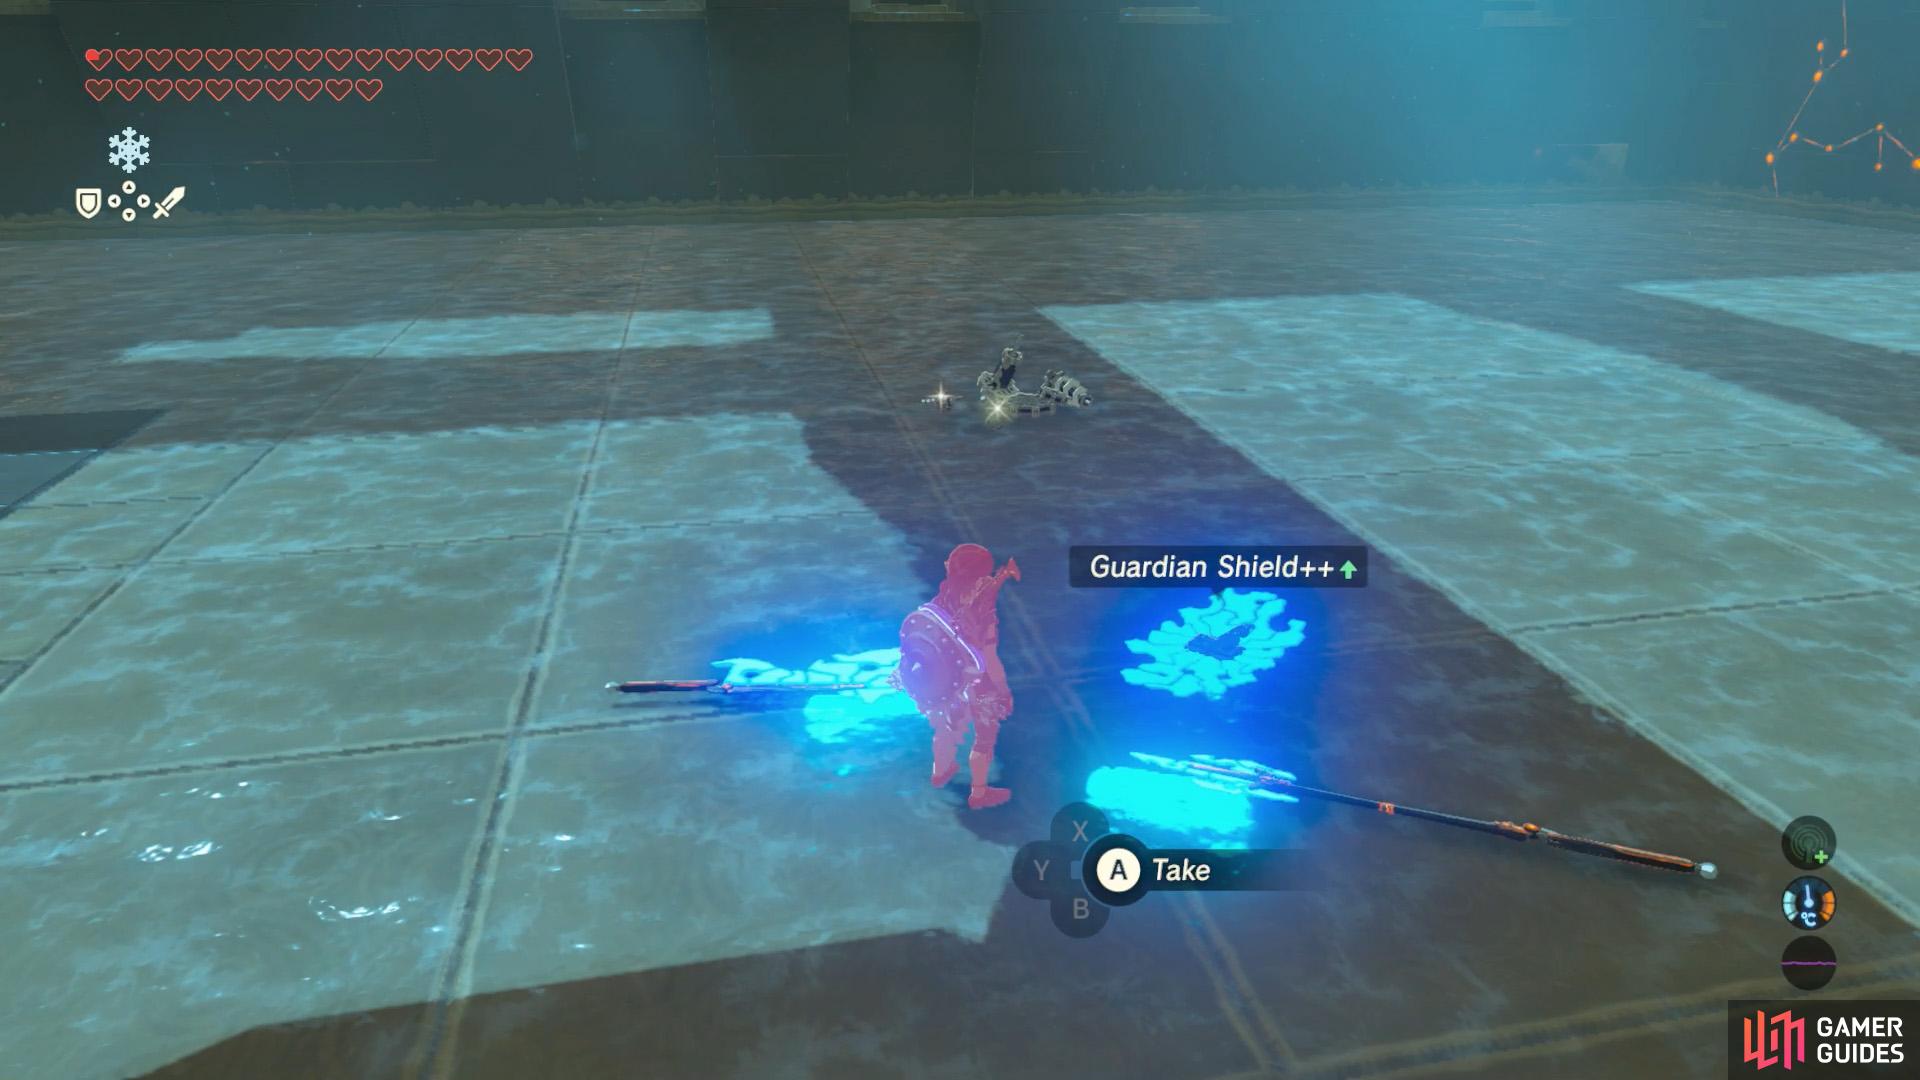
Afterwards, pick up the Guardian Shield unless you’ve already got one.
Pick up the weapons/materials it drops behind, especially the shield, then head over to the exit. Wait, there’s only a treasure chest here with 10 Bomb Arrows and a floor switch further back. Of course this trial wouldn’t be that easy!
Step on the switch and the central square in the main room will recede. You might expect another enemy to appear, but instead, glide down into the space that the square left behind. You’ll discover a set of waterlogged tunnels. Directly ahead is a door that requires a key.
If you’re fast enough, run in and smack this scout after the corner.

Then snipe the next scout, up the stairs, from a distance.
Take a left turn and then carefully turn left again. Ahead, there’s a Guardian Scout. If it hasn’t noticed you, you can quickly run in to KO it. Otherwise, bring up your Guardian Shield to reflect its laser beams.
Next, there’s a small flight of stairs, leading to an overpass. Before going up the stairs, note the Guardian Scout waiting at the back. If you want, shoot it with Bomb Arrows. Or stay far away and reflect the laser beams with a Guardian Shield.
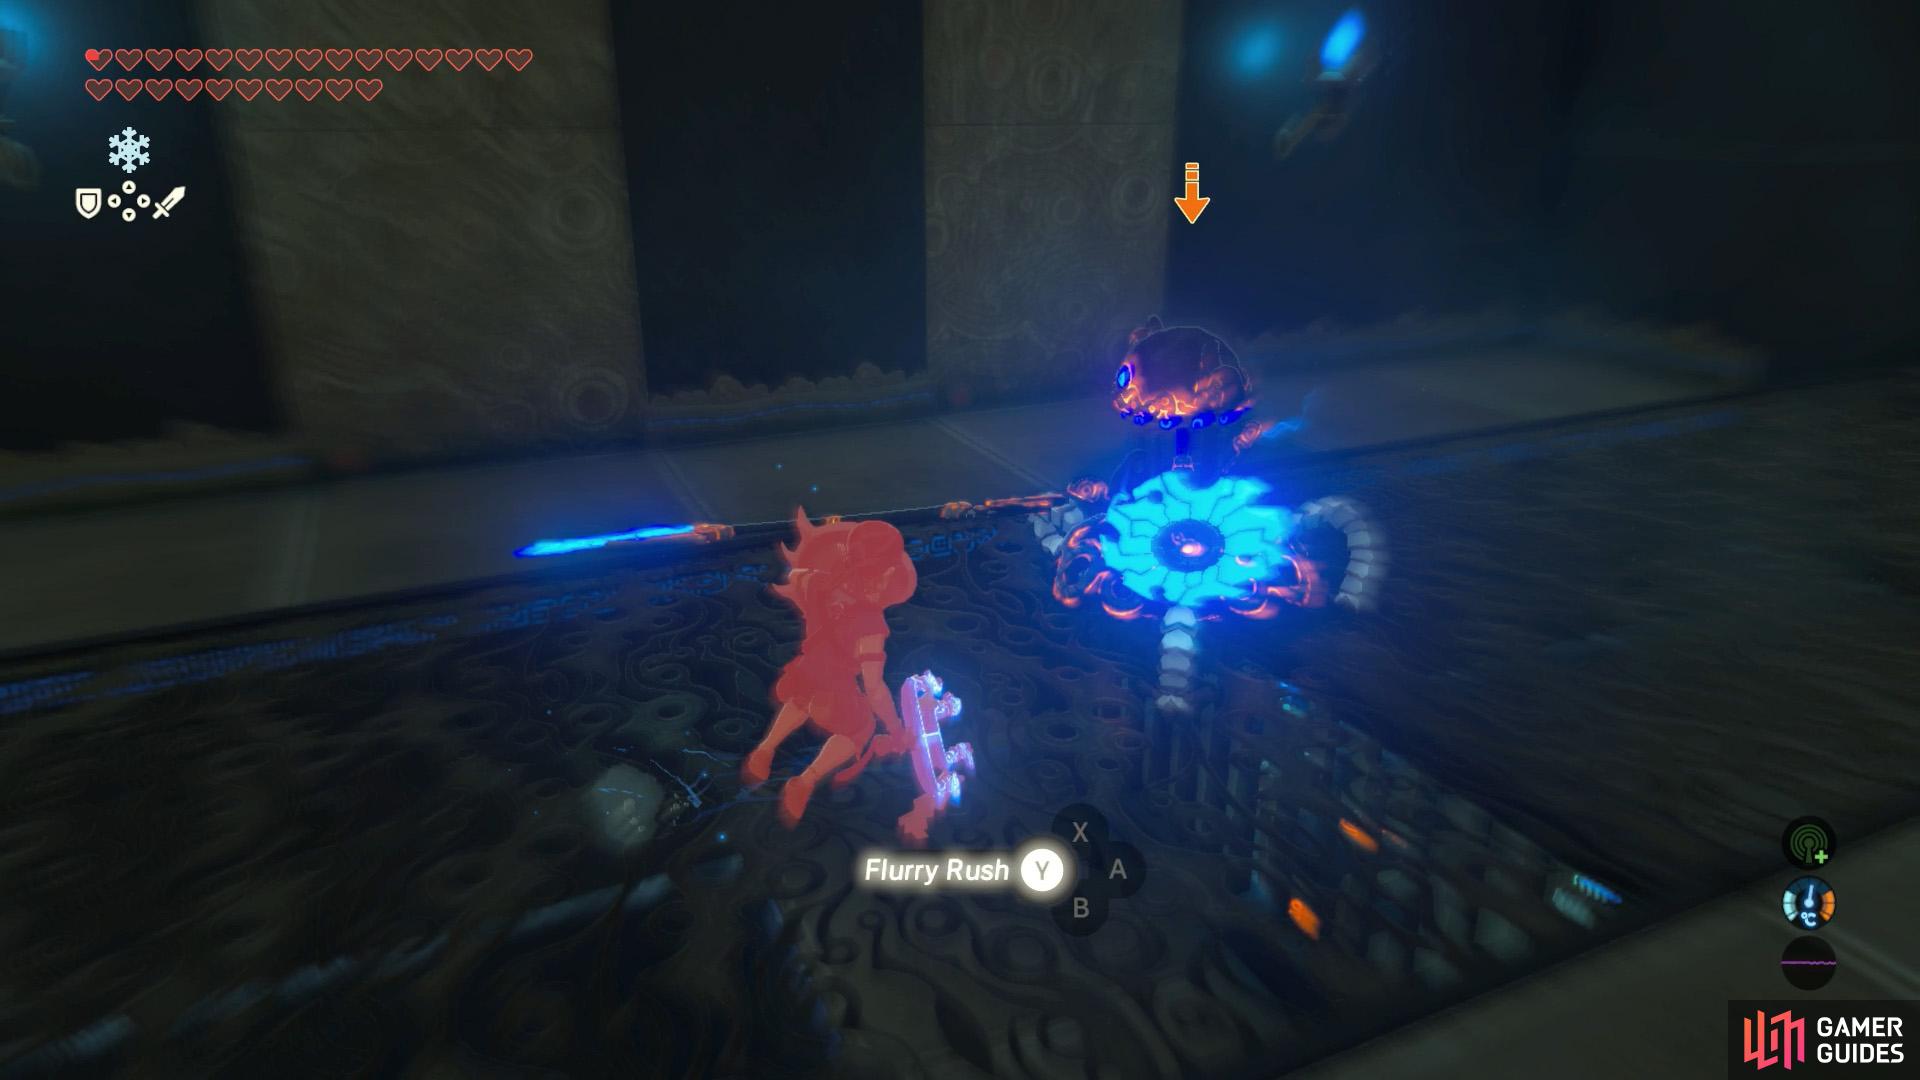
If you’re brave, you can dodge an incoming attack to trigger a Flurry Rush.
Around the next corner, be wary of a nearby Scout and another on higher ground.
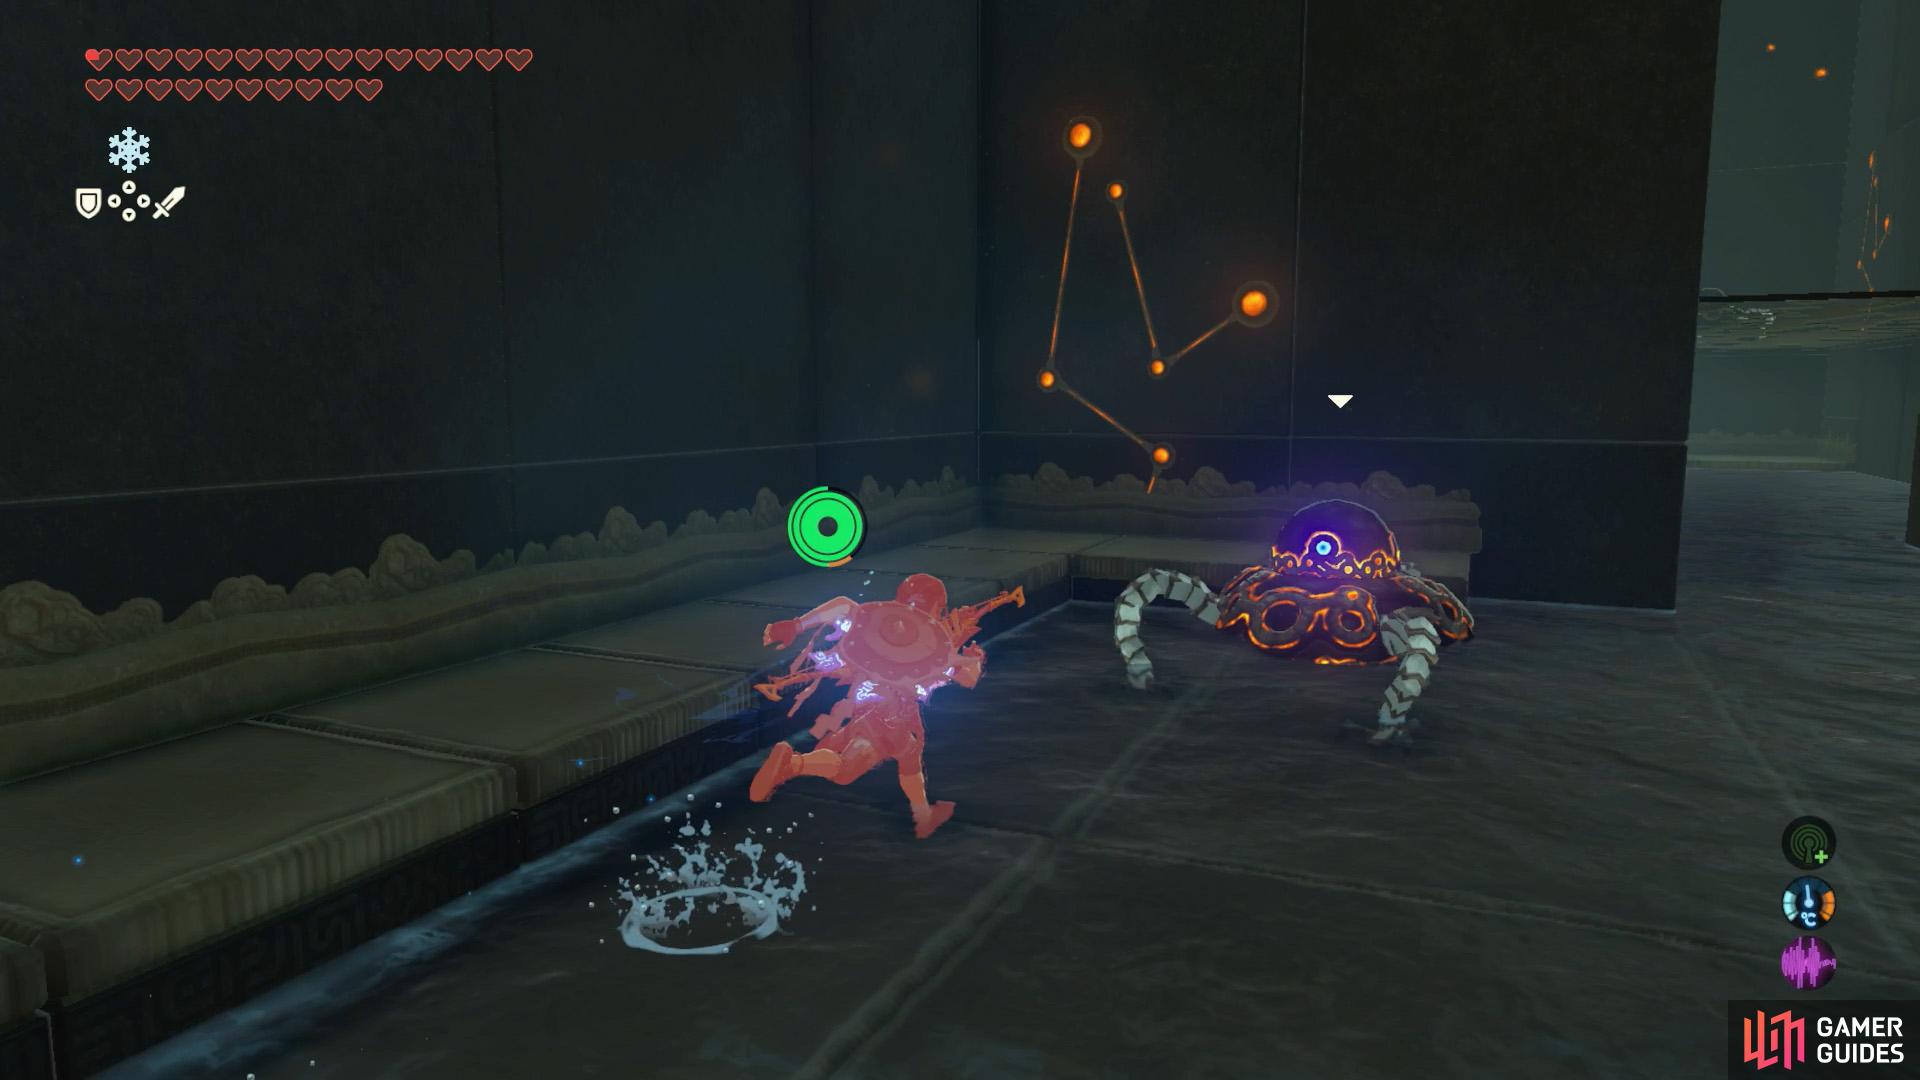
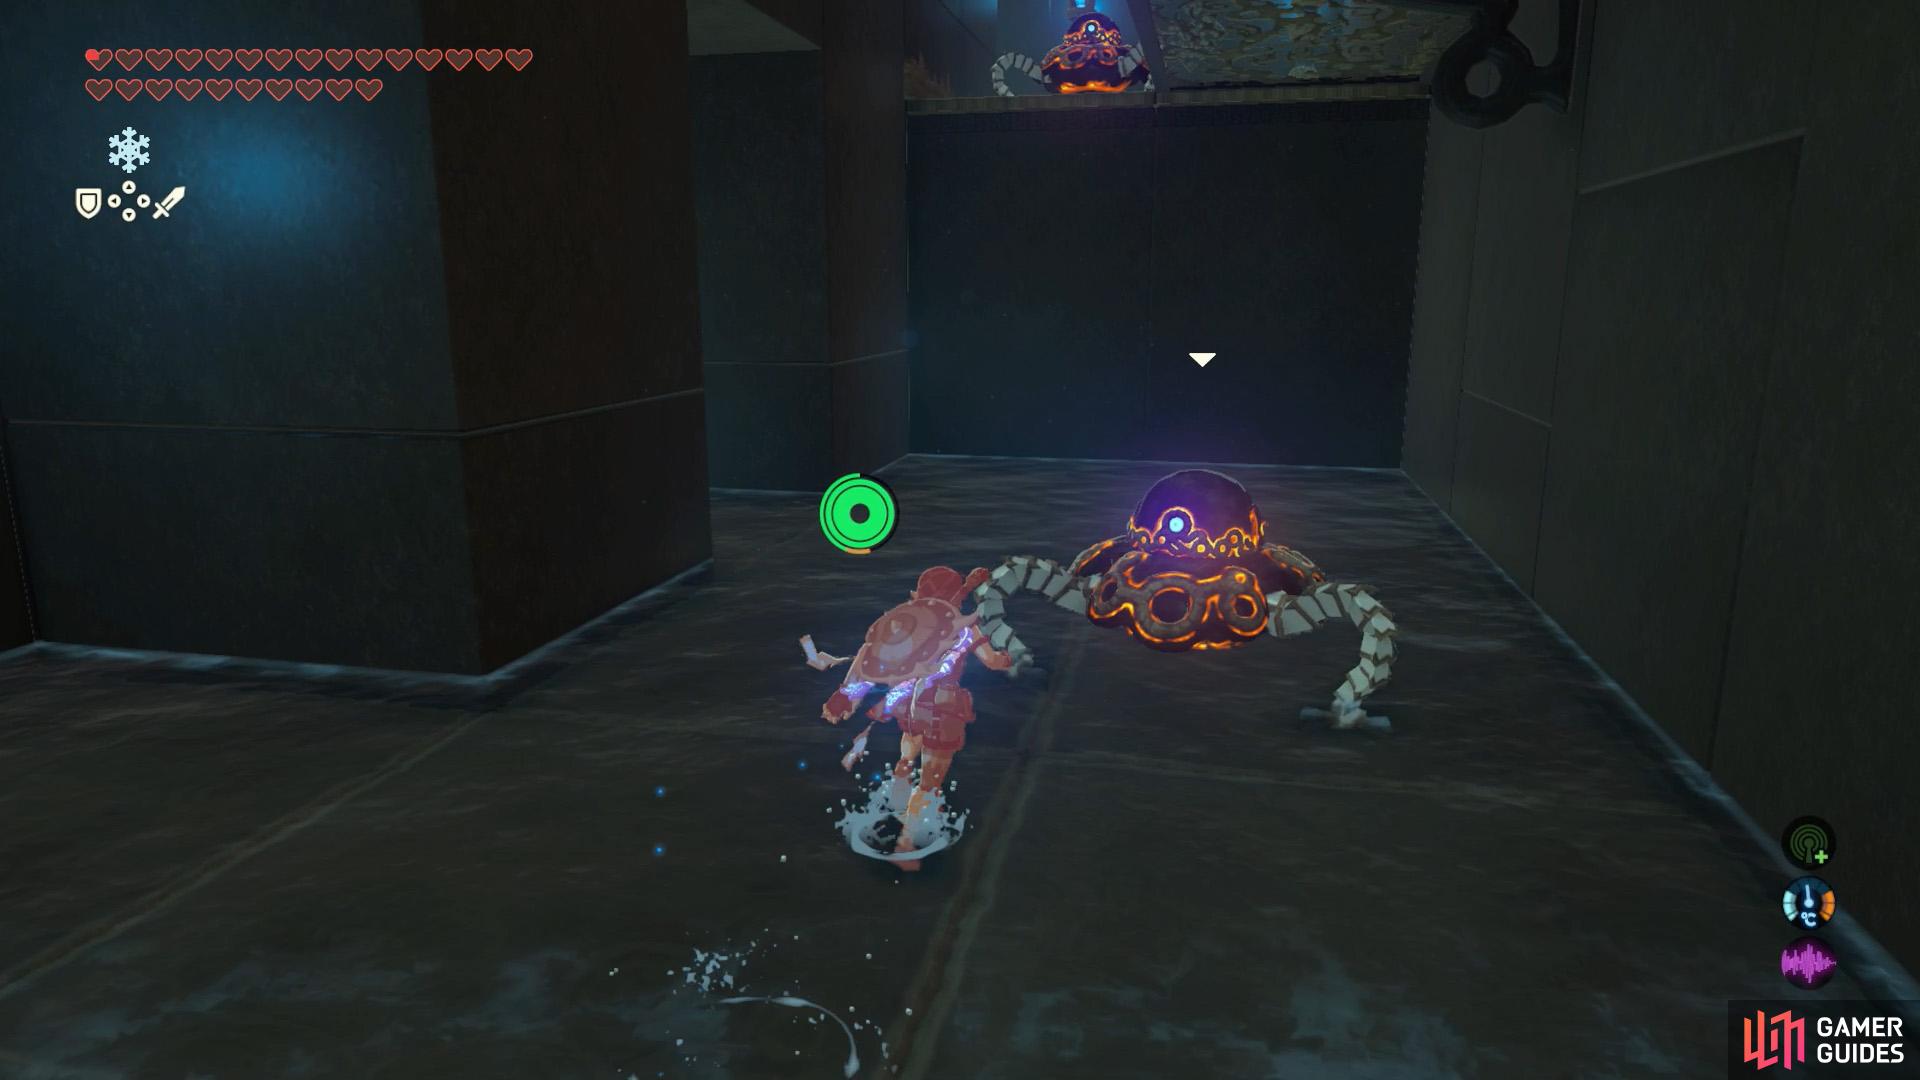
Towards the left, there’s a Guardian Scout II that occasionally likes to run in. You can fight it in a similar manner to the Guardian Scout IV from before. Although you won’t be able to use Cryonis here. Once it’s reduced to scrap, continue onwards and down the stairs.
On the left is another Guardian Scout. Either take it by surprise or stand back and reflect the laser beams. Behind the scout is another scout, on higher ground. For this one, reflect the beams or shoot it with arrows. Or if you’re daring, use Cryonis to create an ice pillar, then climb up and smack it with the One-Hit wonder.
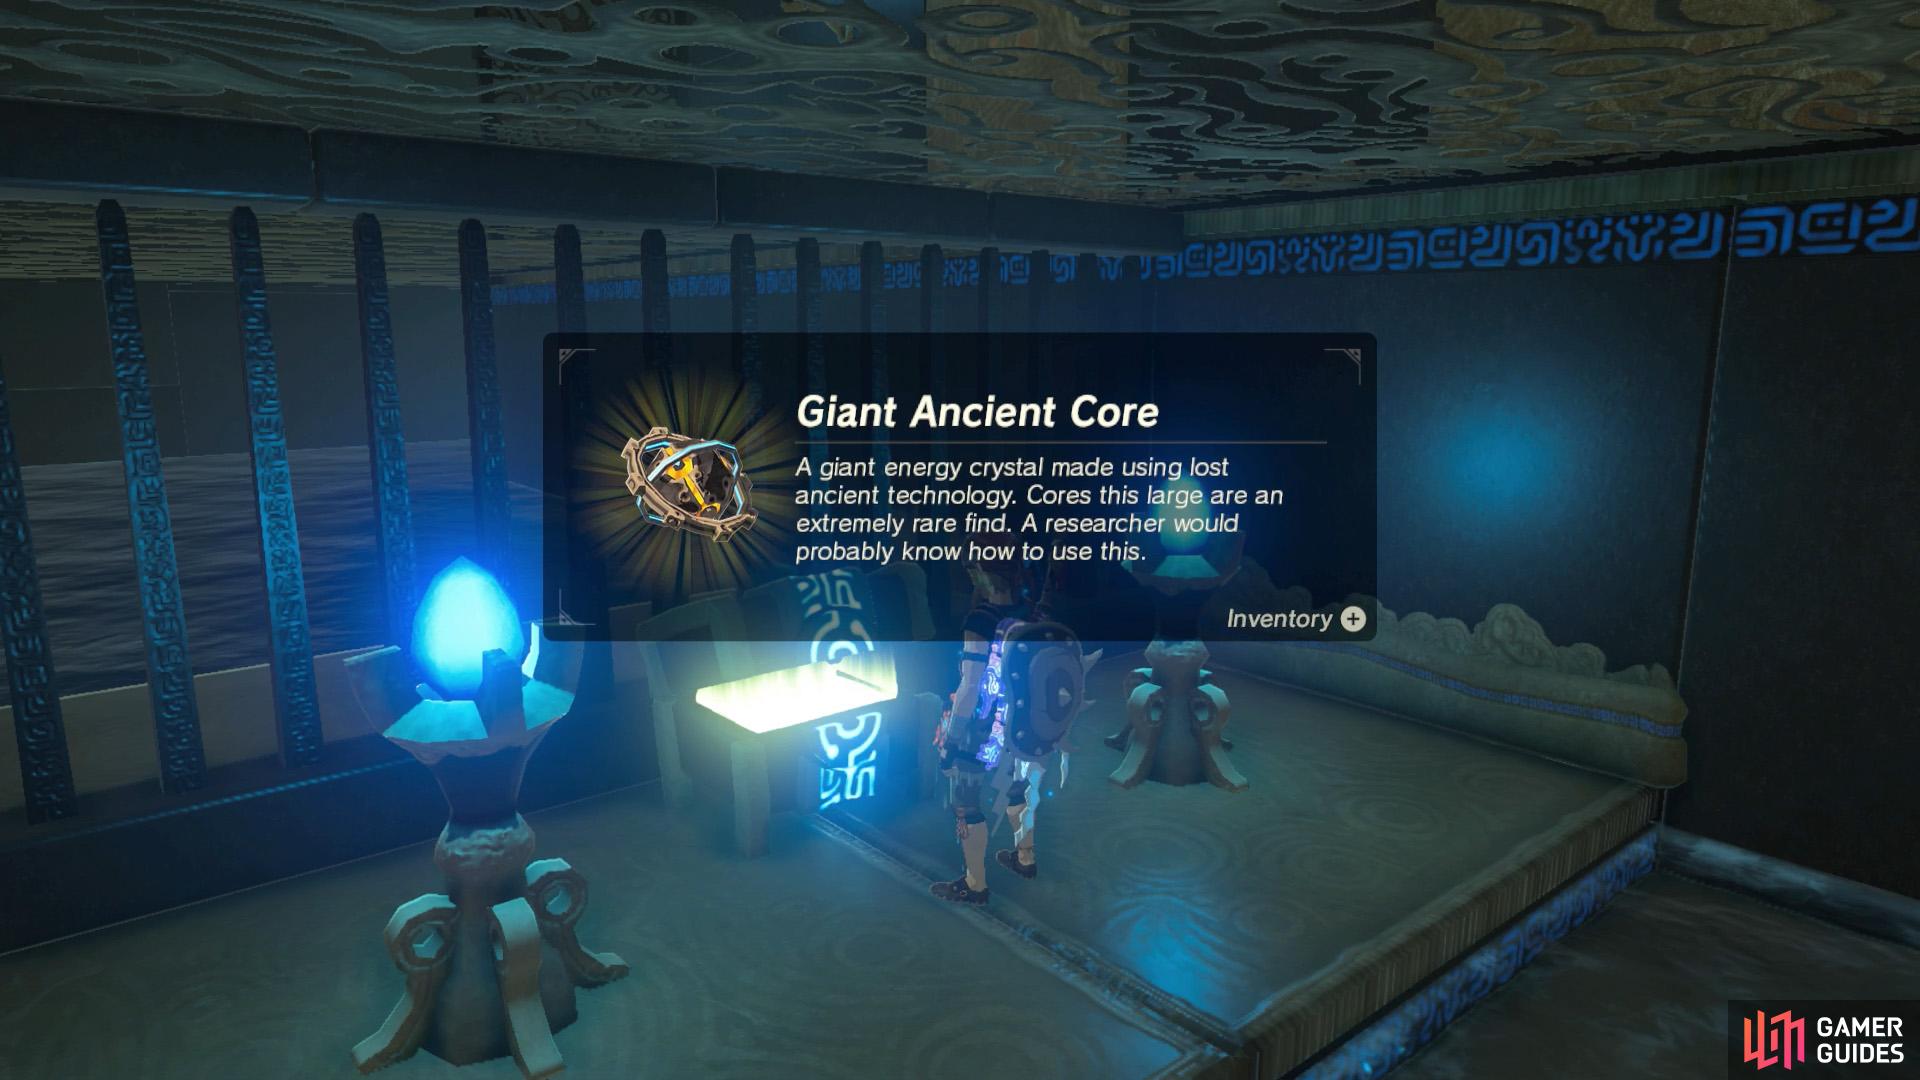
You can never have too many Giant Ancient Cores.
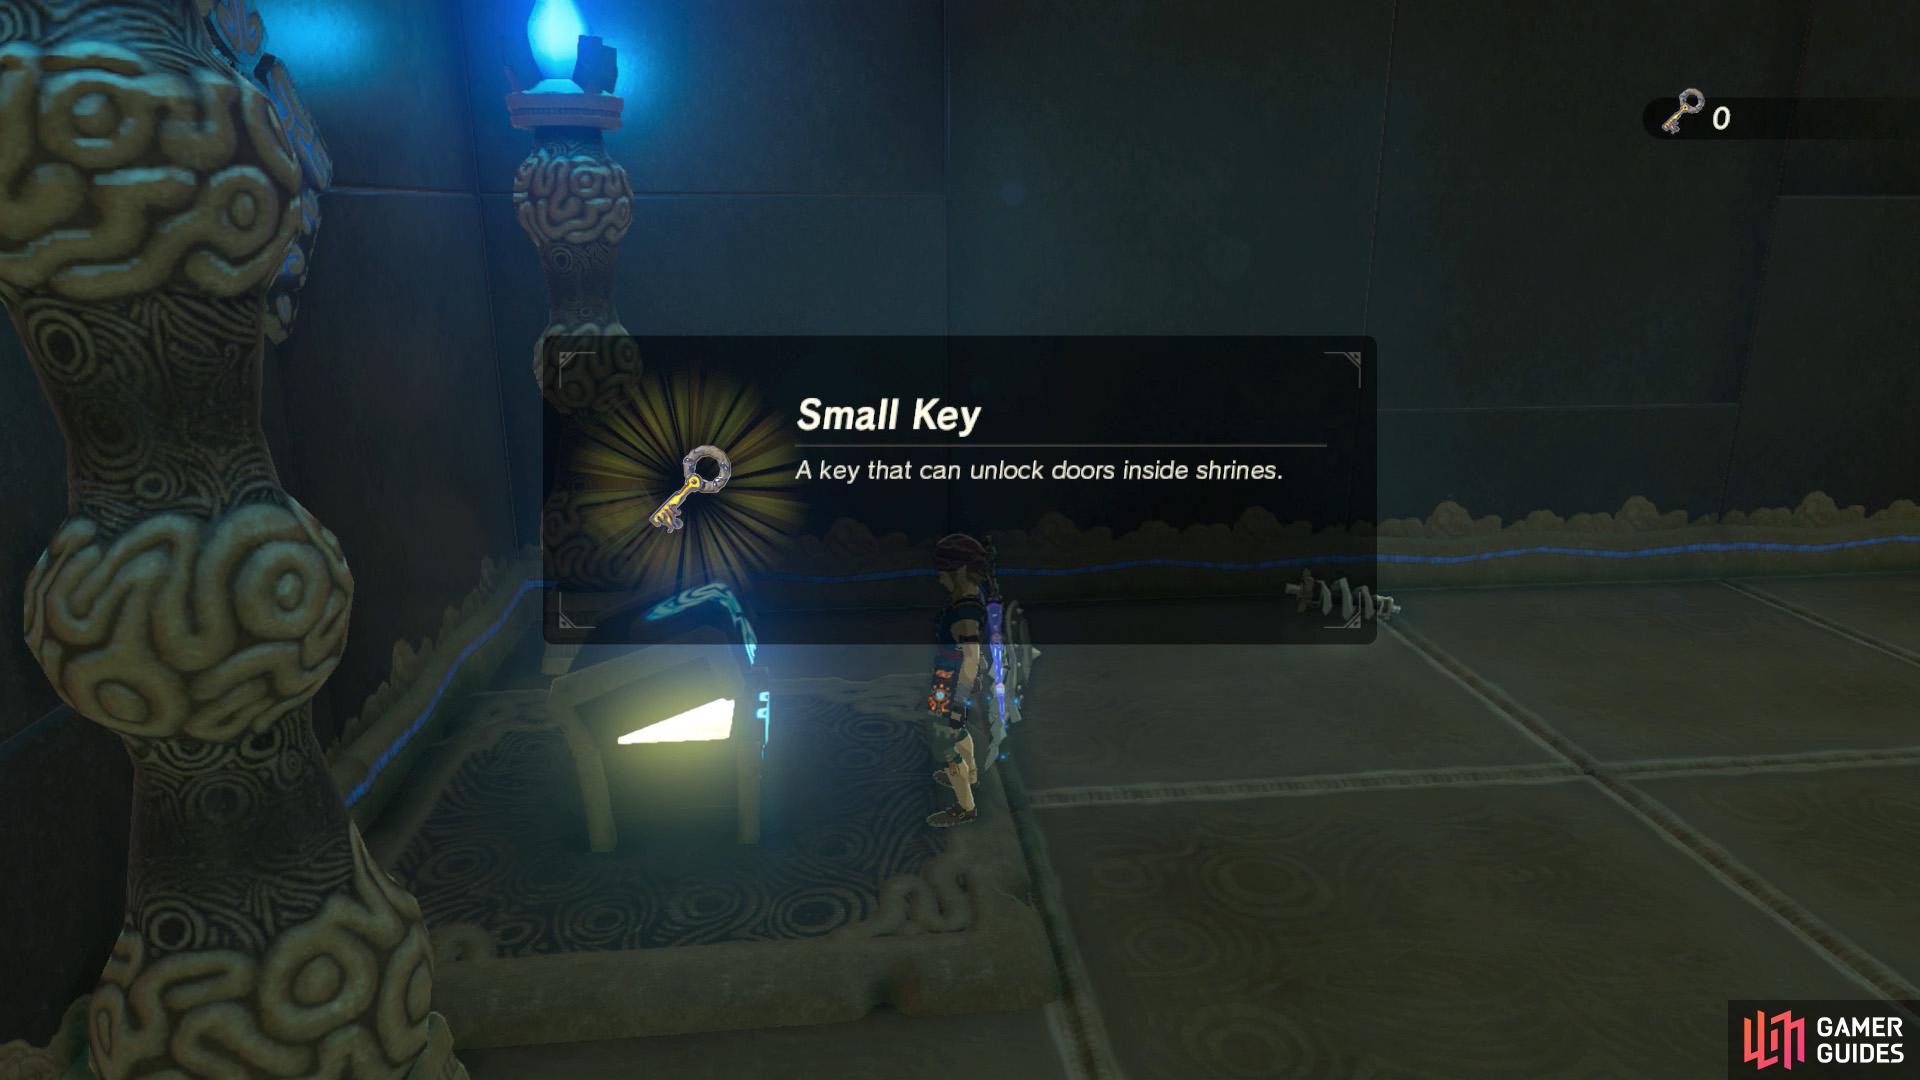
After obtaining the Small Key, leap down to the left.
Next, head left, left and right. You’ll reach the treasure chest underneath the overpass from earlier, where you can pilfer a Giant Ancient Core. Double back to where you destroyed the Guardian Scout on higher ground. Either climb the ladder on the opposite end and walk across the overpass or directly climb up using an ice pillar.
Open the chest at the back for a Small Key. Jump off to the left and then open the locked door from earlier. Beyond is the final room in the shrine. Here, there are a series of long platforms, where multiple Guardian Scouts are patrolling.
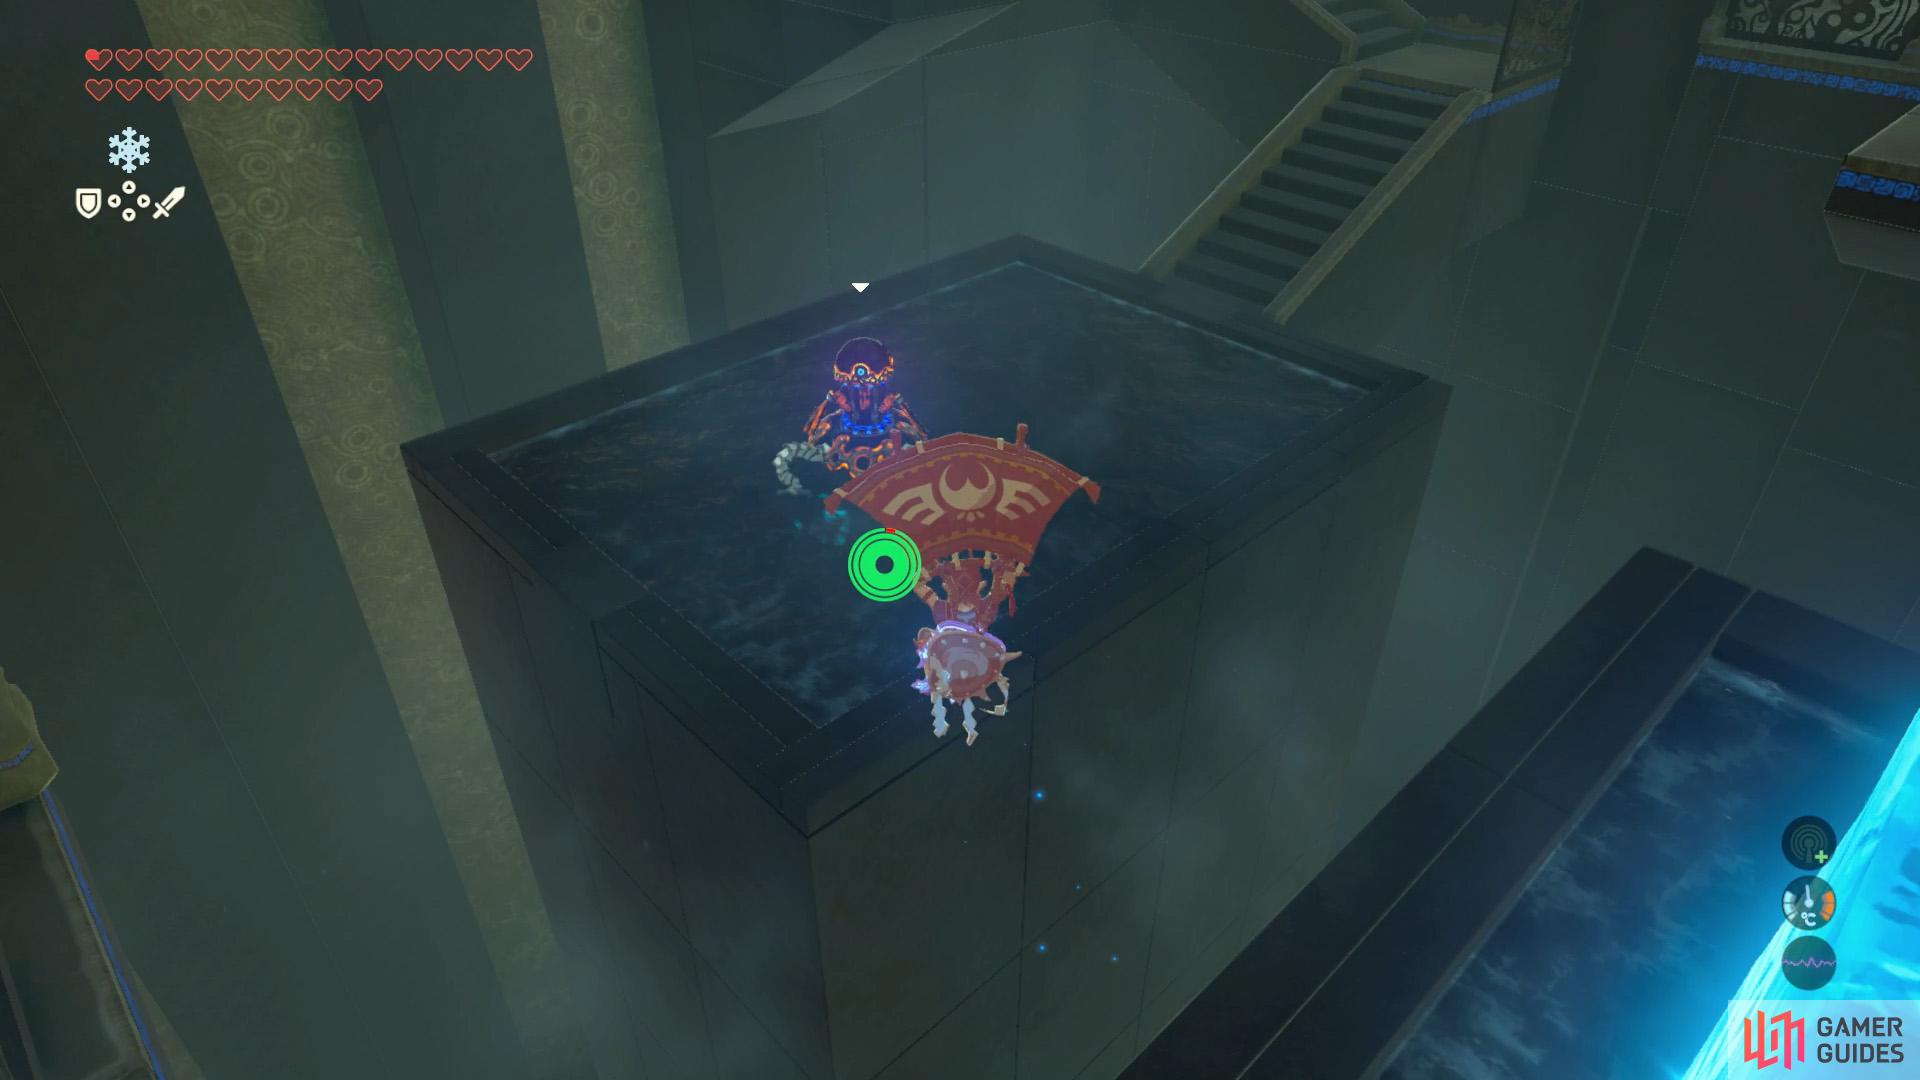
Directly ahead is a jutting platform. Below, to the left and right are two Guardian Scout IIs. If one of them hasn’t entered battle mode yet, glide down and then whack it before it activates. Otherwise, you can create a Cryonis ice pillar on the platform where the Scout IIs are, to impede their attacks.
Once the Scout II is down, look towards the closed gate at the back of the room. From your position, shoot arrows at the scout guarding the exit. Next, go up the nearby stairs. These will lead to the central overpass, guarded by a Guardian Scout III. Fighting it head on will be difficult. Instead, wait until it’s deactivated, then Stasis it and run in for the kill.
Finally, if you’re lucky, the last remaining Scout II, on the platform you didn’t glide towards, should be deactivated. If so, glide towards it and then smack it before it fully enters battle mode. With all the scouts dutifully blown up, the back gate will open. Go up the stairs, back to the central overpass, then glide down to the exit.
No Comments