
This page offers a walkthrough of the Ja Baij Shrine: Bomb Trial, which is a part of The Isolated Plateau quest. Before heading to the shrine you’ll need to fast travel to the Great Plateau Tower.
Marking the Shrines
Let’s go and find the other three shrines so we can get that Paraglider and get off this Plateau! First, let’s follow the Old Man’s advice and fast travel to the Great Plateau Tower.
The Sheikah Slate can act as a telescope, allowing you to pinpoint far out locations to travel to.
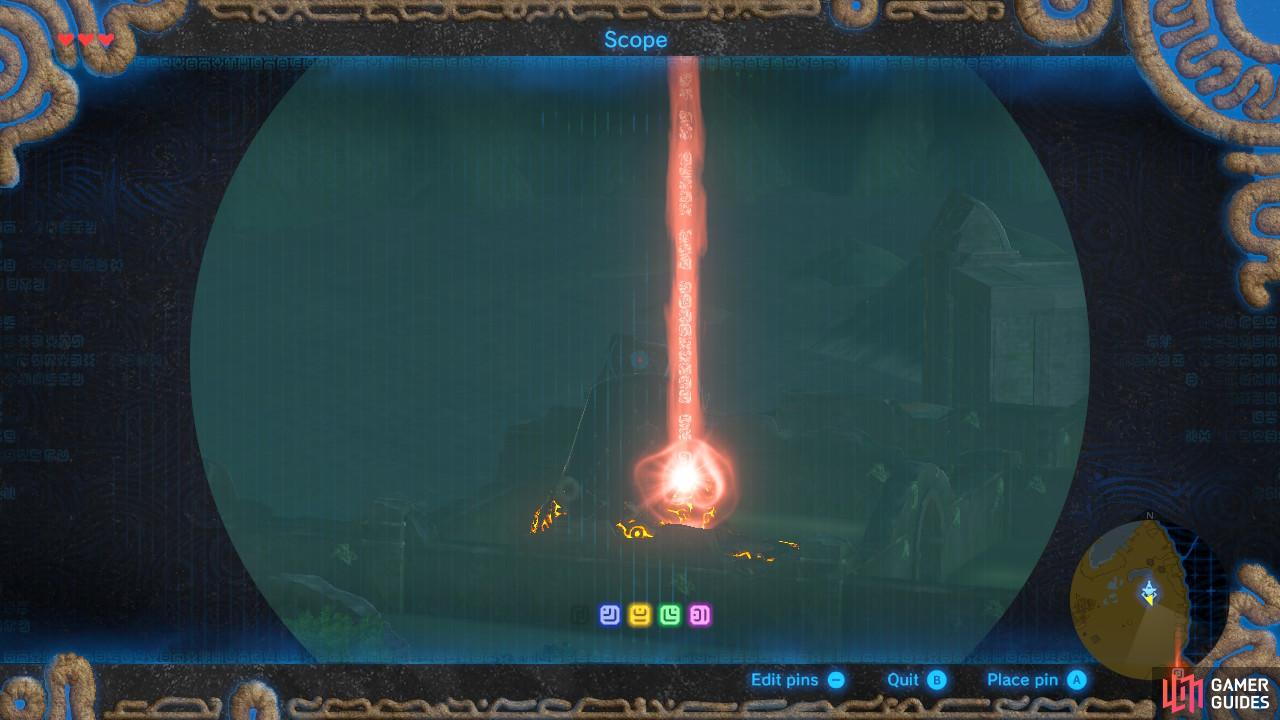
It can immediately discern the object you are wanting to pin, thus letting you mark your map accurately.
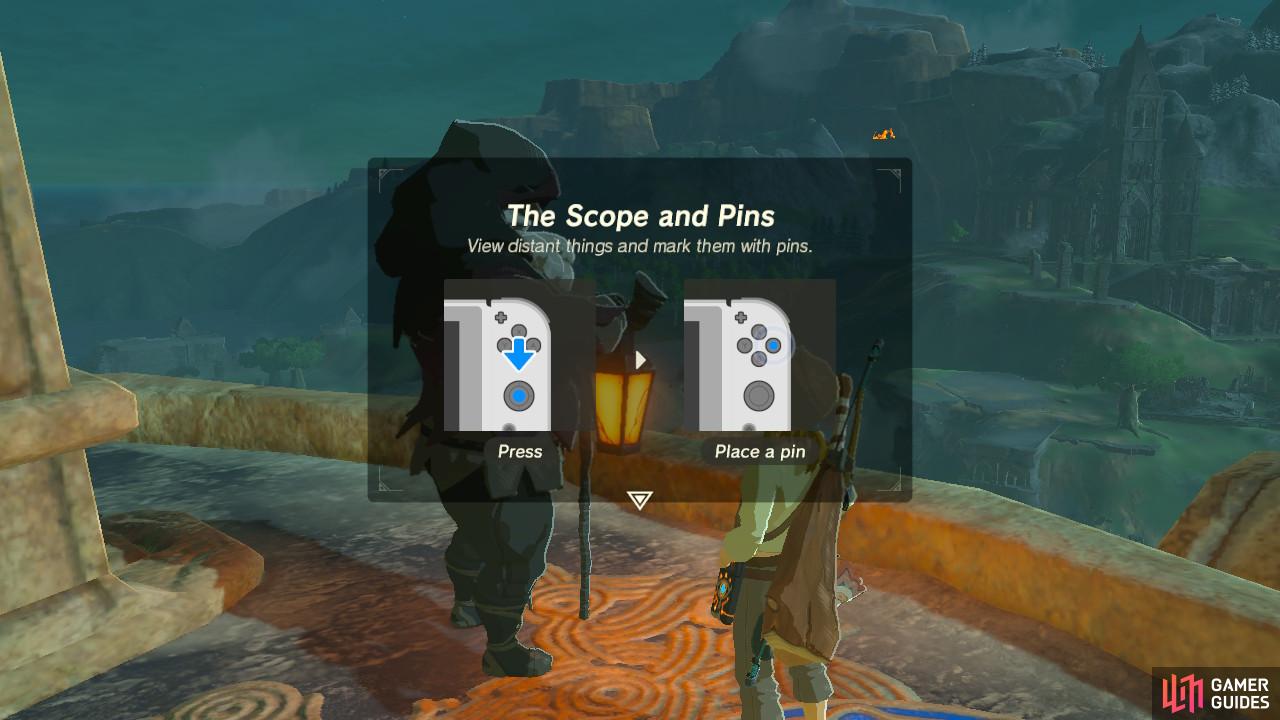
Once on top of the Tower, the Old Man will start the tutorial on using map pins. Press down on the right analog stick and you will be able to use the Sheikah Slate like a telescope of sorts. Scope out the Plateau for all the shrines. You can see them by their distinct orange glow. Once your cursor is on top of one, press [A] and a pin will be placed on the map right where the shrine is! In this way you can pin the three remaining shrines.
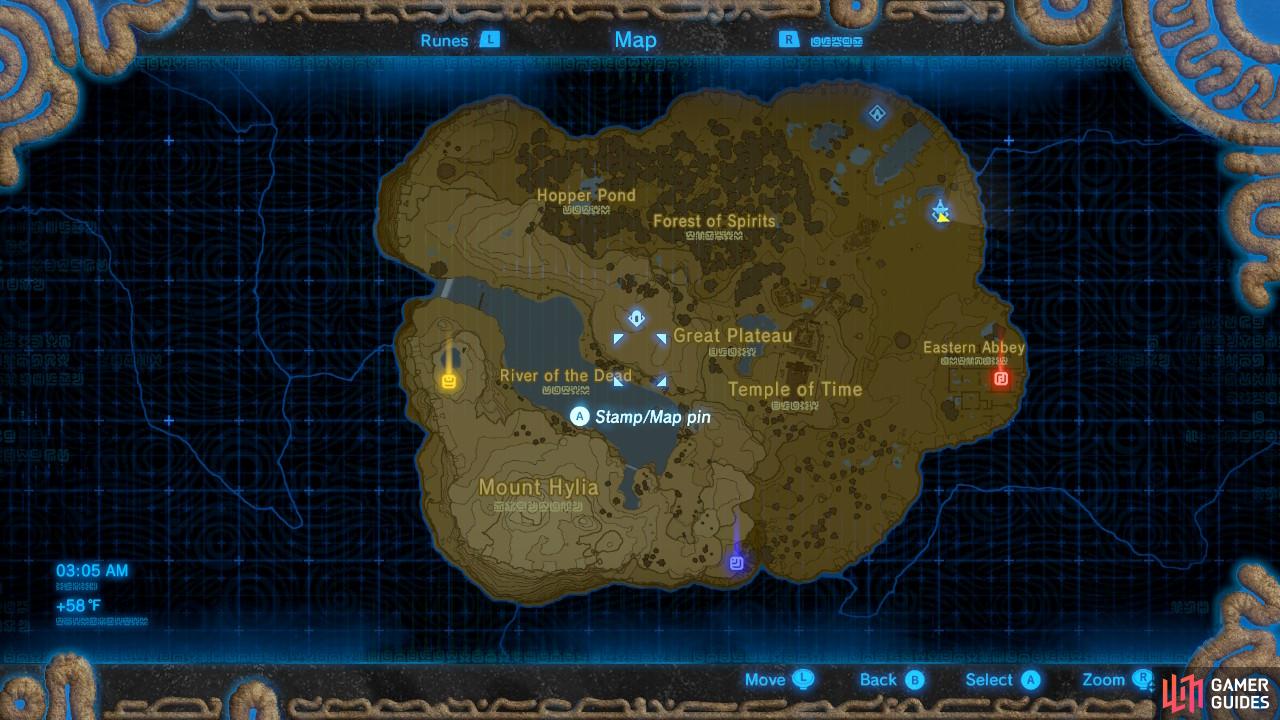
The pins will also be marked on your mini-map and the map on your Sheikah Slate. Handy!
Now that your map is all nice and colorful, let’s get going to the next shrine.
Shrines are easy to pick out from the vast landscape since they all glow like this
but make sure you watch out for Guardians! They have a telltale theme song that plays when they detect you.
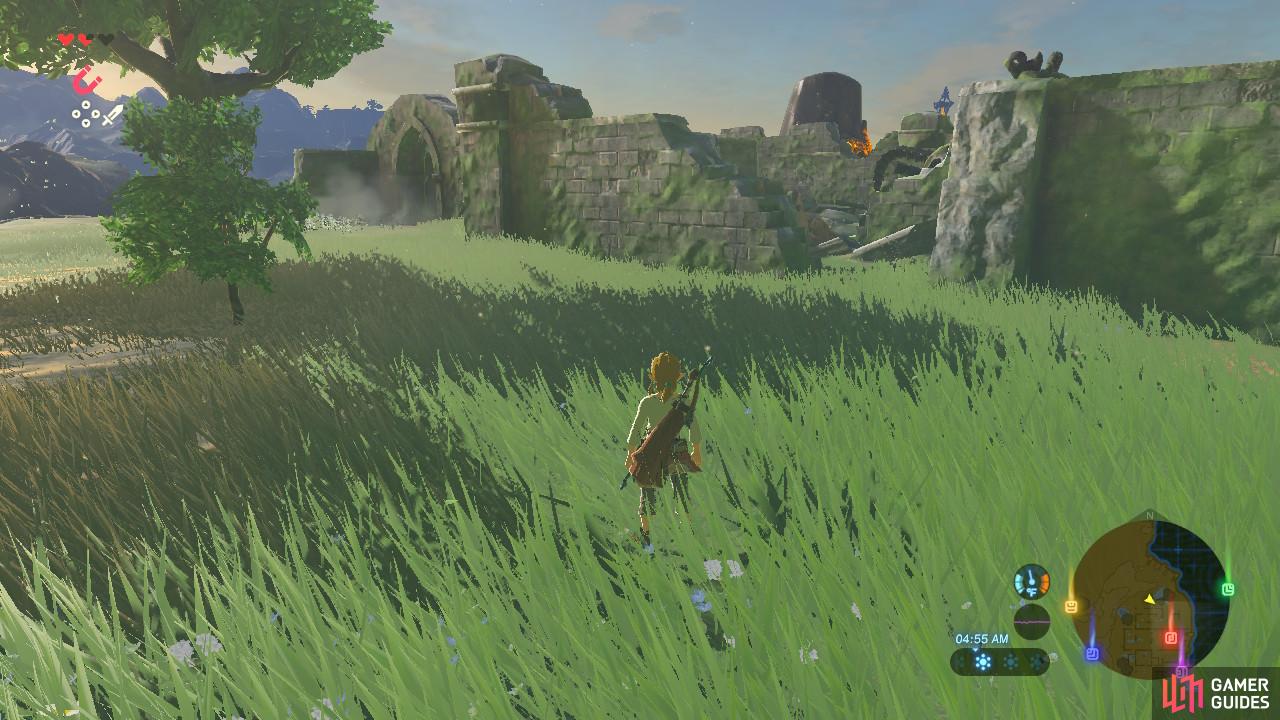
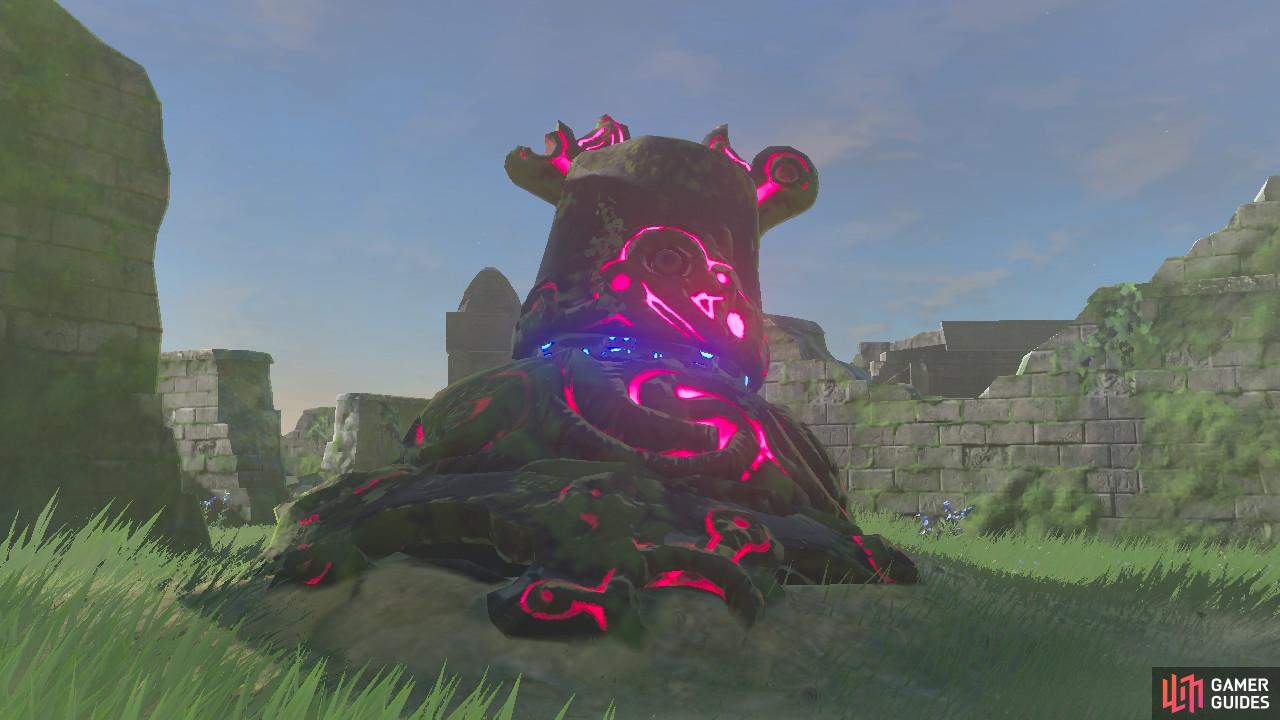
So let’s head southeast to our second shrine. You can probably see the telltale orange glow from outside the ruin’s walls, so start making your way through the area…and you will encounter an unnerving cutscene.
These enemies are called Guardians. Some can walk and others are fixed to the ground, like this one. For now, you can do nothing to defeat them. Their homing laser will smash you for six hearts of damage - six hearts we also don’t happen to have right now. Consider them your instant-kill enemies in this stage of the game and run! You might have to climb over a wall to get to the Shrine so manage your stamina carefully. Their laser cannot penetrate walls so you are safe once you are over.
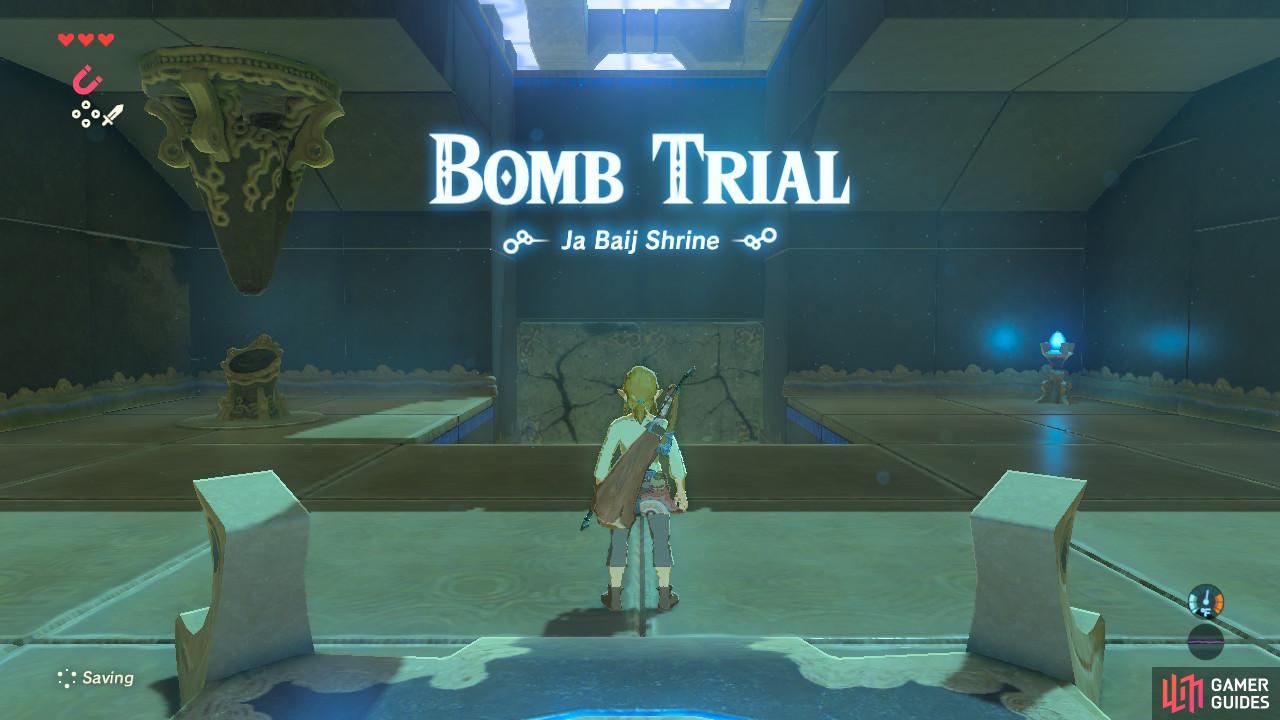
How to Complete Ja Baij Shrine: Bomb Trial

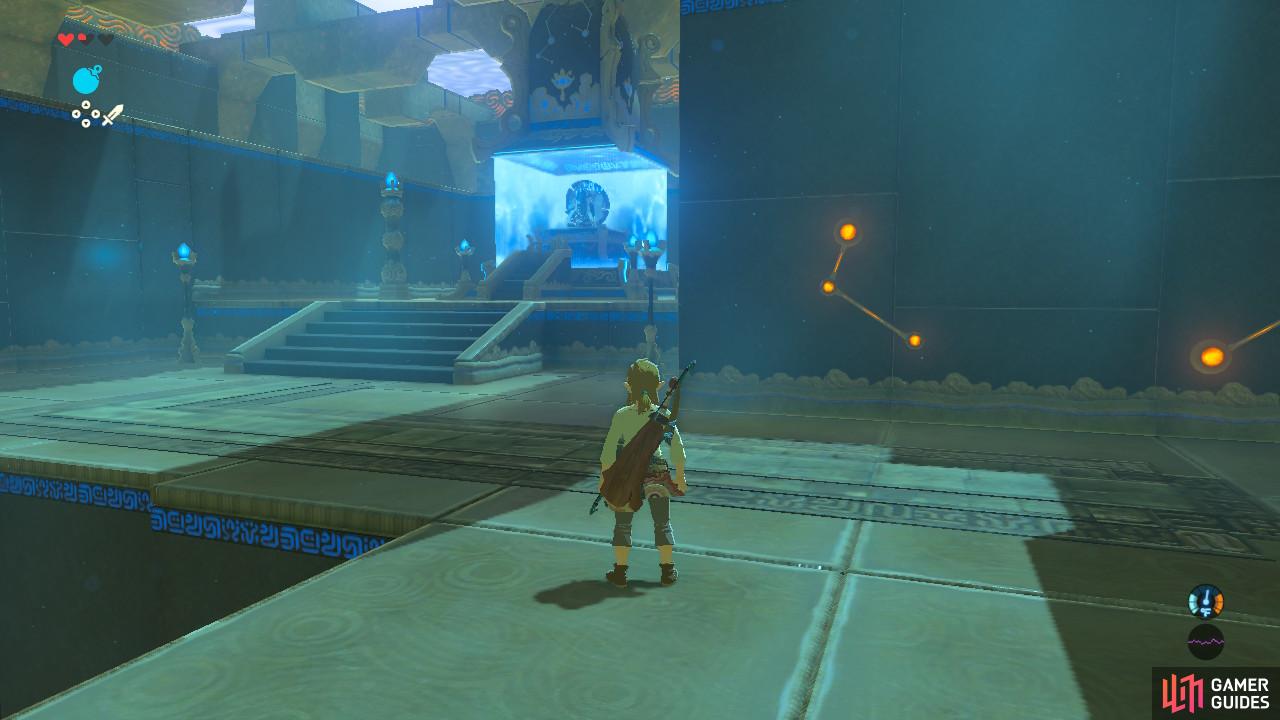
The shrine and its surrounding area is a safe zone from any Guardians
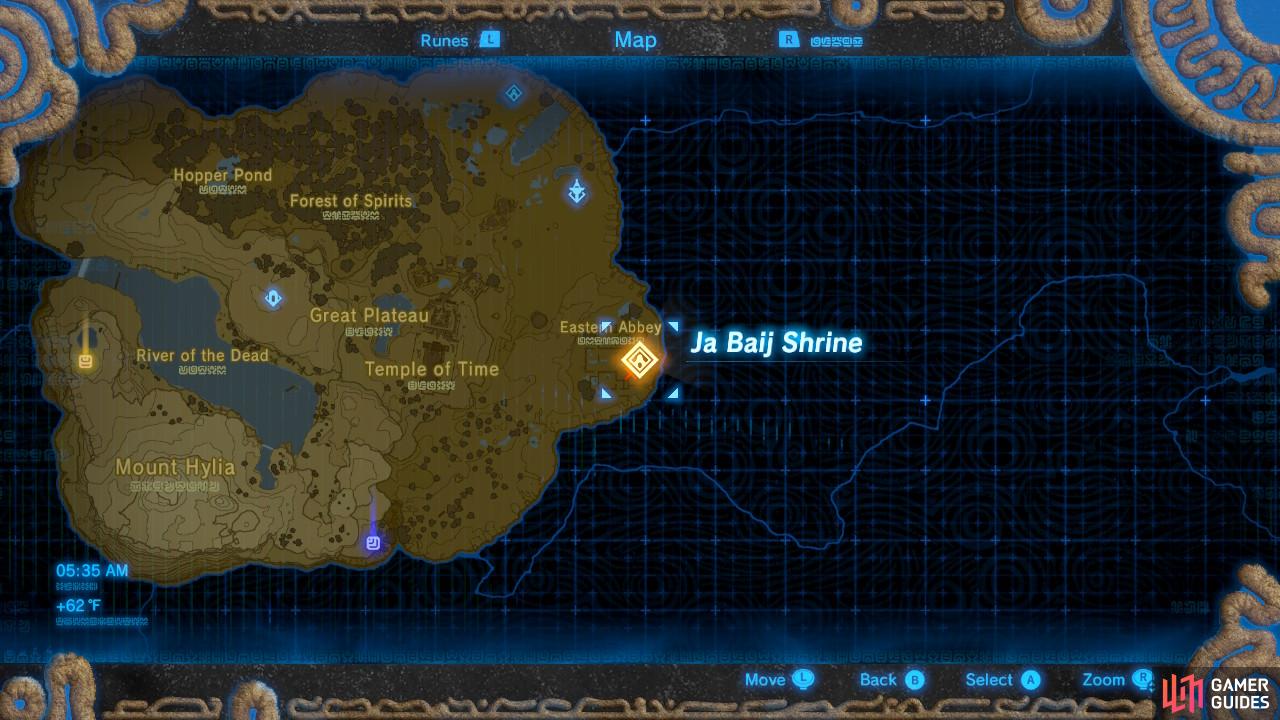
Here is the location of the Ja Baij Shrine according to your Sheikah Slate.
As usual, activate the pedestal so that you can enter the Shrine. As you can probably tell by the Trial name, this Shrine involves setting off a ton of explosions. The first room of this Shrine will play out similarly to the Magnesis Trial from before.
You will first need to inspect the pedestal, and unlock what is a strong contender for the best Sheikah Slate power, and definitely the most fun! Now you can create and detonate Cube or Spherical Bombs! Cube Bombs are good for when you don’t want the bomb to move, and Spherical Bombs are best to throw and are good all-purpose bombs.
Once you have the Bomb power selected, press the L shoulder button to create a Bomb. Drop it with A or throw it with R shoulder button, and then press L shoulder to detonate it whenever you want. Since this is tied to your Sheikah Slate, you will have to wait for a short cooldown period, but now you have unlimited Bombs. Awesome!
Use a Bomb to blast away the cracked wall in front of you. Be sure to stay a fair distance away, since if you’re caught in the blast you will sustain heavy damage and could potentially die (don’t say I didn’t warn you).

Shrines will often have a treasure chest off the beaten path so it’s worth your while to explore
This is a fairly basic sword that will come in handy for when enemies get a bit bulkier.
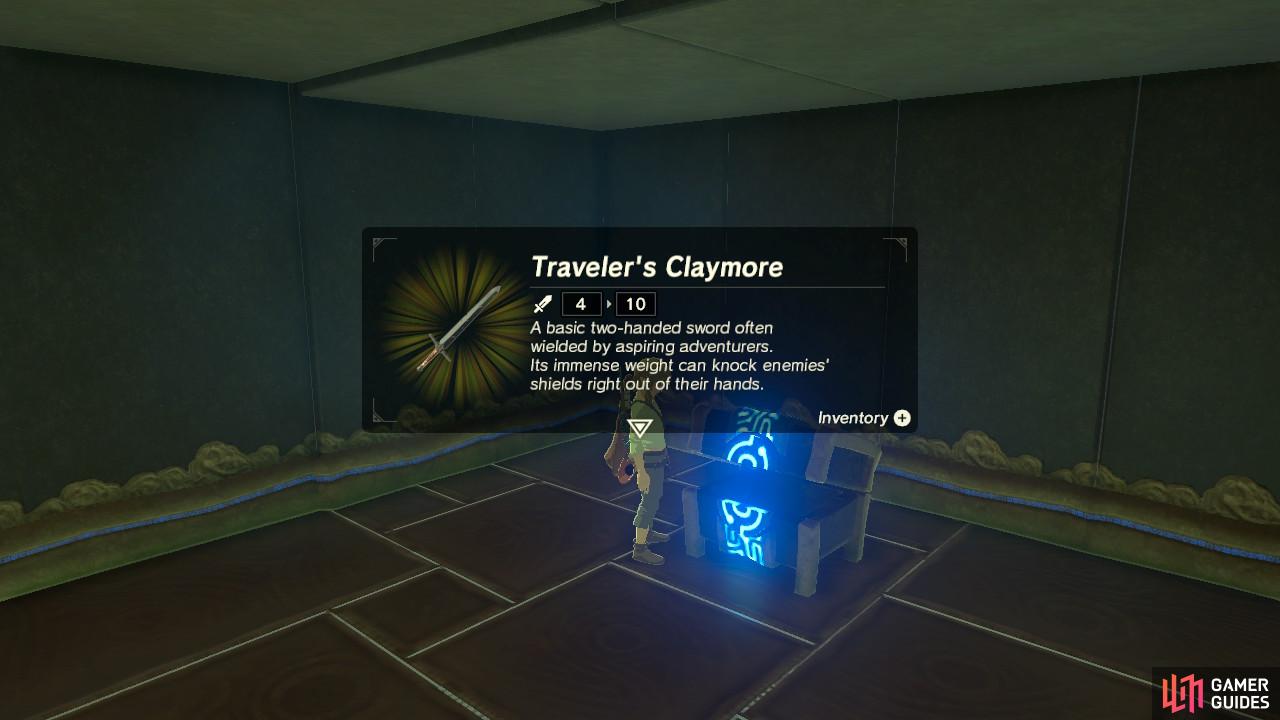
Up ahead is a fork. Go to the right and Bomb the wall to reveal a Treasure Chest. Open it to grab a Traveler’s Claymore, a great starting sword. How useful. Don’t waste it on the red Bokoblins though. Save it for when you can finally leave the Great Plateau.
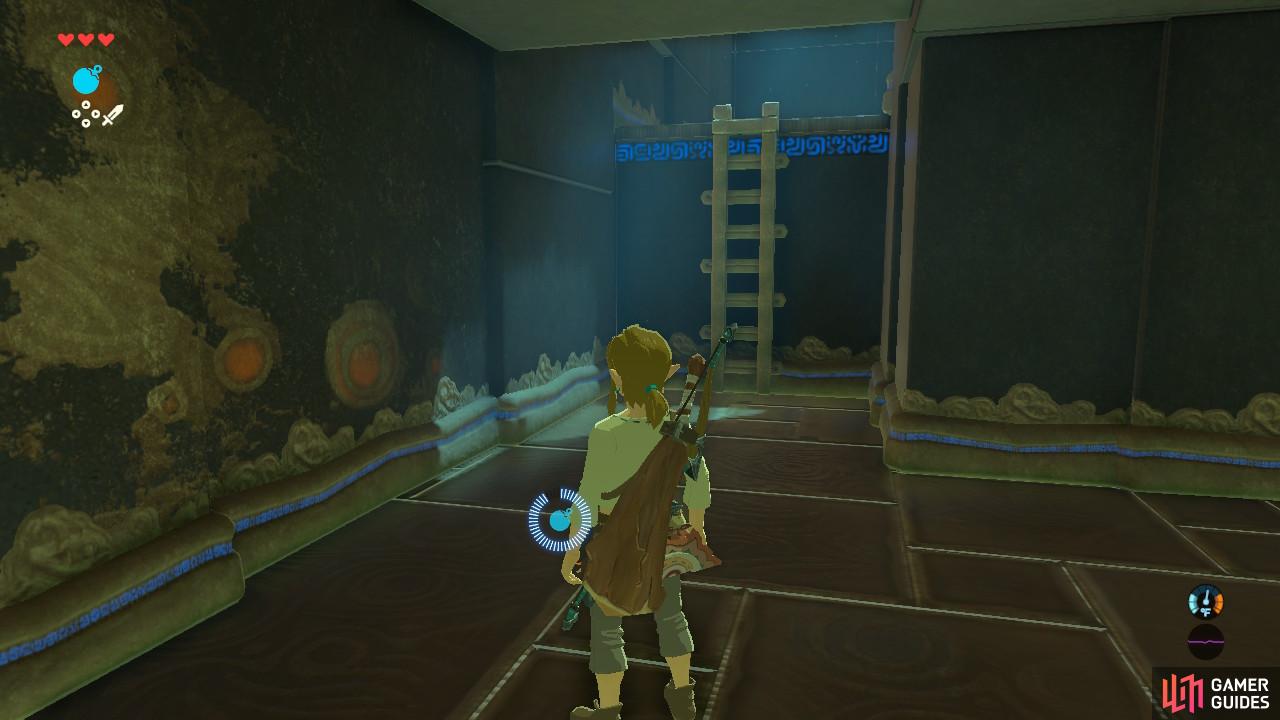
Just a small transition hall to get through
A moving platform, straight out of Mario!
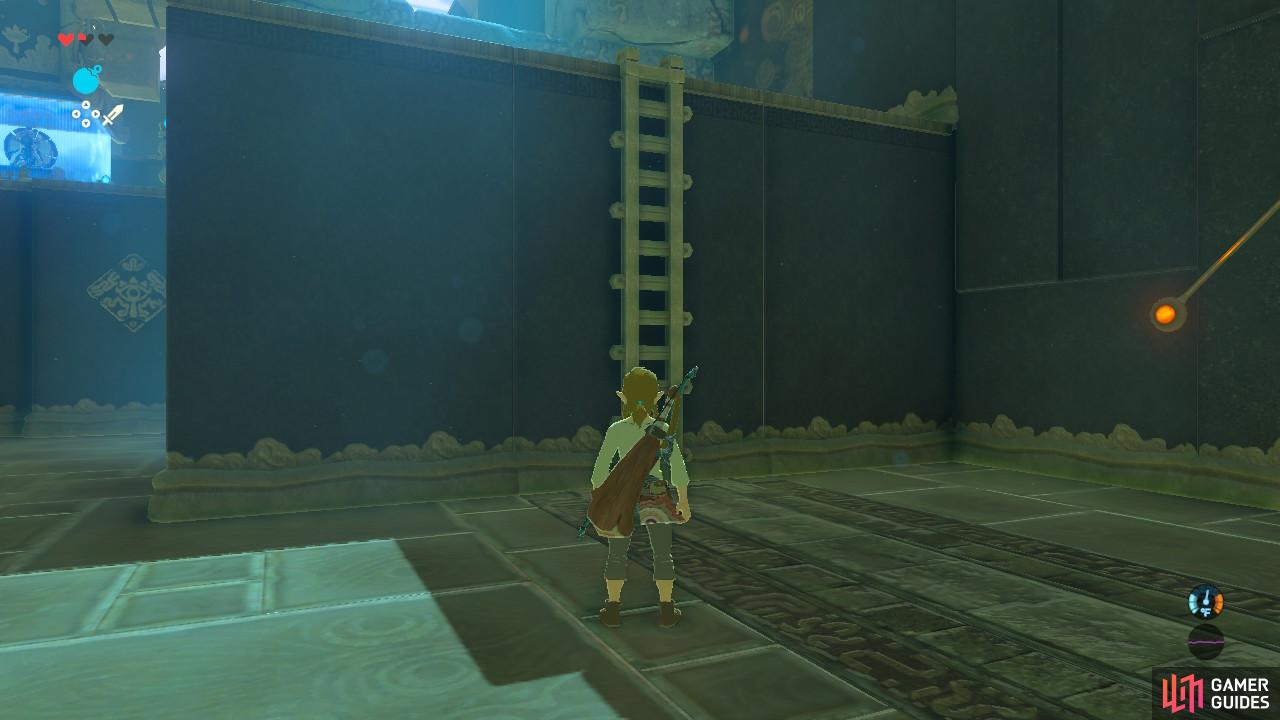
Go to the left side of the fork to proceed with the trial and climb the ladder. There will be a platform that floats back and forth. Ride it across and you will arrive in another chamber.
Don’t worry, these machines won’t hurt your health
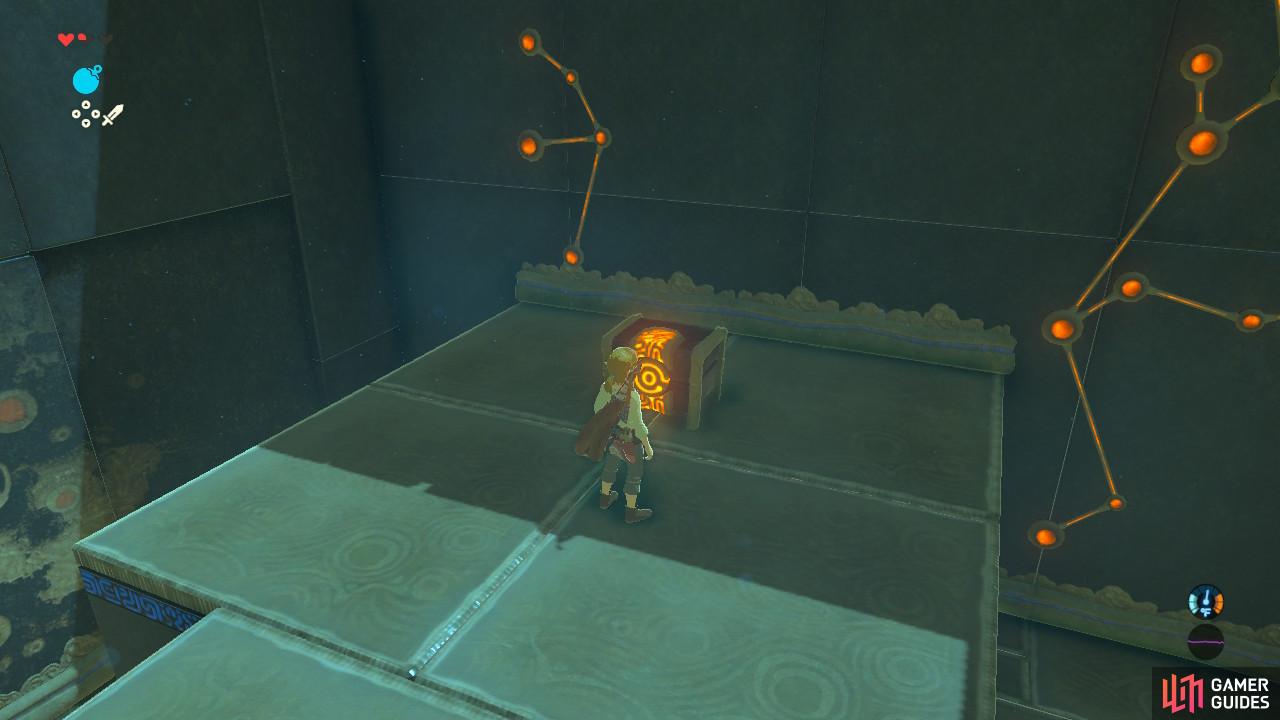
Don’t forget to grab the second treasure chest in this trial!
This room is filled with all sorts of weird contraptions that pop in and out on timed intervals. Two of them appear to be bouncing a ball back and forth. This is meant to show you what these machines can do. They will launch anything in front of them a fixed distance away, including Bombs and you.
Start with the leftmost machine and stand in front of the block. The block will launch you into the air onto a platform with another Treasure Chest. Open it and grab the Amber. Drop down onto the floor and go back up the stairs to return to the start of the room.
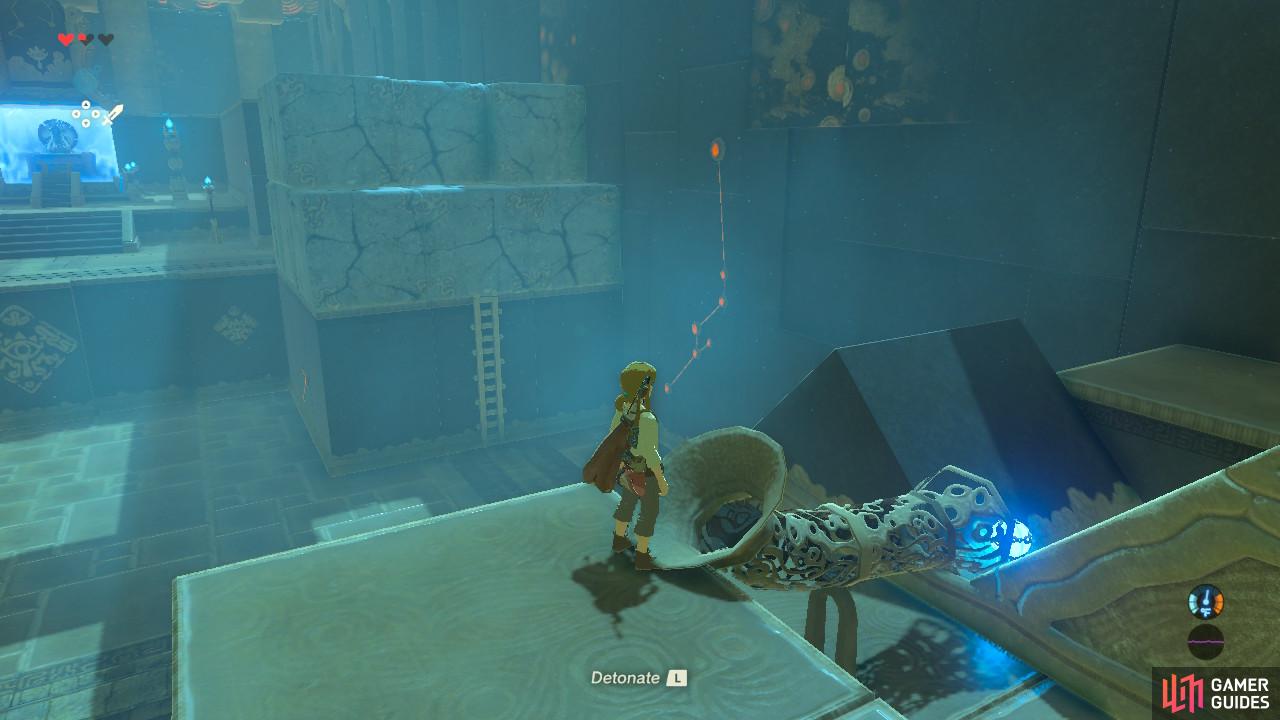
A spherical Bomb will be best for this particular task
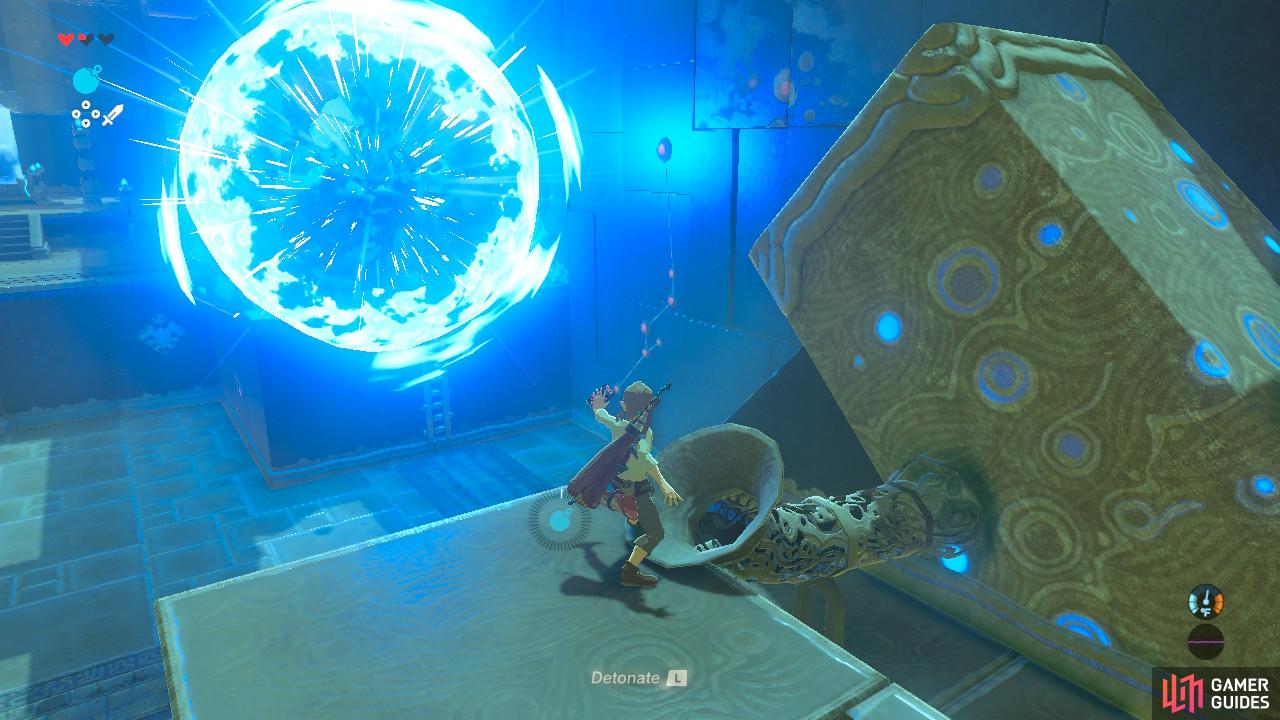
Make sure you detonate the Bomb in mid-air at the right time!
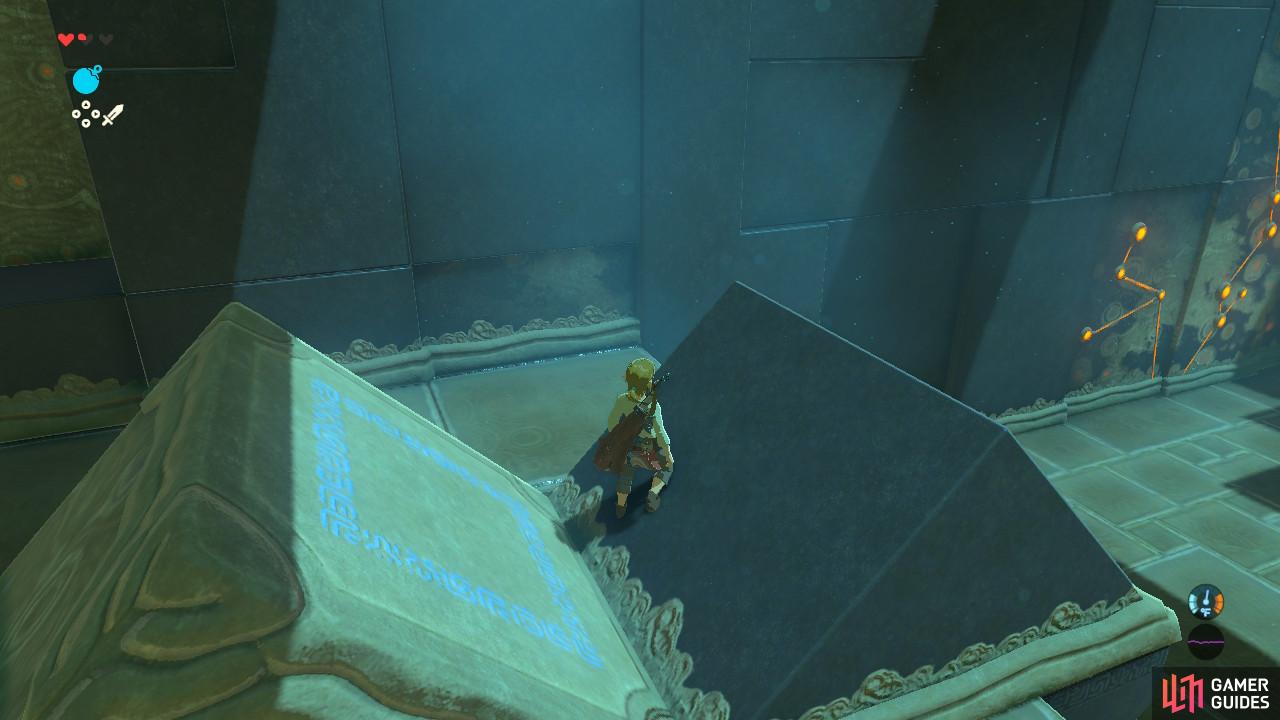
Now go to the rightmost machine and climb the short staircase to stand on the platform next to it. There is a short pipe connecting it and the machine. When the machine is at rest, drop a Bomb down the pipe. The machine will then launch the Bomb into the air towards a cracked wall in the distance. Detonate the Bomb to blow up the stone wall, making the platform accessible.
We’re almost to the end!
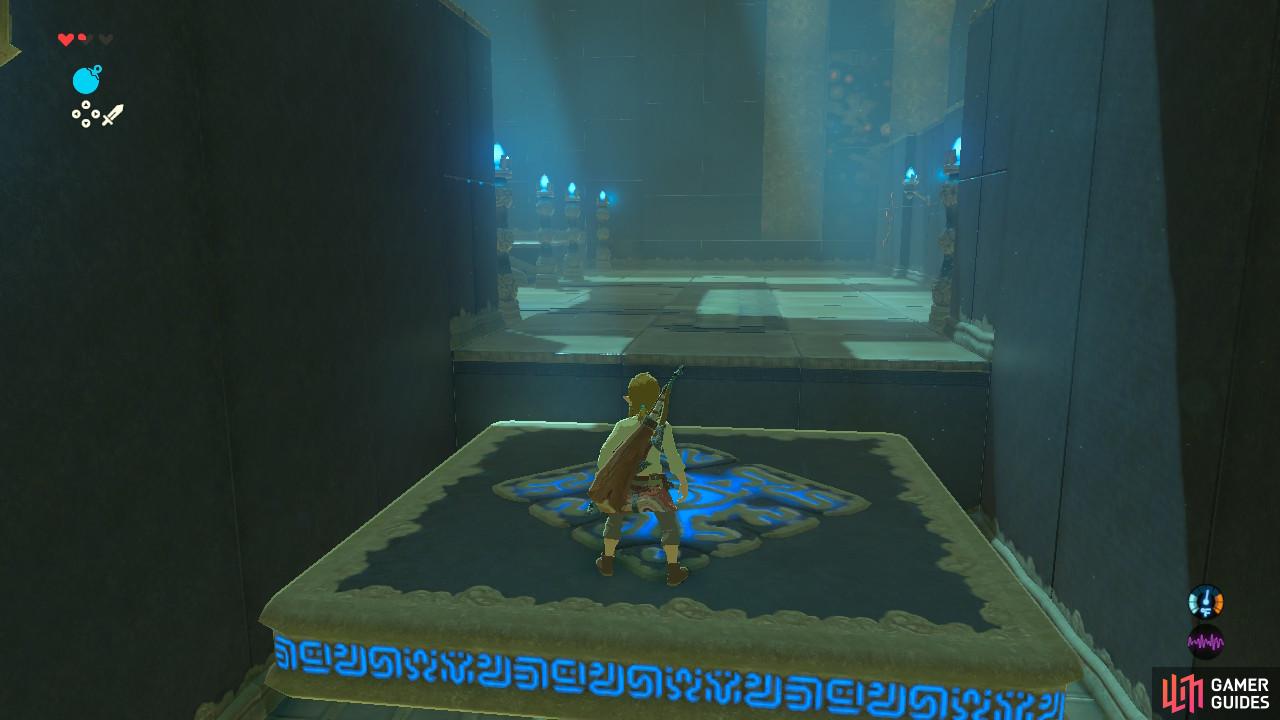
Head over to the characteristic blue area to finish up the trial.
Go back down the stairs and then climb up the ladder to get onto the platform. Put a Bomb in front of the second cracked wall and you will finally reach the end of the trial. You will receive your second Spirit Orb and automatically be taken back to the entrance of the shrine.
No Comments