
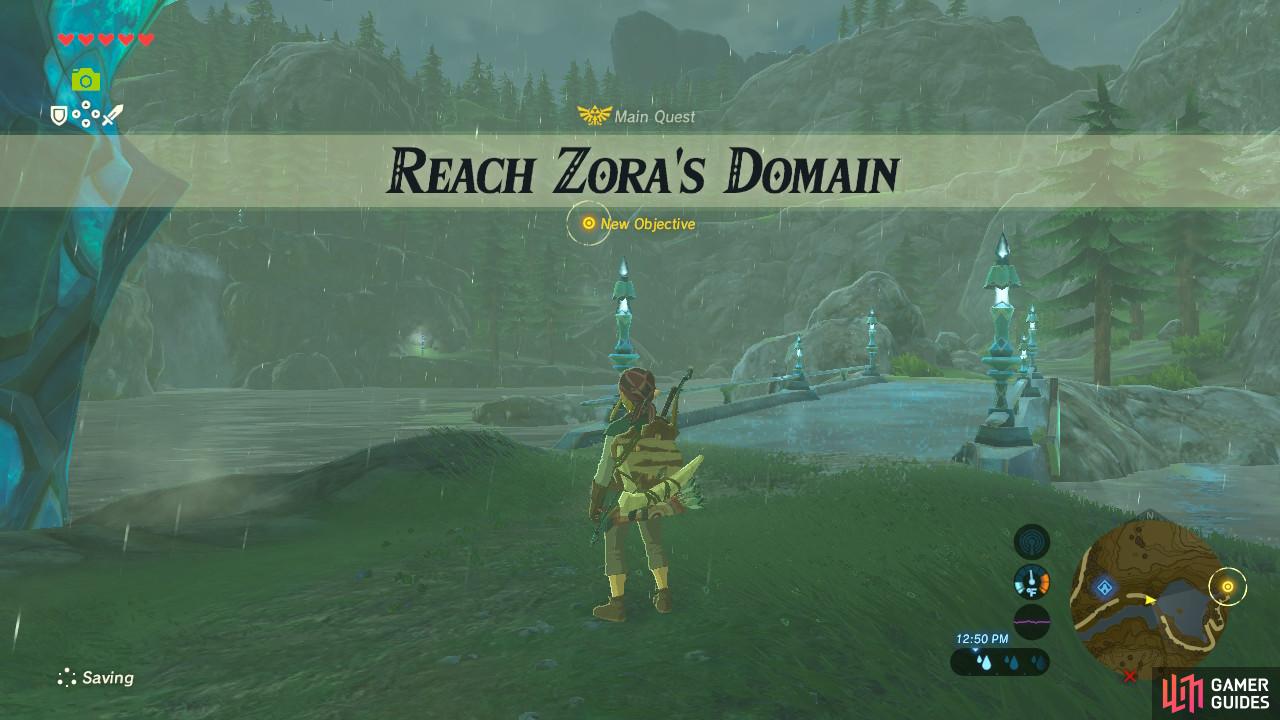
The quest Reach Zora’s Domain is given to you when you begin your journey to Zora’s Domain to reach Divine Beast Vah Ruta.
How to Find Prince Sidon
It’s very likely that Divine Beast Vah Ruta will be your first Divine Beast, found in Zora’s Domain. It is the rightmost yellow dot of the four dots, and happens to be the closest to Kakariko Village.
Head north past the shrine in the village
To get down into the vast valley and to the other side, use your Paraglider.
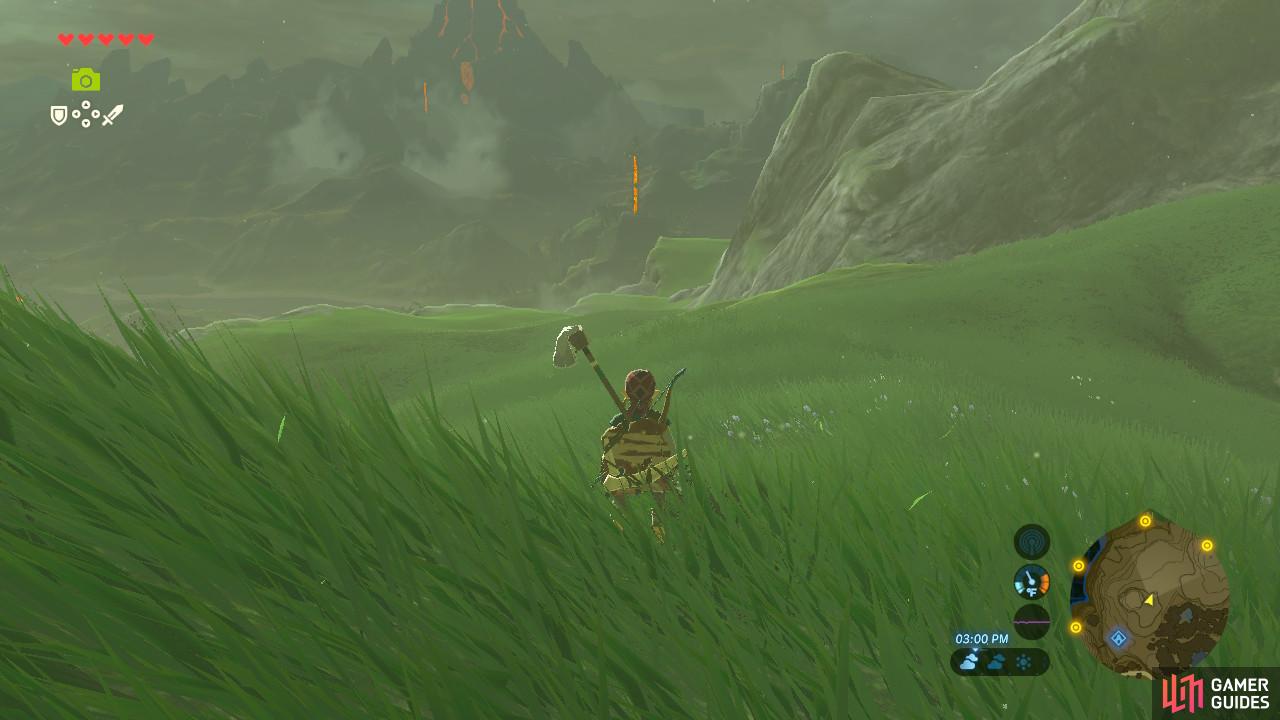
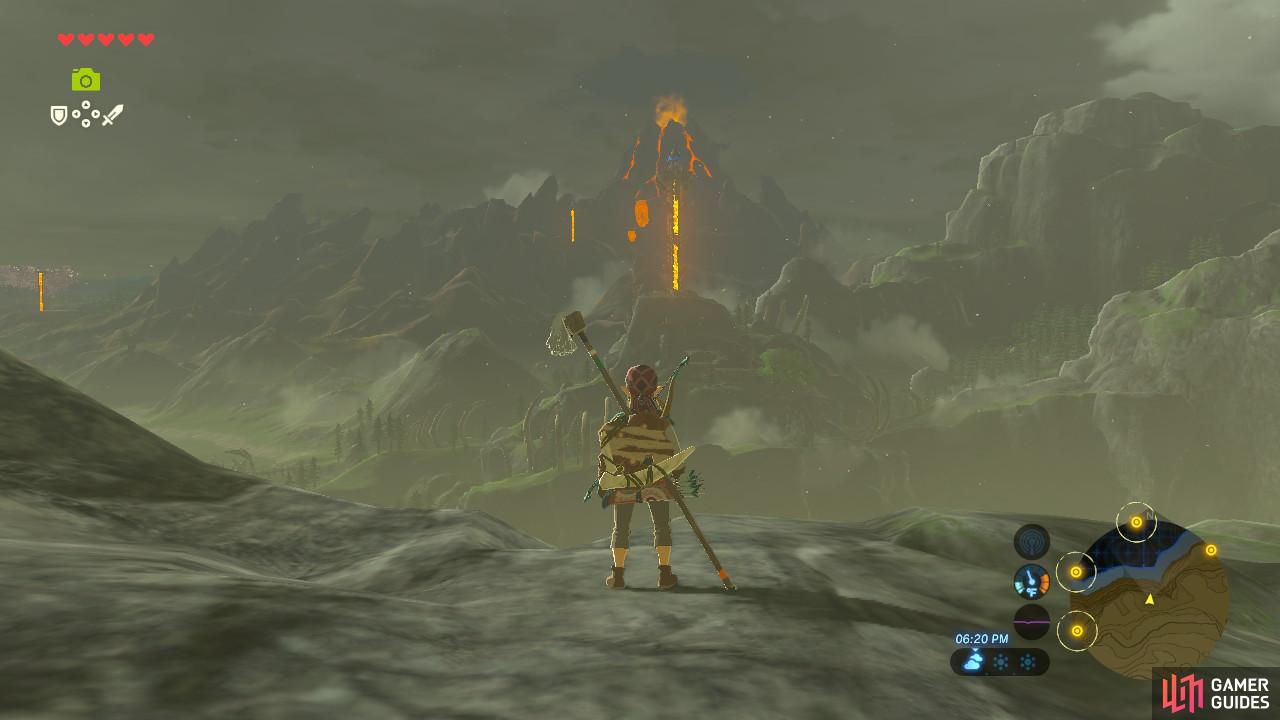
Assuming that you are leaving from Kakariko, the fastest way to your first Divine Beast is to head north past the Ta’loh Naeg Shrine. You will find yourself walking along a sheer cliff far above the ground level of Hyrule. To your left is a tower, and also your first destination.
Paraglide down from the cliffs and as you cross a wooden bridge you will run into an NPC in the water. She is a Zora named Tona and she will mention to you that Prince Sidon has been searching for a “strong Hylian warrior” and you happen to fit the bill. Considering that the Divine Beast is near the Zora Domain, meeting Prince Sidon sounds like a good idea.
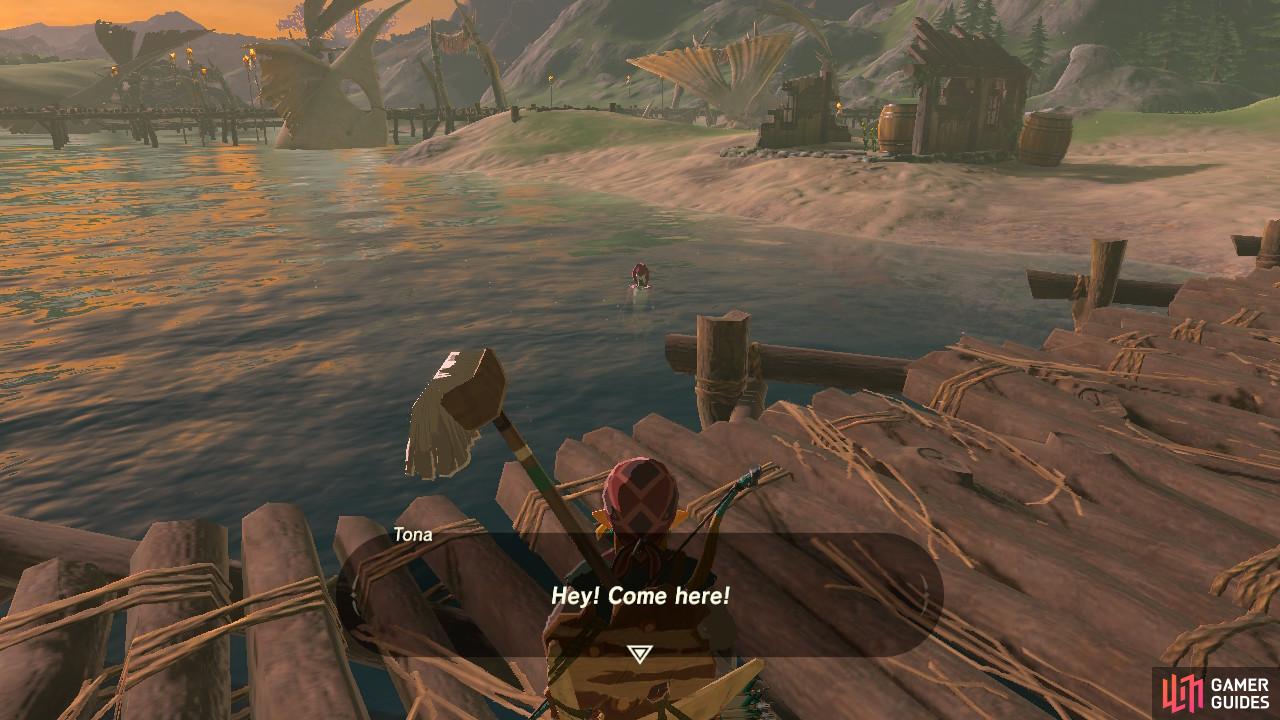
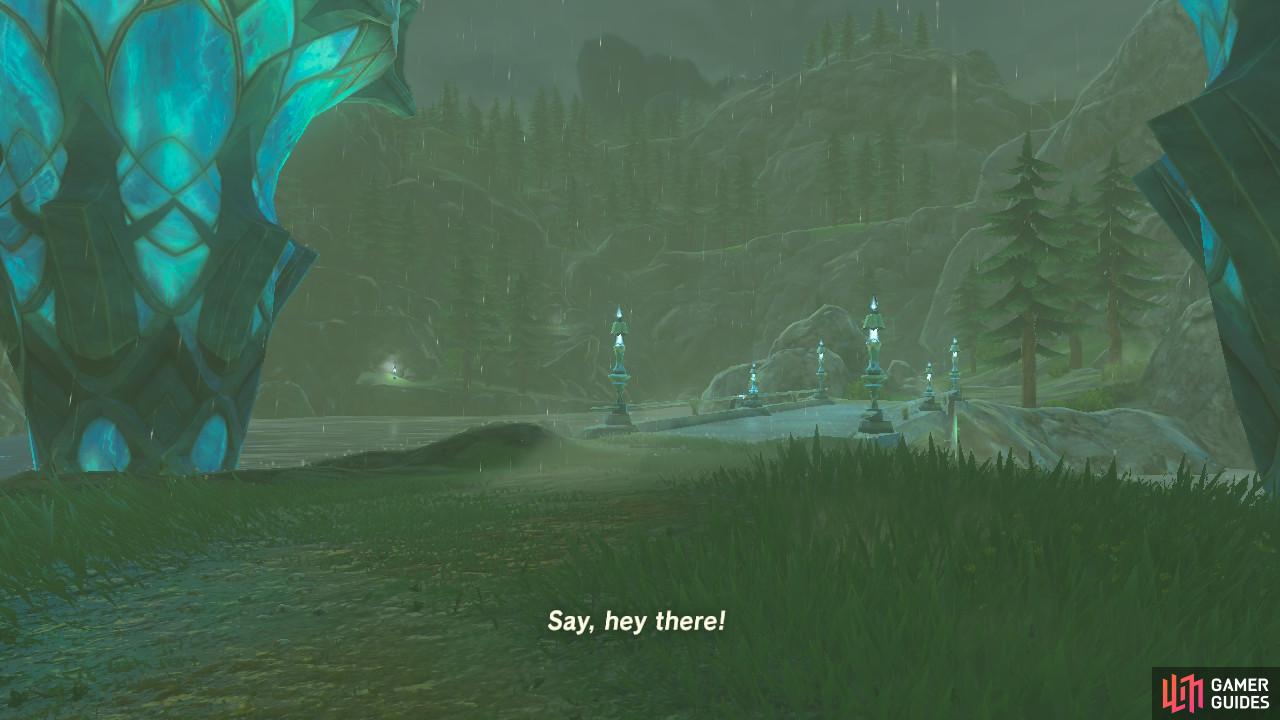
Tona will call out to you as you cross the bridge
This is the direction you need to go in to continue your quest.
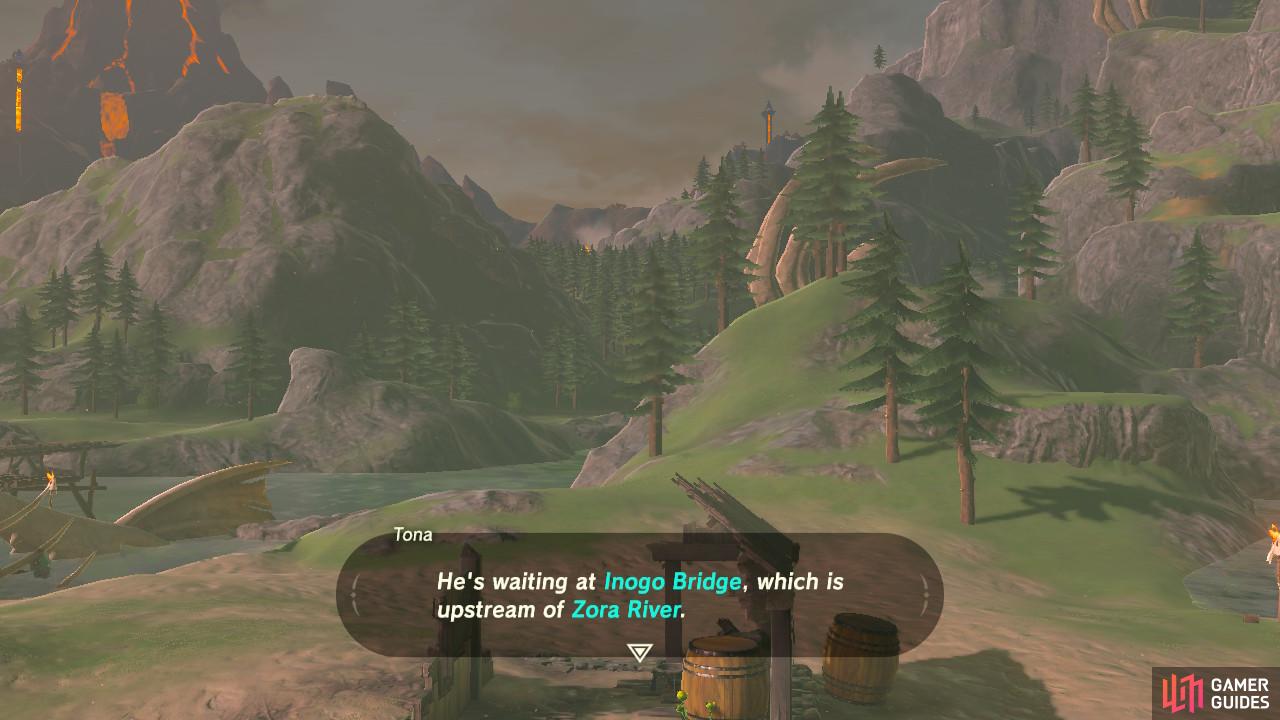
The Lanayru Tower is directly ahead of you if you wish to activate it. There are Lizalfos and Lizalfos camps everywhere, however, plus a Wizzro near the top. If you go at night, a lot of the monsters making camp will fall asleep, making it easier for you to sneak by. At the top of the Lanayru Tower is another Zora. He will again talk about searching for Hylians and will tell you to go see Prince Sidon.
To the left of the tower is a nearby shrine. That shrine is right next-door to where Prince Sidon will meet up with you. Paraglide to it and make your way to the bridge.
Prince Sidon will greet you before the bridge

He will help get you to the Zora’s Domain and, ultimately, the Divine Beast.
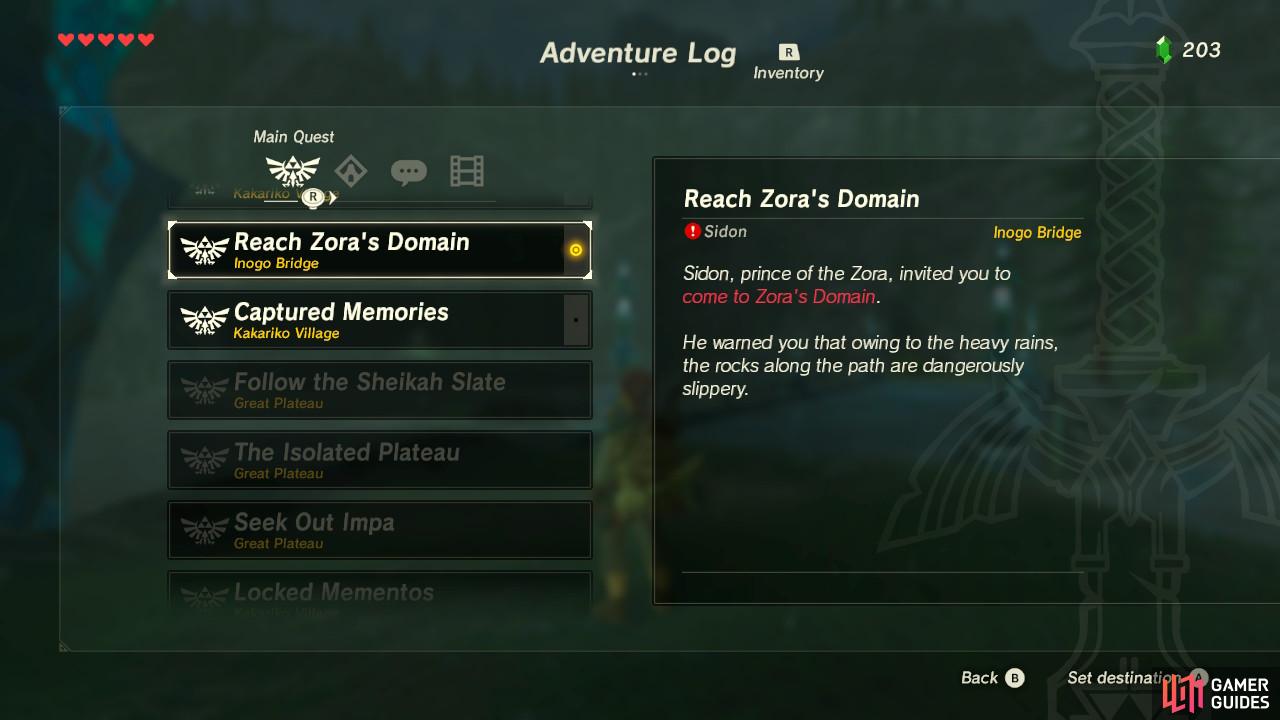
Prince Sidon will be eager to meet you. Don’t get tired of his smile yet, as this is only the start of the quest to reach the Zora Domain and its nearby Divine Beast. Prince Sidon will tell you that the Zora Domain is in fact in a lot of danger from the perpetual rain. However, because you cannot climb waterfalls like a Zora can, and you cannot climb rocks in the rain, you will have to take the longer path that follows the river. As luck would have it, said path is infested with monsters. As a gift, Prince Sidon will give you an Elixir that gives electricity resistance. Don’t use it now, as you will want it for later.
To get to the Zora’s Domain is a quest all on its own
It is going to be a long, dangerous trek so make sure you are prepared.
With Prince Sidon’s new request for you, the game will assign you a new Main Quest: Reach Zora’s Domain.
Path to Zora’s Domain
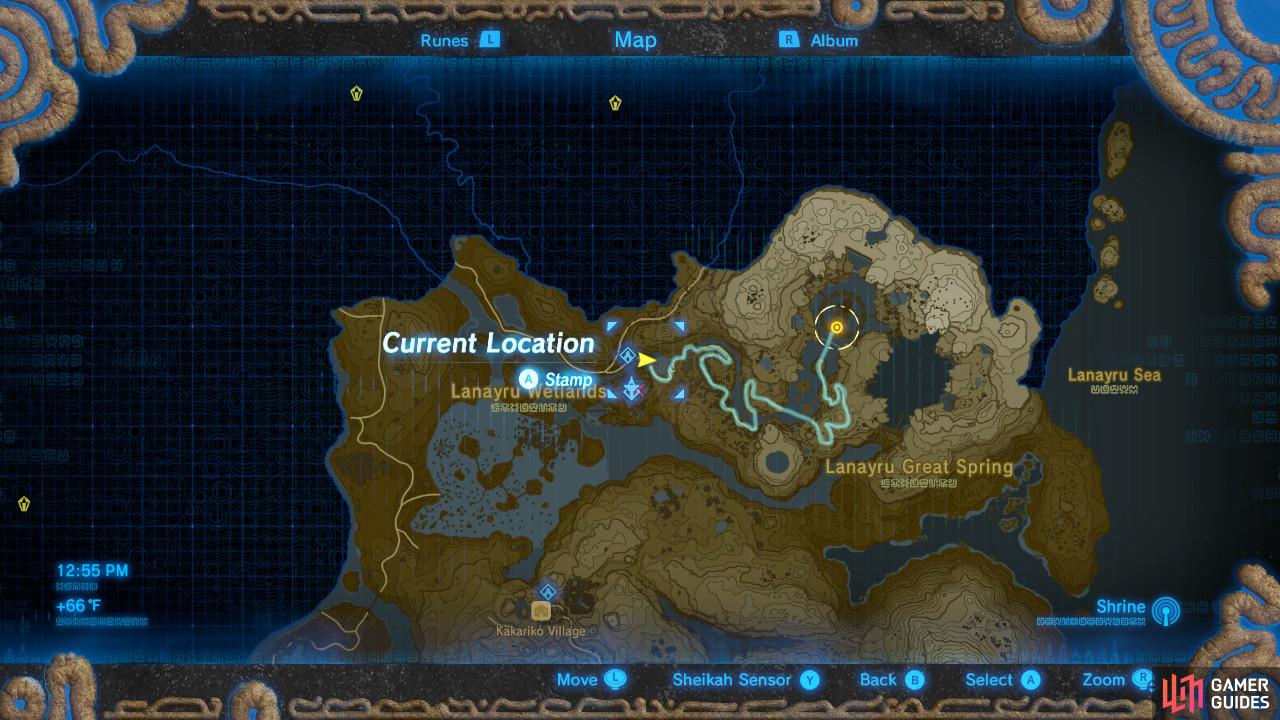
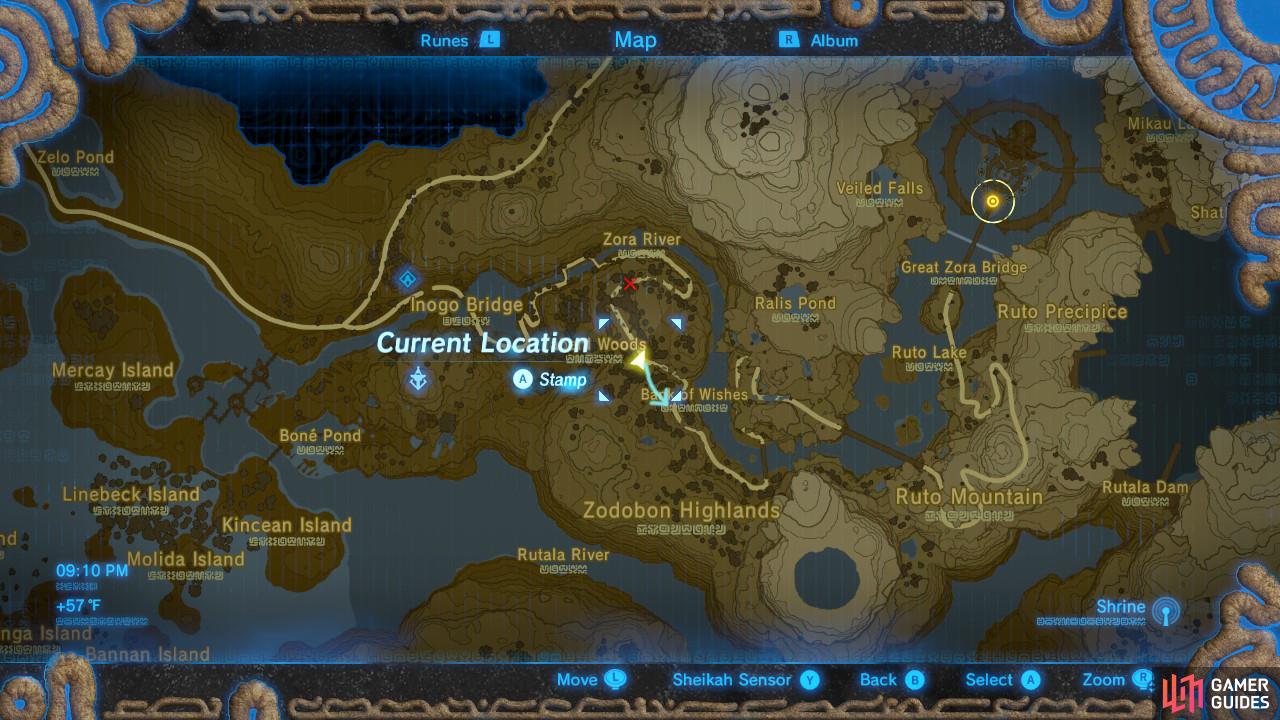
It looks like it’s time to start the arduous journey to the Zora’s Domain. You can speak up the process somewhat if you ride a horse, but there are going to be a lot of chokepoints where enemies abound that could put its life in danger. We will be taking this route on foot for greater mobility, and to keep our horse safe.
The image above shows that path that you will be taking to reach the Zora’s Domain.
Inogo Bridge
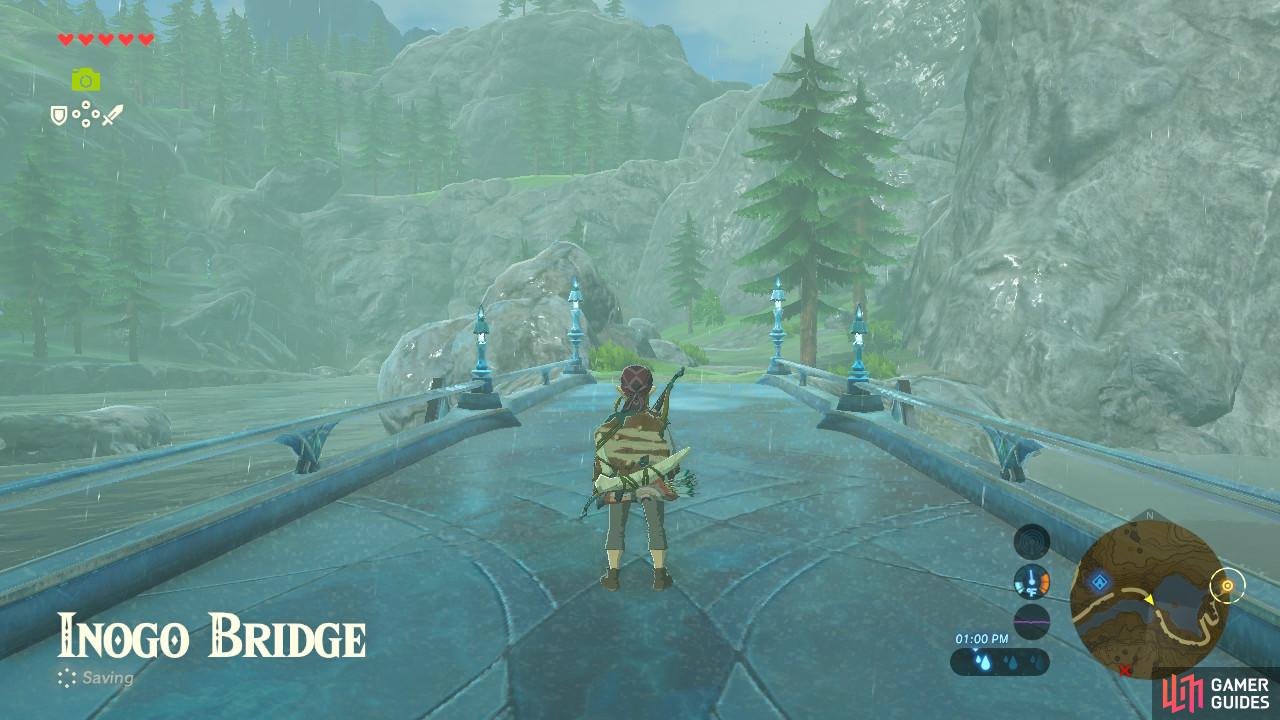
The beginning of the bridge is where you first met Prince Sidon. Cross it and you will immediately see some new enemies. The balloon-like creatures floating in the air above the river are Water Octoroks. If you shoot them discreetly from a distance in the face, you can one-shot them even with a cheap bow. Try not to get their attention as they will spit rocks at you and then hide in the water.
There are also a few Lizalfos here and there, but not any large camps or bands of them. Feel free to take them out to steal some weapons and get some useful monster parts.
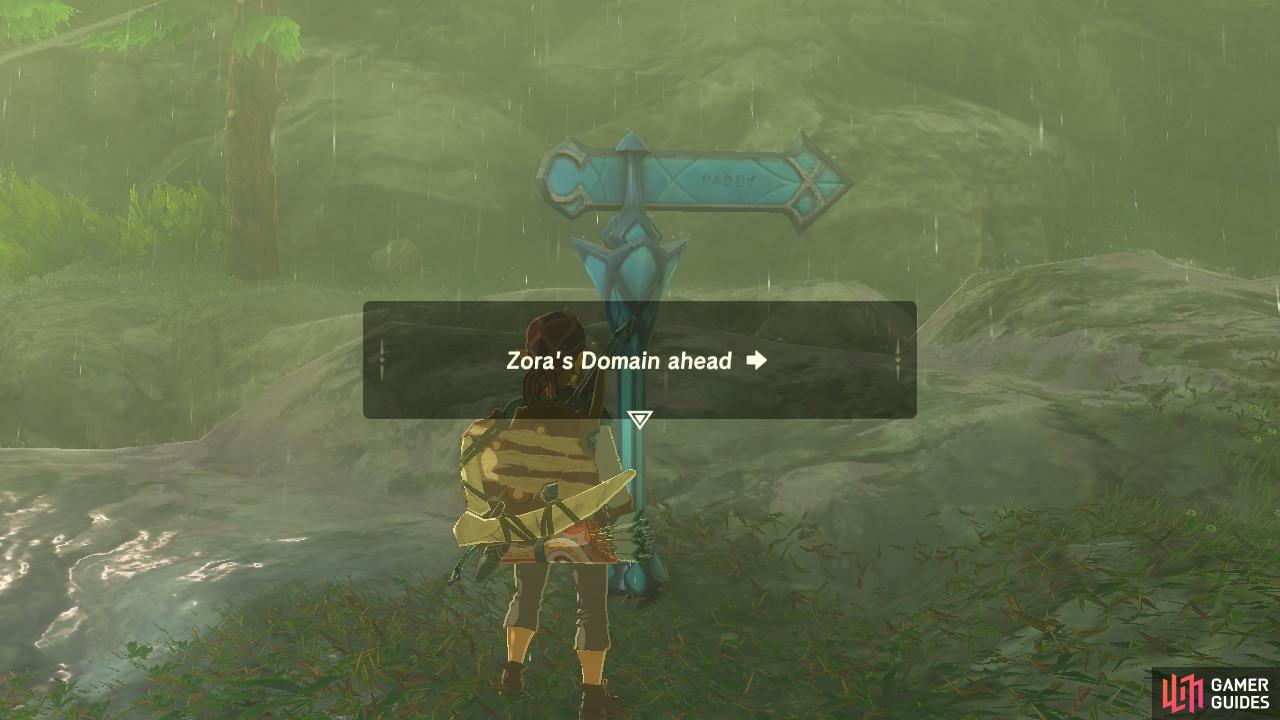
After following the winding path for a bit you will reach what looks like a street sign that has a blue arrow pointing to the Zora Domain. The upcoming path that hugs the river is riddled with more Water Octoroks. You can try to snipe them down, or just run through them as fast as possible to avoid their ludicrously good aim. At the end of this short stretch you will encounter Prince Sidon again. He is swimming in the river and will be checking up on you a few times during this trek.
This upcoming stretch is home to a very large community of Lizalfos, many equipped with Shock Arrows
Cut across the corner as shown here for a shortcut that lets you avoid a fight.
Past the hairpin turn, the path will be blocked with thorns. Climb around them and you will see up ahead a large Lizalfos camp. The Lizalfos scout standing on the watchtower will fire arrows imbued with lightning, Shock Arrows. These, especially due to the rain, have a high chance of killing you in one hit. If you choose to fight, it’s definitely recommended that you chug the Elixir for some protection. The Elixir will make the Shock Arrows deal as much damage as normal, pitiful arrows.
You can easily avoid confrontation, however, but simply cutting diagonally across the corner. Stamina-refilling food helps too. As long as you don’t stop moving, any Shock Arrows shot your way will miss.
The path will eventually descend back down next to the river, where Prince Sidon will meet up with you again. After he has left, run up the boulders to your right and continue following the path. You will pass another small Lizalfos gathering and finally run into another bridge.
Oren Bridge
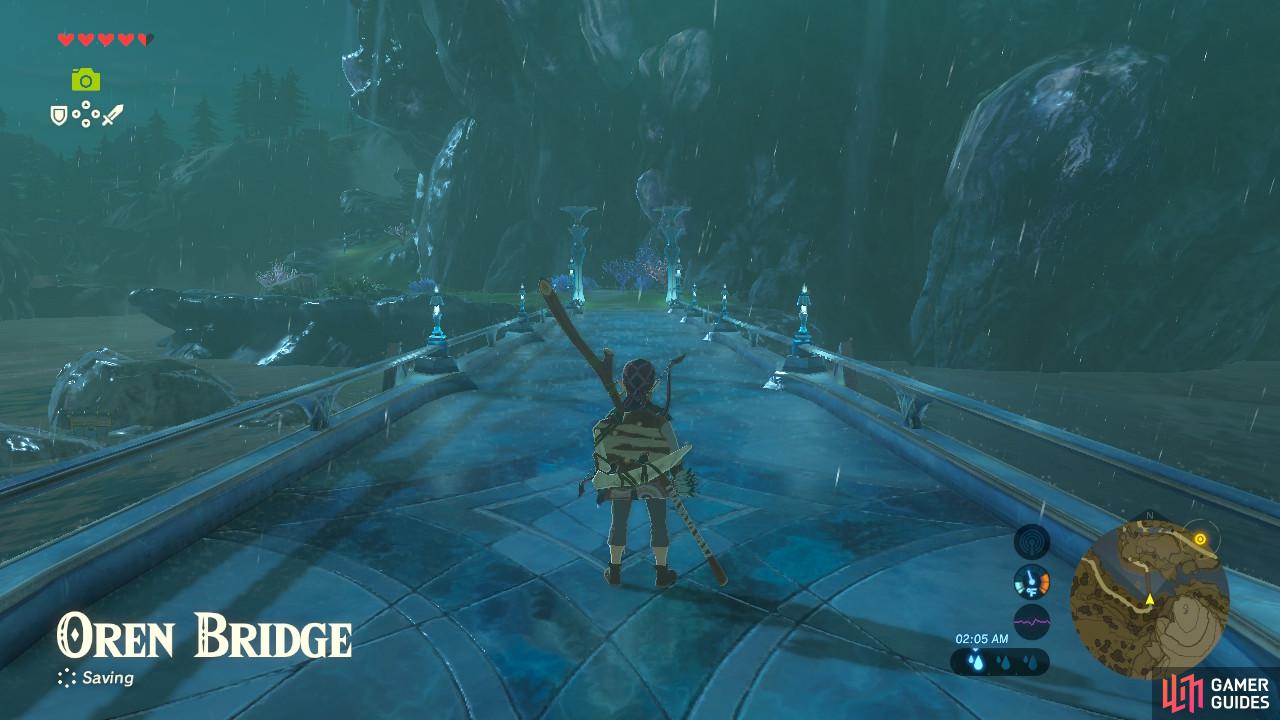
On the bridge, Prince Sidon will salute you yet again and tell you that you are now halfway to the Zora Domain! Feeling tired yet? If so, up ahead is a cooking pot and a fire. Use it to replenish any resources you drained, sit by the fire if you would like to change the time of day, and let’s move on out.
The winding, narrow path ahead will have a lot of Lizalfos sprinkled along it, but this time they will also be carrying weapons or guarding their weapon stashes. You can steal things like spears and boomerangs from them to pad out your inventory with some new, stronger weapons.
Luto’s Crossing
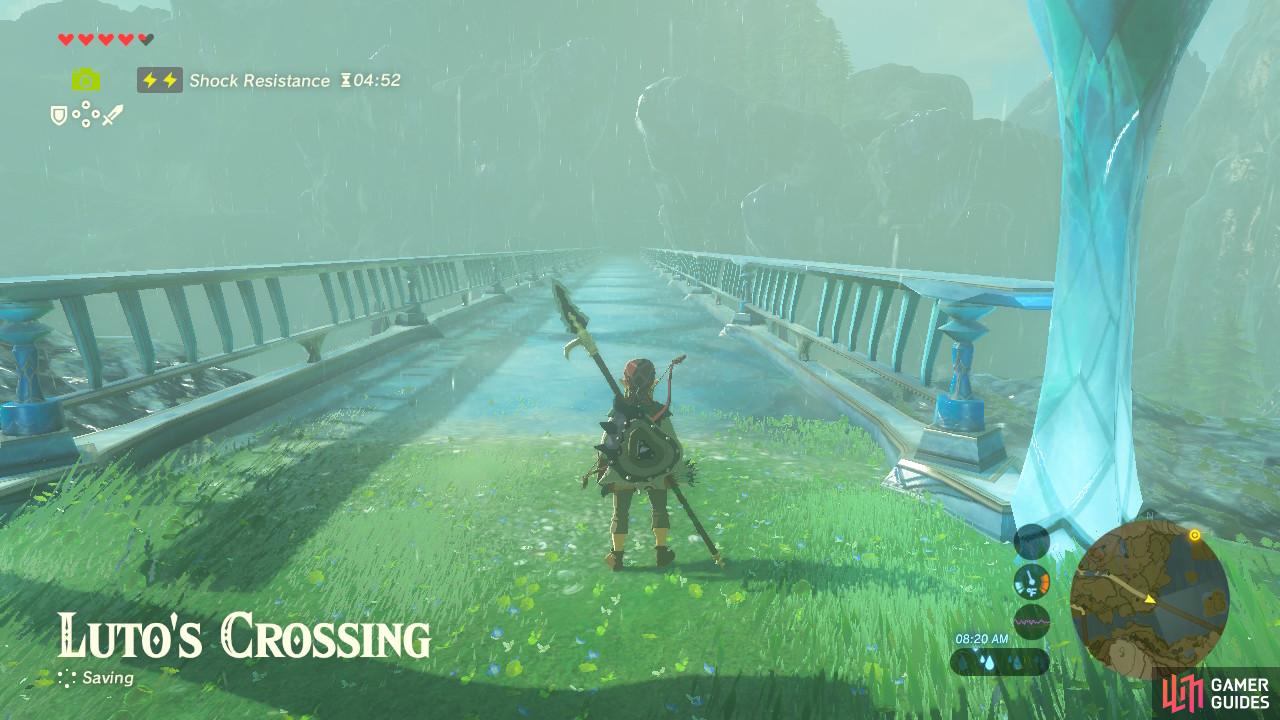
This large, majestic bridge marks another break in the action. As you cross it, Prince Sidon will check up on you again. But the meeting is cut short…a Blue Moblin seeks to ambush you from behind!
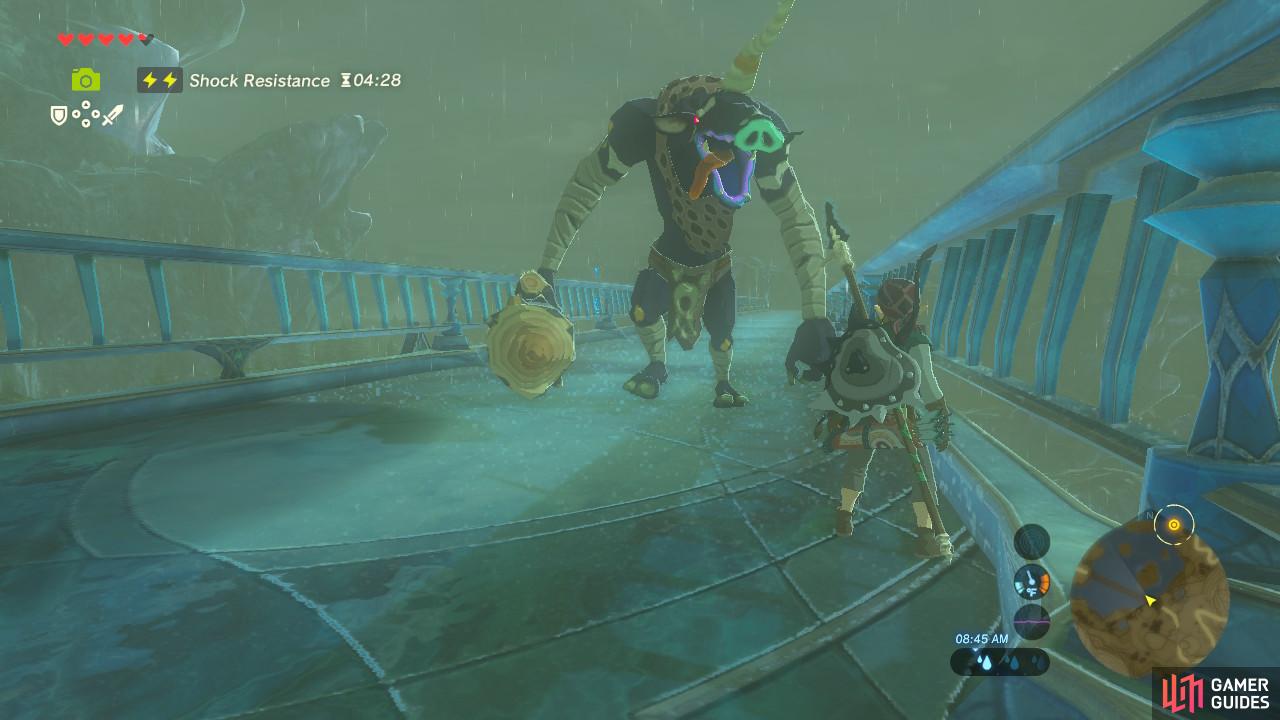
The Blue Moblin is just like the big Moblins you have seen in places like the Outpost Ruins, but like the Blue Bokoblin, it is stronger and has more health. However, the Blue Moblin remains slow and clumsy. If you equip a weapon like a spear that has long reach, you can easily get in a few pokes and then run out of the way of the Blue Moblin’s club.
After defeating the Blue Moblin continue working your way through the straight path. There are a lot of mushrooms here so don’t forget to pick them all.
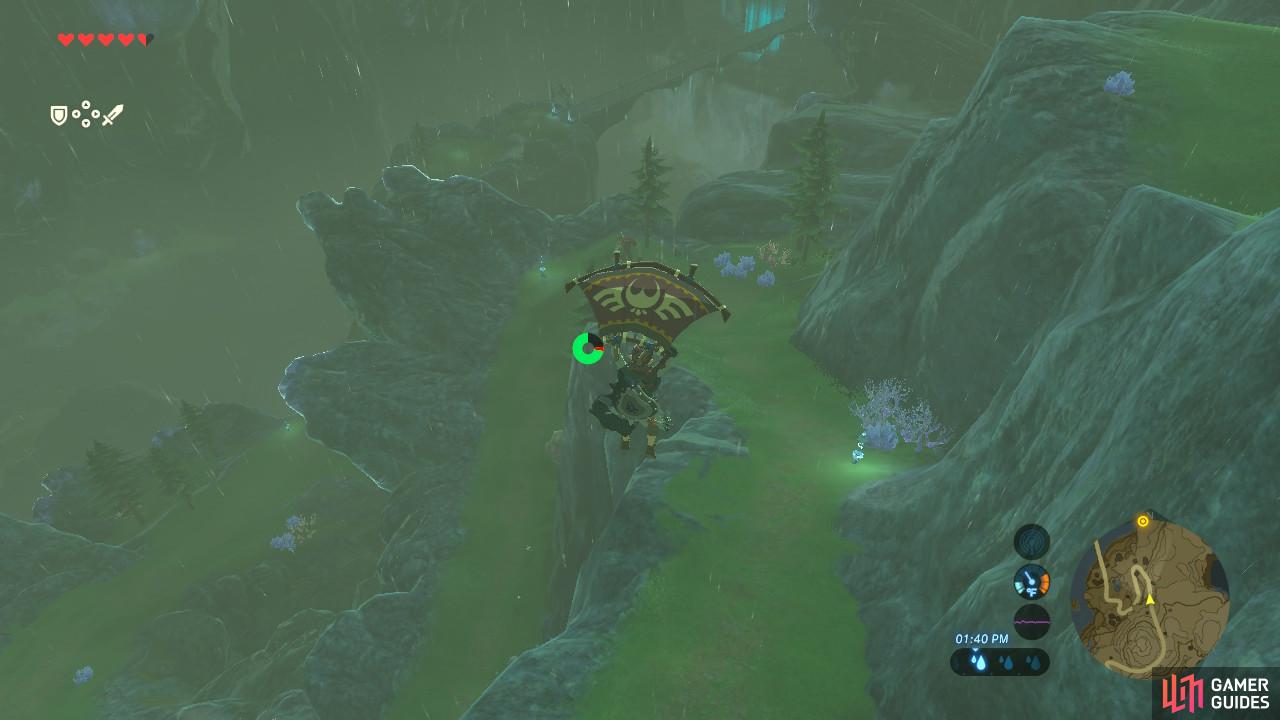
Bypass the last stretch of the path with your Paraglider!

That ghostie you see up ahead is a magical enemy that uses elemental powers
Up ahead is an enemy you might not have seen before: an Electric Wizzrobe. These ghosty enemies can teleport and use elemental attacks that can hit a wide area. If you want to confront it, having some sort of electric protection is almost a must, as its electric attack affects a wide circle to better catch you. Otherwise it is easy to simply run away as the Wizzrobe will not want to venture far out from its territory.
The last section descends back down towards the final bridge. If you want to take a shortcut, you can avoid this final stretch by simply climbing up the hill a little bit past the Wizzrobe, and then Paragliding down.
Great Zora Bridge and Zora’s Domain
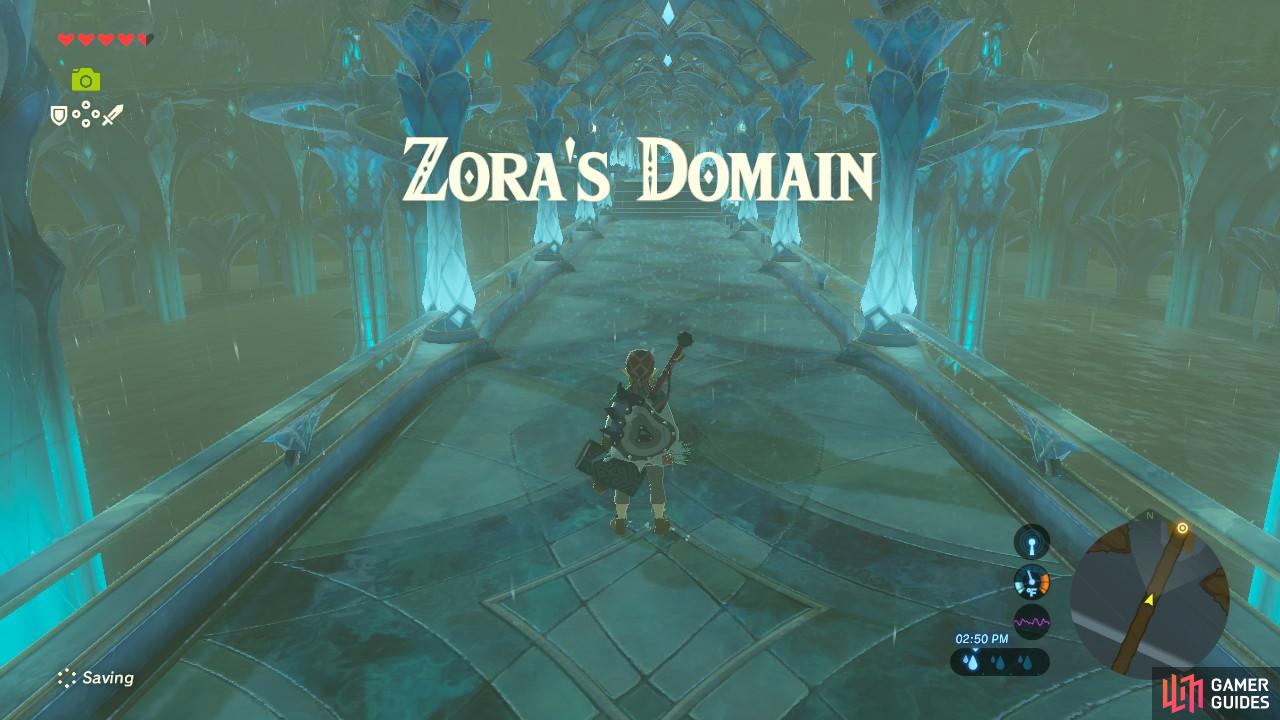
This is the final bridge that leads to the Zora’s Domain. Phew, you made it! And in one piece too (and maybe multiple continues from all your game overs). Prince Sidon will greet you again and welcome you to the kingdom. Your next task is to meet the king.
The king’s chambers are in the upper level of the Zora’s Domain. Once you arrive and speak with him, the main quest will be completed. From here, you can work towards freeing the Divine Beast Vah Ruta.
No Comments