
A Moblin encampment is located across the sea of lava.
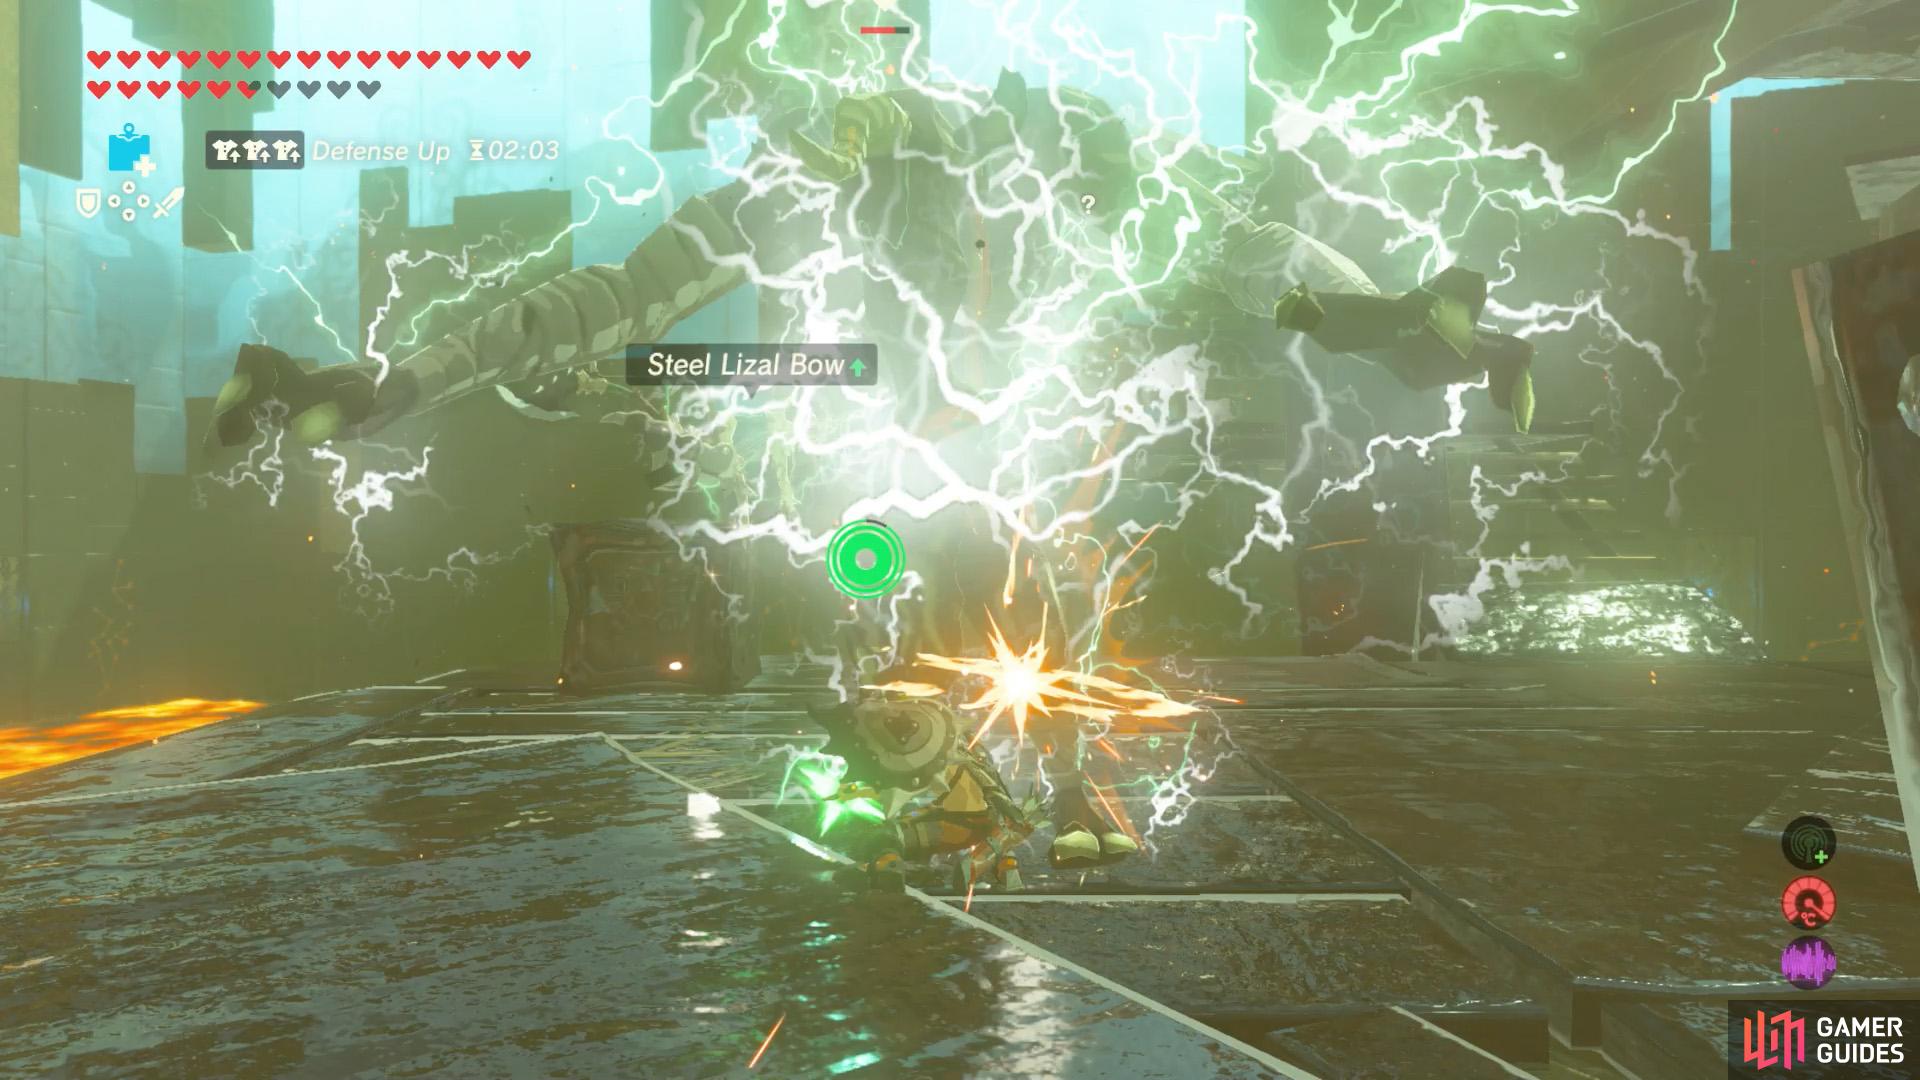
Before heading there, freeze the Lizalfos on the right.
| Difficulty | Monsters |
|---|---|
| ★★★★★★☆☆☆☆ | Fire-Breath Lizalfos x1, Black Moblin x3 |
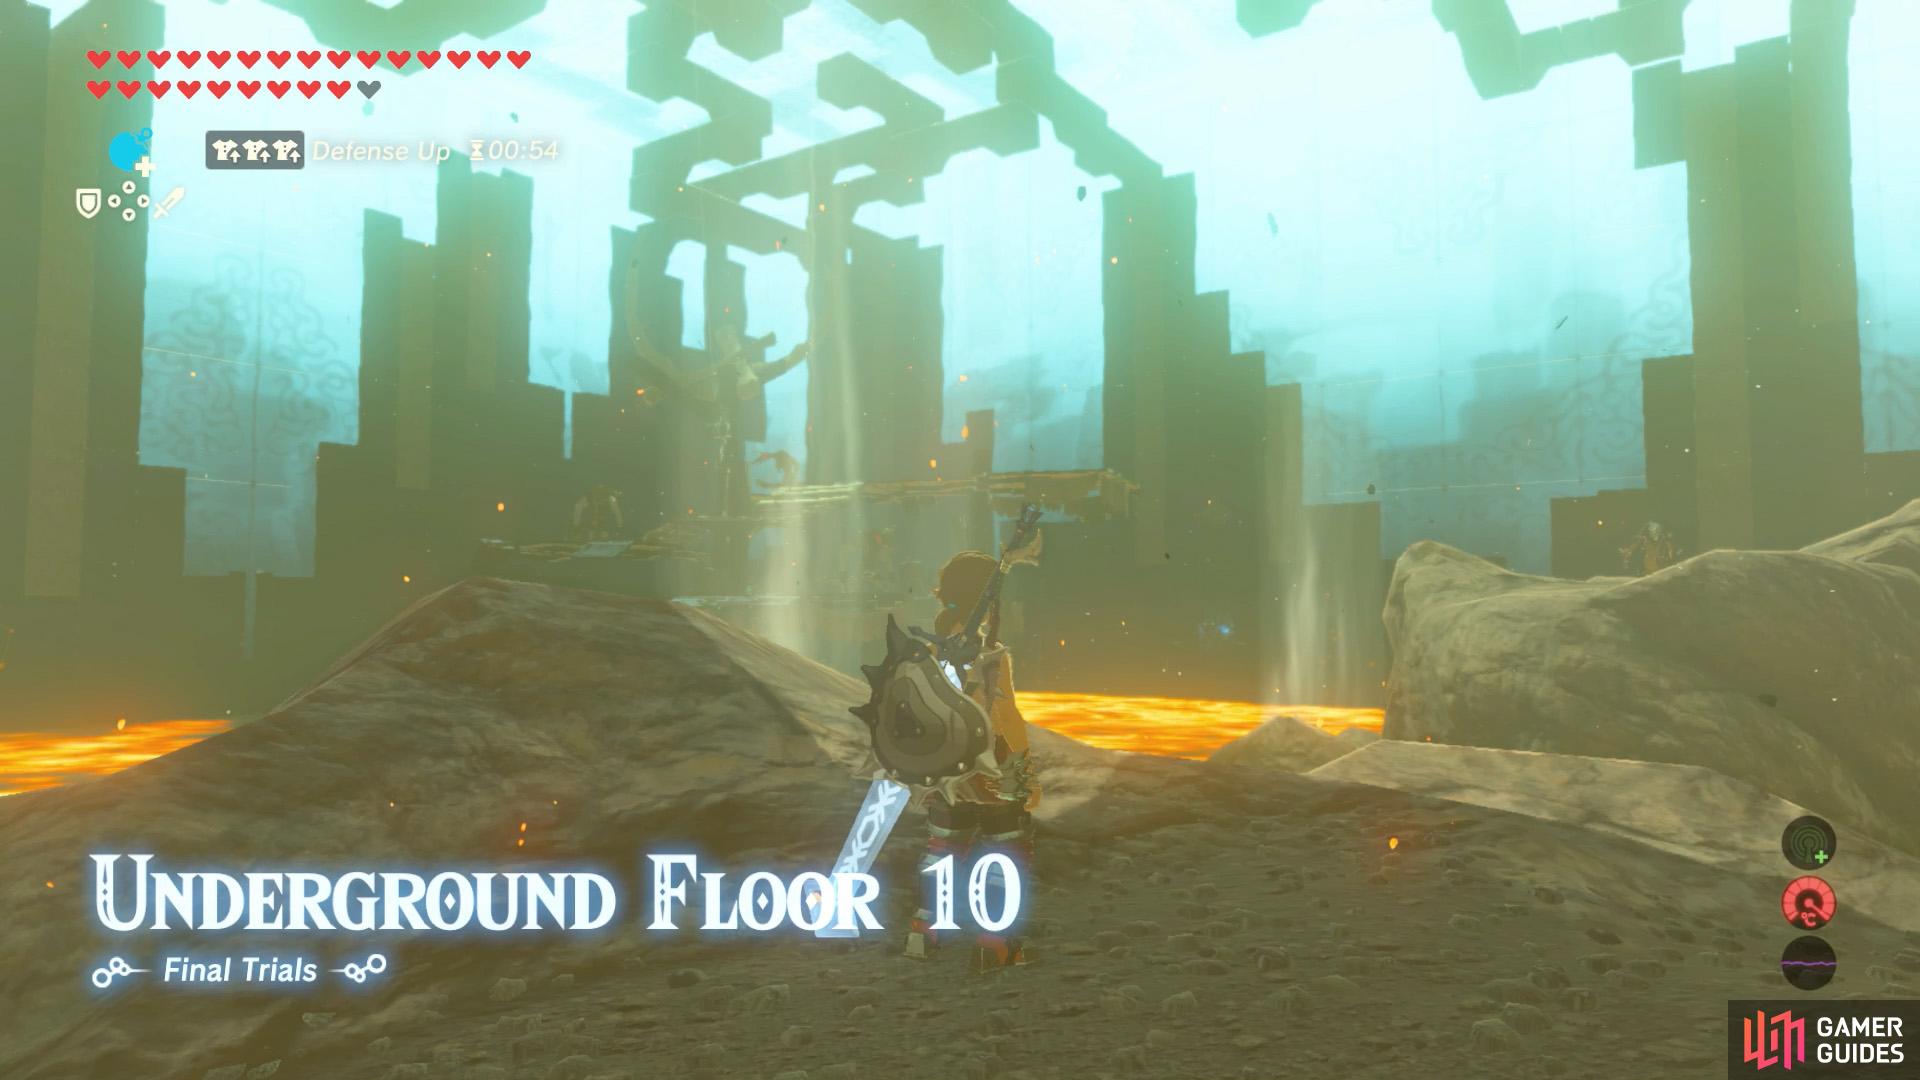
This tricky floor features three islands in a sea of lava, with three air vents to get around. The larger island at the back is home to a spiral encampment guarded by three tough Moblins.
Strategy
Start by leaping towards the nearest air vent and gliding to the island slightly to the right, where the Lizalfos is. If the Lizalfos hasn’t spotted you, land next to them and end their career with the Great Frostblade from Floor 5. Otherwise, shoot the Lizalfos in the head with an arrow while in mid-air to stun them first.
Now for the hard part: dealing with the Moblin encampment. When you face the encampment, there’s a Moblin directly ahead on the middle level, who can shoot arrows. On his left (your perspective), there’s a Moblin up the stairs. Finally, on the right is the final Moblin on the top level.
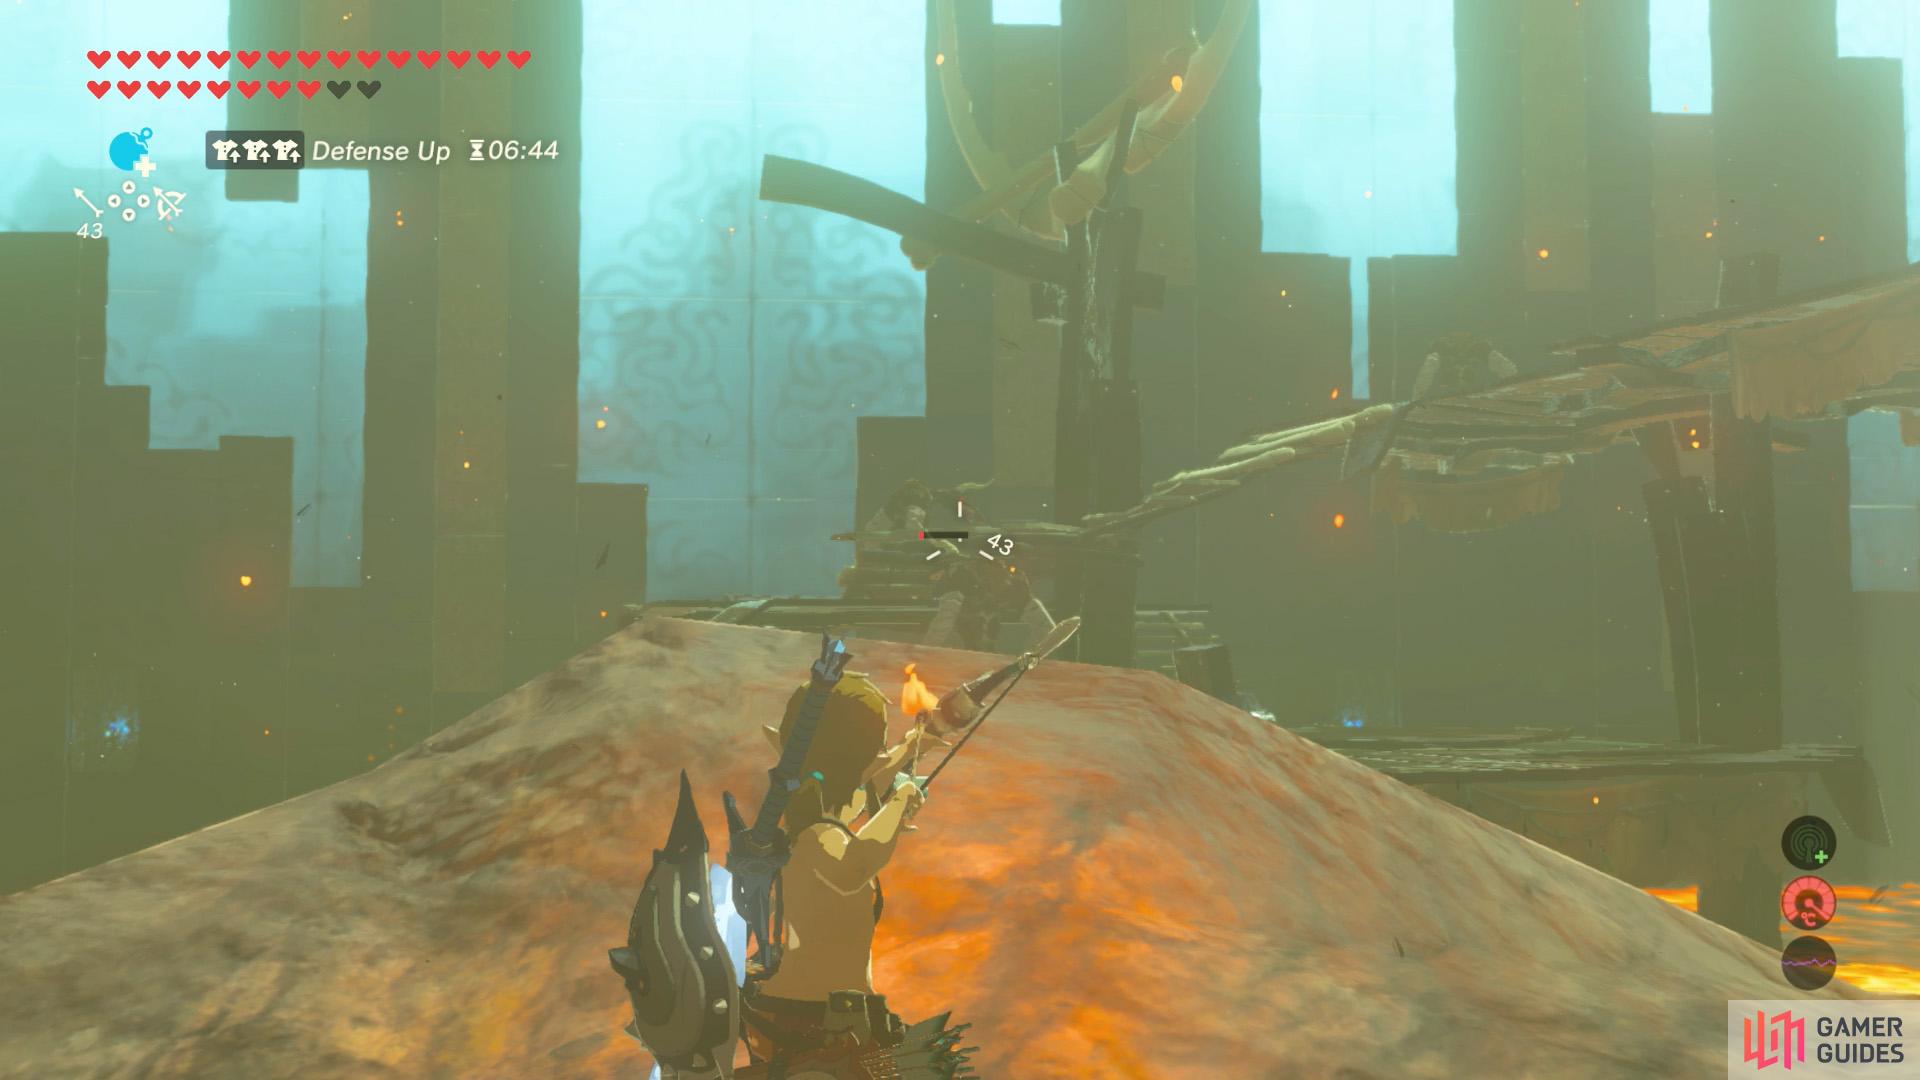
If you have plenty of arrows, snipe the first Moblin to clear some space.
Otherwise, glide towards the Moblin and disarm it with the Thunderblade.
Due to the limited space, it can be annoying fighting the Moblins, especially when they all come at once. If you’re patient and have lots of arrows, we recommend sniping the archer Moblin from afar (they’re a poor aim and shouldn’t hit you). You can either kill it outright or leave it with low enough health that you can glide over and quickly finish the job.
Anyway, leap into the nearby air vent and glide towards the middle level of the encampment. Hopefully the other two Moblin don’t notice you. If you attack the archer Moblin close up, the second Moblin will likely notice you. Otherwise, lure it downstairs. Disarm any Moblins with the Thunderblade, then smack them silly with another weapon.
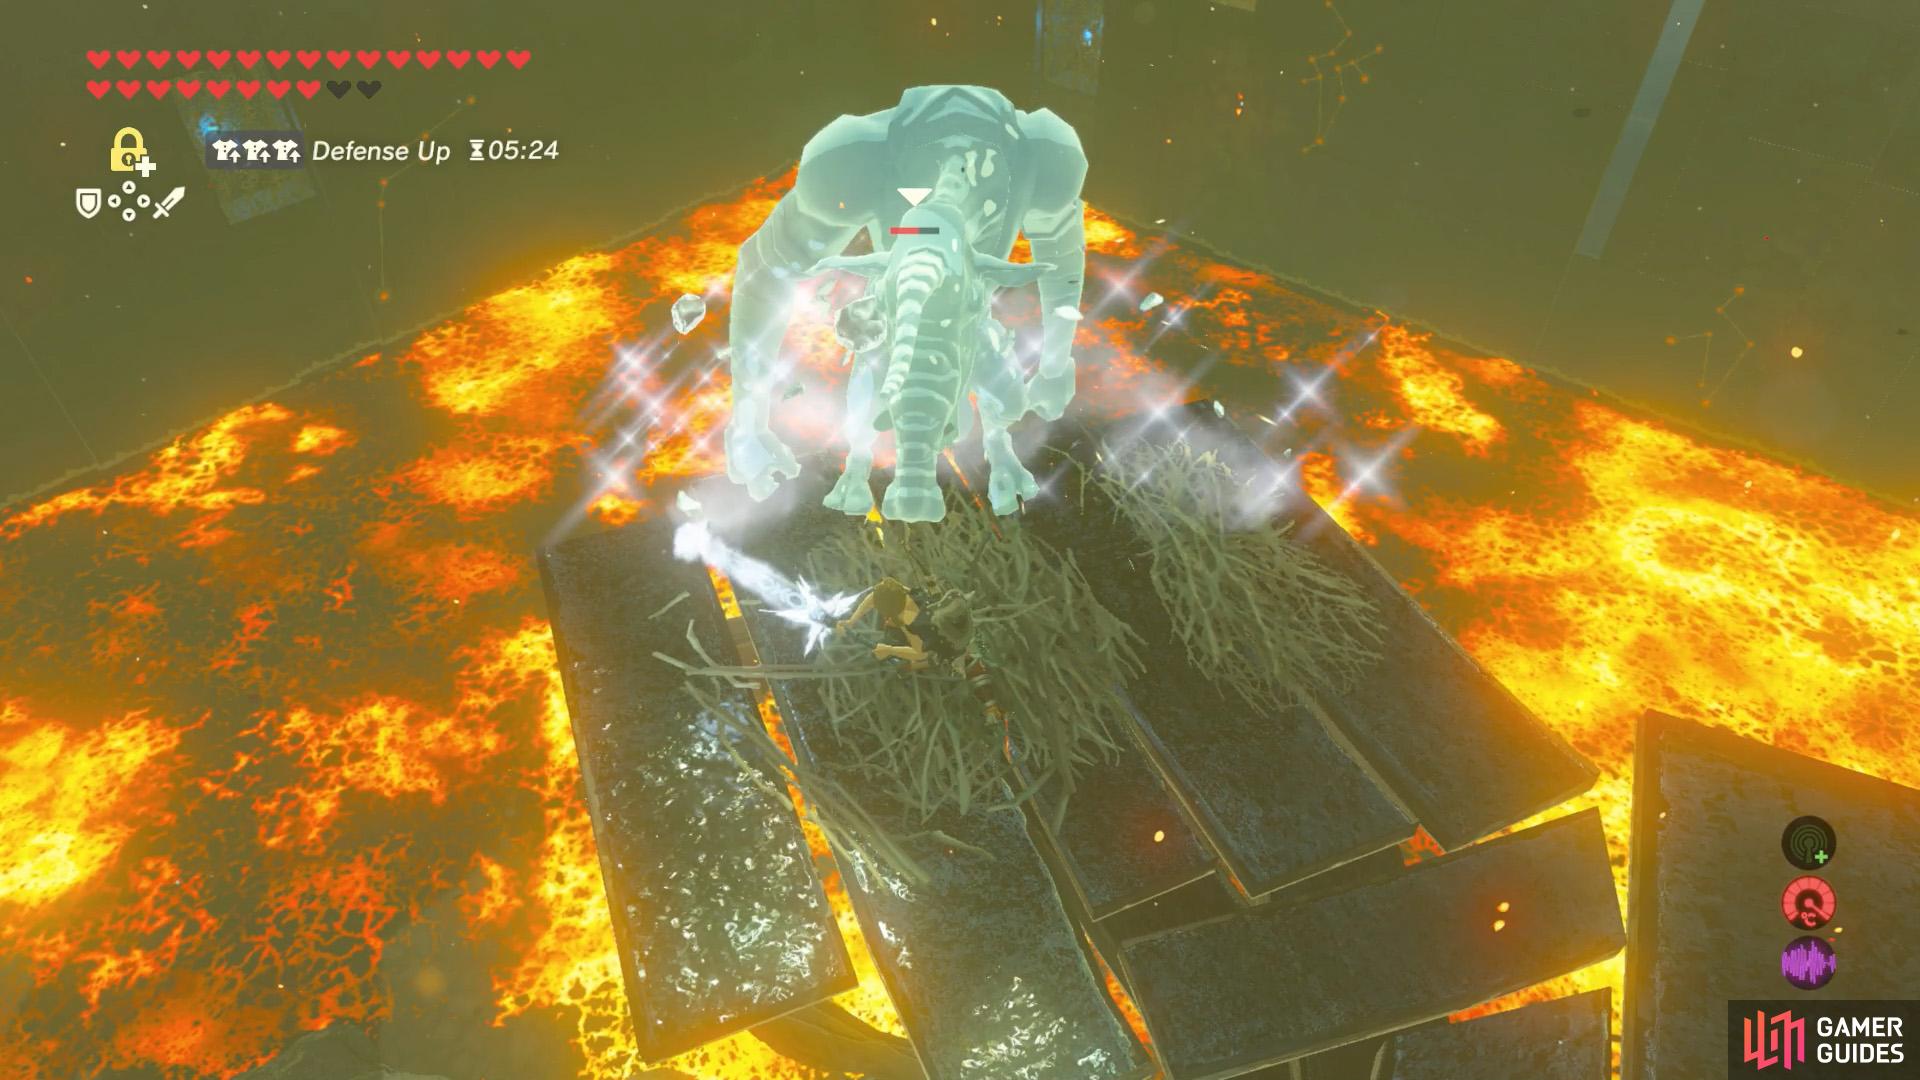
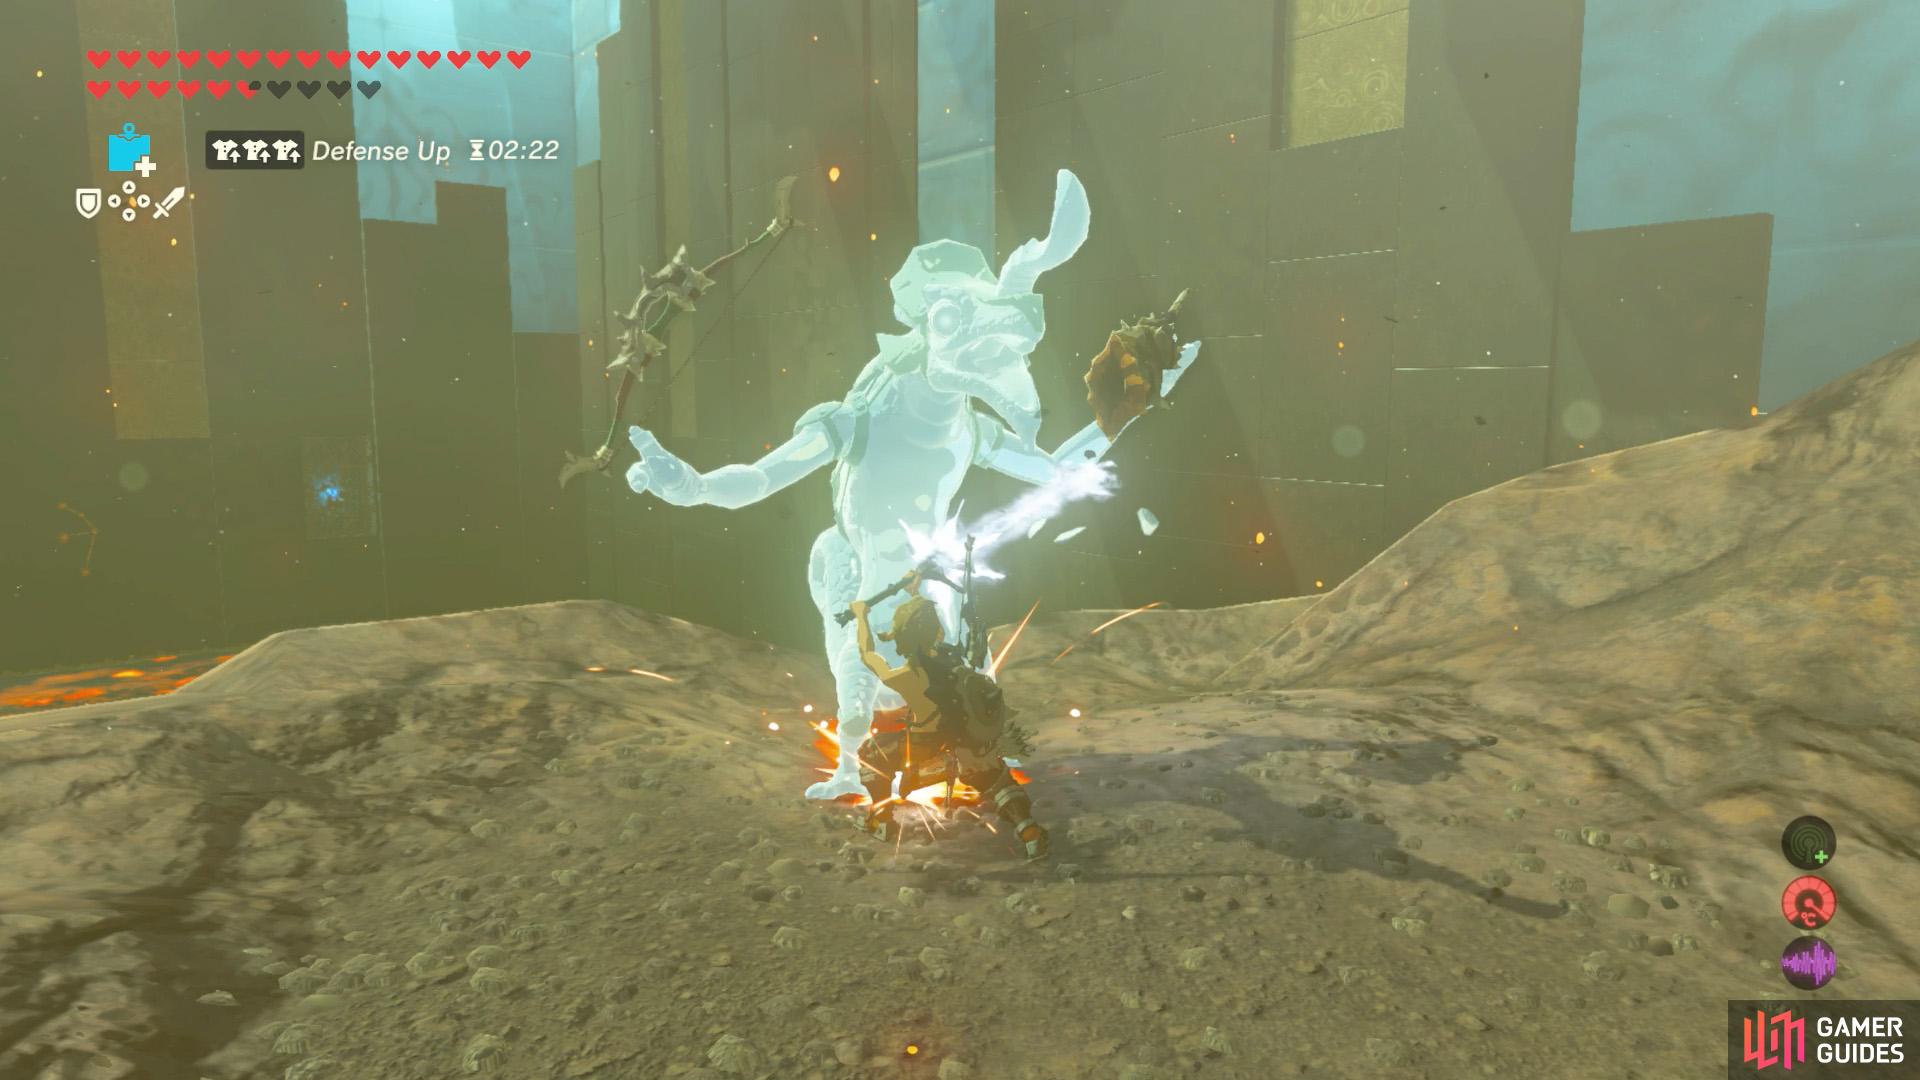
After disarming a Moblin, freeze them with the Frostblade.
Then quickly push them into the lava before they melt!
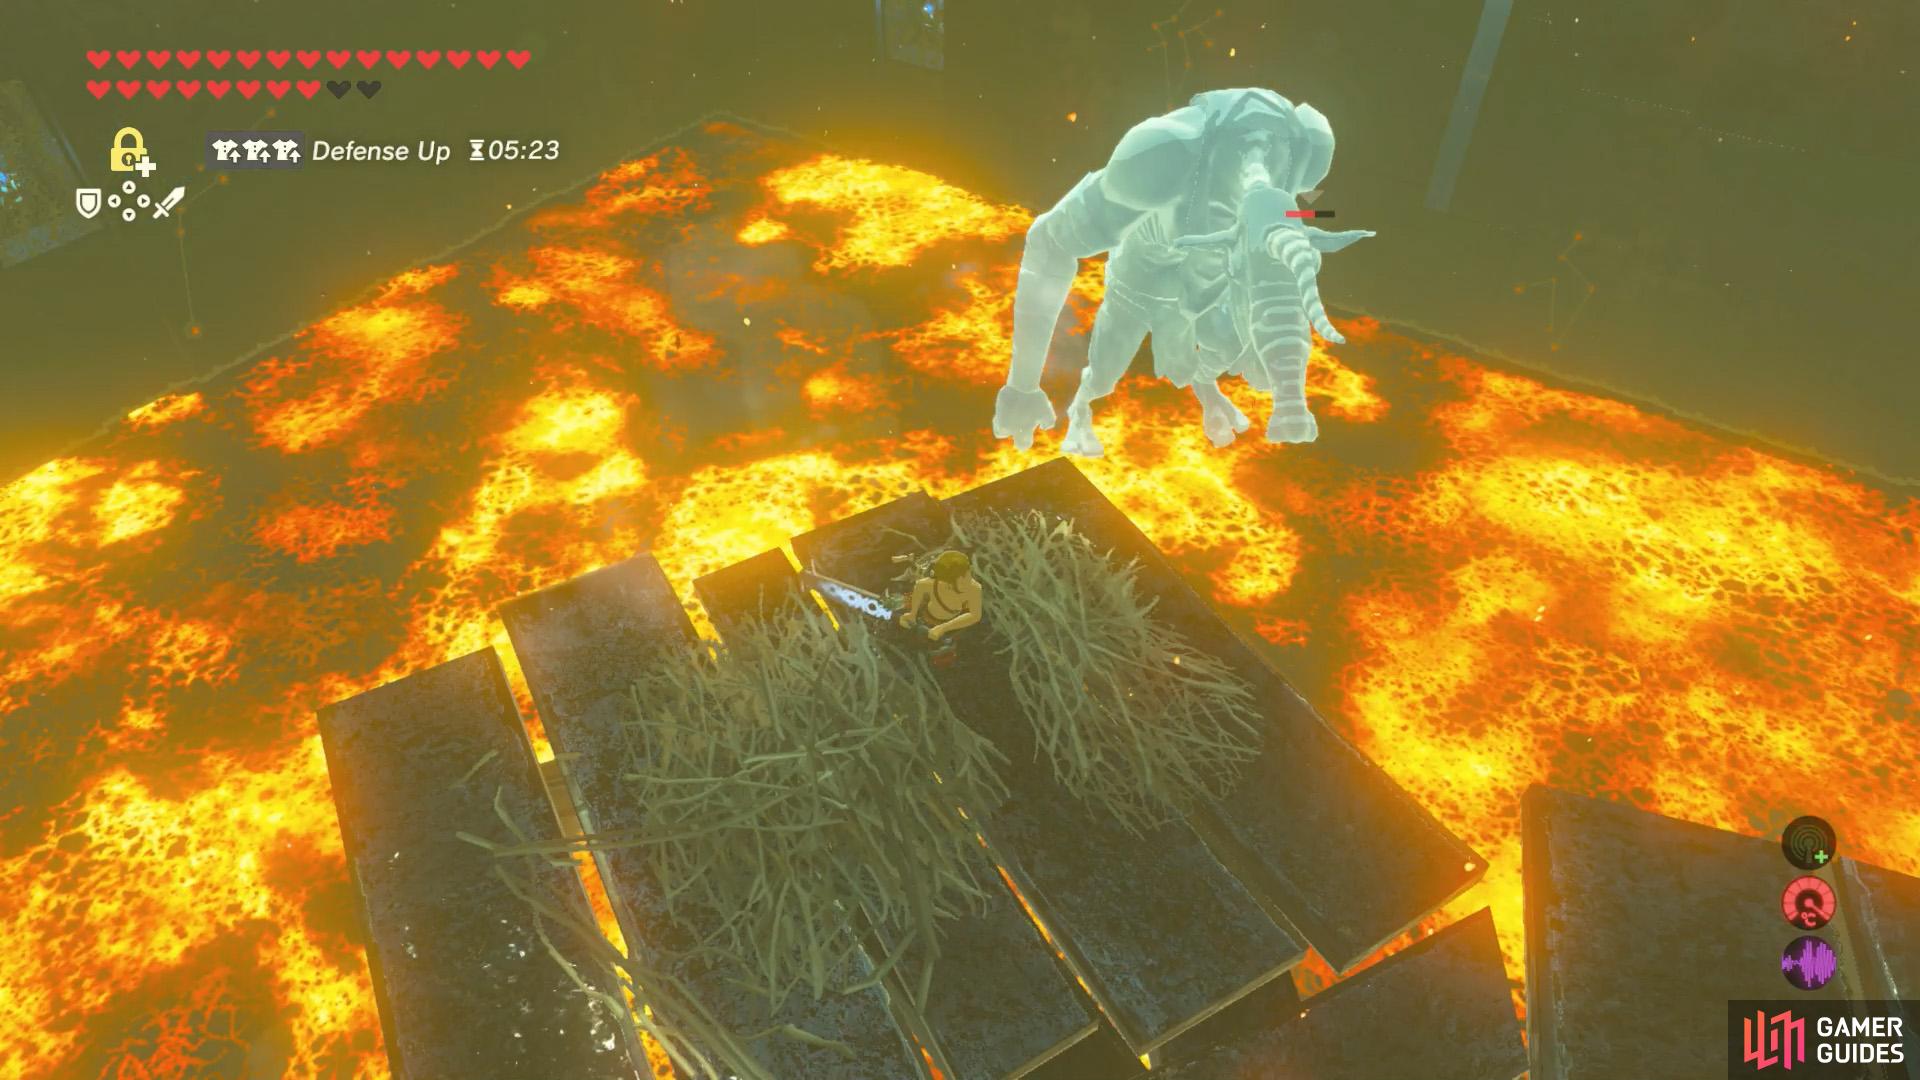
For fun, you can also freeze the Moblins with the Great Frostblade and quickly push them over the edge, into the lava. We suggest doing this after disarming them, or you won’t be able to collect their weapon. Once the second Moblin is dead, go up and lure the Moblin at the top level and defeat them in the same way.
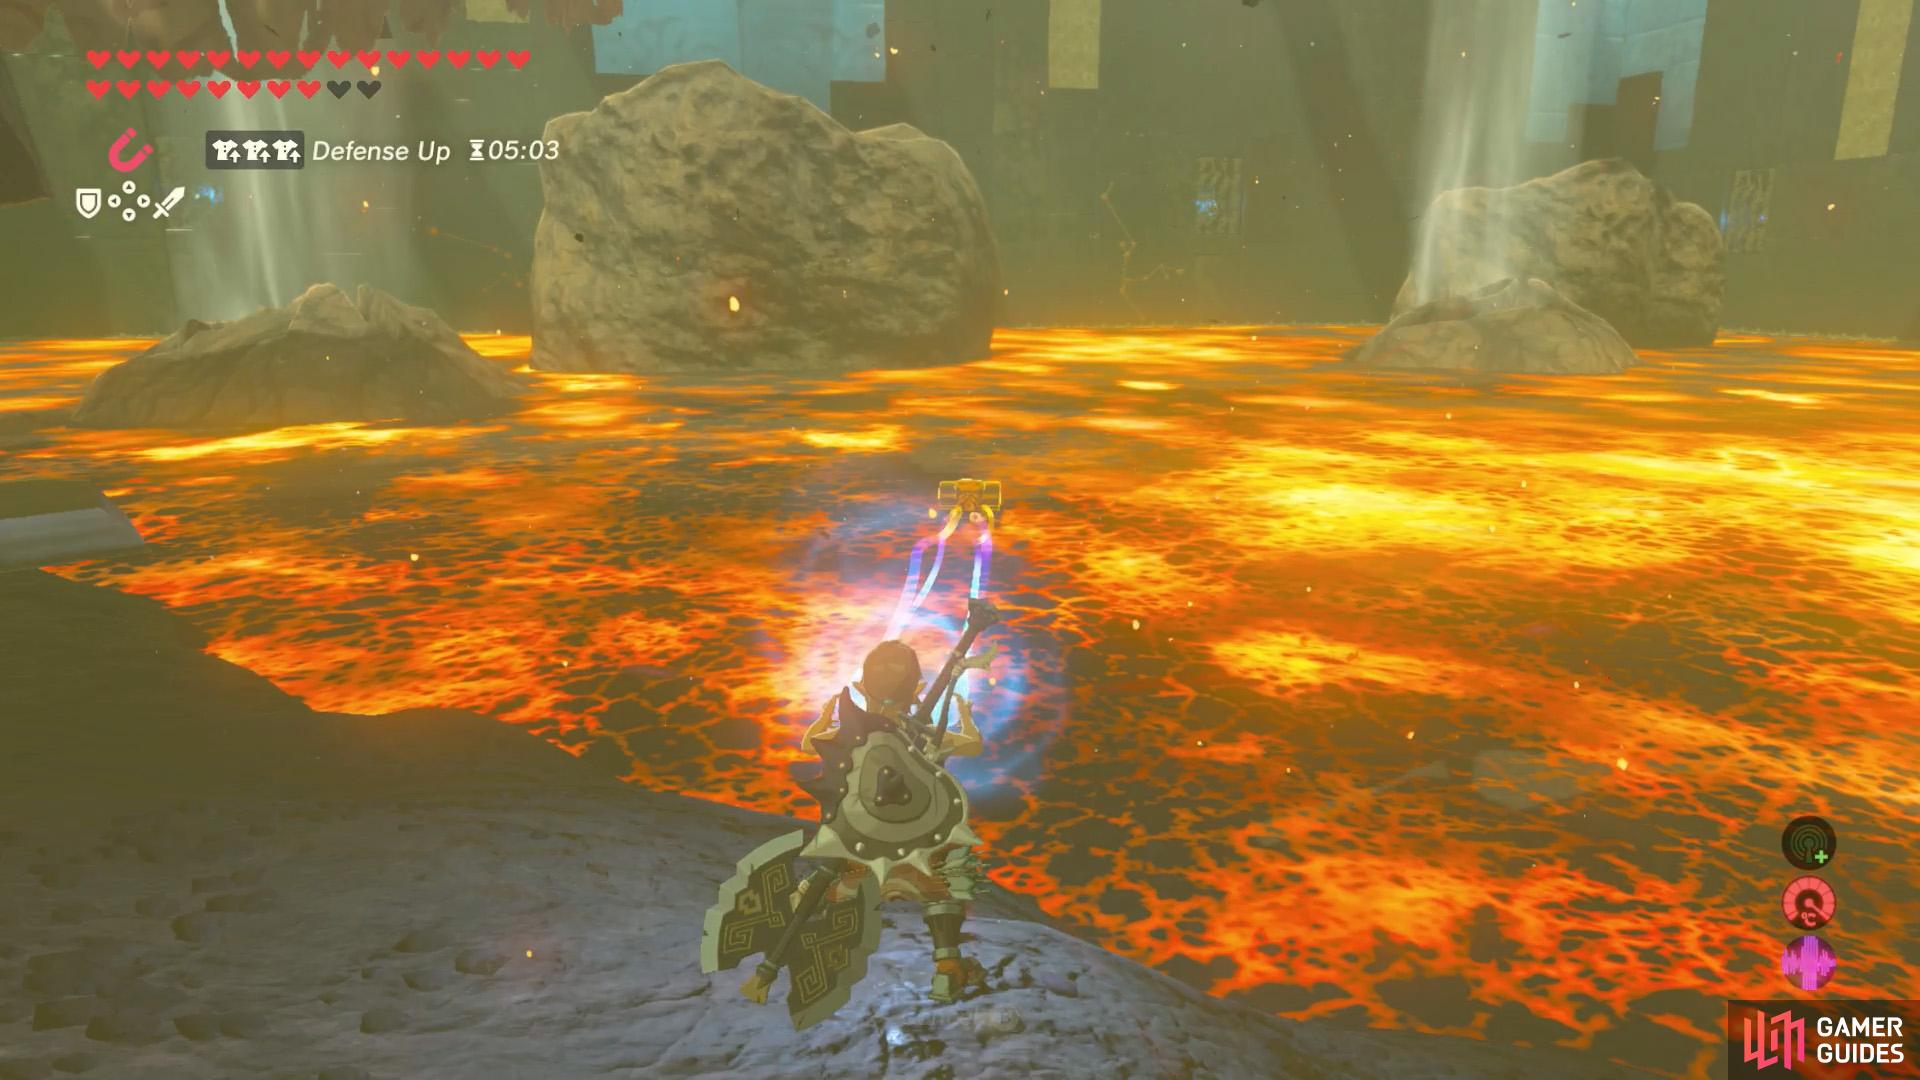
Use Magnesis to retrieve this easily overlooked chest.
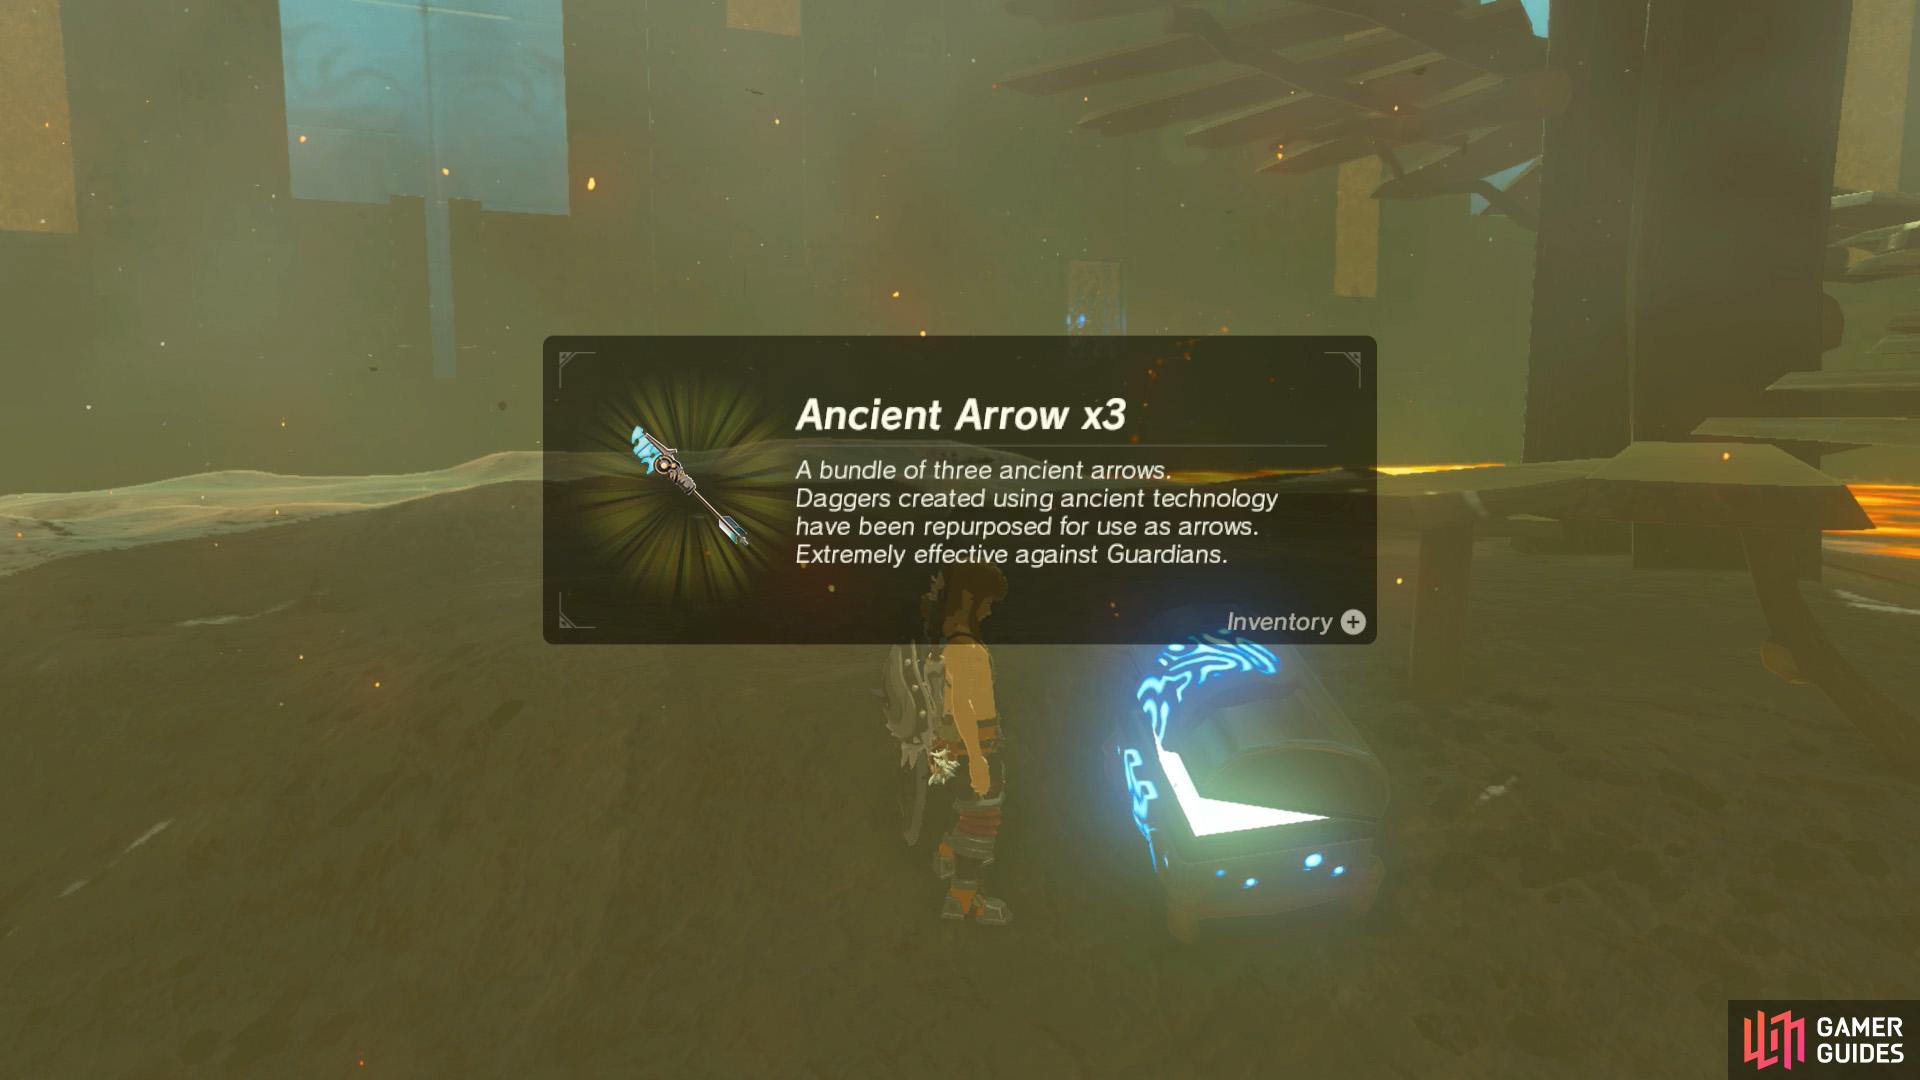
Your reward is another 3 Ancient Arrows!
Less important, but still important, don’t neglect to break all the metal crates for more roasted food and arrows. The crate on the middle level has Fire Arrows, which will be very useful later.
No Comments