
Before you have access to this secret Divine Beast dungeon, you’ll need to first complete all other trials in The Champions’ Ballad DLC.
- One-hit Obliterator Trials
- Ex Champion Mipha’s Song
- Ex Champion Daruk’s Song
- Ex Champion Revali’s Song
- Ex Champion Urbosa’s Song
How to Begin The Divine Trial
Once all of the above quests have been completed, you’ll be summoned back to the Shrine of Resurrection to complete a final trial. Place your Sheikah Slate in the pedestal to unlock the Divine Trial, which is a secret Divine Beast Dungeon that was hidden beneath the Resurrection Shrine. The dungeon will work similarly to the other divine beast dungeons in which you need to complete puzzles by rotating parts of the beast to activate four Sheikah Slate pedestals.
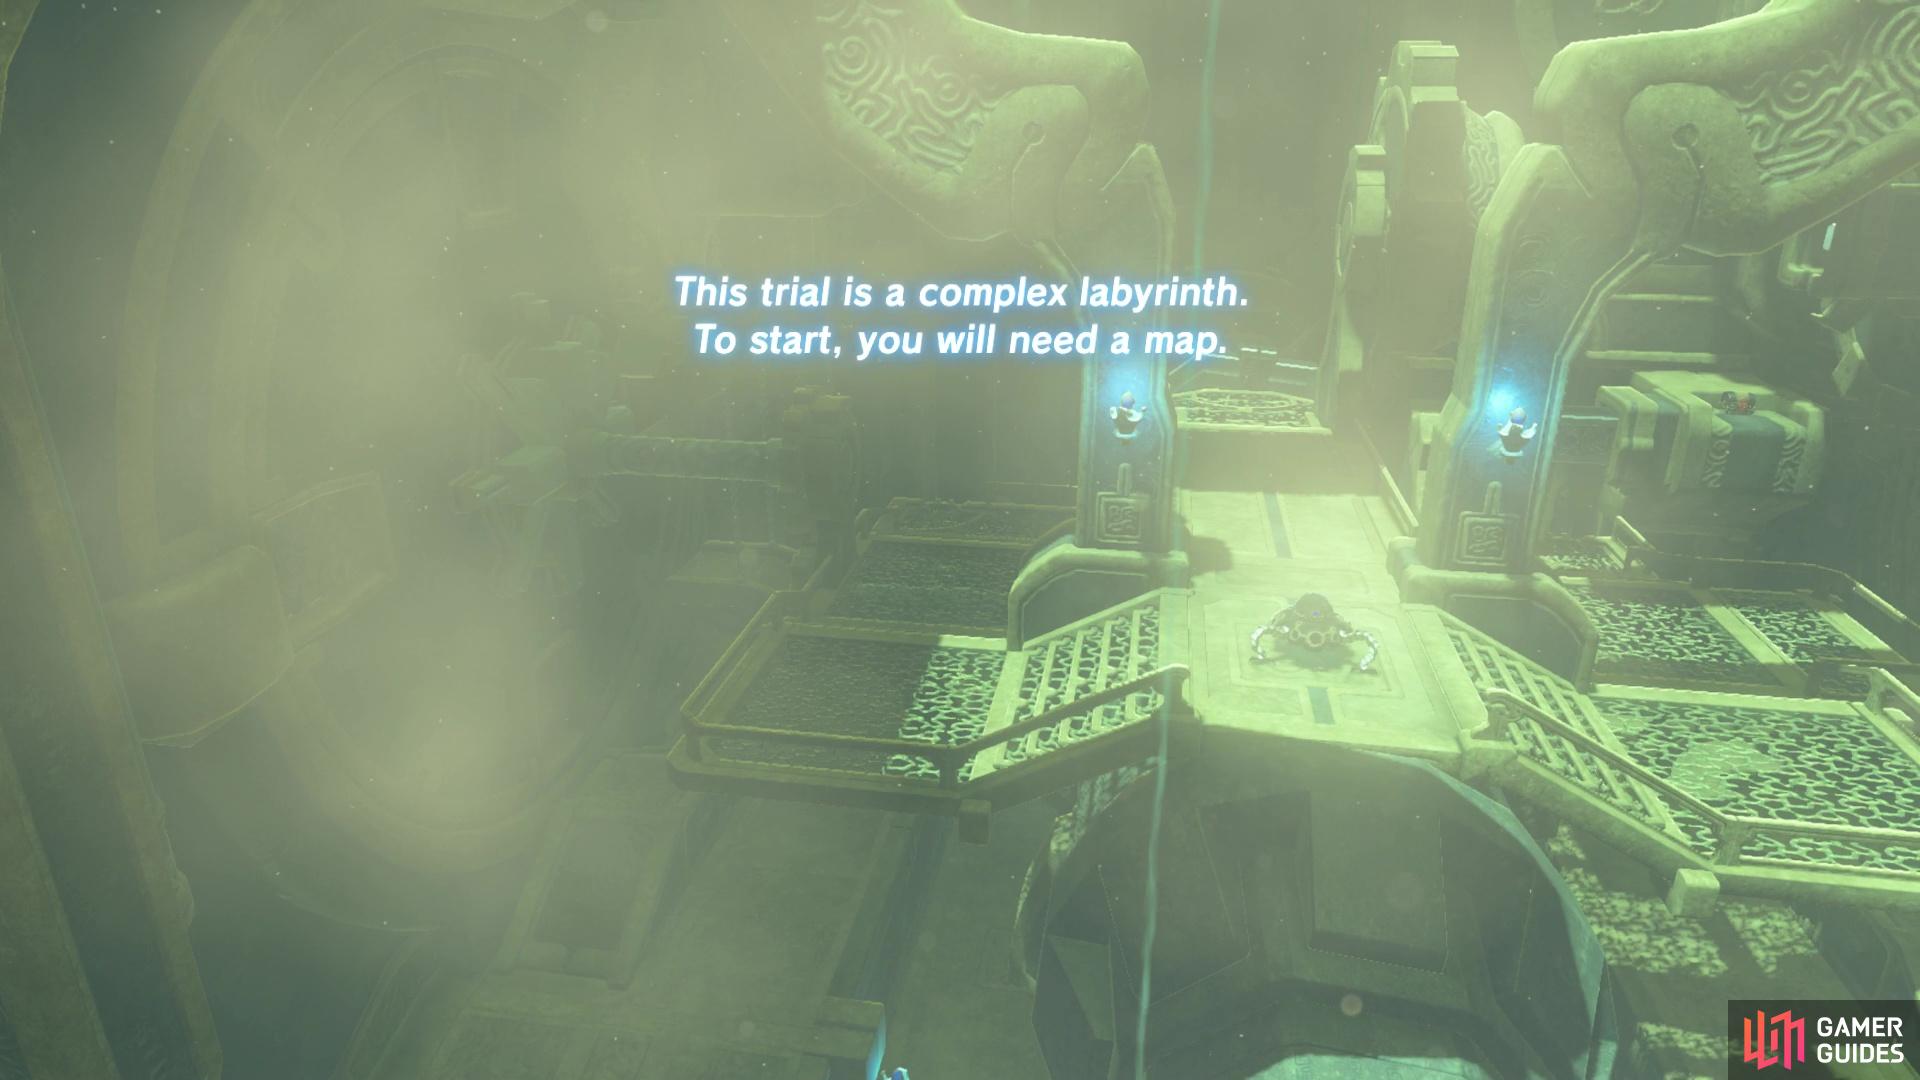
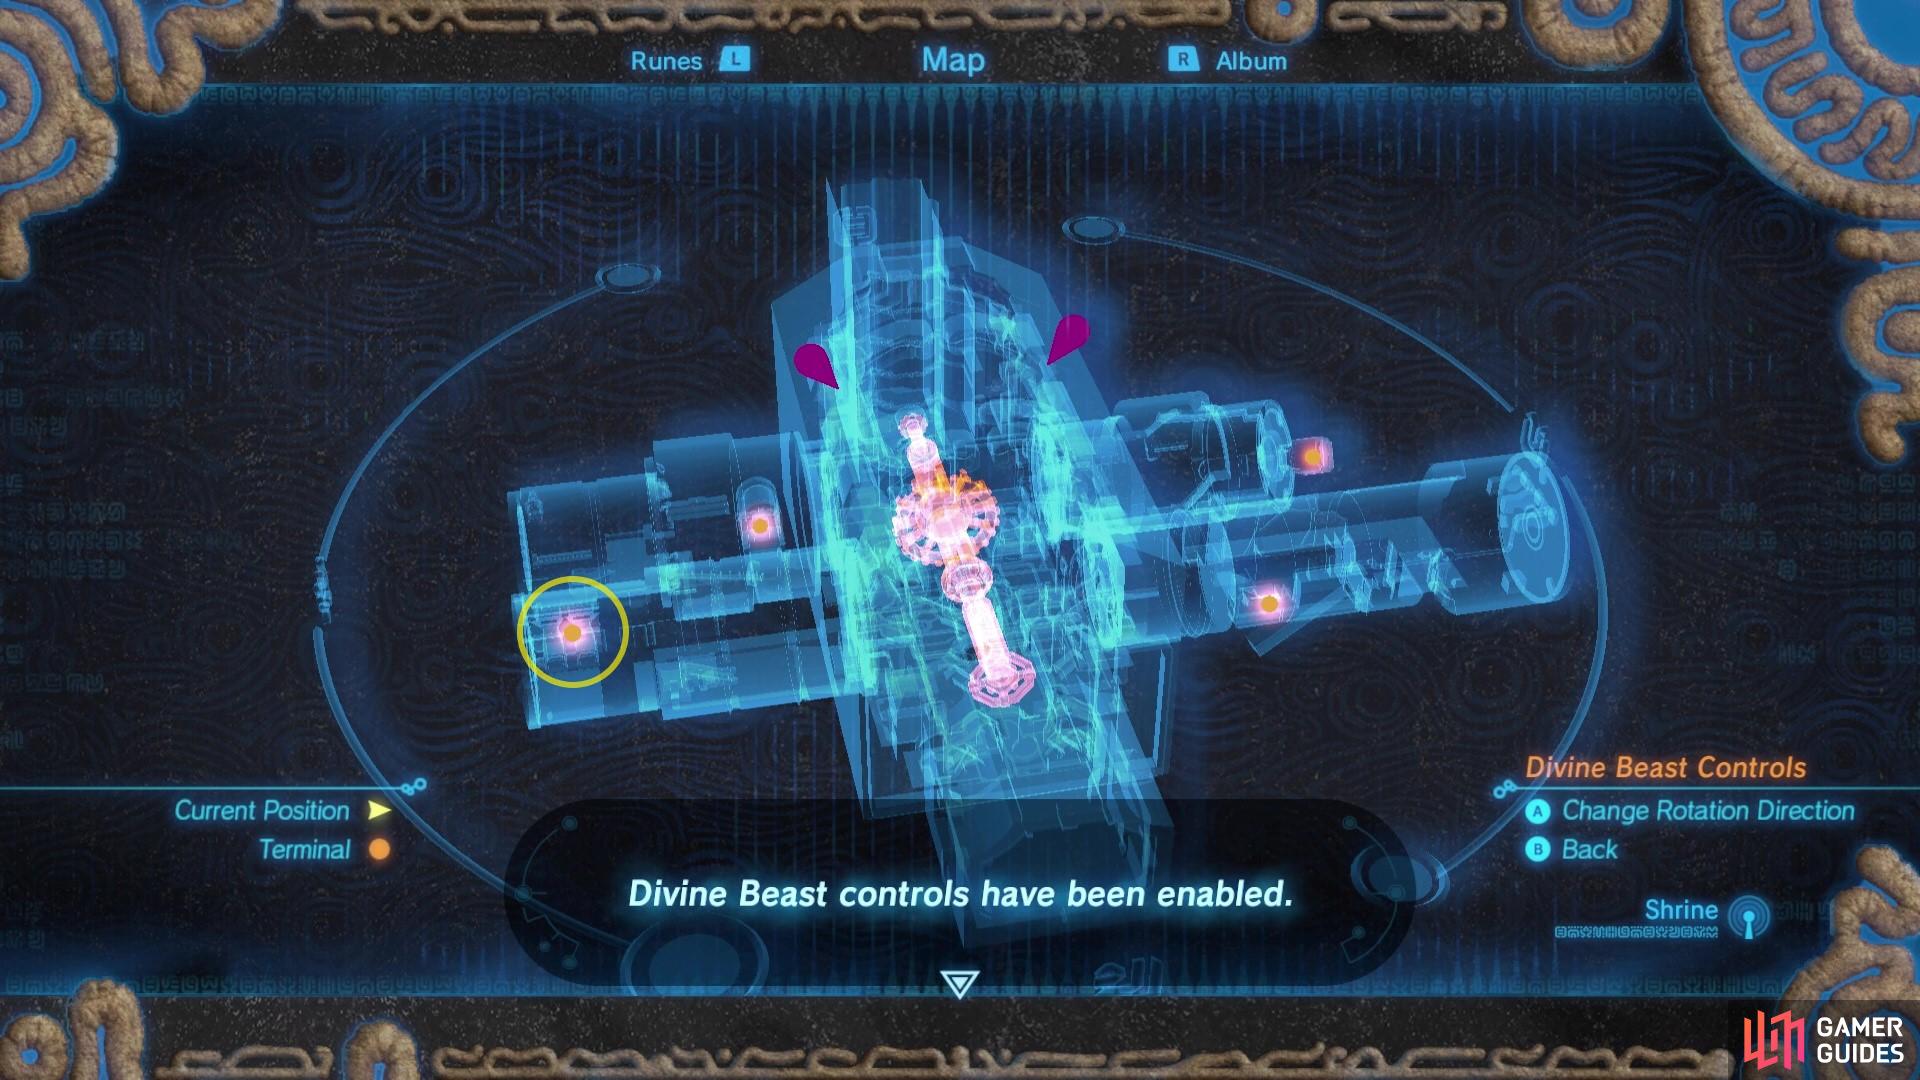
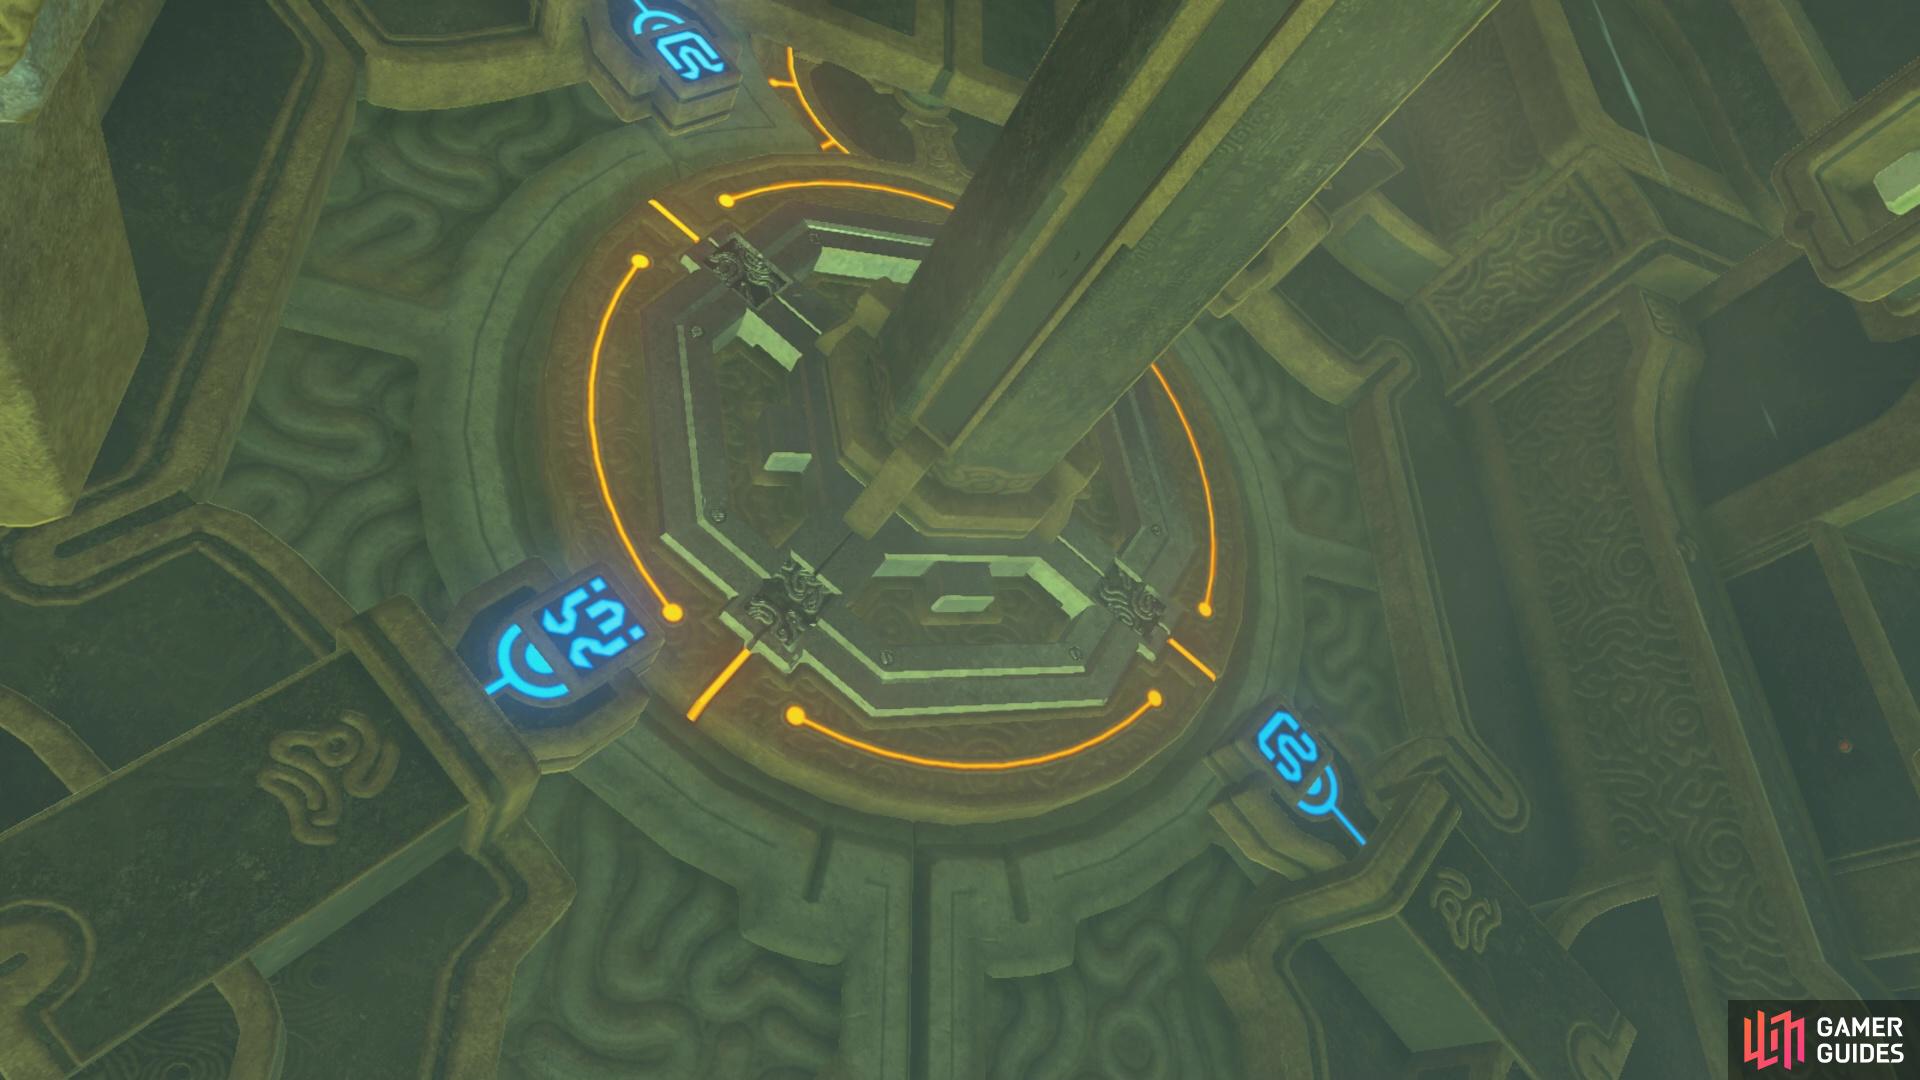
First, you need to activate the pedestal in the middle of the shrine to access a map of the dungeon.
When you first enter into dungeon, you’ll need to head forward and into the middle of the room to reach the central pedestal. When you activate it, you’ll be given a map of the dungeon. Each pedastal can be seen on the map of the dungeon, so that’s helpful for knowing where to go. And, you can also switch which way the dungeon rotates, which you’ll use a lot throughout the various puzzles.
Bottom Right Pedestal
To begin, head to the bottom right wing of the dungeon, as this is the most straight forward puzzle and a good place to start.

This pedestal is found in the bottom right wing of the dungeon.
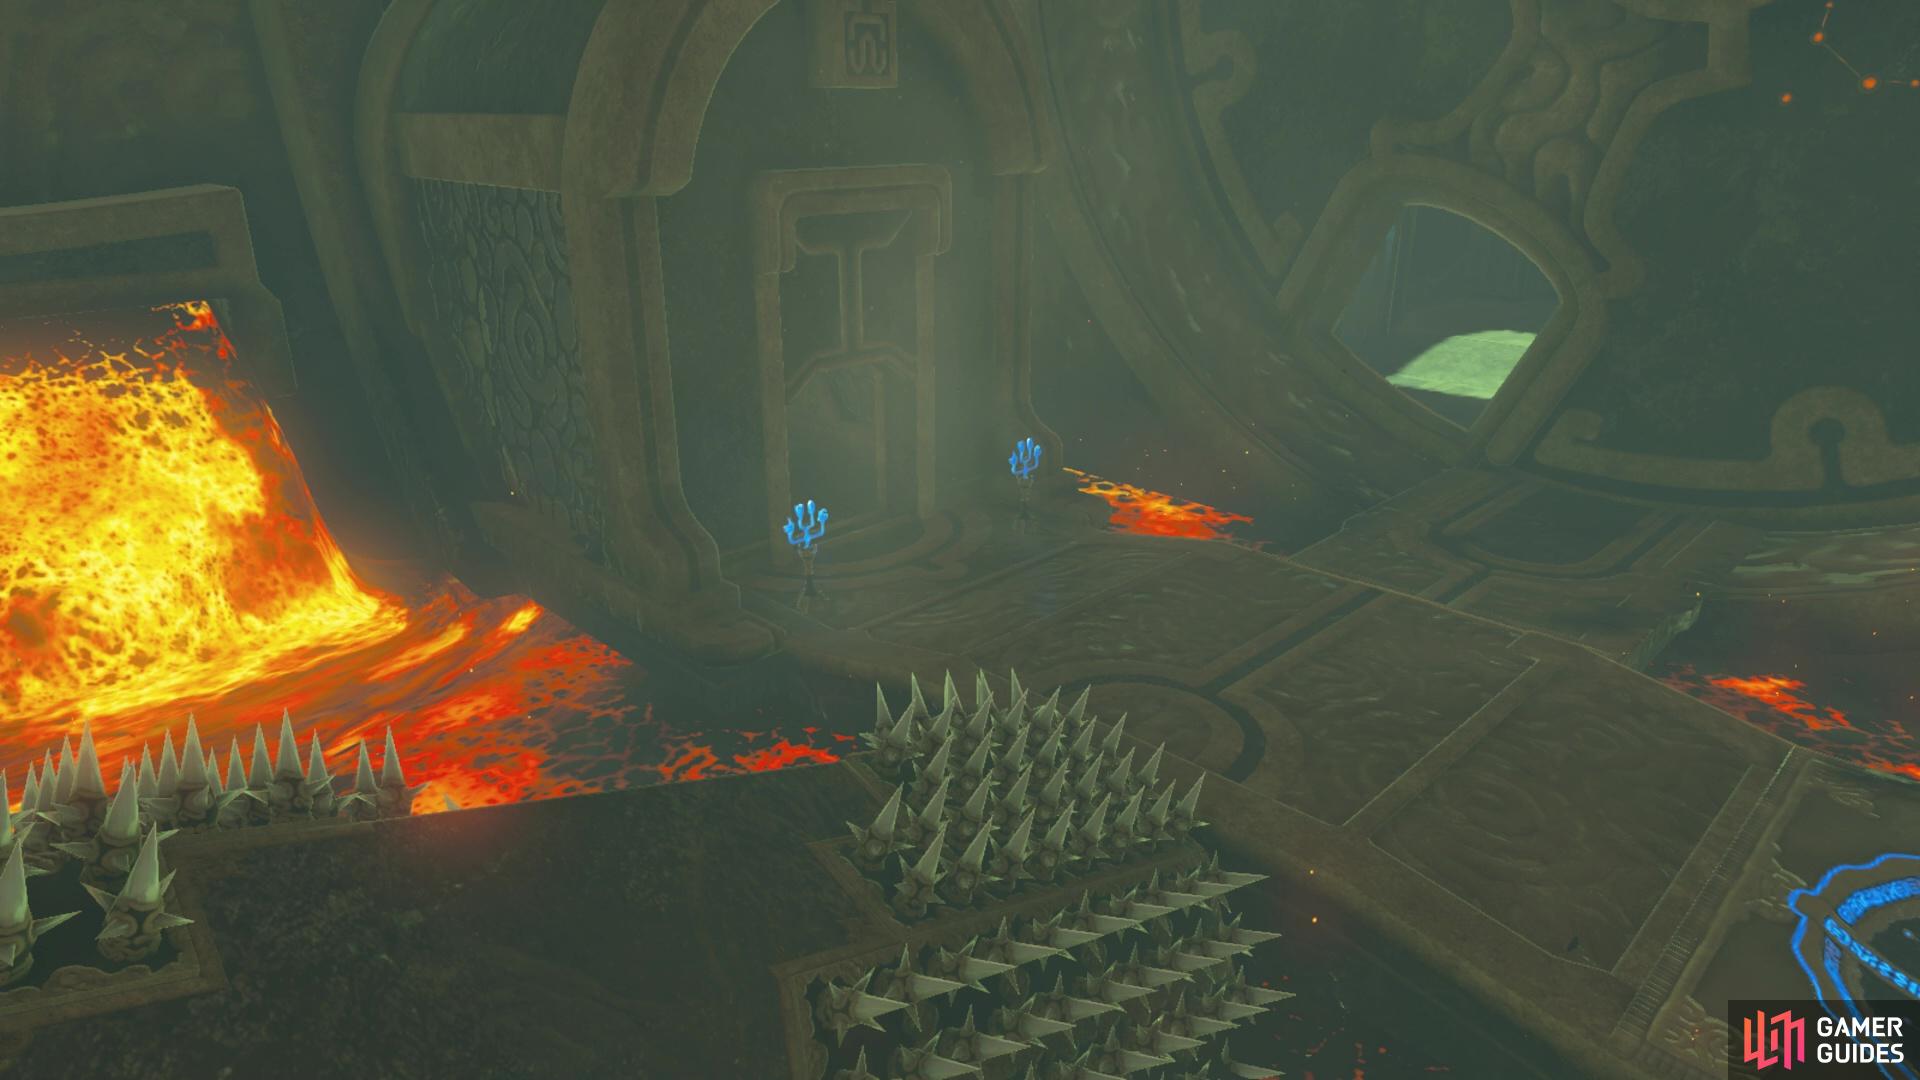
In order to reach the bottom right wing, you’ll need to use the cog near the lava to take you up onto a platform. The wall is rotating and you’ll have to wait for an opening to head through into the bottom right cylinder.
Once inside, you’ll need to make your way over the rotating spikey cylinder that serves as a bridge across the lava. You’ll want to be slow and steady, making sure not to get spiked but also making sure not walk on the sides where you risk falling off.
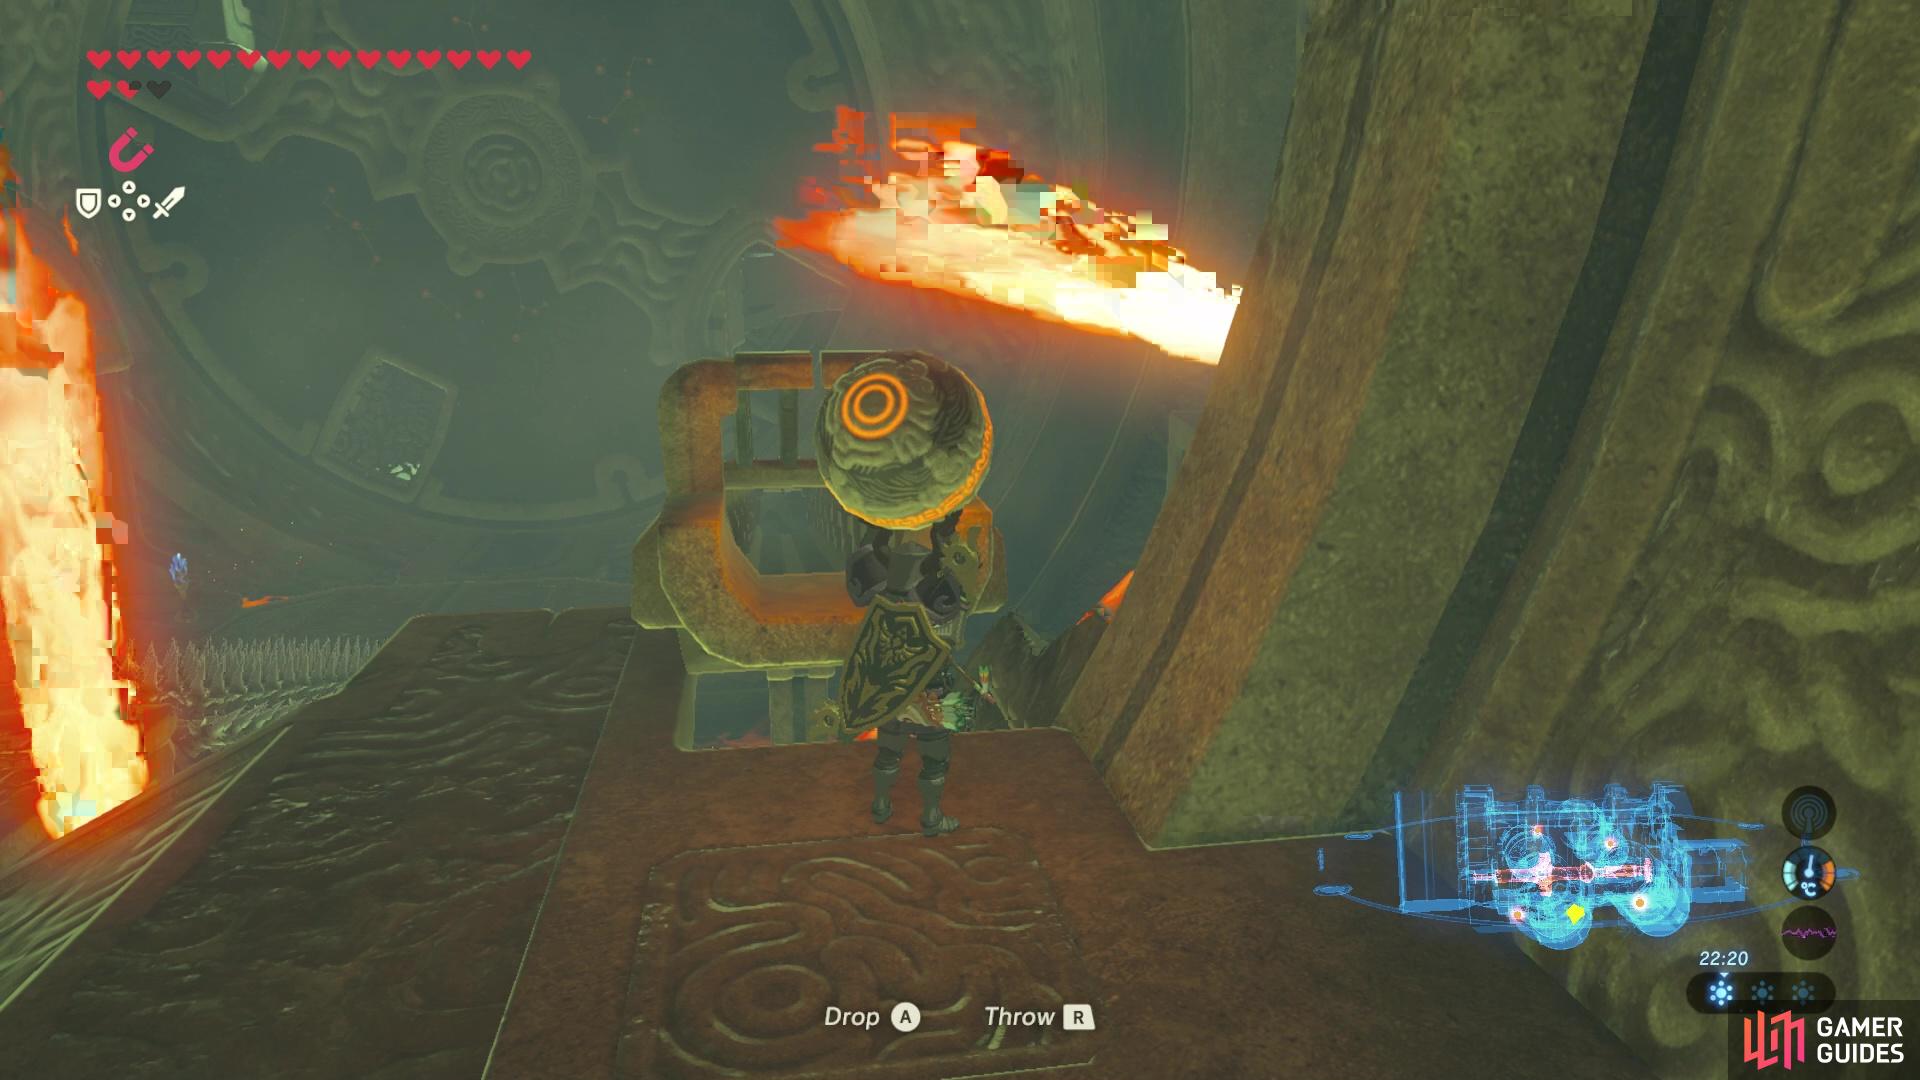
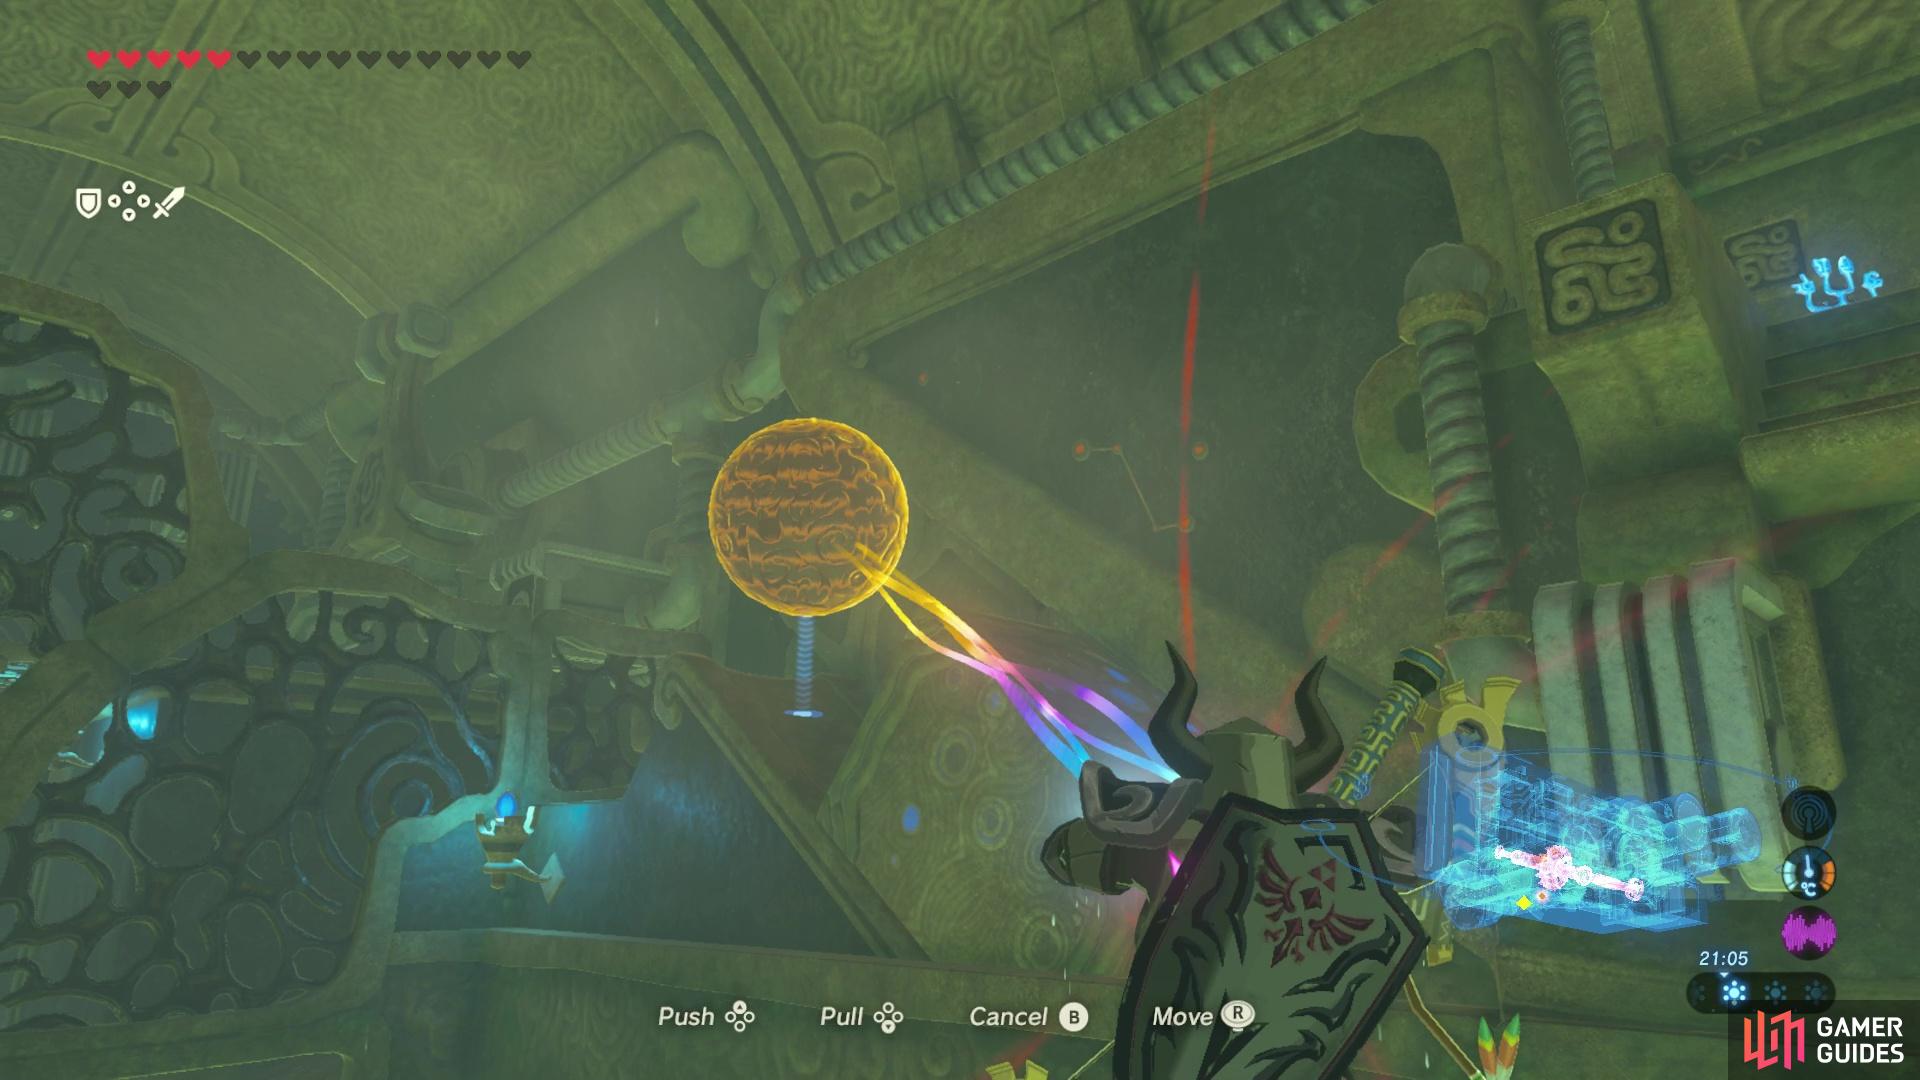
After successfully crossing the spikey cylinder, you’ll need to cross through the flames, but wait for them to disappear first. Then on the other side, you’ll find a pressure plate that opens up a small gate on the back right wall, causing a ball to roll out of a spawner and straight into the lava.

Cross the rotating spikey cylinder, making sure not to slip and fall into the spikes or the lava!
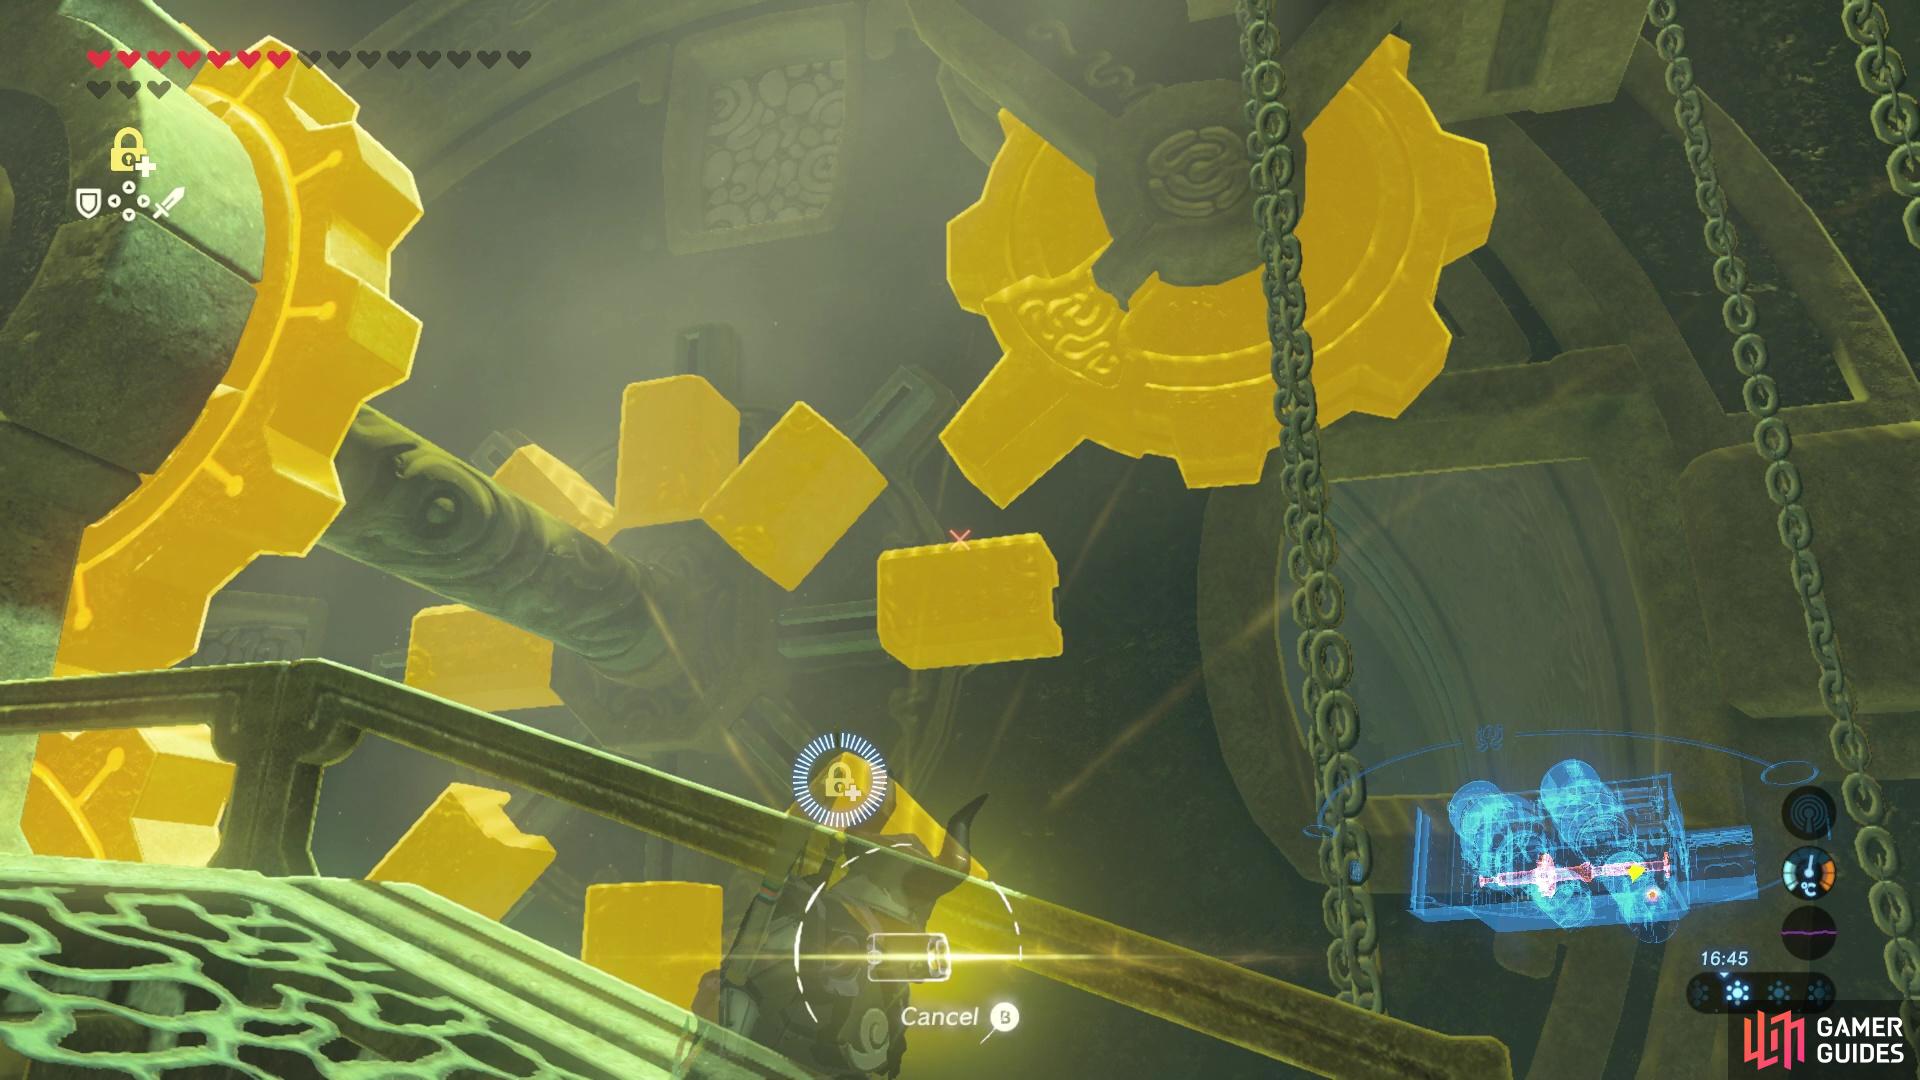
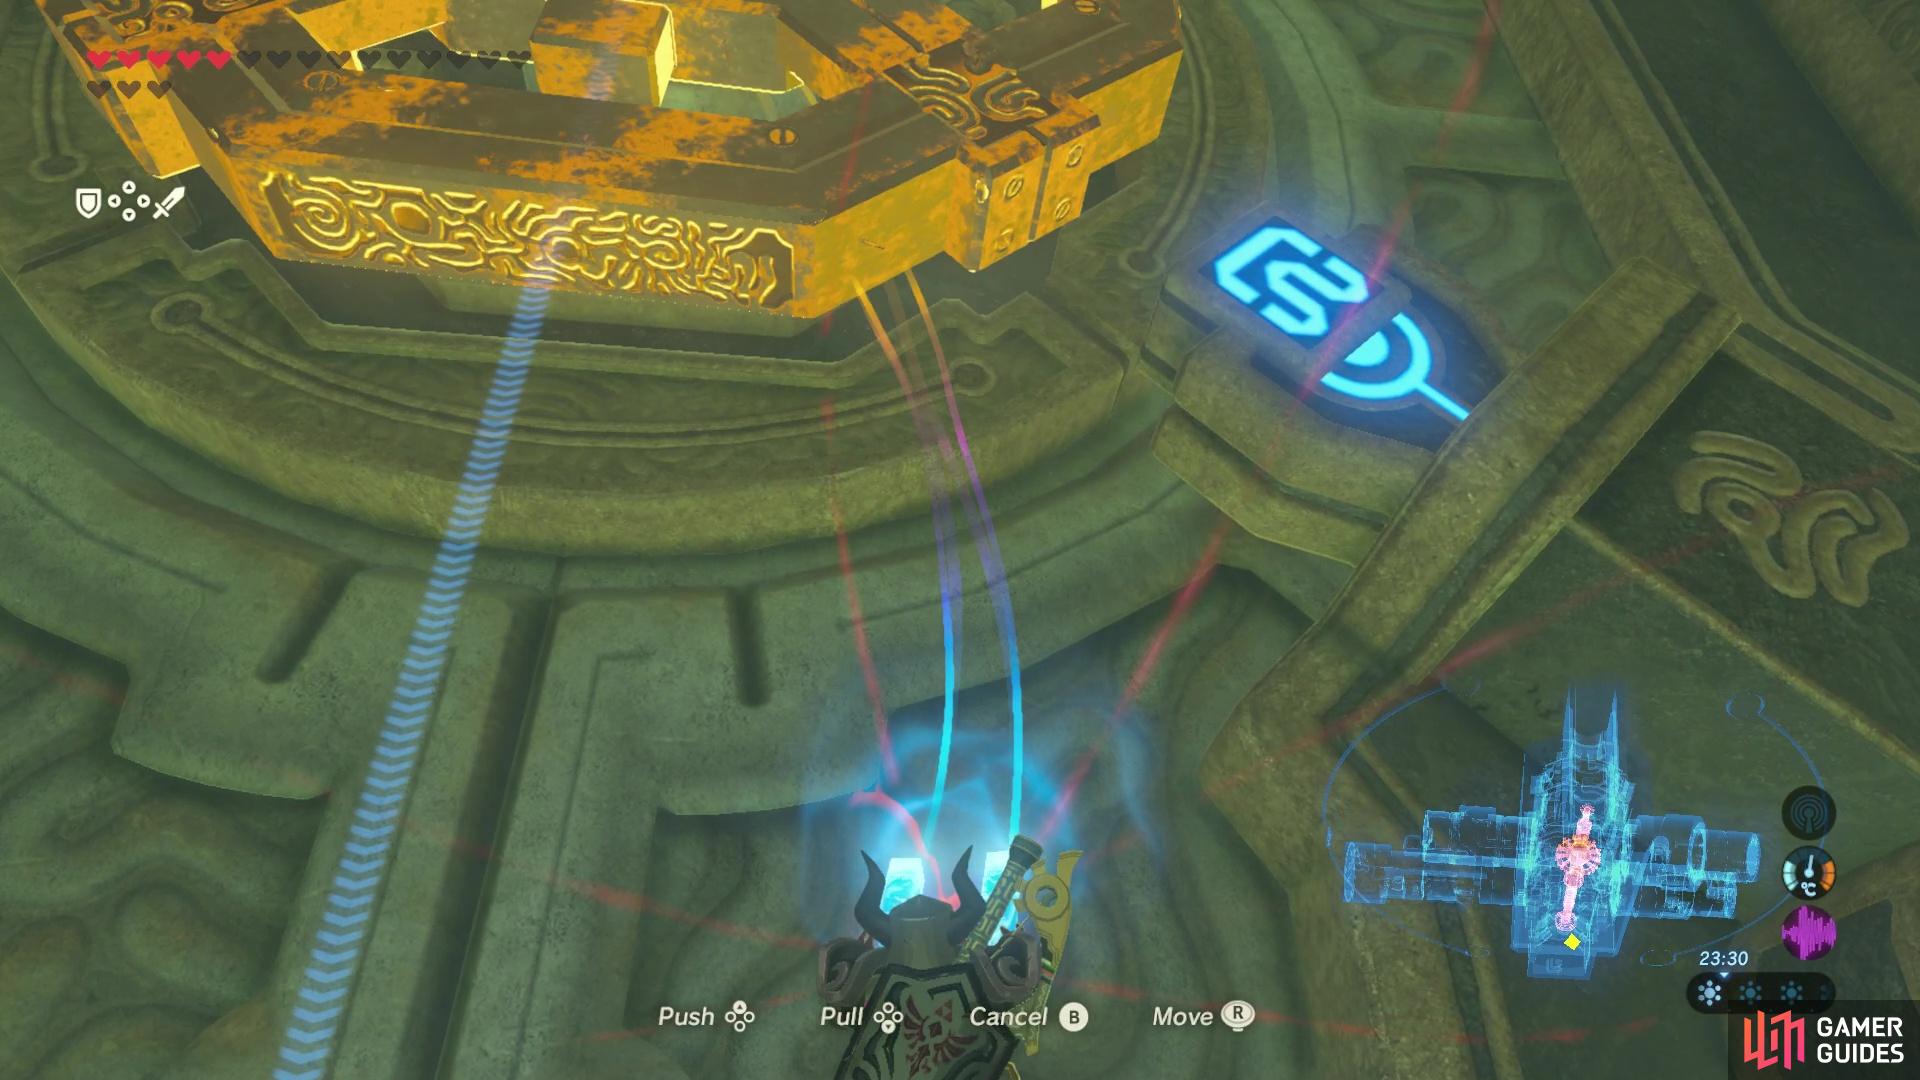
You need the ball to open up the gate to the pedestal, so you want to figure out a way of preventing it from falling into lava. To do this, you’ll need to use the rotating mechanism on the dungeon map to control the spinning tube on the back wall. You want to open the ball’s gate with the pressure plate when the small end of the spinning tube is lined up. Then, you’ll need to control the rotation of the spinning tube by switching the rotation on the dungeon map so that the ball travels along the winding tube. You’ll want to swap the rotation between clockwise and anti-clockwise until the ball falls out of the end of the tube and into the small hole below.
Open the gate so that the ball falls into the tube
then, use the rotation mechanisms on the map to move the ball along the tube.
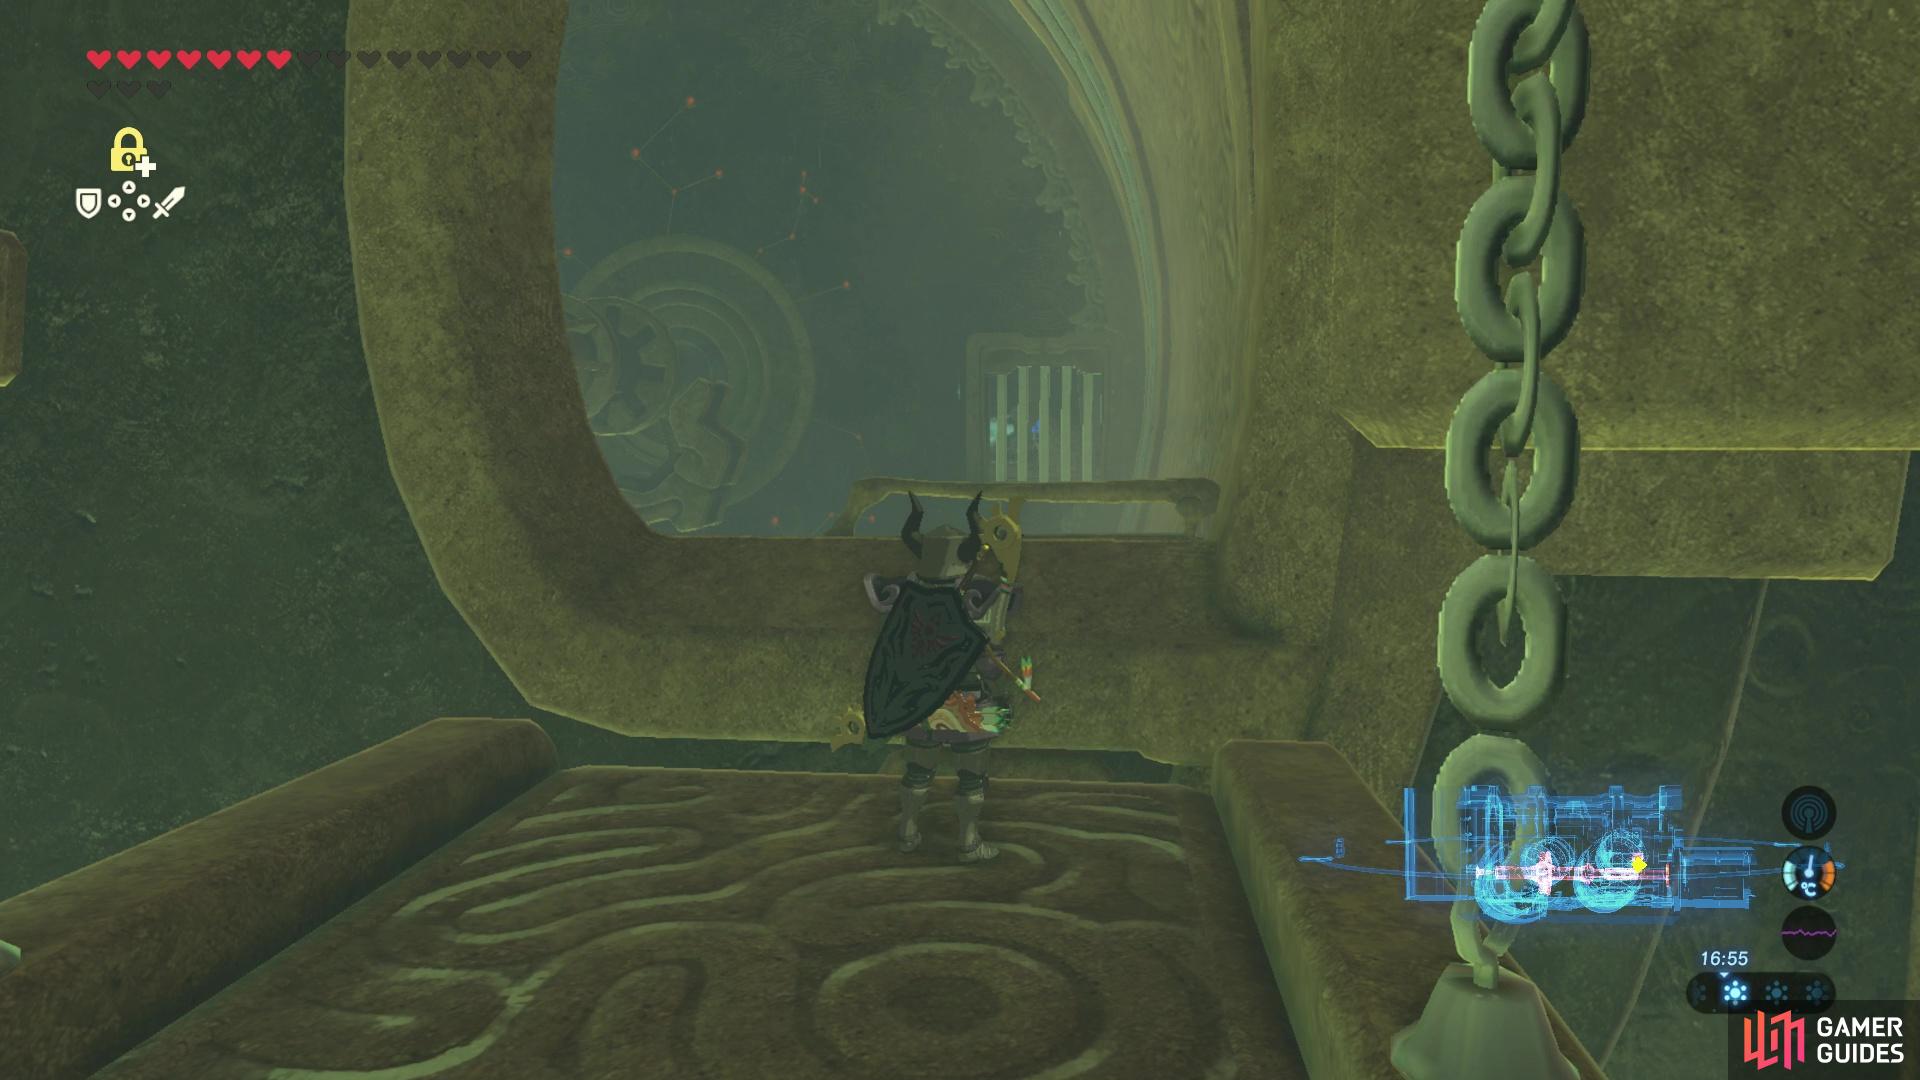
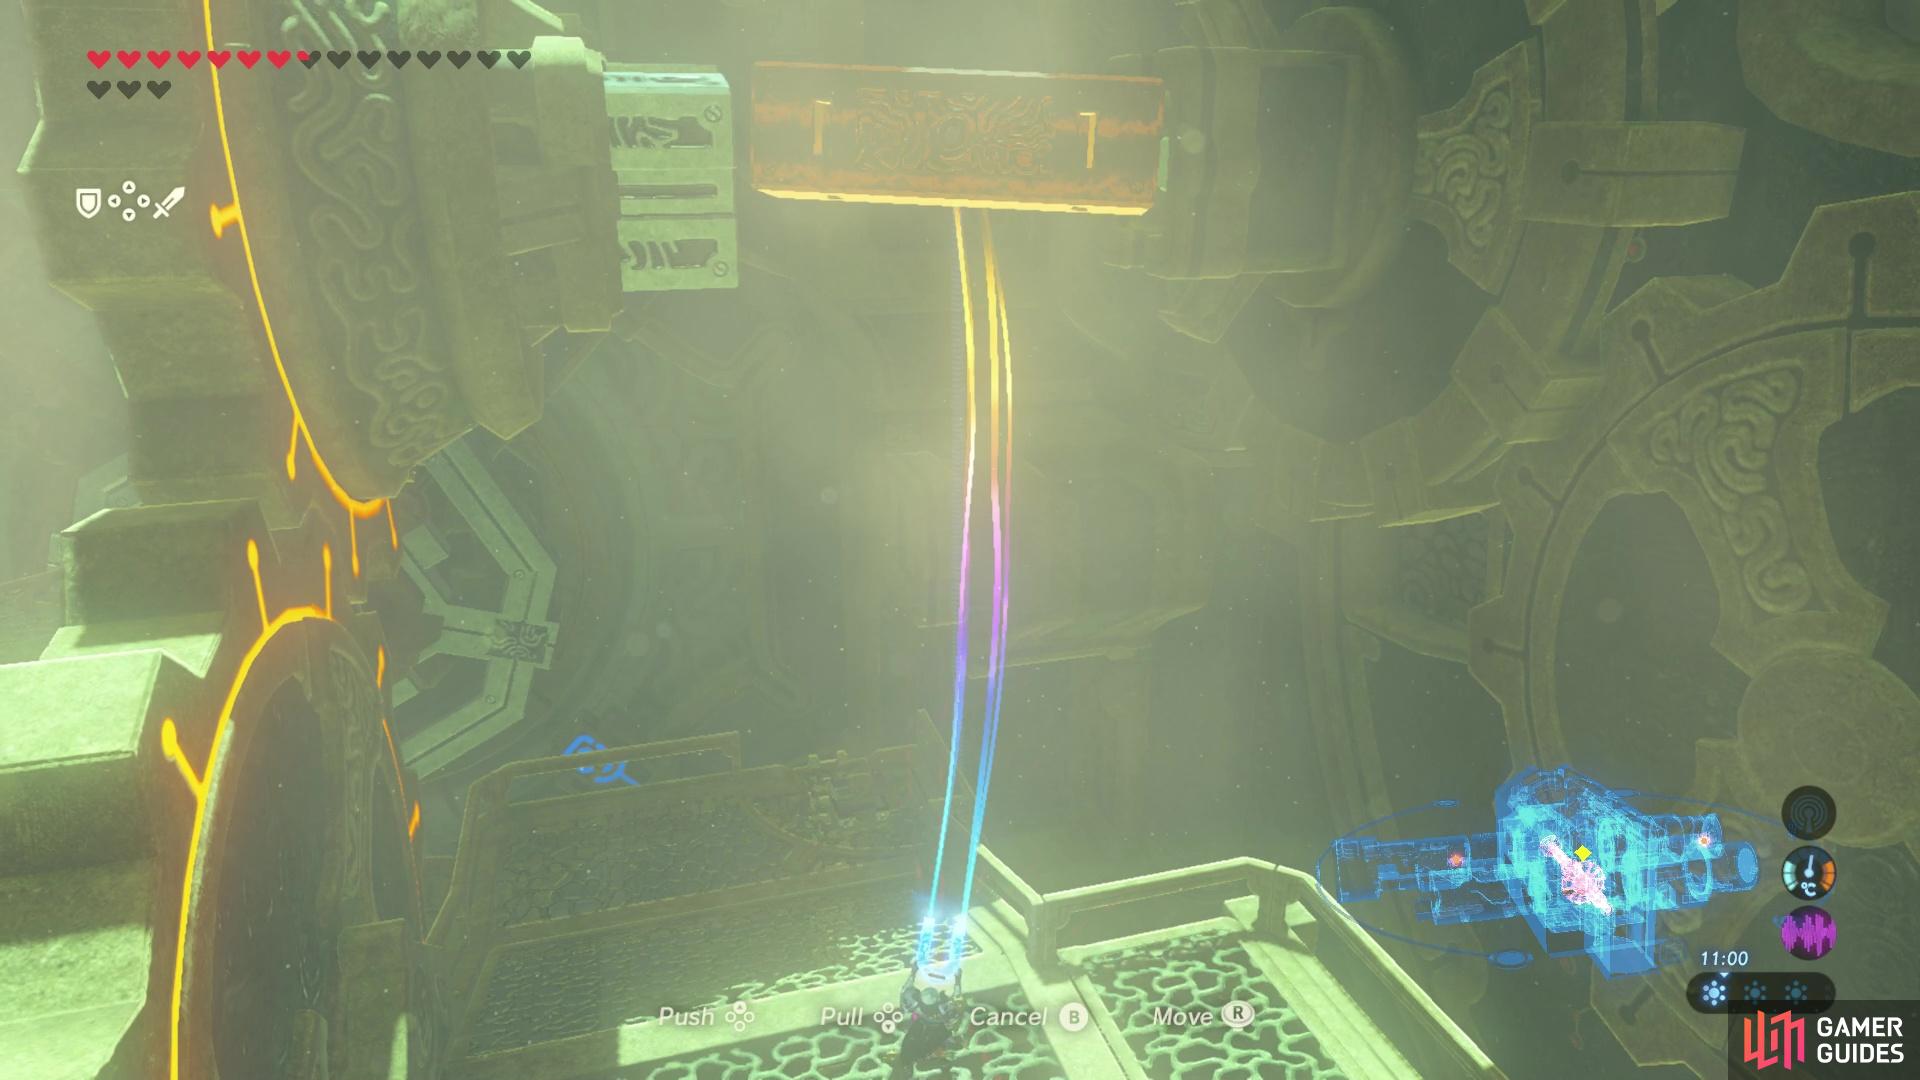
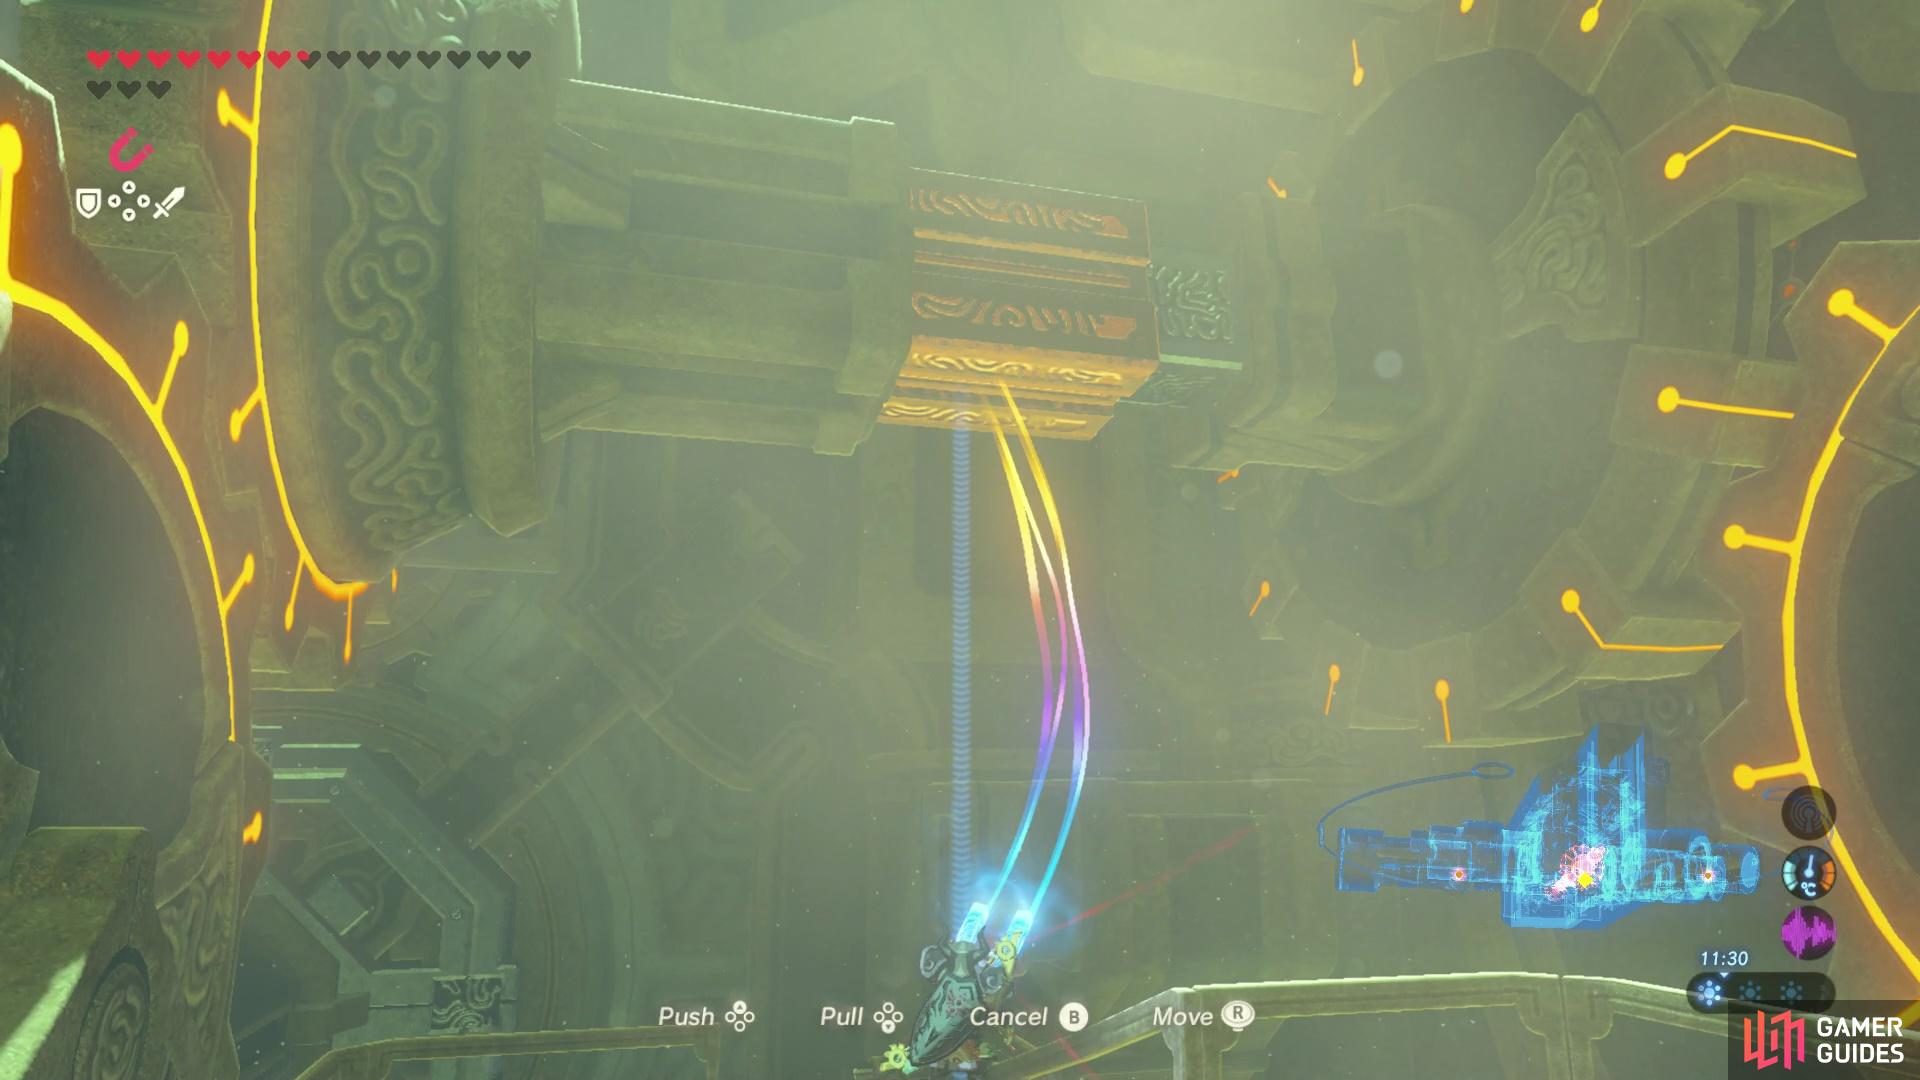
From there, you can pick up the ball and place it in the tube near the spikey cylinder. Once the ball has travelled to the bottom of the tube, it’ll land in another hole, causing a gate nearby to open up. Beyond this gate you’ll find the pedestal, which you can activate to unlock the first corner of the big lock at the end of the dungeon.
Once you place the ball in the tube
a gate will open, allowing you to reach the first pedestal.
Bottom Left Pedestal
Next, head over to the bottom left wing. The door to the bottom left cylinder is already open but you need to get the inside of the room rotating like the rest of the dungeon.
This pedestal is found in the bottom left wing of the dungeon.
To do this, you’ll need to use magnesis on the metal object at the end of the turning cog near the bottom left cylinder. Pull the metal object and slot it into the alcove on the outer wall of the cylinder, this will then cause the bottom left cylinder to move with the rest of the dungeon as it rotates.
After you’ve attached the cylinder to the cog, head into the cylinder and you’ll find half of the room is rotating now. You’ll need to stand on the rotating piece and let it take you up to the right (makes sure the dungeon is rotating anti-clockwise) to a set of steps along the side of the cylinder.
Pull out this metal object and fit it into the slot on the rotating wall.
Head up the steps then look up and over to the center of the cylinder, where you’ll spot another metal object. Use magnesis to pull it out of its alcove and drop it onto the ground.
Hop back onto the ground and use magnesis to slot the metal object into the alcove on the ground. Then, pull out the metal object at the end of the rotating part and wait for the it to move around the cylinder and it’ll then jam itself onto the metal object, causing the second half of the cylinder to also rotate. Then, as the room rotates, you’ll be able to reach the small room where the second pedestal is found.
Top Left Pedestal
After completing two out of four pedestal puzzles, some guardian enemies will spawn at the center of the dungeon. You’ll want to take them out using ancient arrows or an ancient weapon. They’ll just annoy you with their lasers if you leave them.

This pedestal is found in the top left wing of the dungeon.
Next, you’ll want to head over to the top left cylinder by riding the cogs up to the upper platforms. To do this, the dungeon needs to be turning clockwise. Then, once you’re next to the entrance to the top left cylinder, put the dungeon back into anti-clockwise rotation and you’ll observe a weird cog on the wall that has stone blocks at the end of the spurs. The blocks aren’t fixed, so they’re influenced by gravity and move around as it rotates. You’ll want to use stasis to freeze the stone block right before it falls down from the top of the spur, which will cause it to hit the cog to the right. You’ll then be able to use the platform on the right that’s attached by chains to enter into the cylinder.
Freeze the stone block before it falls down so it hits the other cog
and raises the platform.
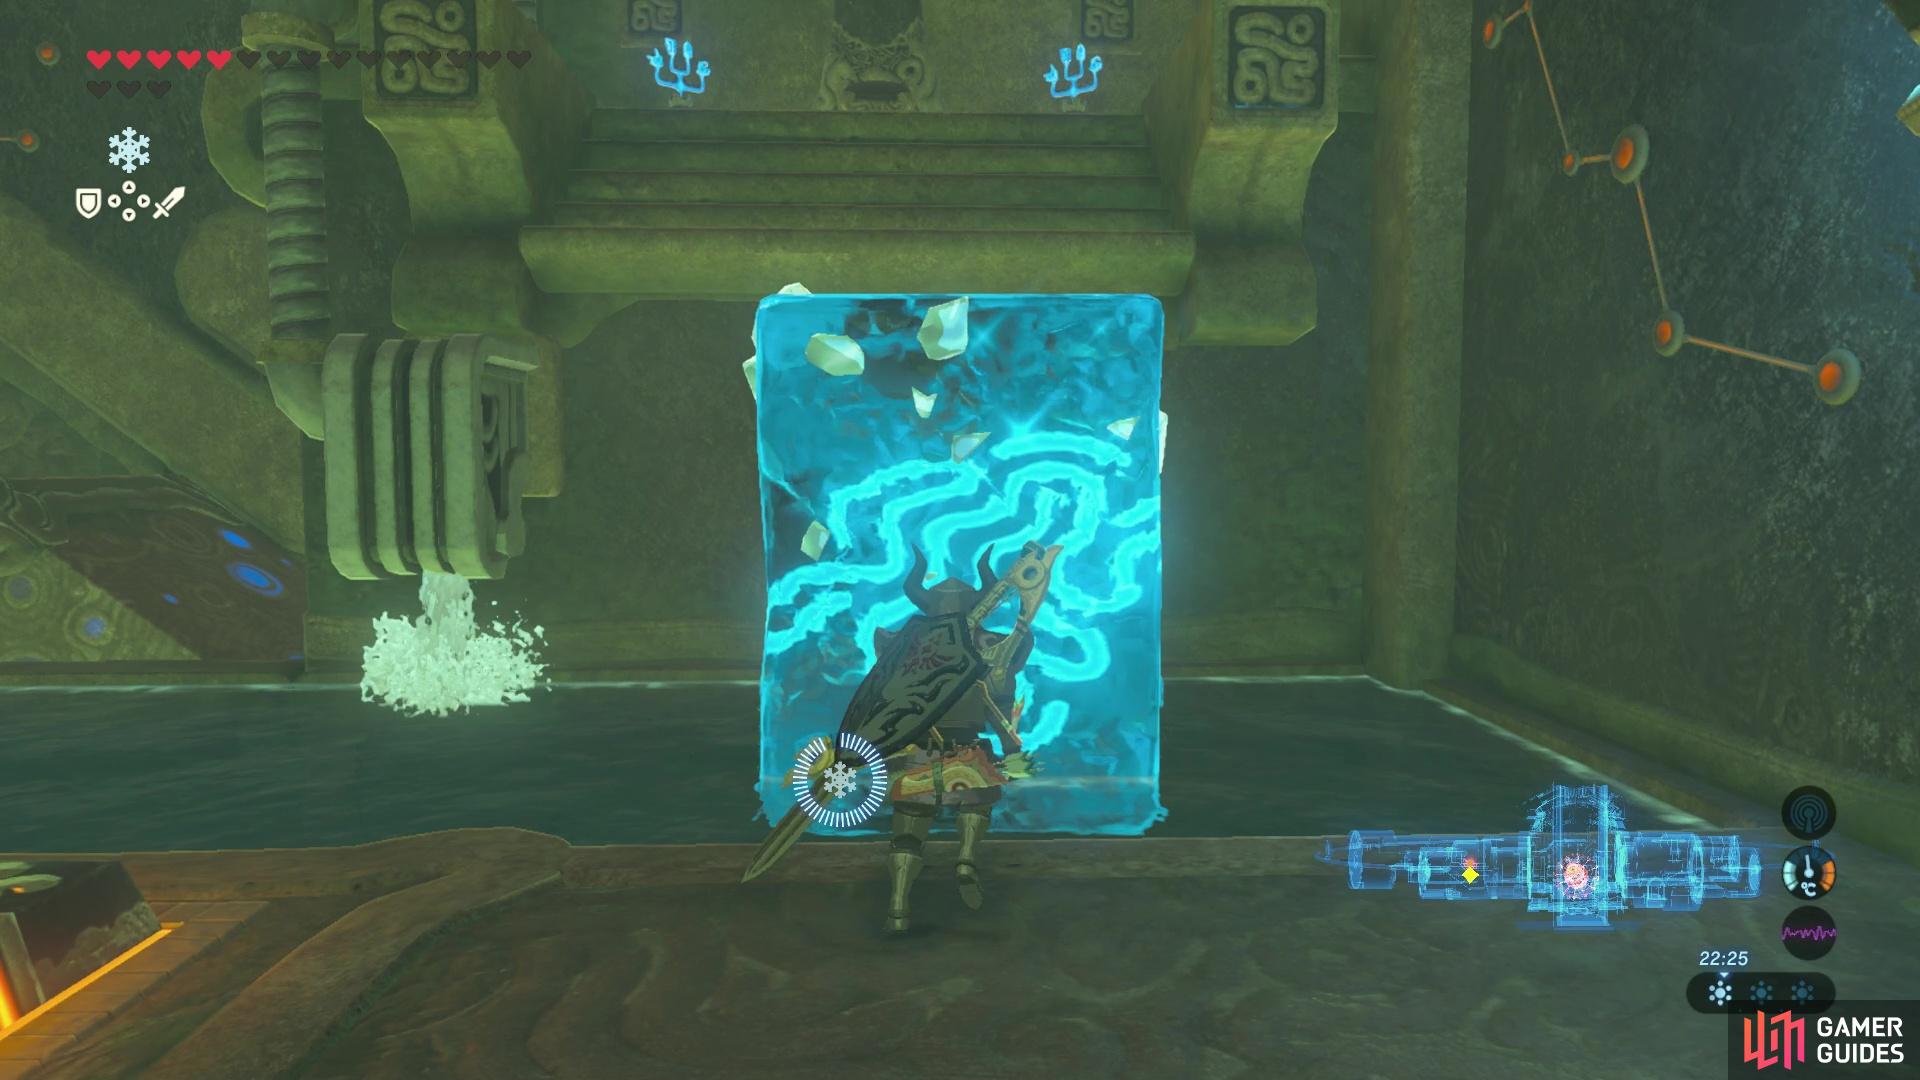
Once inside, swap to cryonis and place an ice block beneath the button at the center of the room. This will cause this structure to rotate, and you can use it to gain some height and you can then reach the platform on the other side of the room by paragliding.
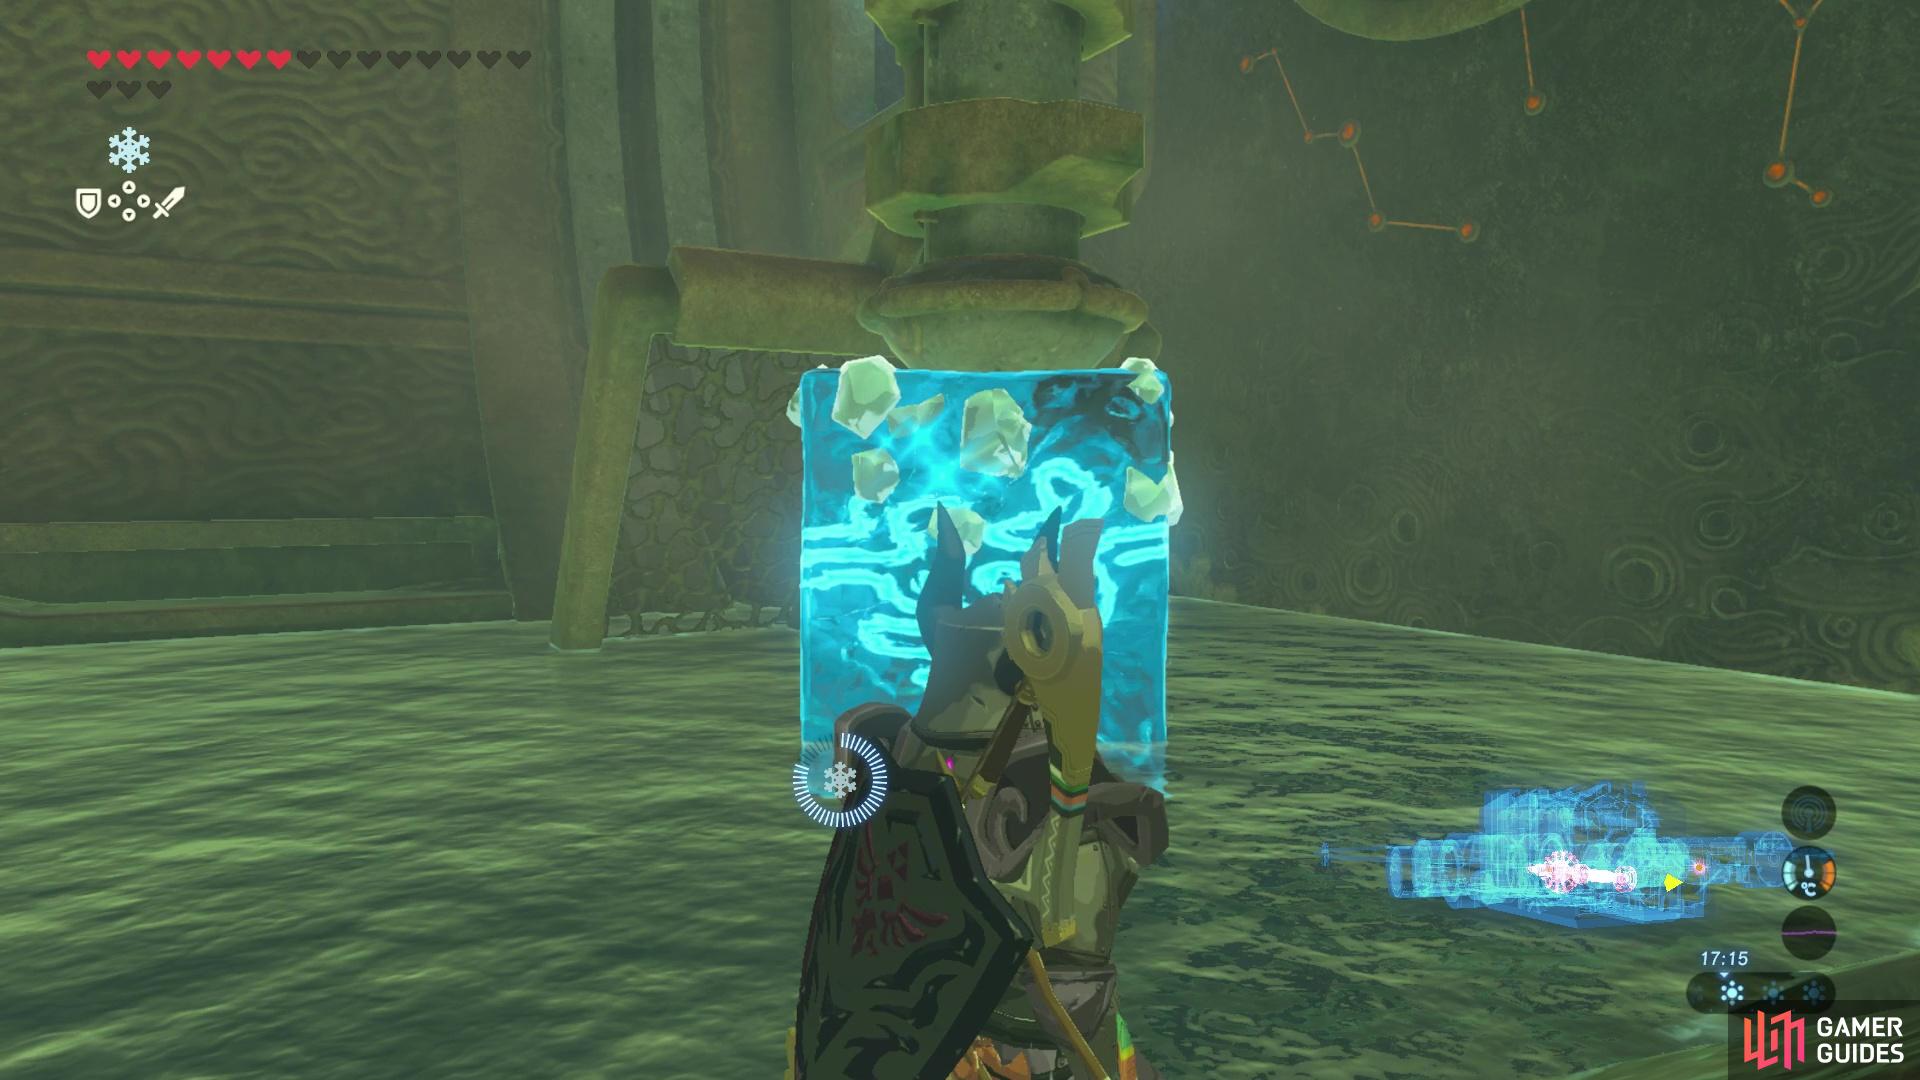
Use cryonis to form an ice block beneath the button.
In this next section, you’ll need to equip stasis and use it on the giant structure that looks a bit like the handle to a tap. When it’s under the effects of stasis, hit it a lot of times from the right. After stasis is up, the handle thing will spin to the left causing all the faucets to stop flooding the area. The water will also leave and you’ll be able to head through an entrance to the right into a small room.
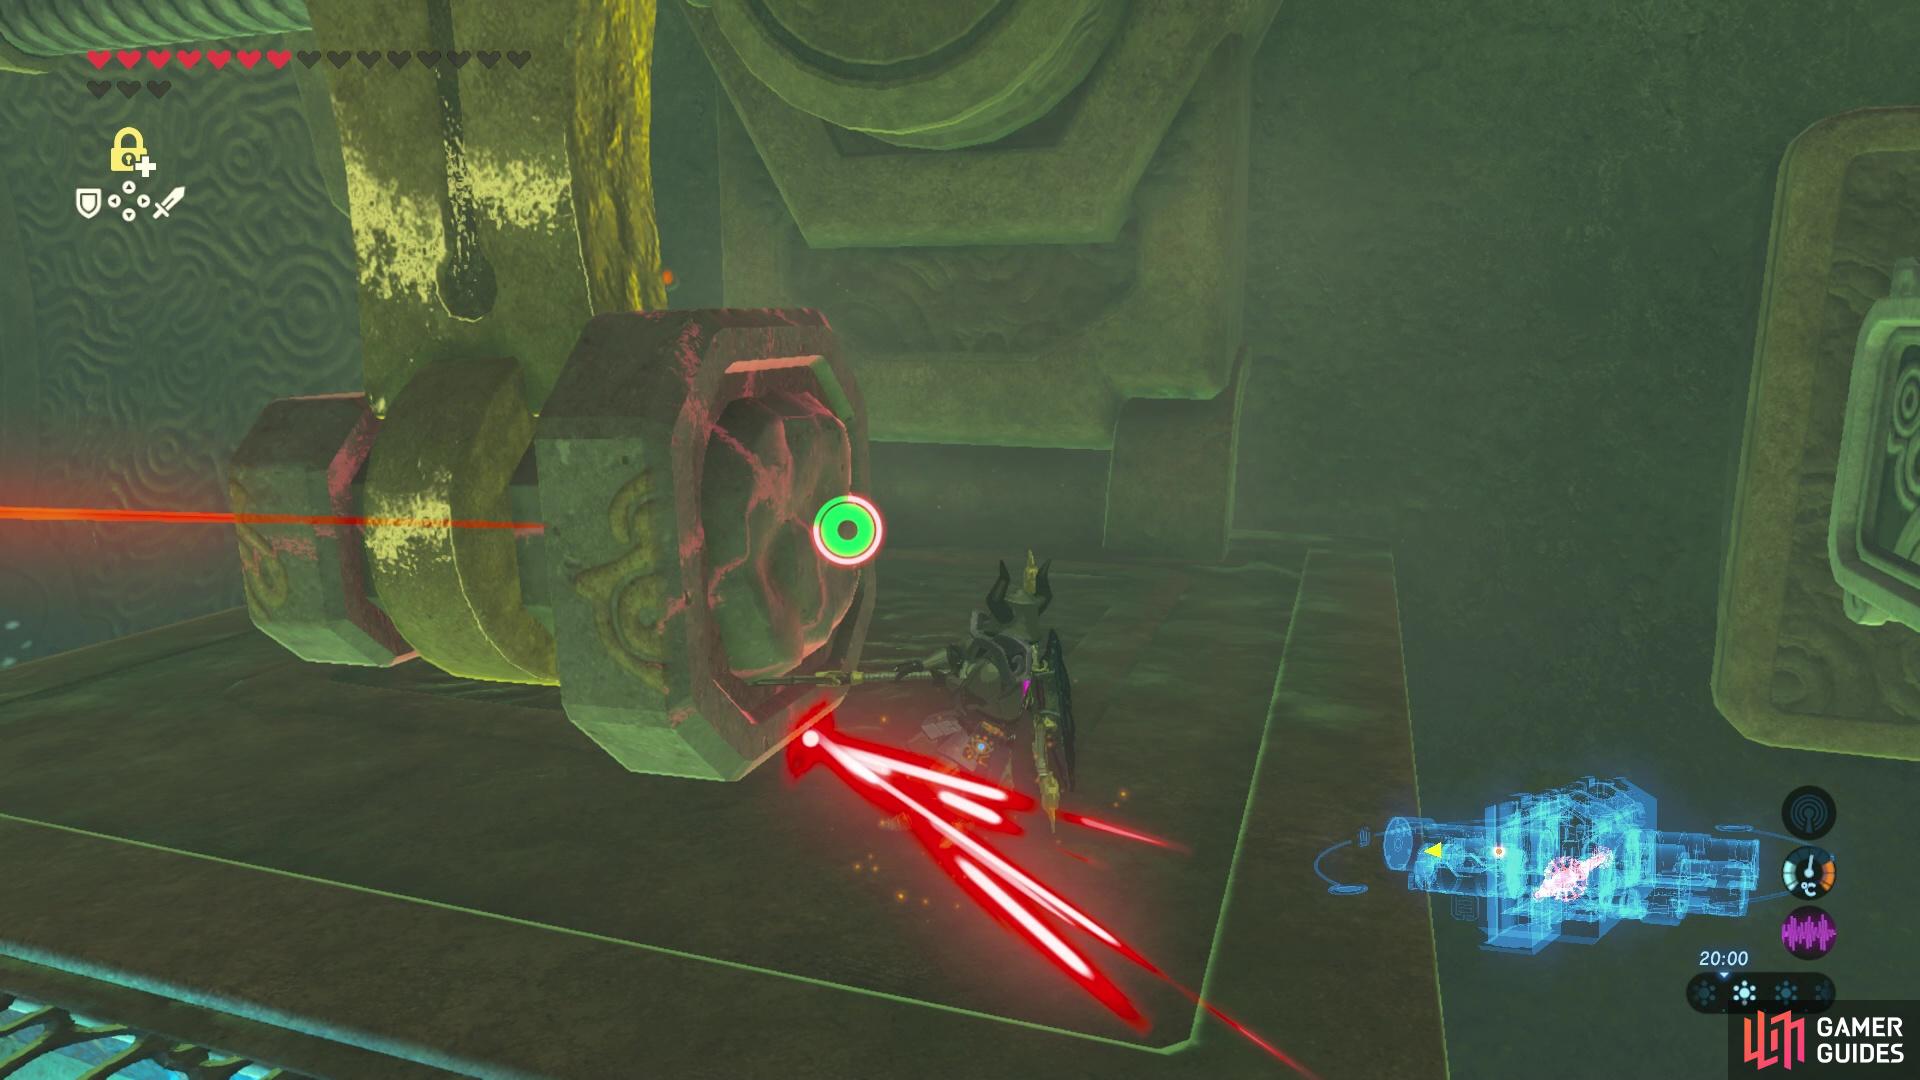
Hit the tap handle from the right so that it moves to the left once stasis deactivates.
In this room, you’ll find a pressure plate, and stepping on it will cause a metal ball to spawn to the right of you. Step of the pressure plate then use magnesis to place the ball in front of the stone launcher. Step back onto the button and launch the ball, causing it to hit the spinning tap handle and turn the water back on.
After the water’s back on, make a cryonis ice block to your right and use it to climb up to the steps where you can then reach and activate the third pedestal.
Use the launcher to launch the ball into the tap handle to turn the water back on
then you can use cryonis to reach the pedestal!
Top Right Pedestal
And finally, head over to the top right side of the dungeon for the final pedestal puzzle. To get to it, head up onto the cogs and ride them up until you can take the rotating bridge to the upper platform on the top right side of the dungeon.

This pedestal is found in the top right wing of the dungeon.
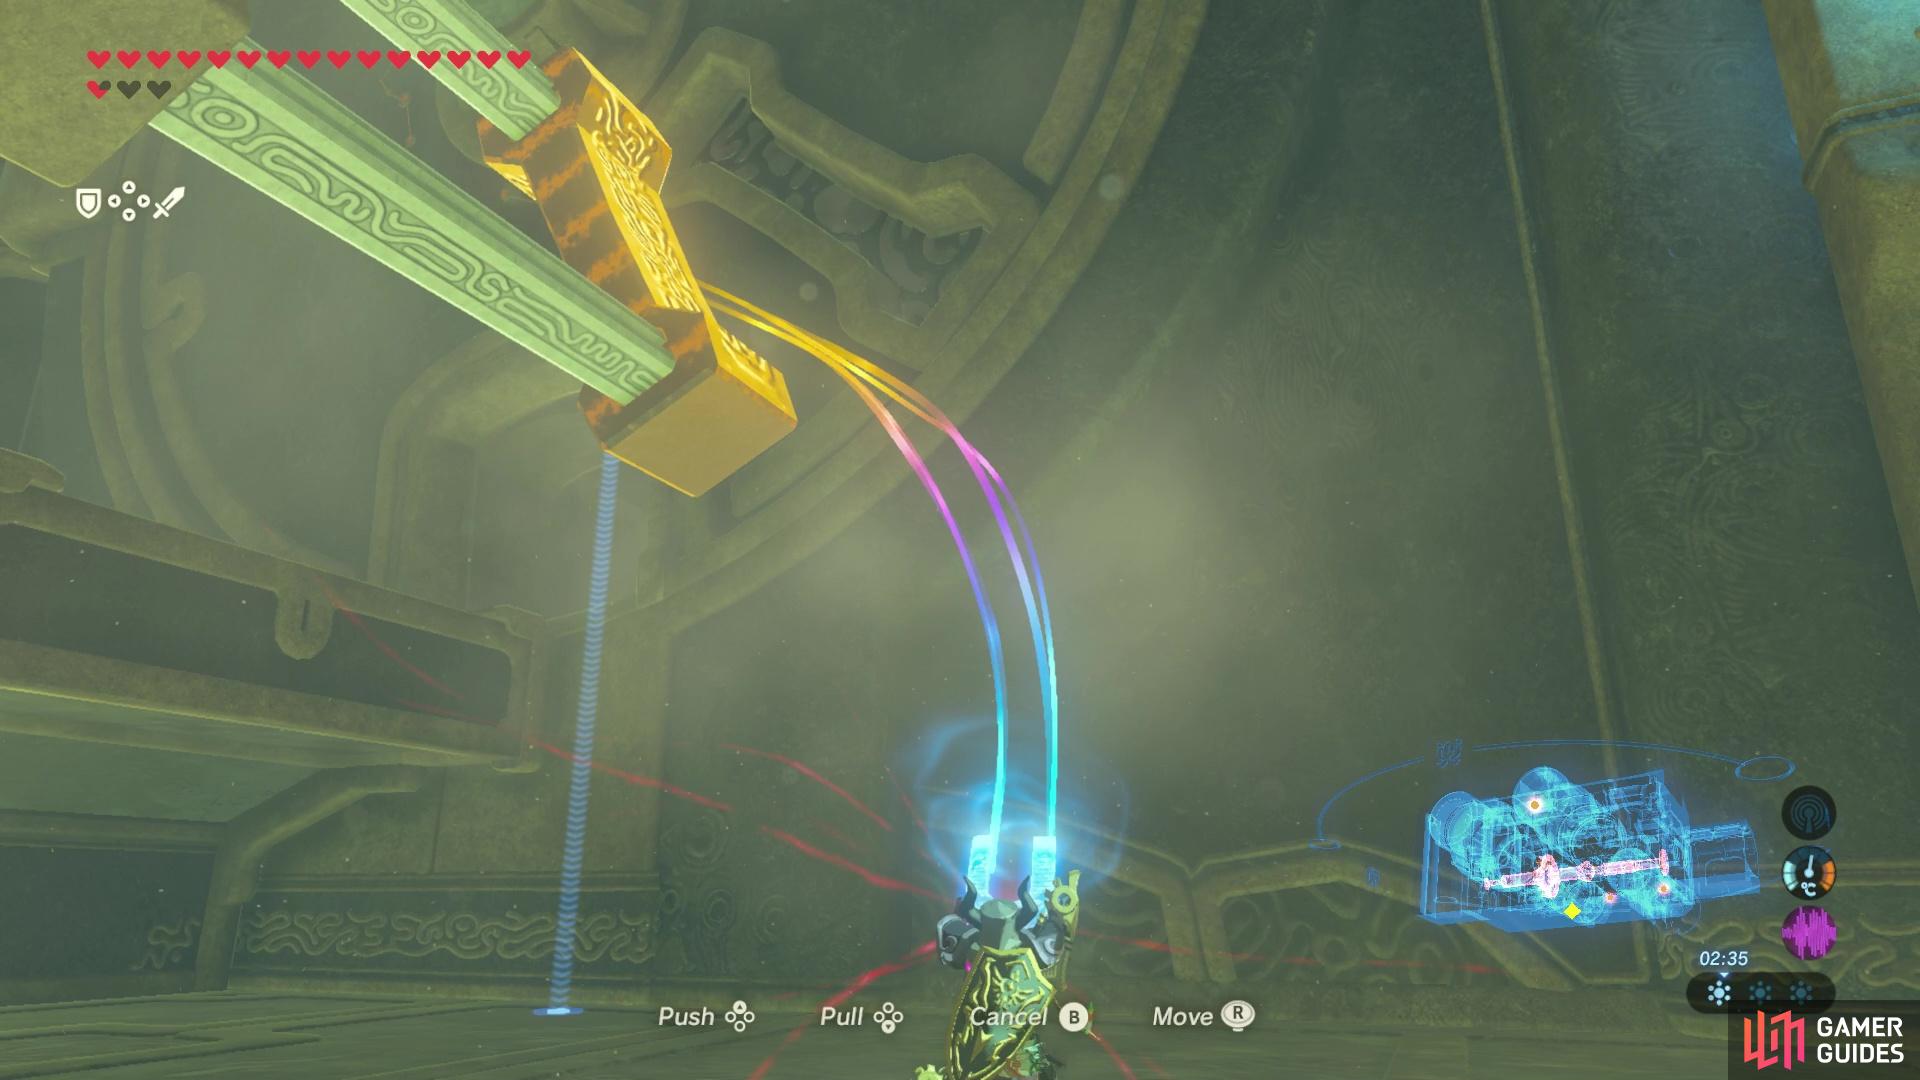
Continue until you reach the end of the upper platform, where you’ll find a metal rod just up above. Pull the metal rod out with magnesis and then place it in the alcove just next to it. Then, as the cog to your left rotates, use magnesis to pull the metal part of the cog out so that it slots over the metal rod you just placed. This will then cause the right wall to turn and you can enter into the final room.
Place the metal block inside the alcove opposite the cog
then pull the cog’s metal part out to slot over the other metal object.
In here you’ll notice that a fan is blowing wind through the room. Head up and climb the stairs up towards the ladder then look towards the entrance of the room. You want the dungeon to be rotating anti-clockwise so that the wind is blowing towards the entrance of the room rather than towards the back. This way you can use the wind to paraglide over to the upper platforms that are inaccessible from the ground.

Use the wind to paraglide onto the upper platform near the entrance.
Once on the platforms near the entrance, climb up the ladder and when you’re at the top, open up the map and switch the rotation of the dungeon. Then you can use the wind to paraglide over to the moving platform that’s at the other end of the room. From here, you’ll want to use stasis to freeze the fan and then you can paraglide freely over to the platform behind the fan without being hit. Here, you’ll find the final pedestal that you need to activate to open up the door!

Fly past the fan whilst it’s frozen in stasis mode.
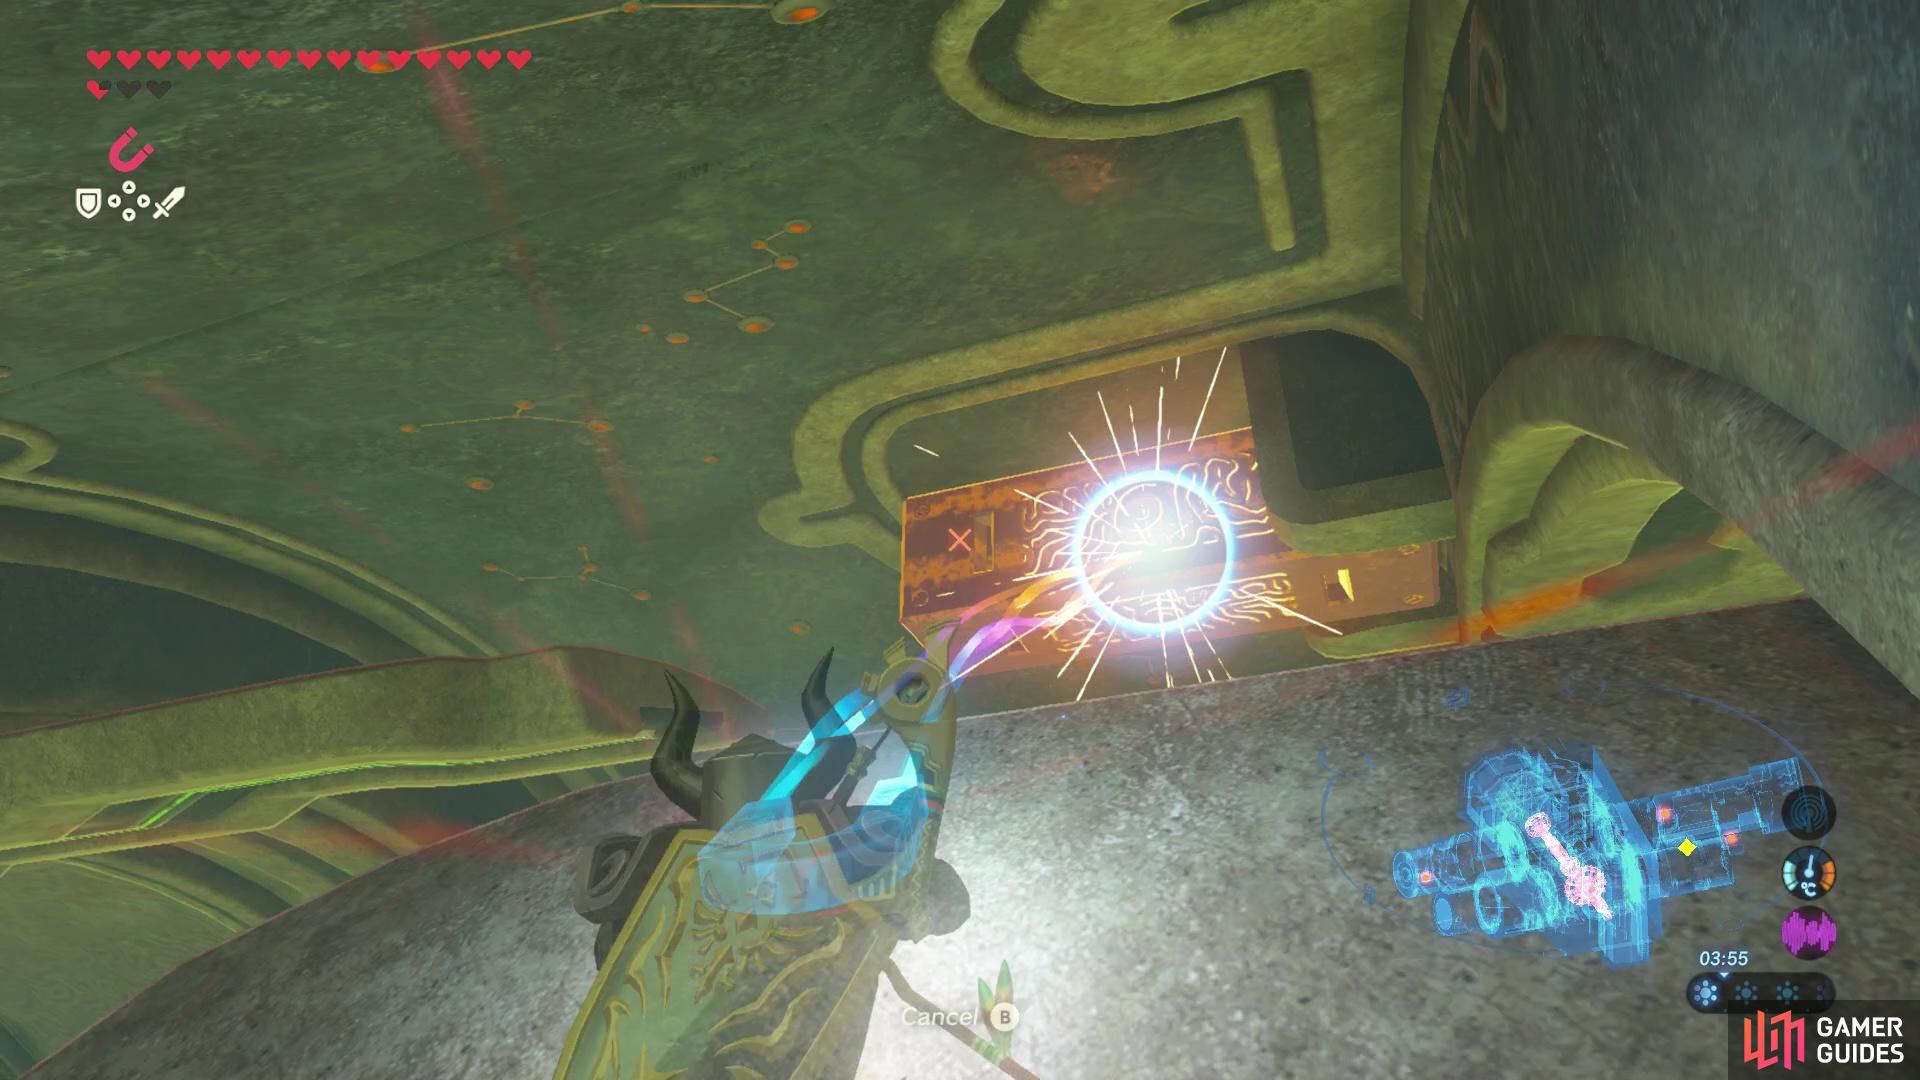
To finish up the dungeon you’ll need to head back into the main room and go to the big door you’ve worked so hard to unlock. You’ll notice that it isn’t even open! To open it, you’ll need to use magnesis on the metal cog at the end of the rotating mechanism and pull it into the door’s slot. This will cause the door to open and you’ll be able to progress to the final stage of the quest - a good old-fashioned boss fight!
Use magnesis to pull the metal cog into the door
so that it finally opens up!
No Comments