
This page offers a guide on how to reach Rito Village, where you’ll find Divine Beast Vah Medoh.
Path to Rito Village

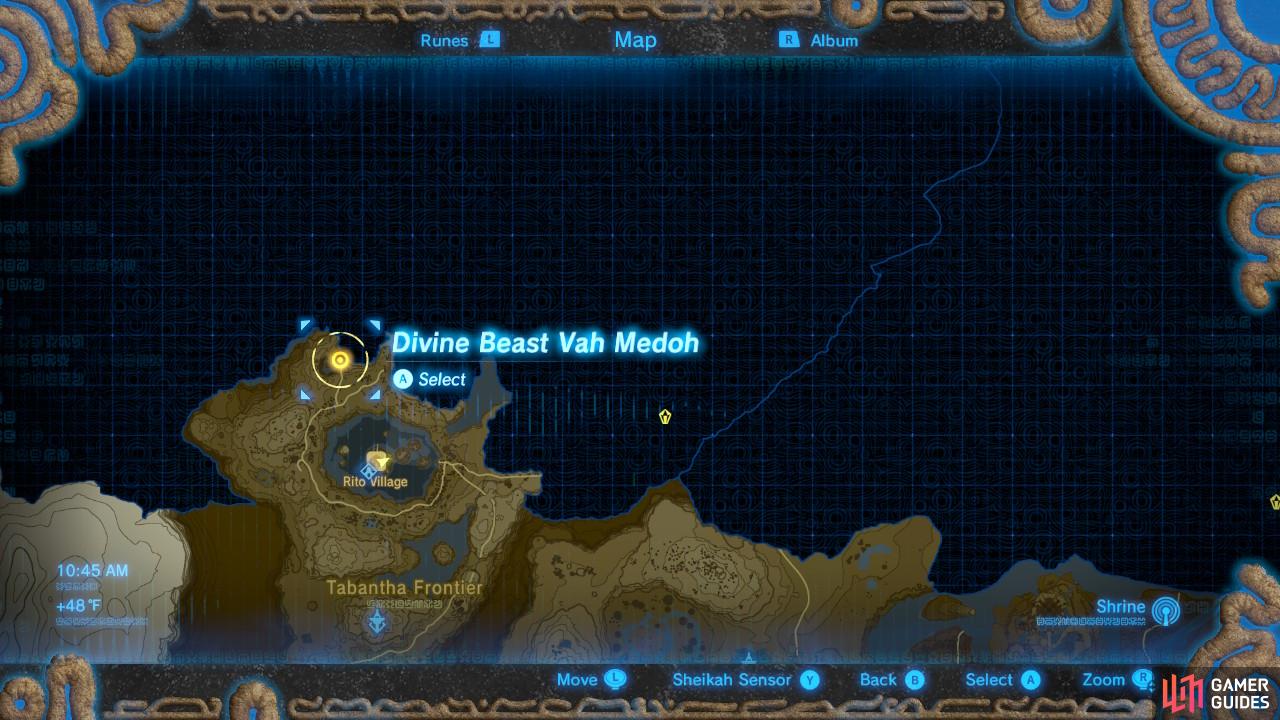
The next Divine Beast we will travel to will be Divine Beast Vah Medoh of the Rito race. This Divine Beast is all the way out in the northwest corner of the map (not the leftmost dot or the rightmost dot, but the dot in the middle). It is a long journey but the power we will get from the Rito is also extremely useful.
Central Tower
The fastest way to get there is to return to the Great Plateau’s Oman Au Shrine, and Paraglide towards the adjacent region’s tower. This is what we will be doing so feel free to follow along.
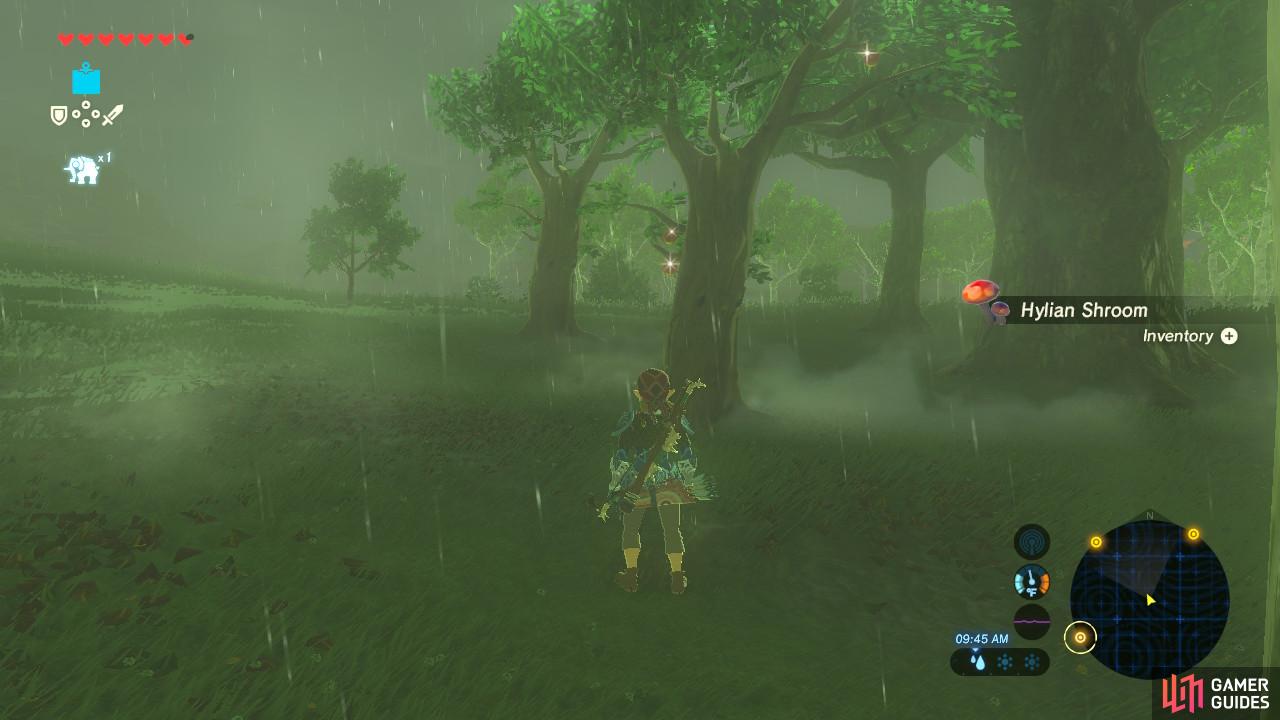
There are a lot of gatherable items here
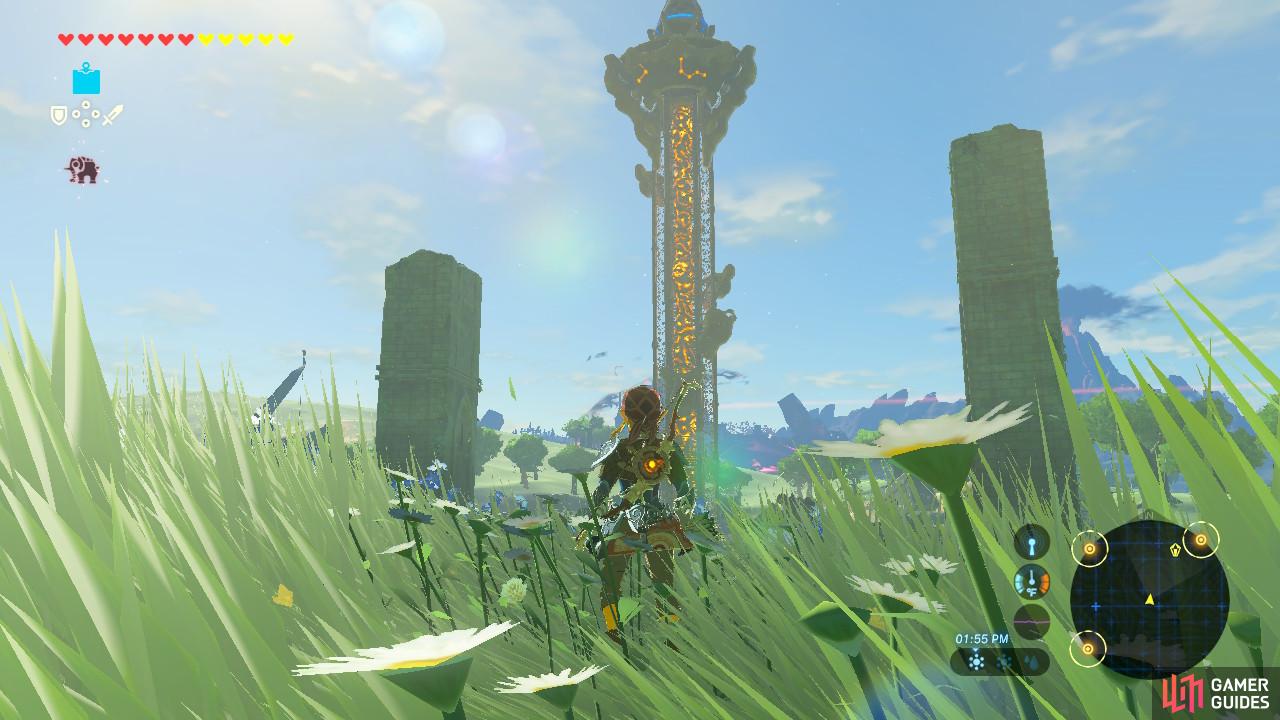
This tower is guarded by multiple Guardians
We will be going through a rather sparse forest, which will lead us up to Central Tower. This region’s tower is guarded by several Guardians. One is walking around, and two are stationary. Additionally, there is another stationary Guardian further ahead of the Tower that might detect you after you activated the Tower and Paraglide down from it. Their lasers can be parried to kill them but if you move swiftly and silently you can slip past them altogether.
From the tower you can actually see the Divine Beast Vah Medoh flying in the distance, so keep going in that direction. You will pass through another forest. Ignore the sleeping Black Hinox for now.
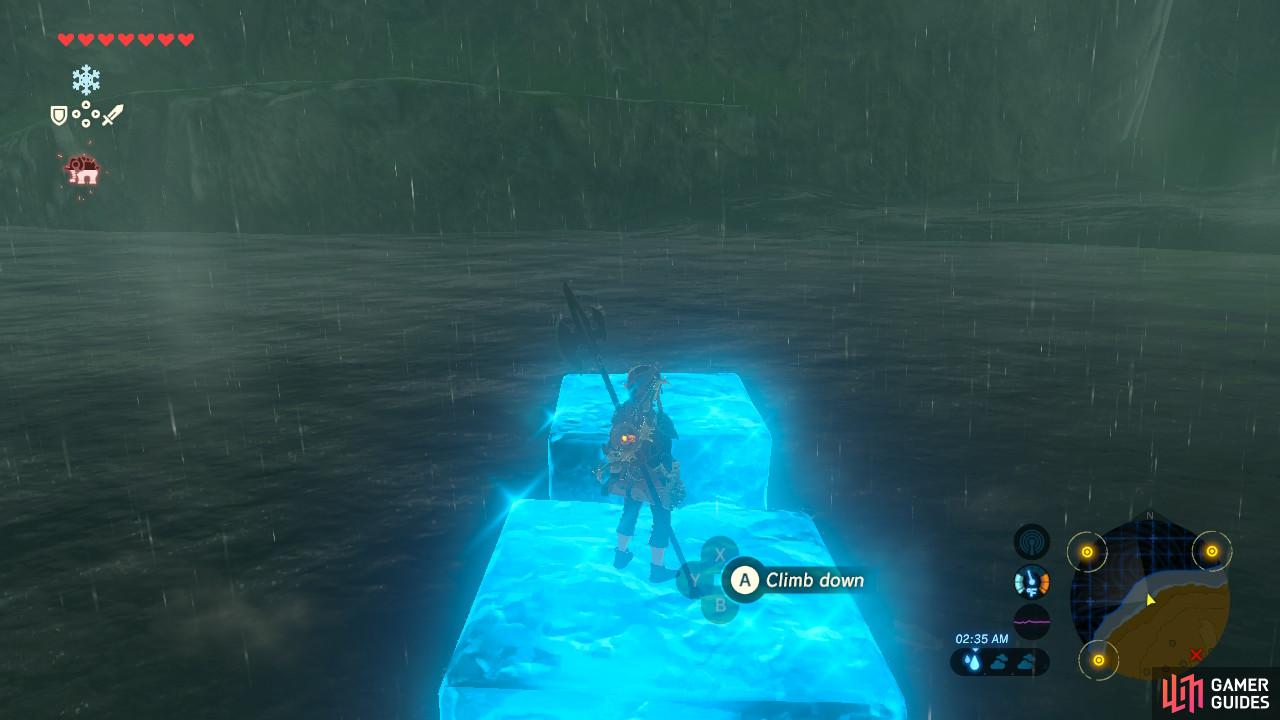
There aren’t any enemies in the river, but there are some fish you can hunt
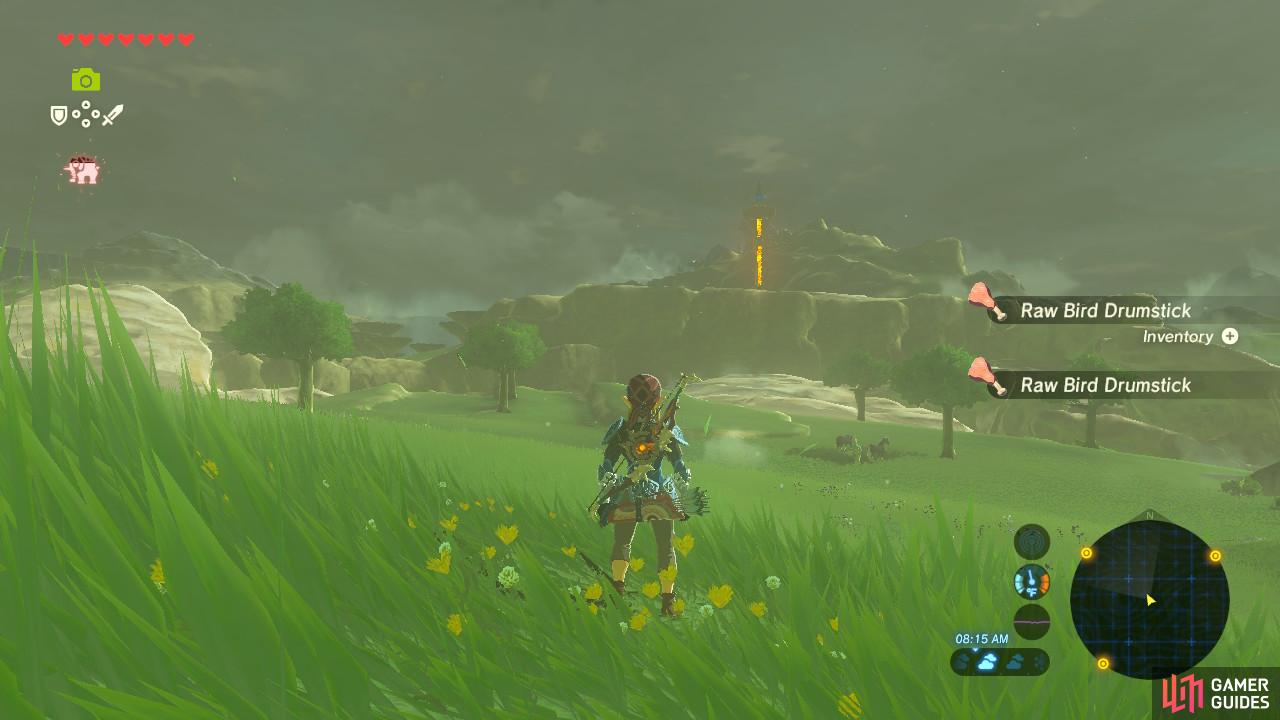
You can see the next tower in the distance
You will finally arrive at a large river. Cryonis is the safest way to do so. The cliffs will prove to be a tough climb if you only have one stamina wheel, but it is totally doable as long as you pack some stamina-replenishing food (and it isn’t raining).
Once you have finished the climb, you will arrive in an open field with some sparse trees here and there. Again, ignore the sleeping Blue Hinox (maybe take a picture of it for your Compedium?) and continue forward. The landscape will quickly become rocky.
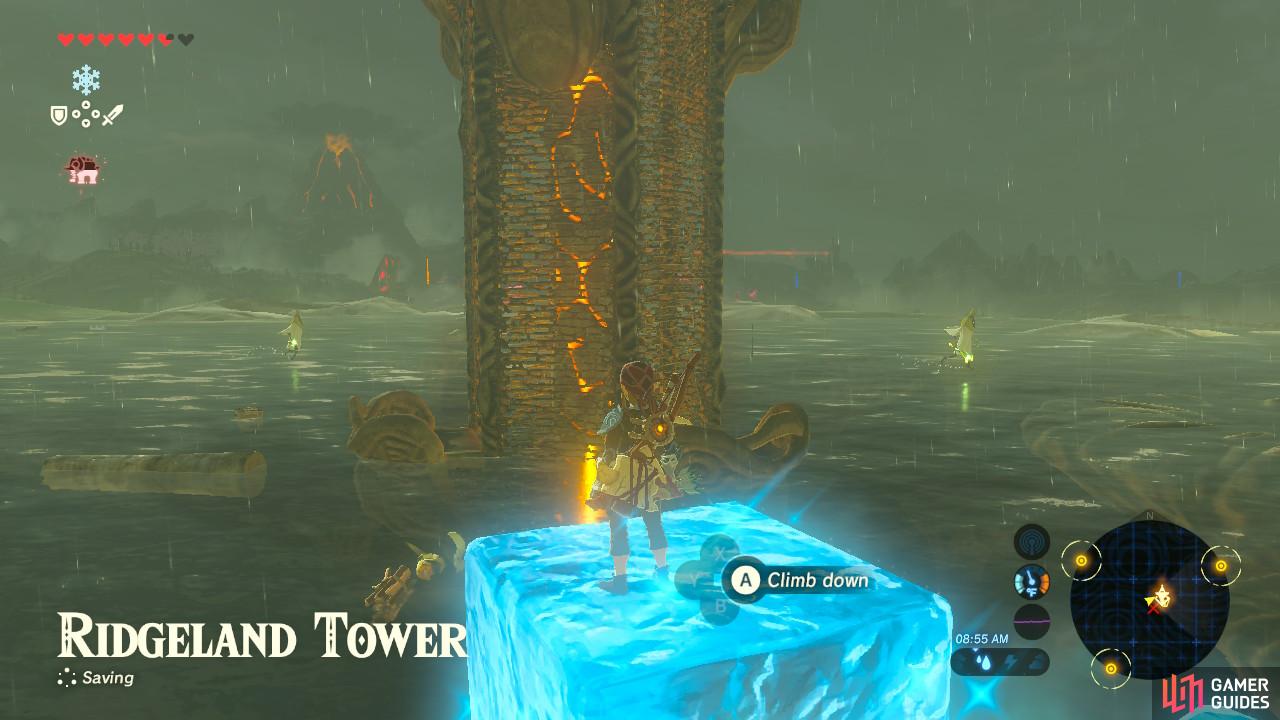
Ridgeland Tower
The Ridgeland Tower stands proudly near this area for you to activate. You will likely have to go around the tower on the foot path to actually get to it, as it is located on a high elevation and in the middle of a lake. It is also surrounded by Blue and Black Lizalfos, and Electric Wizzrobes. The best way to approach this tower is to first take out the Lizalfos without attracting the attention of the Wizzrobes. If you are lucky, the Wizzrobes will mostly take to floating around one side of the tower, leaving you free to ascend without alerting them.
If you do have to fight the Wizzrobes, however, use some electric-resisting food or Elixirs if you have any, and try to shoot them with arrows as that will inflict critical damage.
Again, from the top of Ridgeland Tower you can see Divine Beast Vah Medoh. We are almost there. Once we finish crossing this region we will finally arrive in the region where the Rito live, and have one more tower to activate along the way.
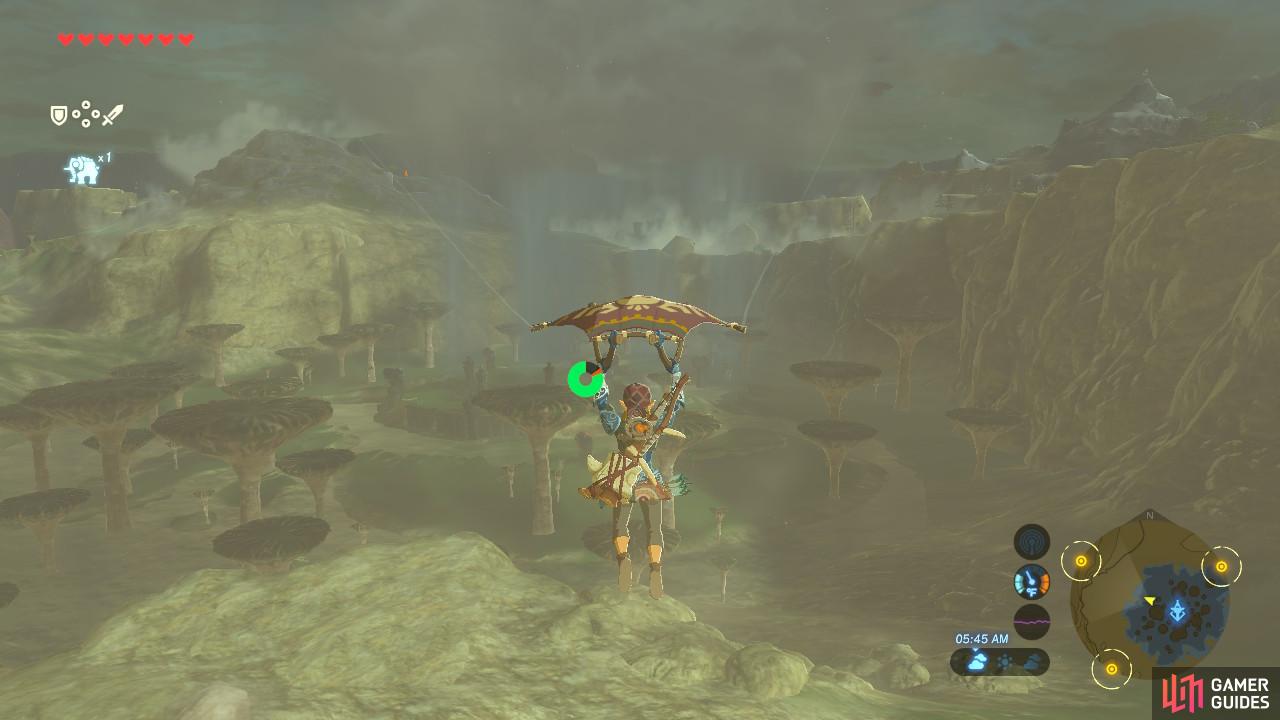
Continue to Paraglide north
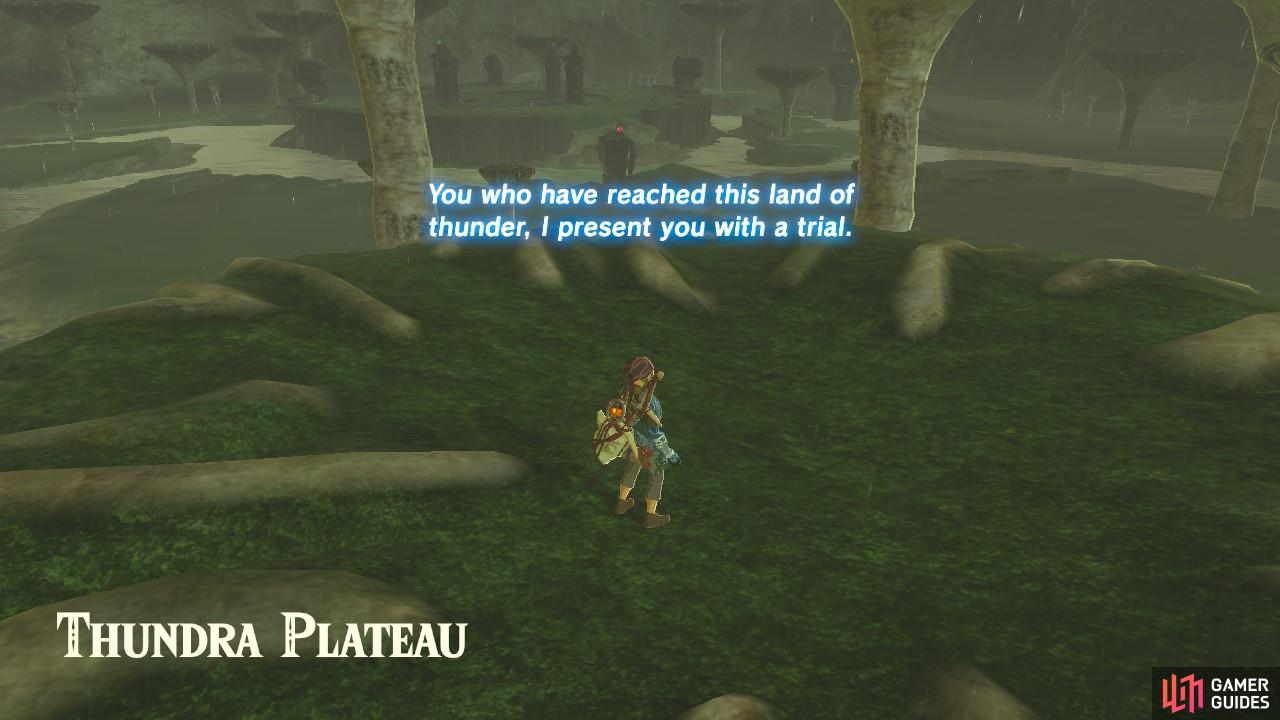
There is a Shrine Quest in this area
From the Ridgeland Tower you can Paraglide through a prehistoric-looking forest in the middle of a swampy area.
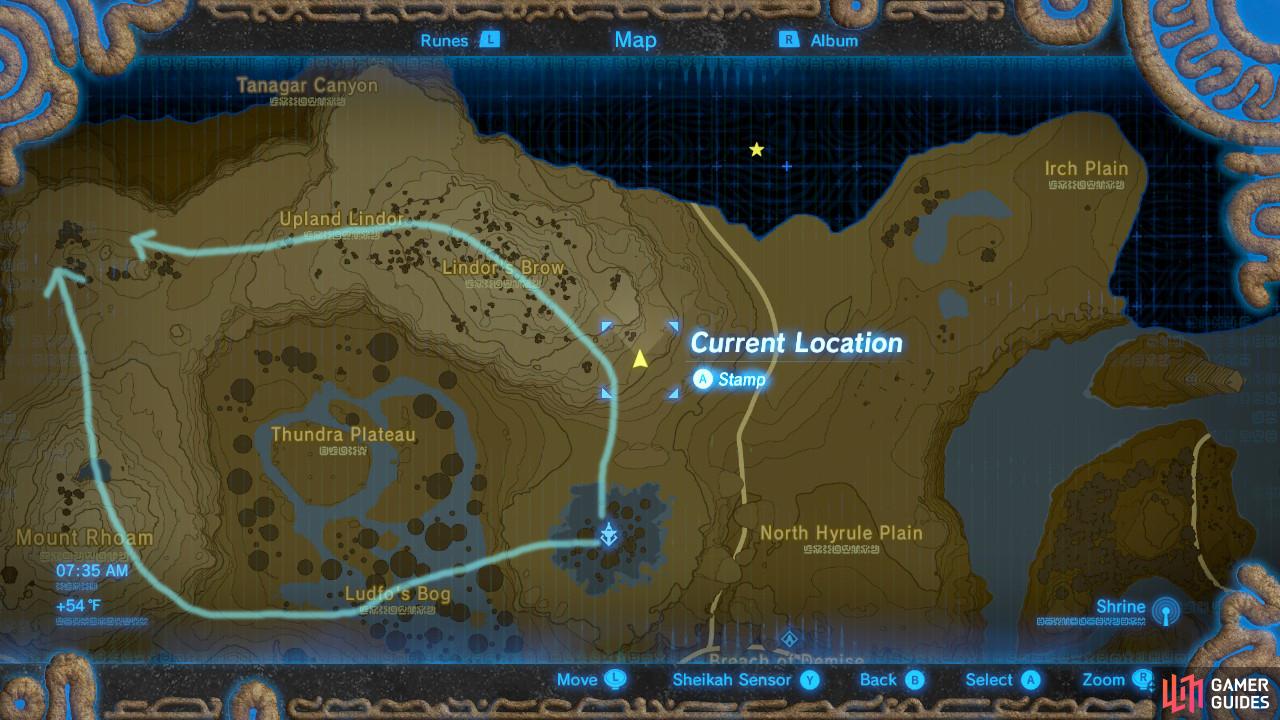
To get to the next region, you will want to go to the side and go up and around the C-shaped mountain at the edge of this region. You can go from either side, with the right side being slightly lengthier but very quiet and peaceful, with a lot of animals to hunt. We were running low on resources so we went ahead and took the long way.
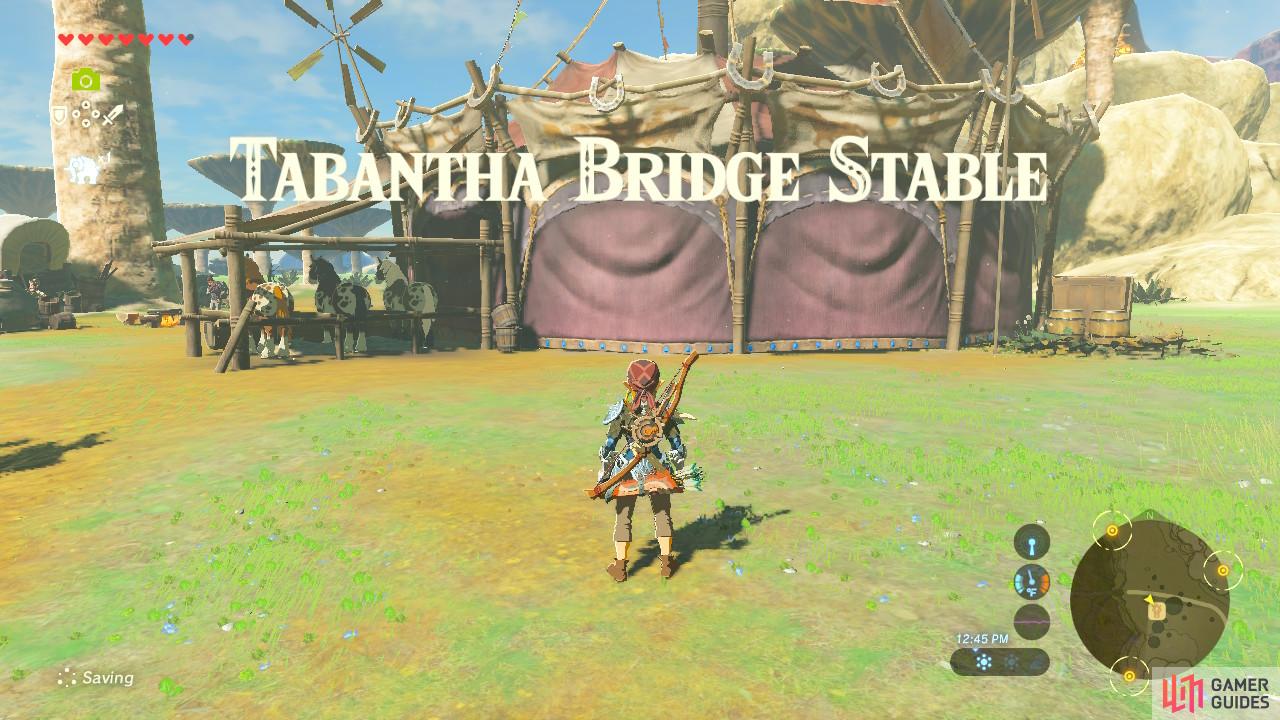
This stable is a great time to take a well-earned break
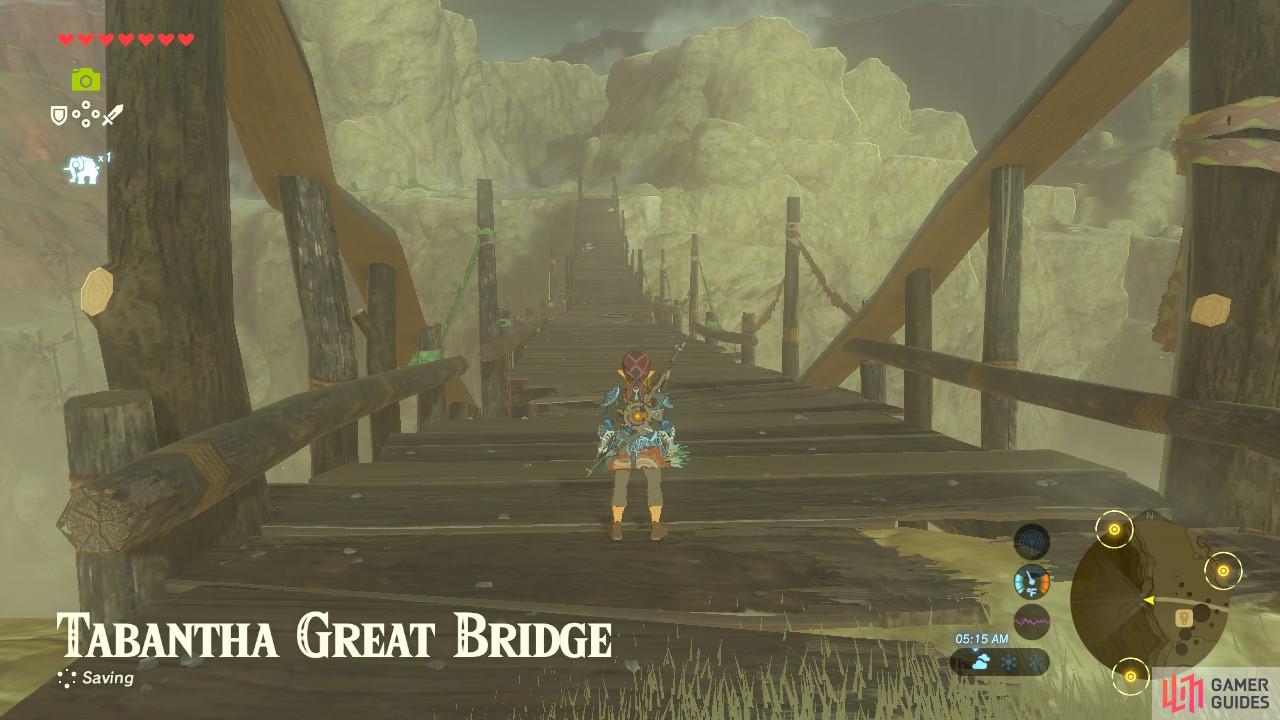
If you’re out on the bridge in the morning, you might see Dinraal the dragon
Tabantha Bridge Stable
The Tabanatha Bridge Stable marks a checkpoint where you can replenish your supplies, sit by the fire, and generally take a break before moving on with your journey. It is right next to the Tabantha Great Bridge, which you will want to cross to continue on your way to the Rito.
Once you cross the bridge, you will probably see that there are flying Guardians patrolling the footpath. Theyr’re called Guardian Skywatchers, and they behave exactly like the walking Guardians except they fly. You can still destroy them by shield parrying the laser. However, if you wish to avoid conflict, you can climb up the rocks to your right and follow the general direction of the footpath.
There are a few Black Bokoblins patrolling the area near the Tabantha Tower. Take them out or run past them. There are a few more Black Bokoblin and Lizalfos camps scattered around the tower as well.
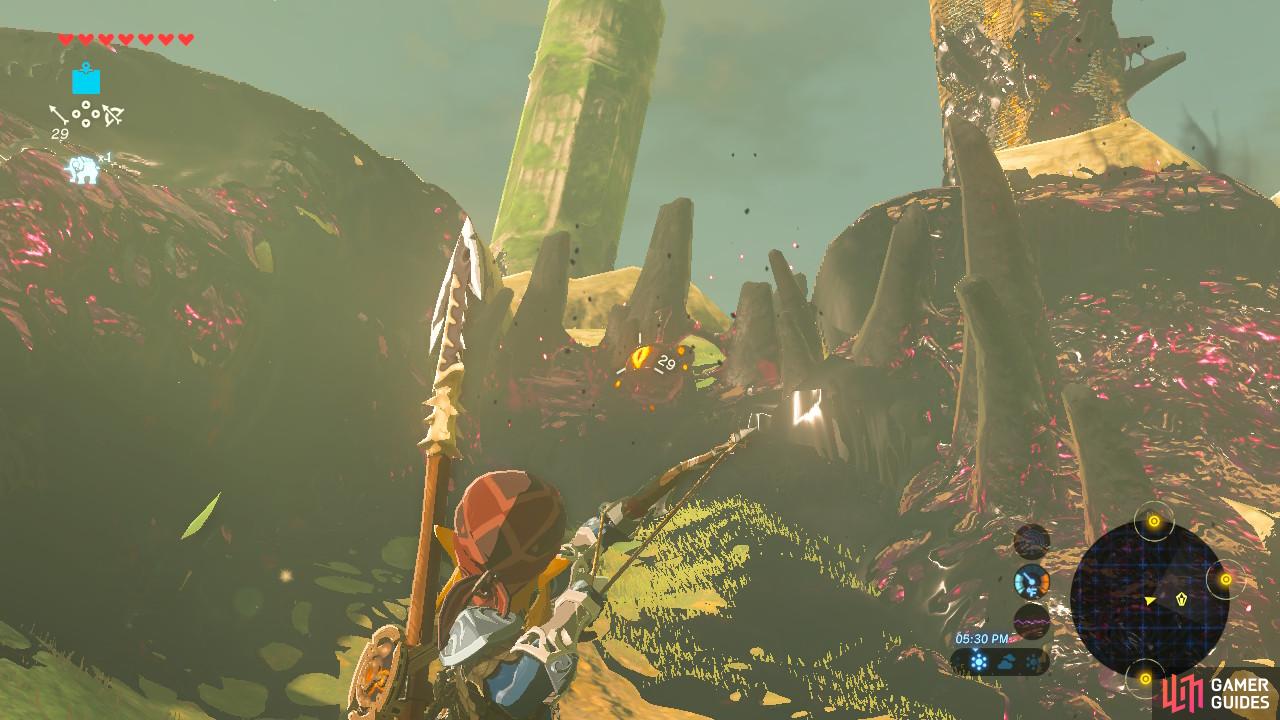
Shoot this eye to be able to get to the tower at all
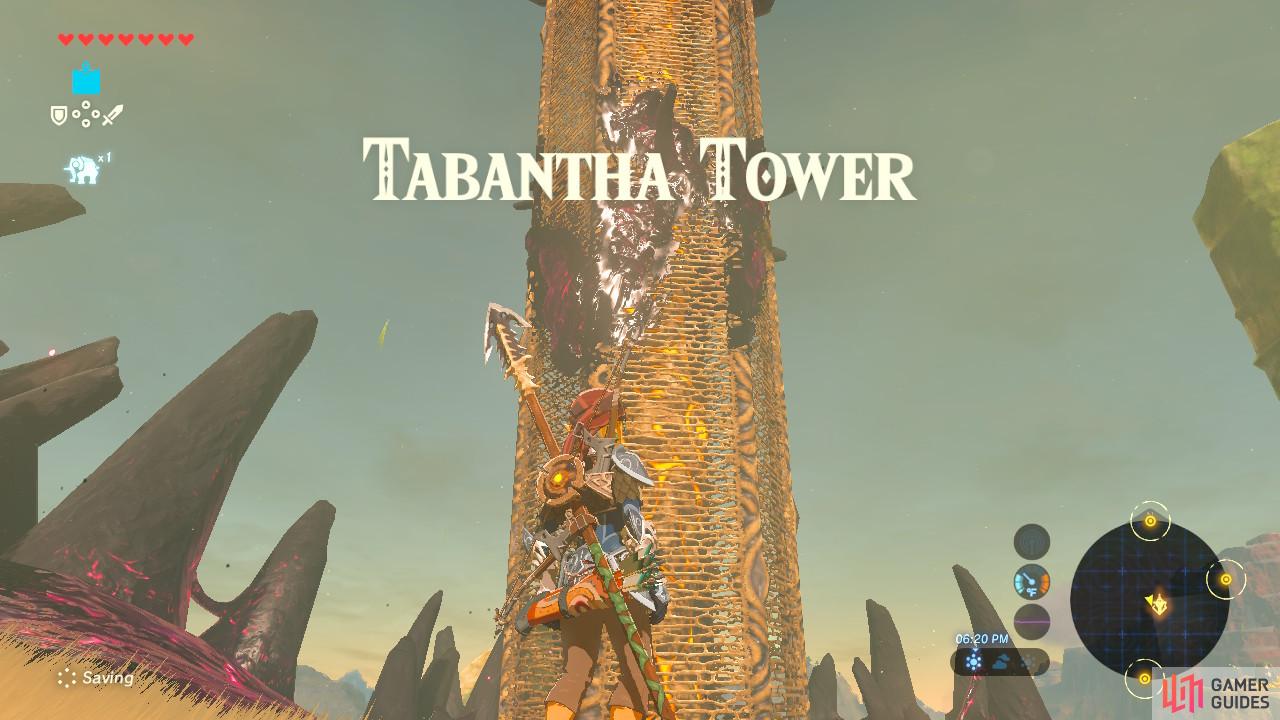
The Tabantha Tower has been overtaken by Ganon
But more importantly, you will see a lot of Malice (purple Ganon goop) everywhere. Look for the eyes and destroy them to make a path towards the tower.

It’s very difficult to shoot the eye unless you climb up for a vantage point
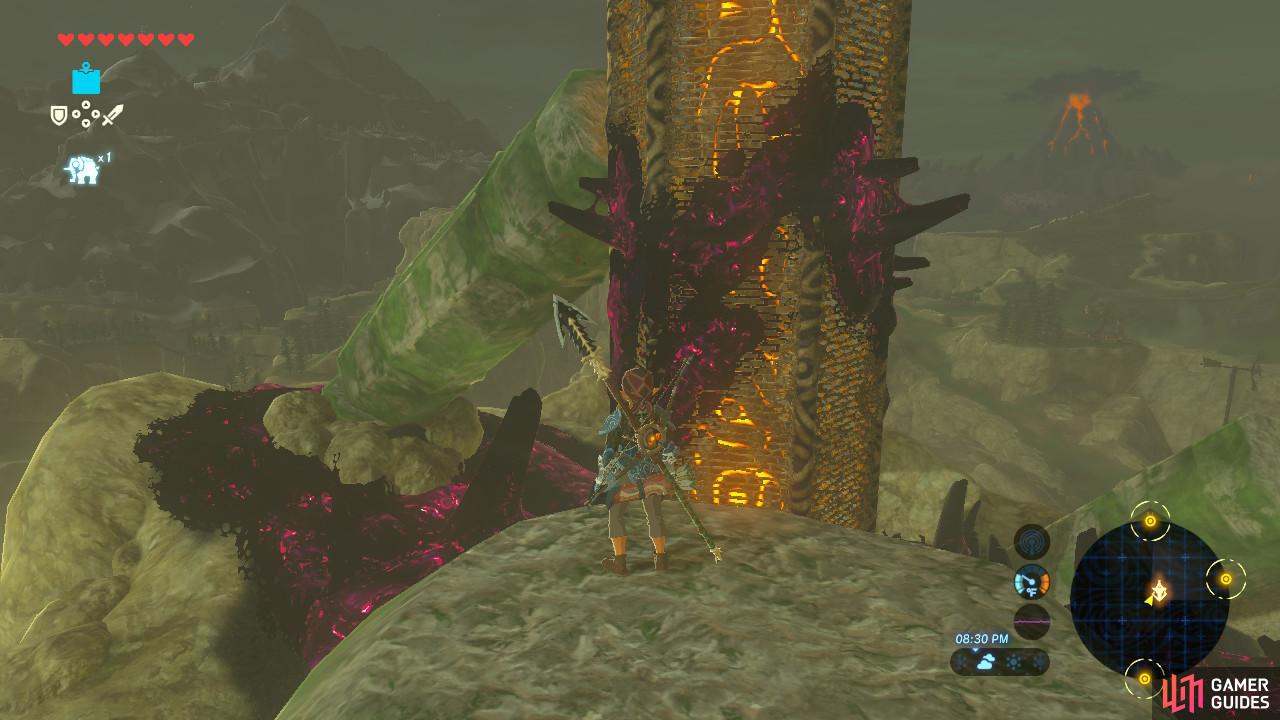
Beware the goop on the sides as you climb the tower itself
Once you reach the tower, climb up one of the columns and look down. You will see another eye. Shoot it, and the Malice will disappear and the column it was on will fall. You can then walk up the column like a ramp to climb and activate the tower. Note that it begins to get cold up here, so equip your Warm Doublet.
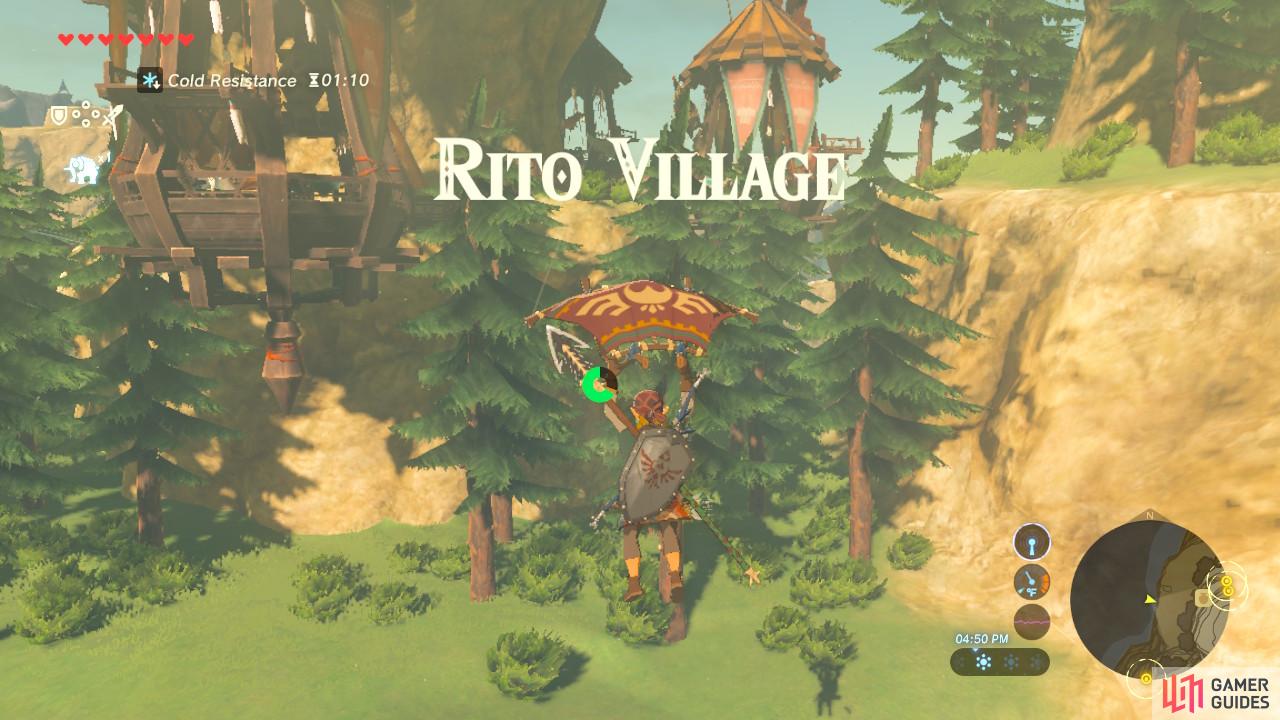
The Rito Village is in the center of a lake. You can Paraglide towards the lake’s stone columns, then climb up and continue Paragliding. Go too far north around the lake and it will begin to get bitter cold. If all you have is a Warm Doublet, you will still take damage. To have max resistance you need at least two armor pieces that provide cold protection.
As soon as you set foot in Rito Village, you will see a cutscene of Divine Beast Vah Medoh misbehaving in the distance. After the cutscene has ended, your destination will be the elder of the Rito.
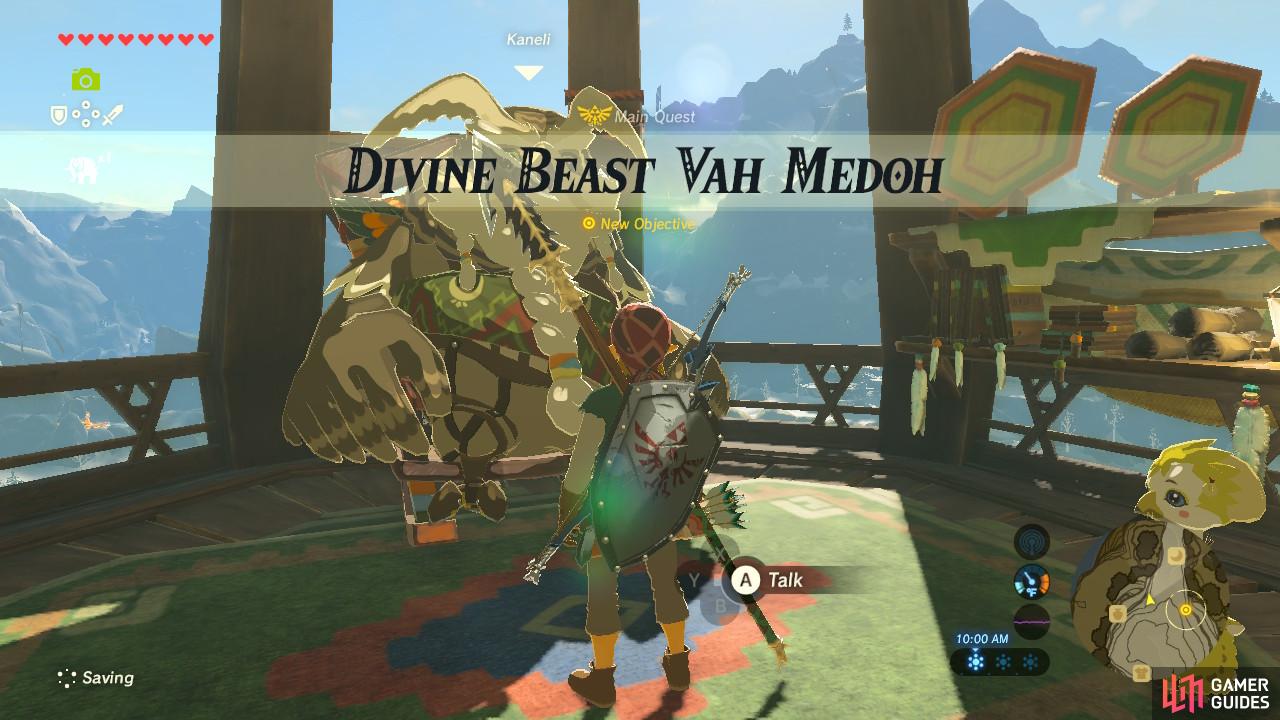
You now finally have your next main quest for the Divine Beast
We need to actually get to it though, so the Flight Range is our first destination
Once you speak with the elder, he will assume you are a descendant of the Champions by your Sheikah Slate (unless you already have the Master Sword) and will ask you to help Teba as he recklessly tries to defeat Vah Medoh, who has been acting very aggressive and is causing trouble for the Rito. This will begin your next main quest: Divine Beast Vah Medoh.
No Comments