
There’s no denying it: Master Mode can be rough. To alleviate your stress, here are some useful tips.
Avoid Needless Encounters

Fighting most enemies is generally pointless.
Either go around them or run past them.
This might sound boring for the more gung-ho among you, but for the purpose of self-preservation, we highly advise ignoring/running from all enemy encounters, at least early on.
Most enemies you face will be one tier higher than usual, which means you have to expend a lot more effort to take them down, while risking heavy damage from them. Even if you do defeat them, the rewards generally aren’t worth it. Not compared to the damage sustained by your fragile weapons or Link.
As you progress through the game and gather stronger weapons and armor, that’s when you can start fighting enemies again. However, by that point, there’s generally little incentive. Since you’ve already got the gear you need…
Grab Majora’s Mask!
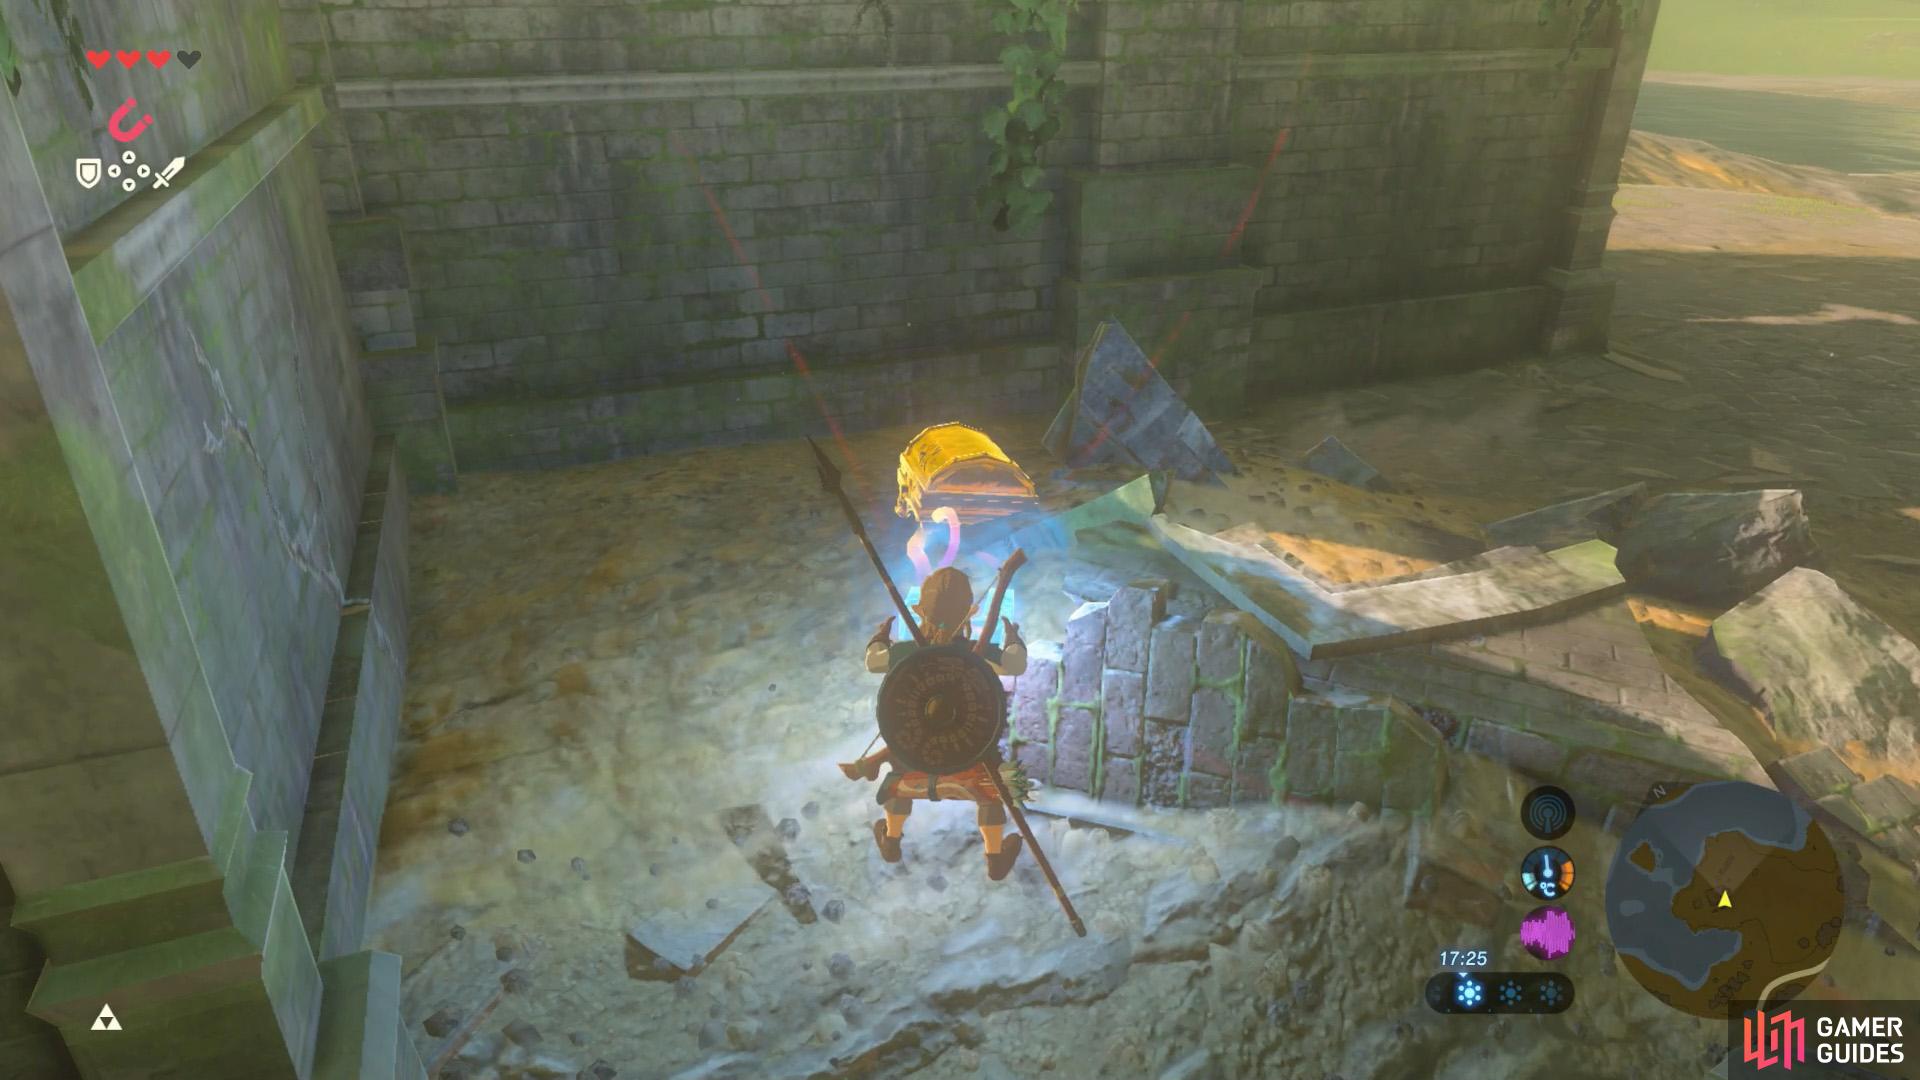
Look for this buried chest at the Kolomo Garrison Ruins.
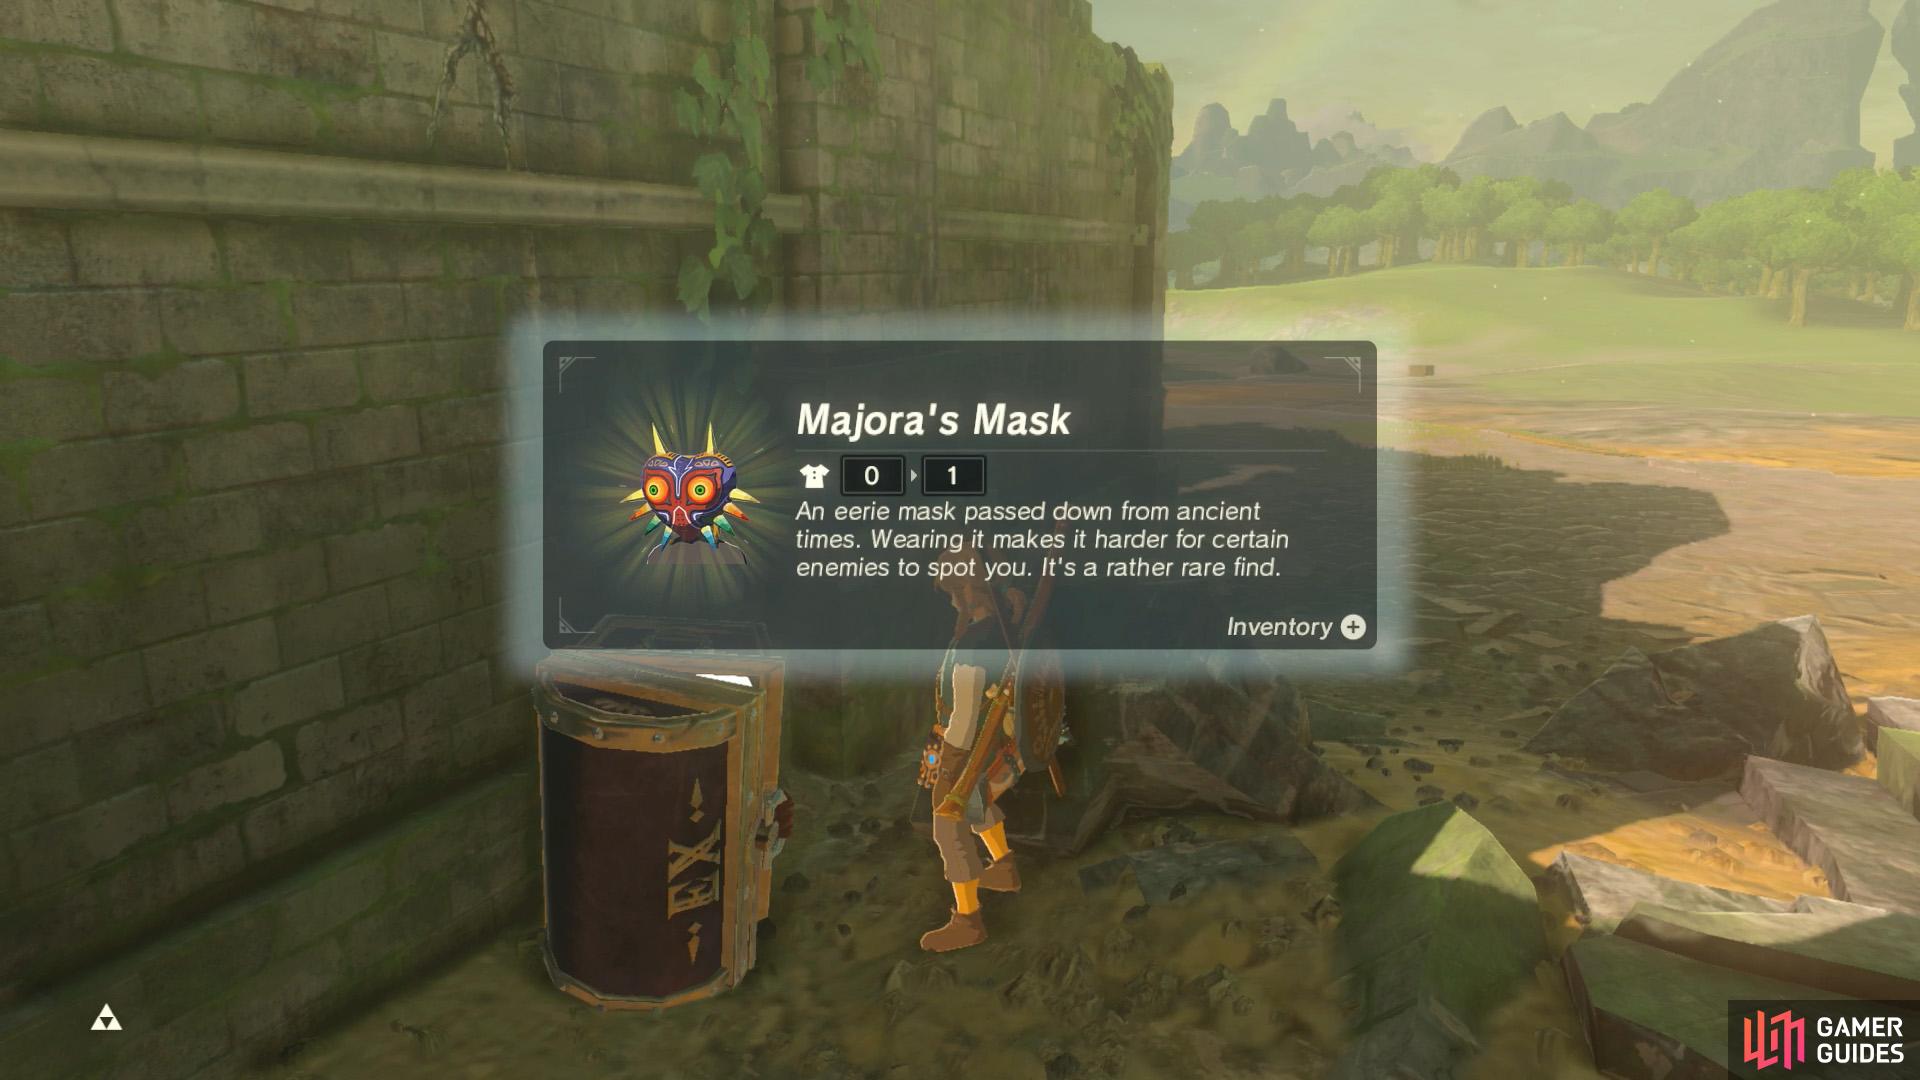
Majora’s Mask offers little defense, but that’s not important if nobody attacks you.
Related to the above, as soon as you leave the Great Plateau, we highly recommend obtaining Majora’s Mask. This unique headgear will allow Link to move undetected around Bokoblins, Moblins, Lizalfos and (for some time) Lynels. Therefore, allowing Link to easily avoid enemies.
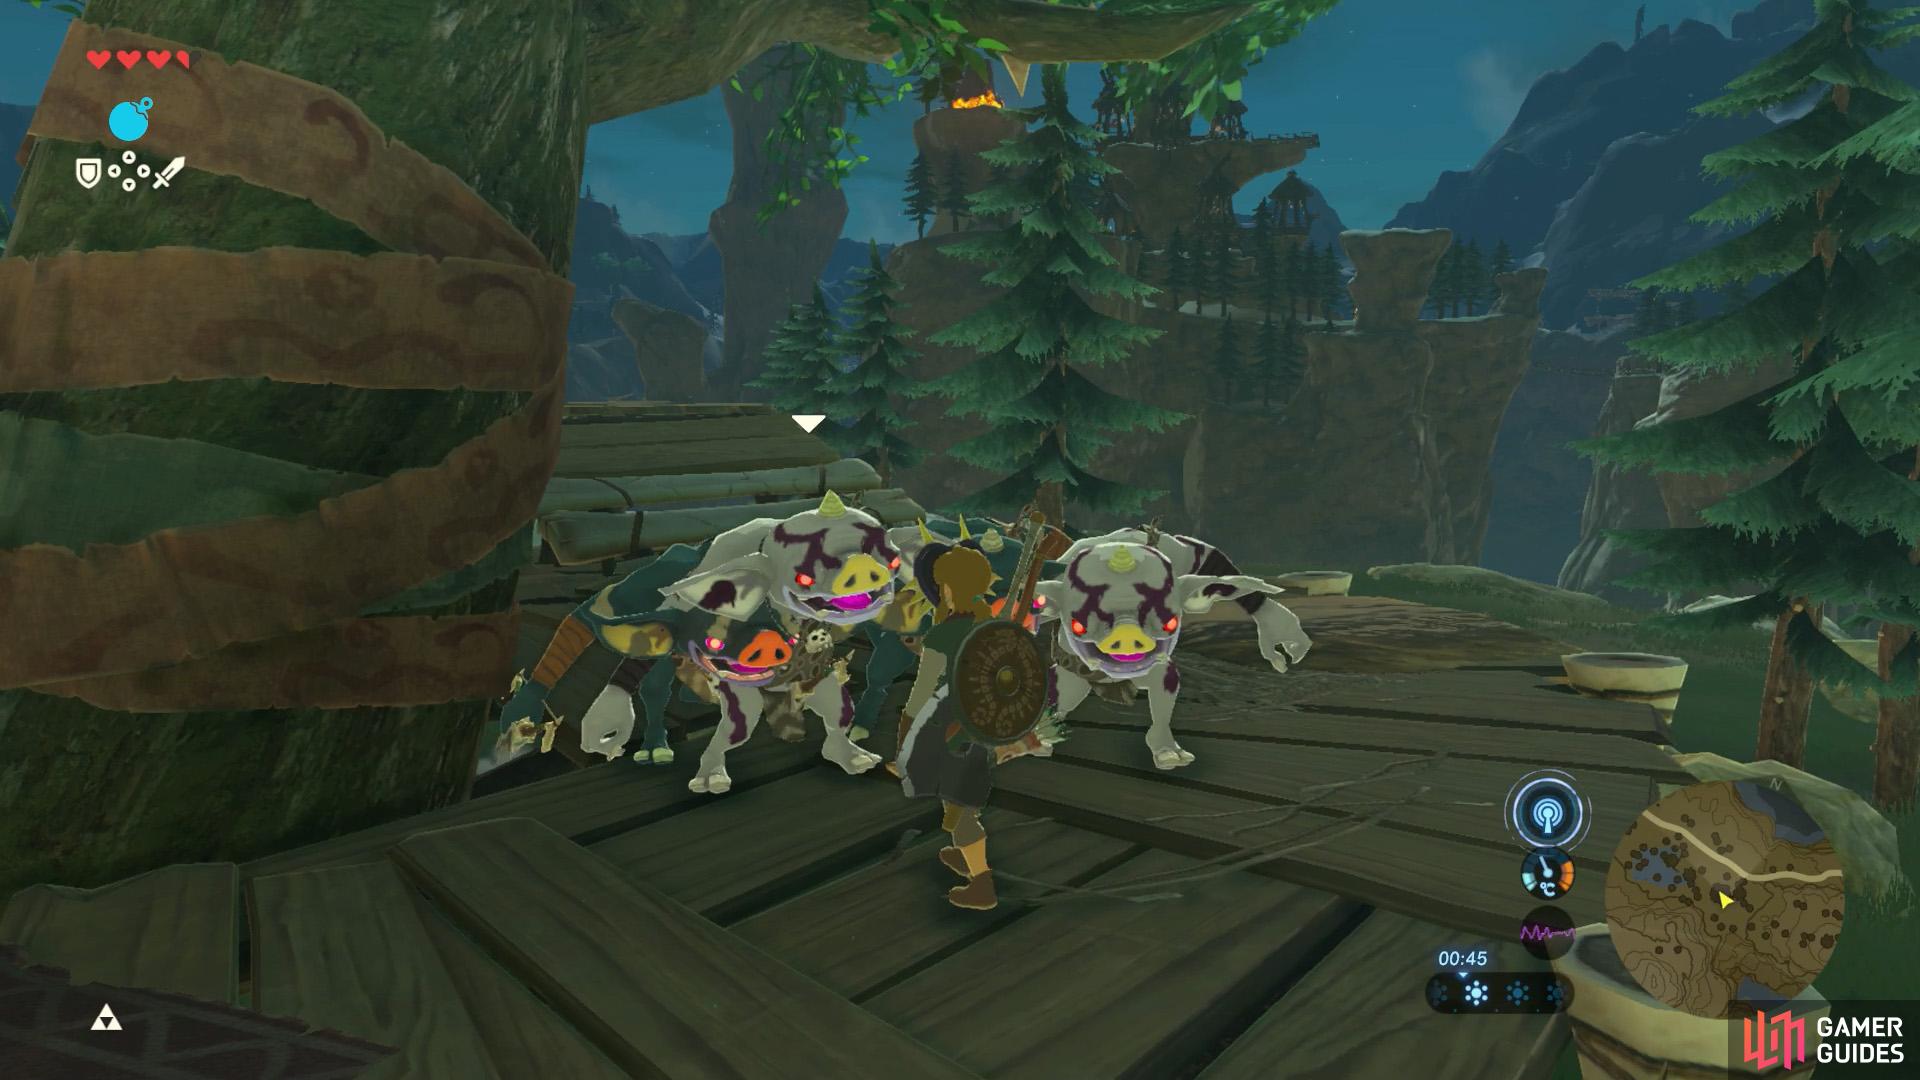
Wear Majora’s Mask to blend with most baddies.
This will allow you to collect loose items and gear from their camps.
With Majora’s Mask equipped, you can casually stroll into enemy camps or glide towards floating platforms and grab all the loot. Or just explore the world without being interrupted. Of course, you’ll still need to be careful of non-humanoid foes like Keese and mini-bosses.
You can also use Majora’s Mask offensively. See, the disguise only breaks if you attack a monster and a monster(s) notices. So you could, say, lure one enemy towards you, slay that foe, then move onto the next one.
If things are going bad, you can even run away and wait for the monster(s) to de-aggro. Then when you come back, the sorry sods will be none the wiser.
Blow Away Foes with a Korok Leaf

One of the best weapons to have around is a humble Korok Leaf, occasionally found by destroying common trees. If you haven’t used one before, it can create a gust of wind ahead of Link, which can blow small objects.
If there are enemies near a cliff or a body of water, the Korok Leaf can often be the perfect way to deal with them. Lure the enemy right near the edge of the cliff or waterside, then whack them with a gust of the Korok Leaf to send them to their doom.
Depending on the height of the cliff, the enemy may outright die or sustain heavy damage. Meanwhile, enemies except Lizalfos will instantly die upon being submerged. Another benefit of killing foes with water is that you can swim over and collect their loot. (Whereas gliding off a cliff can disrupt your travel plans.)
Seek Elemental Weapons
Besides the Korok Leaf, other helpful weapons include any of the elementally attuned ones. Namely, the fire, shock and ice-based one-handed swords, two-handed swords, spears, rods and arrows. These can allow you to one-shot certain enemies or cripple others, making them easier to dispatch.
Fire-based weapons
Central Tower isn’t too far from the Great Plateau, but be wary of Guardians.
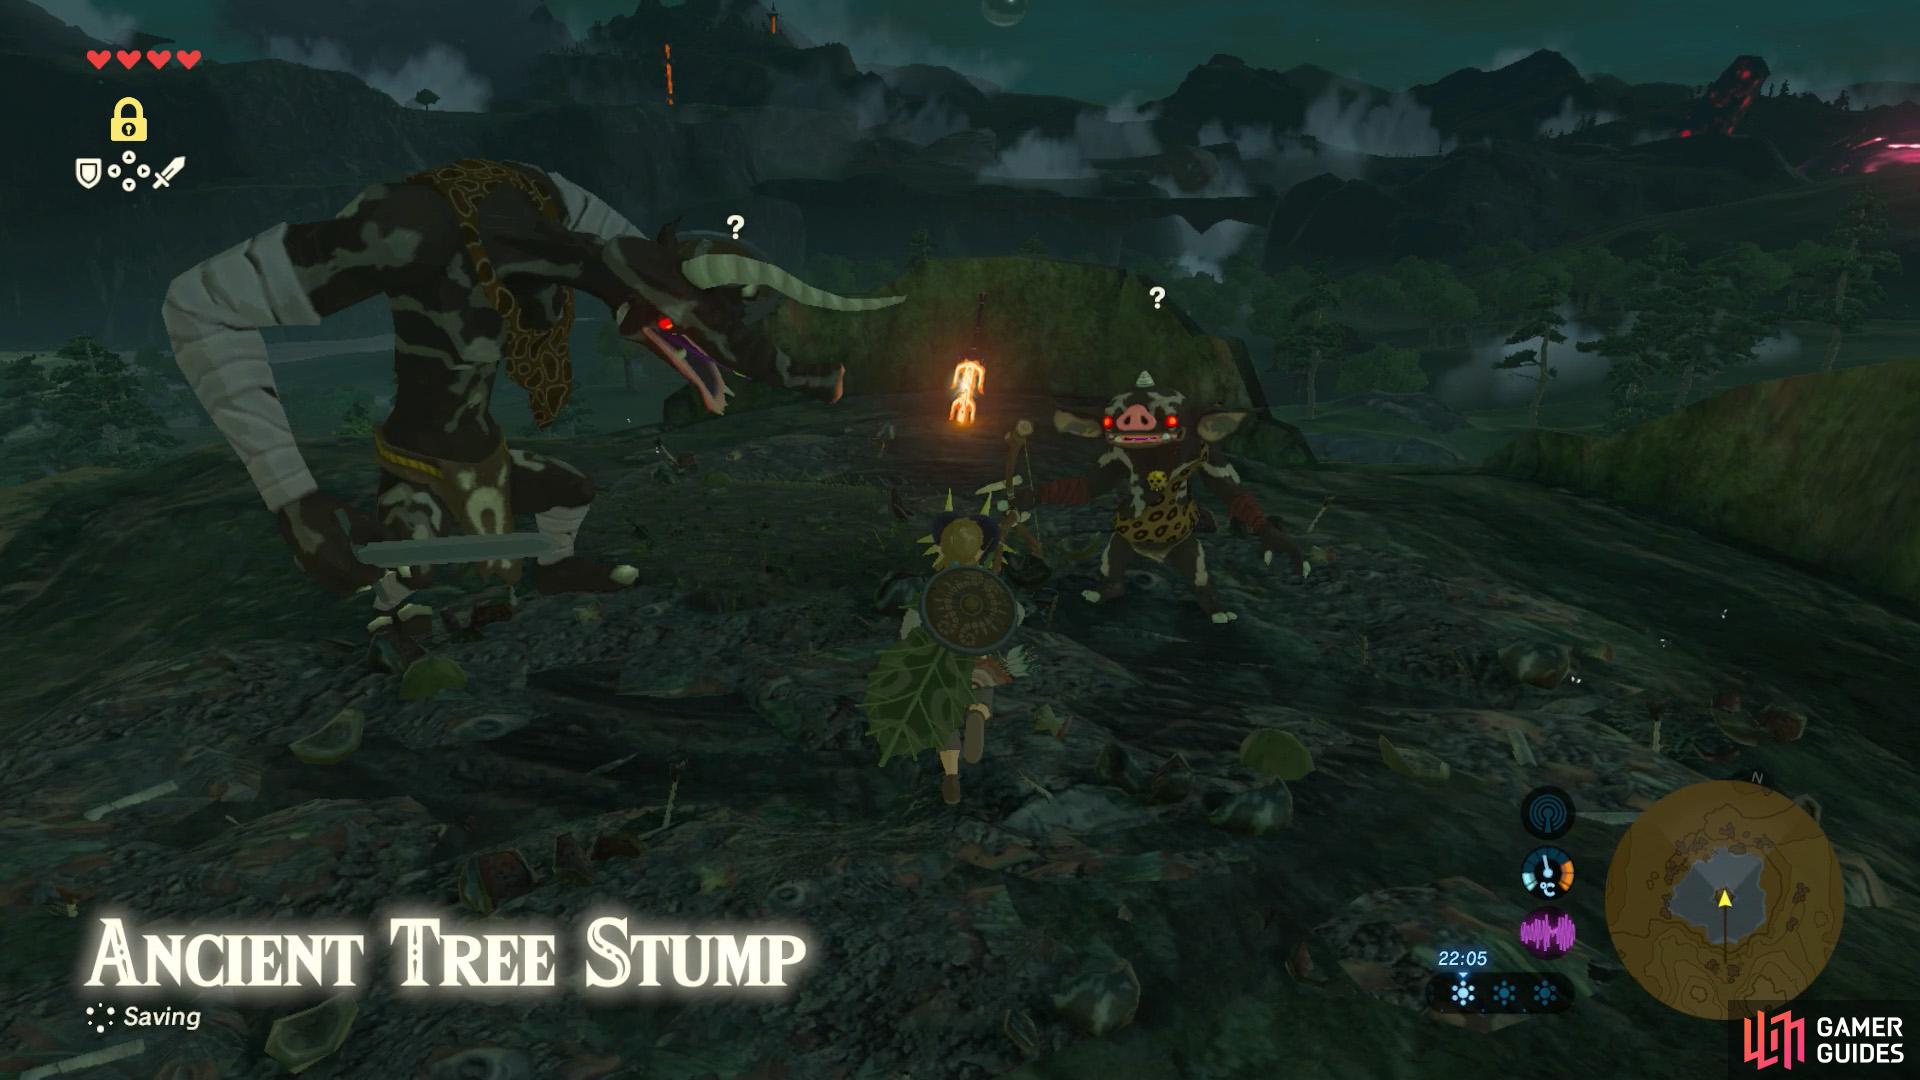
The Flameblade is guarded by foes, but you can trick them with Majora’s Mask.
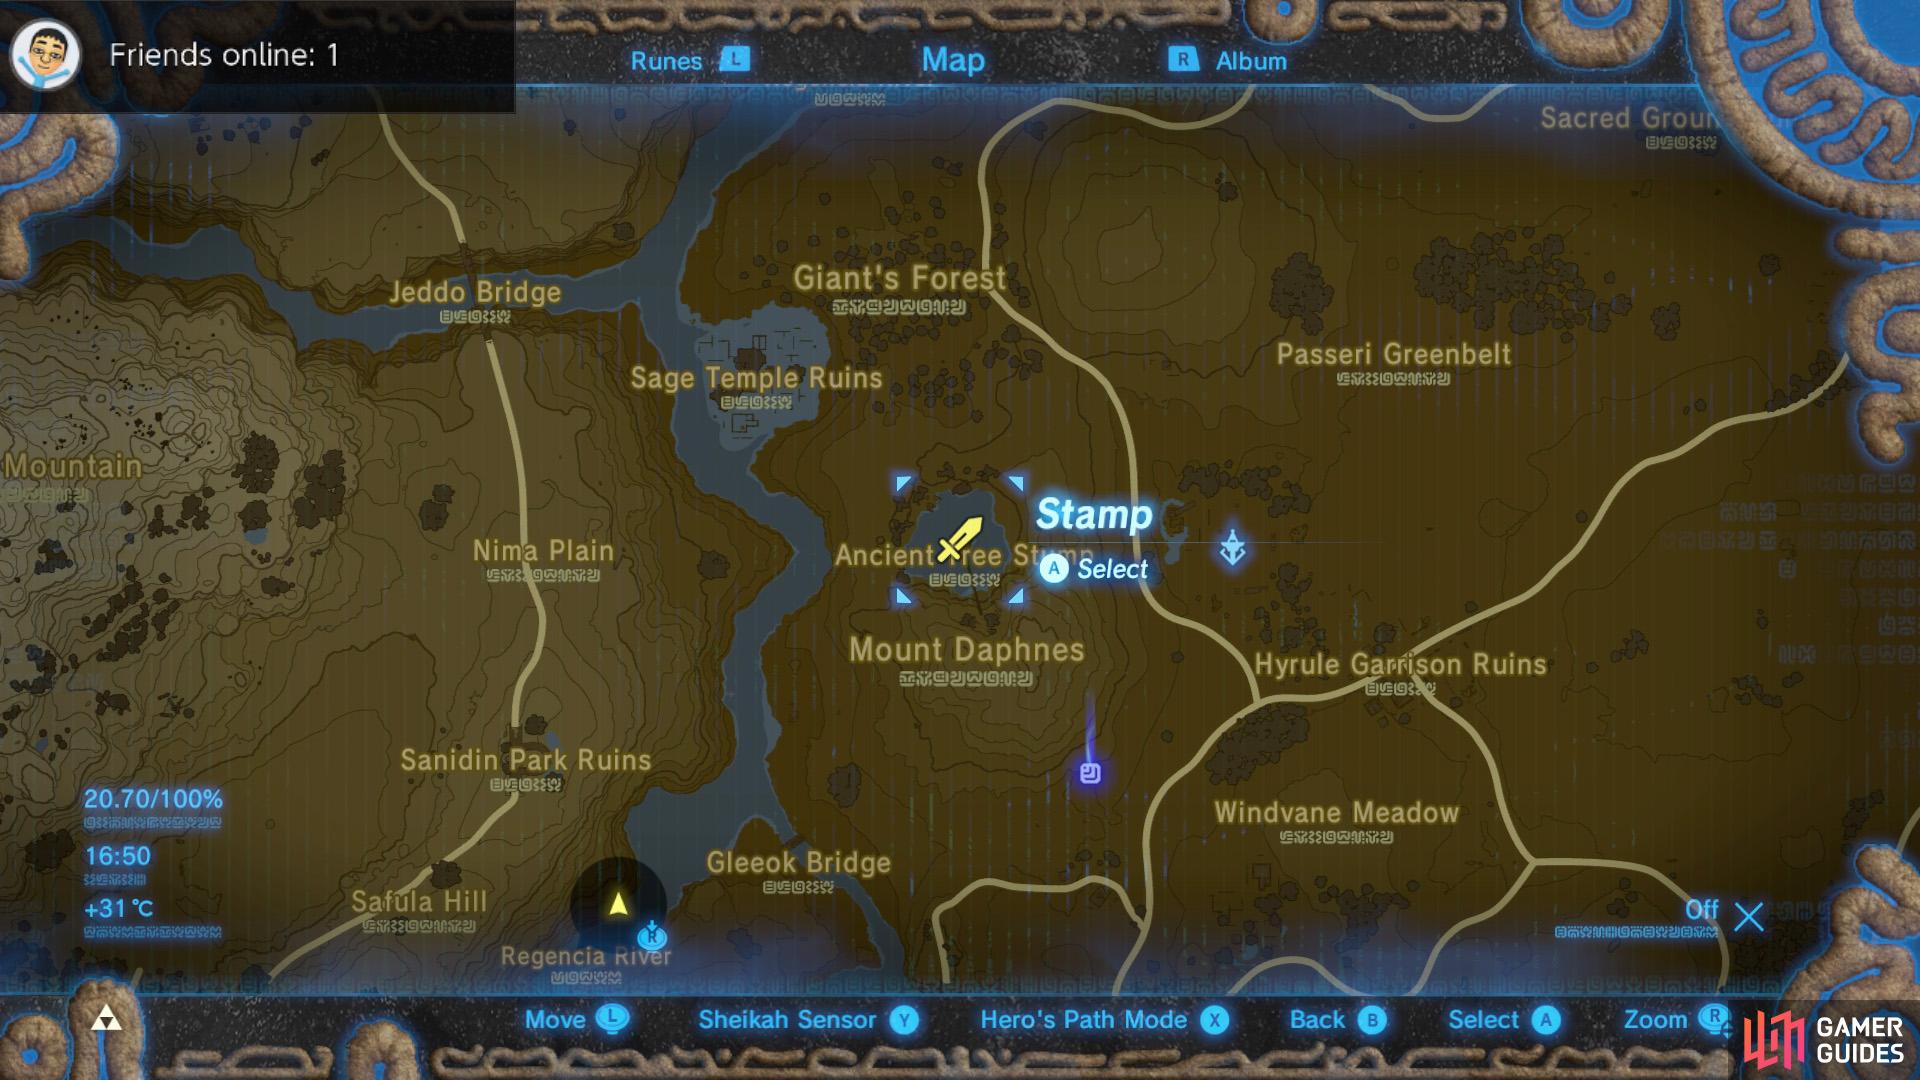
These can one-shot certain ice-based monsters, such as Ice-Breath Lizalfos, and set objects ablaze, creating updrafts. You can easily acquire a Great Flameblade from the Ancient Tree Stump, a short distance west from Central Tower. Especially if you wear Majora’s Mask.
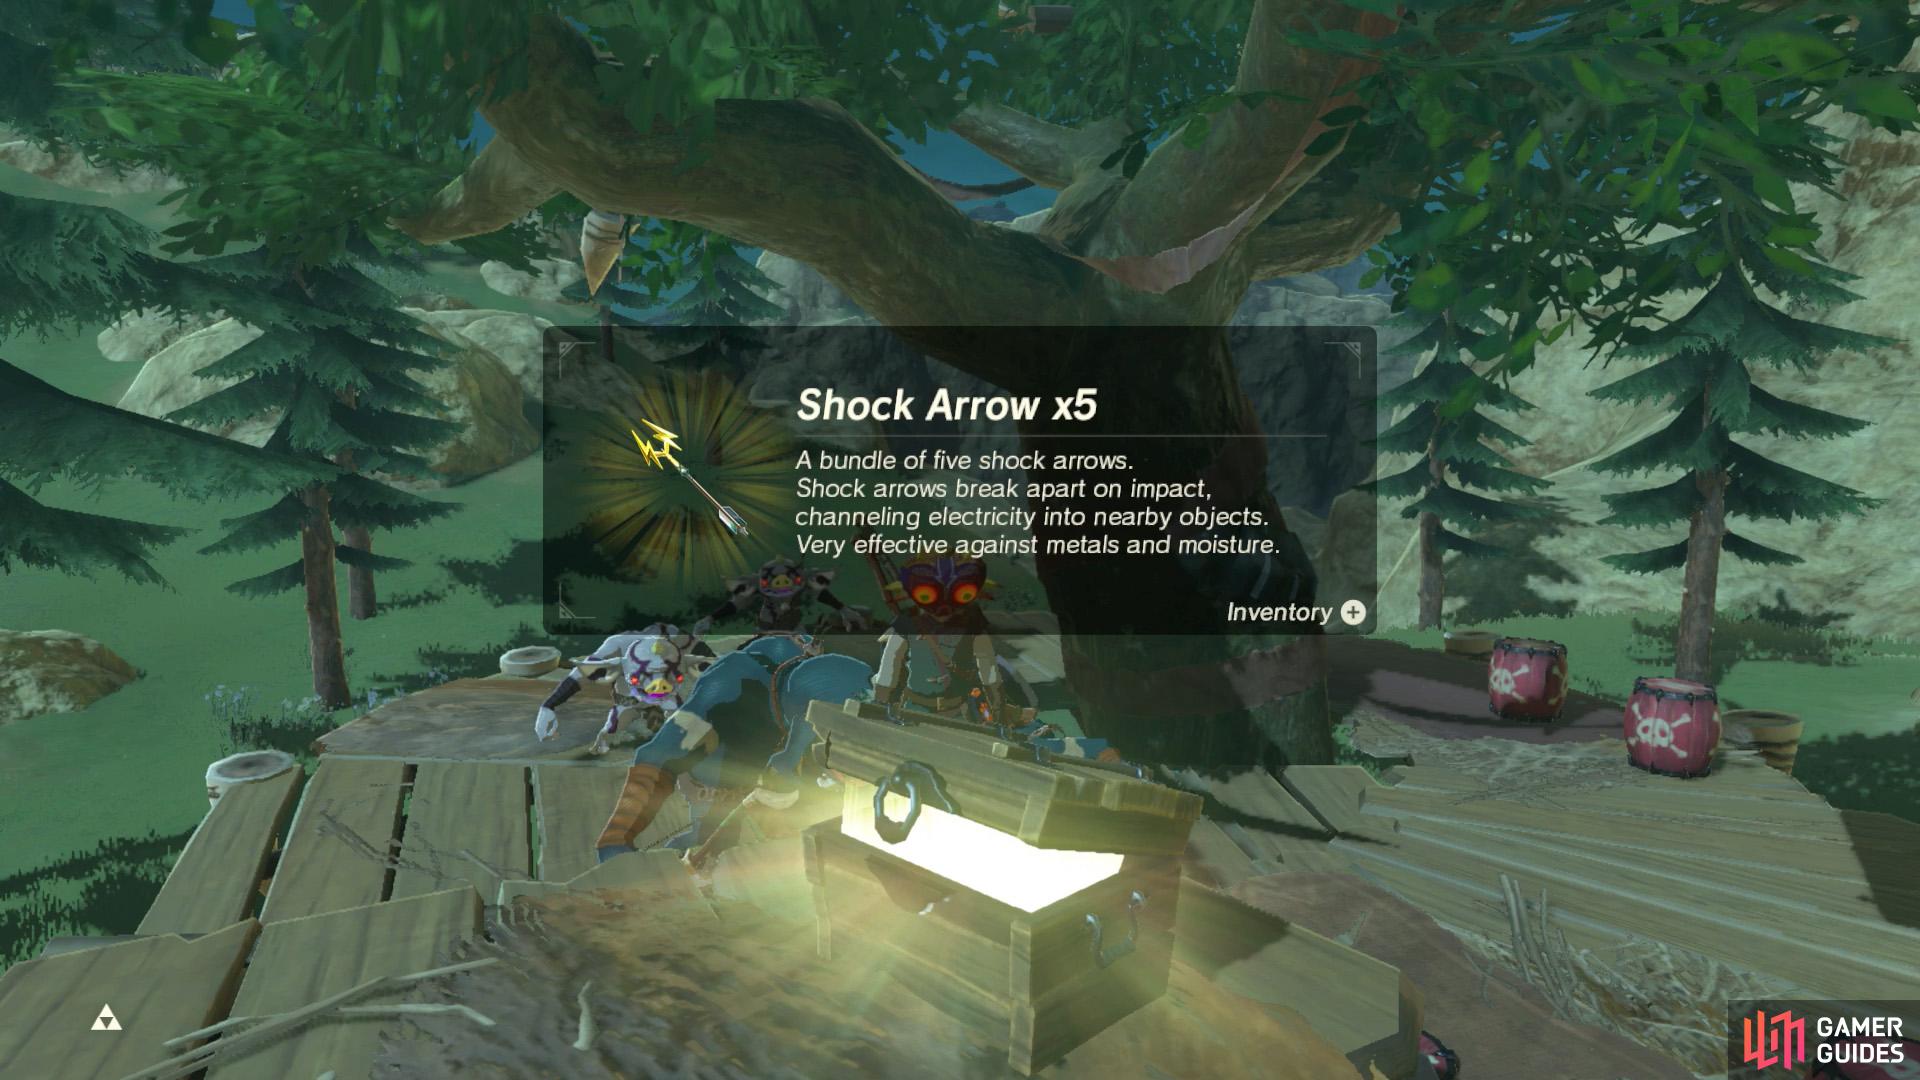
Shock-based weapons
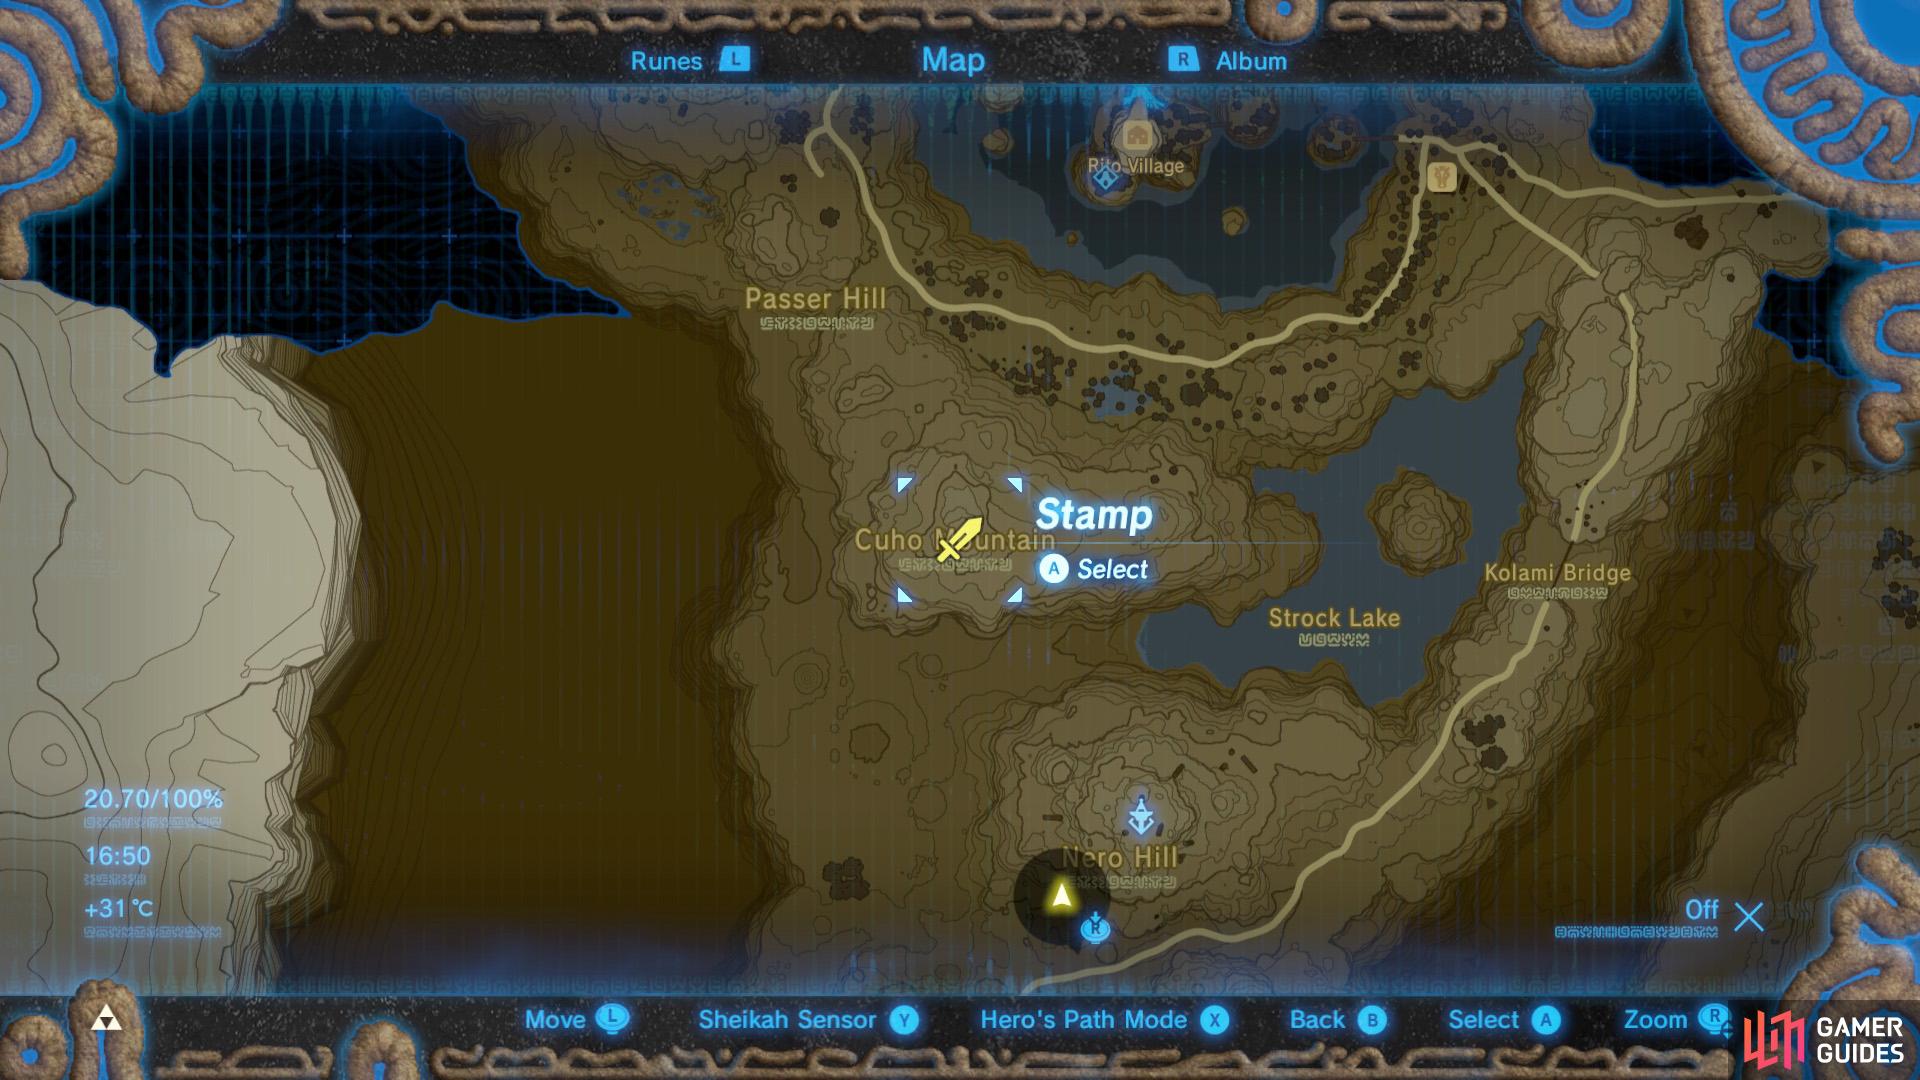
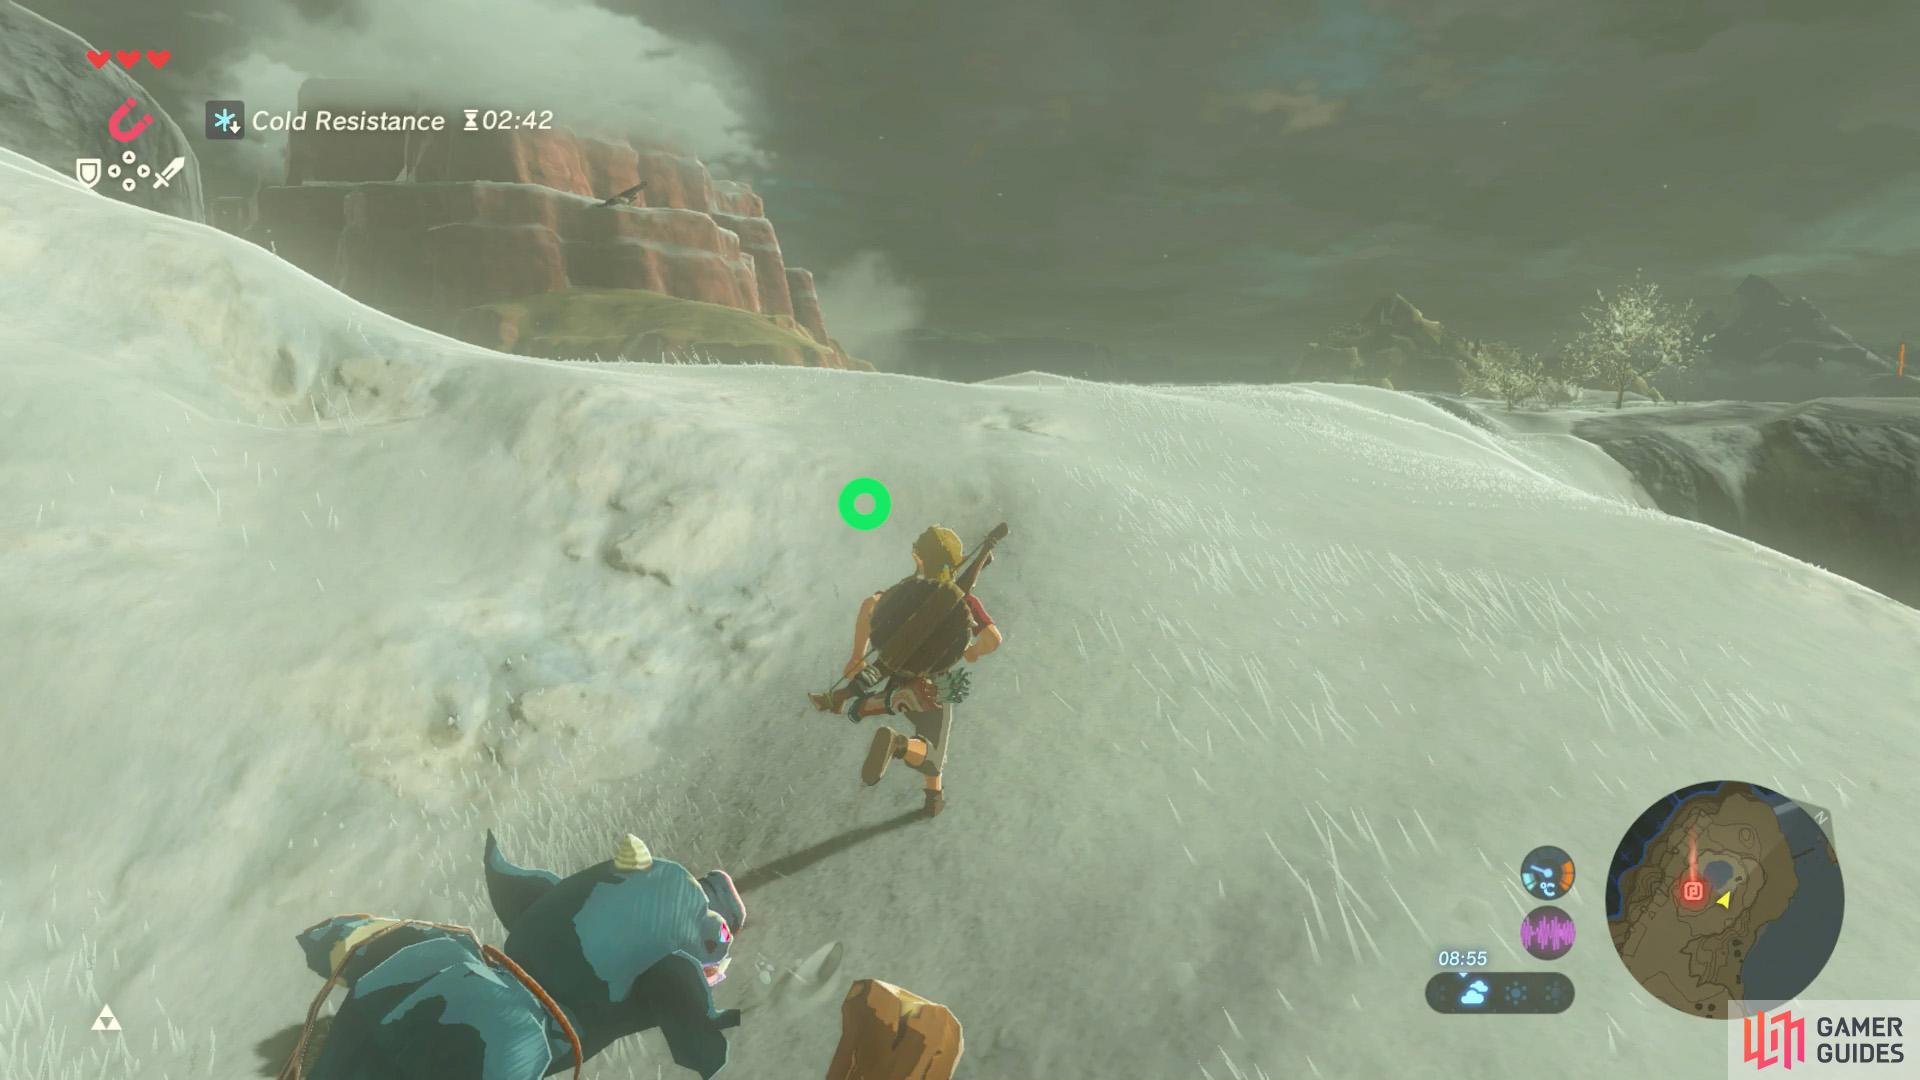
Check out this mountain on your way to Rito Village.
The Thunderblade is great for disarming foes.
These will stun and disarm Bokoblin, Moblin and Lizalfos foes, giving you a safe opportunity to attack them and steal their gear. There’s a Great Thunderblade on Cuho Mountain, north-west of Tabantha Tower, which you can pick up along the way to Rito Village.
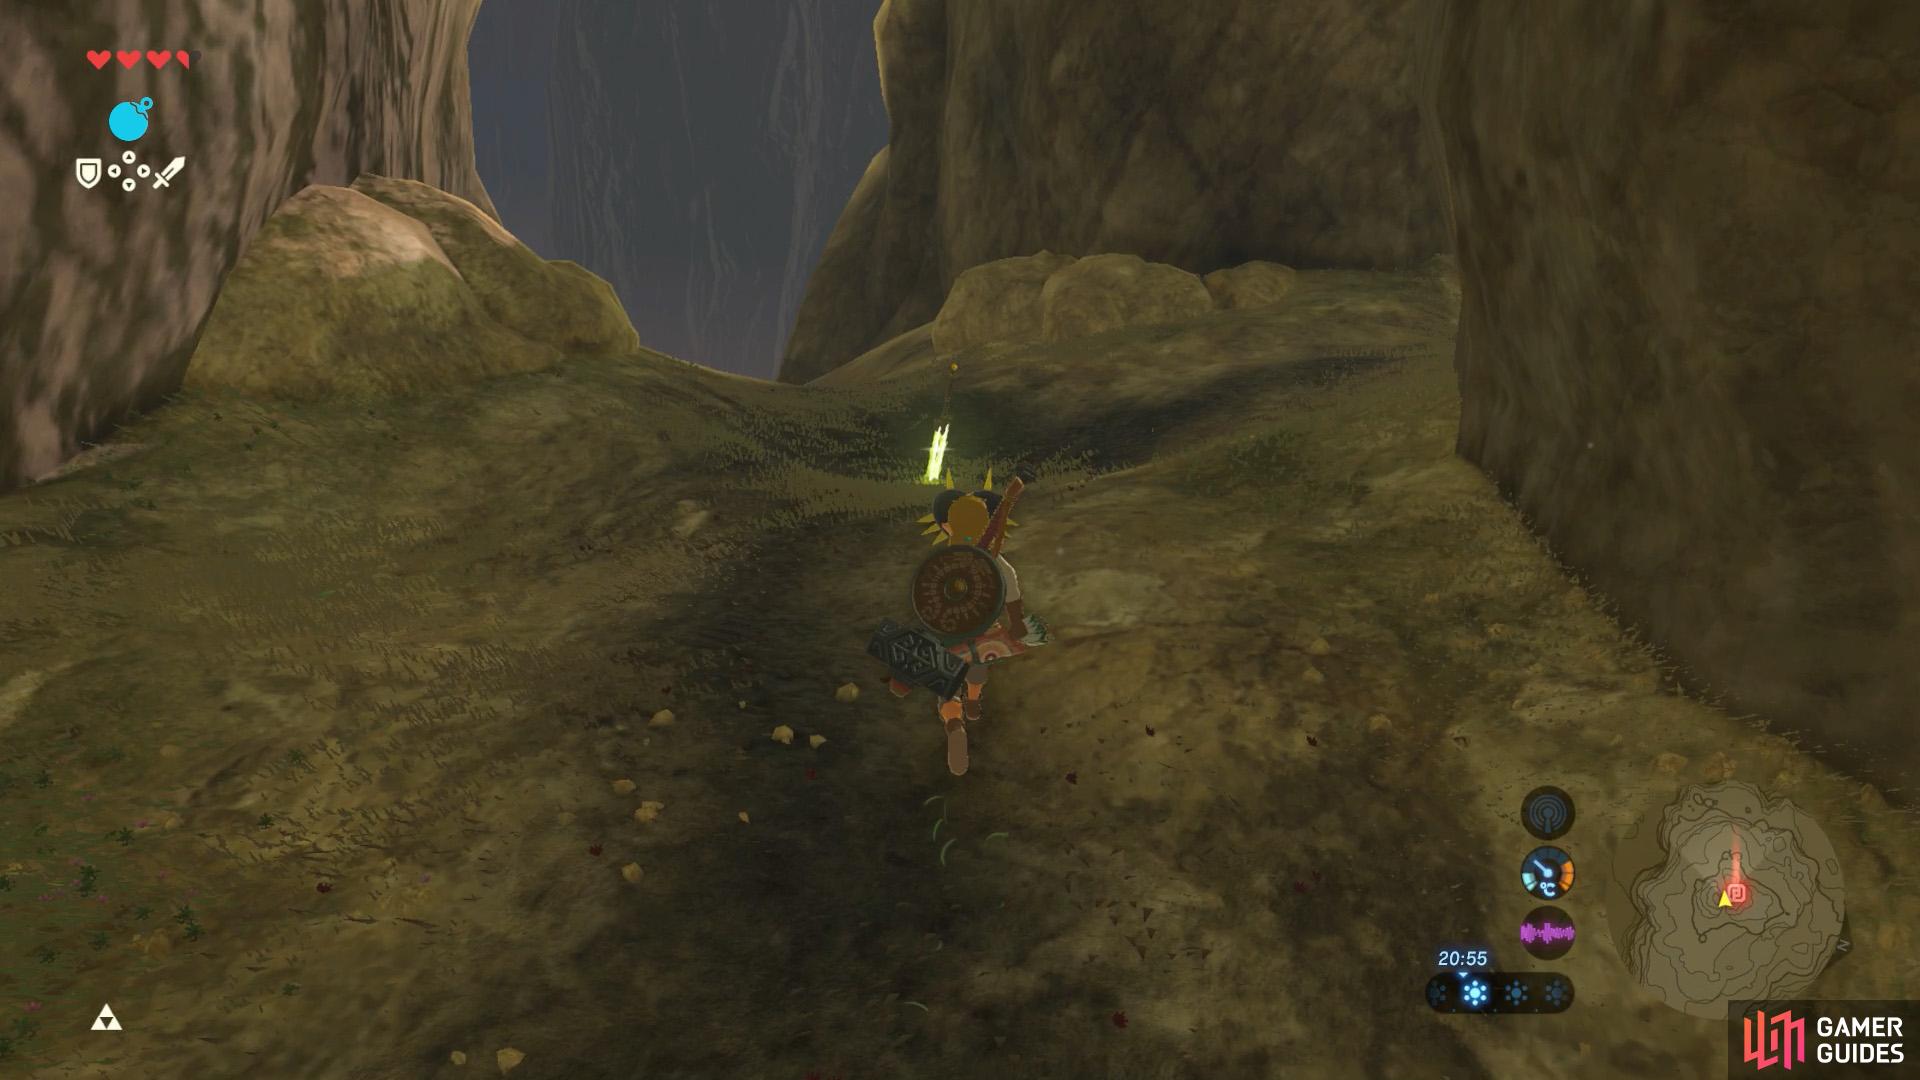
Ice-based weapons
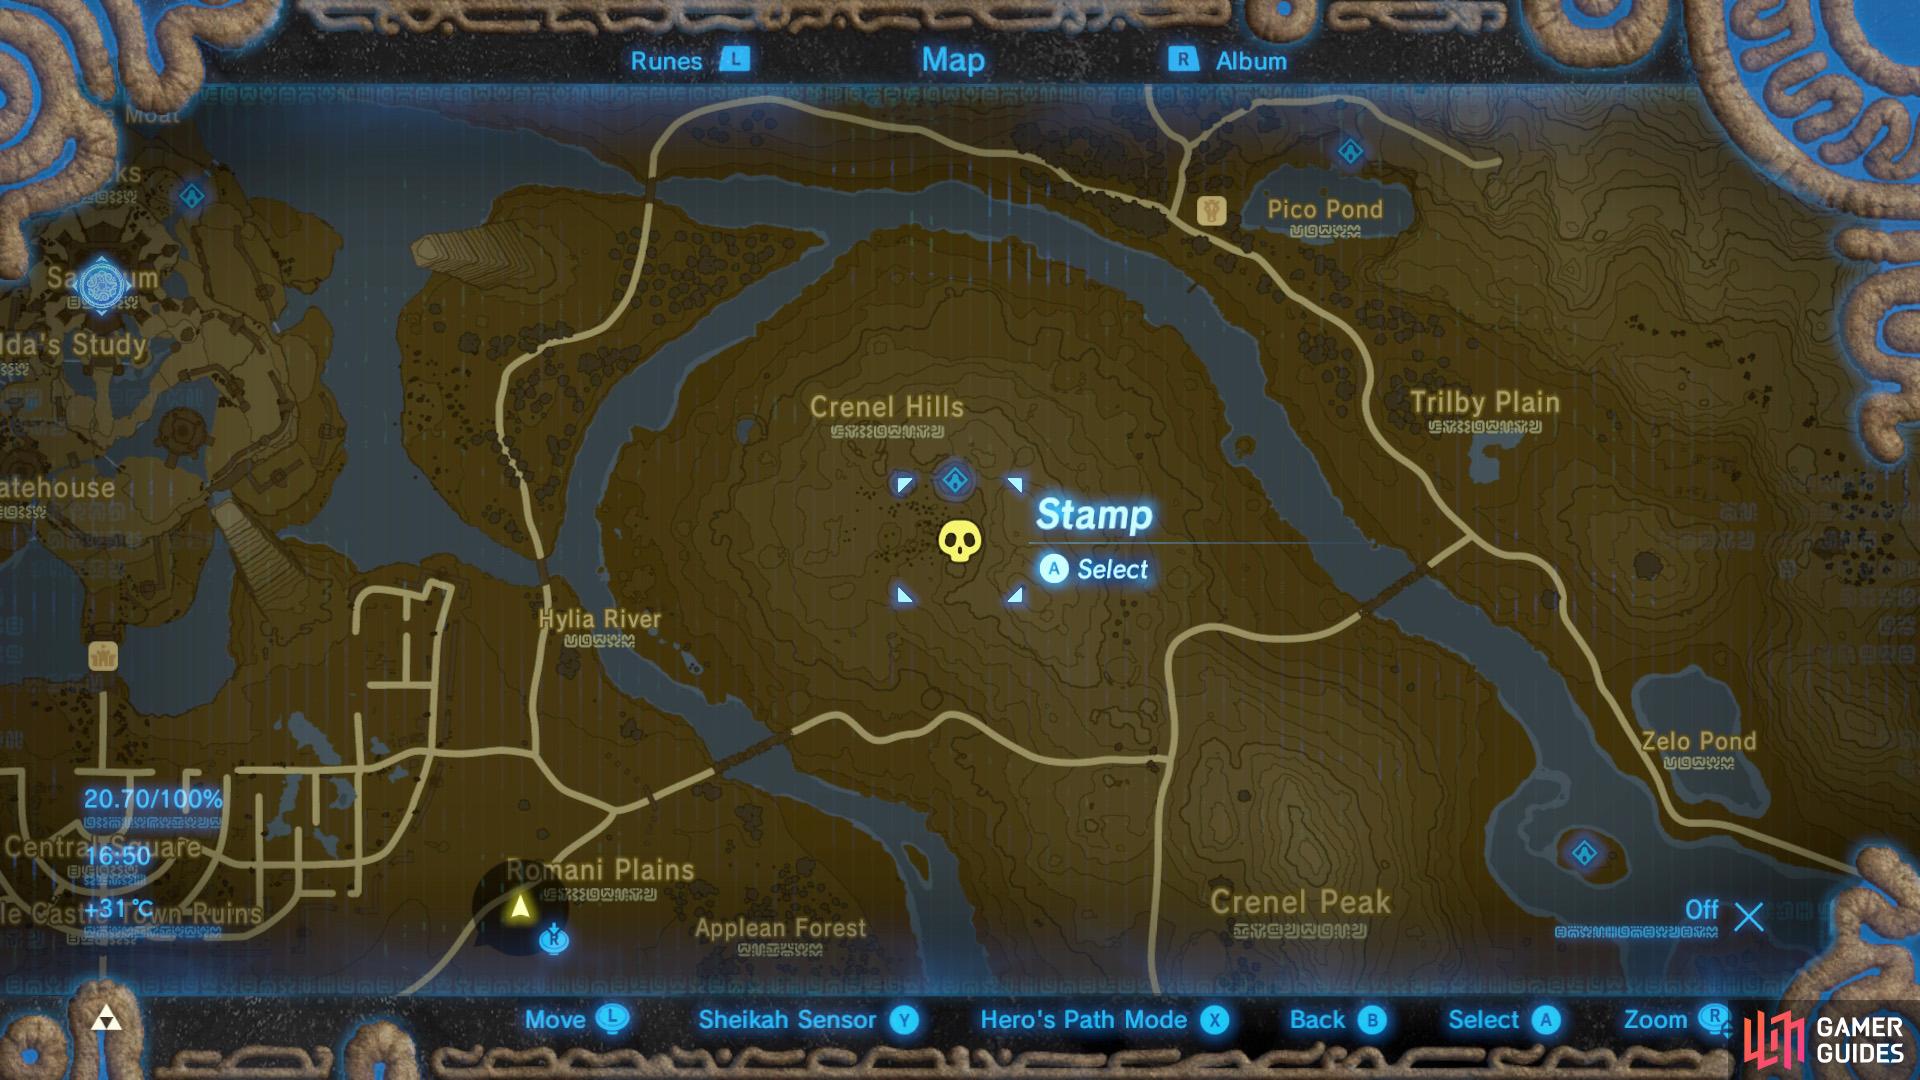
These can one-shot certain fire-based monsters, such as Meteo Wizzrobes, and freeze enemies. Frozen enemies can also be pushed over cliffs etc. There’s a Blizzrobe carrying a Blizzard Rod on Crenel Hills, south of Woodland Tower. You can one-shot it with a well-aimed Fire Arrow or headshot it with a normal arrow, then smack it with a fire-based weapon on the ground.
Farm Durians and Bananas
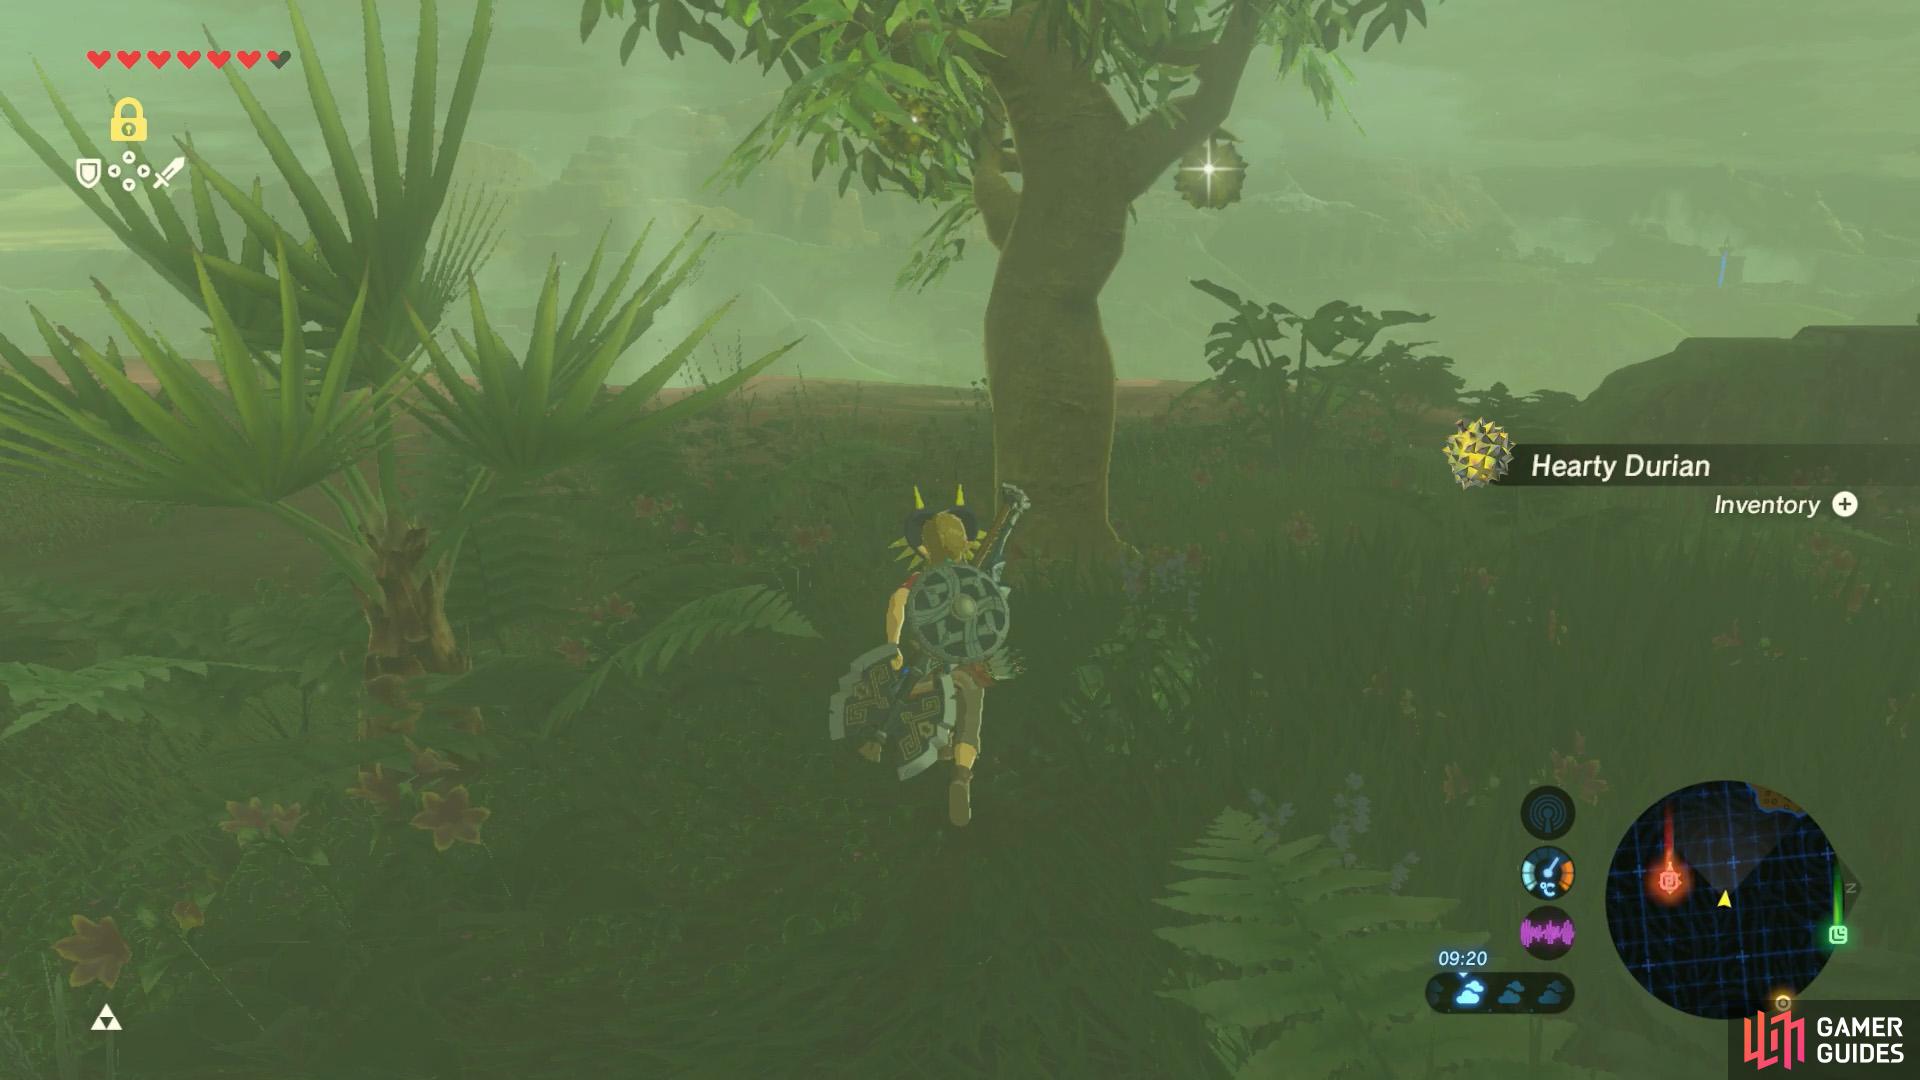
The ledge next to Faron Tower has lots of durian trees.
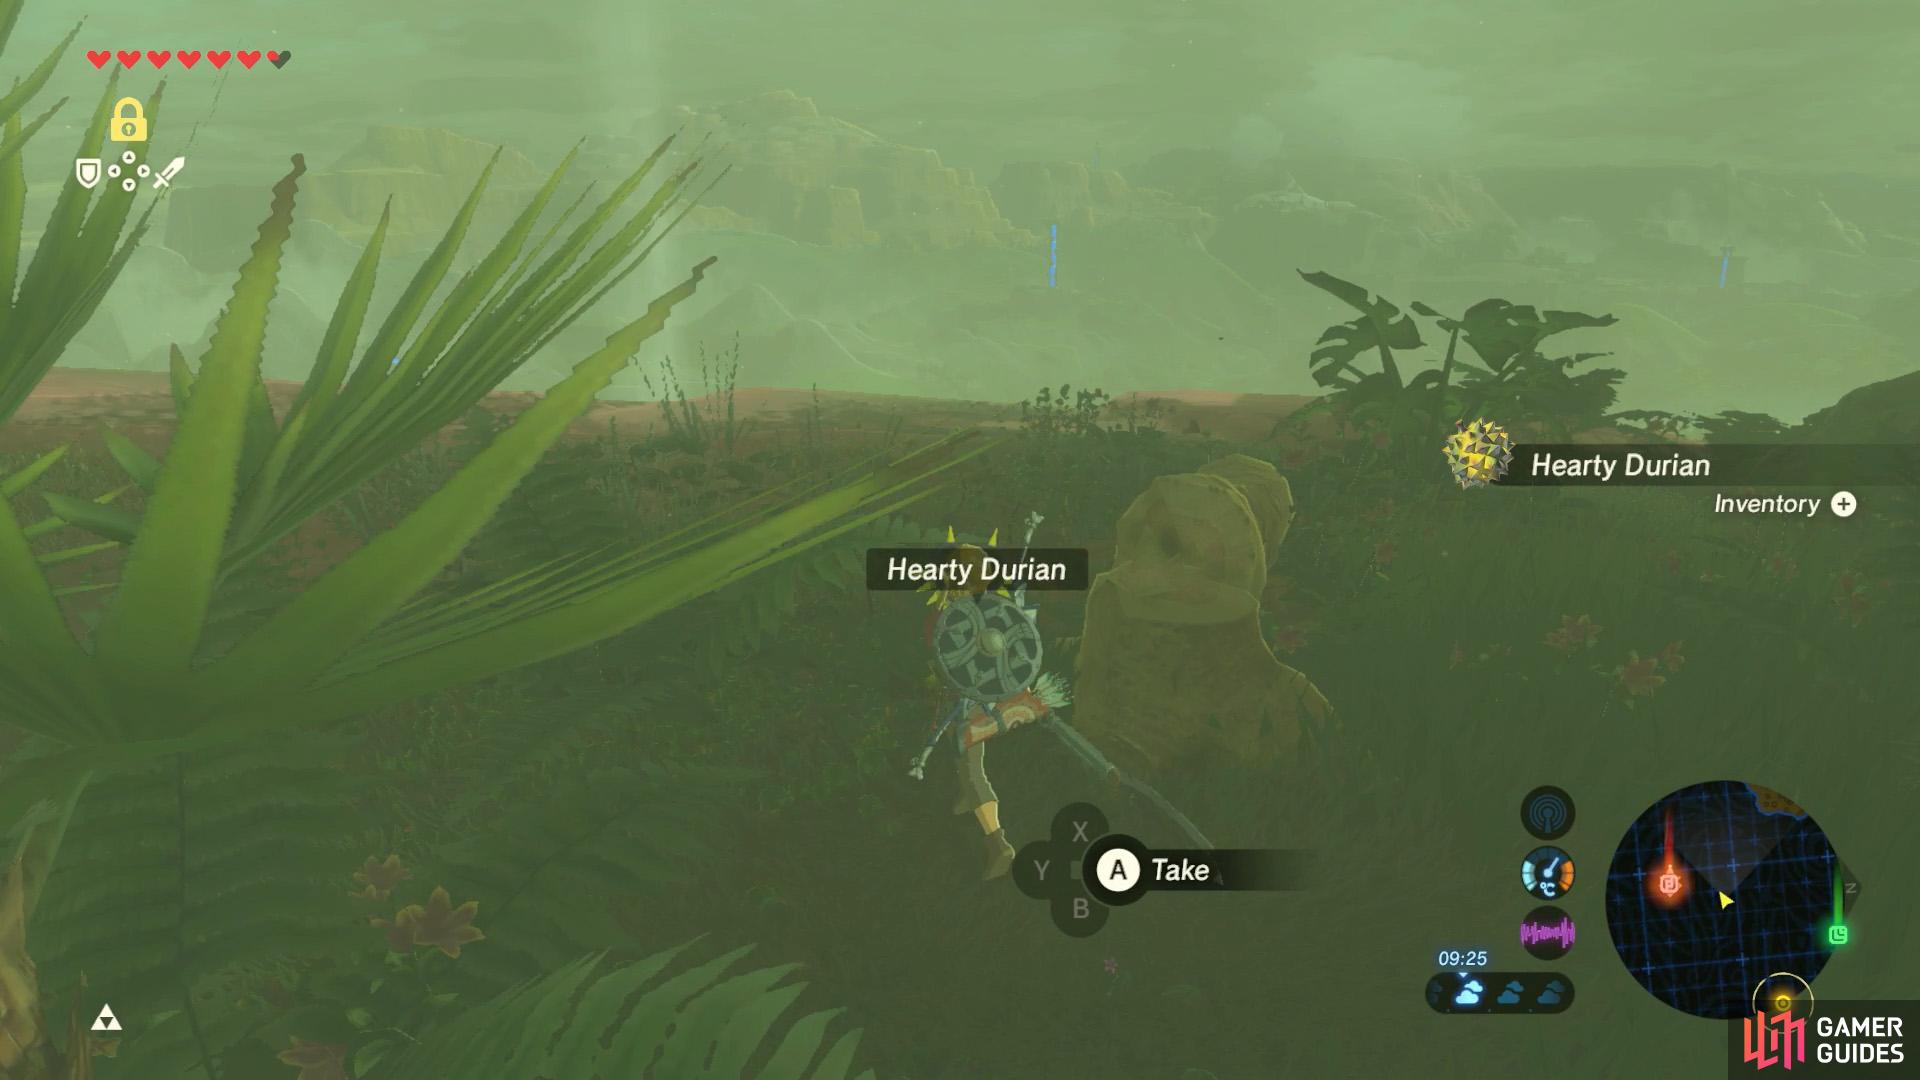
Cut them with an axe etc. to reap the Hearty Durians.
Although we suggested avoiding most enemies, there are some enemies you cannot avoid. For isntance, inside shrines or the Blight Ganon bosses. To make things easier, we recommend heading towards the area around Faron Tower, after picking up Majora’s Mask.
The ledge a short distance north-east from the top of Faron Tower has plentiful Hearty Durian trees. A thorough search can yield up to 18 durians. Cook these together to increase your maximum hearts by 4 for each durian (up to 20, by cooking 5). This will greatly enhance your survivability.

You can begin climbing from Lakeside Stable.
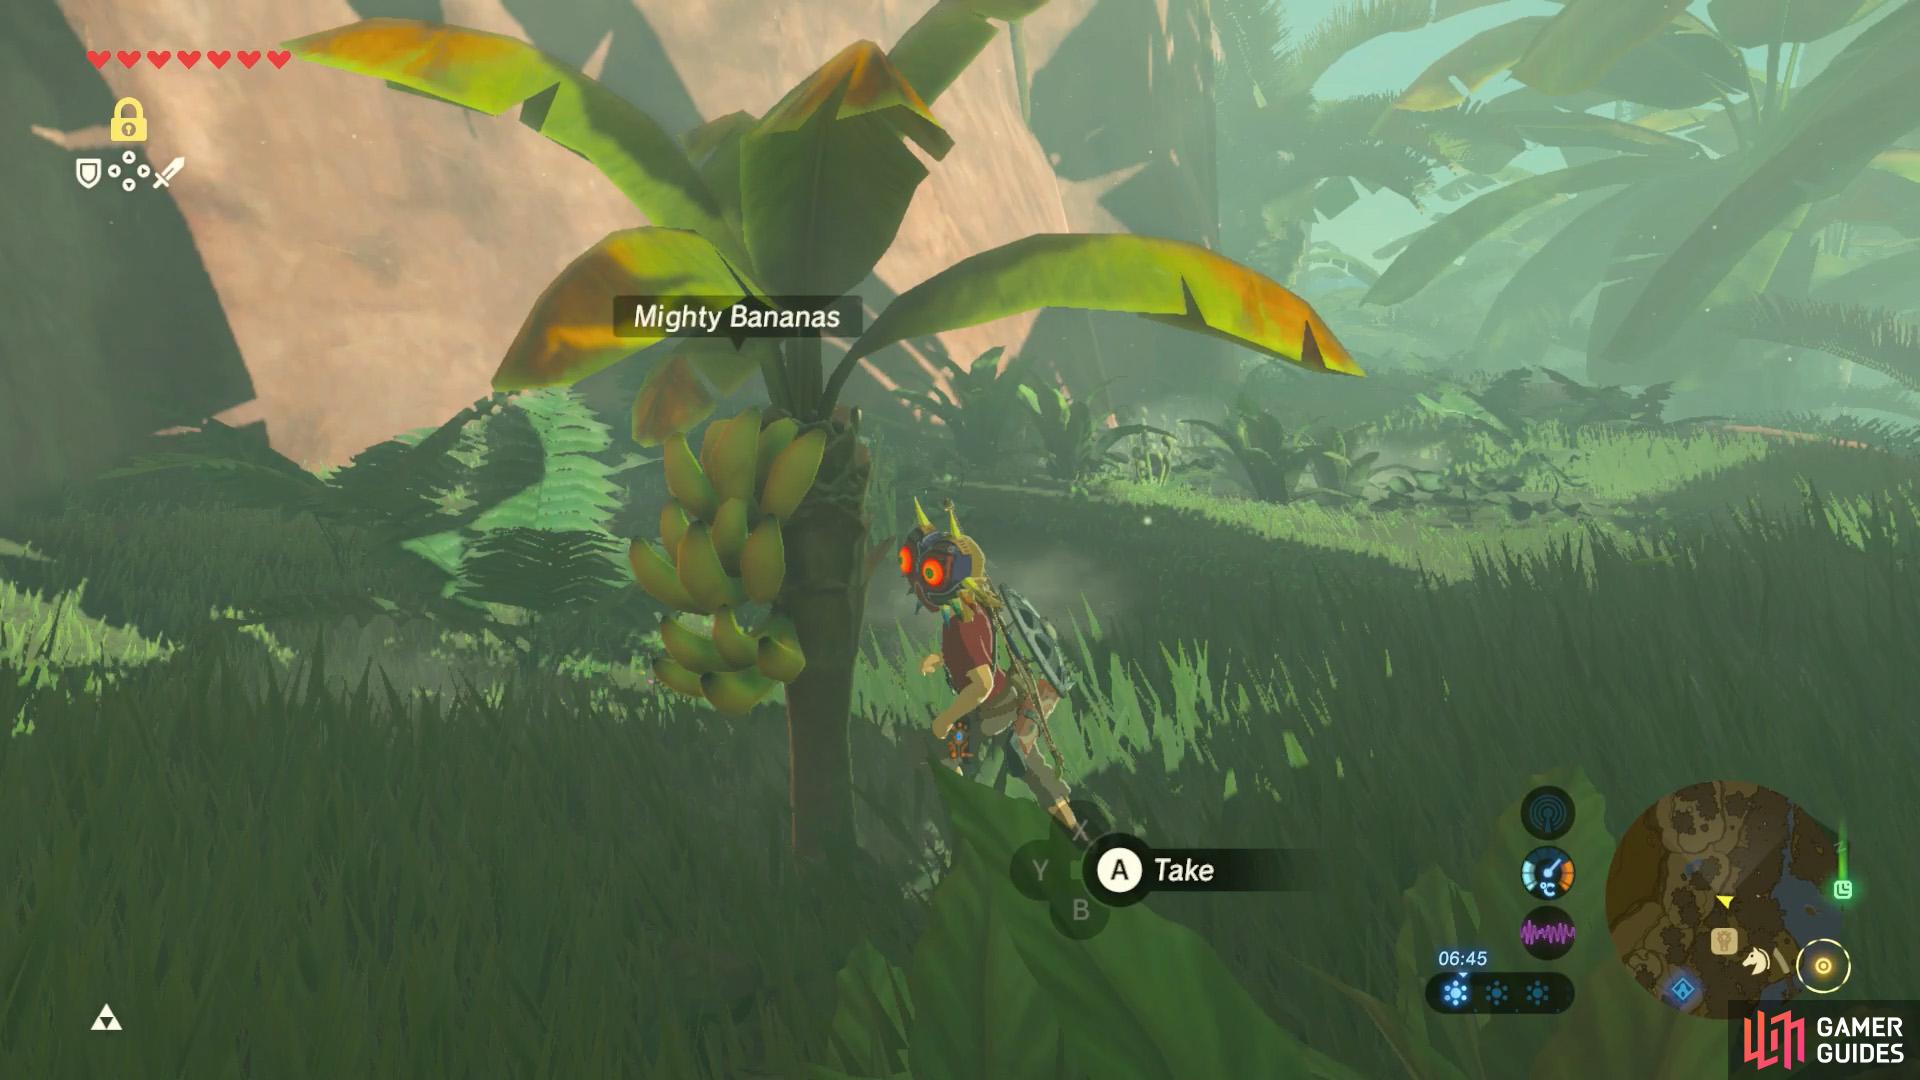
There are many, many banana trees growing up here.
Meanwhile, the highlands towards the south are ripe with Mighty Banana trees. You can find around 90 of them here–more than you’ll probably need. Cook 4 of these together, with a non-buffing ingredient (eg. Bird Egg), for a Level 3 Attack buff. Offense is the best defense!
The linked pages also include other locations where you can obtain those fruits. Furthermore, each time there’s a Blood Moon, all of the gathering spots will be renewed, so feel free to return to previous locations if you’re running low on supplies.
Gamble with Monster Extract
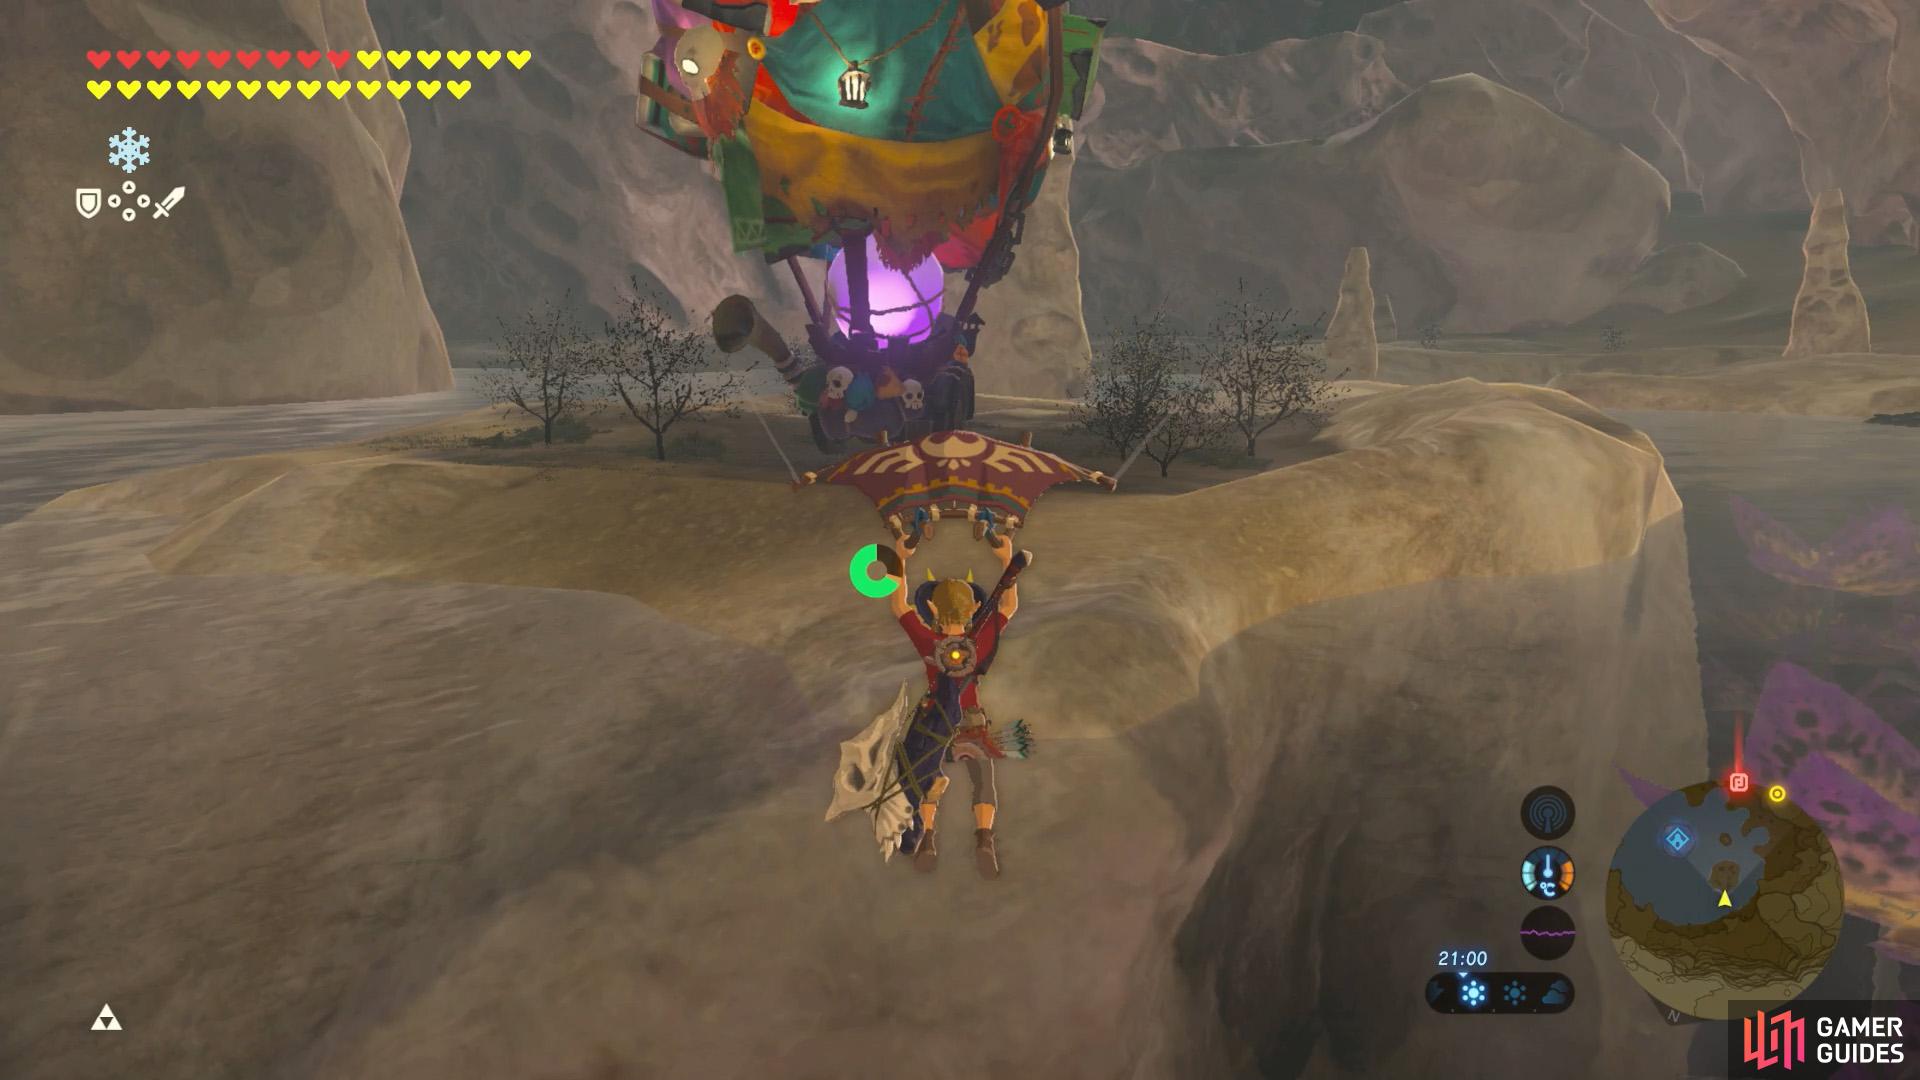
Head to Skull Lake after 9 pm to learn about the Fang and Bone.
Afterwards, you can shop at the Fang and Bone outside most towns after 9 pm.
Another place we suggest visiting is Skull Lake in Deep Akkala, to trigger the appearance of the Fang and Bone shop. If you’ve never been, head for the small island west from the Zuna Kai Shrine (the “left eye” of the lake) during night (after 9 pm).
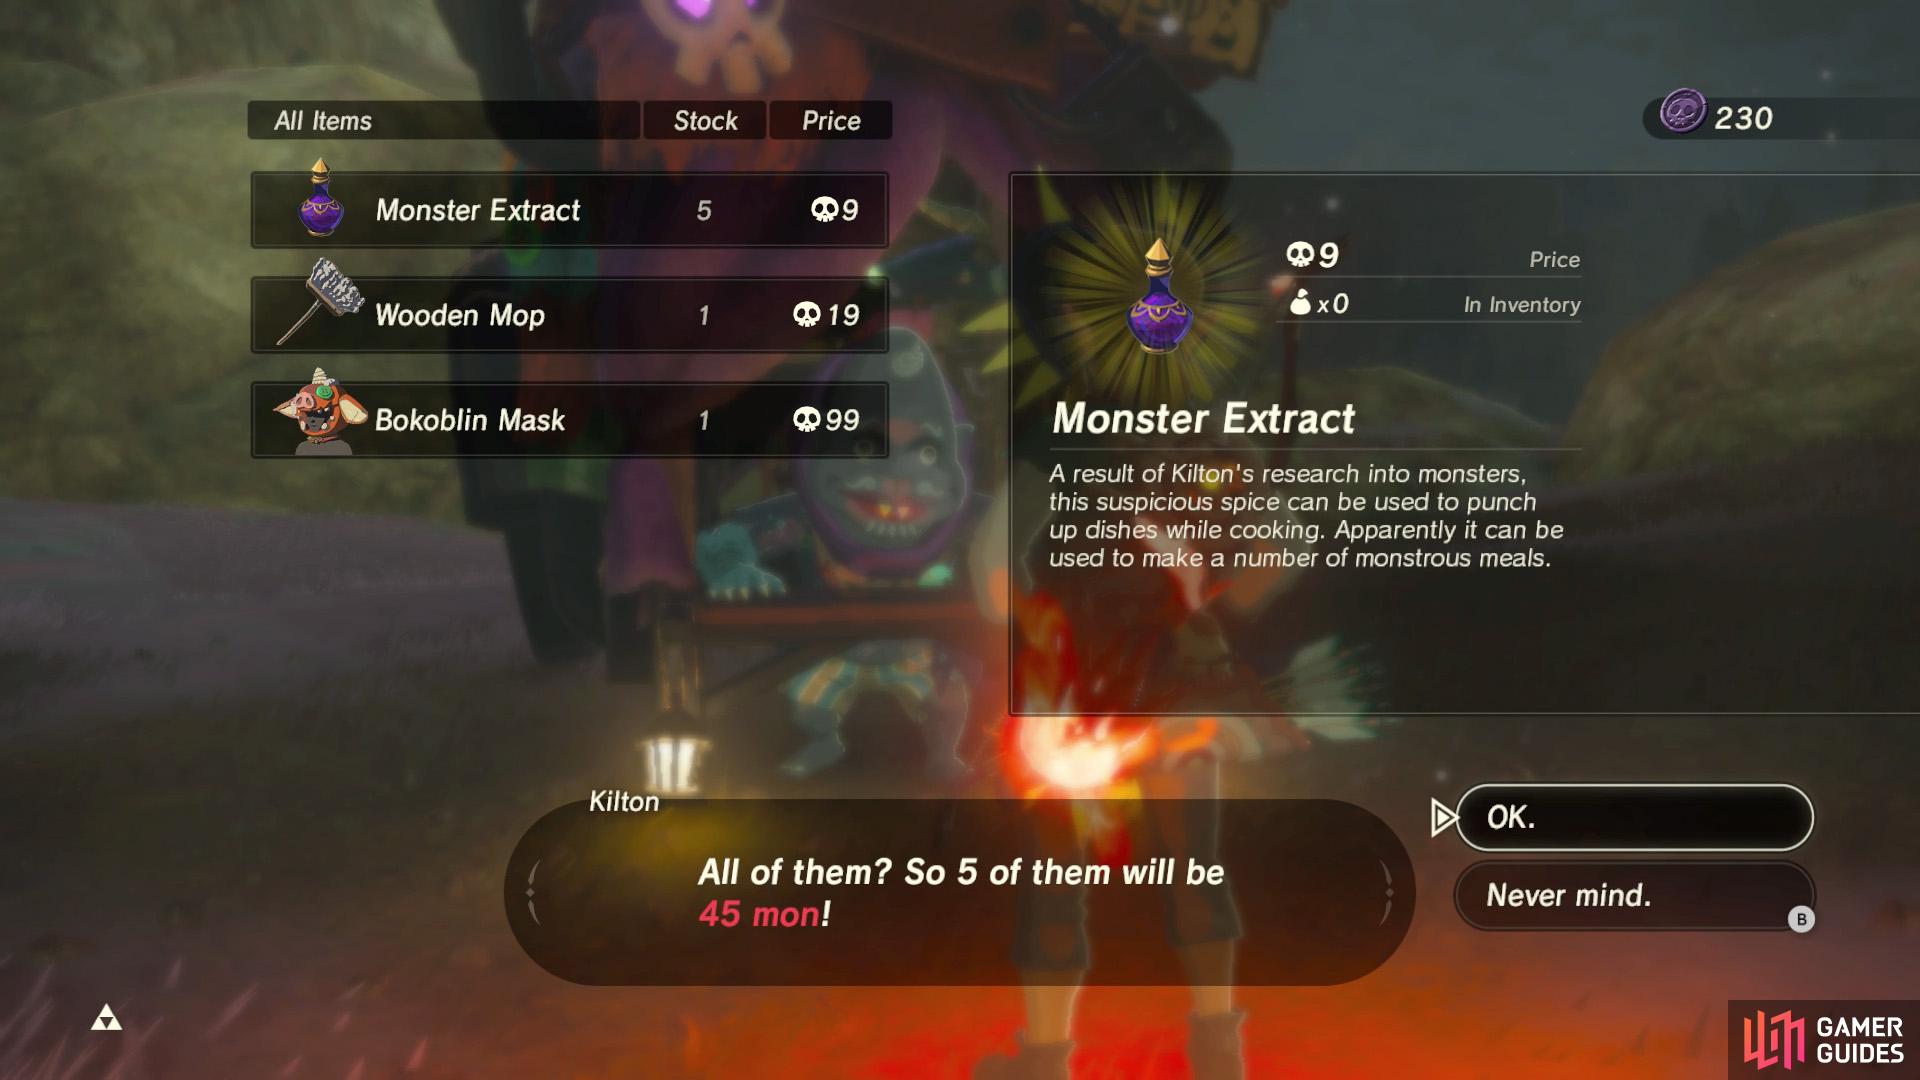
Afterwards, you can visit the Fang and Bone near most villages/towns after 9 pm. The main thing we’re interested in is the Monster Extract, which costs a small amount of Mon–easily gathered by pushing foes into the water, etc.

When cooked with other ingredients, the Monster Extract randomly increases or decreases the amount of health restored, duration and potency of the meal. The most useful thing here is the chance of increased duration: meal effects will randomly be set to 1 minute (rubbish), 10 minutes (pretty nice) or 30 minutes (whoa).
Combined with the above tip, you could cook 4 Mighty Bananas with a Monster Extract for a 10 or 30 minute Level 3 Attack buff. However, due to the randomness, you may get a Level 1 or 2 buff, which isn’t as useful. Or a 1 minute Level 3 buff. These less desirable meals, you could sell off to a shop. Or reload your save to try again.
No Comments