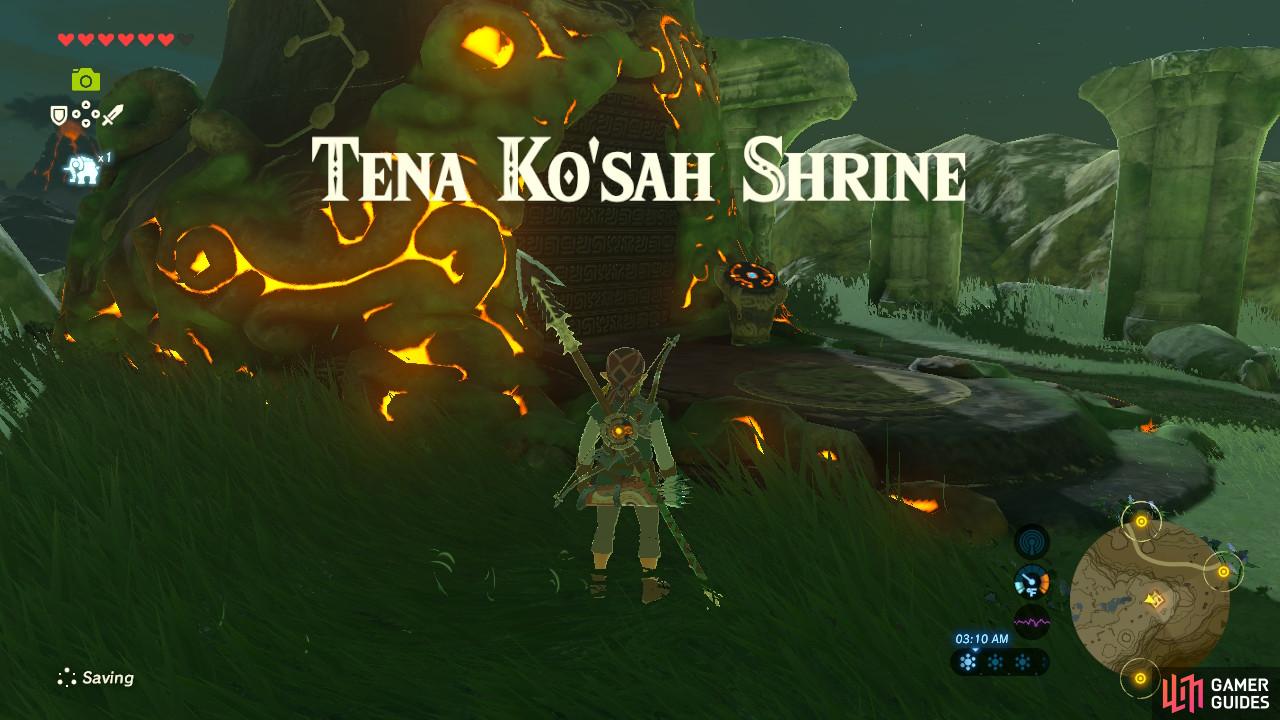
This Shrine is located in the Ancient Columns area
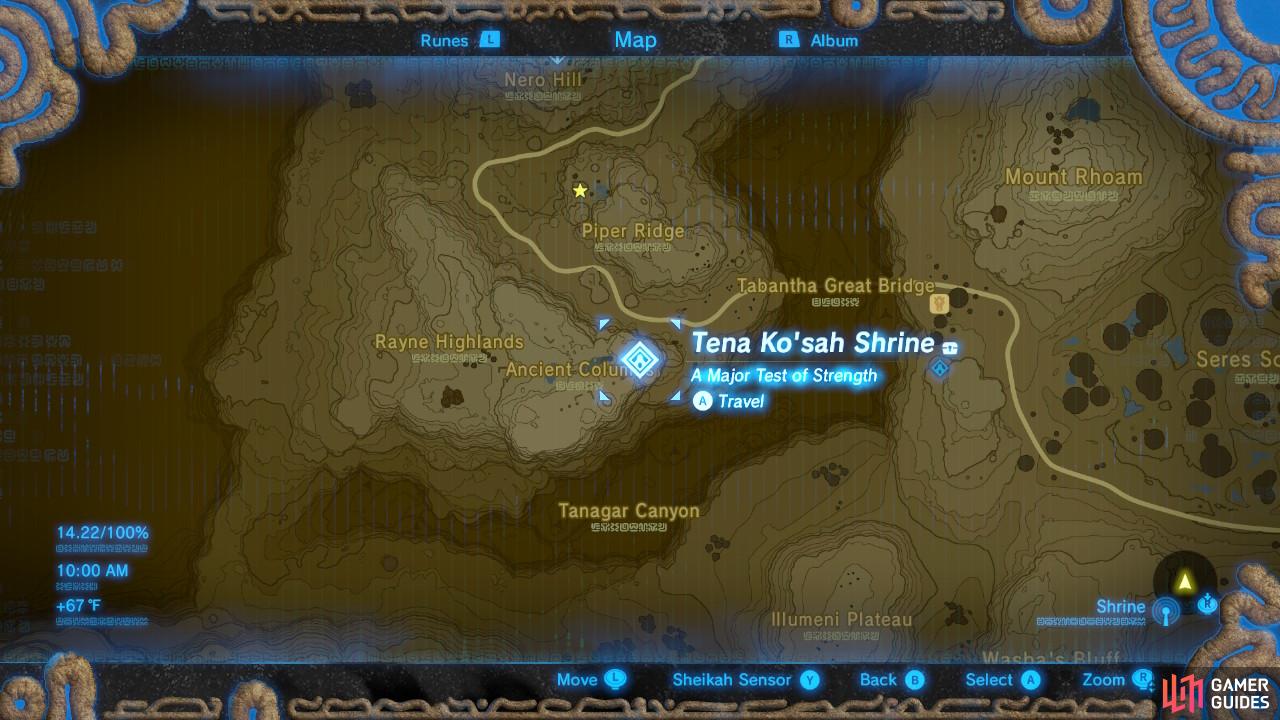
This is the specific location of the Tena Ko’sah Shrine
Tena Ko’sah Shrine
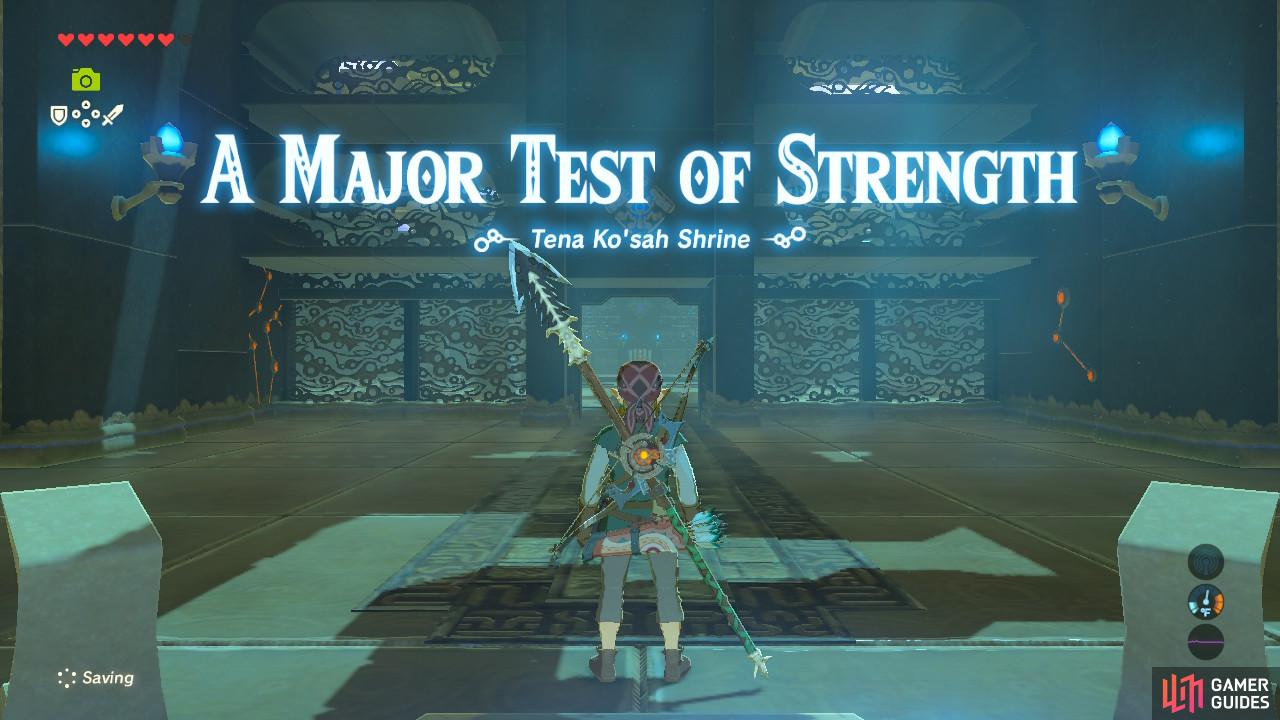
This Shrine falls under the same group as other combat-based shrines. Instead of a series of puzzles, you have a mini boss fight that you have to clear in order to get your Spirit Orb.
In this case, this Shrine is a Major Test of Strength, which means the boss in question is more powerful and has more health…but will also drop superior gear once defeated!
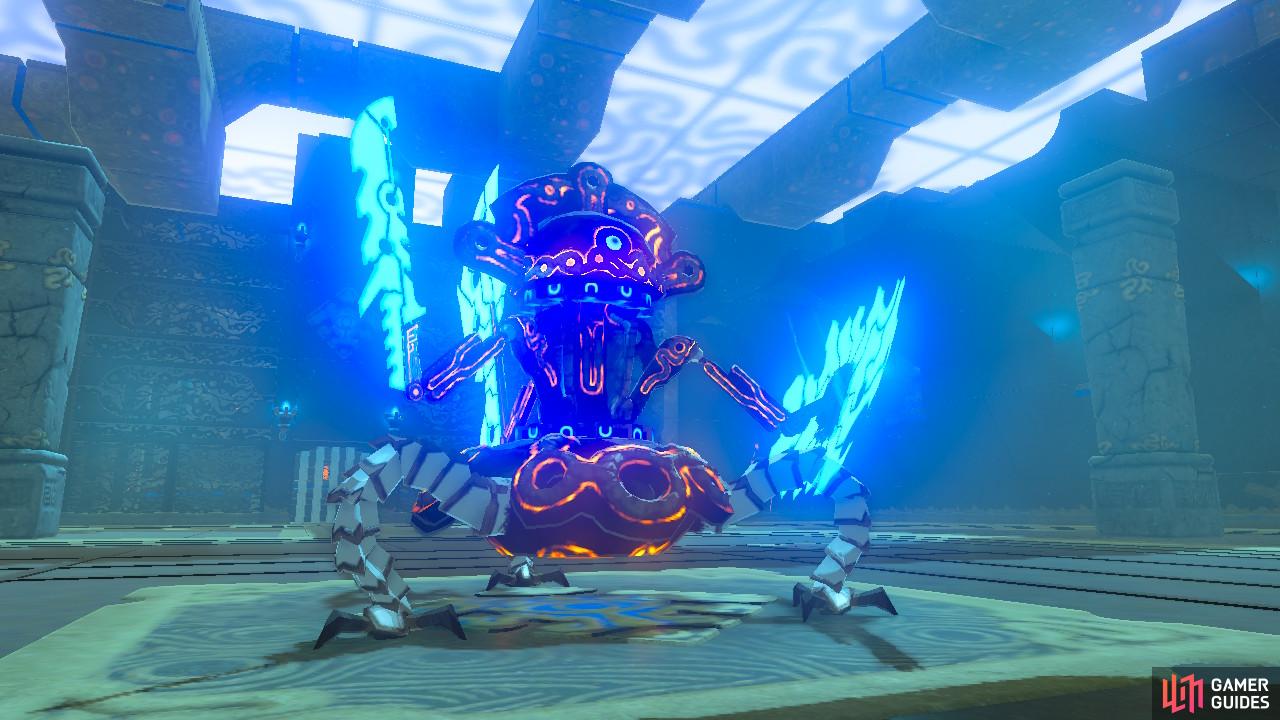
The Guardian Scout will have two swords, one short sword and one broader sword, and one large shield. The fight itself is fairly scripted and can thus be easily mastered after some practice.
When using the short sword, the Guardian Scout will do short vertical thrusts. Dodge to activate Flurry Rush by jumping to the side. When using the broadsword, the Guardian Scout will do long side sweepes which can be dodged by backflipping.
After doing either one of those attacks, the Guardian Scout will jump back and then spin rapidly towards you. You cannot block this attack and it hits like a truck so what you should do is run behind one of the many pillars. The Guardian Scout will break it and stun itself, leaving itself open to damage.
After half its health is gone, the Guardian Scout will enter phase two and instead of doing its spinning charge attack after using its swords, it will move back and move its head around in a circle while emitting a laser. This creates an updraft you can use to shoot arrows at its weakpoint. Or you can just wait it out from a distance.
When in critical health, the Guardian Scout will prepare for a standard laser strike. You can parry it with your shield for the finishing blow or continue to shoot and hit it as hard as you can while it charges up in hopes of killing it, or hide behind a pillar.

You can pick up pretty much all the weapons it used against you. Every time you fight it again the weapons it holds are randomized
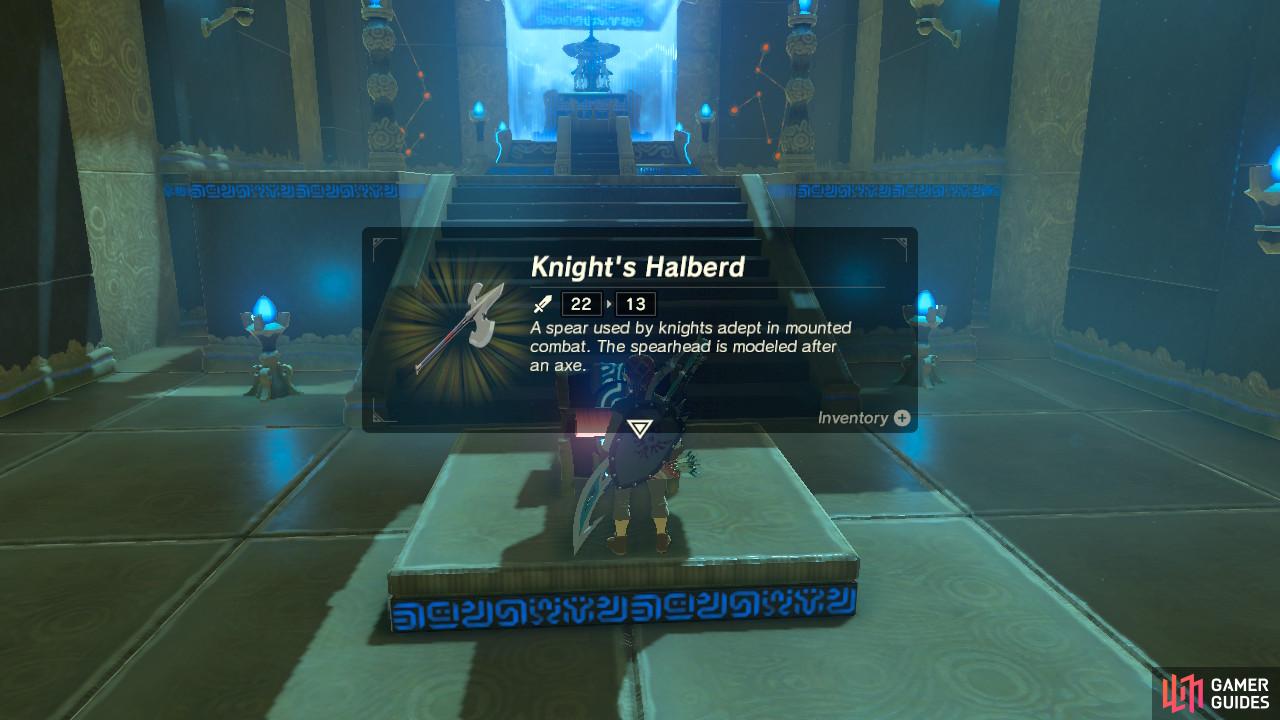
Don’t forget this treasure chest
Don’t forget to pick up the gear it drops! It is among the best gear in the game and you will definitely want to hold onto it. Before the monk’s chambers, open up the treasure chest for a Knight’s Halberd.
No Comments