
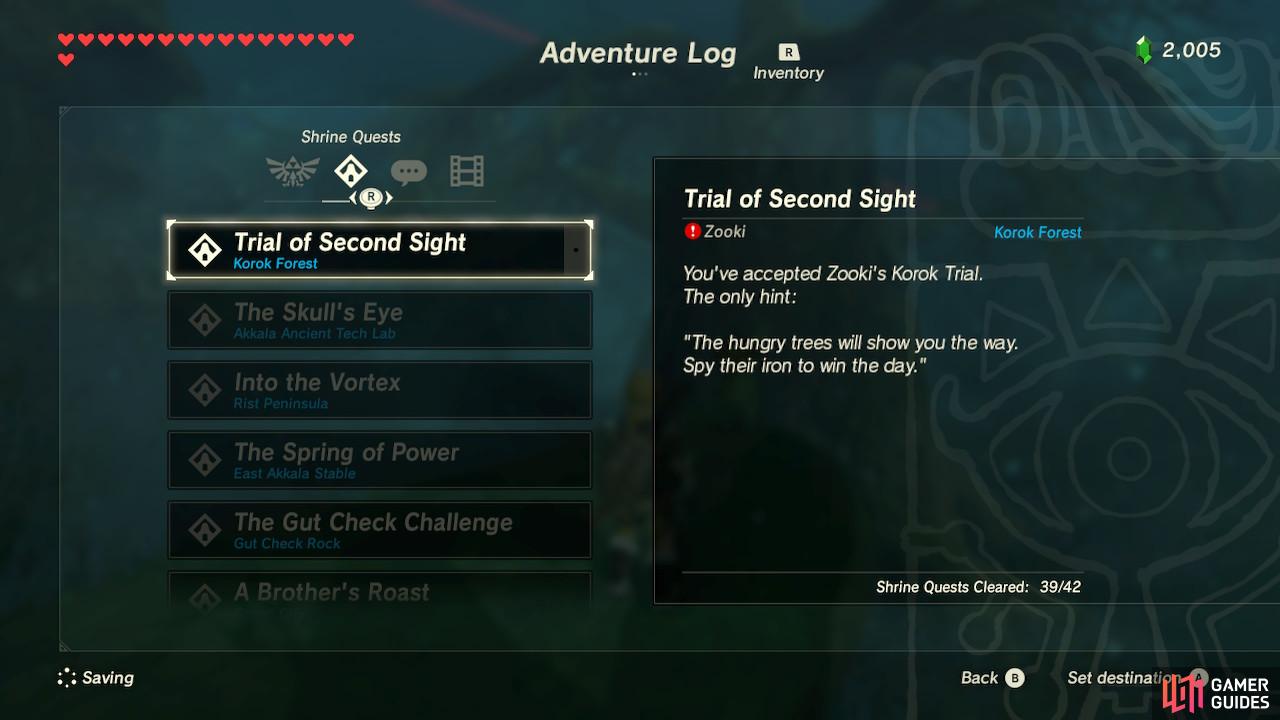
A guide on how to complete the Trial of Second Sight Shrine Quest, found in Great Hyrule Forest. This shrine quest is a part of The Korok Trials. Completing this shrine quest will grant you access to Kuhn Sidajj Shrine.
This is one of the simpler of the Korok trials
You will be using Magnesis
How to Complete the Trial of Second Sight
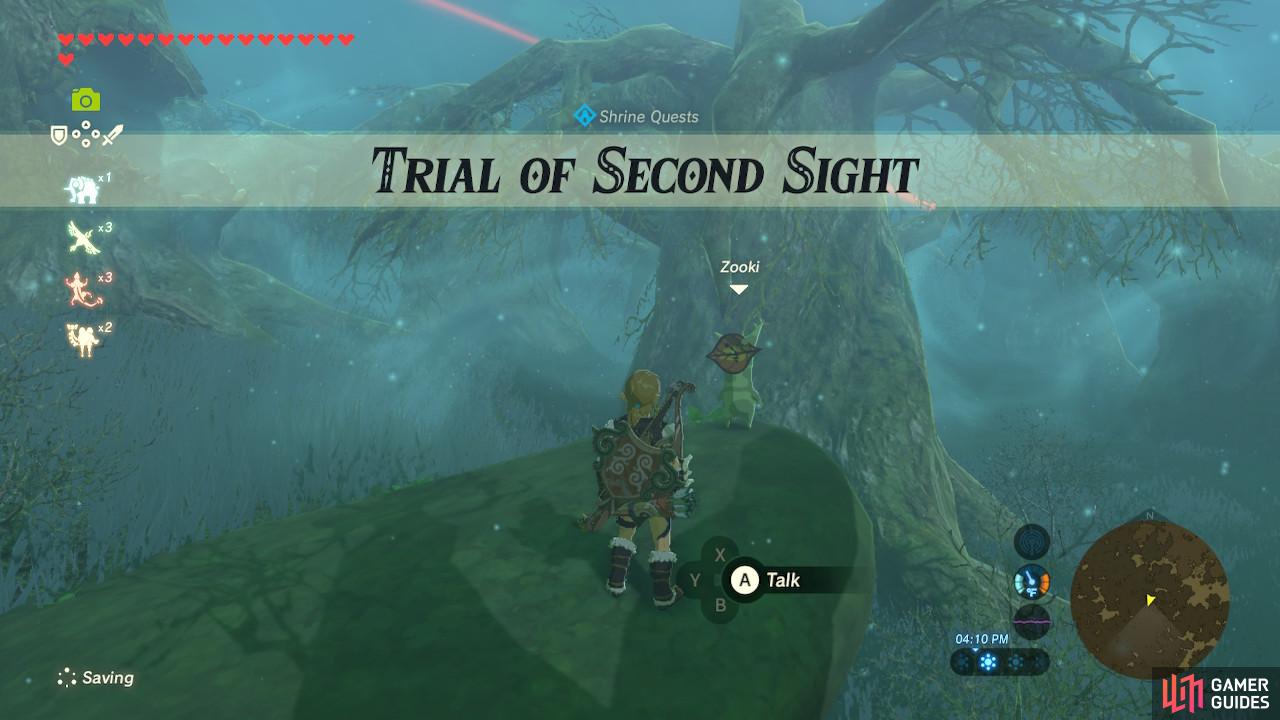
This is one of three Shrine Quests that are a part of the sidequest, The Korok Trials. To find where you can start this Shrine Quest, find the narrow path marked by an archway in the southwest area of Korok Forest (as if you were trying to go to Lake Saria). Follow it into the Lost Woods and speak with Zooki, the lone Korok standing on a big rock.
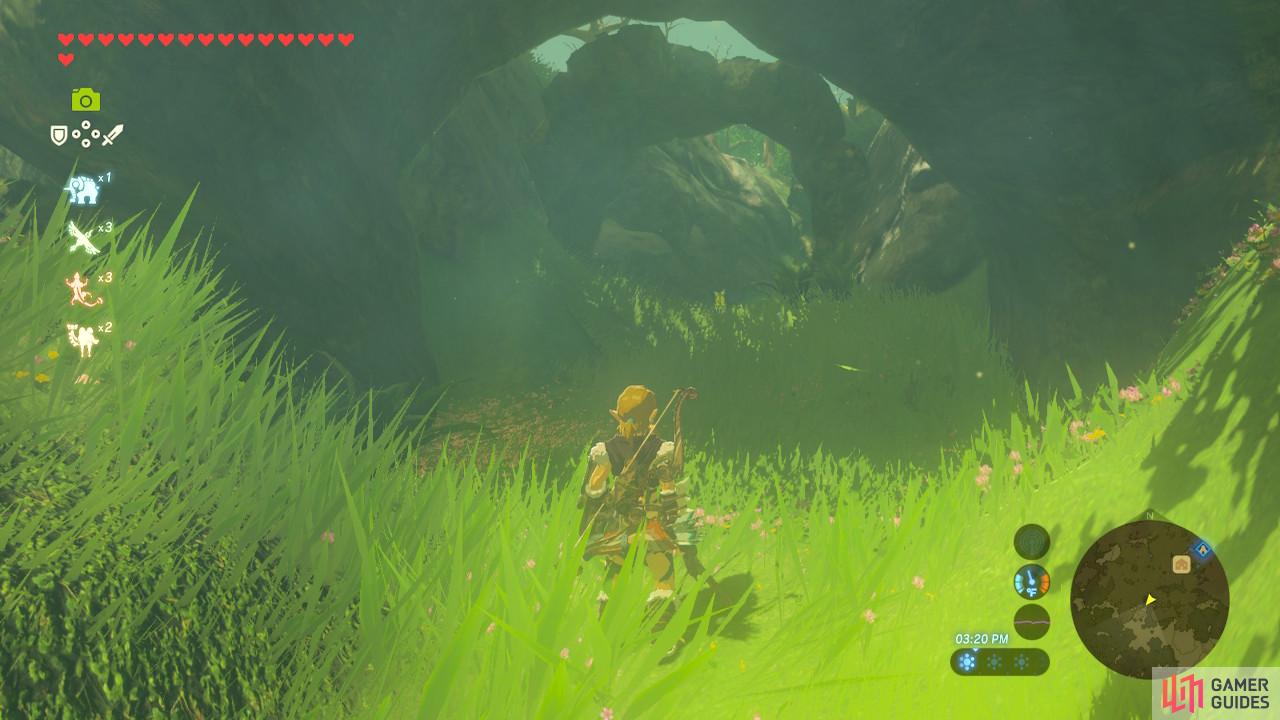
(1 of 3) Find the archway in the southwest area of the forest that leads into the Lost Woods
Zooki will give you a cryptic hint about the “hungry trees” showing you the way to the Shrine. This and the Shrine Quest’s name show the gimmick of this trial: Magnesis. The Magnesis rune will be your “Second Sight”, and you must follow the trees with iron rocks in their mouth.

So turn on Magnesis, and you will see in front of you a rock with a giant iron boulder in its mouth. The boulder will shine pink, showing that you can manipulate it with Magnesis. You do not have to, however. Once you have reached this first tree, look for the next tree, and go to that one. Repeat as shown by the screenshots above. Eventually, you will run into a rusted shield on top of a rock, as shown in the last screenshot.
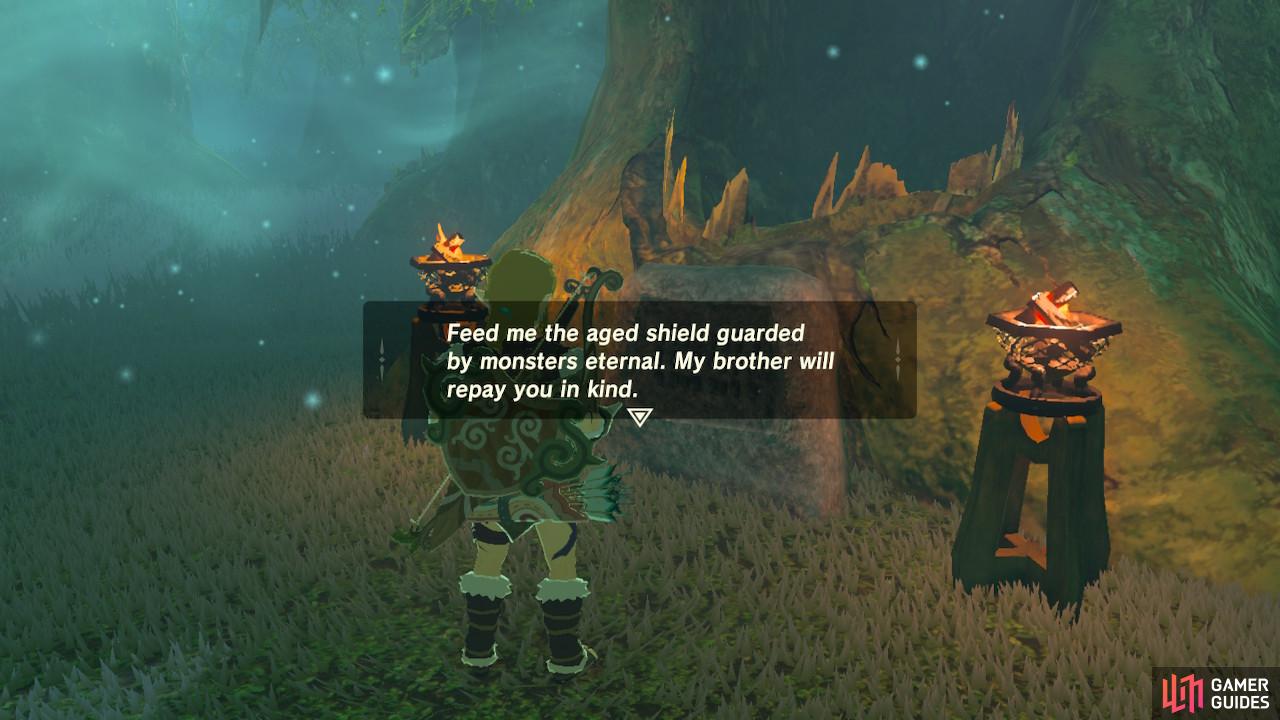
The inscription basically is telling you to drop the shield in the tree’s “mouth”

Use Magnesis to do so
The tree in front of it will have an inscription at the bottom. Follow the inscription’s commands and use Magnesis to drop the rusted shield into the tree’s “mouth”. At this point, the tree behind it will drop a treasure chest. The camera then pans out to a lone tree in Lake Saria.
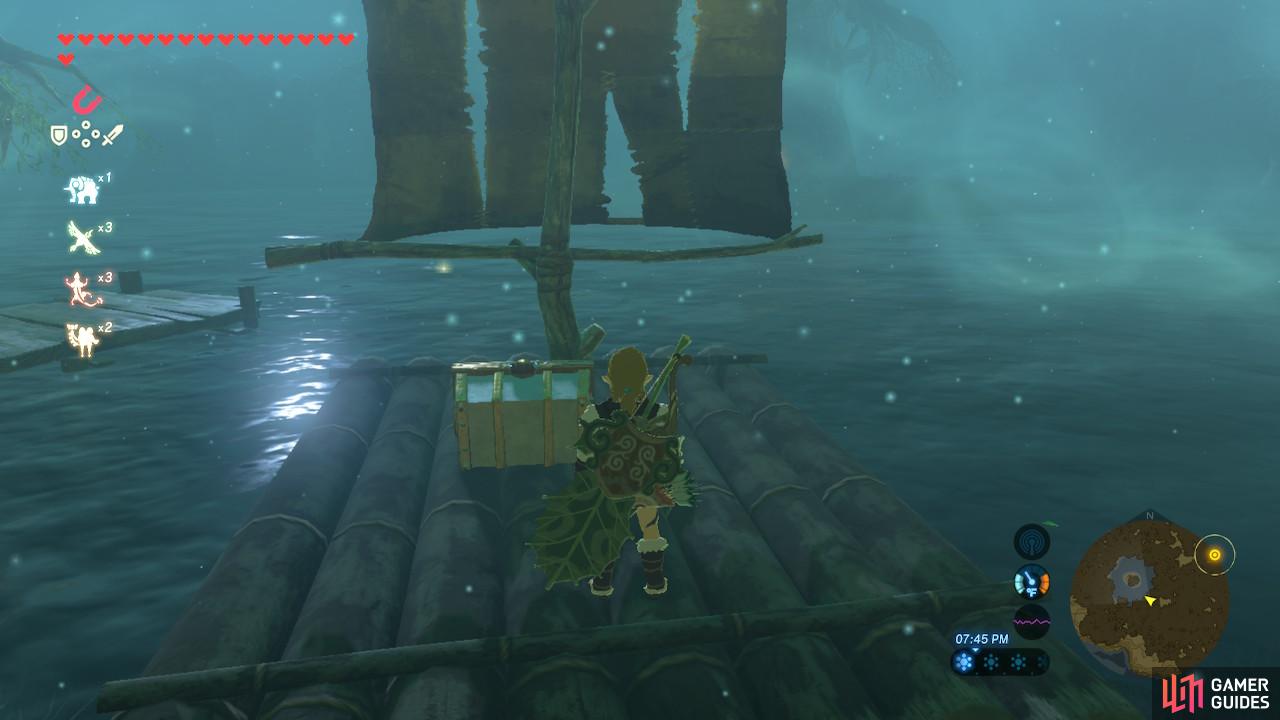
Using Magnesis, pick up the treasure chest and place it on the nearby raft. Don’t open the treasure chest yet. Pick up a Korok Leaf; there are a lot floating in the water. Ride the raft to where the distant tree stands on its own.
This tree also has an inscription. It wants its treasure chest back. Apparently the tree with the treasure chest earlier stole it. Who knew trees could have drama? Using Magnesis, drop the treasure chest into the tree’s “mouth”. Immediately after that, the Kuhn Sidajj Shrine will rise from the ground and this Shrine Quest will have been completed.
You can then open the treasure chest for an Amber.
No Comments