
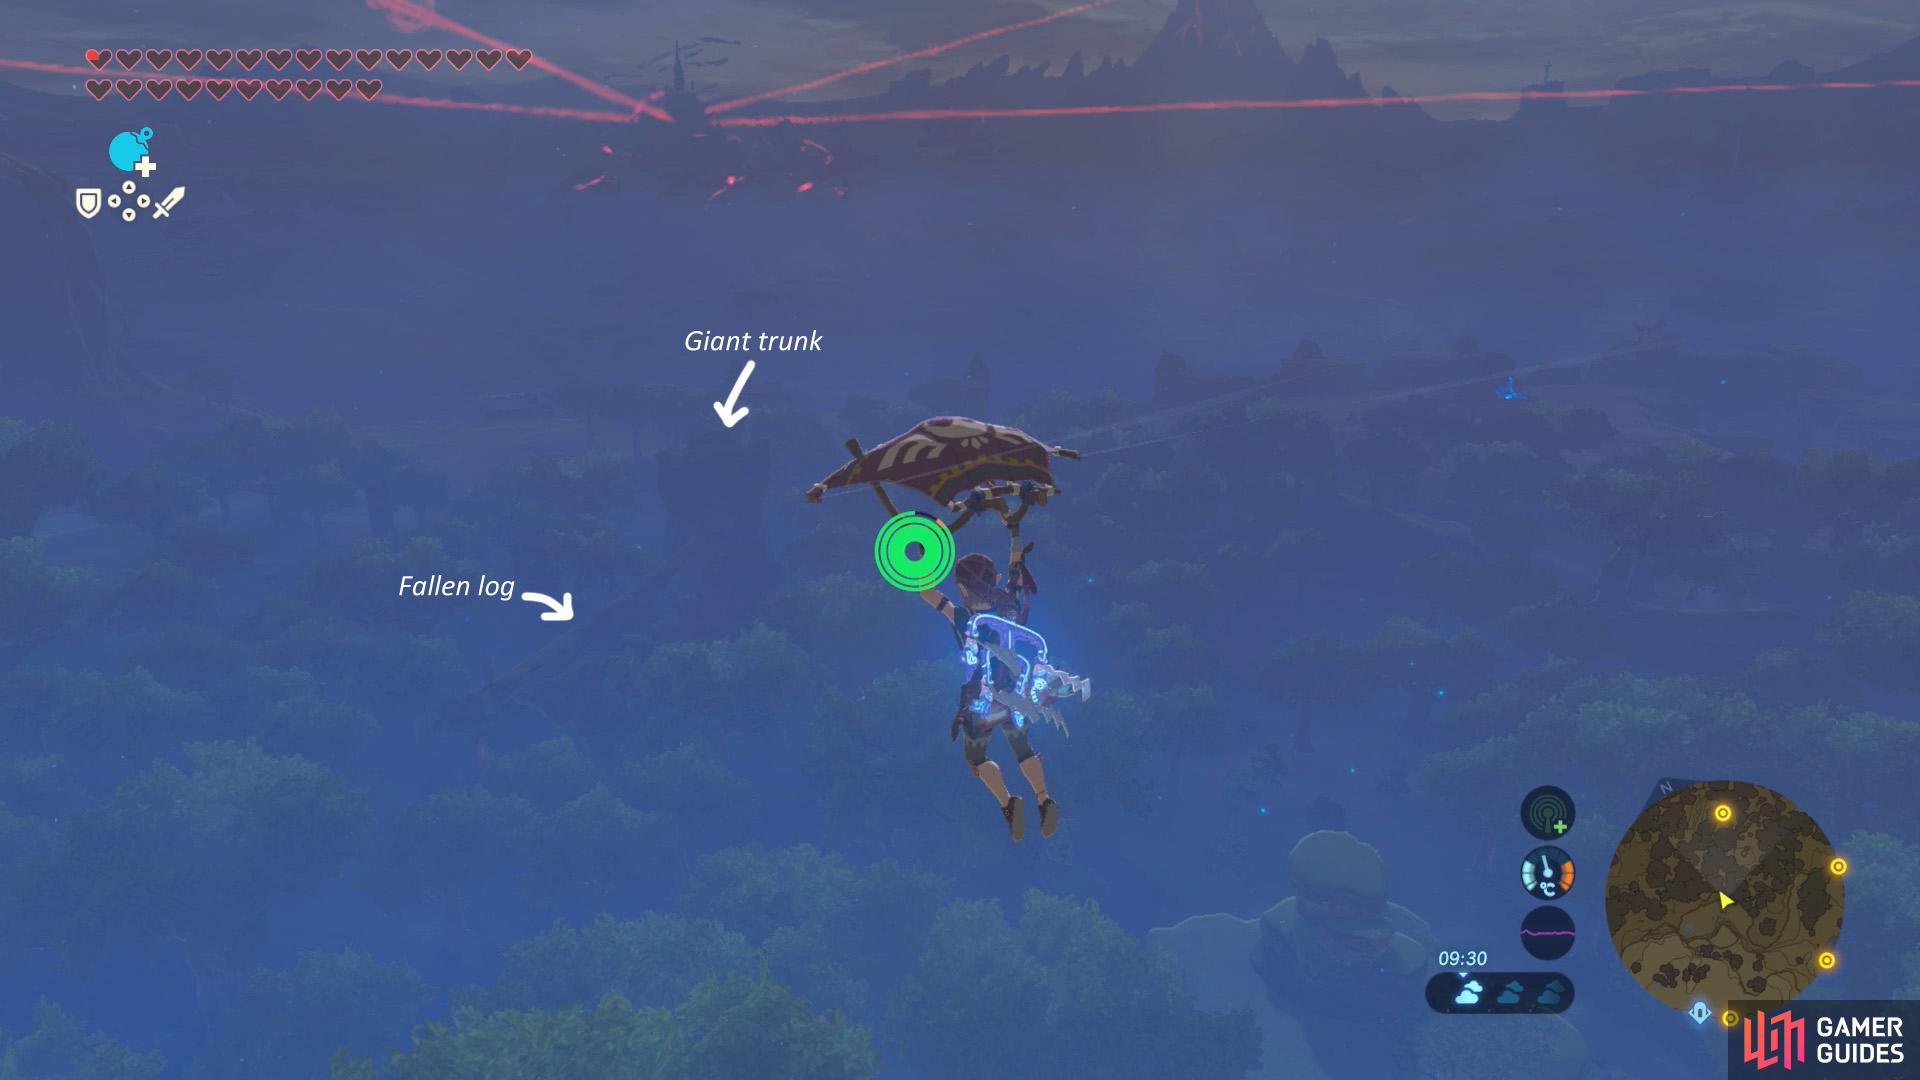
Glide north towards the massive tree trunk.

While in the air, shoot down the Bokoblin archer on the giant log.
You can tackle the four shrines in any order, but we’ll do them starting from the nearest. Which is the one near the Forest of Spirits to the north. To begin with, run off the ledge directly ahead of the Shrine of Resurrection’s exit and begin gliding.
As you’re gliding, it can be hard to see due to the darkness, but try to look for a tall cylindrical structure among the trees (it’s a massive tree trunk). Basically, look towards where the nearest map indicator is. As you approach the structure, look for a giant fallen log slightly to the left. Try to glide to the top of it.
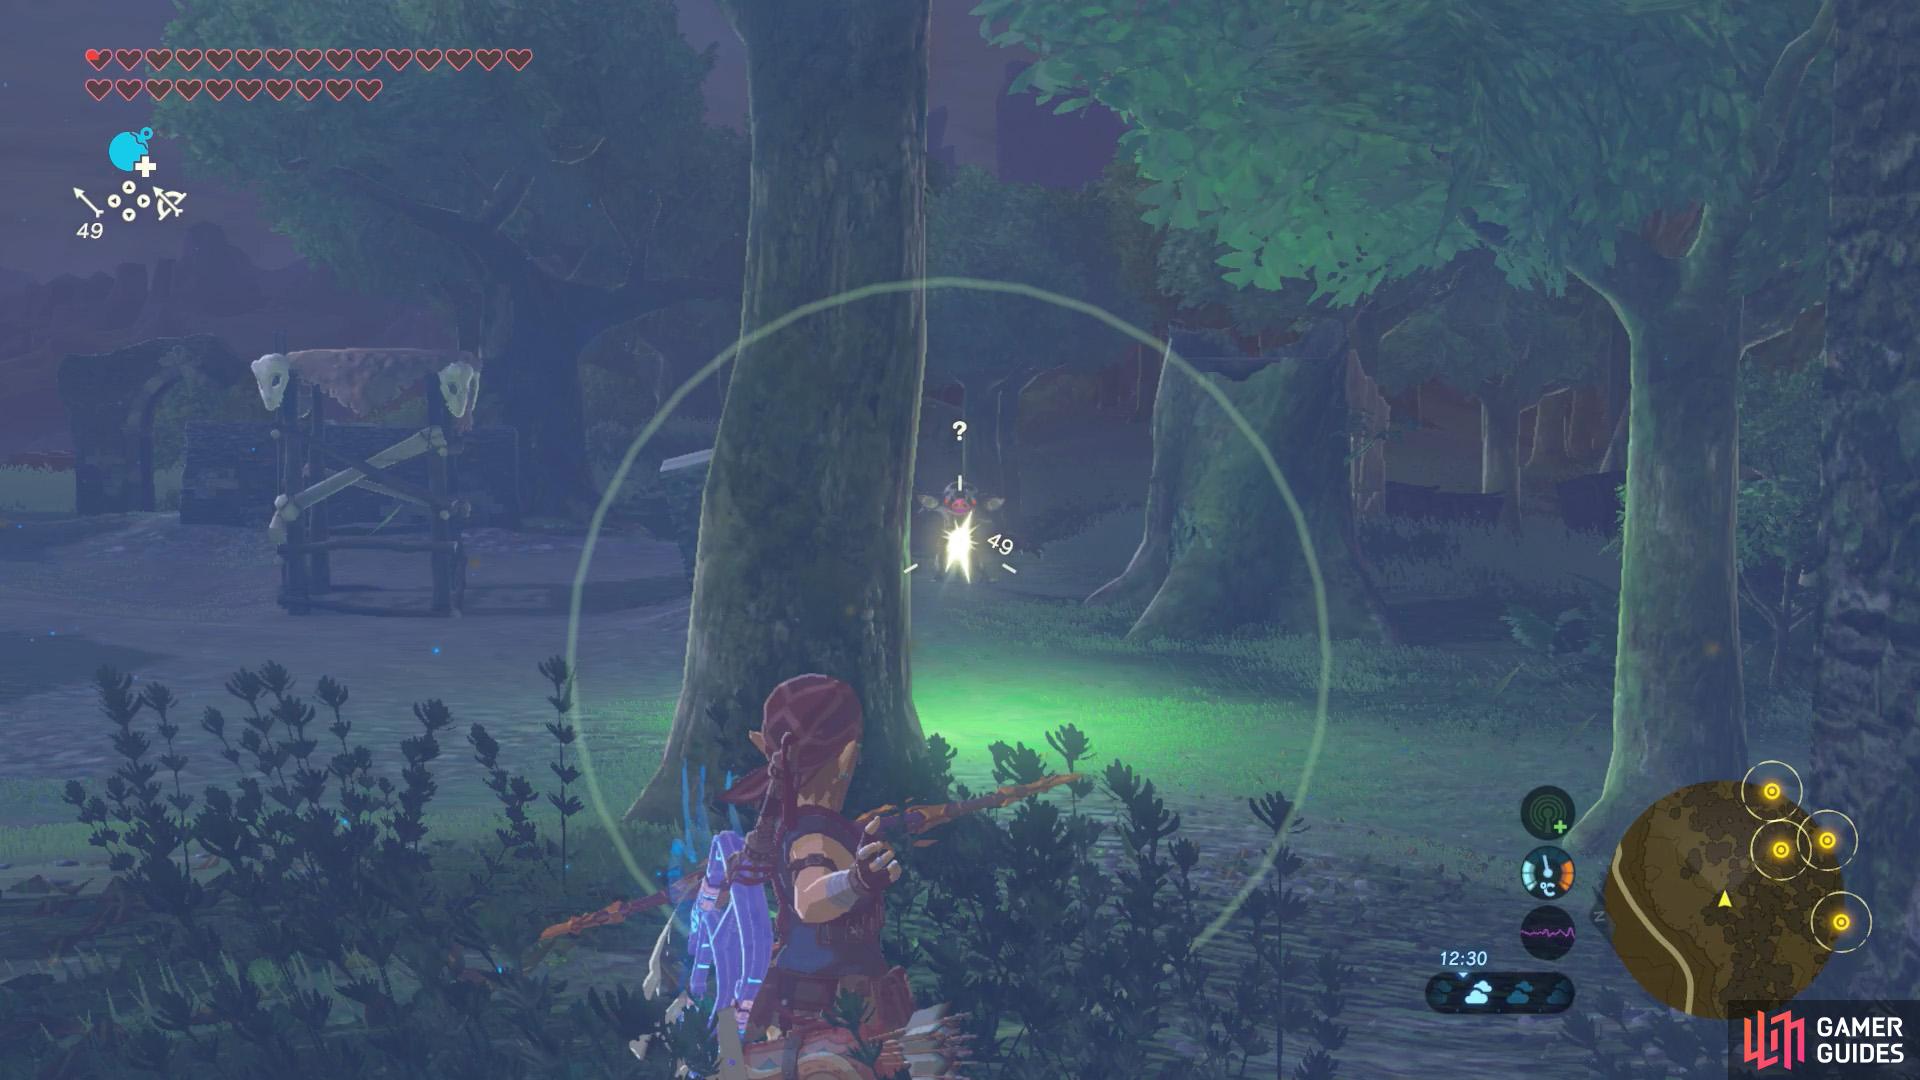
Before landing, pull out your bow to trigger bullet-time and shoot the Bokoblin archer who’s on top of the log. Then land on top of the log yourself (or climb up if you missed). Now look up towards the sky. There should be a swarm of Keese circling the massive trunk ahead. Shoot it down with a Bomb Arrow or something.
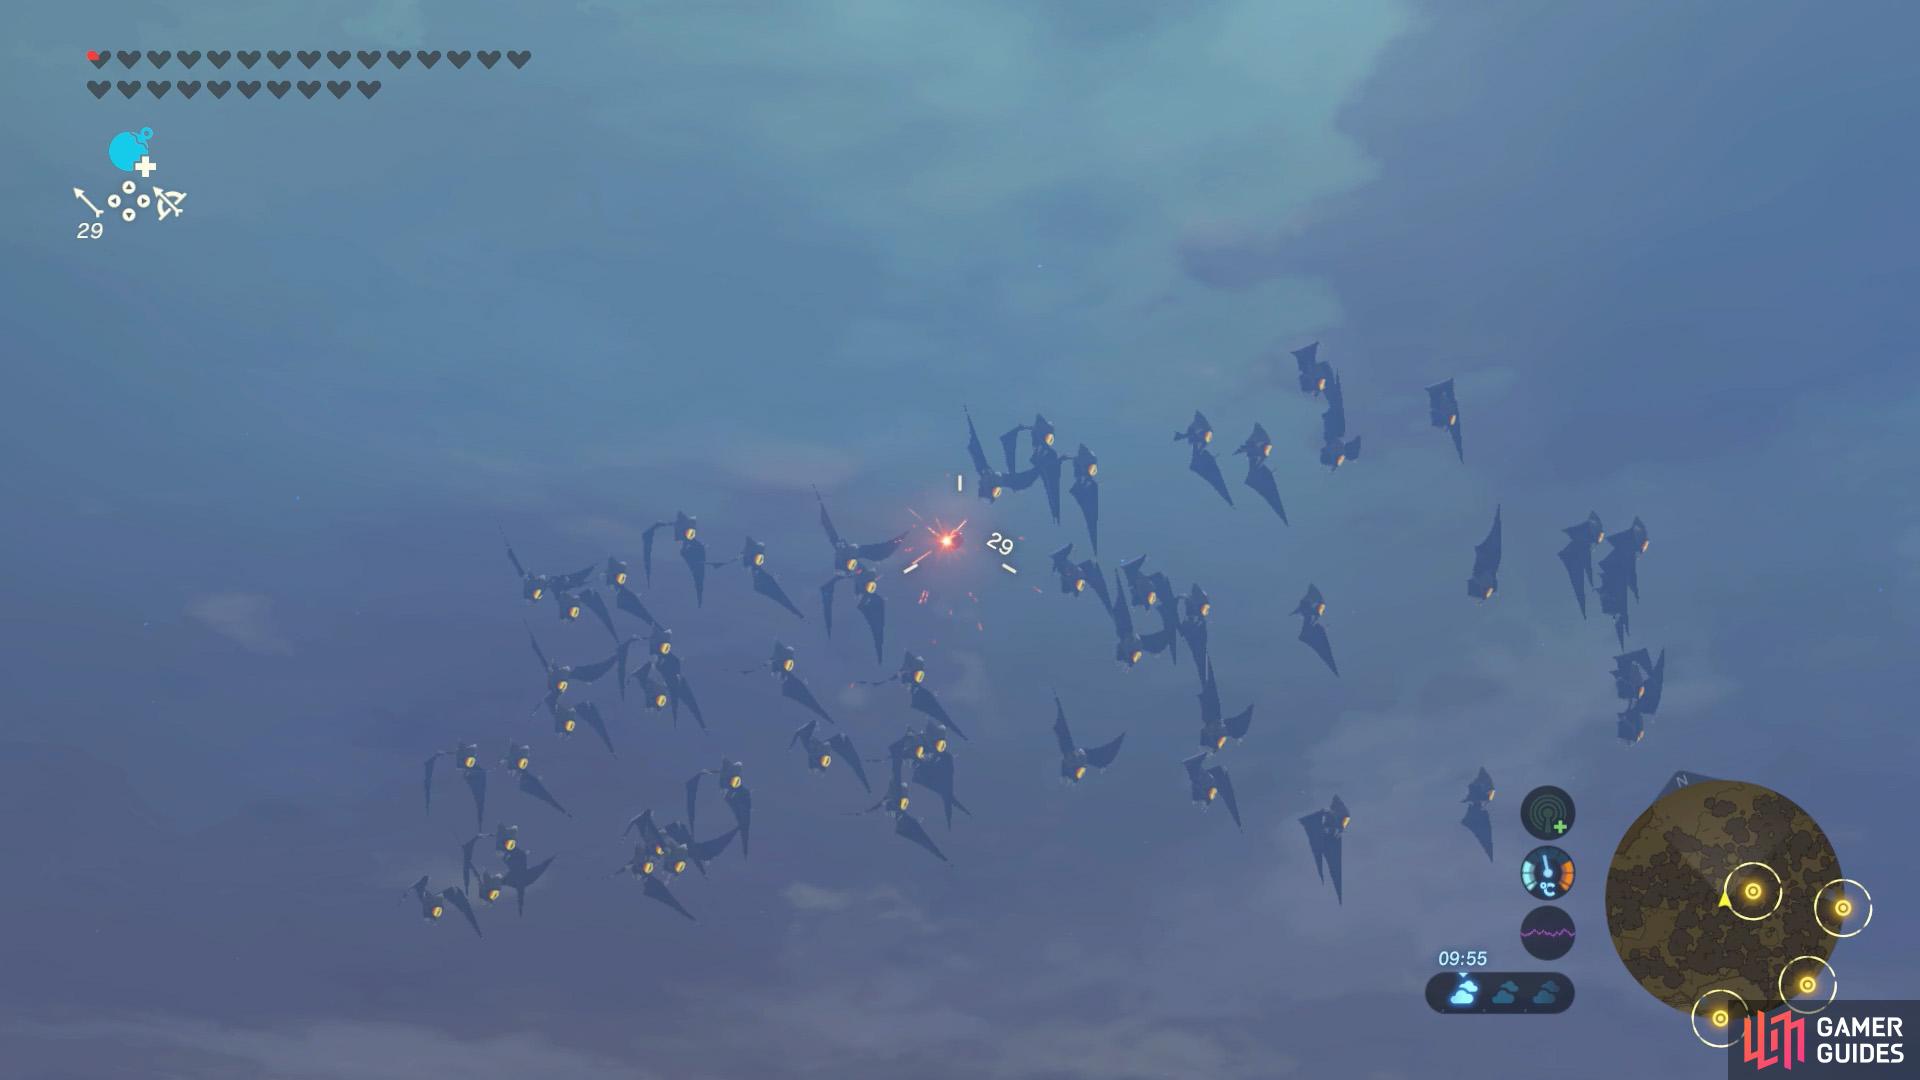
Get rid of the annoying Keese swarm with Bomb Arrows.
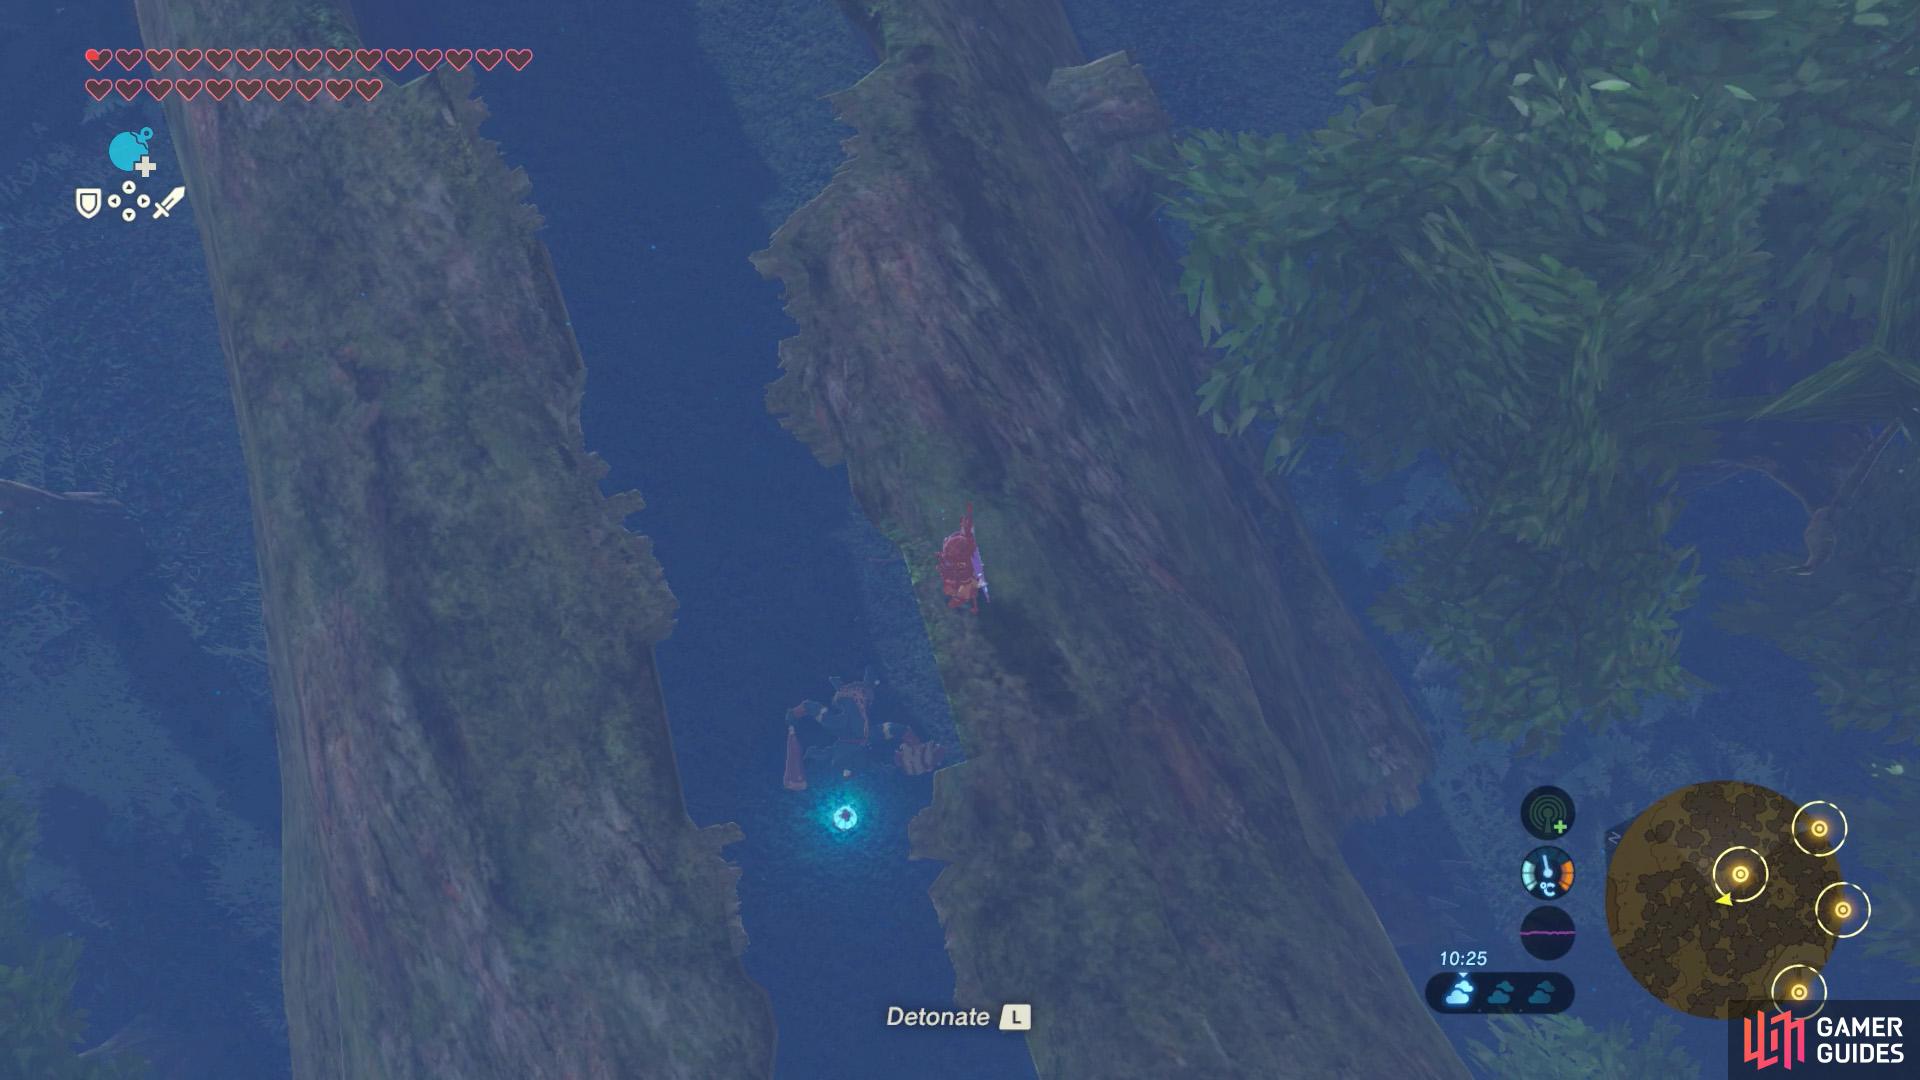
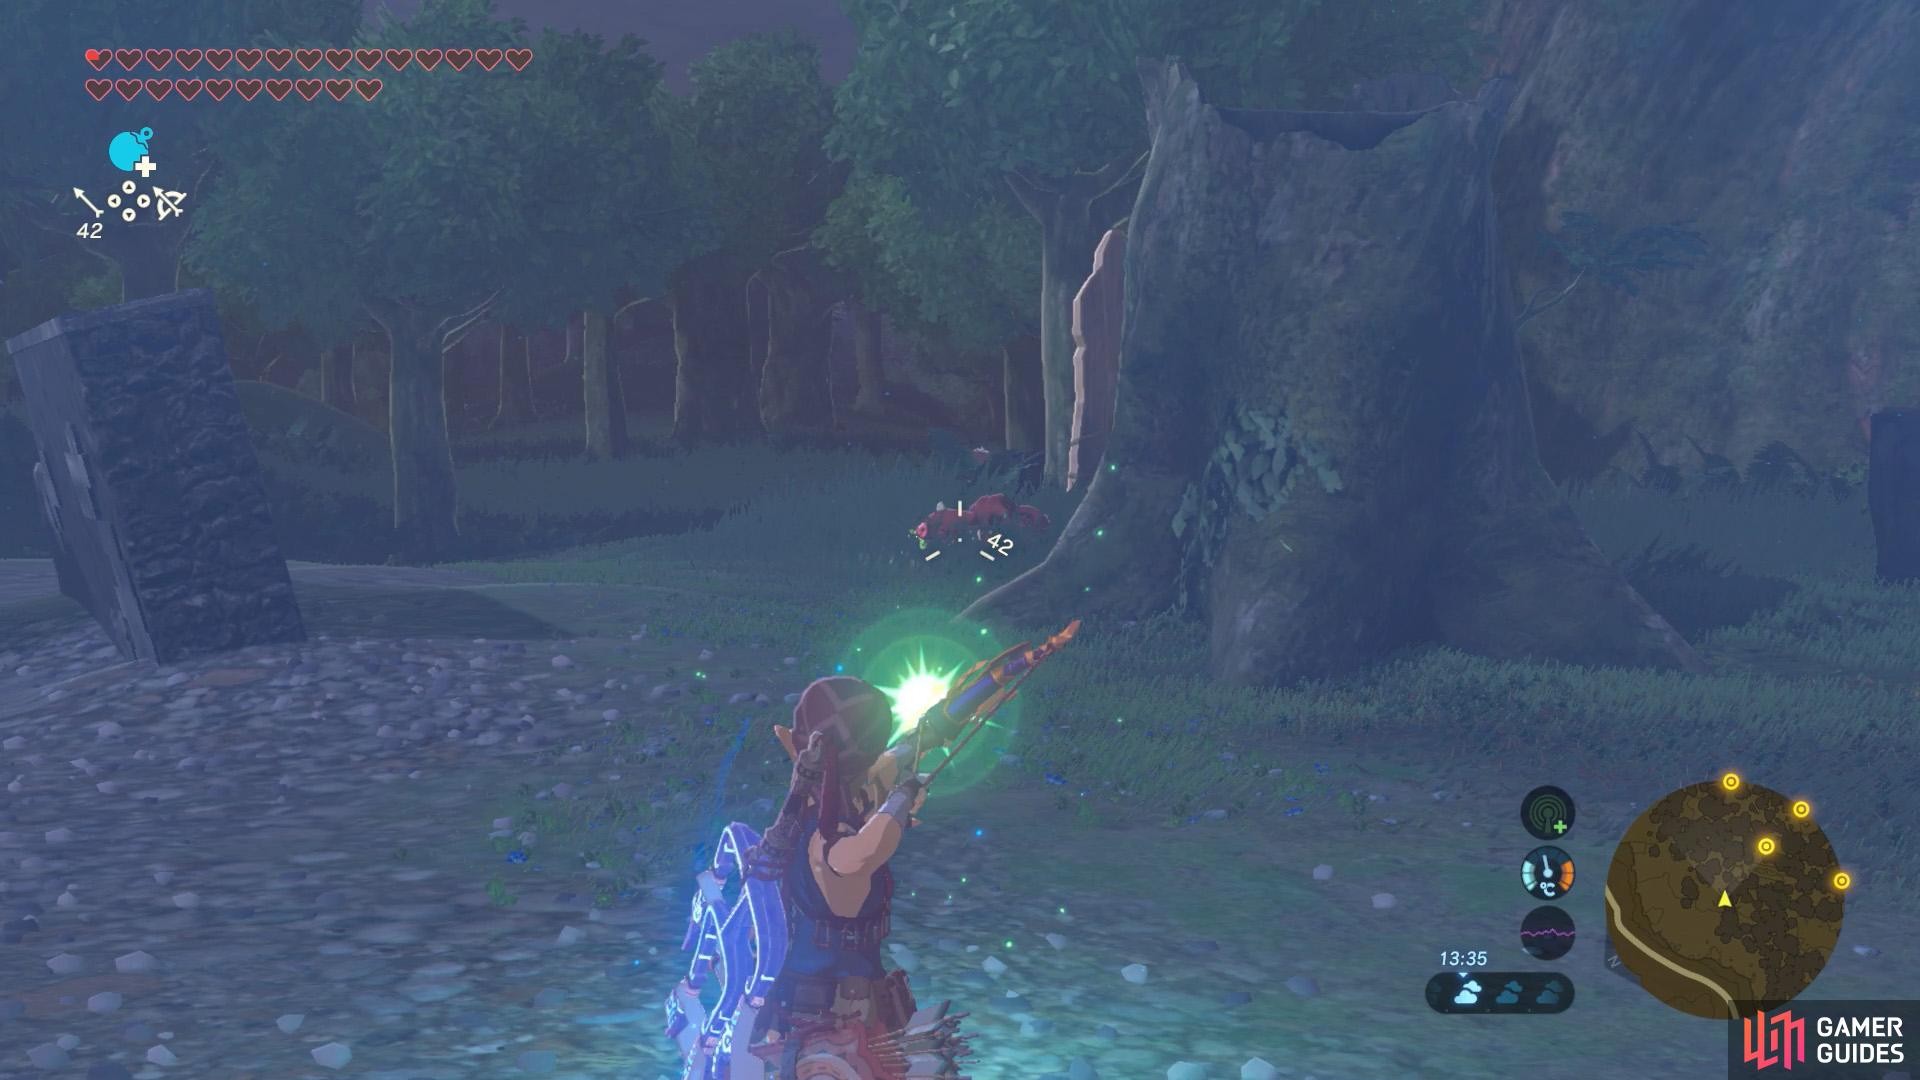
Next, deal with the Blue Bokoblin patrolling the innards of the fallen log.
Next, look down towards the ground. Walking in-between the two halves of the log is a Blue Bokoblin with a shield and club. From your vantage point, either kill it with bombs or arrows. Be wary that there’s a second Blue Bokoblin further ahead, who may notice you. You can either kill it as well or ignore it for later (we’ll ignore it).
If you’re on the right half of the giant fallen log, hop towards the left half. From this position, study the area towards the left (west) of the central tree trunk. There should be another Blue Bokoblin here, holding a spear. This one is best disposed of with arrows. If you try to get close, its spear will out-range you.
Fighting a spear Bokoblin head on is tough, so snipe them instead.
Likewise, try to stun/disarm the Black Bokoblin with Shock Arrows before they see you.
Once the spear Bokoblin is gone, drop down to the left and cautiously move clock-wise around the central tree trunk, ideally from a distance. Towards the north side of the tree trunk, there’s an abandoned Bokoblin camp patrolled by a tough Black Bokoblin, who’s got a sword and shield.
If the Black Bokoblin hasn’t spotten you, you can shoot it with a Shock Arrow to stun it, then run in for the kill. Once it’s dust, slowly proceed through the encampment. Look for a smaller tree trunk to the right of the raised platform, where an archer would stand. Hiding in the grass is a Bokoblin with a Lightning Rod. Snipe it.
(1 of 3) If you go clock-wise around the giant trunk, the next three Bokoblin will be facing away from you.
Continue going around the massive teee trunk slowly. Soon, there’s another Lightning Rod Bokoblin hiding in the grass. Like the previous one, it’ll be facing away from you, so it’s an easy kill. Feel free to grab the Lightning Rods, although they’re useless right now.
Anyway, keep crawling in a clock-wise direction, but nearer the giant tree trunk. As you approach the corpse of the second Lightning Rod Bokoblin, you should notice the Blue Bokoblin with a bat hiding in the grass, just past a tree root. This is the same Bokoblin near the end of the giant fallen log. So if you killed it earlier, you’re in the clear.
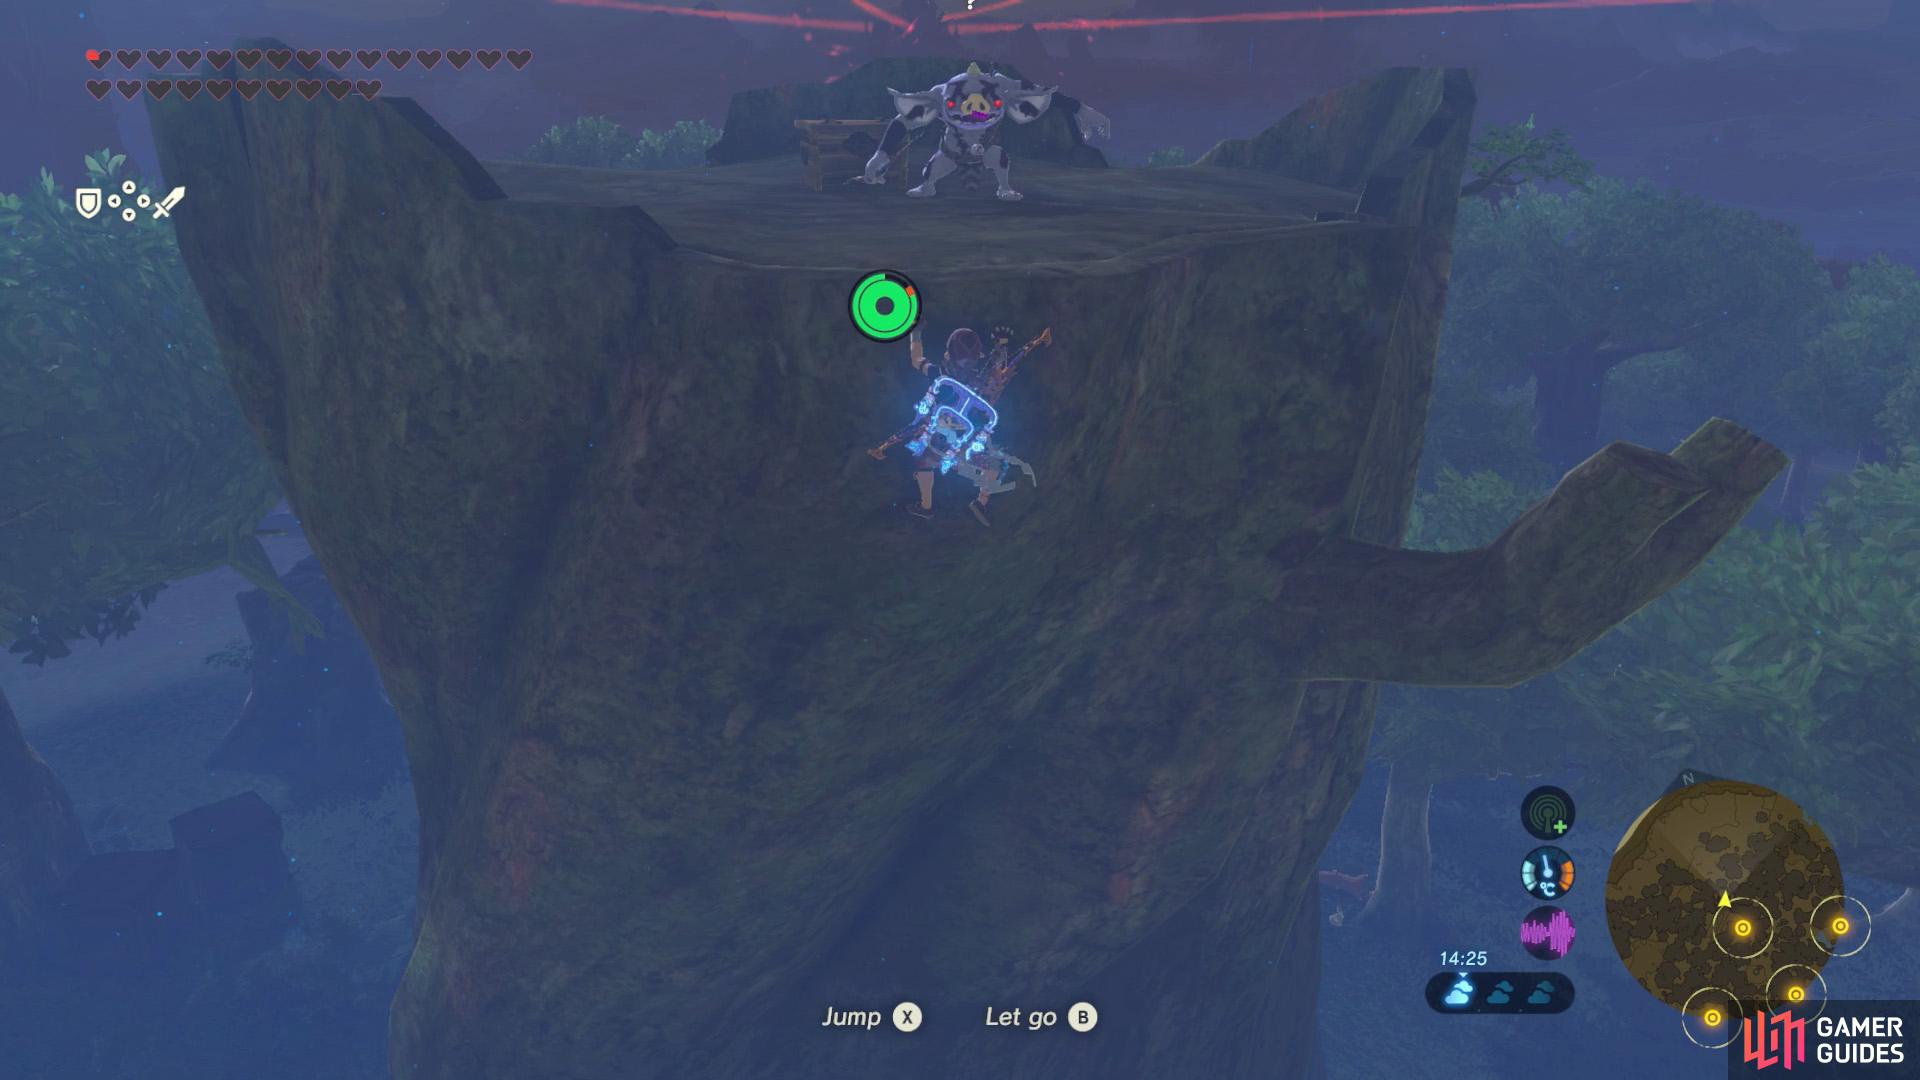
Climb the central trunk, away from the hornet’s nest.
If you’re quick, you can hit the Silver Bokoblin before it can react.
At this point, only one enemy should remain: a Silver Bokoblin with Shock Arrows atop the central tree trunk. If you’re feeling daring, you can now climb the trunk, but avoid the north-east side, where there’s a hornet nest. When you reach the top, you should surprise the Bokoblin for just enough time to run in and smack it.
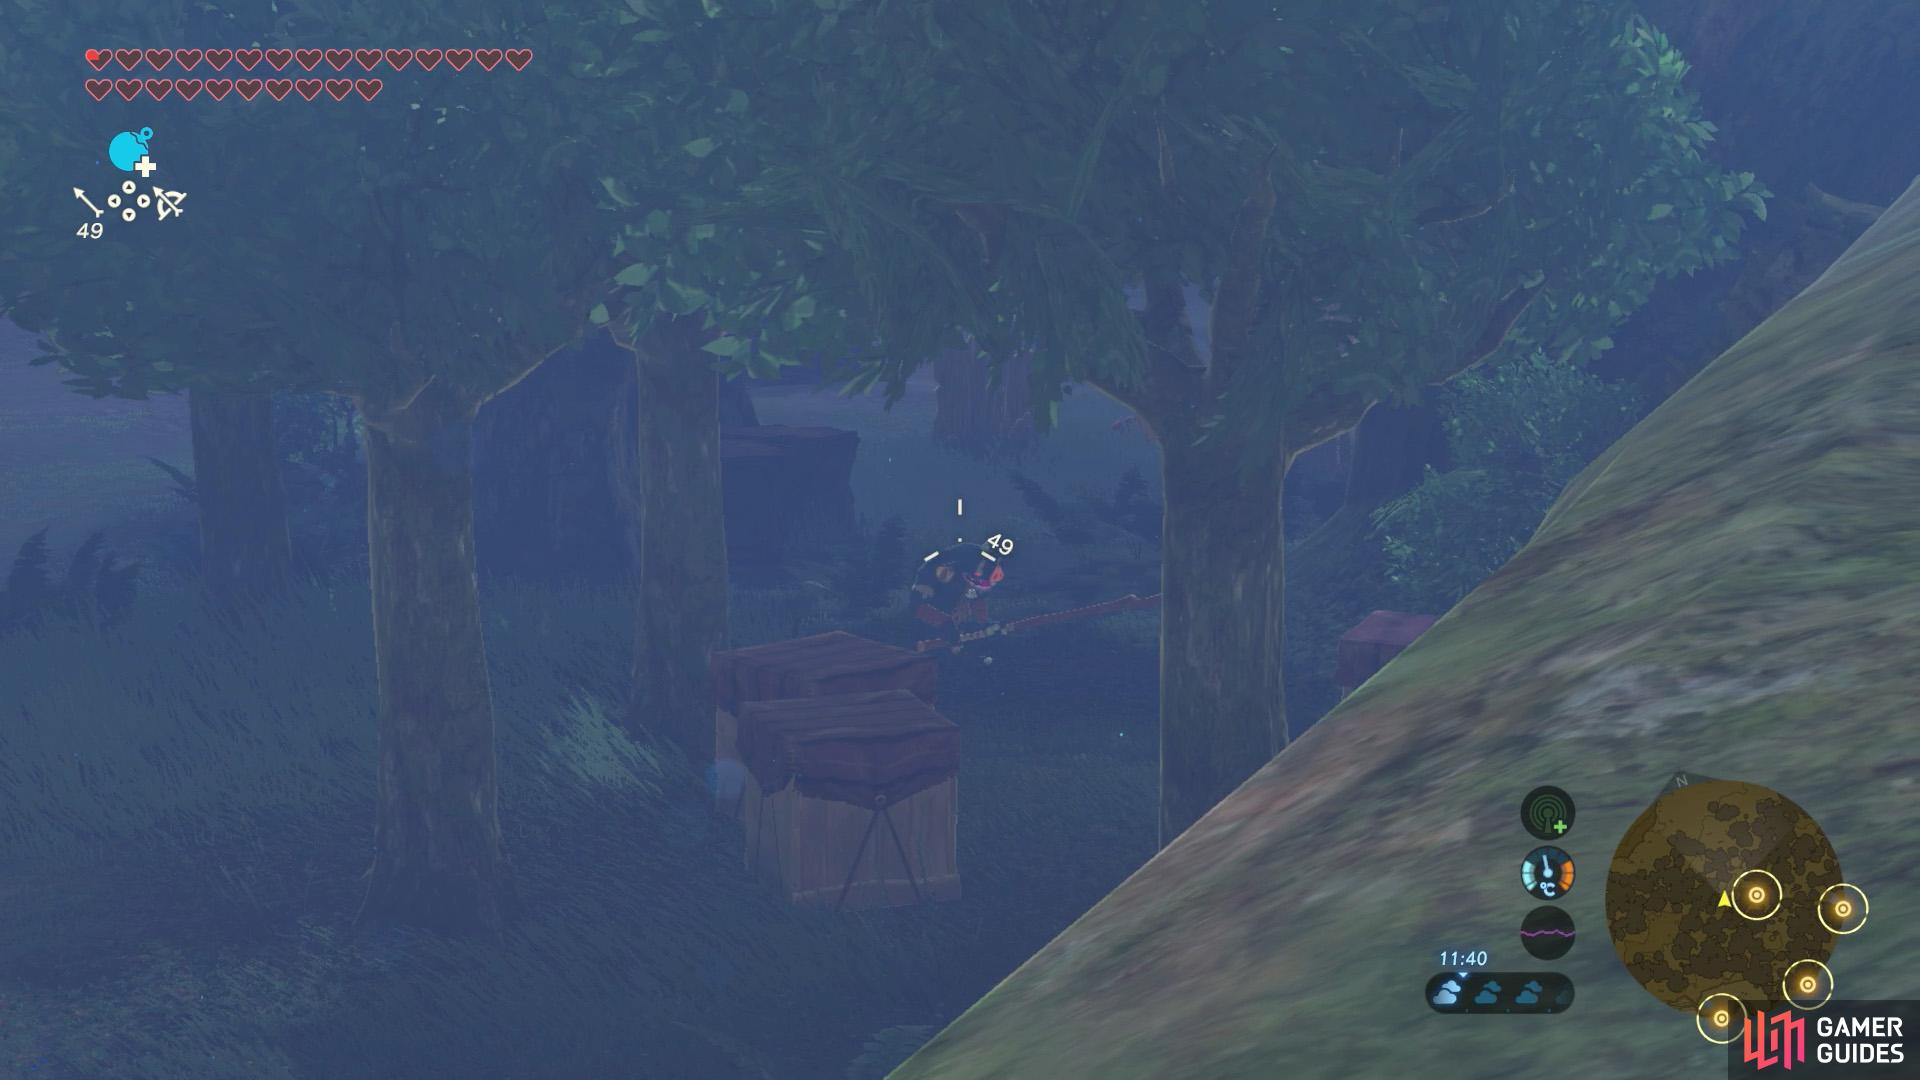
Otherwise, if you’re unsure, use Magnesis to drag a metal box near the end of the giant, fallen log. Be wary of some Chuchus near there. Next, climb up to the northern tip of the log, then use Magnesis to grab the box and lift it all the way up.
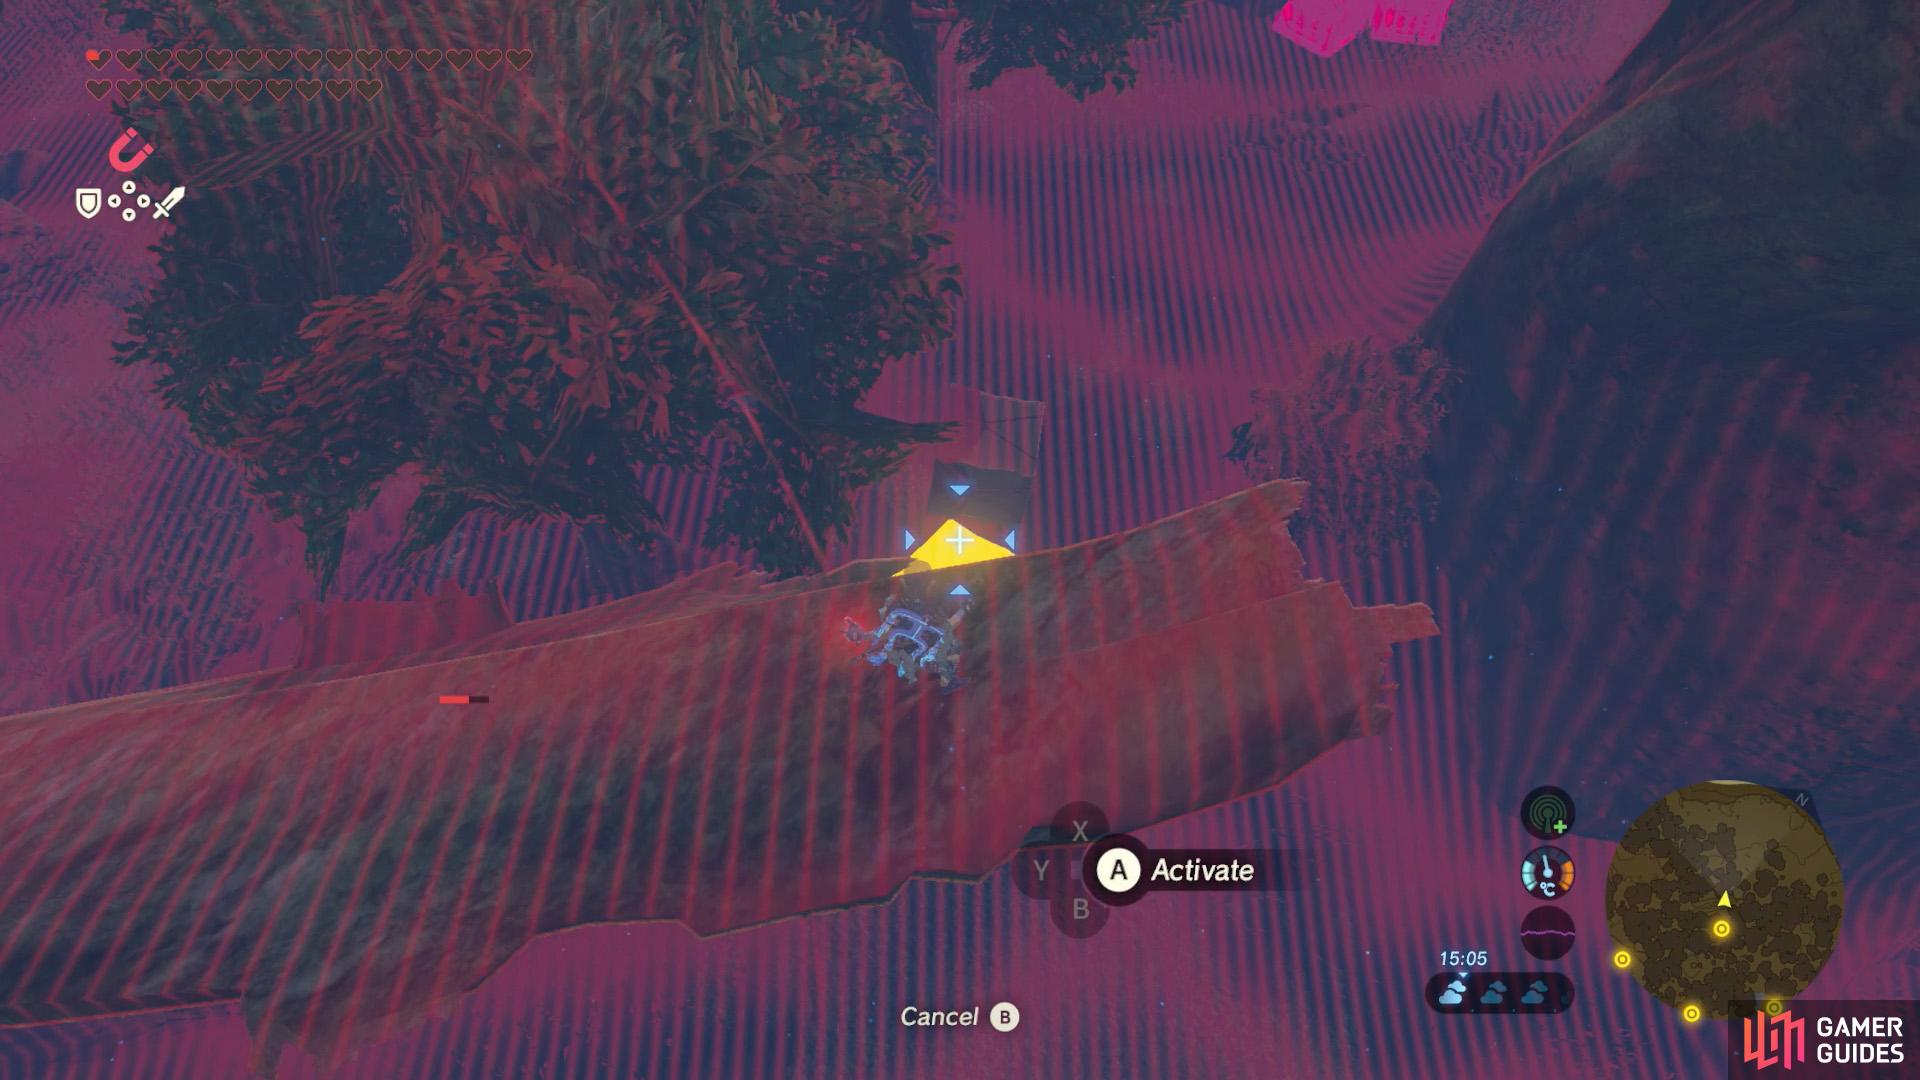
If you’re lazy to climb, move a metal box towards the giant log. Then grab it using Magnesis from atop the log.
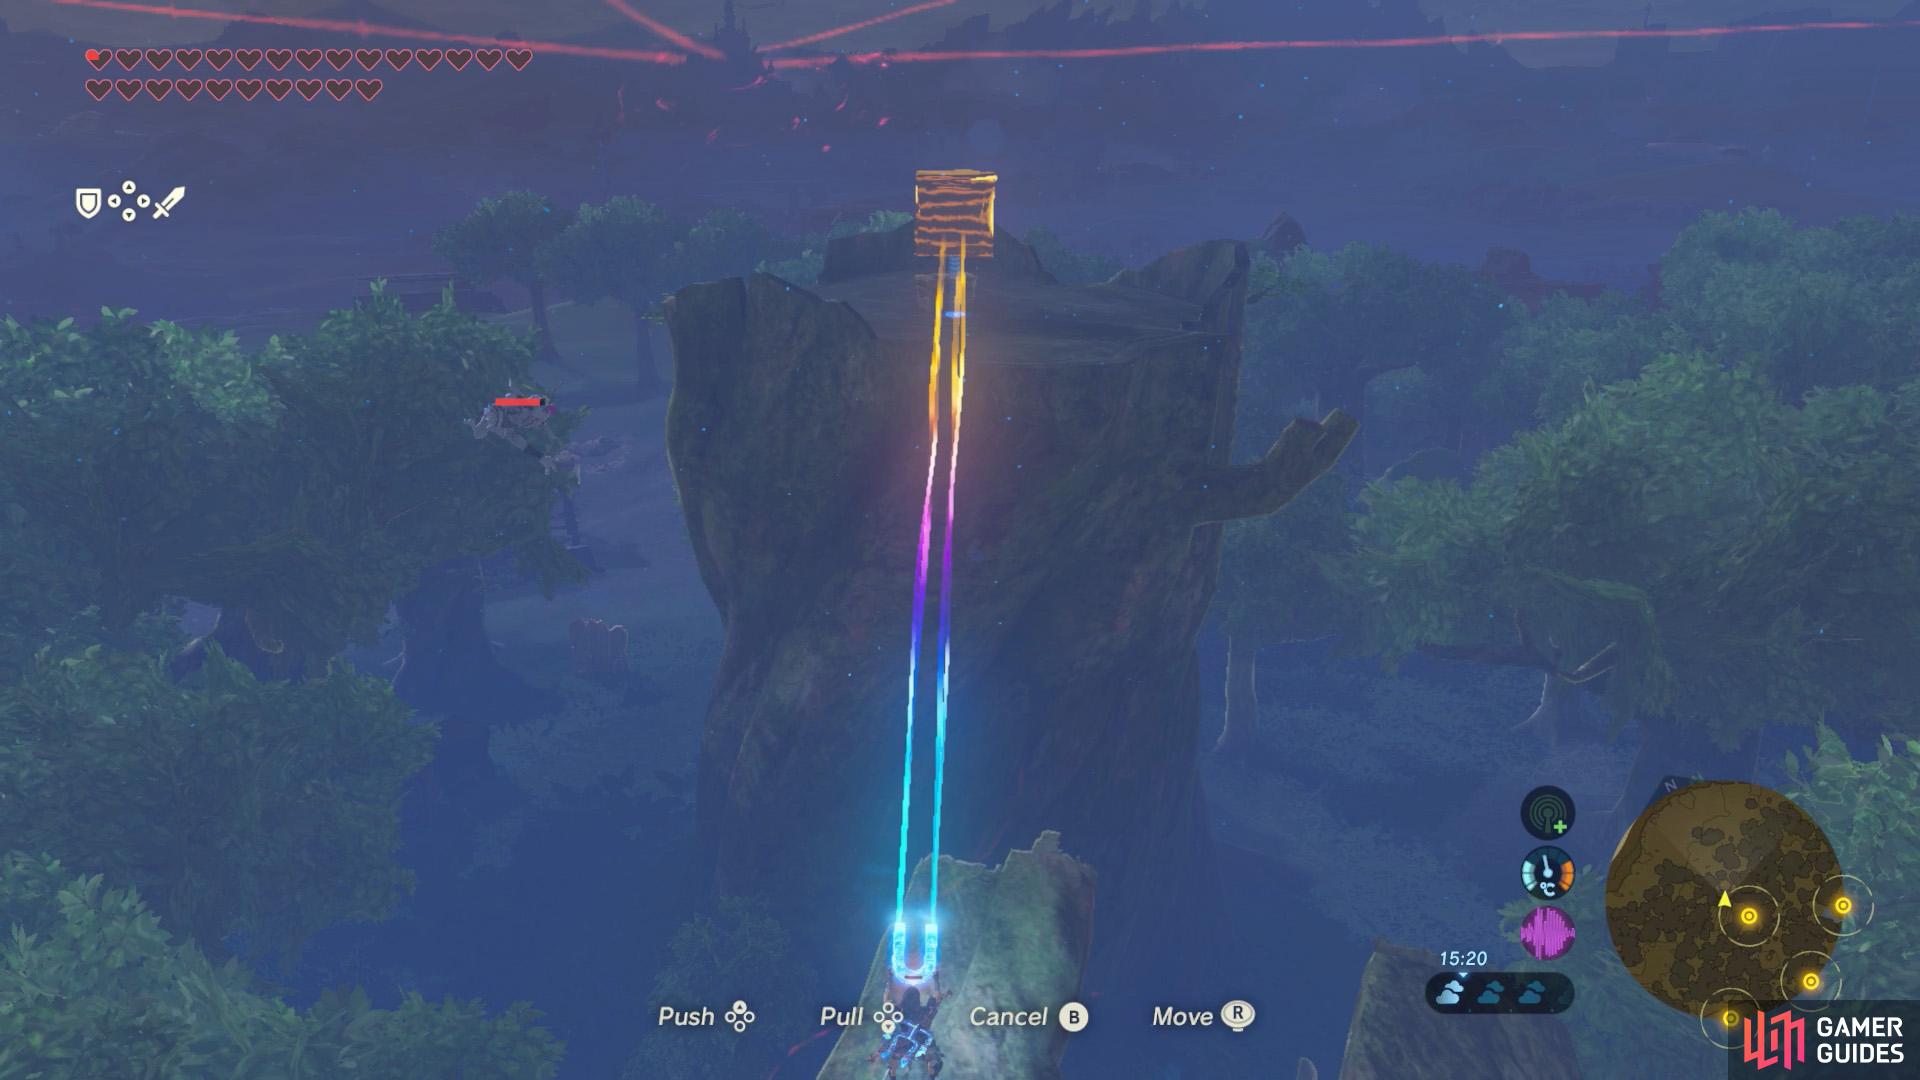
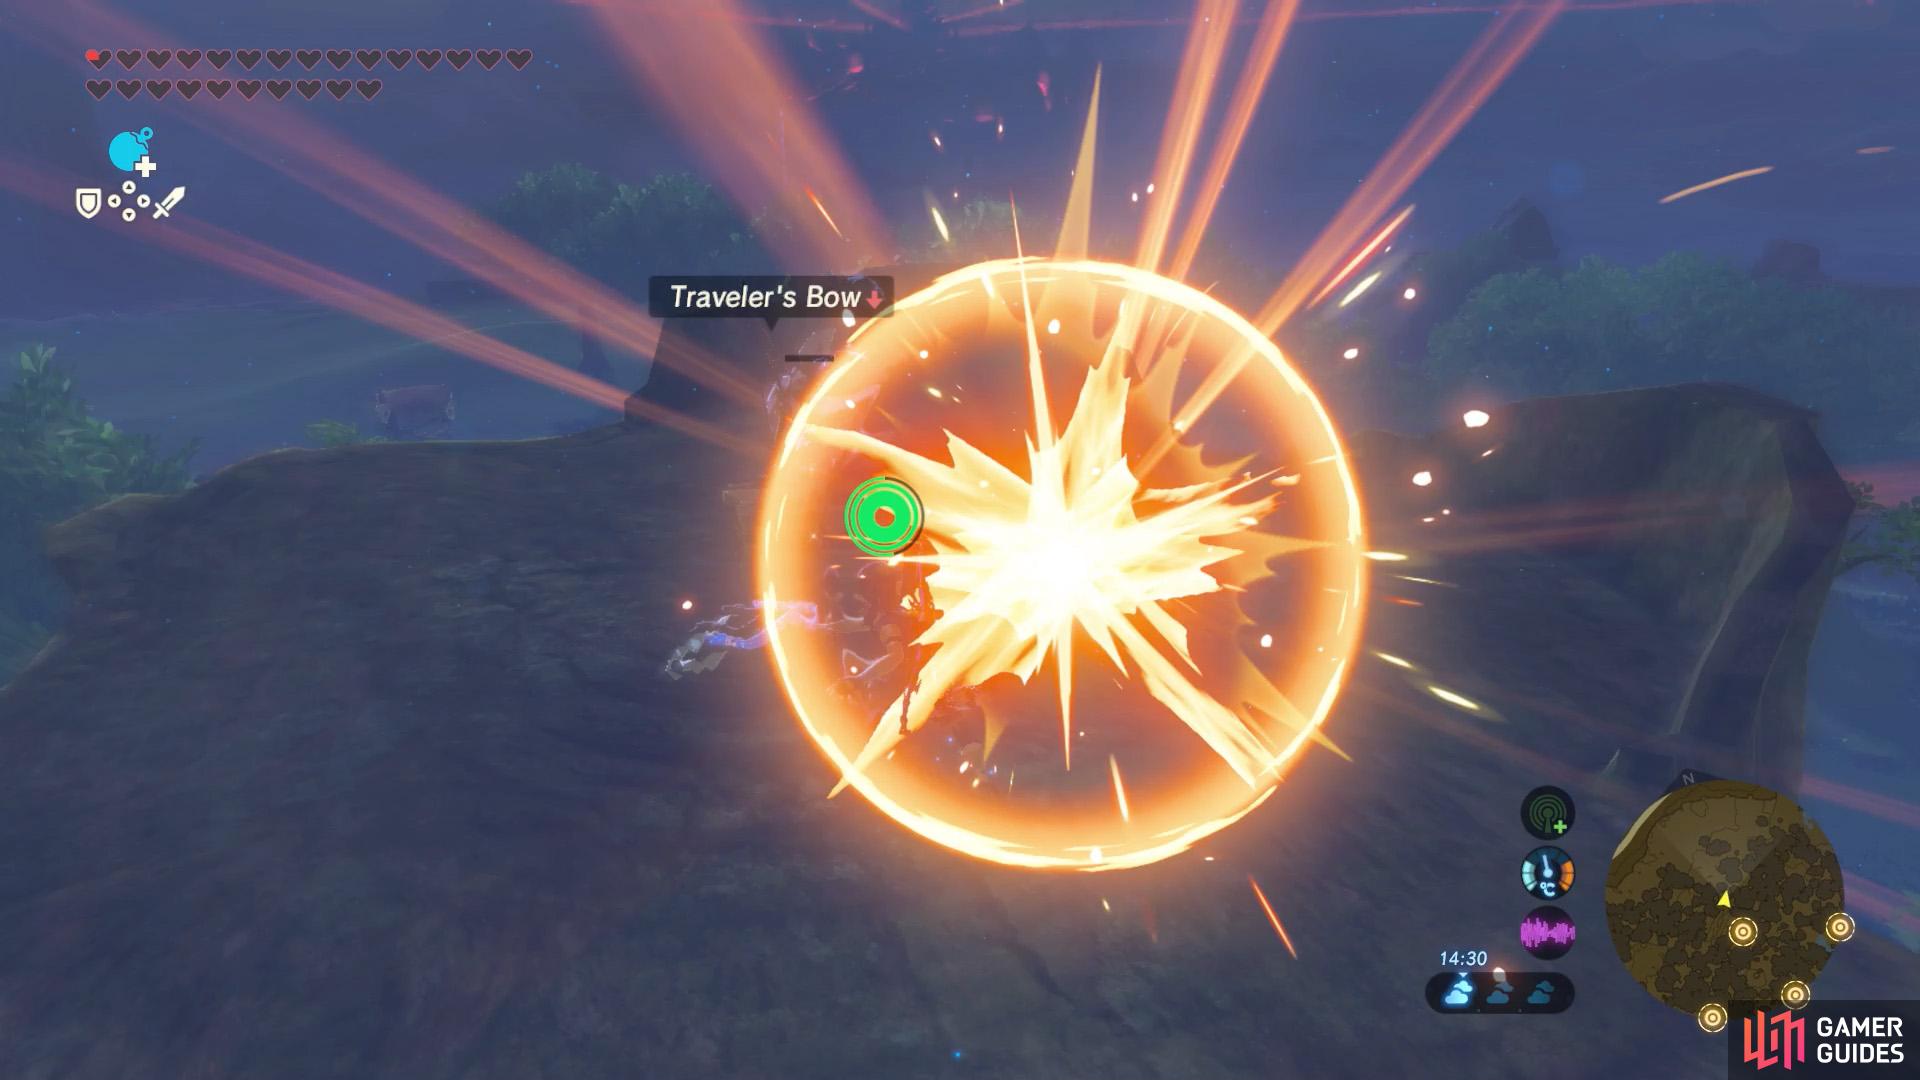
You can then swing the box to knock the Silver Bokoblin to the ground.
The metal box should reach the very top of the giant trunk, at which point you can swing it to knock the Bokoblin flying. It won’t die from the fall, but it’ll be a far easier target on the ground. You can then glide off the log and stun the Bokoblin with your own Shock Arrow.
Having slain a total of 8 Bokoblin in the forest, a new shrine–the Yowaka Ita Shrine–will emerge towards the south of the massive tree trunk.
No Comments